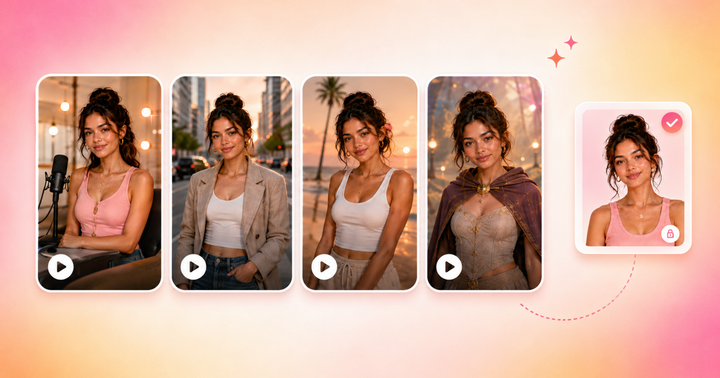
How to Edit Videos with AI Prompts (Prompts Included) Use AI prompts to trim, caption, resize, and polish videos in minutes.
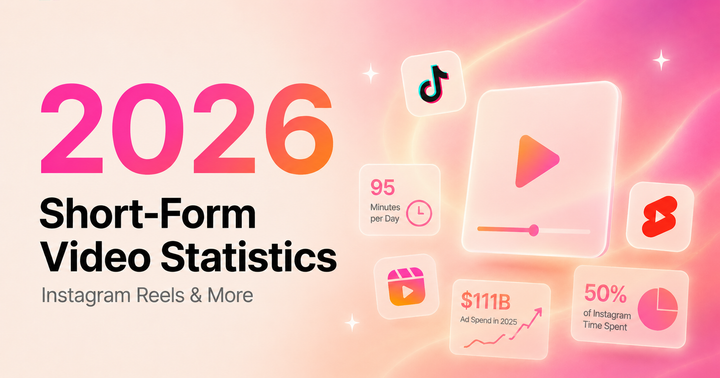
Short-Form Video Statistics: TikTok, Reels, and Shorts by the Numbers in 2026 33% of marketers plan to invest more in short-form video than any other content format in 2026
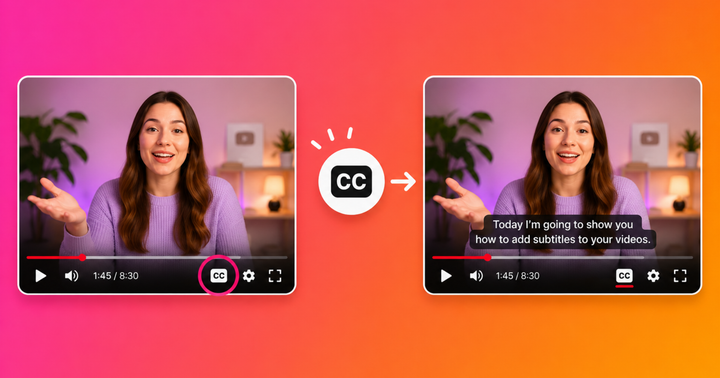
How to Edit Videos with AI Prompts (Prompts Included) Use AI prompts to trim, caption, resize, and polish videos in minutes.
How to Make the Kumar Method Video With AI (Prompt Included) The original Kumar Method video has more than 34 million views, and 2 million likes.
How to Edit Videos with AI Prompts (Prompts Included) Use AI prompts to trim, caption, resize, and polish videos in minutes.
YouTube Thumbnail Sizes 2026: Aspect Ratios, Sizes, and Fonts 90% of top-performing YouTube videos have custom thumbnails
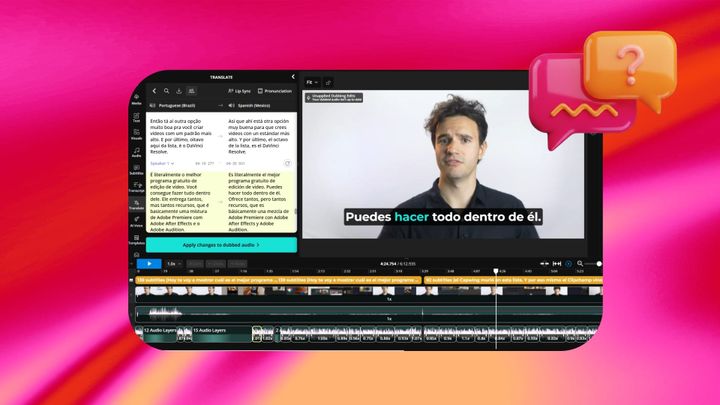
Video Translation Statistics: How Many Creators Localize Their Content in 2026? 91% of businesses use video as a marketing tool in 2026