Make GIFs out of videos and images without sacrificing quality.
No credit card required.

Create a GIF with videos or images
Whether you want to turn a video into a GIF, create something new from scratch, or generate content with the magical powers of AI, Kapwing is your go-to platform.
Turn any video into a short, engaging GIF
Ancient editing software got you down? Speed things up with Kapwing. You can convert any video into a GIF in just a couple of minutes. Upload your video and trim it down. Draw directly on your GIF inside the studio. Add stickers, transitions, and other video effects with our easy editing platform that’s free and available completely online, with no downloading required.
.webp)
Combine images to make a GIF
No video? No problem. Upload multiple images and arrange them in your project. Kapwing can help convert various image files to GIFs, including WebP to GIF conversions for maximum quality. Pull from our library of stock photos for even more options, set custom durations to speed images up, and make your GIF even more attention-grabbing. Then, add shapes, emojis, and animated elements.
.webp)
Make awesome GIFs even when you’re short on ideas
Great ideas are not required to make great GIFs. Try our AI video and image generators—just enter a quick prompt to whip up content. Or, pull from a built-in library of stock images, stock videos, and GIPHYs as a starting point for your own creations. You’ll love our meme generator, too. It turns any topic into multiple memes with text you can animate and convert into GIF format.


"Kapwing is smart, fast, easy to use and full of features that are exactly what we need to make our workflow faster and more effective. We love it more each day and it keeps getting better."
Panos Papagapiou
Managing Partner at Epathlon
Achieve your content dreams with tools for implementation
You’ve got all the tools you need to not only make GIFs, but share them widely. Get a custom URL, embedding code, and resizing features.
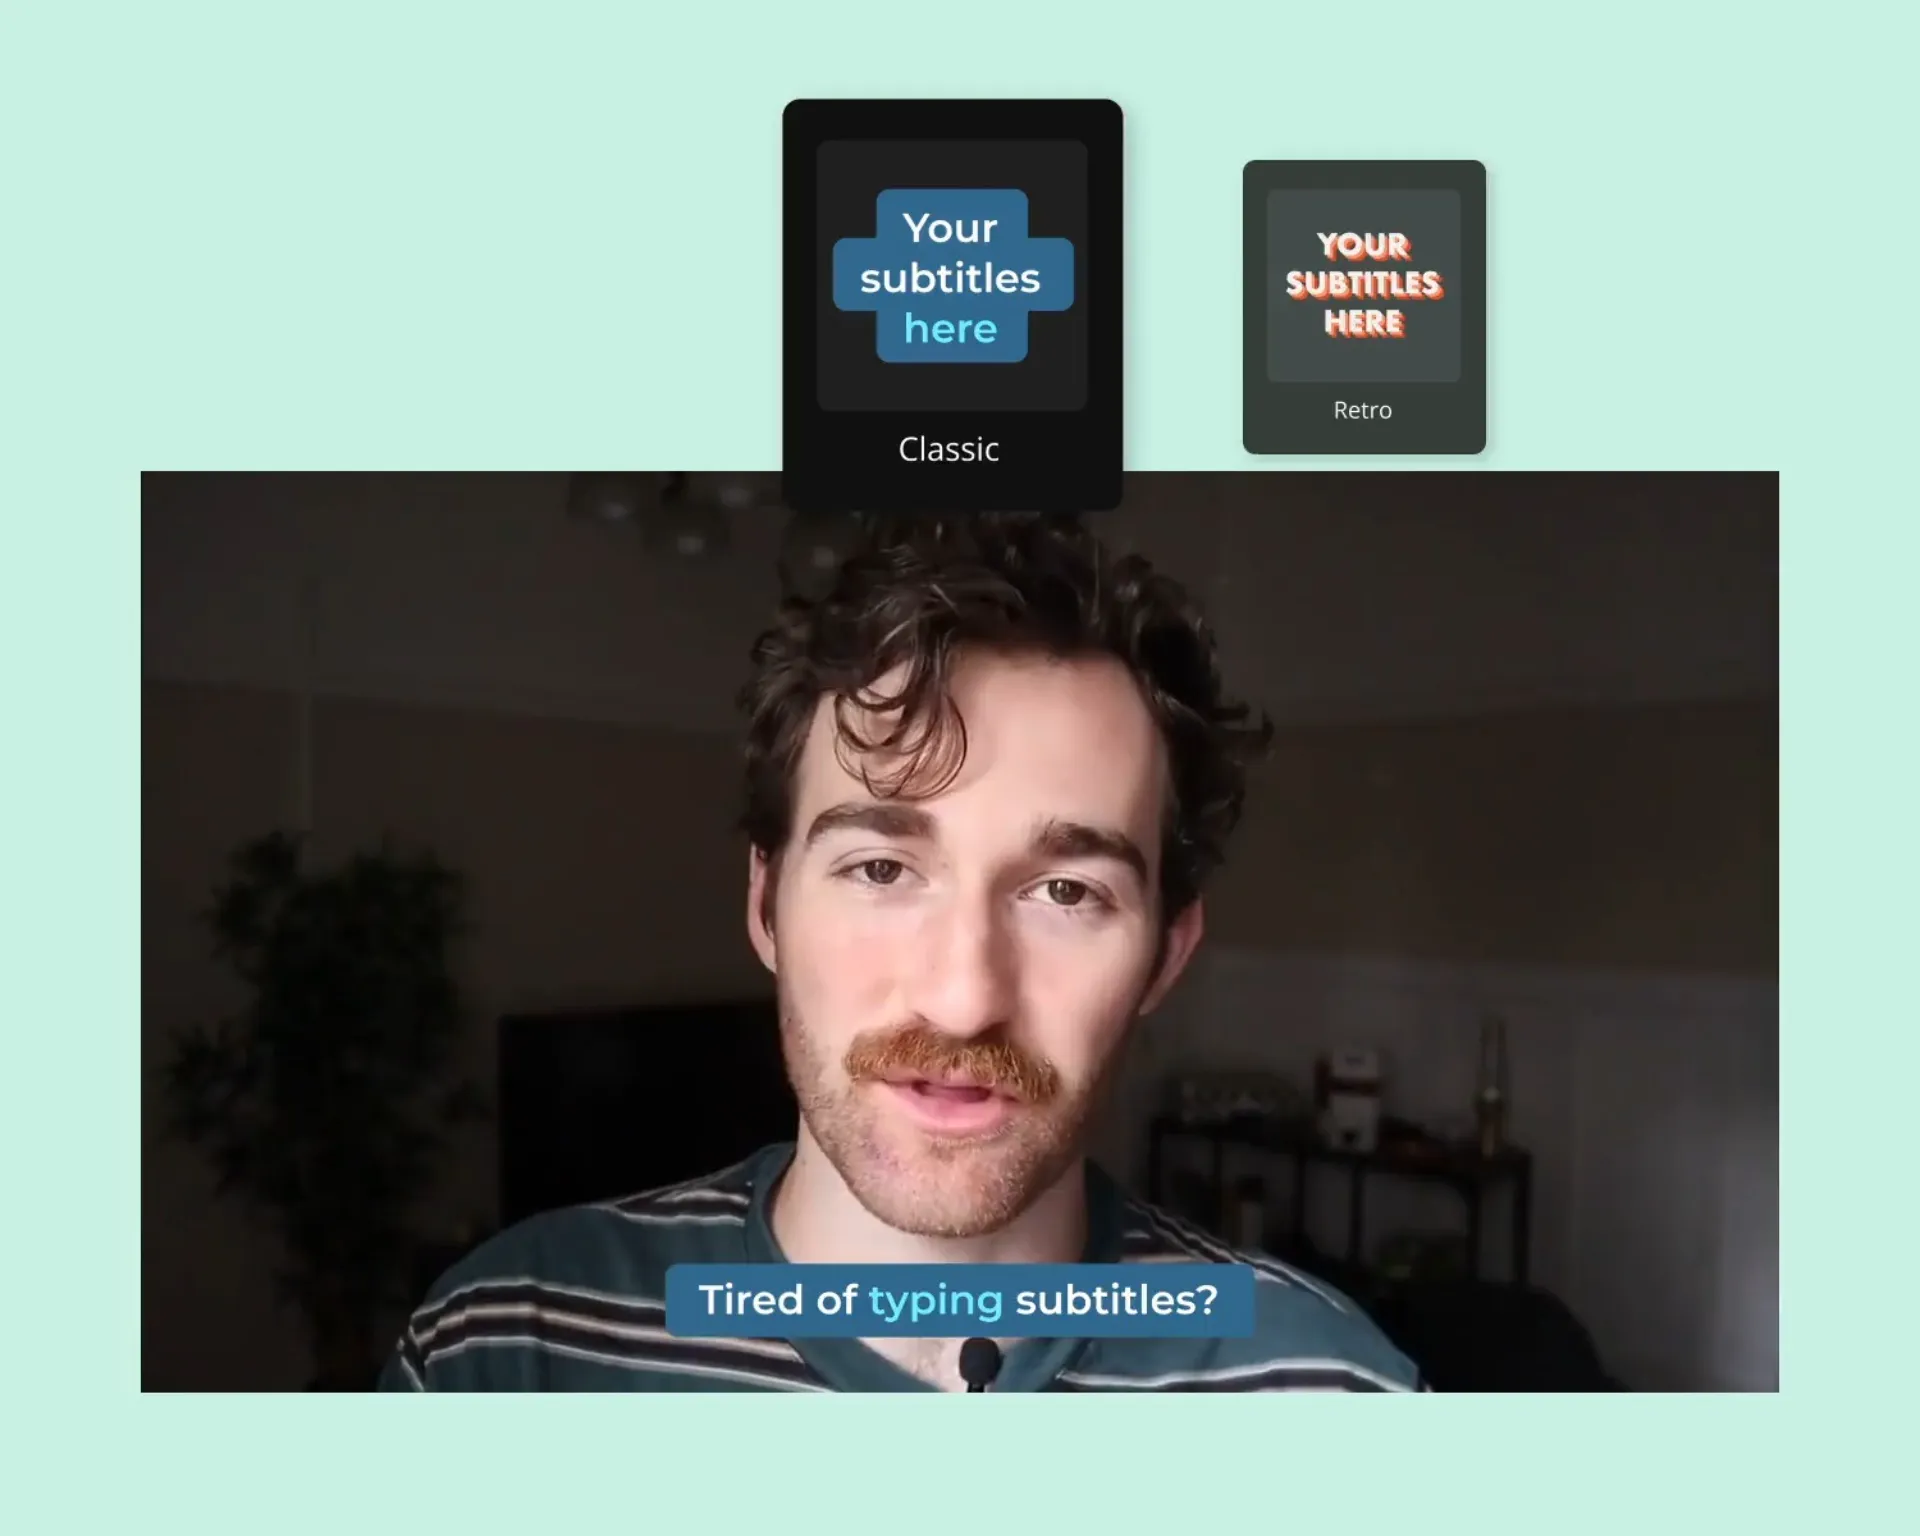
Add animated text to GIFs
Attention is everything. Kapwing makes sure all eyes stay on your content no matter where you use your GIFs. Inside our studio editor, add text and choose from hundreds of fonts, colors, and animation styles. Save your favorite options in your Brand Kit so the creators on your team can use them again and again.
Share and embed GIFs easily with a URL
GIFs are meant to be shared. Sure, you can download them and upload them if you want to, but it’s not necessary. With Kapwing, you can complete all tasks from your web browser. Whenever you make a GIF, you’ll generate a URL that includes embedding code. Share it, make it public, or keep it to yourself—it’s up to you.

Produce high-quality GIFs within
file size limits
Maybe you’re illustrating an important step in a tutorial. Or, maybe you want to entertain your audience, get some laughs, and boost your following. Either way, you’ll never have to worry about quality when you edit with Kapwing. Choose from high-resolution assets, upload large file sizes, auto-enhance video quality, and compress final creations—all while ensuring your GIFs look great everywhere they go.


"As a social media agency owner, there's a variety of video needs that my clients have. From adding subtitles to resizing videos for various platforms, Kapwing makes it possible for us to create incredible content that consistently exceeds client expectations."
Vannesia Darby
CEO of Moxie Nashville
How to Make a GIF Online
- Step 1Open a project
Start a new project and upload videos or images to create a GIF. You can also start from scratch by using the stock footage in the Images and Videos tab.
- Step 2Edit and make a GIF
Trim your video by moving the video playhead along the timeline and pressing "S" to split video. Add multiple images to make a GIF by loading them onto the timeline.
- Step 3Export GIF
Once you're finished editing, click "Export project" and select "GIF" as the output file to download.
Frequently Asked Questions
We have answers to the most common questions that our users ask.
How do I improve the quality of GIFs?
To improve the quality of your GIFs, try Kapwing’s Video Enhancer. This one-click tool adjusts brightness, saturation, opacity, and more to automatically improve the clarity and visual appeal of your GIF. You can manually tweak the settings as well. When creating new GIFs, try Kapwing’s stock library of images, videos, elements, and video effects to make your content more engaging. When exporting, you can also experiment with the compression level to achieve higher quality. Kapwing exports GIFs to custom URLs so you can review the quality online before downloading.
What free tool can I use to make an animated GIF?
Make an animated GIF using Kapwing’s free GIF maker. Upload your own videos or photos and turn them into GIFs. Or, source content from our stock library of images, videos, and existing GIFs that offer you the perfect starting point for making your own creation. You can also try our AI image and video generation tools. Once you’ve got your base layer, use Kapwing to add animated text, stickers, and other fun effects.
Where can I find free GIFs to use?
Kapwing’s online video editor integrates with GIPHY, the most popular website for finding GIFs. This makes it easy to add GIFs to your videos or take an existing GIF and edit it to make it your own. You can also create your own GIFs for free with Kapwing. Try our AI image and video generation tools, stock library, and animated text to create a GIF in minutes.
Can I speed up or slow down a GIF?
Yes, you can speed up or slow down a GIF with Kapwing. Inside our video editing platform, simply change the speed of the video you’re editing (with options ranging from 0.5X to 4X speed). Then, export the video as a GIF that you can easily share with a unique URL or embed with embed code. A GIF sourced from our GIPHY integration can’t be sped up or slowed down, but you can alter the duration to change how many times it replays in your video.
What's different about Kapwing?


Already transforming video creation across industries
Hear directly from the teams who publish faster, collaborate better, and stay ahead.


Discover Resources
Tips, templates, and deep dives to help you create faster and share with confidence.
View all


Get started with your first video in just a few clicks. Join over 35 million creators who trust Kapwing to create more content in less time.