Make a photo or video slideshow in just a few clicks
A photo and video slideshow can tell an informative, funny, or nostalgic story about an event, person, or topic, much more than can be communicated in a single image. If a picture is worth a thousand words, then a slideshow is worth a million! With Kapwing's Video Slideshow Maker, creators can have full control over what their output video slideshow will look like. Adjust the size and timing of each photo clip to make the perfect slideshow in just a few clicks.
How to Make a Slideshow Online
- Step 1Upload your Photos and Video Clips
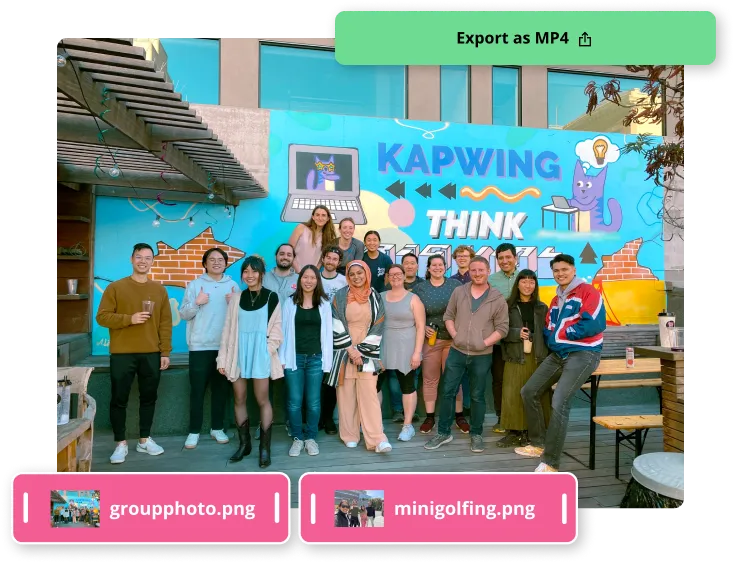
Gather all the images, videos, and GIFs that you want to combine into a slideshow. Then, upload the media files (MOV, MP4, PNG, JPG, GIF, etc) to Kapwing's Video Slideshow Maker. You can choose a photo file or even paste a link from Instagram, Twitter, TikTok and more to import it directly.
- Step 2Arrange and Design your Slideshow
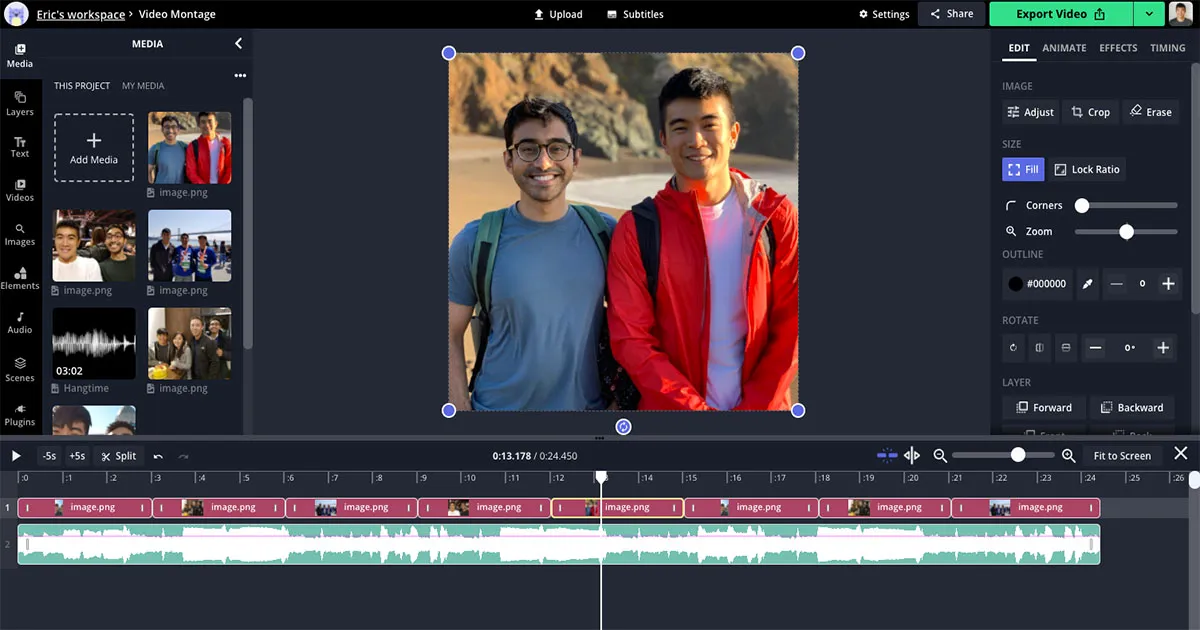
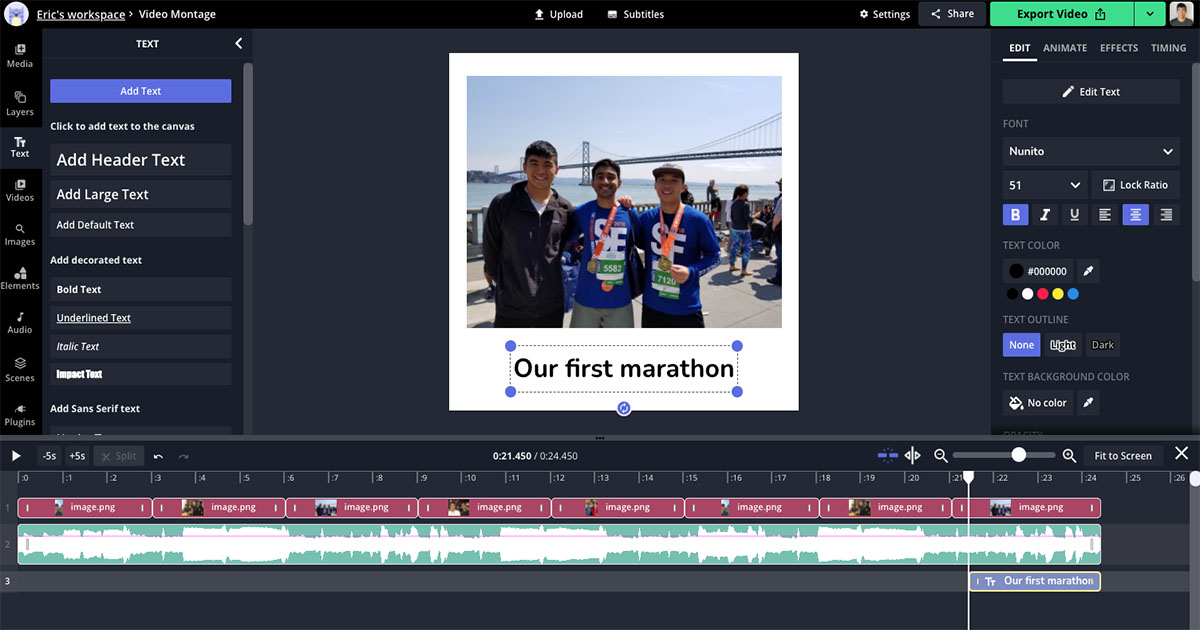
Using the slideshow preview, rearrange the clips into the right order. Adjust the size of the slideshow so that it's square, landscape, or 9:16. Crop and set the duration of each clip. You can easily add music or a voice over to the slideshow to accompany your content! Insert text, stickers, and titles to make the video slideshow you desire.
- Step 3Export and Share
Hit 'Export', and Kapwing will process your video slideshow. All of your photos will be combined into a new MP4 slideshow. Save the video montage and share it with your friends.
Make a video slideshow in moments
With Kapwing's Slideshow Maker, make montages to impress your friends, celebrate special events and occasions, and commemorate birthdays or anniversaries for free and no software installation. A video slideshow with music is a great gift to say "thank you," "I love you," or "congratulations." You can use just a few images and video clips or combine hundreds of photos together for a long slideshow.
Get started by organizing all of the photos you want to include. Import your best photos from Dropbox and Google Drive, or collect the files in your photo gallery. Then, upload all of the images to Kapwing.
Embellish and enhance the slideshow with text, stickers, images, title slides, custom background color, animations, and more visual elements using Kapwing's intuitive video editing tools. Then, import a song directly from YouTube, TikTok, or Instagram to match the tone of your slideshow. Click "Export" to create the video slideshow as one cohesive MP4! You can share the Kapwing link or the downloaded version.
You can create a slideshow with pictures and music in seconds using your phone, tablet or computer. Kapwing supports PNG, JPG, GIF, 3PG, MOV, MP4, MPEG, WAV, AVI, FLV, and many more file types. It's a website, so it works on Mac, PC, Windows, iPhones, iPads, Android, Chromebooks, and more.
We hope you enjoy making video slideshows with music, text, and designs with this online tool!

What's different about Kapwing?


Already transforming video creation across industries
Hear directly from the teams who publish faster, collaborate better, and stay ahead.


Discover Resources
Tips, templates, and deep dives to help you create faster and share with confidence.
View all


Get started with your first video in just a few clicks. Join over 35 million creators who trust Kapwing to create more content in less time.