Community Captions Are Gone on YouTube: This is How To Get Them Back
Even though YouTube has made it harder for creators to crowdsource their subtitles, people who valued the feature still have a free, convenient option for adding captions to YouTube content: here's what you can do.
YouTube has announced that it's officially retiring its Community Captions feature in September 2020, citing its relatively low usage. This move has attracted many critics, however, and for good reason.
Community Captions on YouTube have helped provide greater video accessibility to all sorts of different communities. Deaf and hearing-disabled communities rely on closed captioning features for all videos, and prolific or disabled creators are often unable to provide captions for their videos themselves. Additionally, channels can benefit a great deal from international audiences, and community captions made it possible for multilingual viewers to bring in linguistically & geographically diverse audiences to their favorite creators' content.
Even though YouTube has made it harder for creators to crowdsource their captions or subtitles for enhanced accessibility, people who valued the feature still have a free, convenient option for adding captions to YouTube content and making them available to the viewers who need them. Here's how you can add subtitles to any video you publish on your YouTube channel:
- Paste the link into the Kapwing Studio
- Add and edit your subtitles
- Export and share the subtitled video
Step 1: Paste the link into the Kapwing Studio
If you know what video you want to use, start by going to Kapwing's auto subtitle generator and click “Start Editing” to enter the Studio.
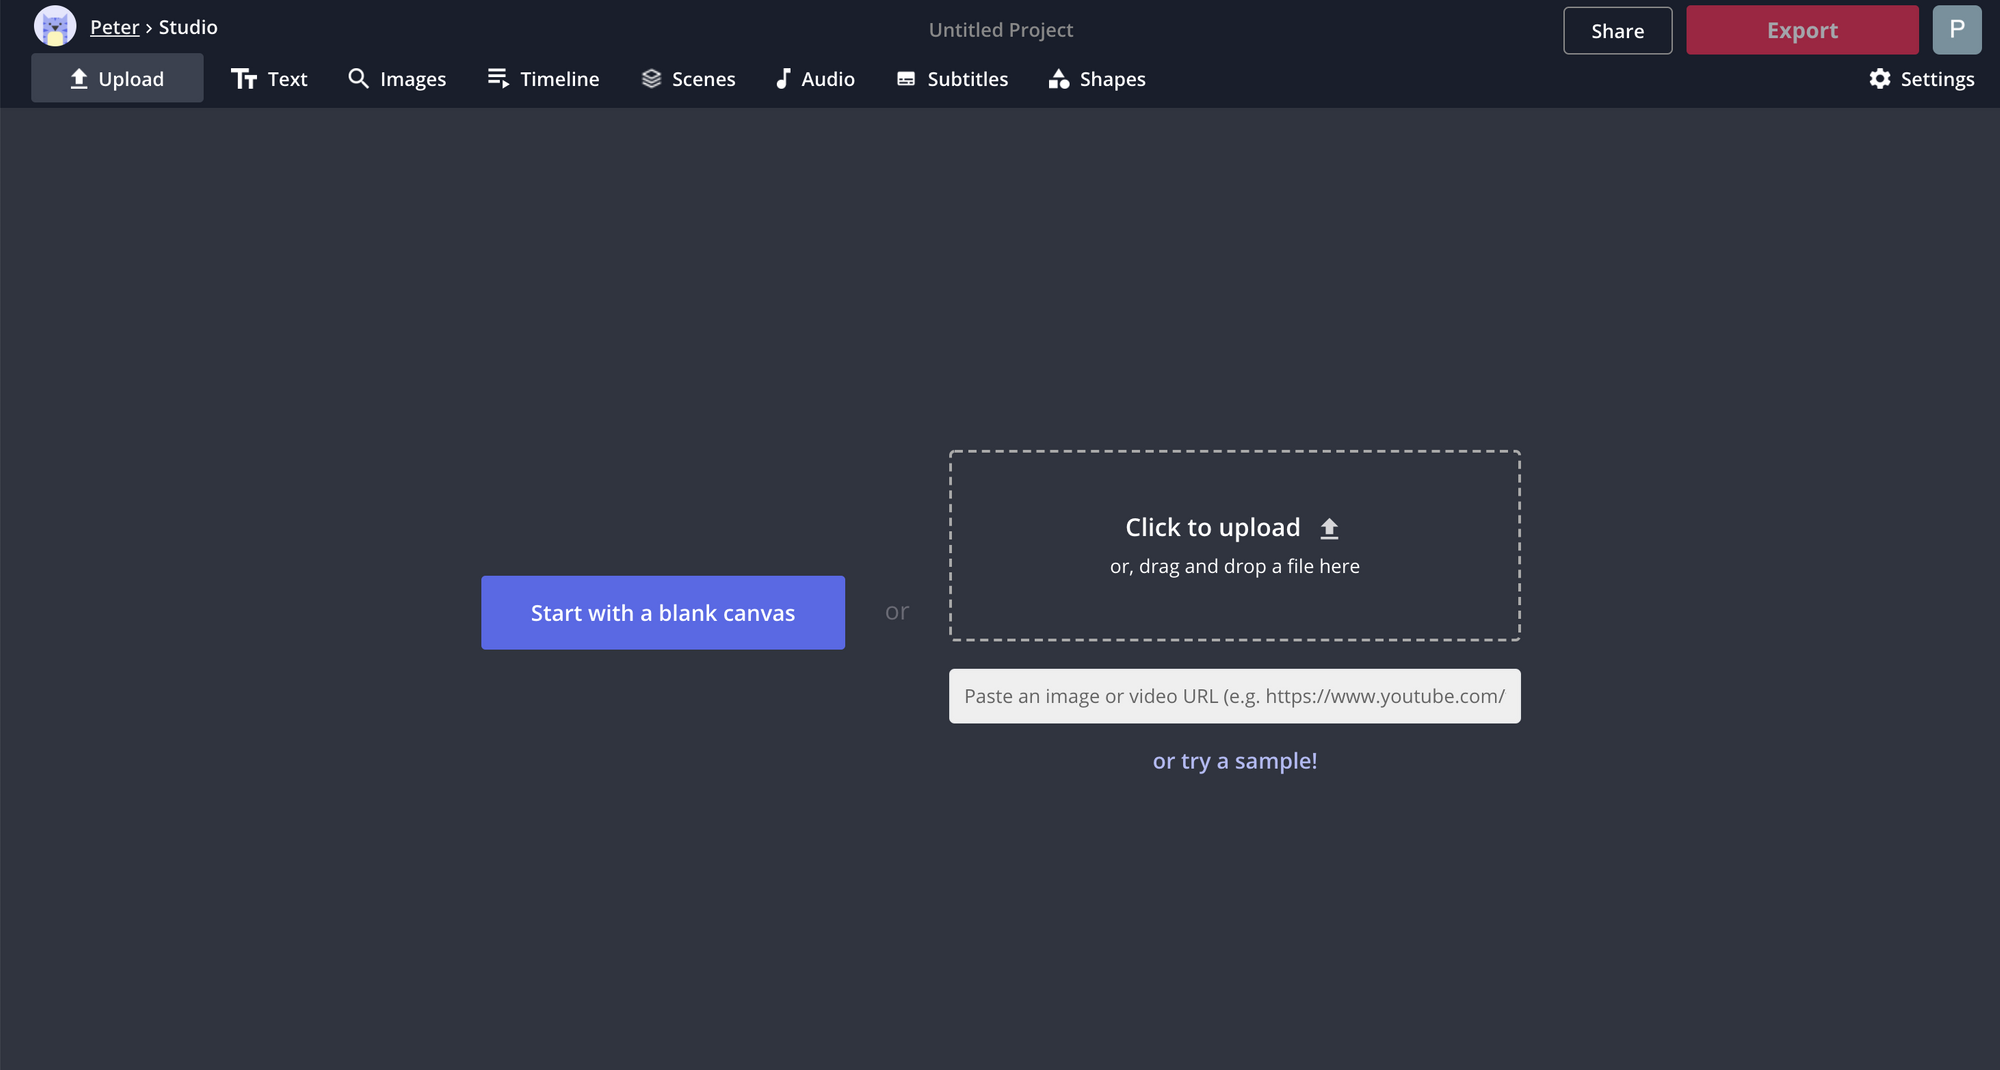
Here, paste the link to the YouTube video you want to add subtitles to into the URL field and give Kapwing a few seconds to upload the video to the Studio.
Step 2: Add and edit your subtitles
With most captioning tools, adding your subtitles can be a long and difficult process. But with Kapwing, it can take you just a couple minutes to create & edit your subtitles, from start to finish. And with customization options for font, color, style, outline, size, and position, you can make your captions look exactly the way you want.
Click the button in the upper toolbar that says "Subtitles." Here you have two choices – either enter each caption as it comes, adjusting the timing with the buttons below, or scroll down and click "Auto-Generate."
Adding your captions manually is actually a lot quicker than it sounds, but the Video Caption Generator can save a lot of time, especially for longer videos. NOTE: If you're adding captions to a song or music video, I recommend adding your captions manually. The auto-subtitle feature doesn't work very well for singing.
If you used the auto-generate feature, your captions will probably have a few errors in them, especially if there's any music in the background. So before you hit "Export," go through the added captions and make sure the text matches the words in the video.
To subtitle your video in another language, click, "Auto-generate" and select the original language. Then check the translate box and select the desired language. Here's a full tutorial on foreign subtitles.
If you have a relationship with the YouTube creator who made the video, you might even want to give them the SRT file so they can add it directly to their video themselves. If you're using a Kapwing Pro workspace, just click "Download SRT" from the left side of the Subtitler tool and you'll have an SRT caption file that the creator can add to their video in YouTube Studio.
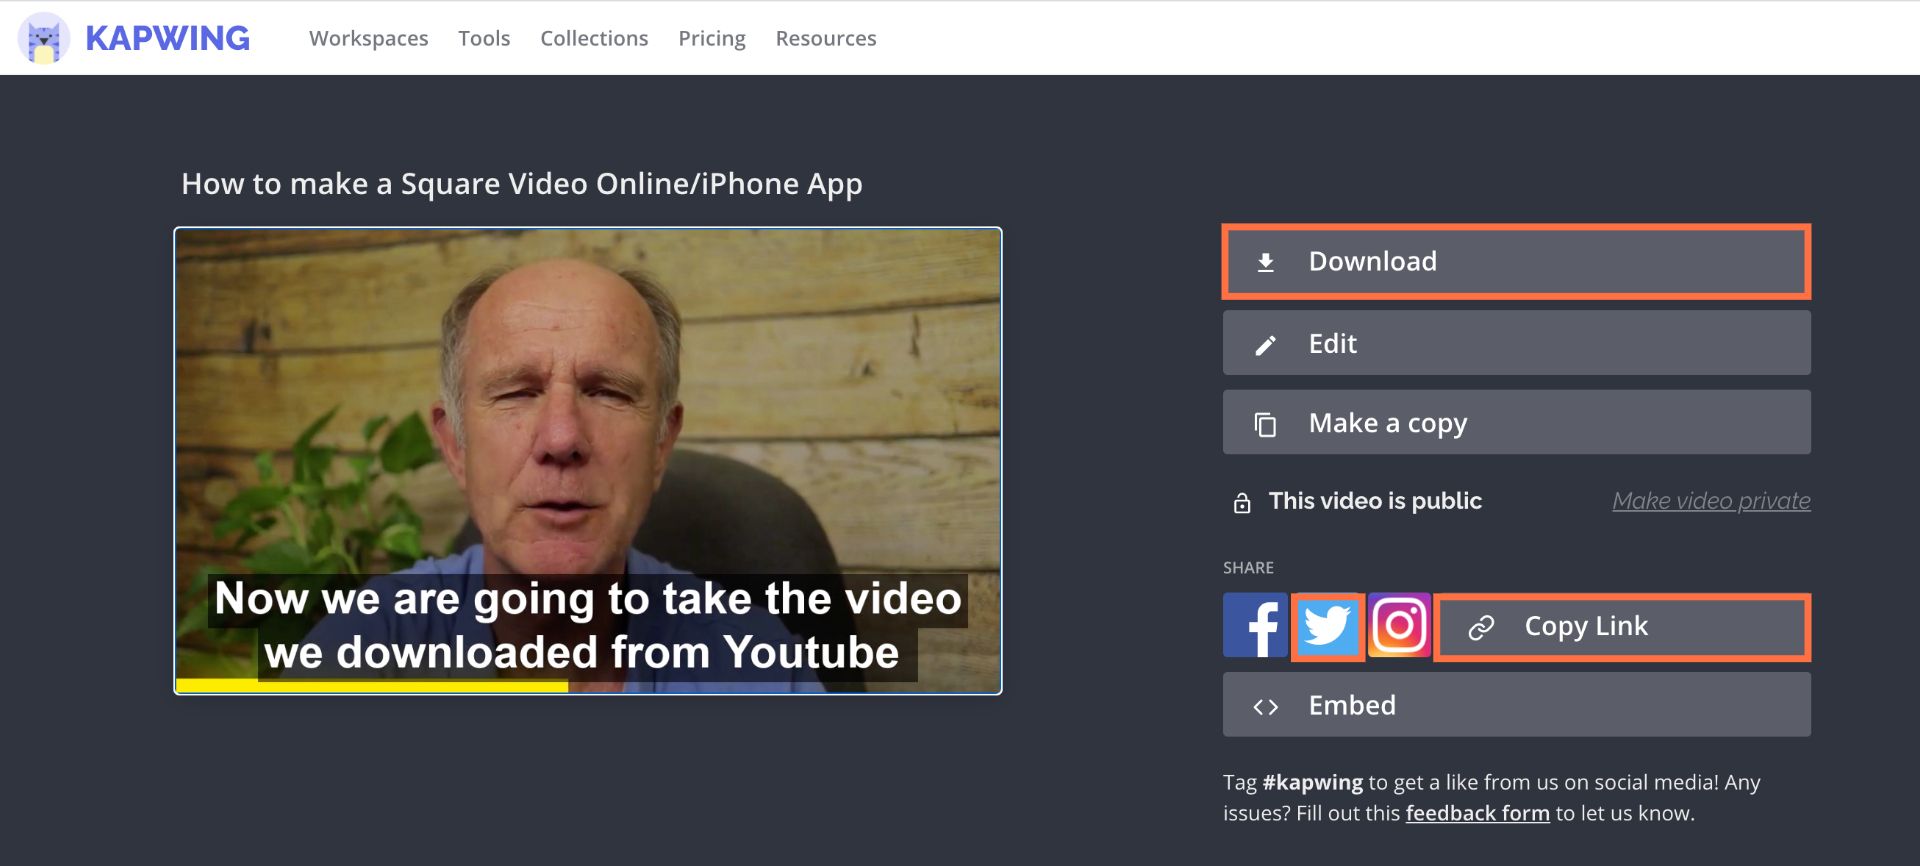
Step 3: Export and share the subtitled video
Once your subtitles are accurate and formatted the way you want, click the red Export button in the upper right corner. Kapwing will begin processing your captioned video – for longer files, this can take several minutes.
Once your video is finished processing, you have a couple of options to share it with the YouTube audience. Your simplest option is to click the "Copy Link" button directly. You can then paste this link in the video's comments section and inform viewers that they can visit it to view the video with subtitles: since they're coming from the creator's original post, watching it on another platform won't significantly reduce the creator's traffic or platform. You can also reach out to the video's creator directly and share the link with them! This way, they can share the subtitled version of their video in the description.
In order for your Kapwing link to stay visible past the 7-day storage limit for free accounts, you'll need to upgrade your workspace to Kapwing Pro. But if you want to store your video permanently, you can easily click "Download" once your video is done processing and upload it to a storage location like Google Drive, or click the Twitter icon to make a video post on Twitter. Then, you can direct viewers to the Drive link or Tweet, where they can view your subtitled video at any time.
Remember to tag us @KapwingApp whenever you share your content on social media– we love to support all our creators! And be sure to subscribe to the Kapwing Resources page – we’re constantly writing new tutorial and features to help you make the most out of Kapwing.
Related Articles:
How to Add Captions to TikToks
How to Subtitle a Church Video
How to Add Subtitles and a Voiceover to a Video
How to Add Arabic Subtitles to a Video