What Size is an OG Image? How to Make OG Images for Your Site
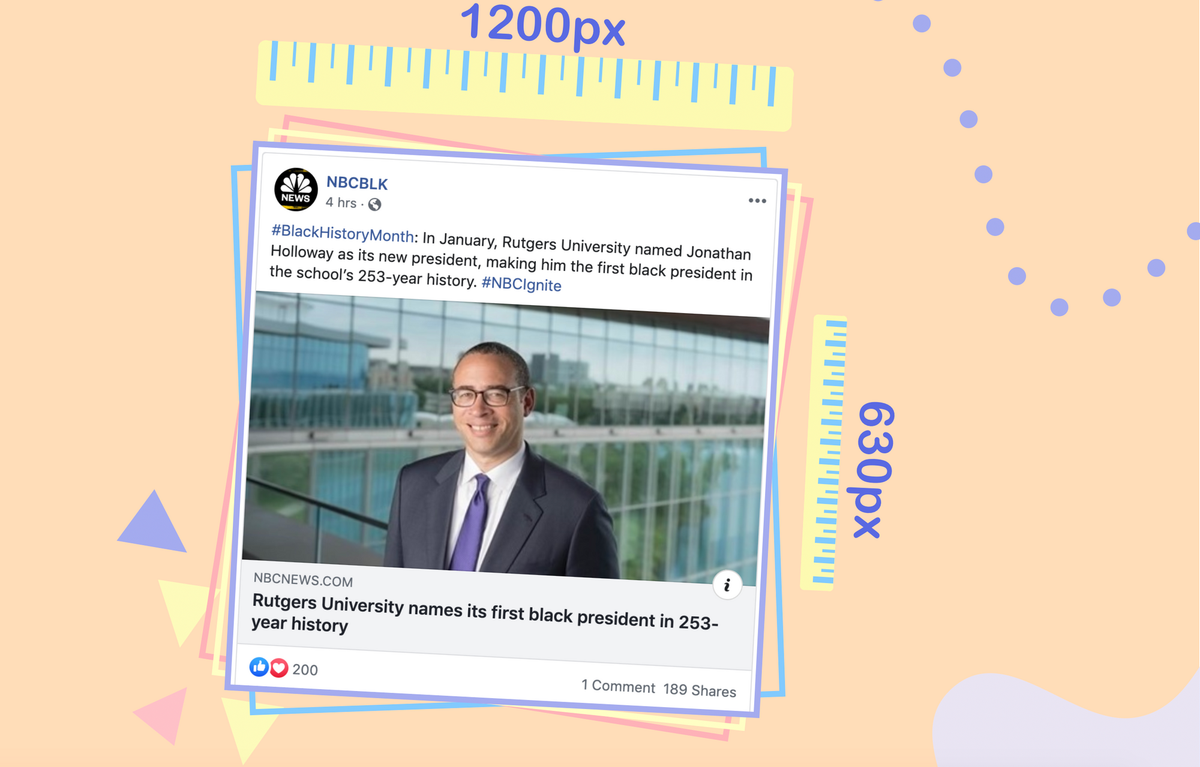
OG Images look like they fit an aspect ratio very close to 16:9, but their dimensions are actually about 1.91:1 – 1200:630 is recommended. This article will show you a few ways to format your OG images in under a minute.
If you regularly post on a personal or company blog, or share posts to social platforms like Facebook, Reddit, or LinkedIn, you’re probably familiar with “OG Images,” or open graph image meta tags, which accompany your article or webpage wherever it is embedded online. Getting the aspect ratio right for these is important for making sure your image shows up crisp and clear across multiple devices.
OG Image Size: The recommended size for an OG Image is 1.91:1. The recommended pixel dimensions of 1200:630 px (aspect ratio of 1.91:1). If you have a photo on hand, use Kapwing's free OG Image Maker to resize your image to fit the OG Image area.
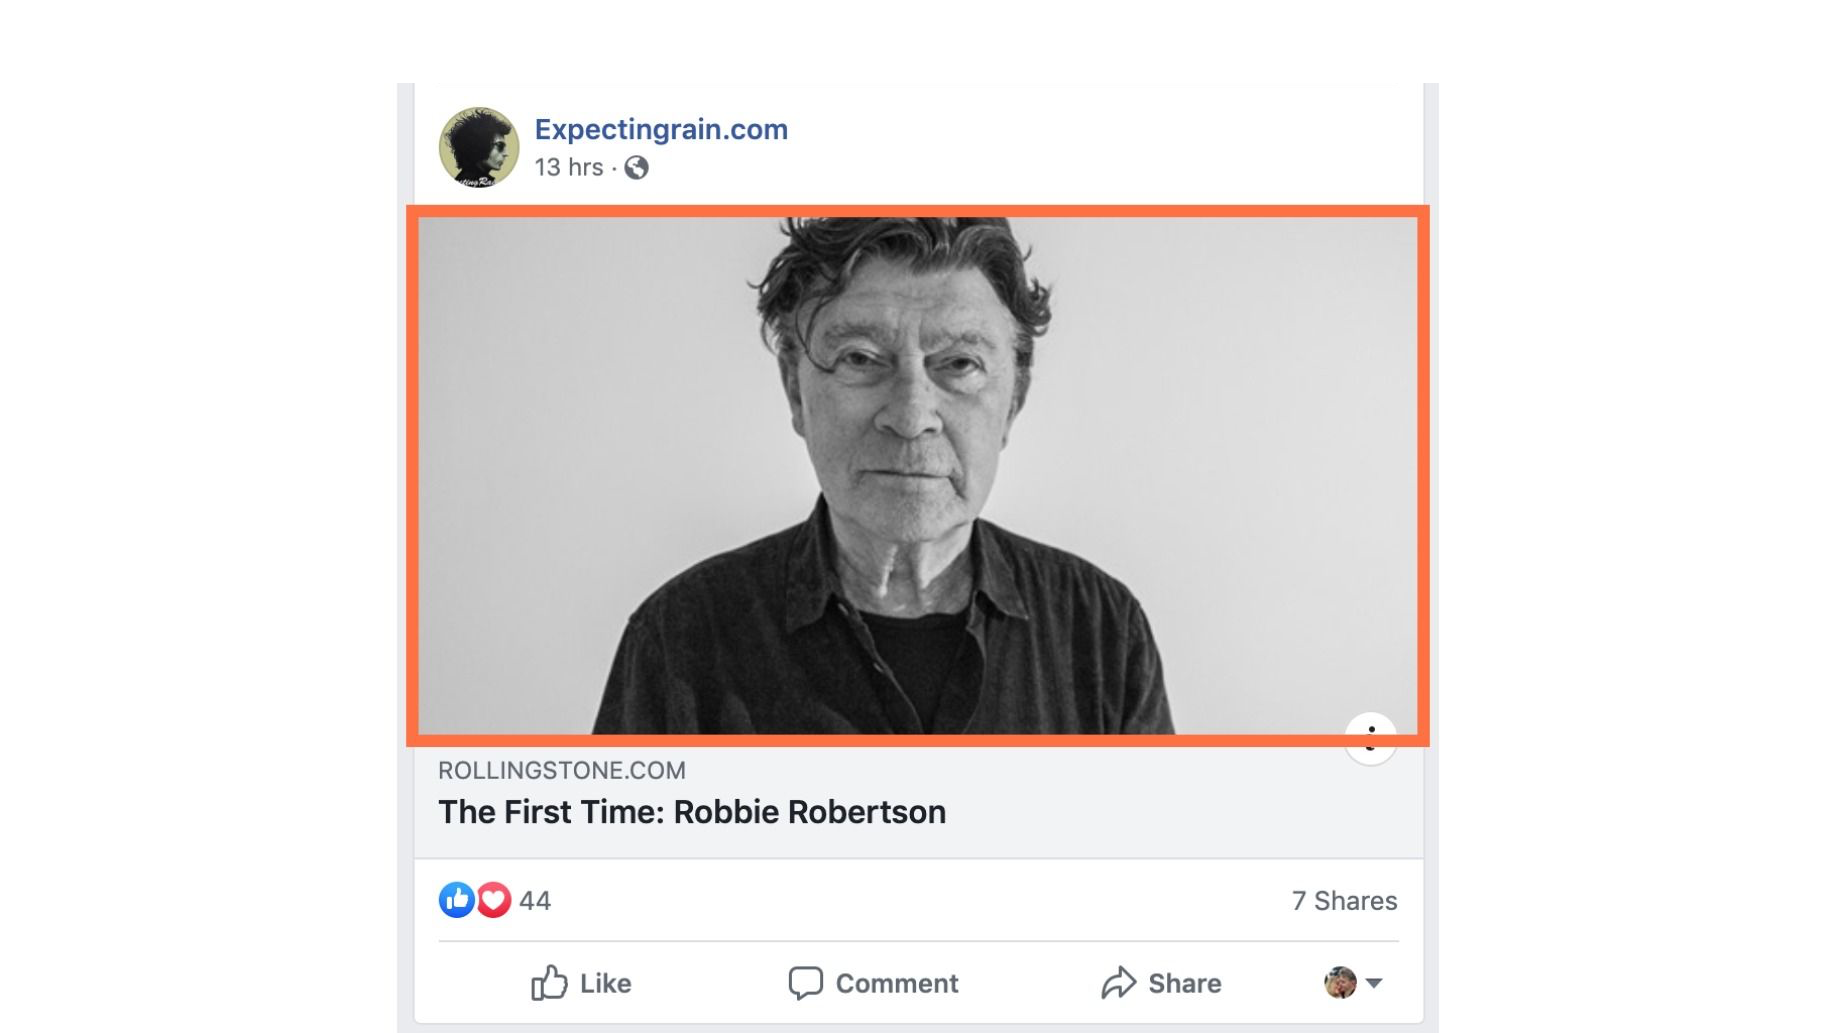
A good OG image is relevant to the page content, "click-worthy" to catch people's eyes in a social media feed, and branded to match the webpage's brand, business, or persona. The OG Image should give people on social media a preview of what thy will see if they click the link.
Cropping a picture to the correct dimensions
This is the simplest and easiest way to adapt your pictures to use as OG Images. If you’re using a photo with an aspect ratio near 1.91:1 (such as 16:9), you can crop the sides to fit the required dimensions, and it will look just fine.
Get stared by uploading the image to Kapwing's Studio. Once your picture is fully uploaded, click “Resize Canvas” and choose the “OG Image" preset option from the dropdown menu.
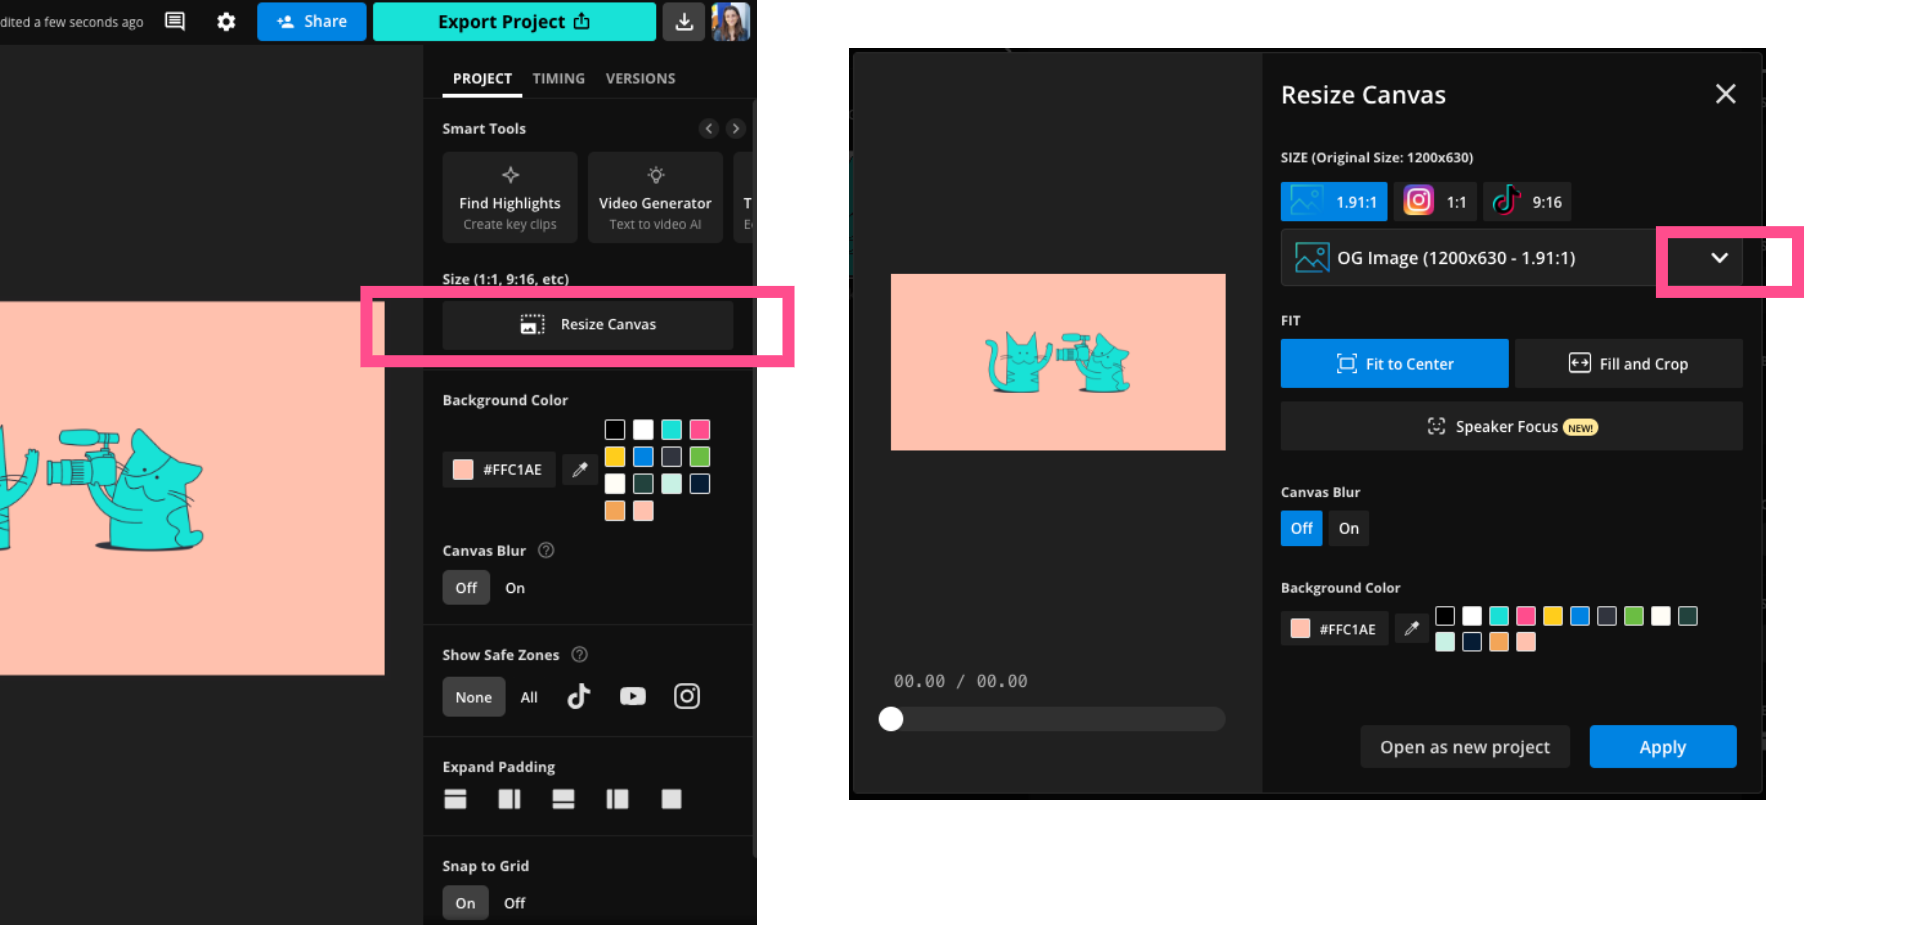
If you don't see the Resize button, click anywhere in the grey area around your image. This should make the top of the right sidebar say "Project" and show the canvas editing options.
Once you're in the resize modal, look for the "OG Image" preset. It's the last option in the dropdown menu. This option will crop your image to 1200x630, or a 1.91:1 aspect ratio, your safest bet for OG Images.
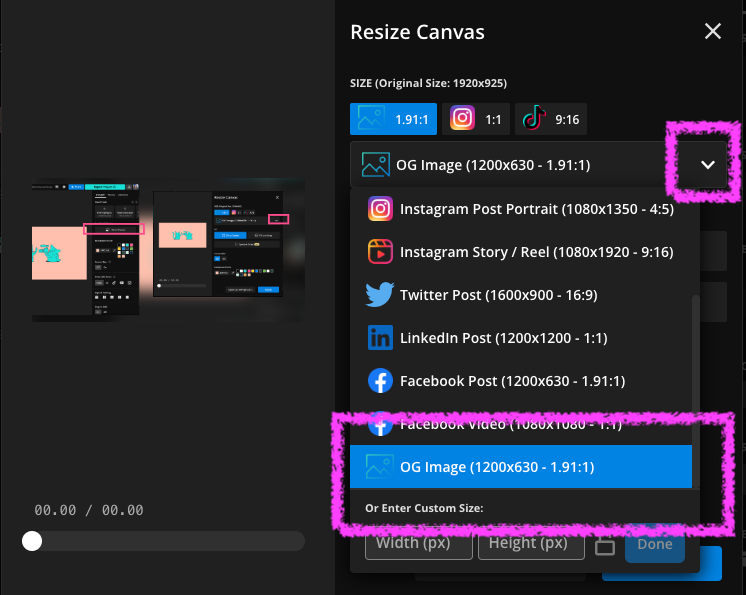
If you’d like a higher-resolution version of the same image, click “Lock Ratio” and increase the value of either dimension and your photo will be resized with the same aspect ratio. You can also enter a custom pixel size for the canvas.
Adding padding to achieve the right aspect ratio
If you don’t want to lose any part of your image, it’s easy to add padding to the sides or top & bottom in order to fit the 1.91:1 aspect ratio. When your image has been uploaded to the Studio, select the picture and choose “Lock Ratio” from the right side of the screen. Then, drag the corners of the picture to fit it to the edges of the canvas and center it in the background.
Kapwing gives you extensive background options for your OG Image. If your image does not take up the full space, you can set the background color to a blurred version of the image with the "Canvas blur" option. Or, you can choose a white background, transparent, or enter a hex code for a custom color.
The "Magic Fill" feature uses AI to expand the remaining area of your image, if it is not the correct aspect ratio.

Designing an Original OG Image
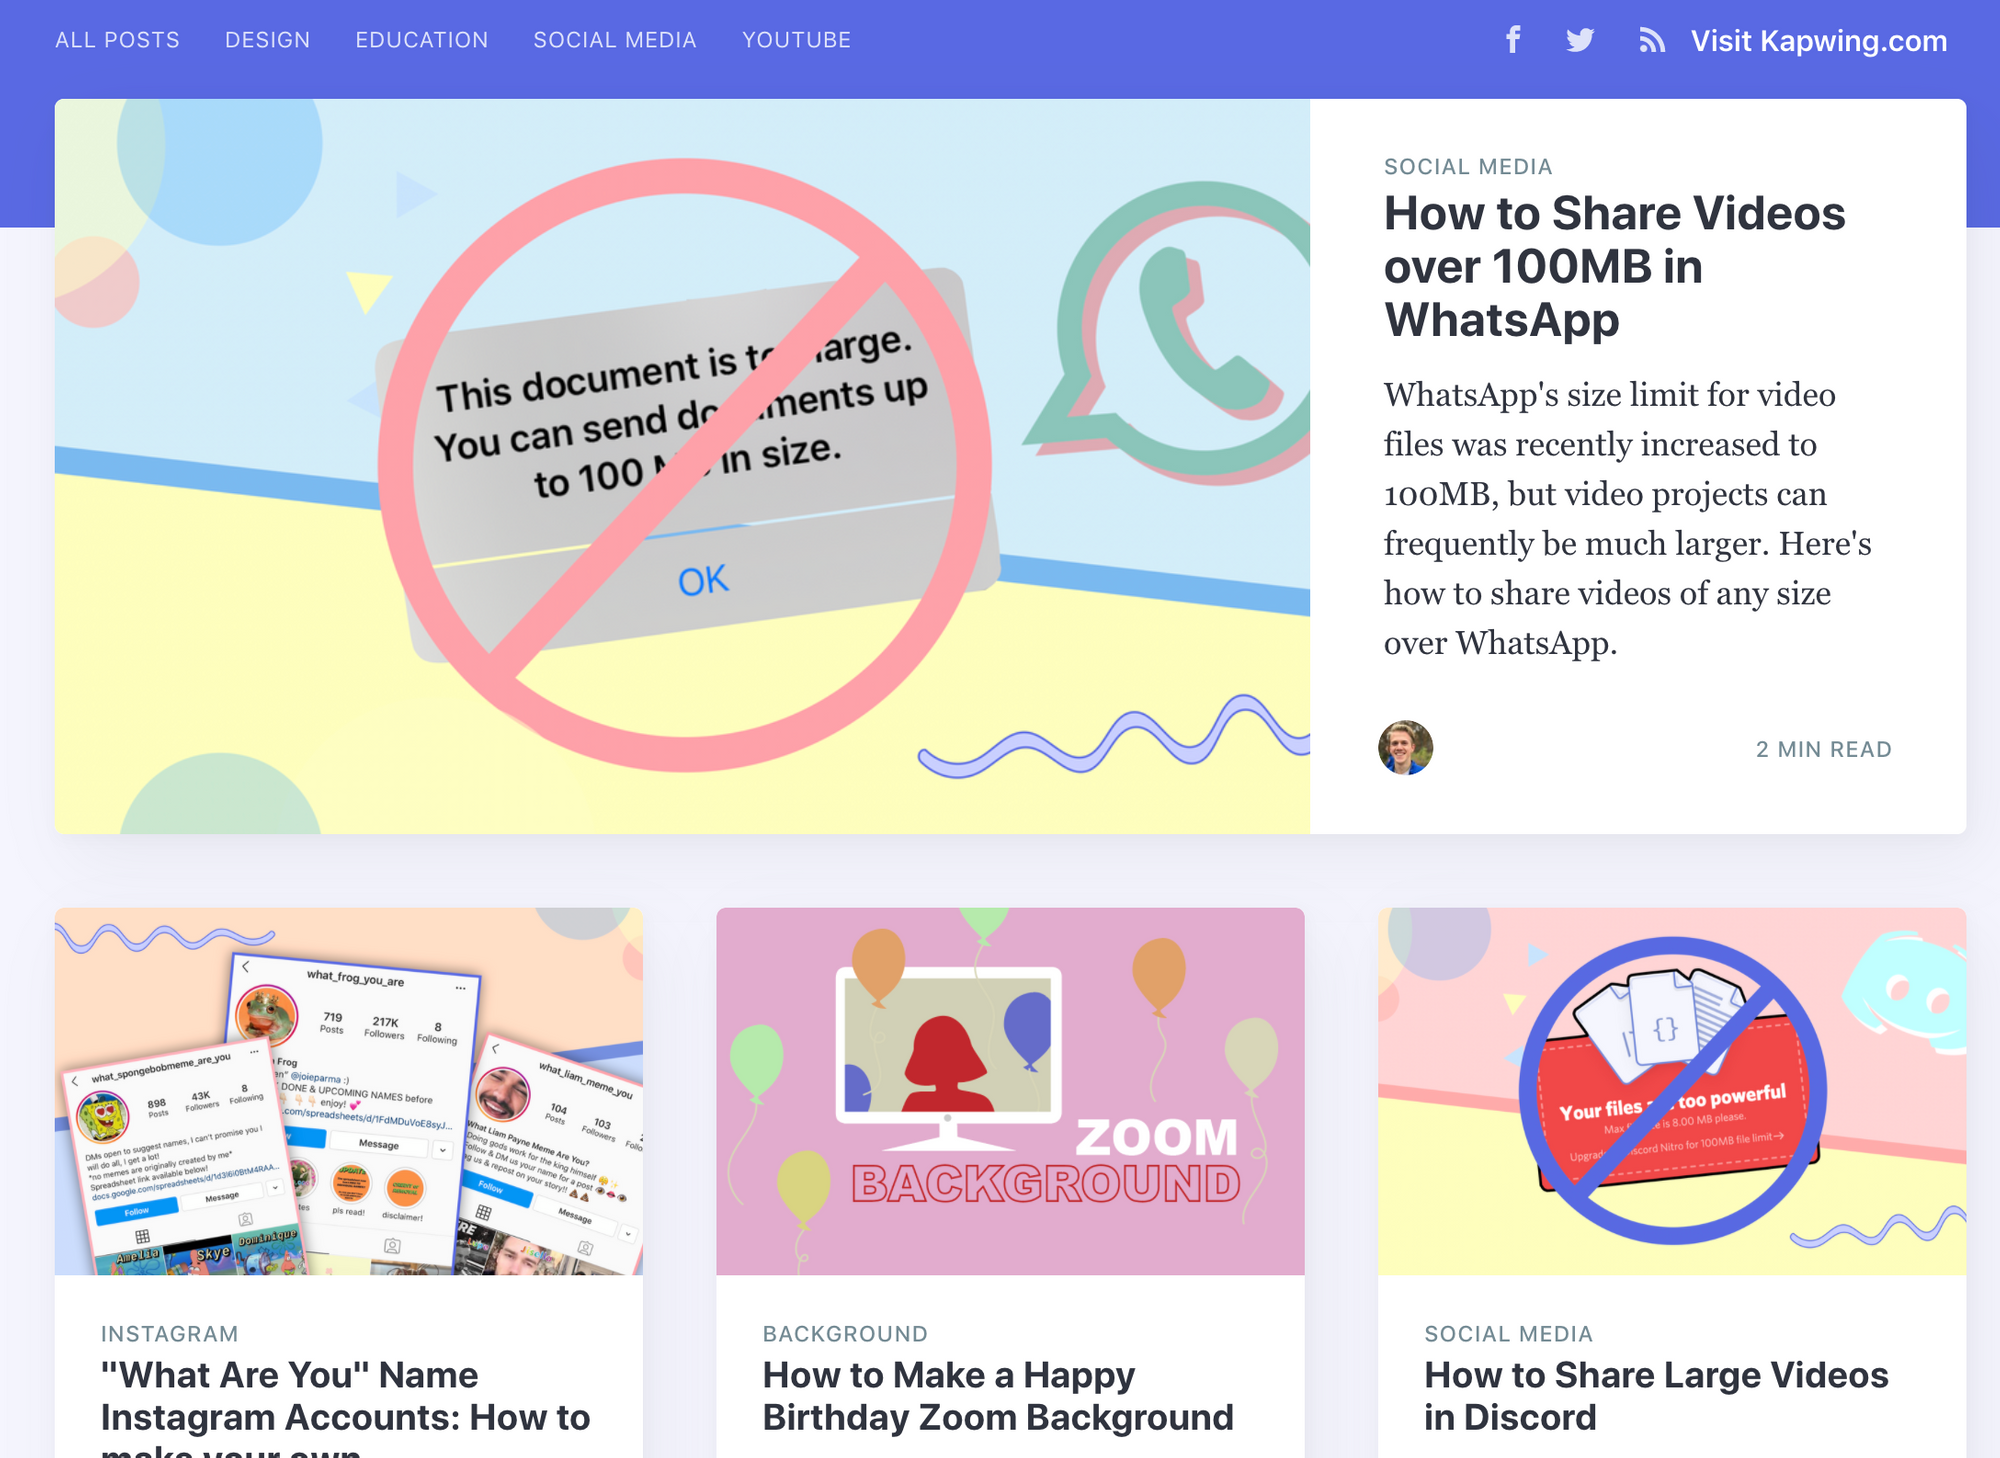
Here at Kapwing, we use a custom design pattern (colors, fonts, icons, visual motifs, and layouts) for most of our Resources Articles. This makes creating a new OG Image faster because we can reuse existing designs and gives our blog more visual polish since the cover articles look similar to each other.
Adding your OG image to a blog post or social share
This is the most important part: actually adding your OG Image so viewers can see it. The process depends on what website builder or CMS platform you’re using for your blog, but the basic principles are the same.
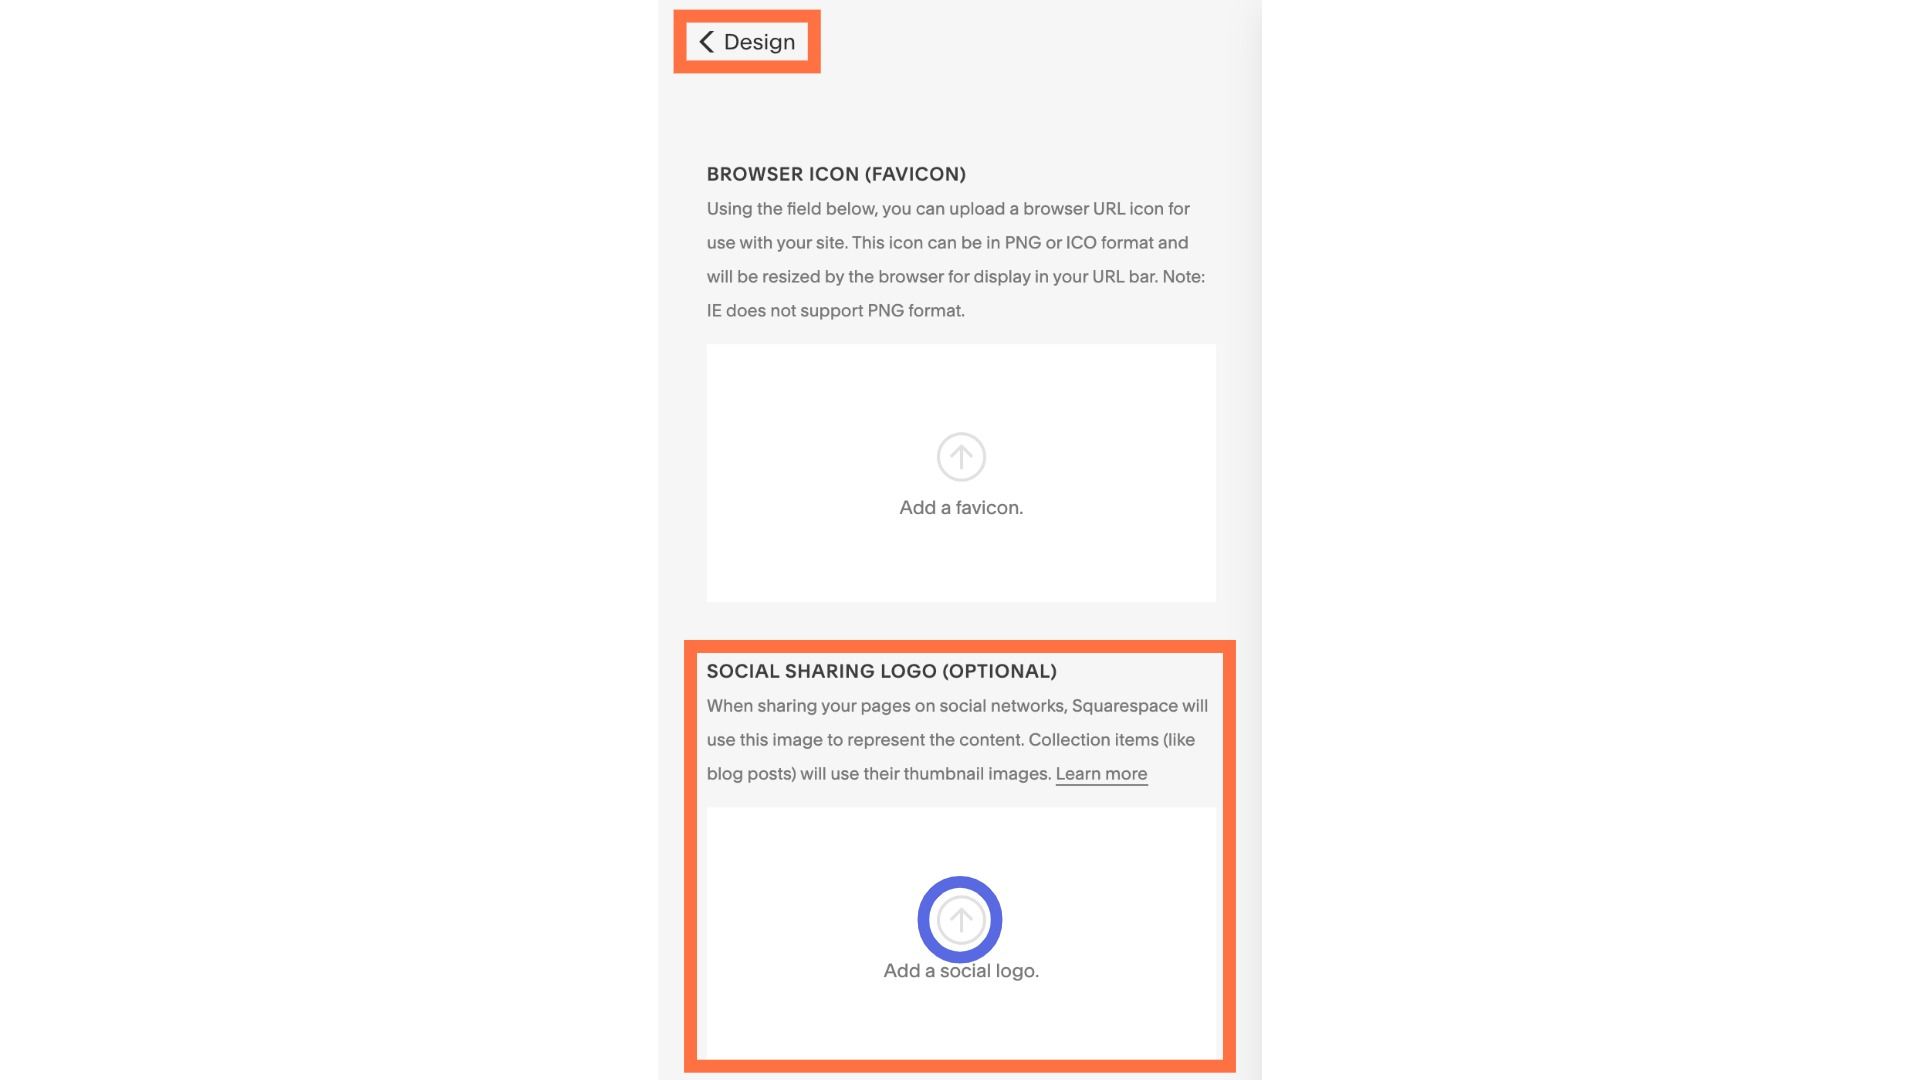
For more ready-made website builders like Wix or Squarespace, find your “Social Sharing” settings for a page and upload an image to the appropriate location. Here are some tutorials for Wix and Squarespace, if you’re having trouble finding the settings location.
If you’re using a slightly more bare-bones website hosting platform (like WordPress, for example) or you’re building your site in HTML, adding your OG Image involves adding meta-tags to the Helmet of your webpage.
Below is the Helmet block for our Meme Generator, for example. Notice that we have og:url, og:title, and og:description in addition to the og:image property in our HTML page metatags. We also repeat the og:image source in og:image:url and twitter:image to ensure that our OG Image also shows up on Twitter.
<Helmet>
	<title>Meme Generator — Make a Meme Online — Kapwing</title>
    <meta name="description" content="..."             />
    <meta name="keywords" content="..."        		   />
    <meta property="og:url"            content="https://www.kapwing.com/meme-generator"       />
    <meta property="og:title" content="Meme Generator — Make a Meme Online — Kapwing"          />
    <meta property="og:description" content="..." />
    <meta property="og:image" content="https://cdn.kapwing.com/static/og-image.png"  />
    <meta property="og:image:url"  content="https://cdn.kapwing.com/static/og-image.png"  />
    <meta property="twitter:image" content="https://cdn.kapwing.com/static/og-image.png"  />
</Helmet>
You can read more info on on how to add Open Graph markdown for social sharing on the Open Graph Protocol site.
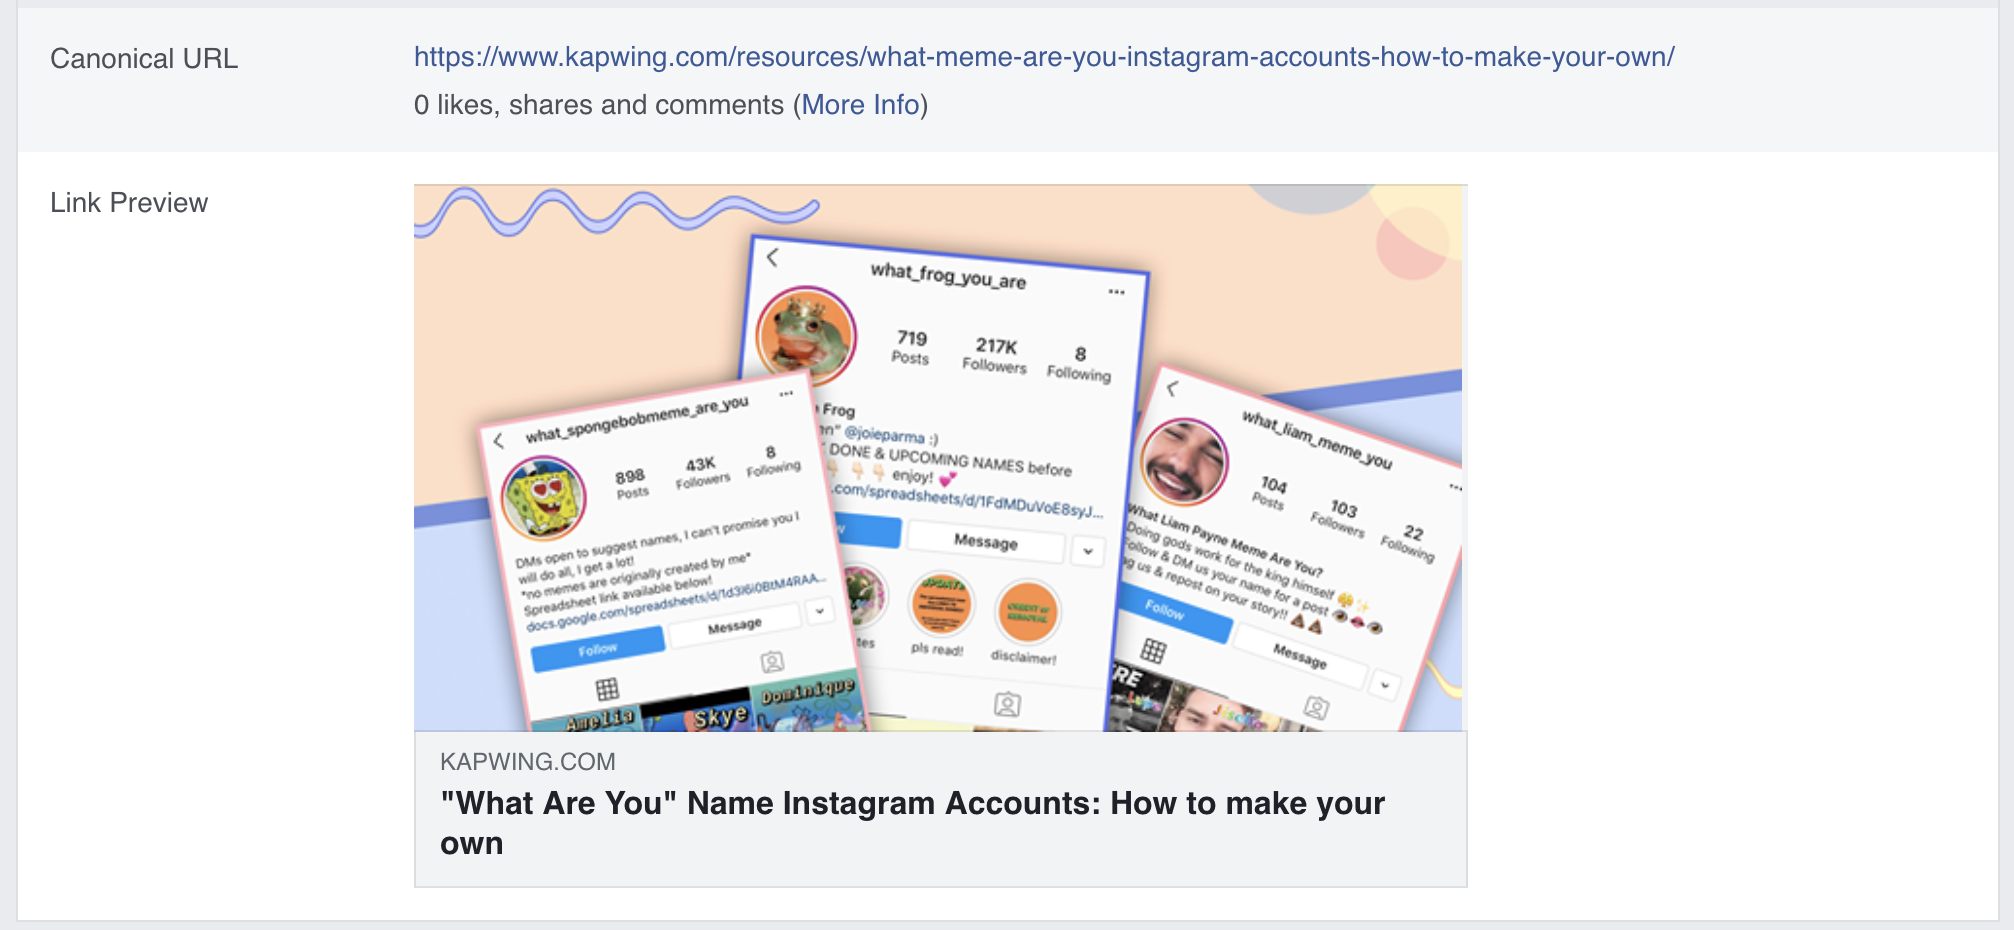
Testing your OG graphics
Once you've uploaded your OG Image, test your metadata by pasting the URL of your webpage into Facebook's Open Graph Debugger. You can then see what people will see when that link is shared on social media.
Thanks for reading! I hope this article helps you make share-worthy content and attract more visitors to your website. Let me know if you have questions or ideas by Tweeting @KapwingApp.
Related Articles:
• How to Change the Size of an Image for Free
• Font for Subtitles
• YouTube Thumbnail Size
• Banner Image: Templates, Examples, Instructions
• How to Make Instagram Story Covers