How to Sync Audio and Video Online with This Easy-to-Use Tool
Syncing audio and video should only take a few minutes and clicks. Keep reading and we’ll show you exactly how that's possible with Kapwing.
You may have noticed: most cameras don’t have great audio quality. Double that if you’re recording on your phone. That’s why it’s so important to separately record your audio. However, this presents a new challenge: syncing the audio and video.
Syncing audio is often time consuming and headache inducing, but it doesn’t have to be. Ditch the expensive video editing softwares that take up all of your computer’s memory and the clunky default programs that don’t really do what you need. Instead, we recommend using a browser-based software, like Kapwing.
Here’s how to sync your audio and video online:
- Upload your audio and video to Kapwing, an online video editor.
- Line up the start of your audio with the start of your video.
- Combine the audio and video so you can edit as one layer.
- Export and download your video with perfectly synced audio.
How to Sync Audio and Video in Your Browser
For this tutorial, we’ll be using Kapwing, an online video editing software that has all the tools you need to sync your audio and video. Let’s get started.
1. Upload your audio and video
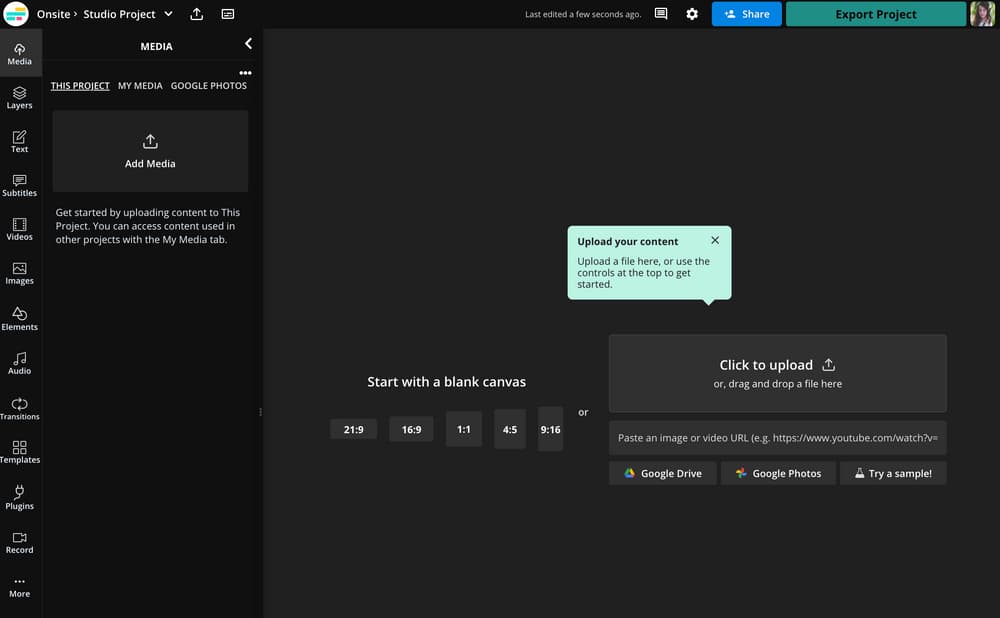
Head to Kapwing.com and click “Get started.”
You can drag and drop your audio and video files from your device’s file manager into the upload box or use the other upload options: click to upload, paste a link, or the Google Drive/Photos integration.
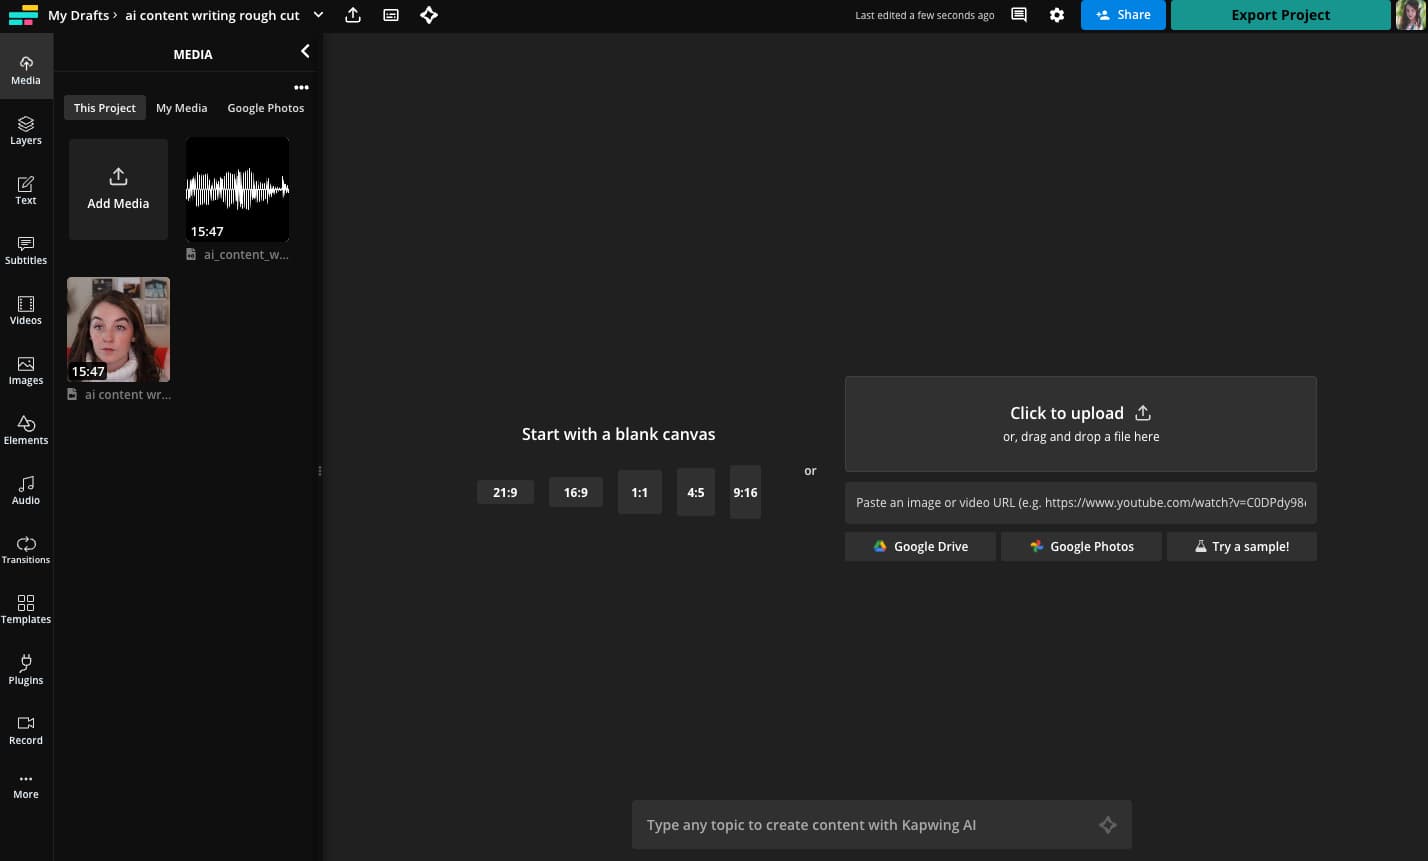
Both your audio and video will appear in the Media tab on the left hand side. Depending on how large the files are, you may need to wait a few moments for them to process fully.
2. Line up where the audio and video both start
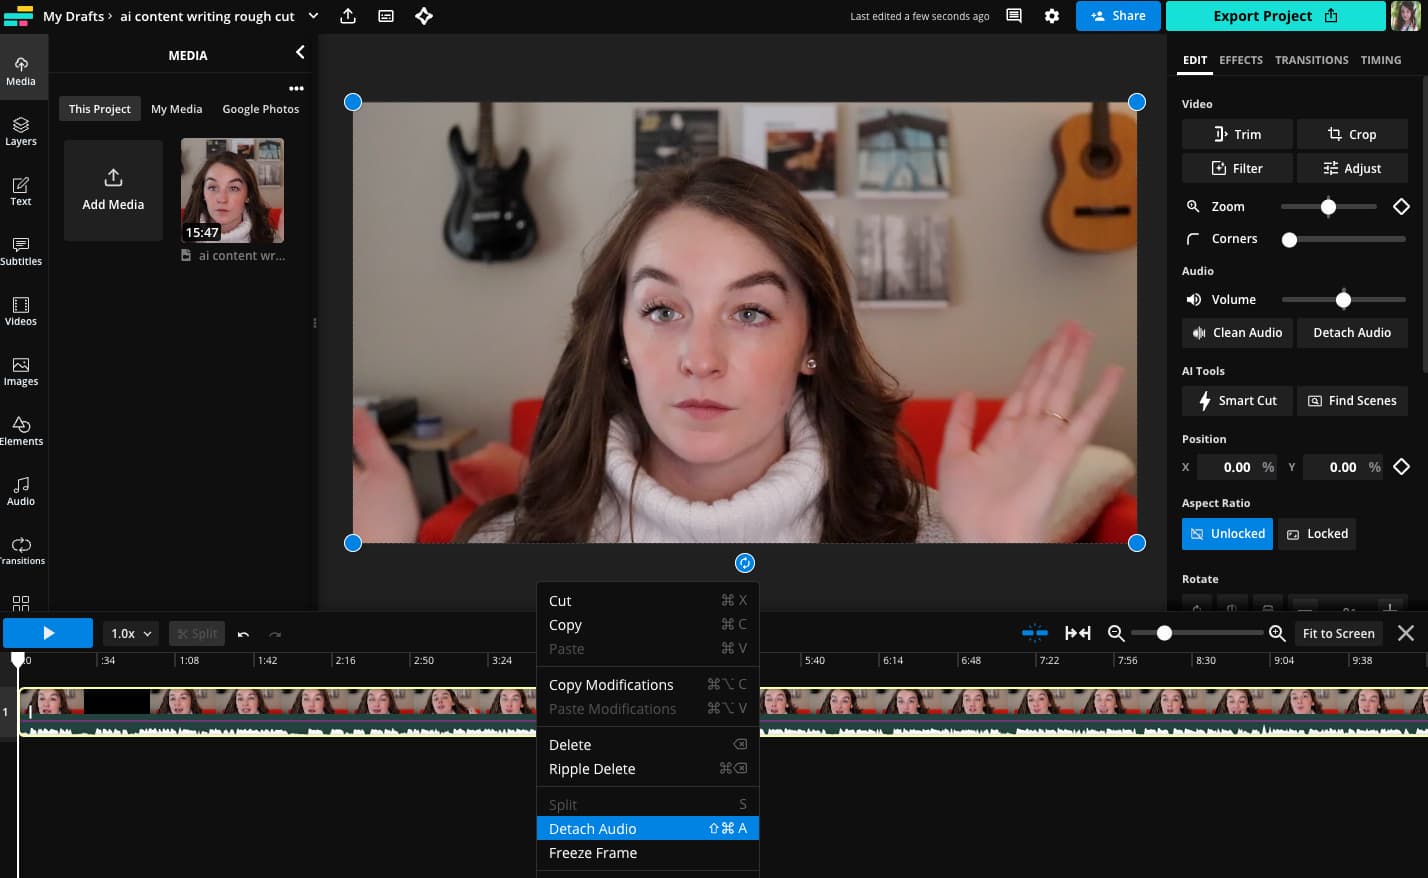
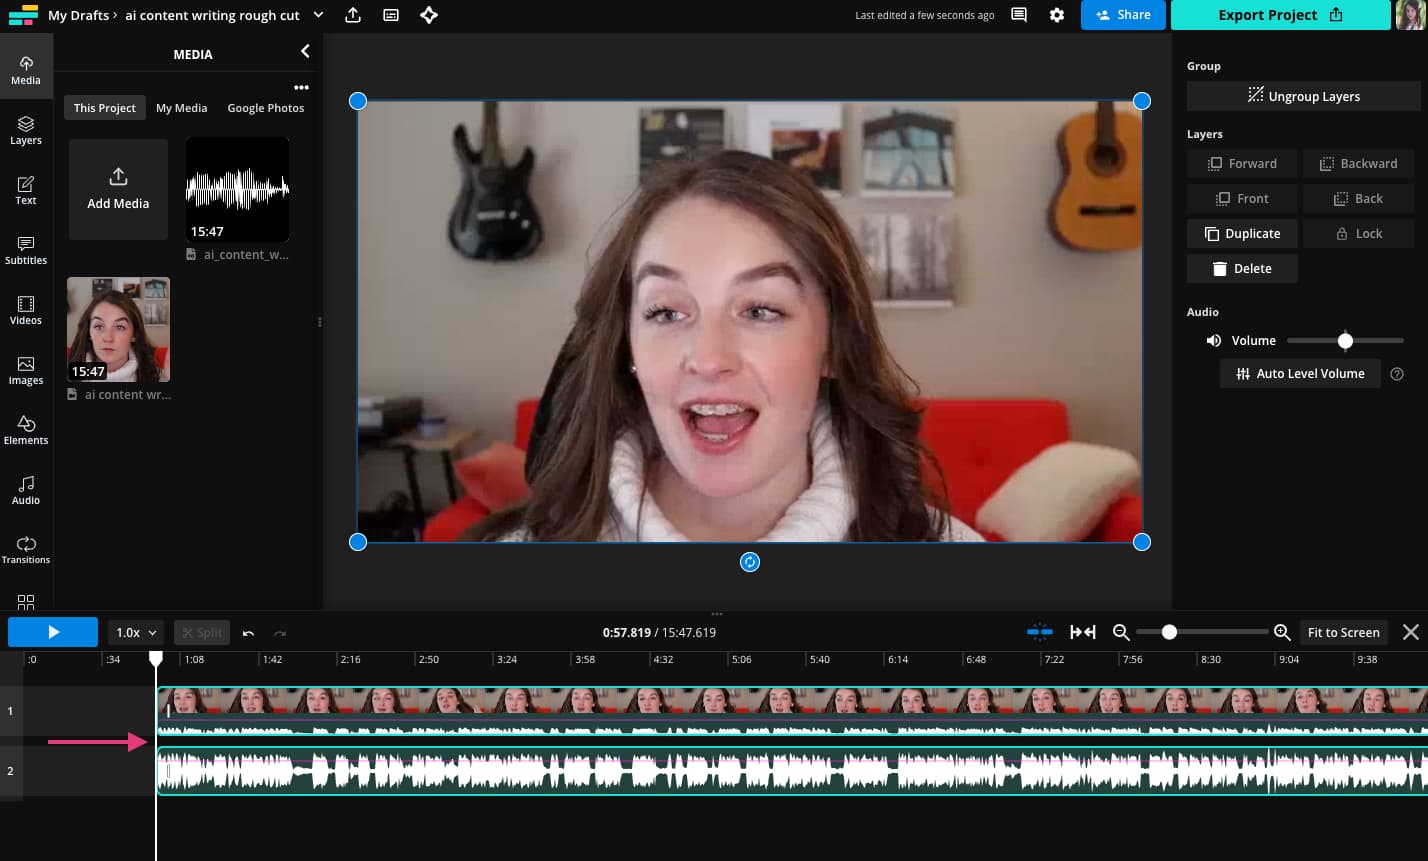
First, add both the video and audio to the timeline. Click on the blue plus button over the thumbnail in the media tab to do so. You’ll see each file appear as a layer in the timeline.
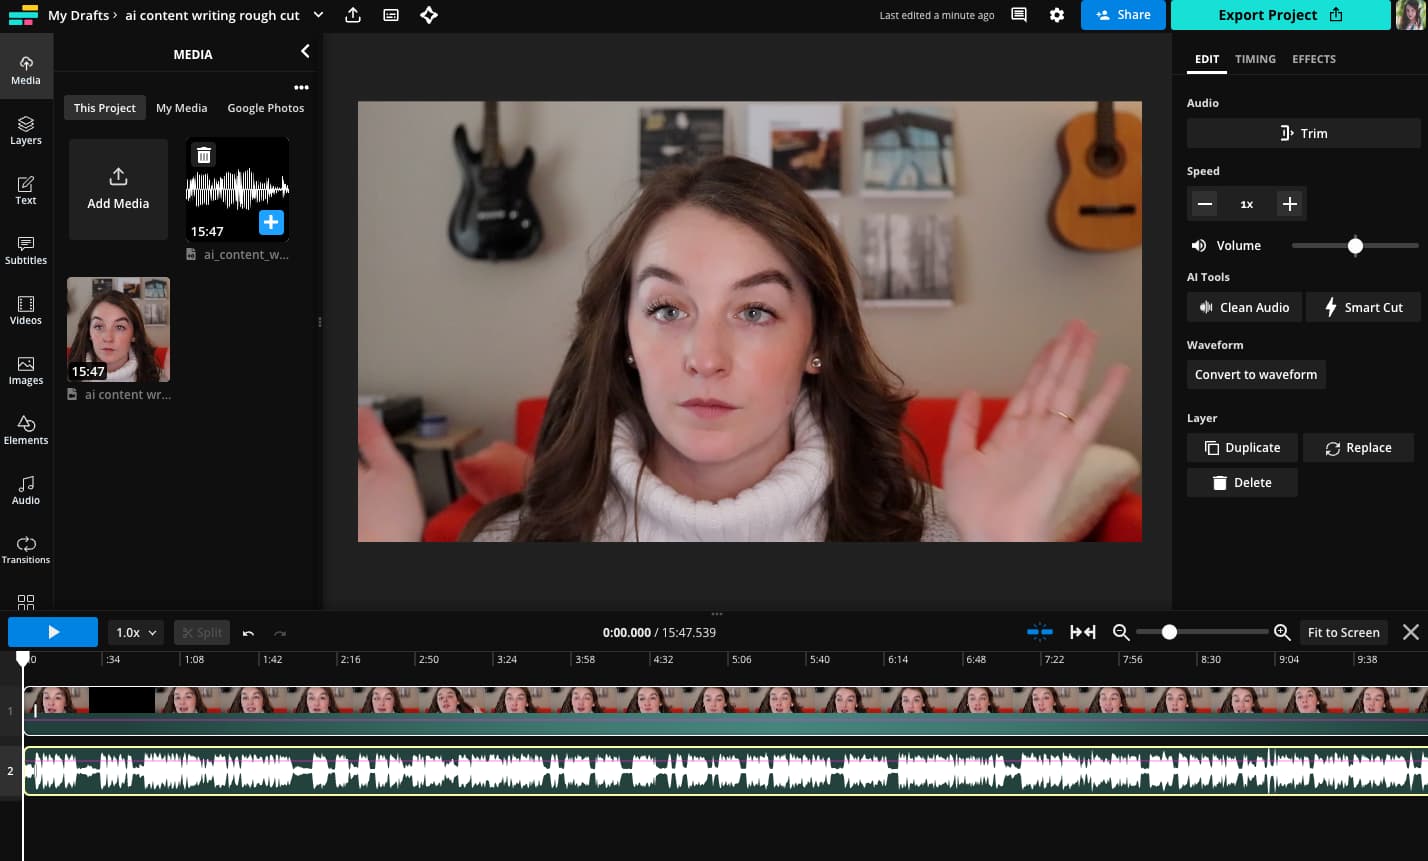
If your video file has audio attached to it, you’ll need to detach the audio and remove it, since you want to use your nice microphone audio instead. Right-click on the video layer, click “Detach audio,” then select the new audio layer in the timeline and delete.
Now, play the video and watch for the moment when the audio starts. This will either be when the subject starts speaking or if you used a clap to signal the audio, look for that. Find the spot in the audio layer that matches this moment.
For a clap, you’ll see a pretty significant spike in the waveform (which is why the clapping method is so effective). Otherwise, you may need to play the audio and video back a few times to find the exact moment.
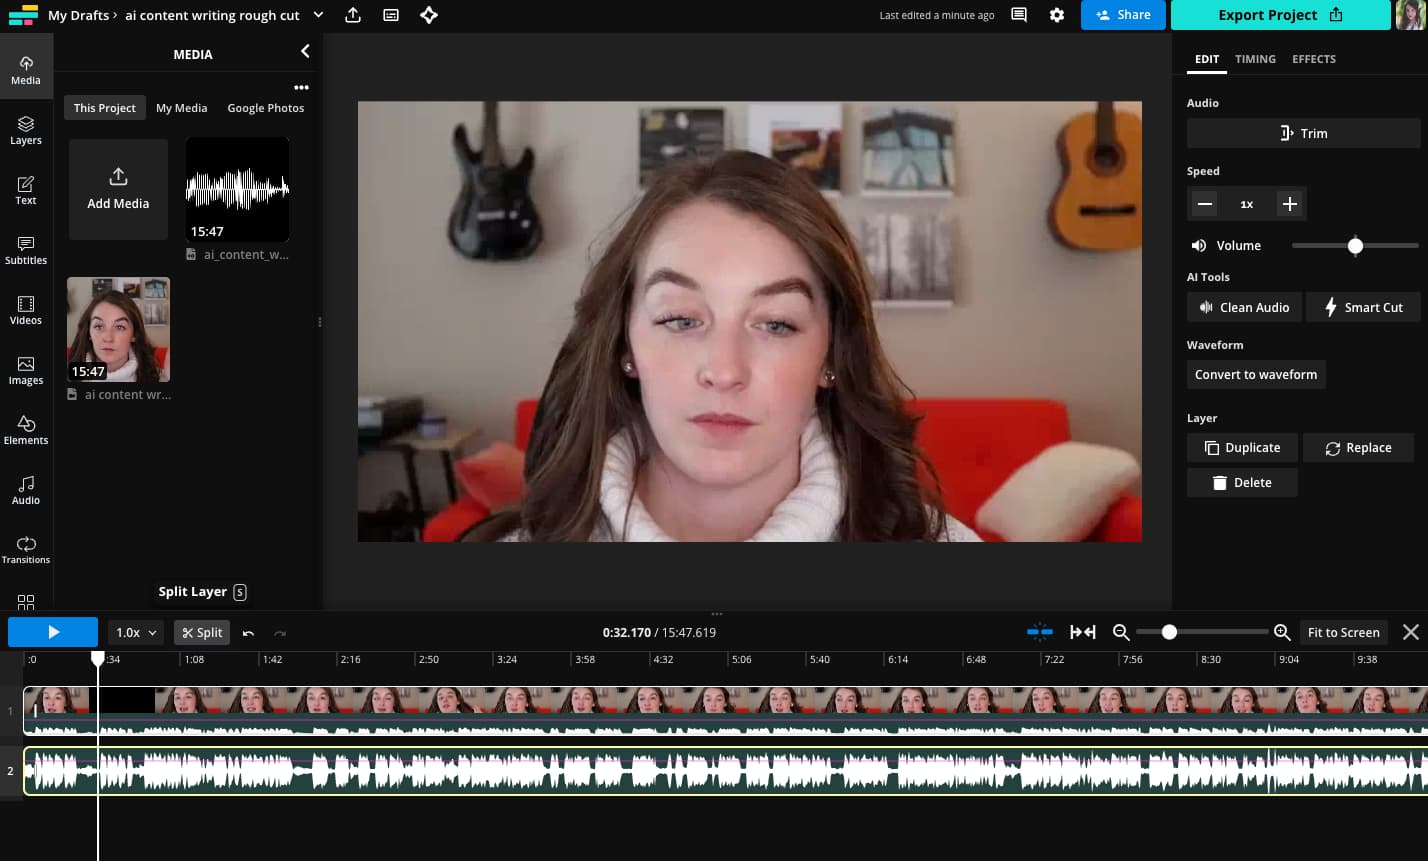
With the audio layer selected, move the player head to the right spot then hit the “Split” button or use the keyboard shortcut (S) to split the layer.
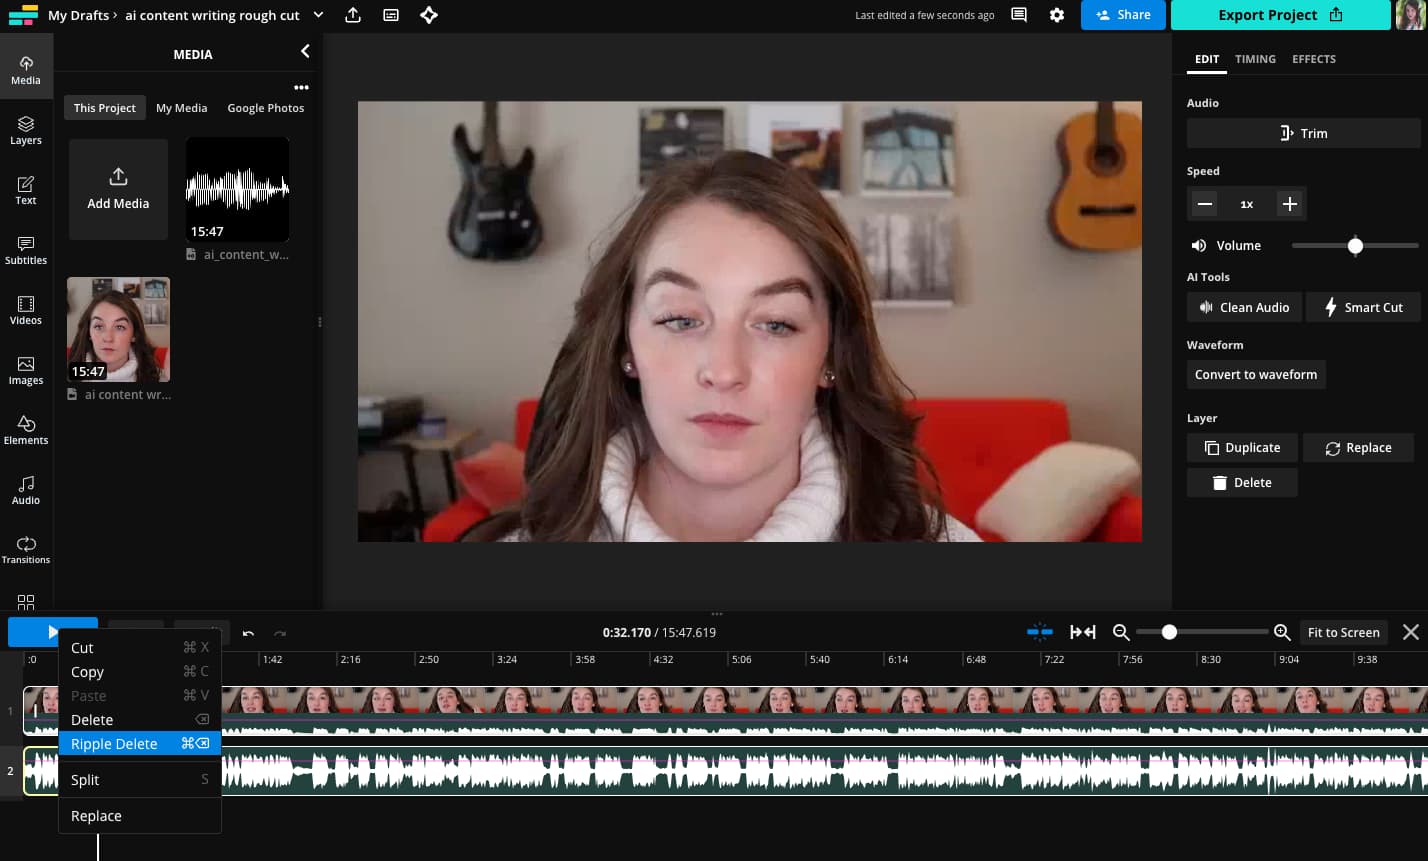
Right click the part you want to cut out, then choose “Ripple delete.” This will delete the selected clip and move the rest of the layer over toward the 0.0s mark.
Do the same with the video layer.
Check the playback to see if the audio and video are synced correctly. Tweak as needed.
3. Combine audio and video so you can edit as one layer
Now that your audio and video are synced, you can combine the layers to make further edits.
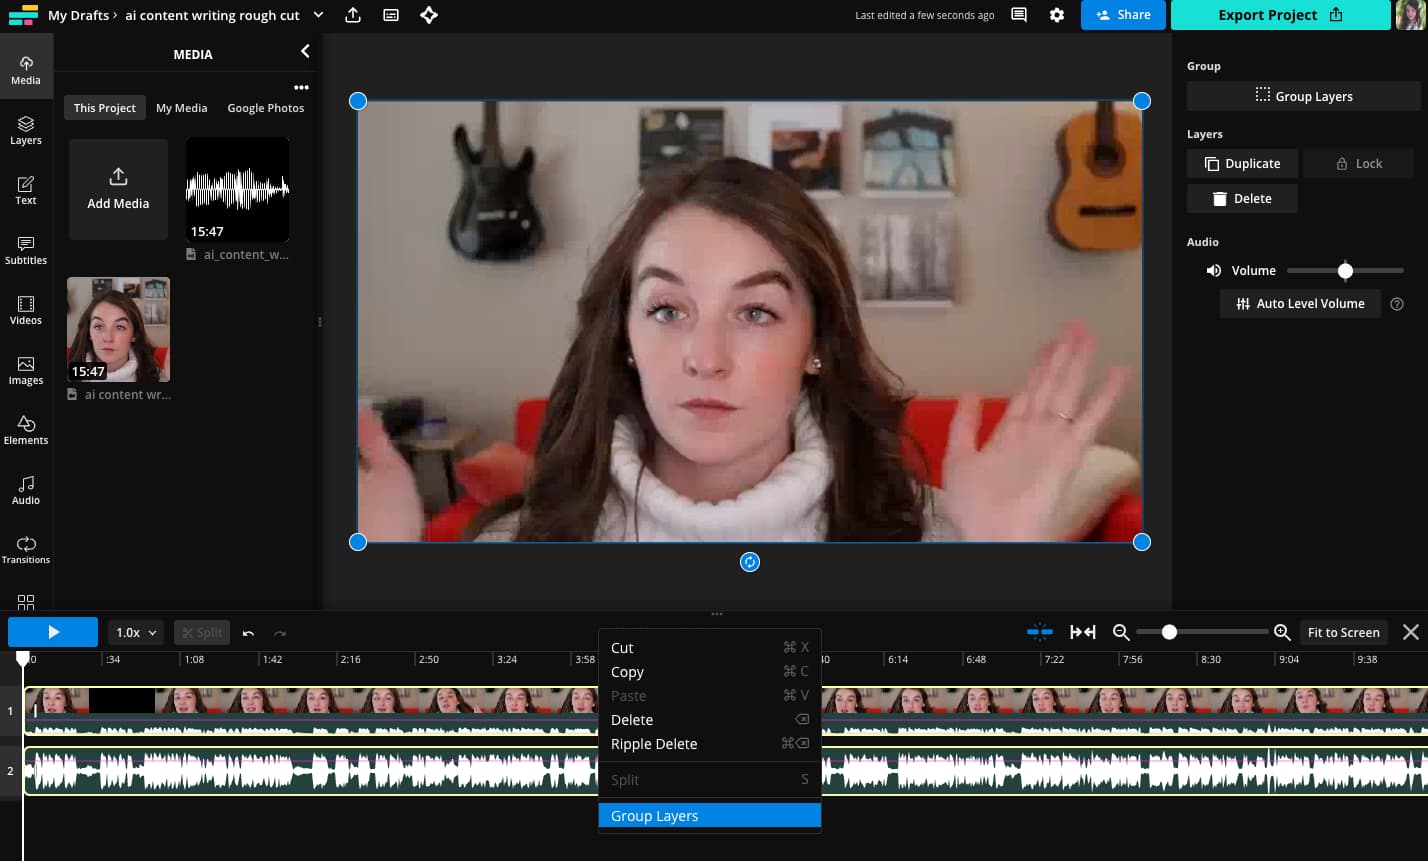
Select both layers on the timeline then right click and select “Group layers.” This will allow you to trim and split both layers at the same time.
If you want to automatically remove silences from your video, add automatic subtitles, or other similar edits, export the video first, then reupload it back to Kapwing.
4. Export and download your synced video
Click the “Export” button in the editor then choose your export format and resolution settings.
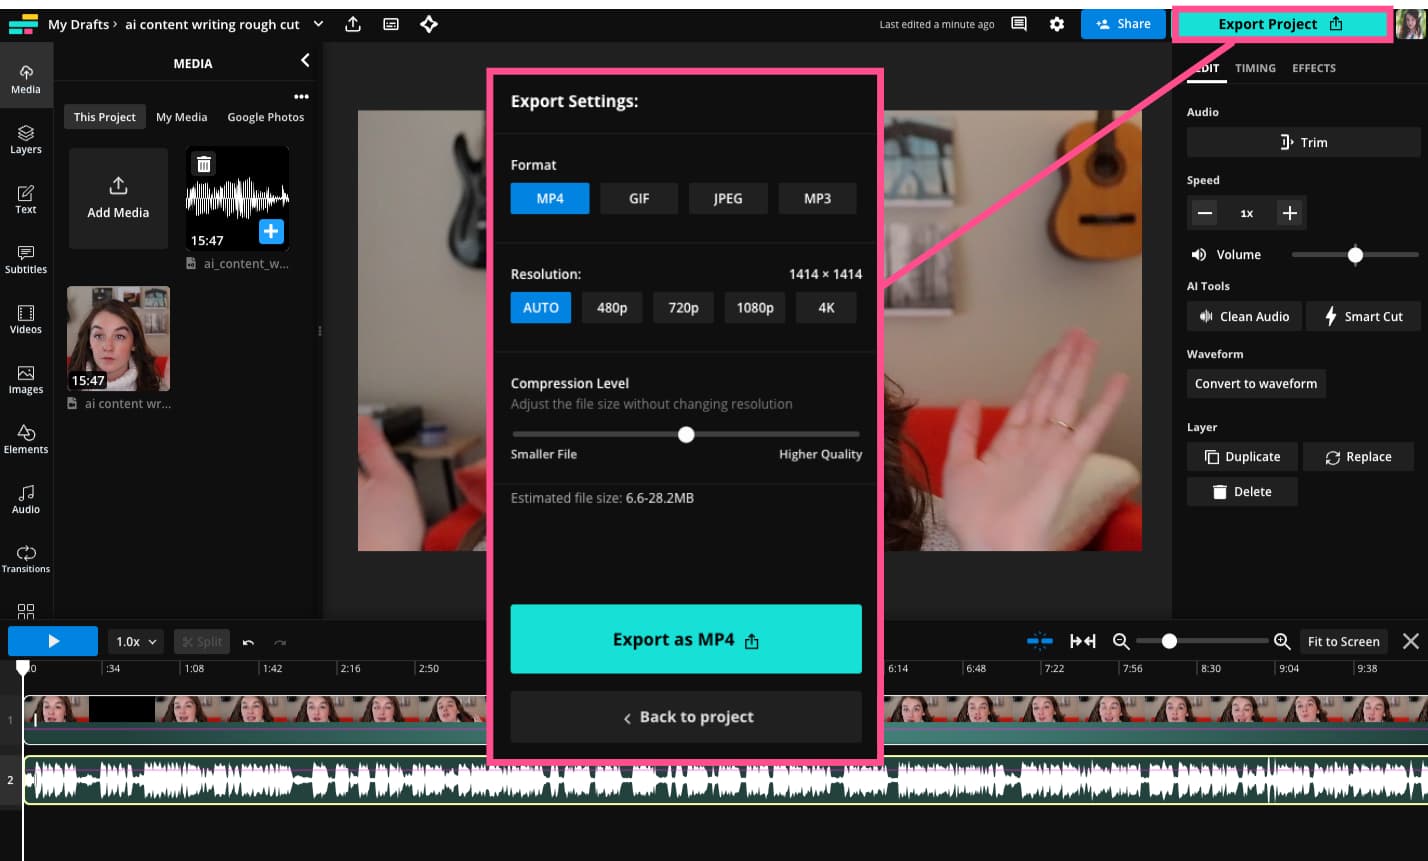
When the video’s ready, hit the download button to save it to your device. From here, you can open a new project in Kapwing and upload the newly synced video to make further edits or if you’re happy with it, publish it elsewhere on the web.
Best Tools to Sync Audio and Video
What are the best tools on the web for combining audio and video files in perfect sync? Here are our top three picks:
1. Kapwing

Yep, that’s us.
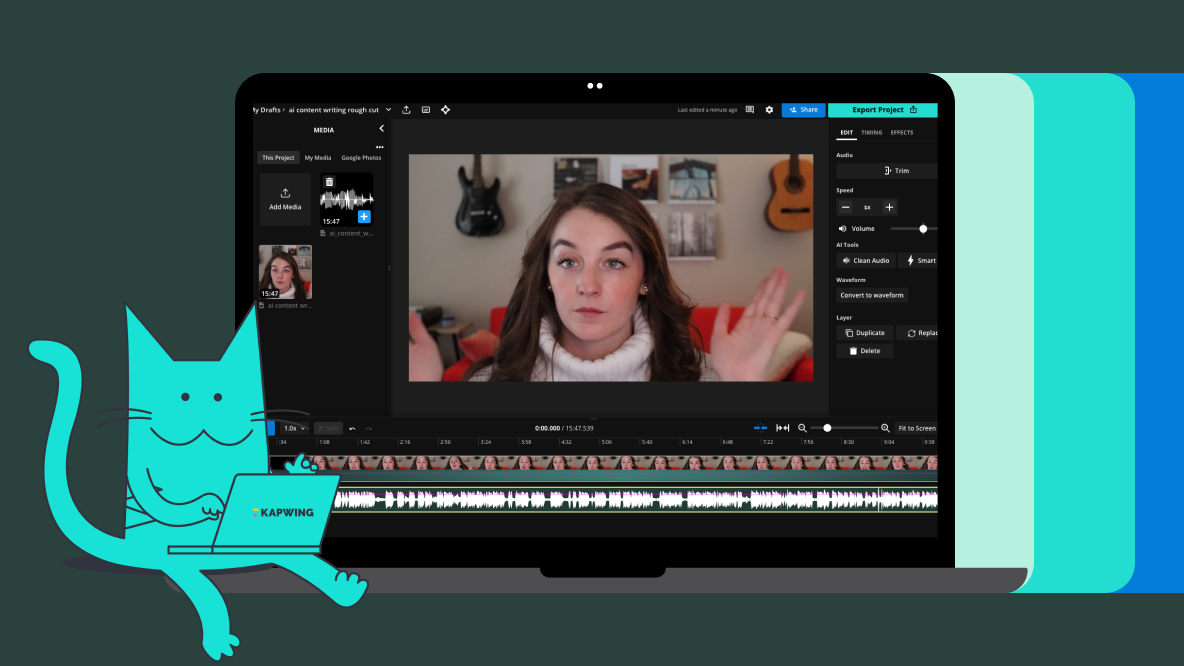
Kapwing is an online video editor that makes tasks like syncing audio and video easy. No software to download and it works on any device that runs Safari or Google Chrome (finally, some good news for Chromebook users).
The user interface is intuitive and easy to use, even if you don’t have any audio or video editing experience. You can sync audio visually using the timeline layers or use the audio timing tool to set the start time of your audio file down to the millisecond.
What makes Kapwing a great choice for syncing audio and video is that once you’re done syncing, there are a ton of other audio and video tools to finish editing your video all in one place. From removing background noise from audio to automatically generating subtitles to adding a YouTube outro, you can take your video from start to finish.
Features
- Browser-based on any device
- Timeline editing to easily sync audio and video
- Suite of intuitive smart tools for audio and video
- Automatically generate subtitles
- Save your project and come back to it with cloud storage
Pricing
- Free plan. Access to a robust suite of editing tools with watermark on export. Limited project storage.
- $16/month. Watermark free, access to the full range of smart tools and cloud storage, HD exports.
2. Flexclip

Flexclip is another online video editor that allows you to sync video and audio files. It offers a free plan as well as three paid tiers, depending on your video editing and exporting needs.
In terms of additional audio editing features, like background noise removal, cutting out silences, or adjusting volume levels, Flexclip doesn’t offer much outside of the ability to trim and cut. However, once you’ve lined up your audio and video so that it’s synced, you can “link” the two layers in the timeline, allowing you to edit both at the same time, which is helpful. If all you need is a quick tool to join an audio and video clip together, Flexclip will work just fine.
There are some export limitations with the free version, though, specifically the 10-minute video limit and 480p resolution cap.
Features
- Browser-based on any device
- Link audio and video in the timeline
- Variety of basic editing tools, like text, overlays, and stock music library
Pricing
- Free plan. 480p resolution cap and maximum video length of 10 minutes with watermark. Limited project storage.
- $4.19/month. Basic plan with 720p resolution for up to 25-minute videos with no watermark.
- $6.99/month. Plus plan with 1080p resolution, unlimited video length, and 30GB of storage.
- $13.99/month. Business plan with 1080p resolution, unlimited video length, and 100GB of storage.
3. Adobe Premiere Pro
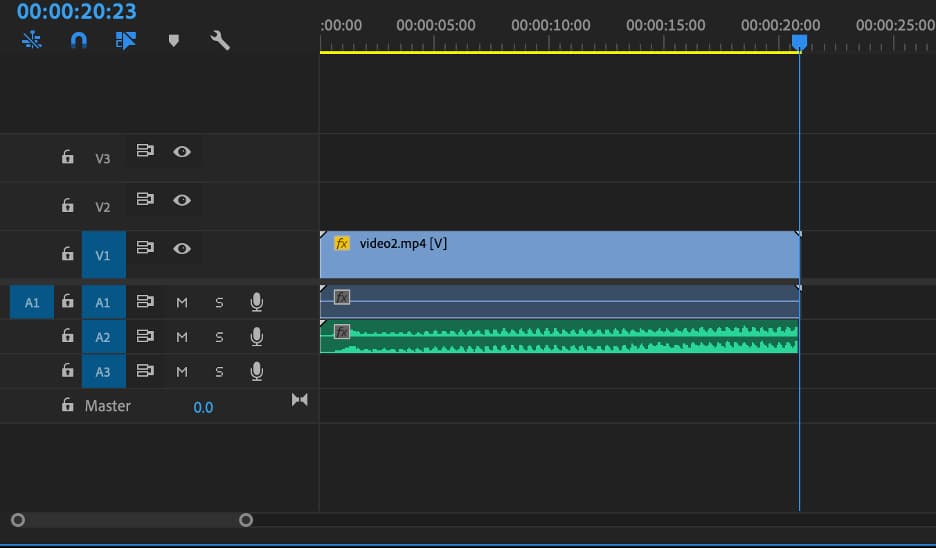
Adobe’s desktop video editing software, Premiere Pro, has pretty powerful audio and video syncing tools. You can automatically sync multiple video files to one audio file using the Synchronize feature. This is helpful if you shoot multiple angles of the same footage for your videos.
Unlike manually syncing with other softwares, Premiere Pro's Synchronization tool does it all for you in just a few clicks, detecting where the audio and video should line up using AI. Unfortunately, this awesome functionality comes at the heavy price point of Adobe Premiere Pro. Premiere Pro is also known for lagging and crashing constantly.
If you don’t need the other functionality of Premiere and don’t mind lining up your audio with your makeshift clapboard, manually syncing with another editing software might be the way to go.
Features
- Merge multiple audio files with one video file
- Synchronize one audio file across multiple video files
- AI-powered automatic audio syncing
- Powerful video and audio editing tools, including a royalty-free sound library
Pricing
- Starts at $20.99/month for individual use and $35.99/month for team licenses.
Why Should You Sync Your Audio and Video?
Wouldn’t it just be easier to use the audio that’s baked into your video recordings? Not quite. There are a few different reasons why recording separately and then syncing your audio and video is a better idea.
Microphone Quality
Internal microphones on cameras and phones aren’t the highest quality — they pick up background noise and can sound tinny. If you want the highest quality sound, which is especially important if you're editing for YouTube, you need to use an external mic that you sync up to the video later.
Some people can find syncing difficult. That is why you want to clap on camera before you begin so that you can easily line up the sound of the clap to the video of the clap. Professional studios use clapboards for this reason.
Dubbing Over Poor Audio
Another reason you might need to sync audio in post is if you need to dub over the original audio because of poor audio quality. There are plenty of filming conditions that can lead to this, like if you filmed in public where it was noisy or outside during high winds or heavy rain.
While you can use noise reduction to clean up your audio most of the time, sometimes there’s no way to save the audio and you just have to replace it.
Social Media Lip Sync Trends
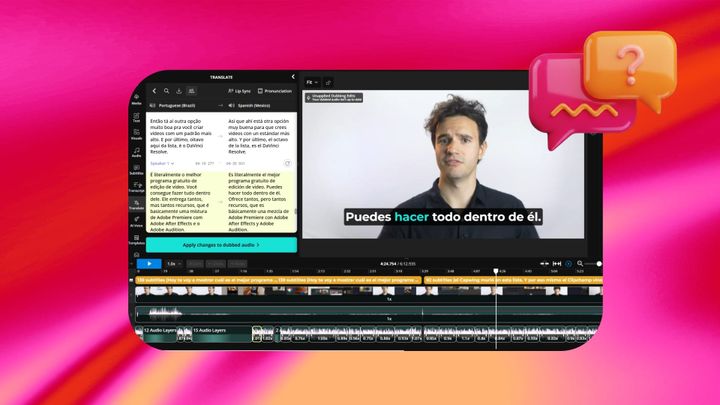
Lip syncing trends have become huge on social media and they take a fair amount of skill to get right. While many people create these types of videos right in the TikTok and Reels editors, that’s not the only way to do it. To get extra crisp, on-point lip syncing, try using Kapwing's Lip Sync AI feature that matches translated audio with the speaker's mouth movements.. In that case, you would need to sync the audio and video after filming for obvious reasons.
Related Articles: