How to Download Twitch Videos: Clips, Streams and Highlights
Sharing, compiling, and editing Twitch, Clips Highlights and Stream VODs is important for everyone in the streaming community.
Most Twitch streams run well over an hour, with some extending past 24 hours. Fortunately, Twitch provides built-in tools to make these lengthy video files more manageable, allowing users to create shareable content from their own broadcasts or their favorite streamers’ videos through Clips and Highlights.
While Clips, Highlights, and full Streams are accessible to anyone, Twitch does not offer a direct download option for content—whether from a user’s own channel or others’.
Many streamers compile their best moments to share on social media, while fans frequently create highlight reels of their favorite streamers. As a result, the ability to download Twitch videos is essential for both content creators and the broader Twitch community.
In a recent update Twitch announced that, starting April 19, 2025, creators will be limited to 100 hours of stored Highlights and Uploads per channel to help manage storage costs. This restriction does not apply to Past Broadcasts (VODs) or Clips, but it may prompt more users to download Highlights, as some streamers may need to remove older content to stay within the limit.
Kapwing provides a simple solution for downloading Twitch content, including Clips, Highlights, and full VODs, in just four easy steps.
Steps:
- Copy the Clip’s link
- Upload Clip to the Kapwing Studio
- Edit or compile clips
- Export and download
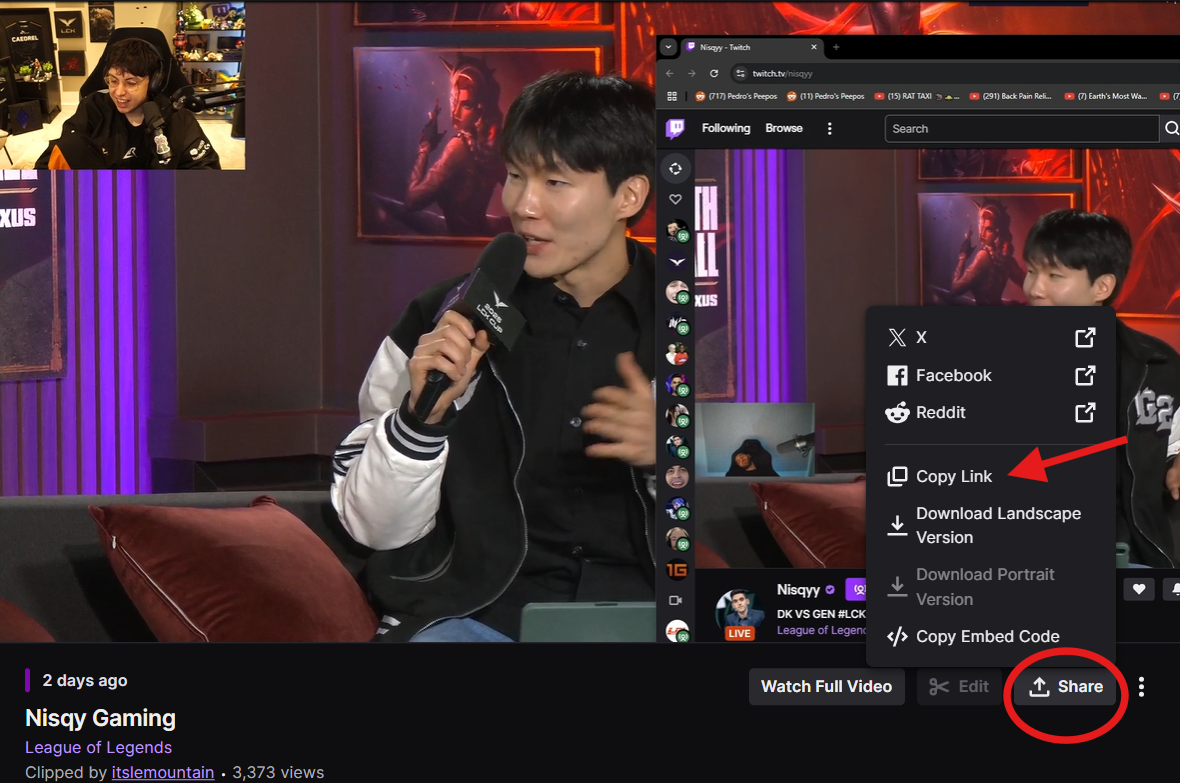
Step 1: Copy the Link
Twitch makes it convenient to share Clips, Highlights and VODs by generating a link for each one. This is all you need to save them to your own files.
Find the content on a streamer’s channel or your own clips manager if you are a Twitch creator, and copy it to your device’s clipboard.
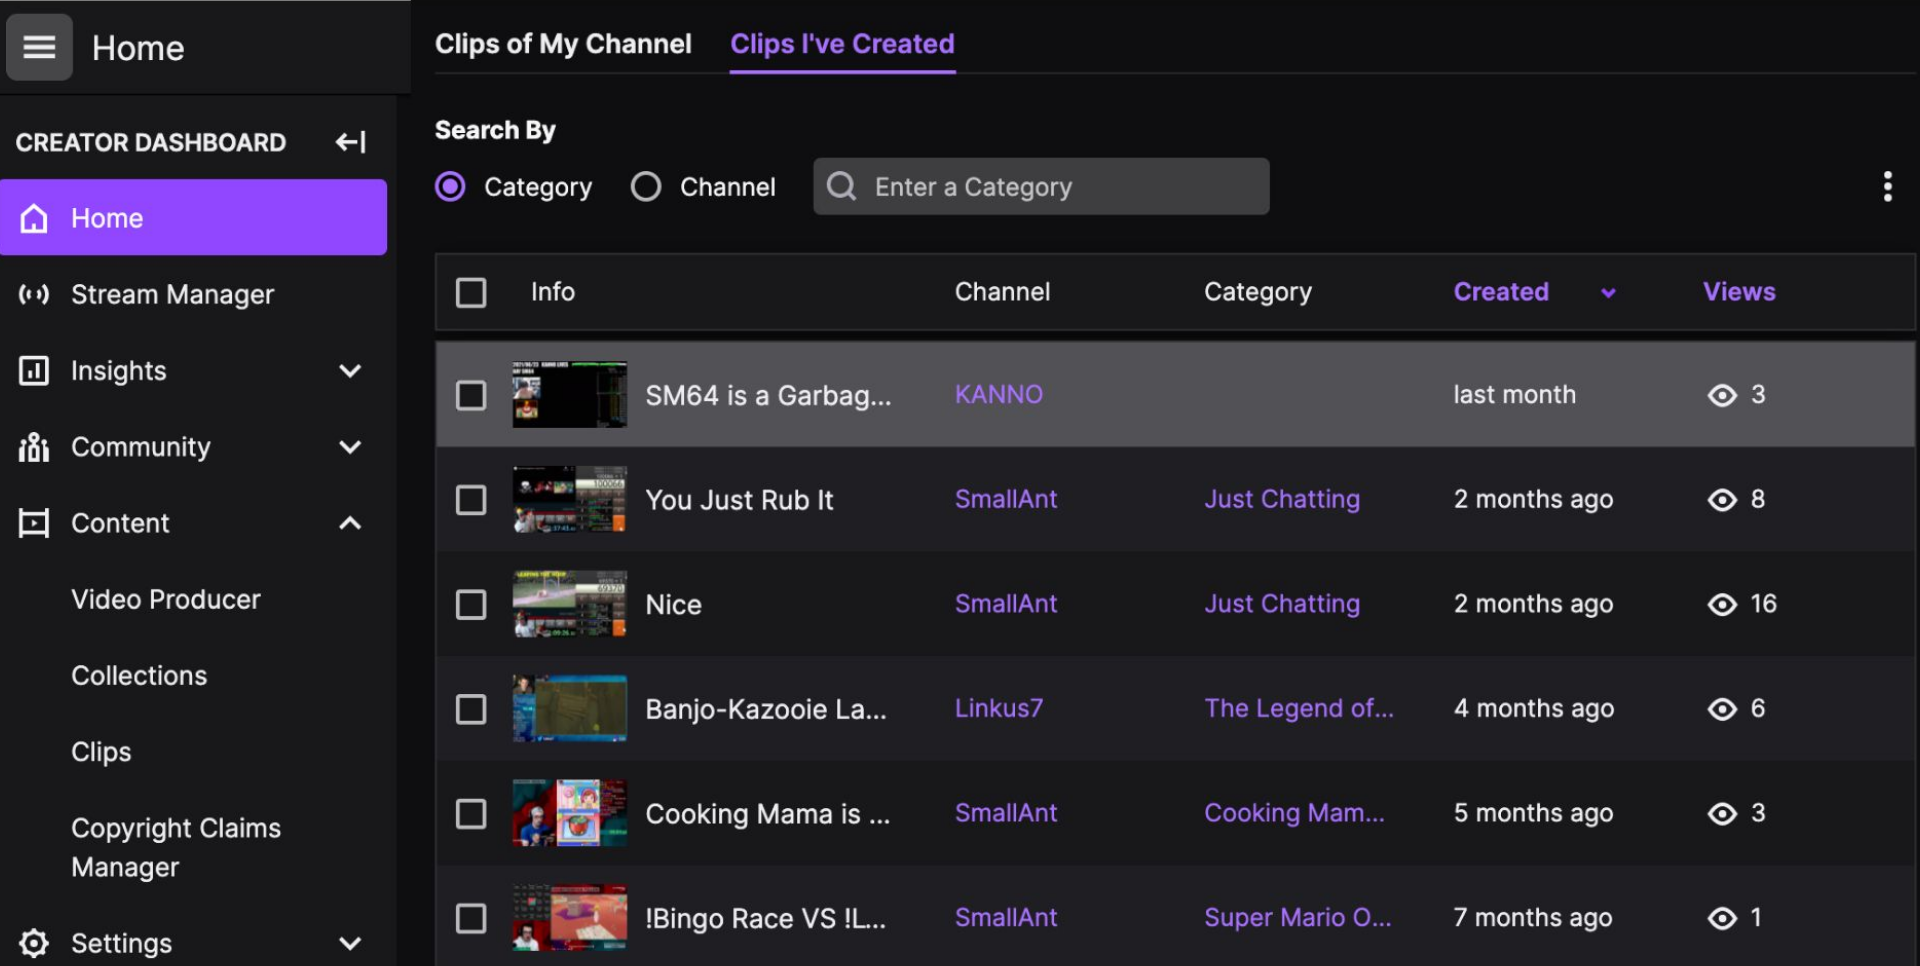
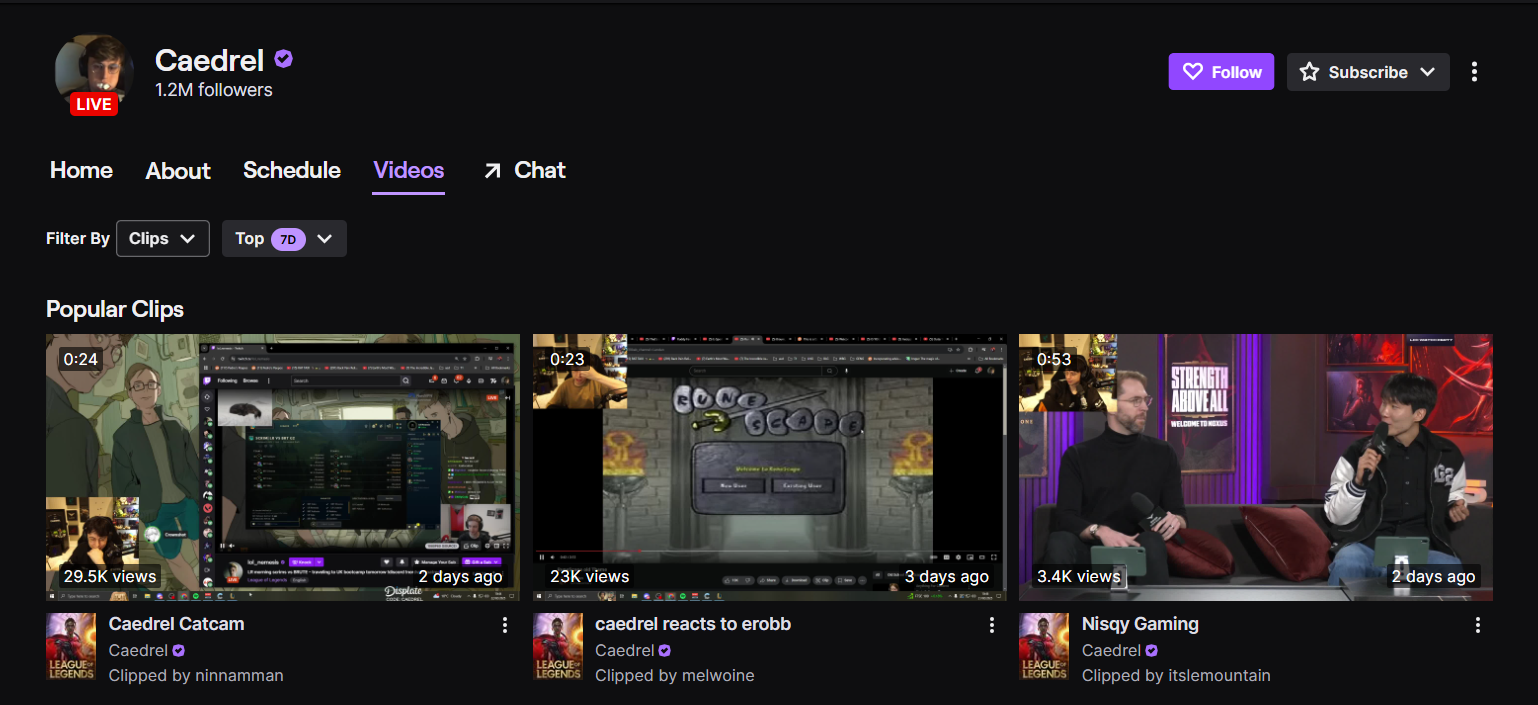
Click on the video and under the Share icon you will find the Copy Link option.
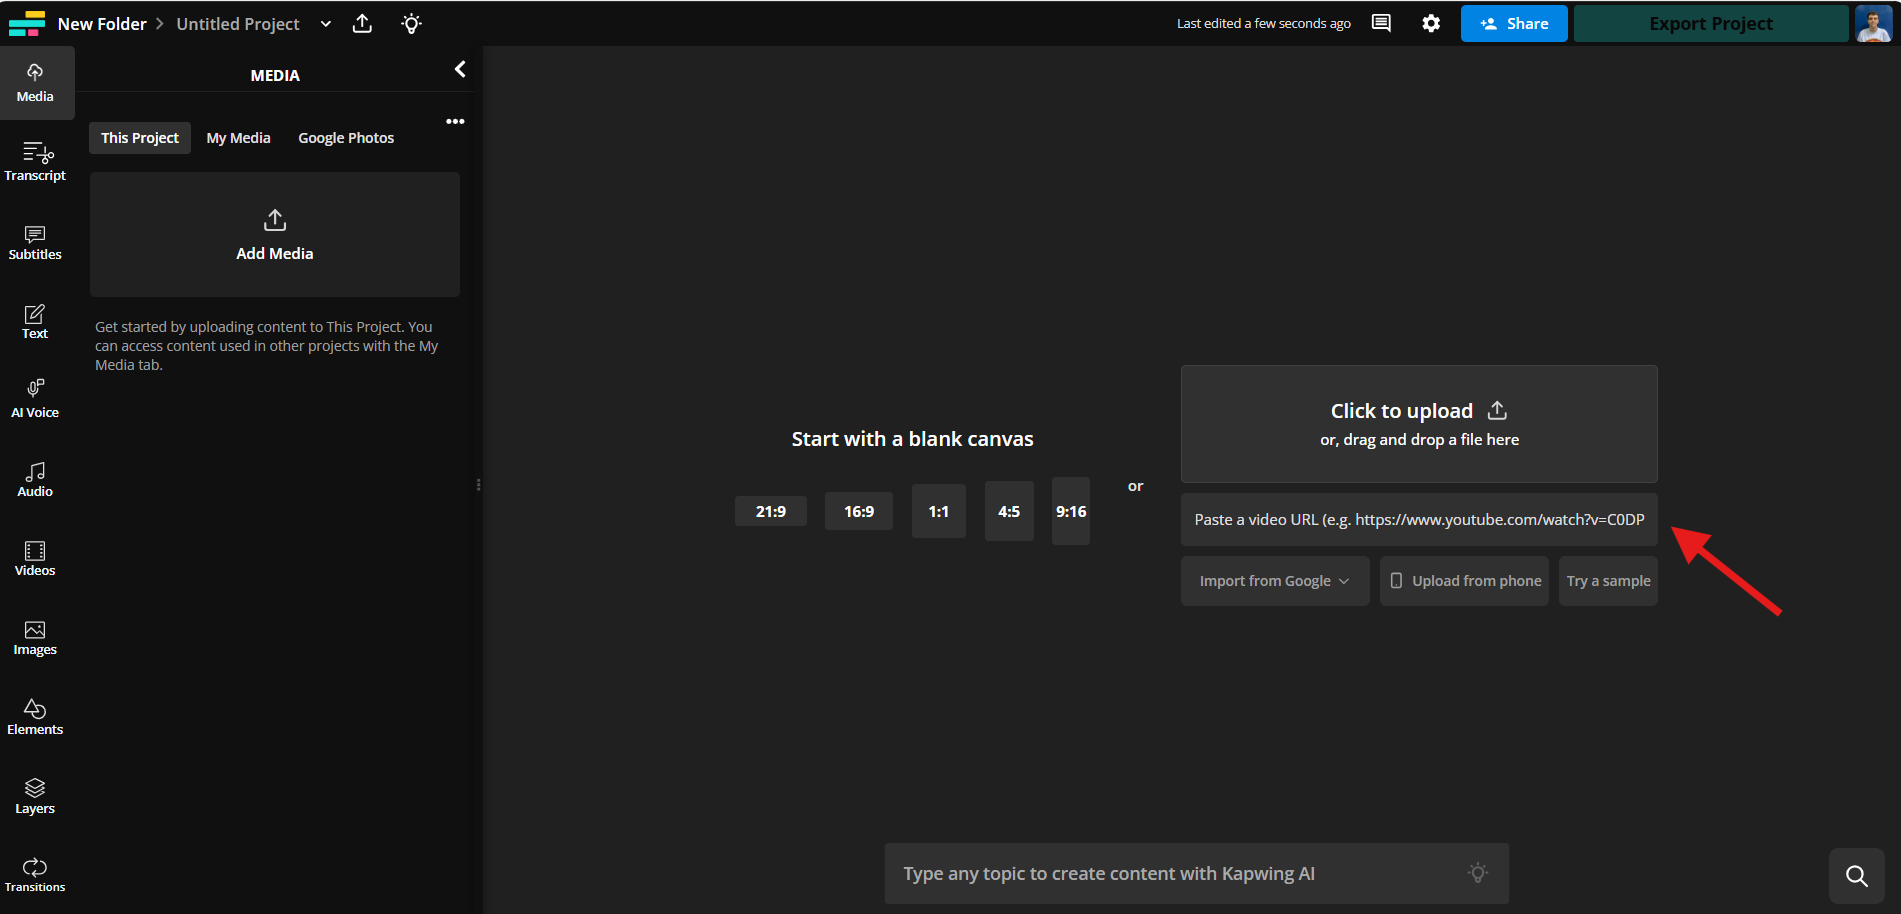
Step 2: Upload Clip to the Kapwing Studio
When you’ve copied the Twitch Clip link, head to Kapwing in your browser on any device and select Start Editing to enter the Kapwing Studio. Here, paste the Clip link into the URL bar and your Clip will upload to the Studio in just a few seconds.
You will see the clip appear on both the Timeline editor at the bottom of the screen and the Canvas editor in the middle of the Studio.
Step 3: Edit and Compile Clips
In the Studio, you can make video edits as you require, and you may combine multiple Twitch videos. Select the Upload button to add more videos from your device or paste links to Twitch Clips, YouTube videos or TikTok posts.
Kapwing also hosts various features that can help you to improve the quality of your Twitch Content. Using the AI Tools tab on the right hand side of the page, users can Stabilize Footage to minimize unnecessary shaking, or use the Clean Audio feature to reduce unwanted background noise.
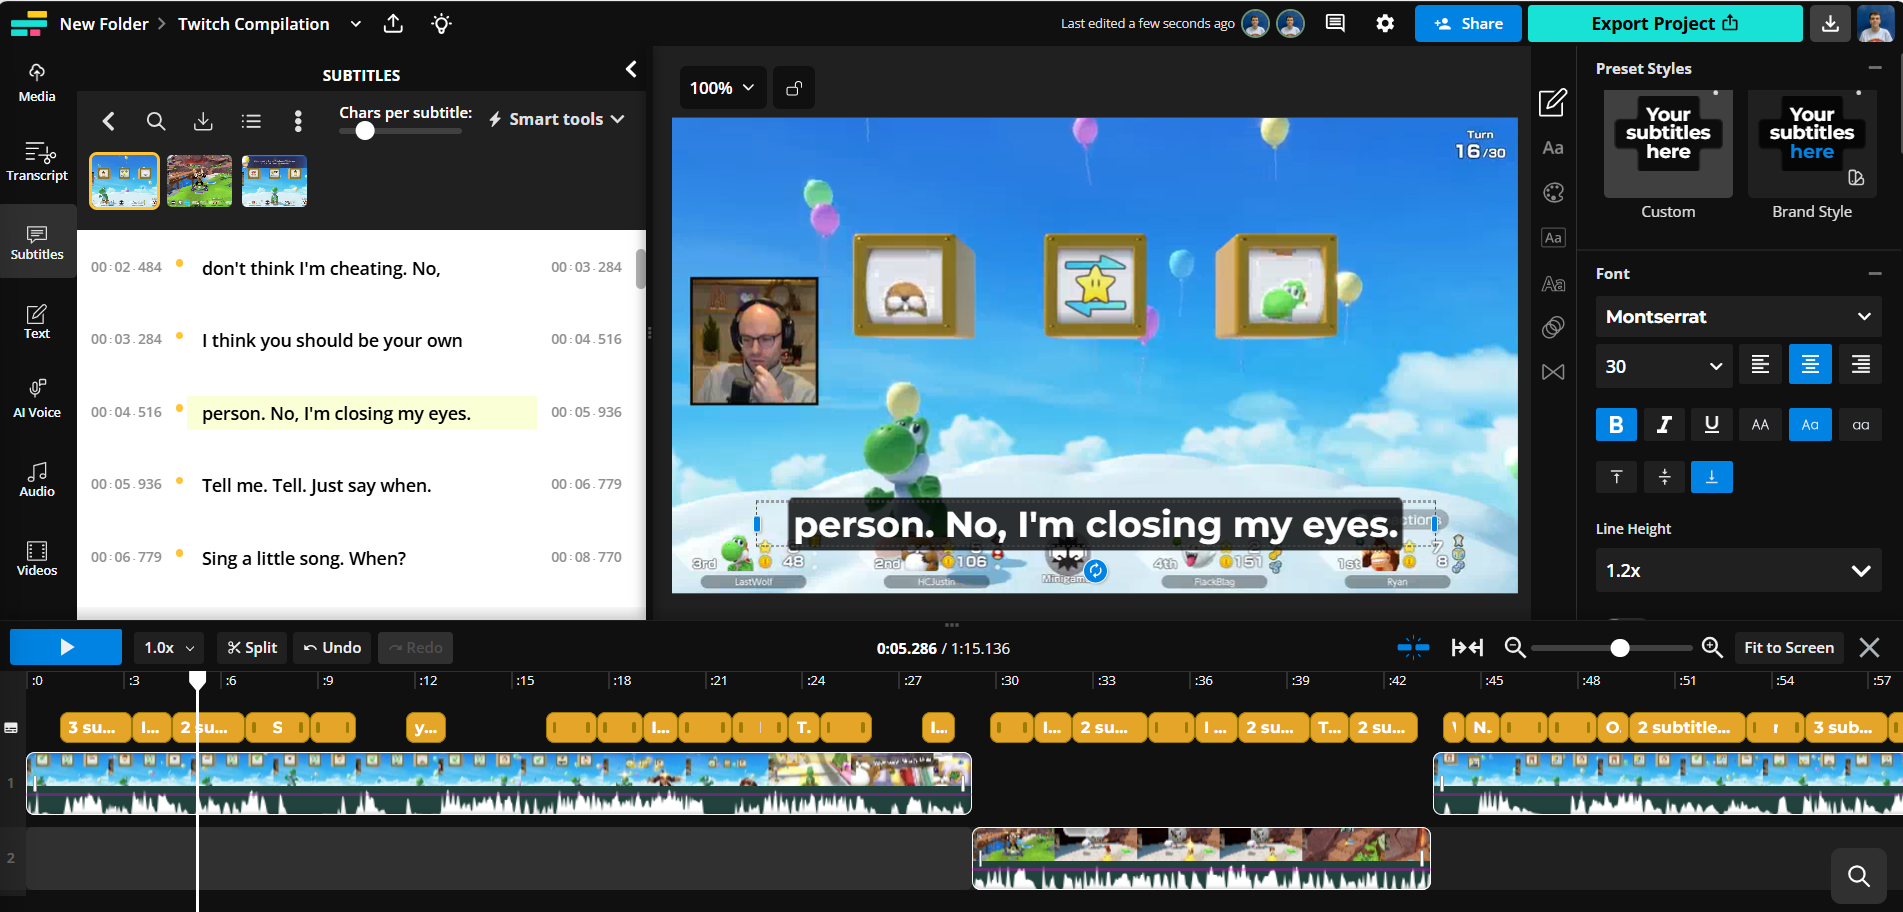
Users may also auto-generate subtitles and translations, add music, trim, crop, resize, and edit videos, and add custom text layers, photos, GIFs, overlay effects, and filters. You can arrange all your layers in the video preview on the Canvas or trim and reorder them in the Timeline.
Step 4: Export and Download
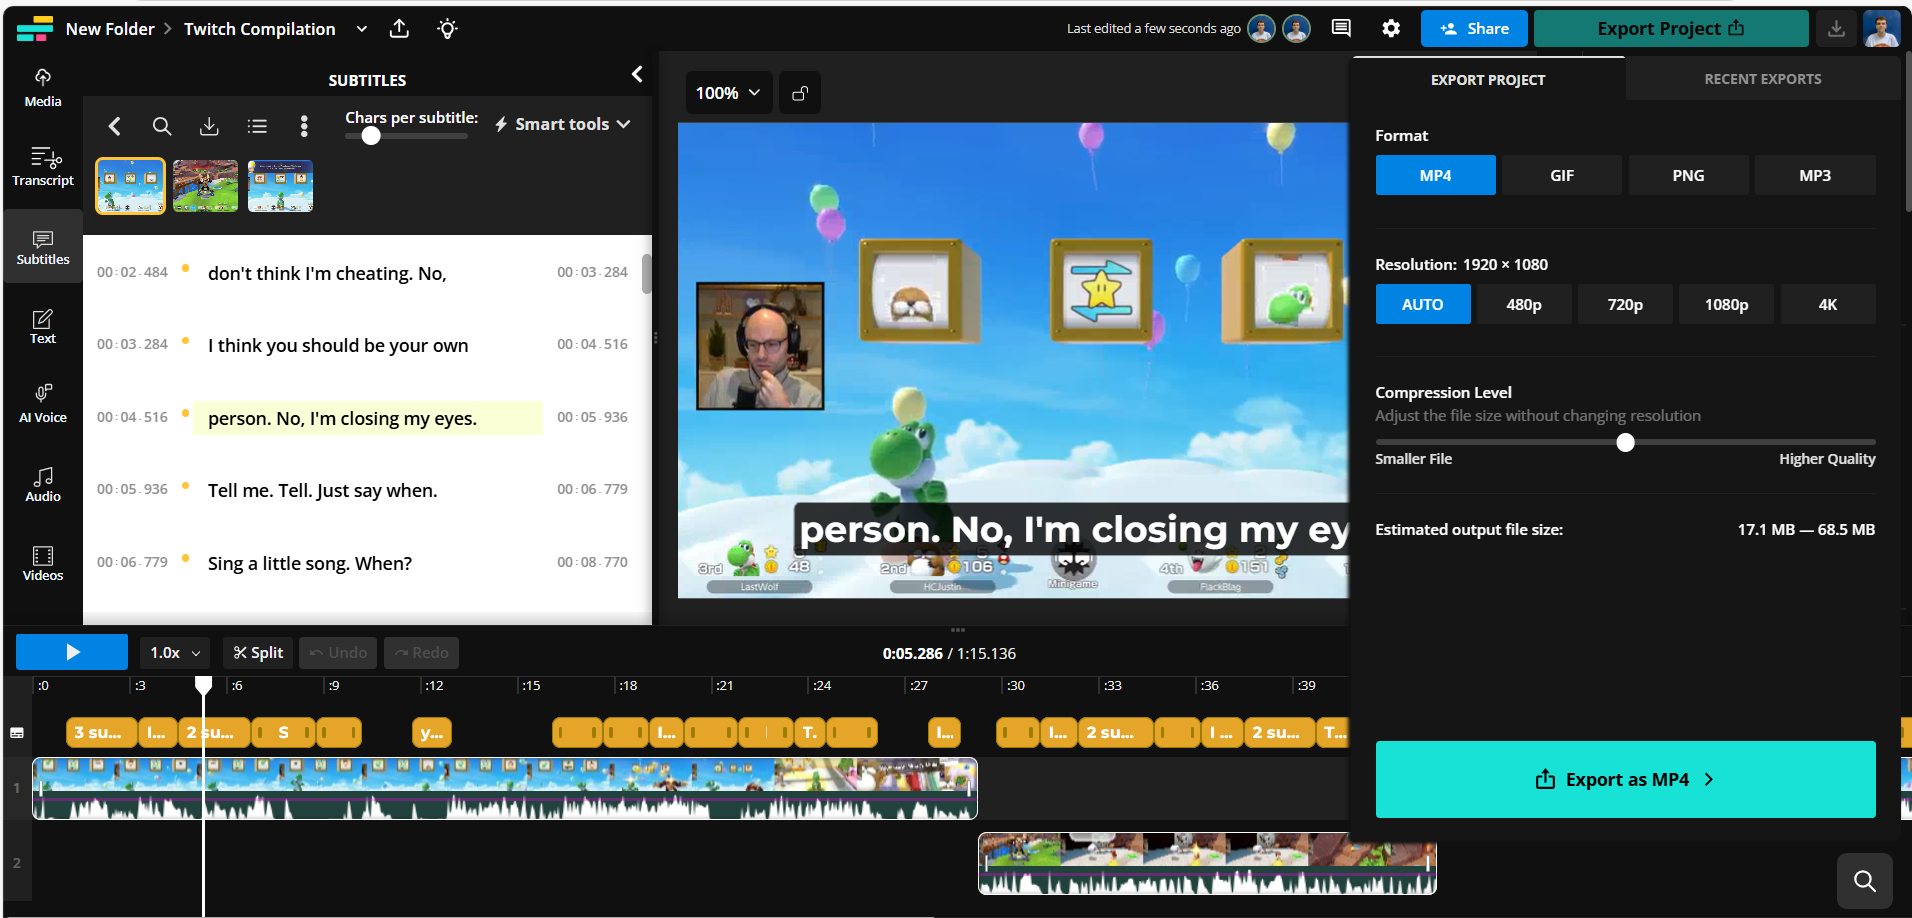
Once you are satisfied with your edits, select the blue Export Video button in the top right corner. Give Kapwing some time to process your video – for longer compilation projects, it could take a few minutes. Please note that Kapwing cannot export files that exceed two hours in length, so longer Twitch Streams may need to be edited in segments.
Once it’s fully processed, select the Download button to save your Twitch Clip project straight to your files.
To learn more about creating great video content in 2025, check out the Kapwing YouTube channel.