How to Make Your Own Twitch Emotes For Free
Make your own Twitch emotes, remove their background for a transparent image, and add them to Twitch by following these simple steps.
Twitch emotes are the life blood of chat. Emotes allow viewers to express their feelings in a fun way and form a deep connection with the channel’s community. The only issue: they’re difficult to make and expensive to design.
You either waste time downloading confusing software or hunting the right designer. Both options are a headache. That’s why I recommend using Kapwing to design, remove the background, and resize all your emotes - without any downloads. Make your own Twitch emotes for free by following these steps:
- Start with a blank canvas
- Add your picture or design
- Remove the background
- Download each emote size
- Upload to Twitch
Technical requirements: your image must be in three sizes (28 x 28, 56 x 56, 112 x 112), a PNG file and less than 25 KB (note: only affiliates and partners can upload)
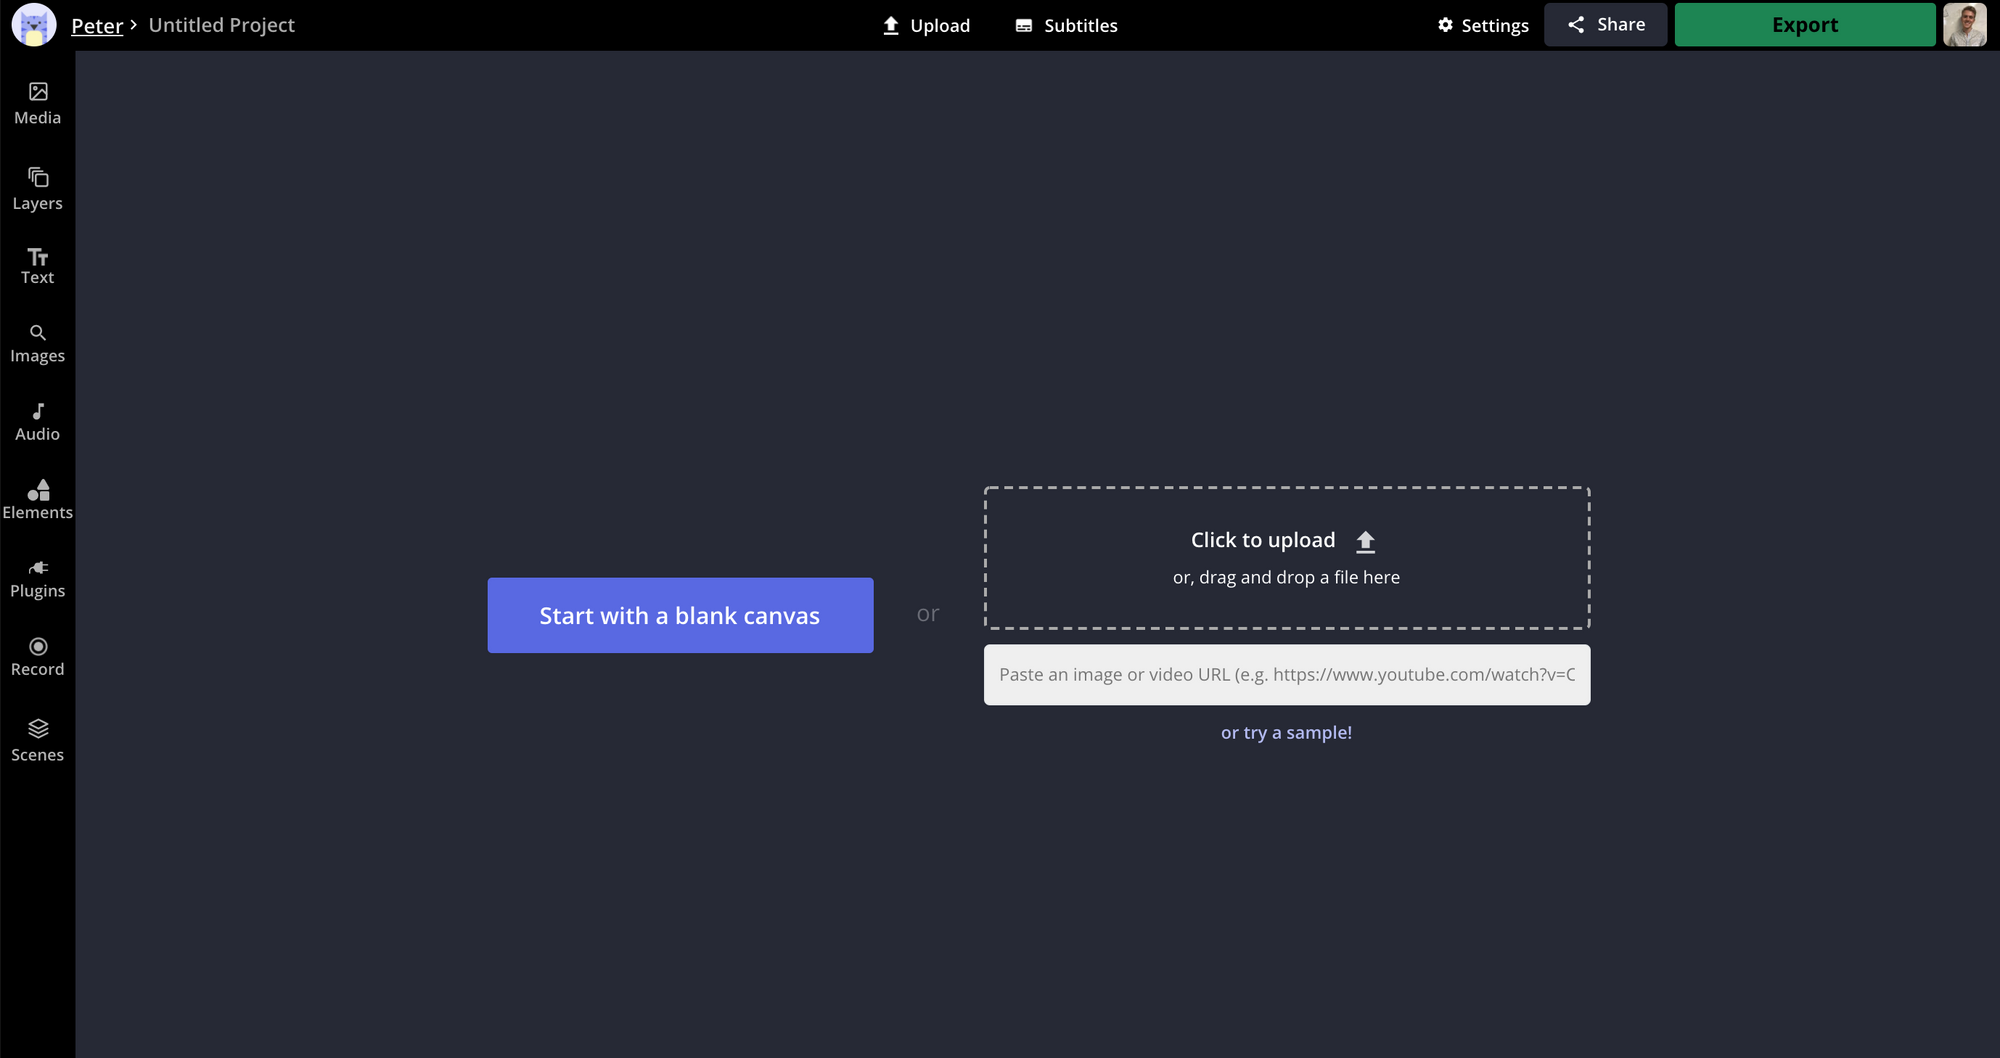
1. Start with a blank canvas
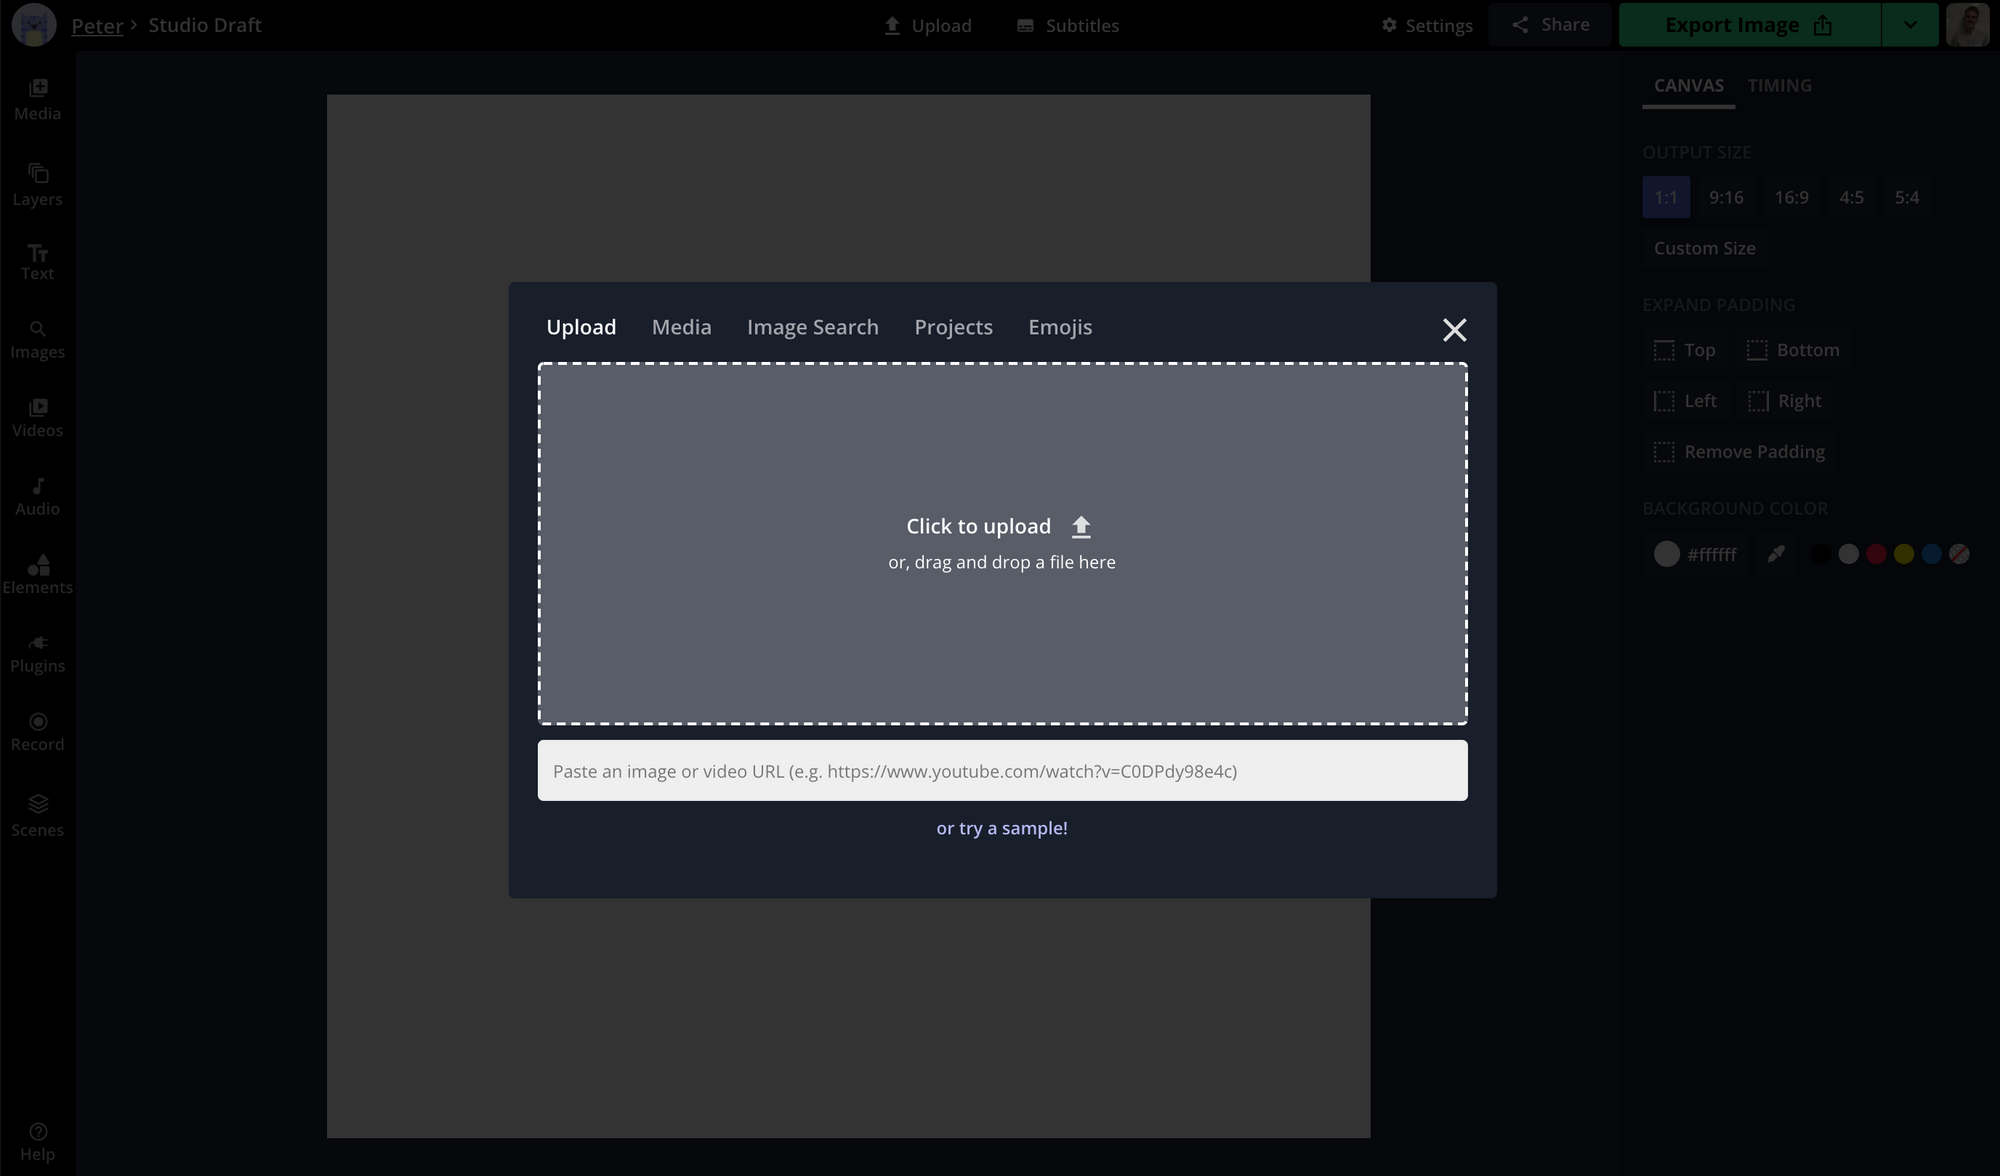
First, open the Kapwing Studio and click Start with a blank canvas.
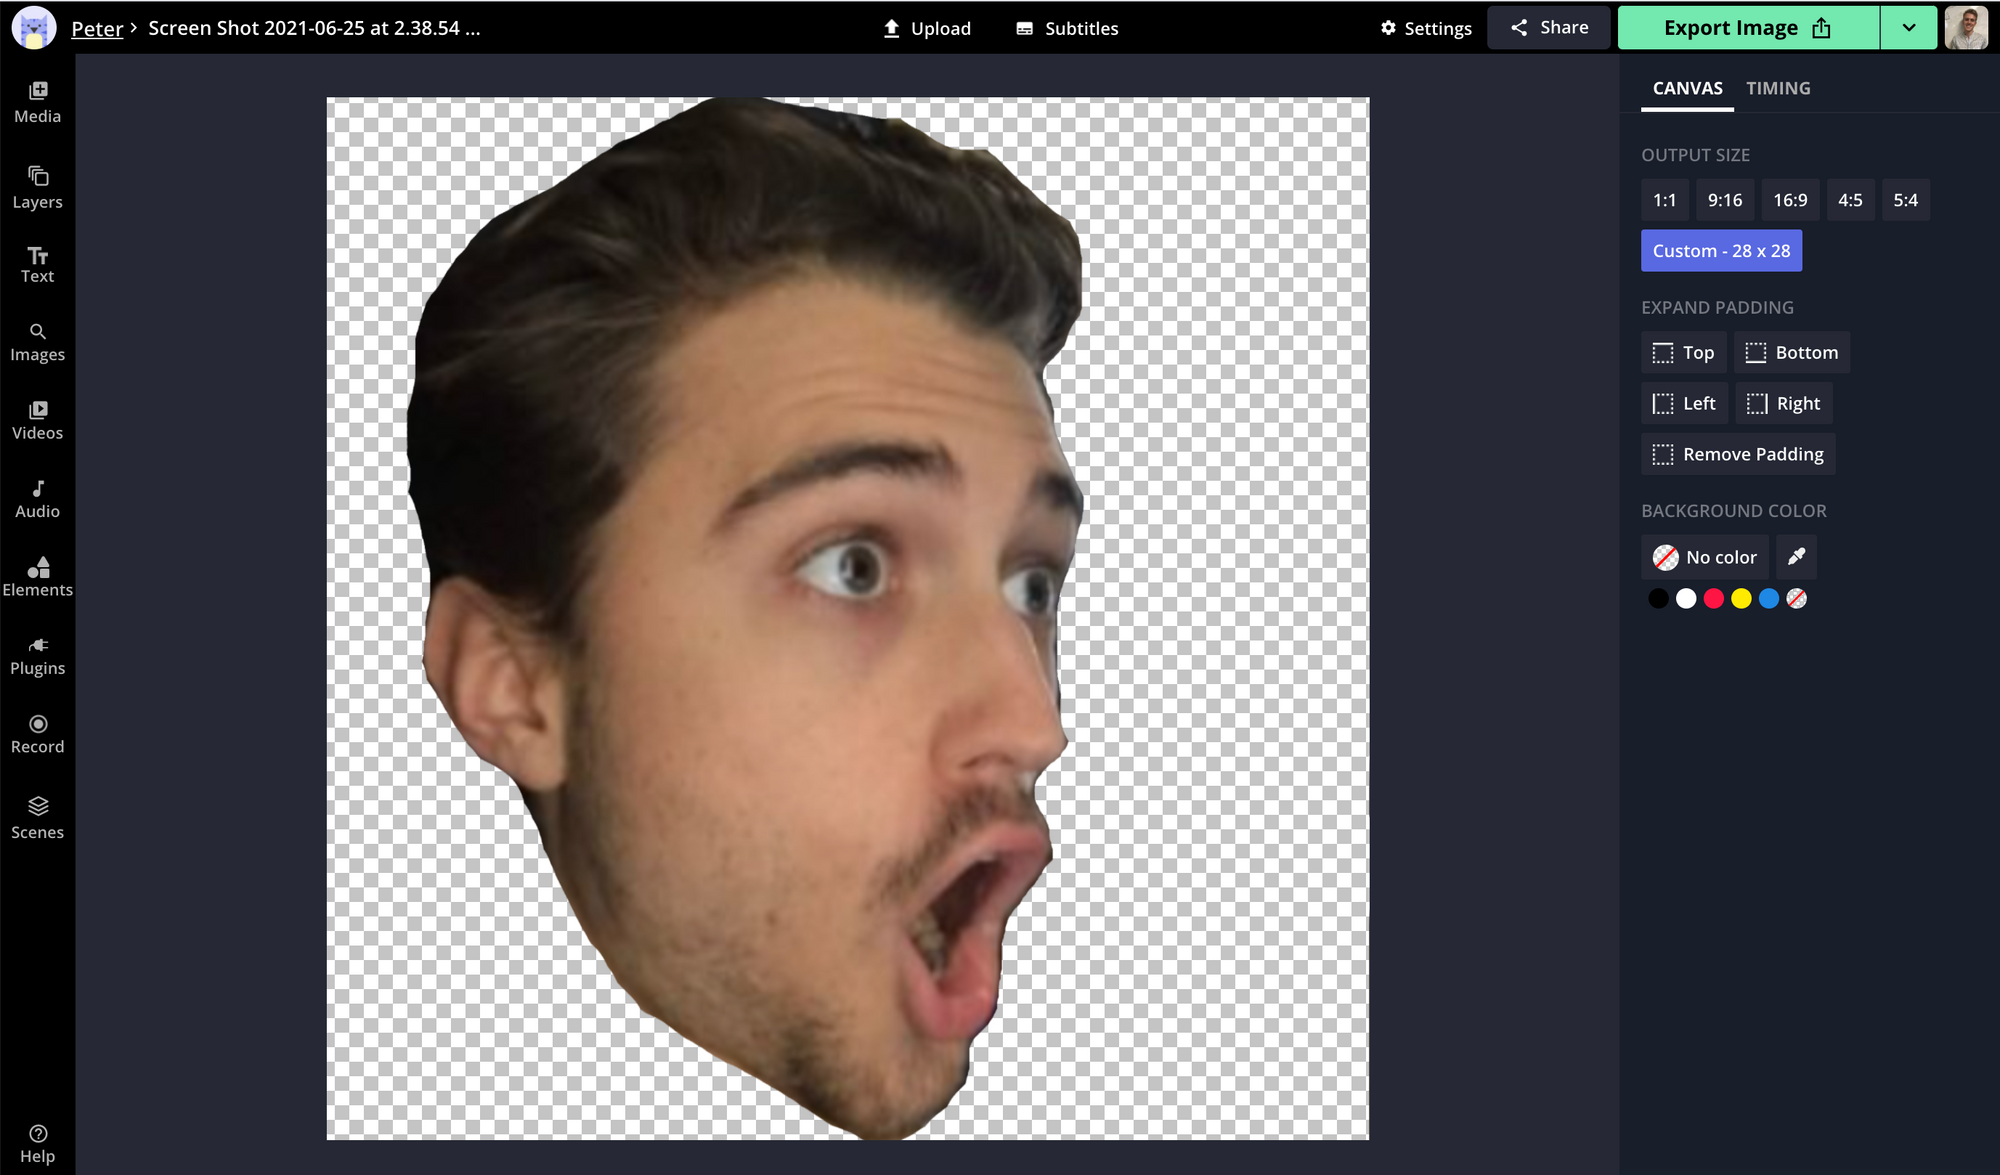
Next, look to the right under Output Size and select Custom Size. In the width and height box, enter 28 and click Done.
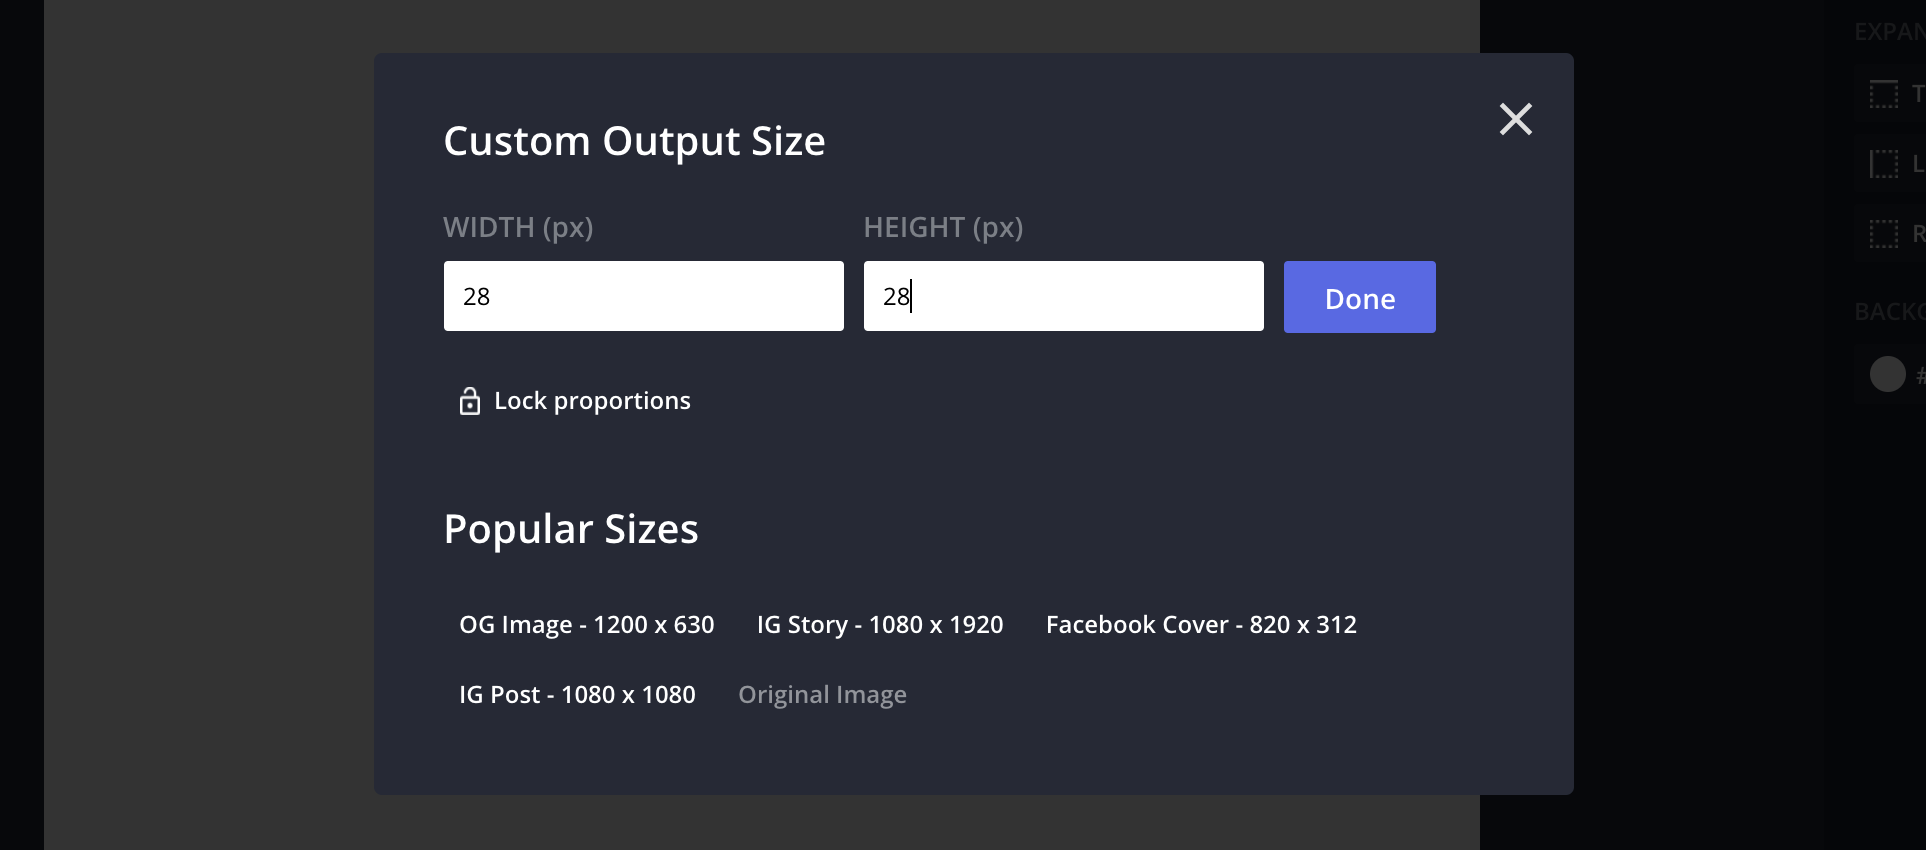
Before you move on, look to the right side under Background Color and select the last circle (it’s transparent with a red slash mark). This adds transparency to the background and ensures your image saves as a PNG file.
2. Add your picture or design
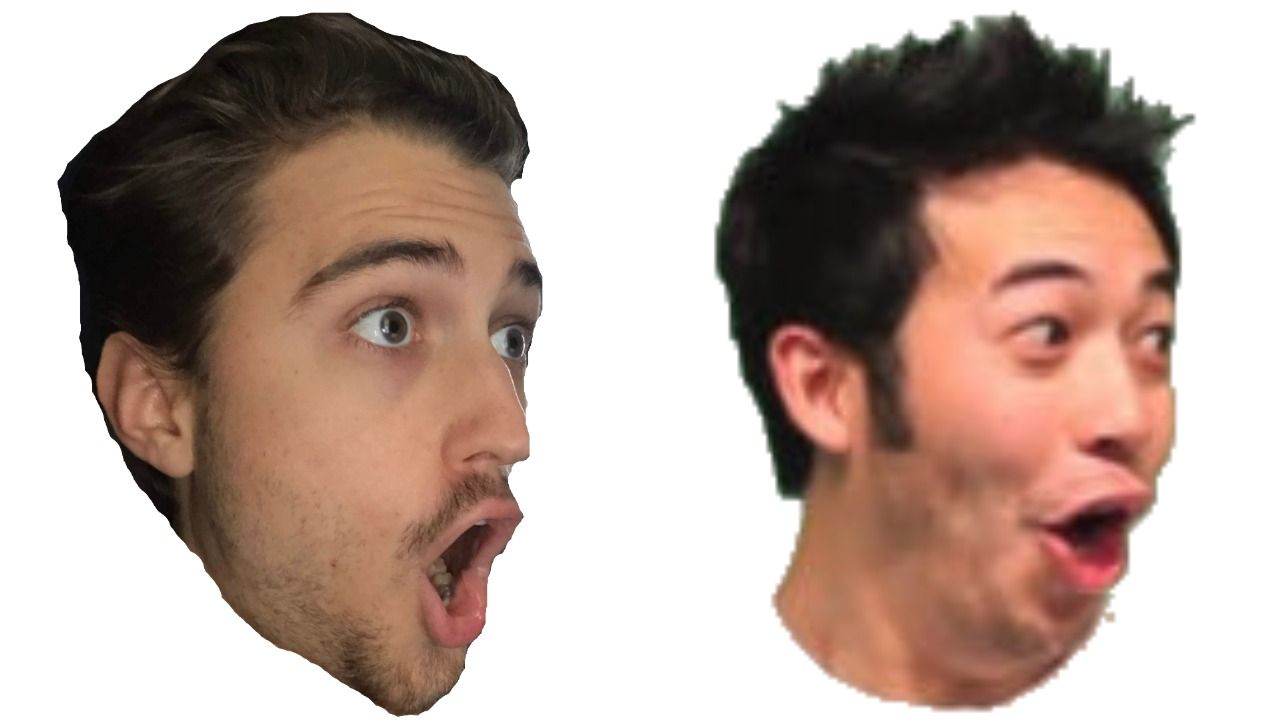
Now, you have two options for creating your emote. You can upload an existing image or create a new design inside Kapwing (read this article about designing in Kapwing). For this tutorial, I’ll be using a picture of myself modeled after the global PogChamp emote (on the left).
To upload an existing image, click Upload from the top of the window and add the image from your preferred storage.
3. Remove the background
Removing the background is important for two reasons: creating a PNG file and erasing things that distract from the emote. To start, click your image and look to the right under Image and choose the Erase tool. If you’re unsure how to erase, read our tutorial titled Remove Background from Image to learn more.

Since my image has a complex background, I’m using both the erase tool and the magic wand (learn about the difference here). Here’s a look at the before and after:
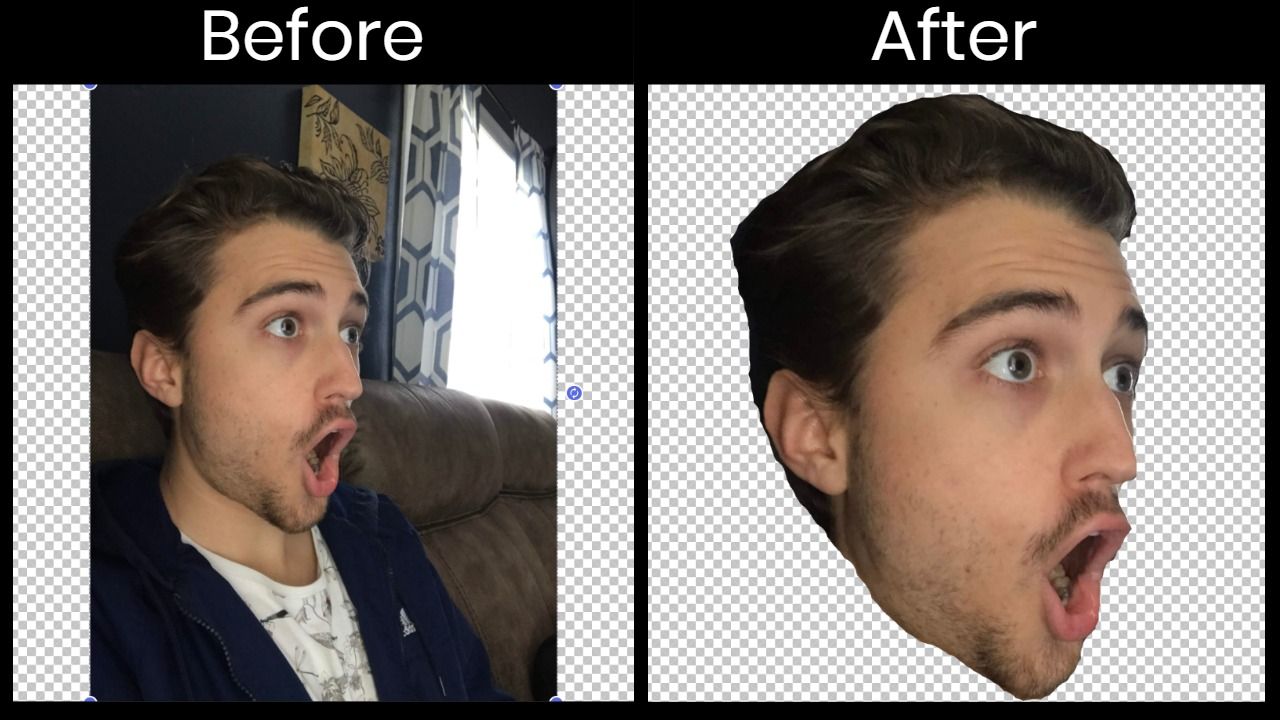
Quick note: don’t worry about perfectly cutting out your image. Because the emotes are so small, no one will notice imperfections.
4. Download each emote size
Twitch requires three sizes of each emote (28 x 28, 56 x 56, 112 x 112). So, go ahead and click Export in the top right to process and download the first variation.
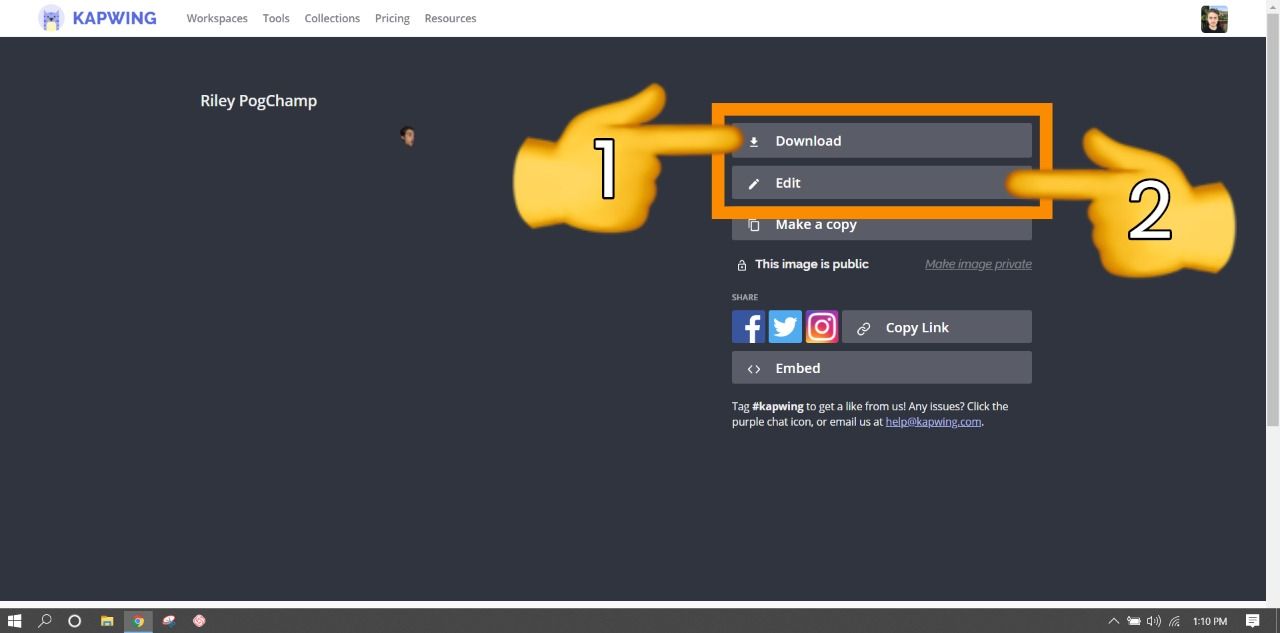
Once you’re on the download page, click Download, store and name your file. While still on the download page, click Edit to open the Studio where you can resize your image. Repeat the process from step 1 to create the 56 x 56 and 112 x 112 variations and download each one when you’re done.
If you're not signed into a Kapwing account, sign in or sign up using your Google or Facebook account – once you've signed into a Kapwing account, the watermark in the lower right corner will be removed from your final image.
5. Upload to Twitch
If you’re a Twitch affiliate or partner, go to Twitch and open your Creator Dashboard. Once you’re there, click the menu in the top left corner, open Preferences and choose Affiliate or Partner (depending on your status). Under Subscriptions, choose Emotes, scroll down and start uploading your images.
When you’re finished, enter a Unique Code to describe your emote, click Save Changes and enjoy your new Twitch emote.
Remember to tag us @KapwingApp whenever you share your content on social media – we love to see what our creators are passionate about. And be sure to subscribe to the Kapwing Resources page – we’re constantly writing new tutorial and features to help you make the most out of Kapwing.
Related Articles: