Twitch Alert Sound: How to Create Them and Add Them to Your Stream
Looking to add some alert sounds to your Twitch stream? I'll show you how to download them, create your own, and add them to your stream.
The world of streaming is continuing to blow up, and that is largely due to the success of Twitch, a streaming platform that has put the form of media on the map. As the website has continued to grow and expand, so has the toolset it provides streamers with to help make their streams their own.
This includes the use of alert sounds, which a streamer can use to signal a certain kind of action taking place. From a new subscriber to a new donation, an alert sound can make the the streaming experience feel all the better.
Better yet, you can completely customize your alert sounds, either uploading your own or using already-made sounds from a large library of alerts. I'll show you how to use Kapwing to download or create the right sounds for your own custom Twitch alerts. Here's what you should know:
- Add Alert Sound Extension to Your Twitch Account
- Create Alert Sound in Kapwing
- Add Alert Sound to Twitch
Step One: Add Alert Sound Extension to Your Twitch Account

Go to Twitch and sign into your account. On the main page, you will see your profile icon in the upper-right corner of the screen. When you click on this, a drop-down menu will appear. Select Creator Dashboard.
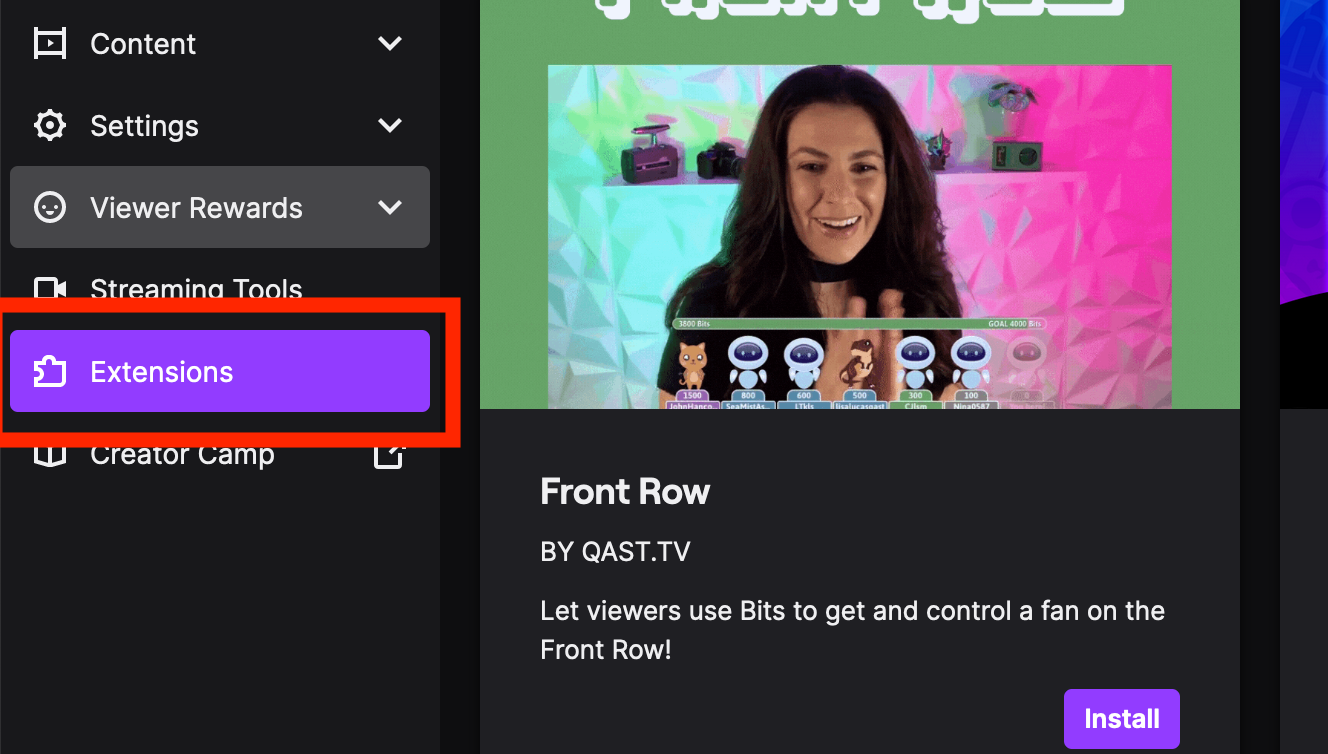
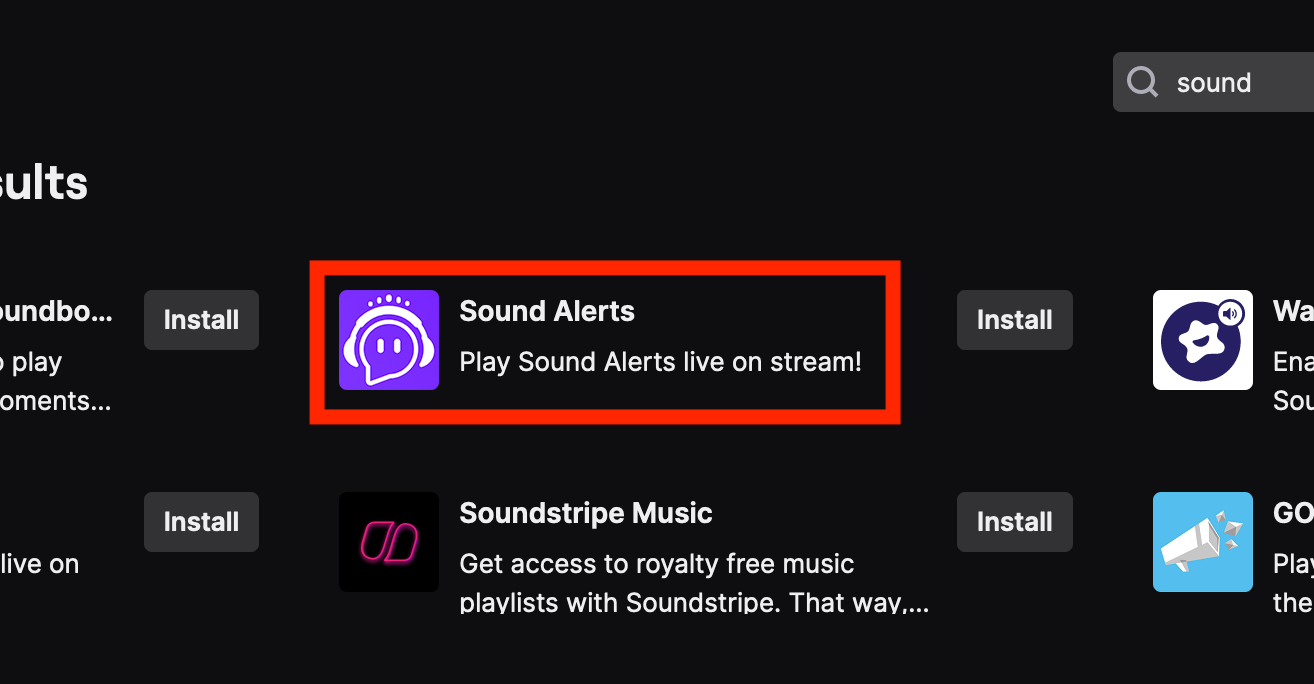
On this next screen, you will see a variety of options on the left side of the window. You will want to click on Extensions. Use the search bar here to find the Sound Alerts extension. When you find it, click on Install next to it.
When the extensions is installed, you will be taken to soundalerts.com. This is where you will choose what alerts you want to use, but for now, we can leave it alone.
Step Two: Create Alert Sound in Kapwing
You can choose from a huge variety of alert sounds on the website itself, but for those of you who want to use their own, unique alert, then Kapwing can help you create the perfect sound. I recommend uploading an audio file from your computer, pasting a link to a YouTube, Instagram, Twitter, or TikTok video with the sound you want to use, or using the Record tool to use your own voice or instrument as your alert.
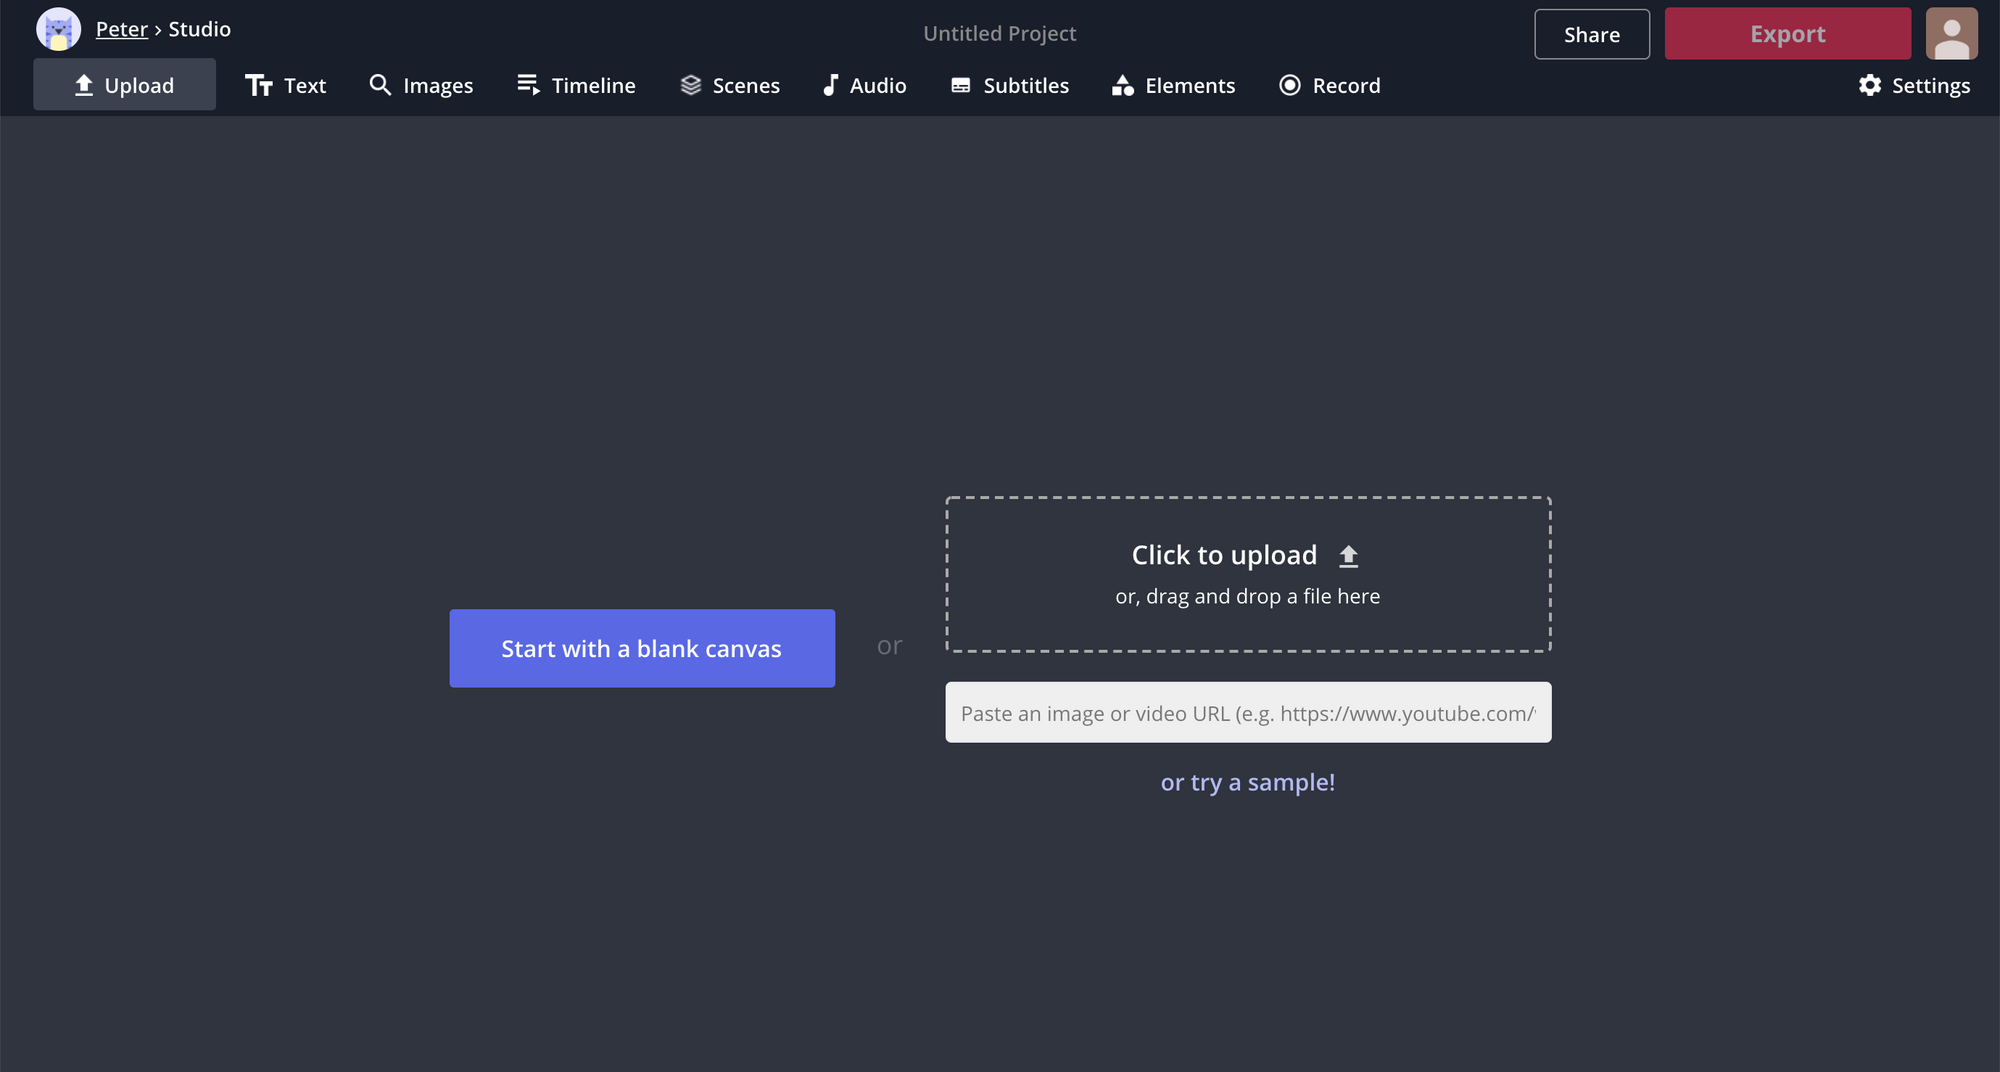
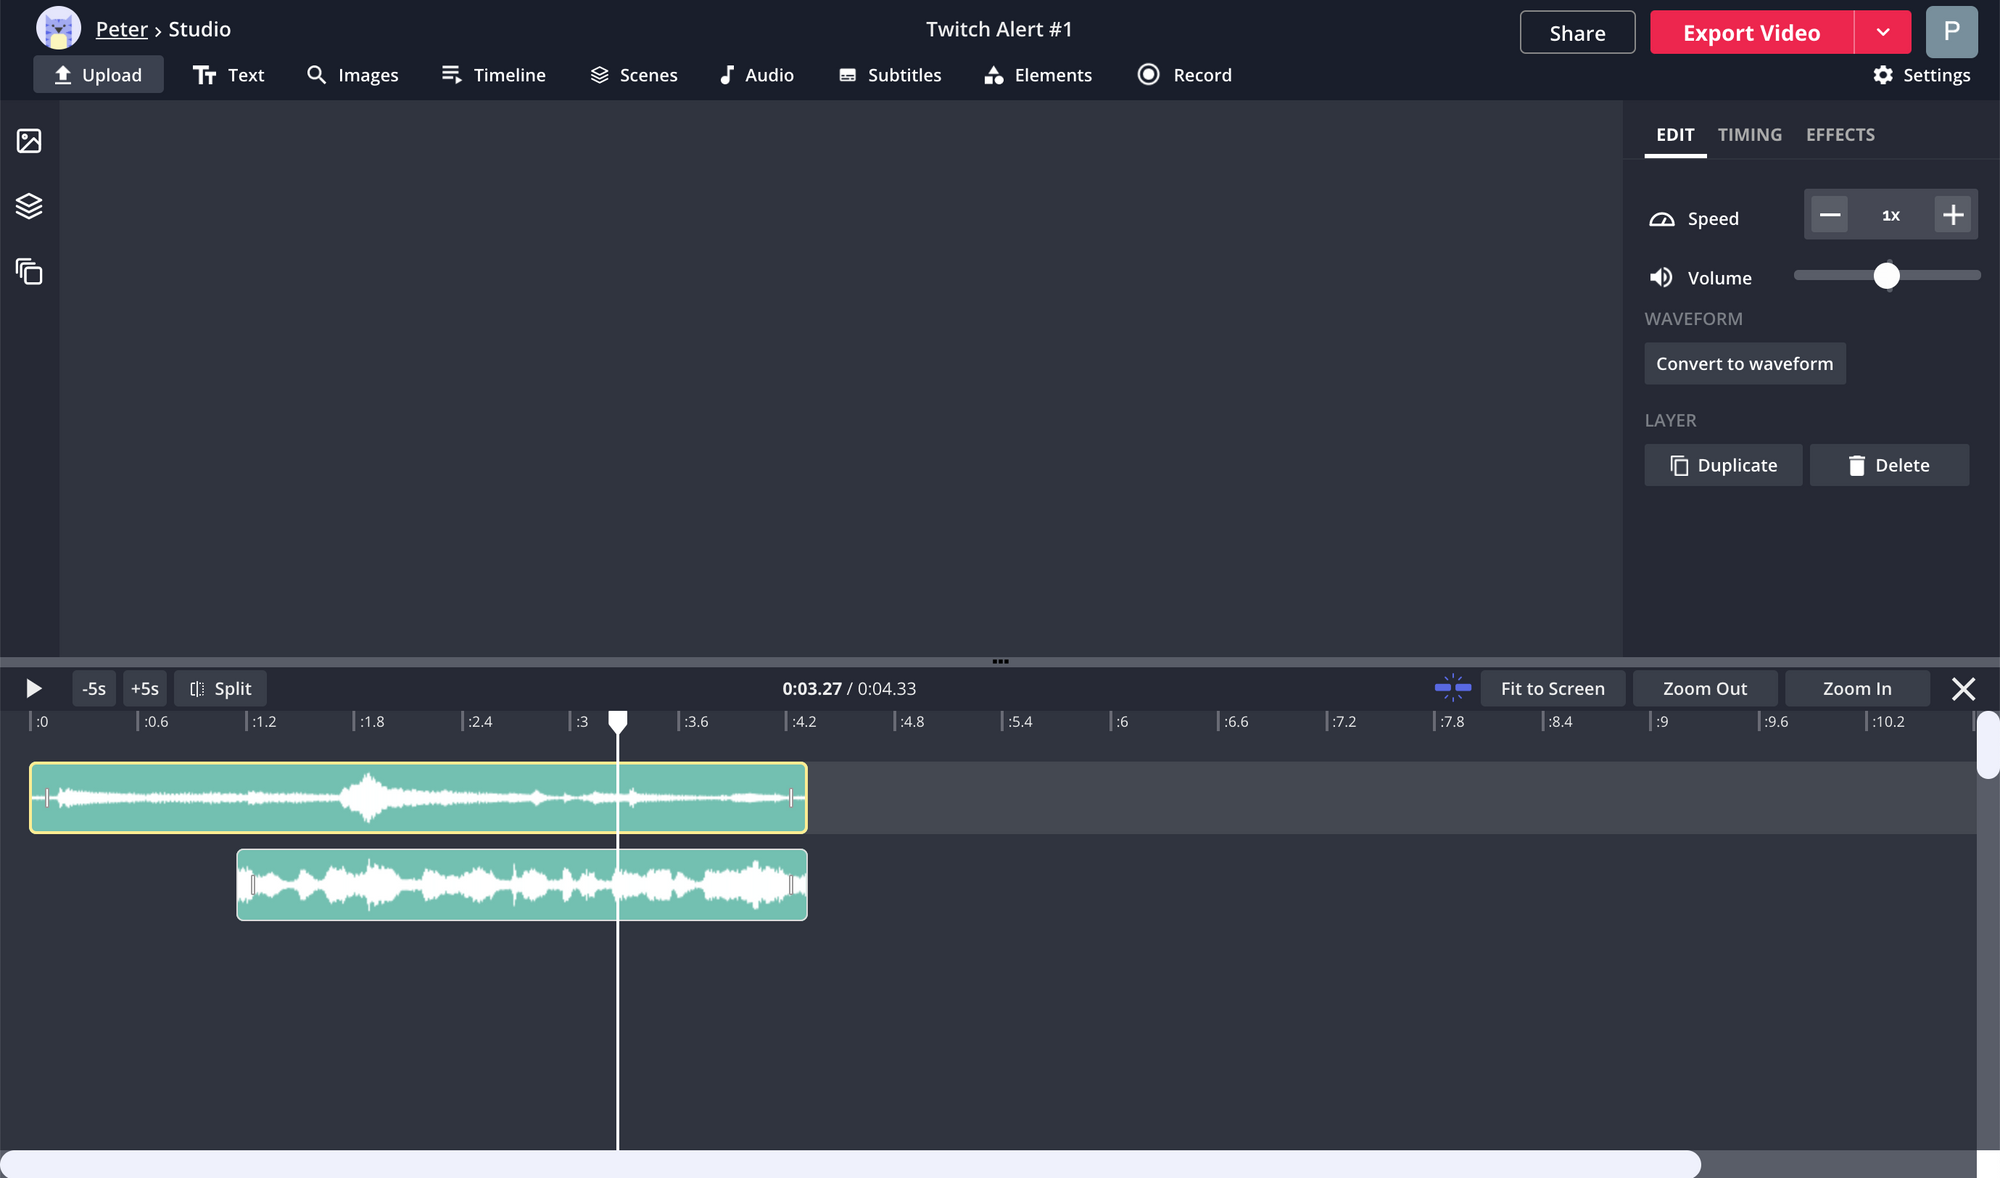
Head over to the Kapwing Studio. Here, you can manipulate your audio in various ways. If you look on the right-side of the screen, you can see that you can change the speed of the audio, volume, and even create duplicate layers. You can also add some effects to it, as you wish.
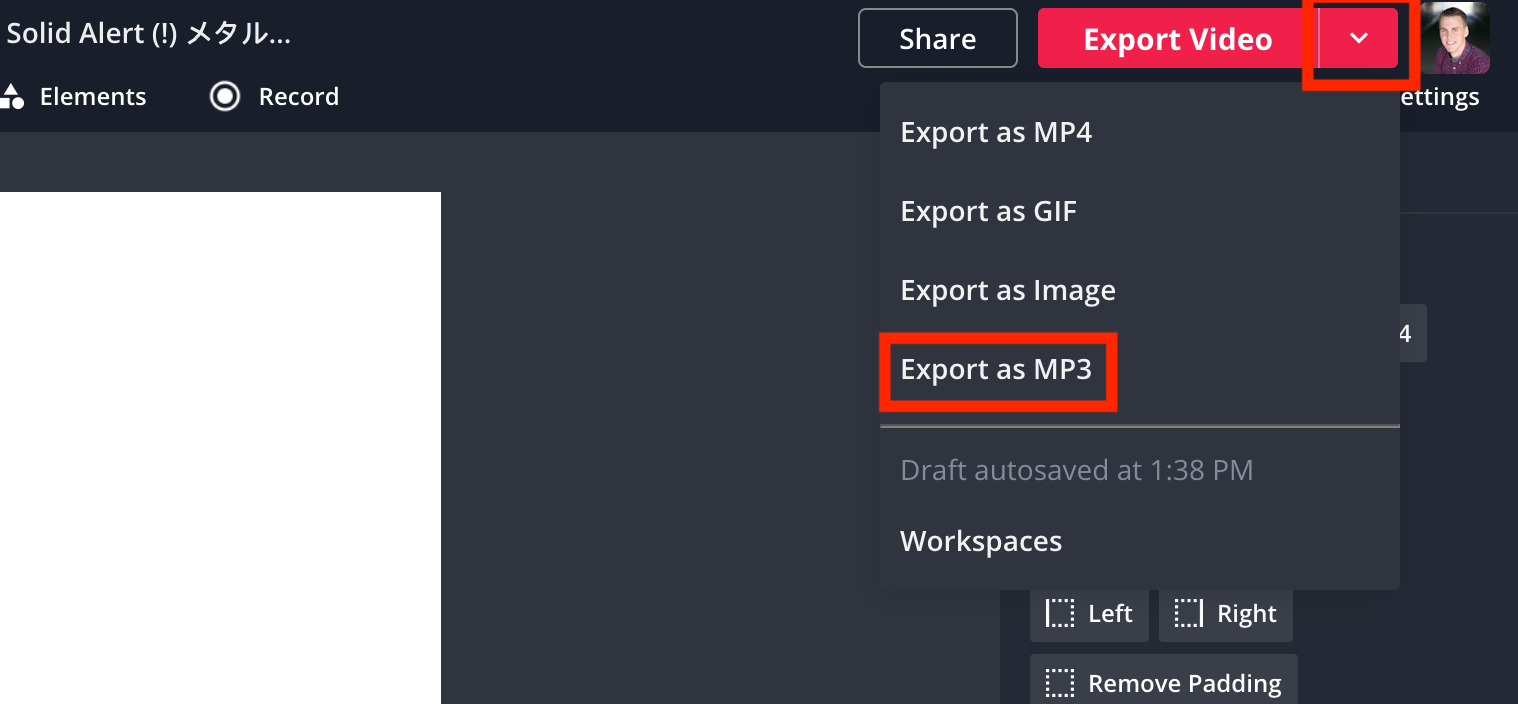
When your audio is where you want it to be, you can click on the arrow next to Export Video to select Export as MP3. This will send the audio file to process on Kapwing’s cloud services.
You will be taken to a new screen where you can choose what to do with the audio file. For the purpose of this guide, you will want to download the file to your computer.
Step Three: Add Alert Sound to Twitch with Streaming Program
In order for you to use alert sounds on your stream, you are going to want to use a third-party software to help while you stream. I recommend using StreamLabs, though you can also use platforms such as Muxy and StreamElements.
I will be using StreamLabs for this guide, so when you go to the website, you will be prompted to link your Twitch account. Do so, and then you will be taken to the dashboard for the site.
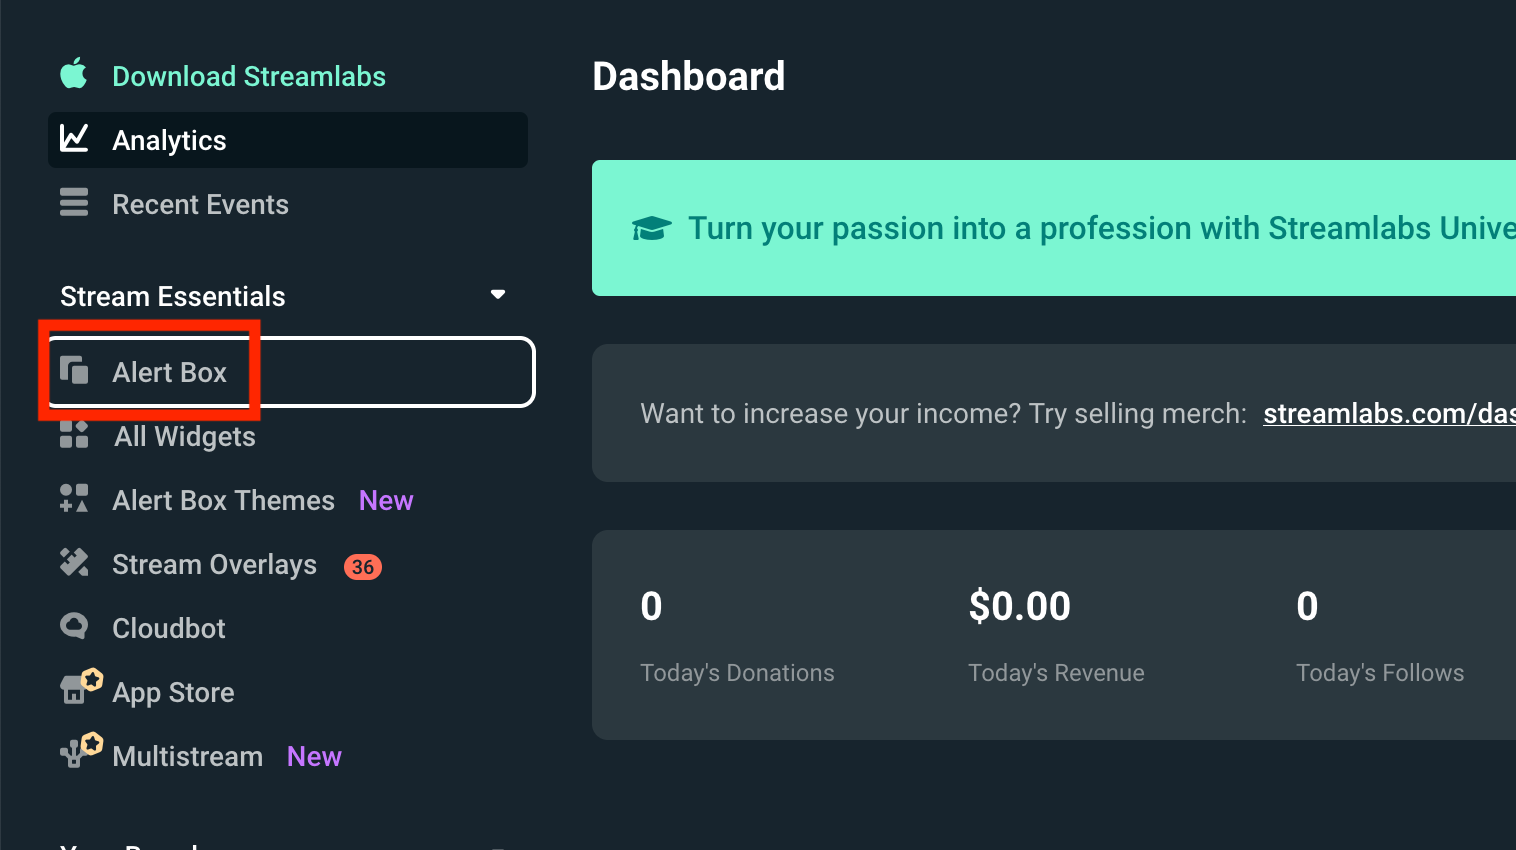
Here, look to the left-side of the screen to see a bunch of different pages you can go to. Click on Alert Box to be taken to the window where you can customize your alerts for your stream.
Midway down this page, you will see all the different options you can choose to customize, such as Subscriptions, Donations, and more. Choose whichever one you want this alert sound to be a part of.
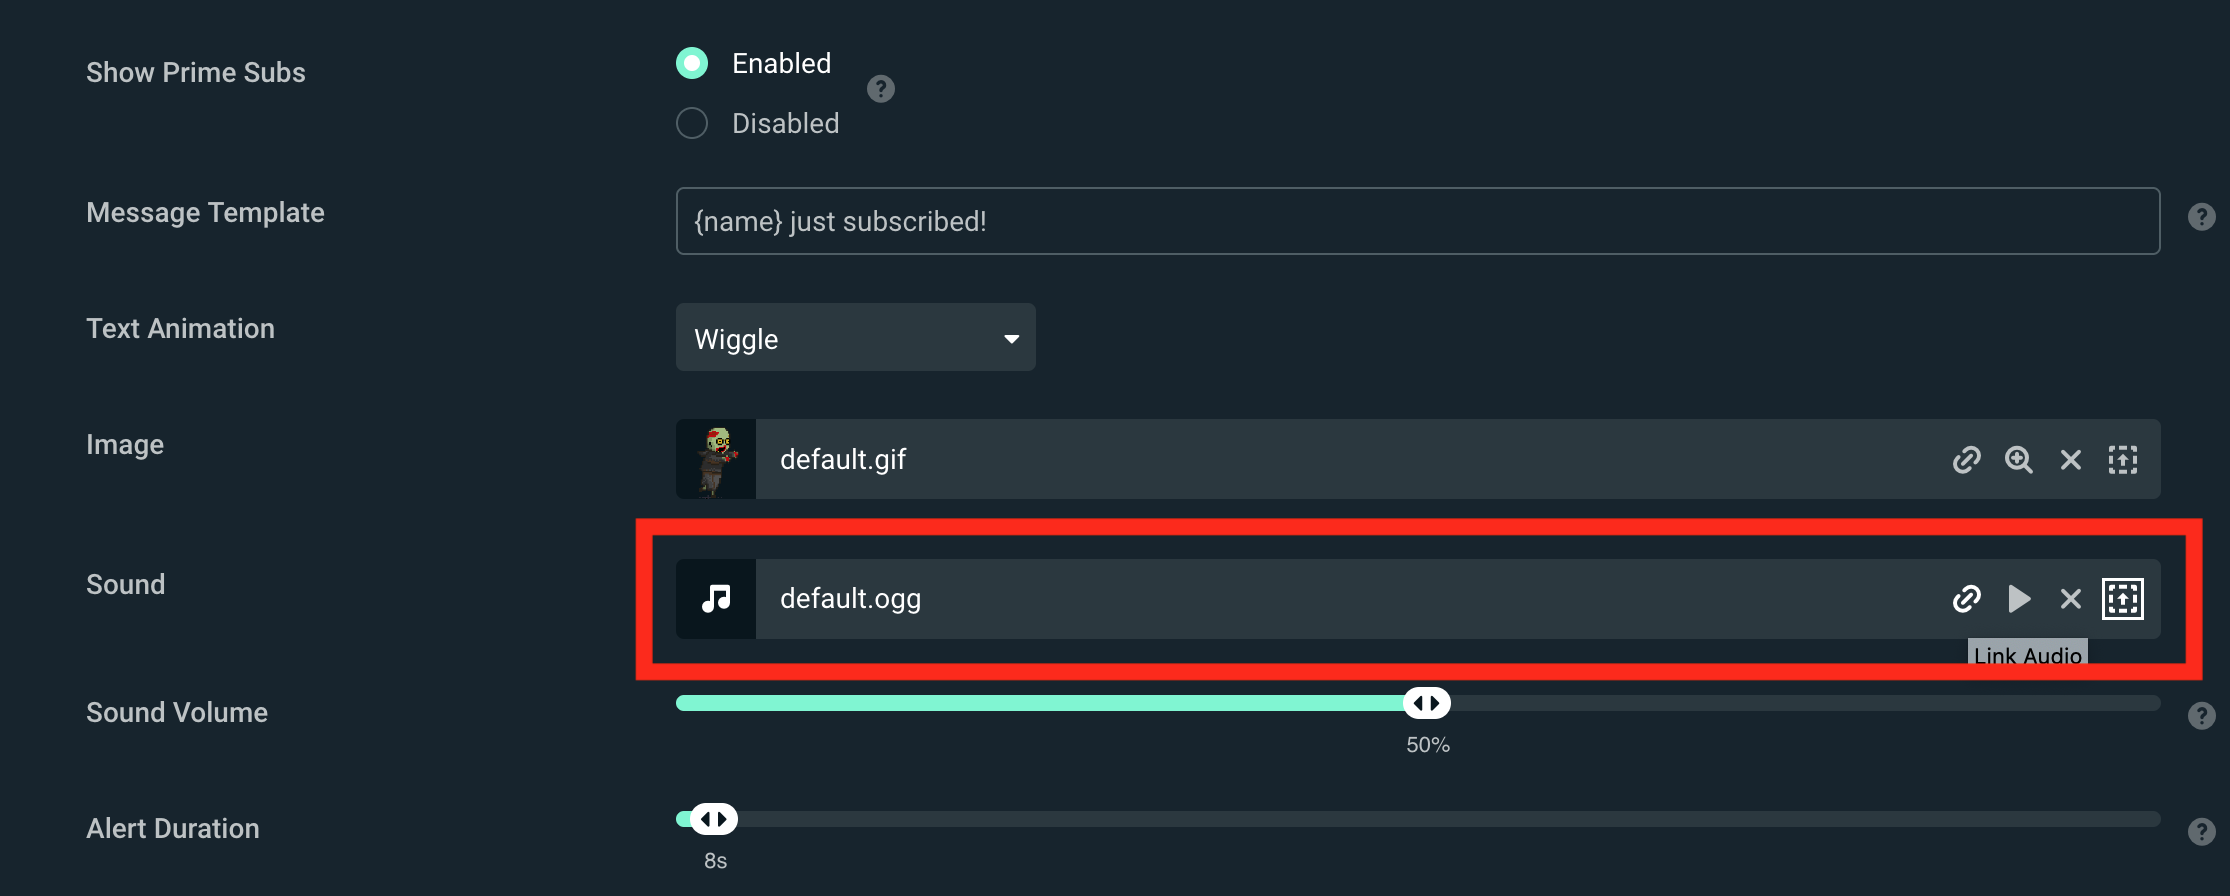
Scroll down the page until you find Sound. On the right-side of this section, you will see the option to upload an audio file. You know what to do: click on this and upload your sound file to the profile.
When it’s done, scroll down to the bottom of the page and click on Save Settings.
It’s as easy as that, and now, your alert sound is ready to use whenever you stream next. Until then, heck out Kapwing on YouTube and Instagram for more online tutorials, as well as follow us on Twitter for updates and news for our online video editor.
Related Articles