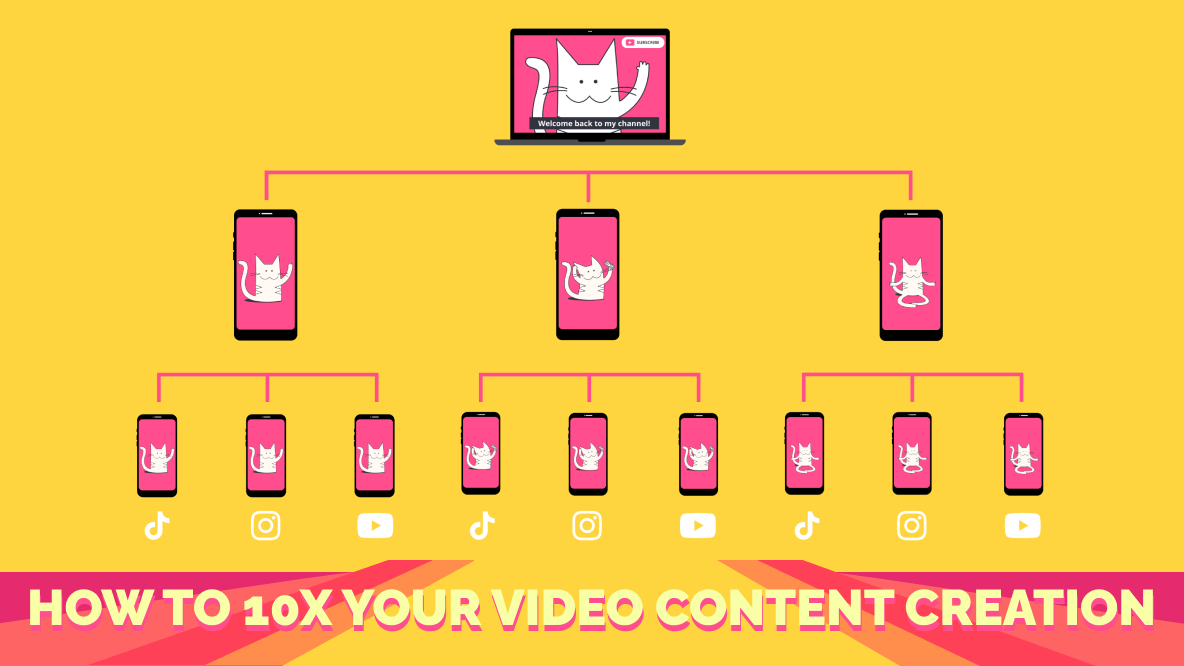
How to 10x Your Video Content Creation Without 10x the Work
Looking for a faster content marketing strategy? In this article, I'll show you how to make more video faster using a simple formula and a couple of great tools.
Everyone always tells you to work smarter, not harder. But no one ever seems to explain what exactly that means when it comes to content creation, especially video content creation. Let's face it, building a video-first content strategy is daunting. How can you actually make video faster to feed the content machine without burning yourself out?
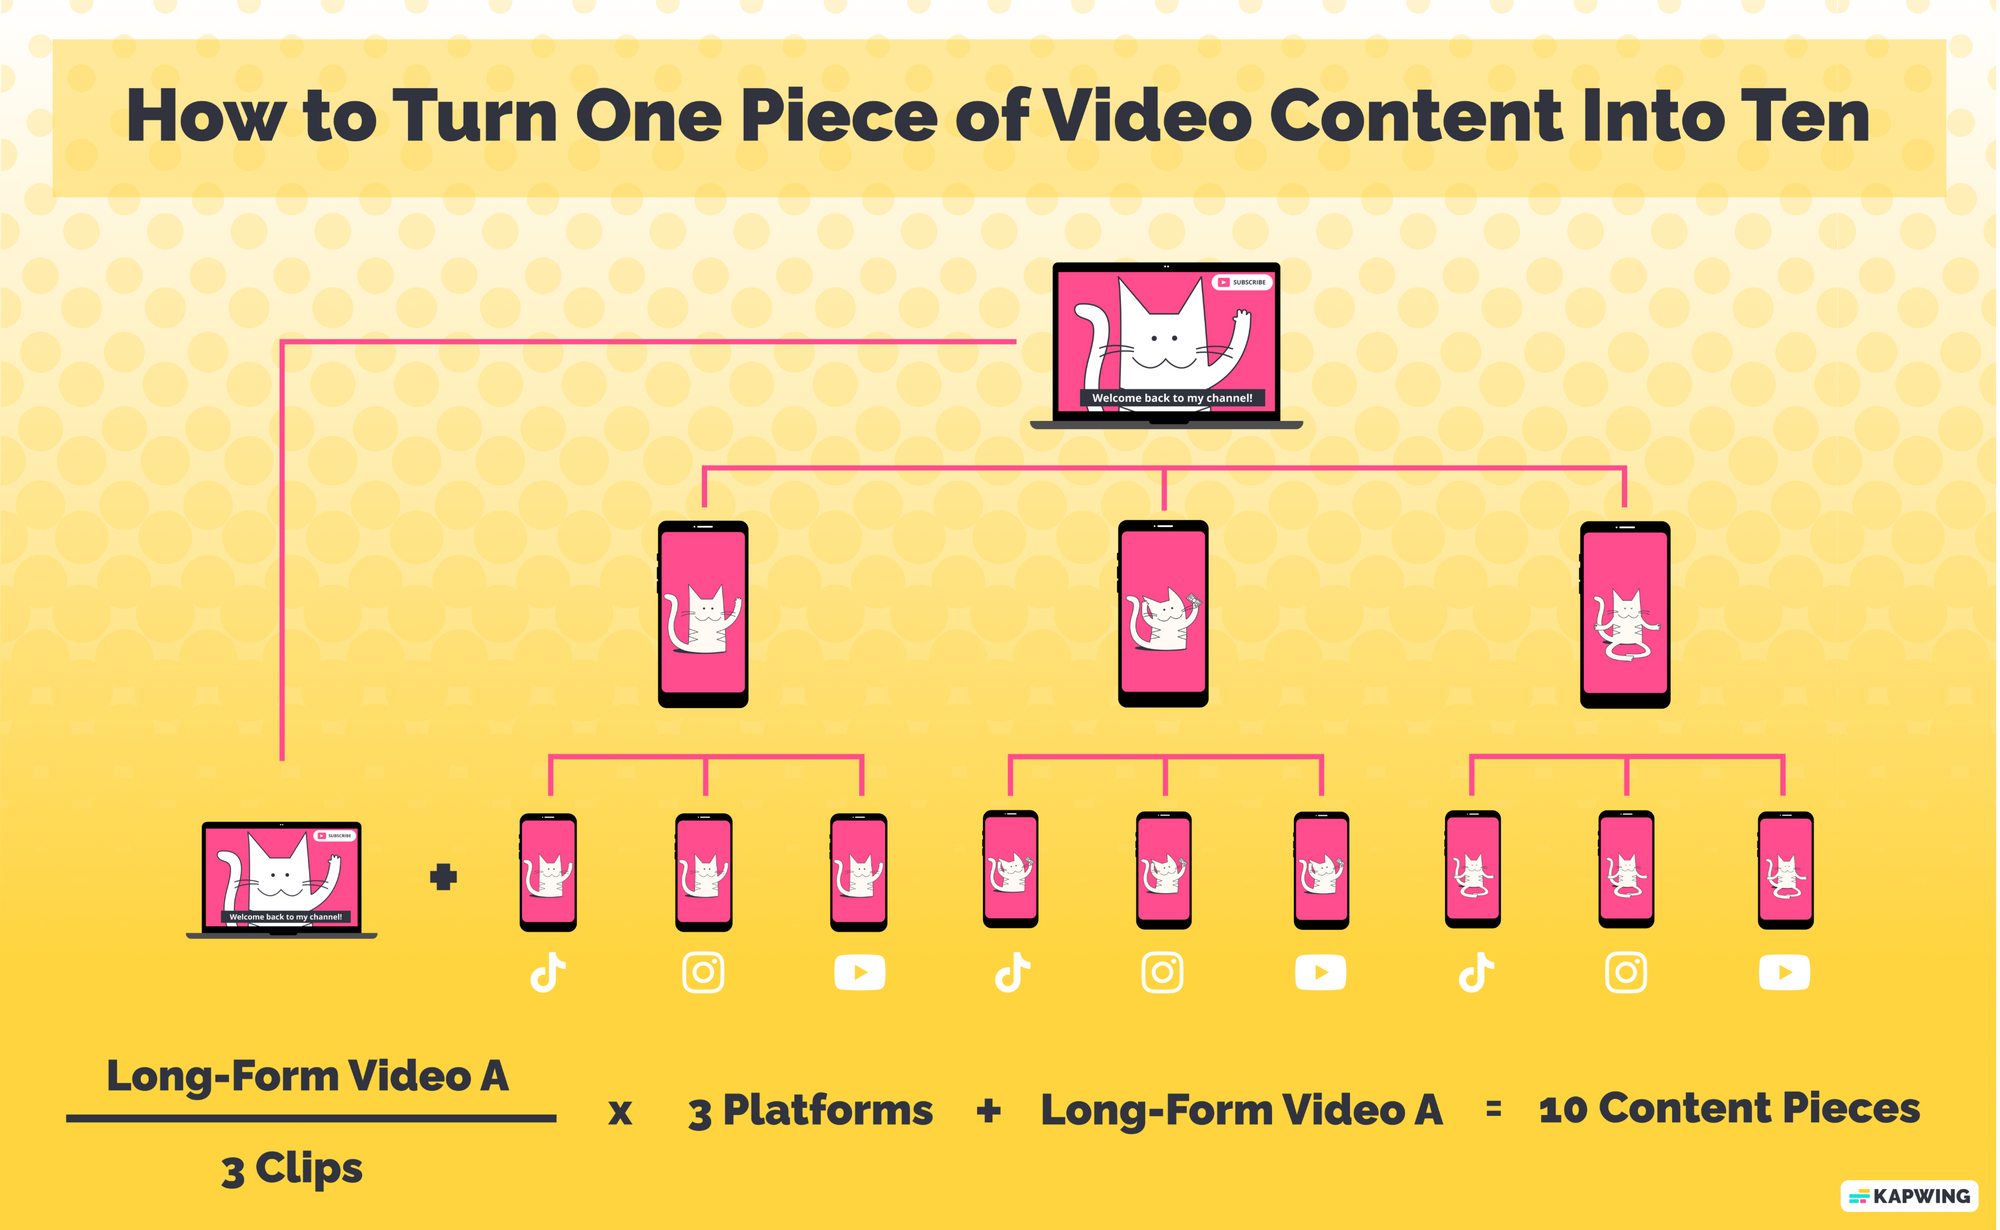
One quick and easy way to scale your content production is by following this simple formula:
And because I don't believe in gatekeeping, I'm going to tell you exactly how to use this formula as well as share some tools that will speed things up even more.
Let's get right into it.
Step 1: Choose a Piece of Long-Form Content
Repurposing existing content is one of the fastest ways to create more video content without creating a ton of extra work for yourself. The great thing about this formula is that it works for all kinds of long-form content, too. Webinar, YouTube video, live recordings, even a podcast.
No matter the original format, the key thing to look for at least three "clippable" moments.
These should be short snippets that are entertaining, informative, or otherwise valuable even without the context of the full video. Try to keep these clips between thirty and sixty seconds long. That will give you the most options when it comes time to decide which social media platforms you want to share your clips to.
More on that in a moment.
First, it's time to chop up that original video.
Step 2: Cut Your Long Video Into Three Clips
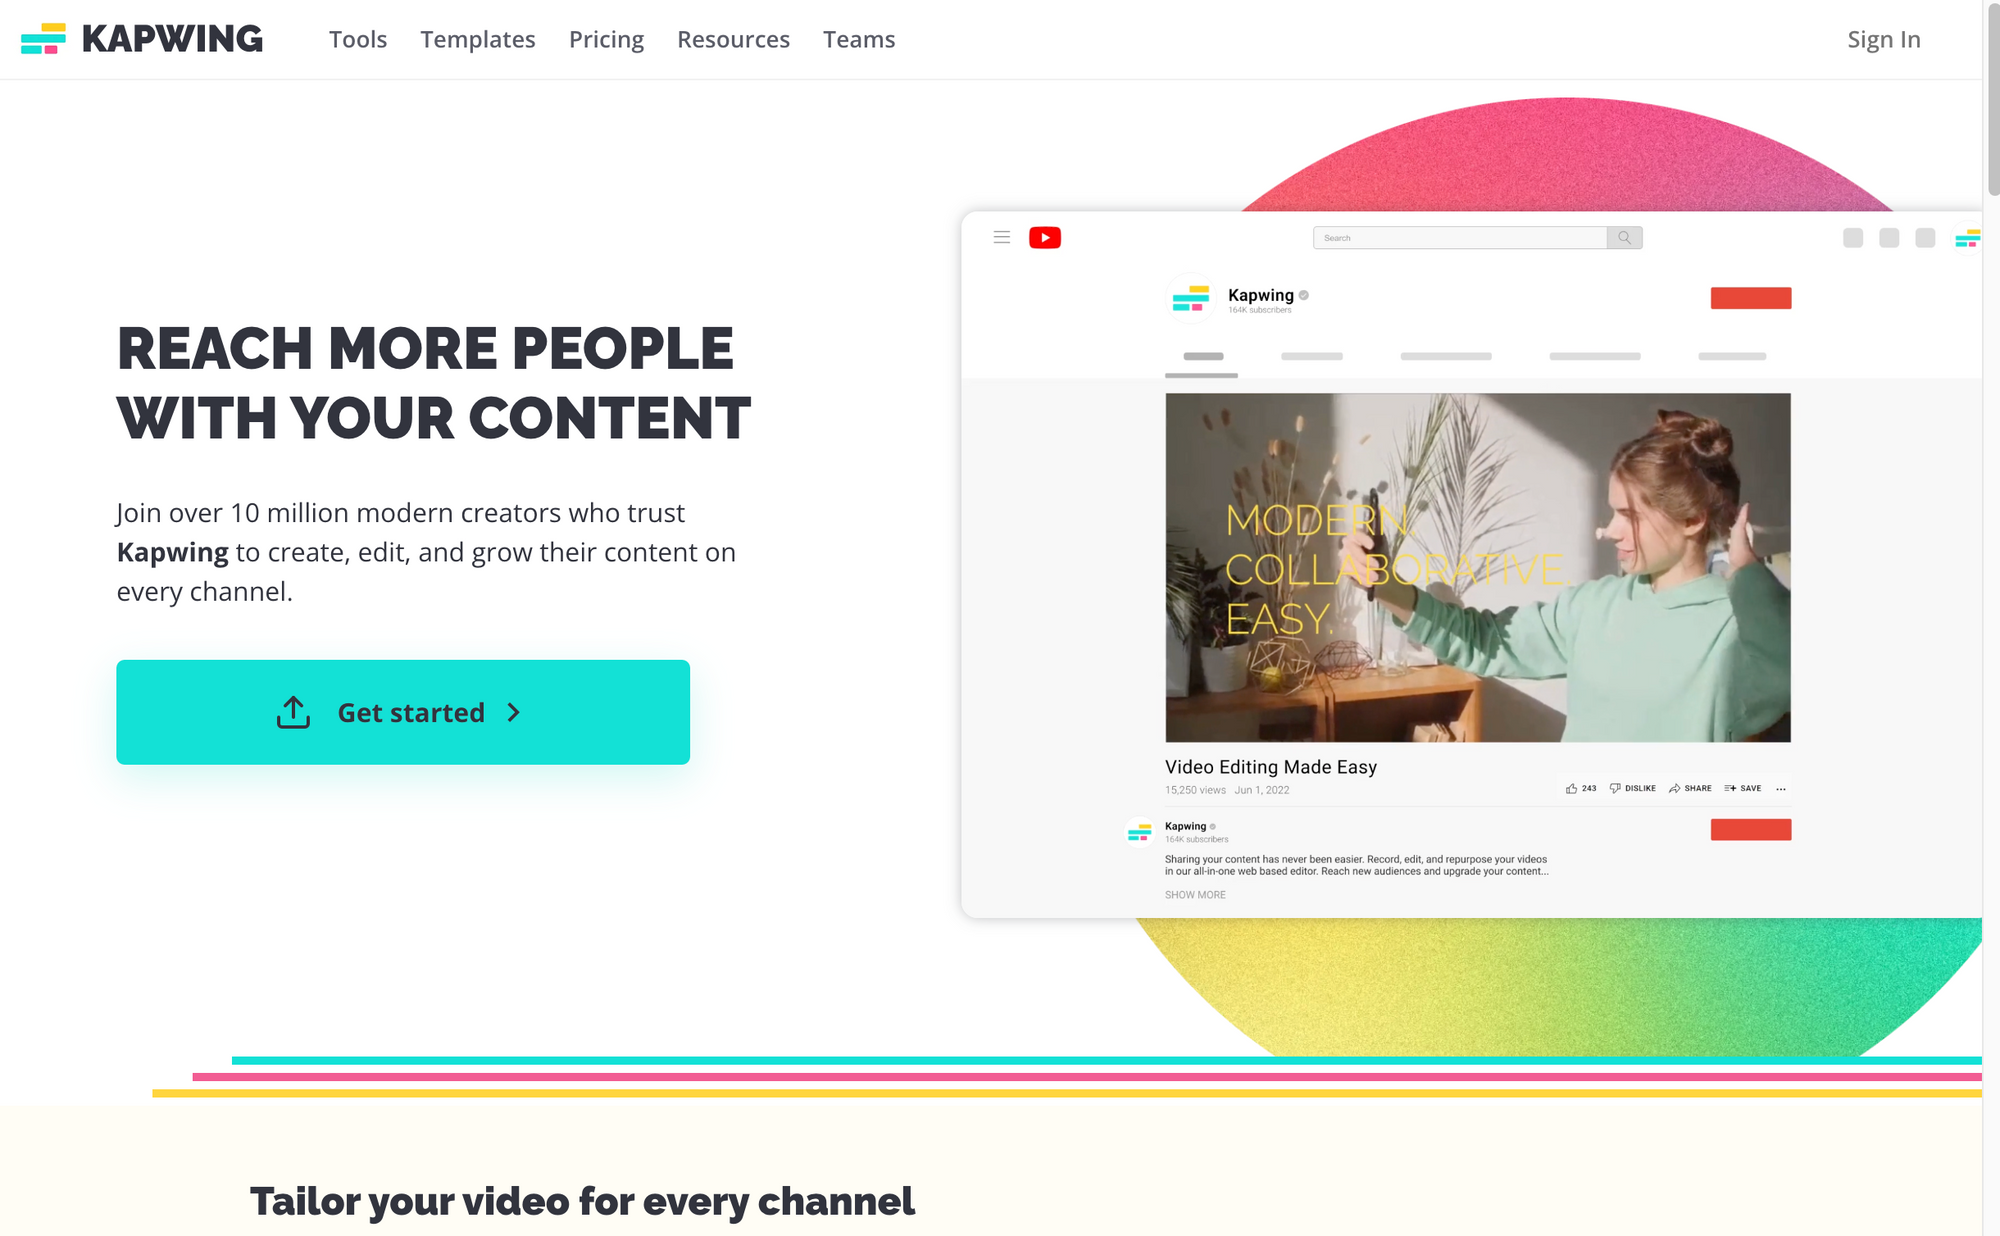
Load your long-form video into your video editor of choice. I recommend using Kapwing, a browser-based editor. It's convenient to use but it also has a couple of specific tools that make this whole process so much easier.
Head to Kapwing.com and click Get Started.
You'll be prompted to sign into your account if you're not already and from there will be able to create a new project. When you open a new project, you'll see the upload tools.
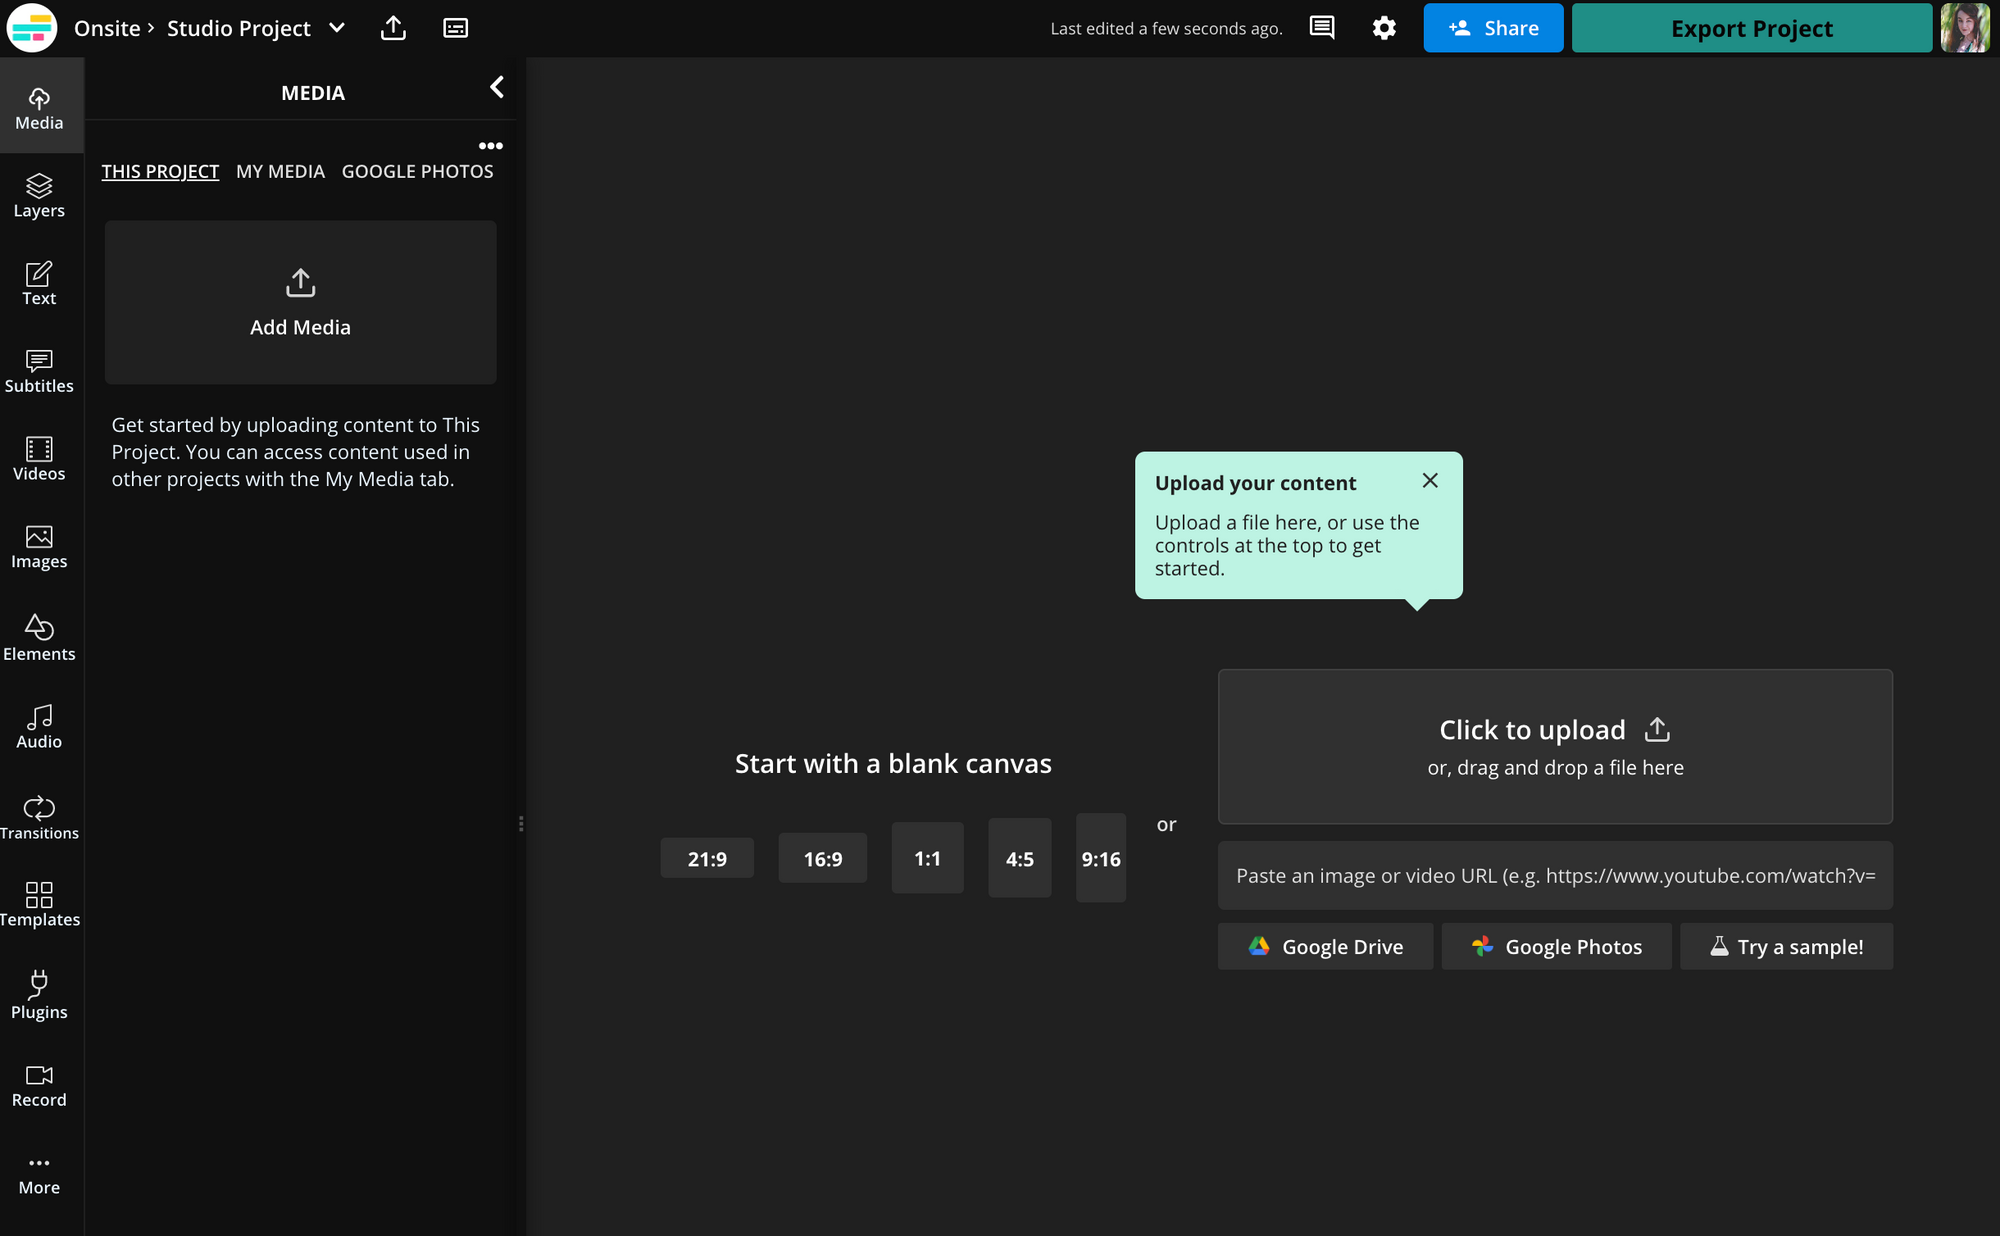
You have the option to drag and drop your long-form video file from your device, upload from Google Drive or Photos, or paste a link if you've already published elsewhere online.
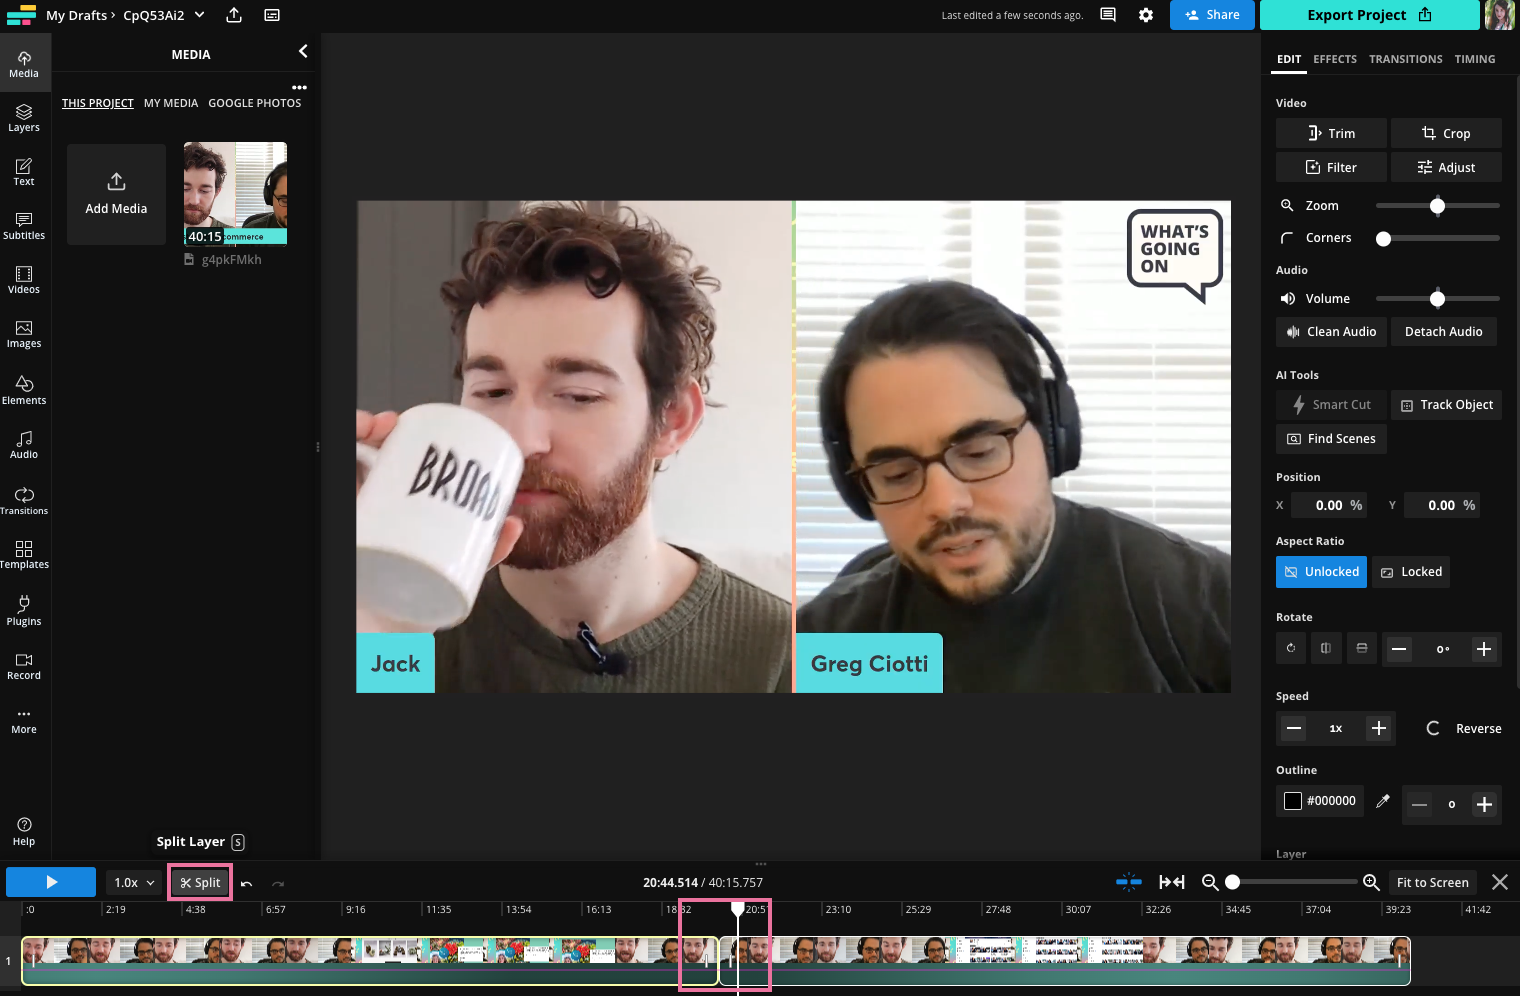
Once you've got your video uploaded, find your first clip in the timeline. Use the Split tool to mark the beginning and end of the clip and separate it from the rest of the footage.
To delete the extraneous footage, hold shift and select the newly separated clips at the same time. The right click on your selection and click "Ripple Delete." This will delete both selected clips and move the remaining clip to the beginning of the timeline at the zero second mark.
You'll need to repeat this step two more times in separate projects to create the other two clips. You can create a new project from your workspace in Kapwing.
Before you do that, though, let's turn this one clip into three social media posts.
Step 3: Turn Each Clip Into Three Social Posts
If you're working with a horizontal aspect long-form video as your source material, the first order of business is to resize your clip to 9:16. This can prove tricky, especially when you take into consideration the different platform interfaces and how they can interact with and obscure the content of your video.
There's a tool in Kapwing that solves both of those problems at once: Safe Zones.
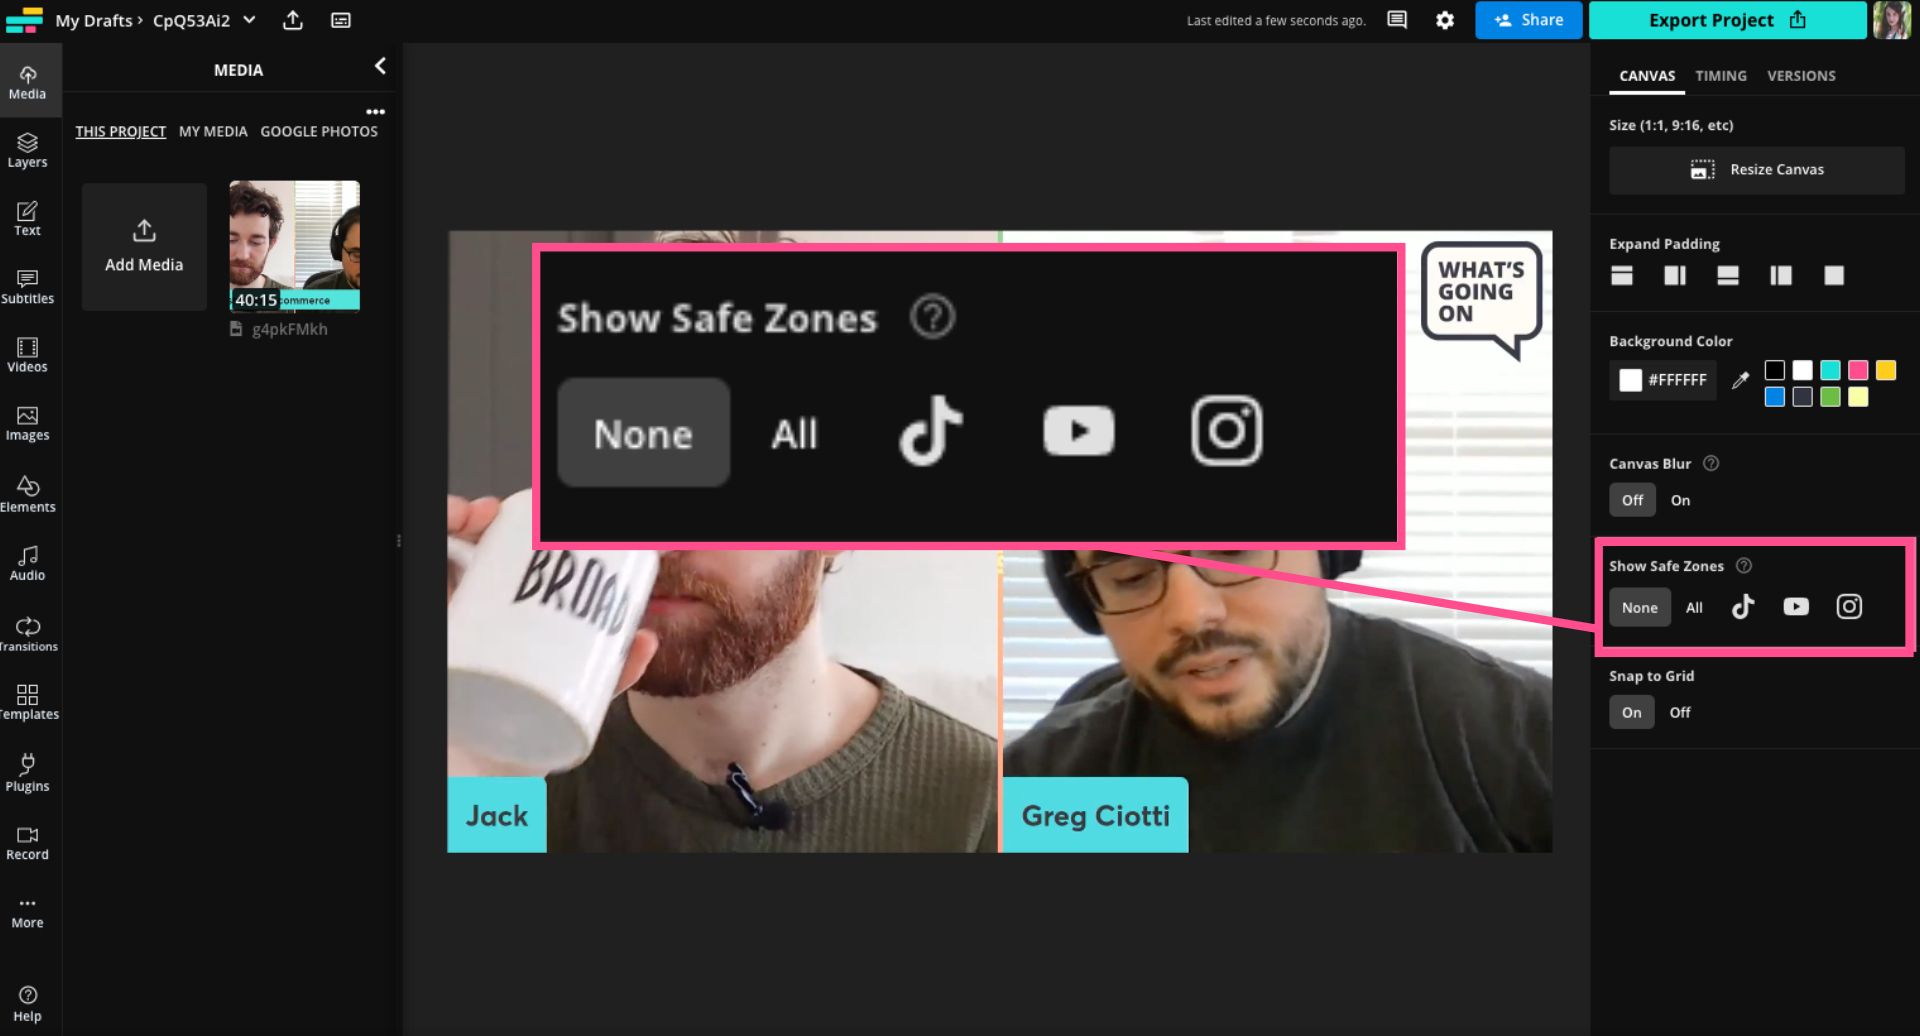
To turn on Safe Zones, select the canvas (click on the dark background behind the video preview in the editor). Scroll down in the right side menu until you see the option Show Safe Zones.
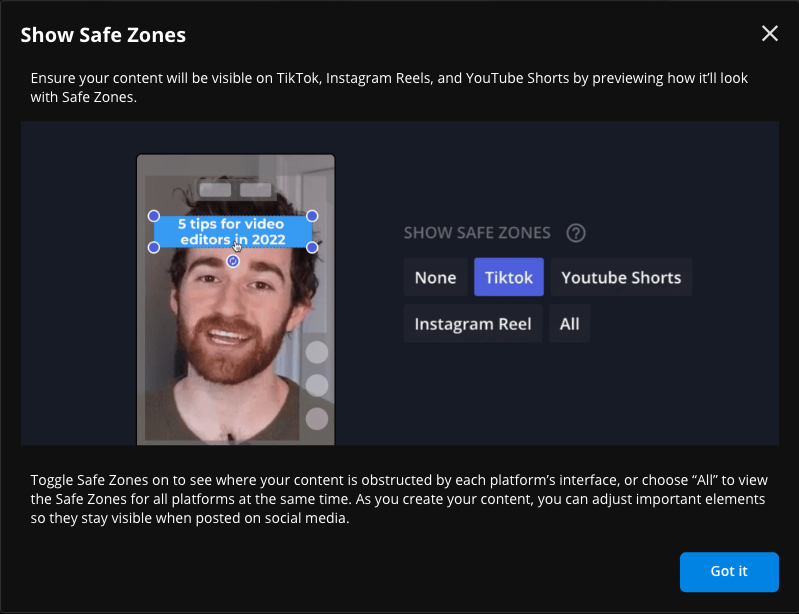
Safe Zones shows you a preview of how your clip will look on a social media platform by placing a transparent overlay over your video in the editor. Whatever's not covered by the overlay is a "safe zone" to add on-screen text, animations, autocaptions, and any other elements you want viewers to see.
You have the option to show Safe Zones for TikTok, Instagram Reels, YouTube Shorts, or all three. For this 10x content formula, hit "All."
That way, you only have to edit the video once and you can optimize for all three platforms.

When you hit "All," you'll see a pop up asking letting you know that Safe Zones will automatically resize your content to 9:16. Confirm by clicking "Resize Canvas."
Once your clip has been resized, you'll see the transparent overlays on it, showing the safe zones for Reels, TikTok, and Shorts. Safe Zones will default crop to the center of your video, so you may need to adjust the crop on your content to show the part of your video that you want.

To do so, double click the video preview to open crop. When you see the blue lines and arrows on the edges of the frame, drag the content inside the frame until it lines up with what you want shown. Then simply click crop.
At this point, I recommend adding captions using the Magic Subtitles tool. It's not mandatory but frankly, it's 2023 and if you're not adding captions to your social video, what are you doing?
Click the Subtitles tab in the left-hand side bar and then click "Generate Subtitles." It'll take a little while to process and transcribe the subtitles. When it's ready, you'll be able to see the full transcript on the left as well as the captions on the video preview.
Grab the text box and drag it up into the clear "safe zone" area. You can also adjust the size of the text box by dragging the edges of it or adjusting font size.
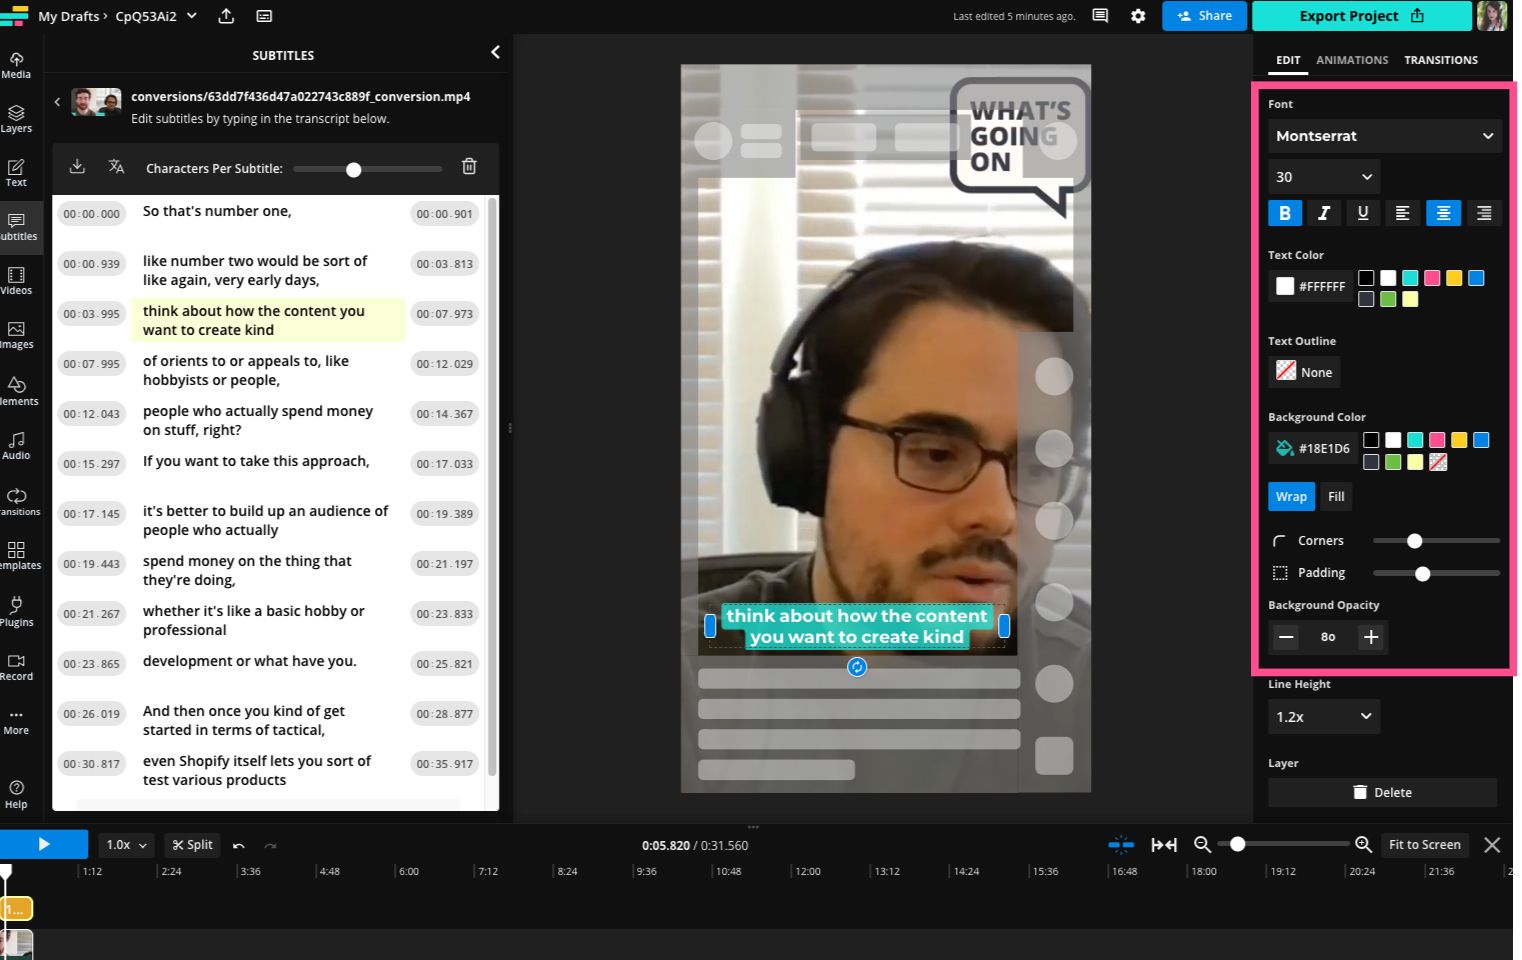
From there, customize your caption style by changing the color, font, size, and background styling.
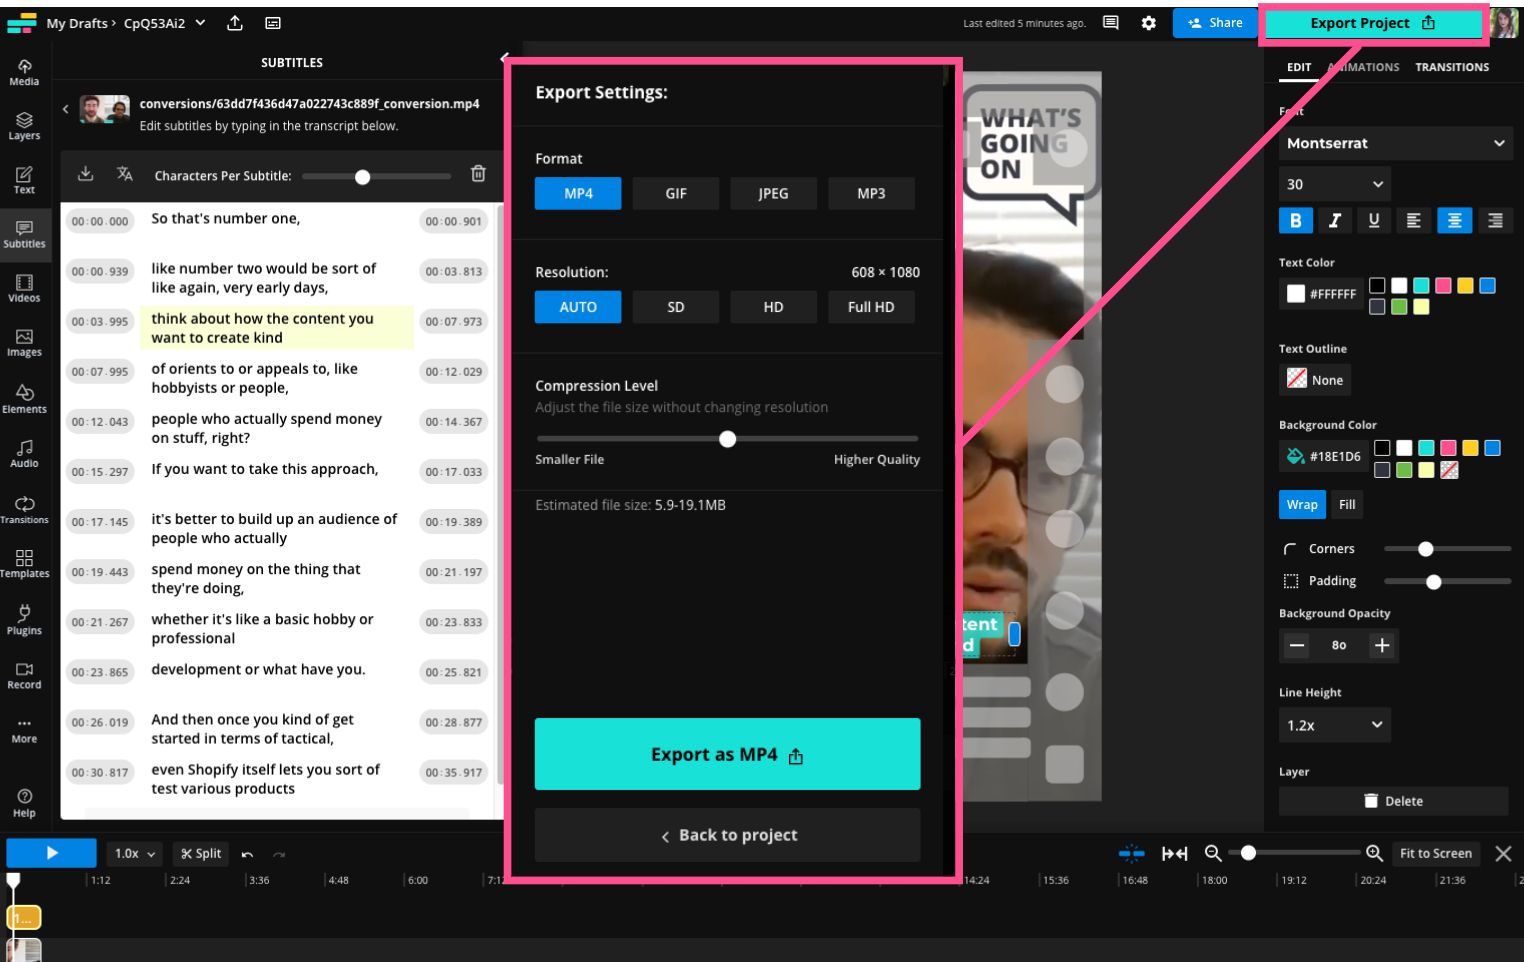
When you're happy with how the clip looks, hit the Export button. Choose your file type and resolution settings and then download. Because you used the All Safe Zones setting, this video can now be shared on TikTok, Reels, and YouTube Shorts.
To create the remaining six of your ten pieces of content, simply rinse and repeat the above process two more times.
And that's it! It's really that easy (and fast) to turn one piece of video content into ten. Repurposing video content is one of the best ways to avoid social media burnout. So, bookmark this page or download and save the infographic from earlier with the formula written out for the next time you're staring at an empty content calendar and wondering how to bridge the gap to faster video marketing.
For more helpful info like this, check out our Resource Library or visit our YouTube channel.
Additional Resources: