
How to Make an Animated Poster Online
Whether you're putting on an improv show, inviting people to a charity event, or spreading the word about a yard sale, custom posters can help you get people involved. I'll show you how to make eye-catching posters using Kapwing.

Whether you're putting on an improv show, inviting people to a charity event, planning a study session, or spreading the word about a yard sale, custom posters can help you get people involved, and posting on social media is the best way to reach a wide audience. But eye-catching, informative posters can be difficult to design and create. Often the best software tools make you download large apps, sign up for a free trial, or learn an unwieldy new software. And even fairly accessible tools like Canva don't allow you to upload or create GIFs to make your digital posters really stand out from the crowd.
I recommend using Kapwing to design and create your digital promo material, completely for free and online. Kapwing gives you pre-made templates, allows all file uploads, lets you import and search for visual content with ease, provides free cloud-based storage space for your files and drafts, and allows you to collaborate with others in real time. It's never been easier to promote your event or cause – here's what you need to do:
- Go to the Kapwing Studio or choose a template
- Upload your background & images
- Add & customize your text
- Publish & Download as a GIF
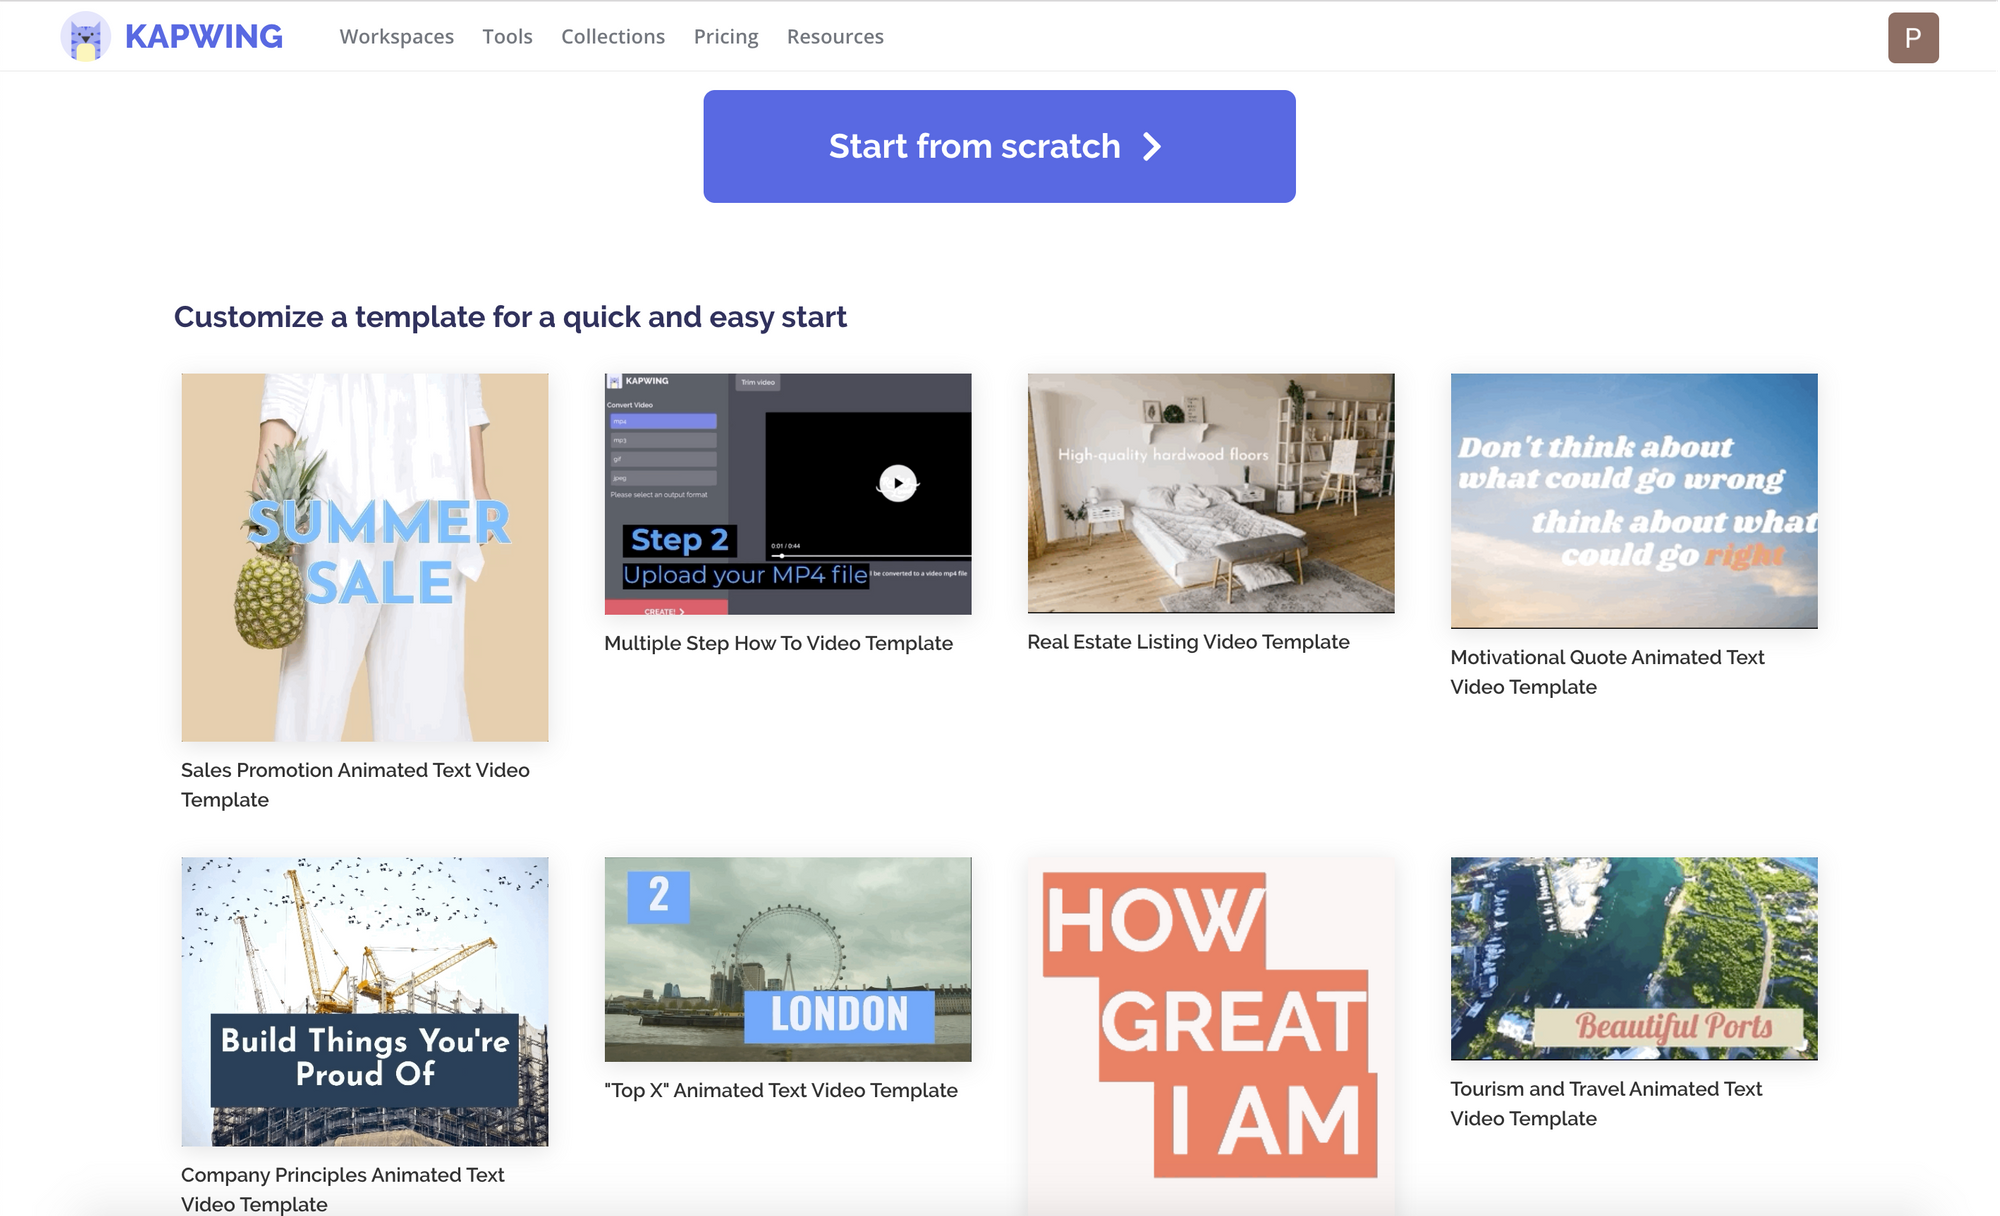
Step 1: Go to the Kapwing Studio or Choose a Template
To get started on your animated poster, head over to Kapwing.com and click "Start Editing" – or, if you're already signed in, select "New Project" and "Start with Studio." Or, if you want a bit more of a head start on your poster design, choose "Collections" from the top menu. Here, choose "Animated Text Video Maker" and choose the template that looks best. Don't worry if none of them look the way you want – every single part of the poster is completely customizable.
Whether you clicked "Start Editing" or chose an Animated Text template, you'll end up in the Kapwing Studio, where you can use all of Kapwing's editing tools in one place. Before you get started on your poster, you should decide what you want its dimensions to be. The aspect ratio of your poster depends on the place you want to share it: for Facebook or Twitter, 16:9 is the safest way to go, but for Instagram, 1:1 will give you more real estate. And for Facebook or Instagram stories, which can be terrific places to spread the word about your event, 9:16 is the way to go. Check out a full rundown of optimal social media dimensions here.
To change your project's aspect ratio, either choose from one of the options under "Aspect Ratio" on the right side of the Studio, or click "Custom Size" and enter the exact dimensions you want. This is best if you want to make your poster a banner image on Twitter, Facebook, or LinkedIn, or a pin on Pinterest.
Step 2: Upload Your Background & Images
Now the fun starts. Any part of the template that you don't want in your final poster – most likely the background video – needs to go. Just select the layer you want to replace and hit backspace. Now you get to import, find, or design your own! If you want your background to be a picture or GIF that you have saved on your device or found online, choose "Upload" from the top left corner, and either locate the file in your file browser or paste a link.
You might consider instead generating a background using Kapwing's built-in AI image generator. Try asking for an aesthetic gradient, pattern, or texture.
If you don't have a specific background in mind, you can design your own in the Studio. Choose your background color in the right menu and add custom shapes to your canvas by choosing "Shapes" from the top menu. Resize, move, and rotate your shapes using the buttons around their edges and corners.
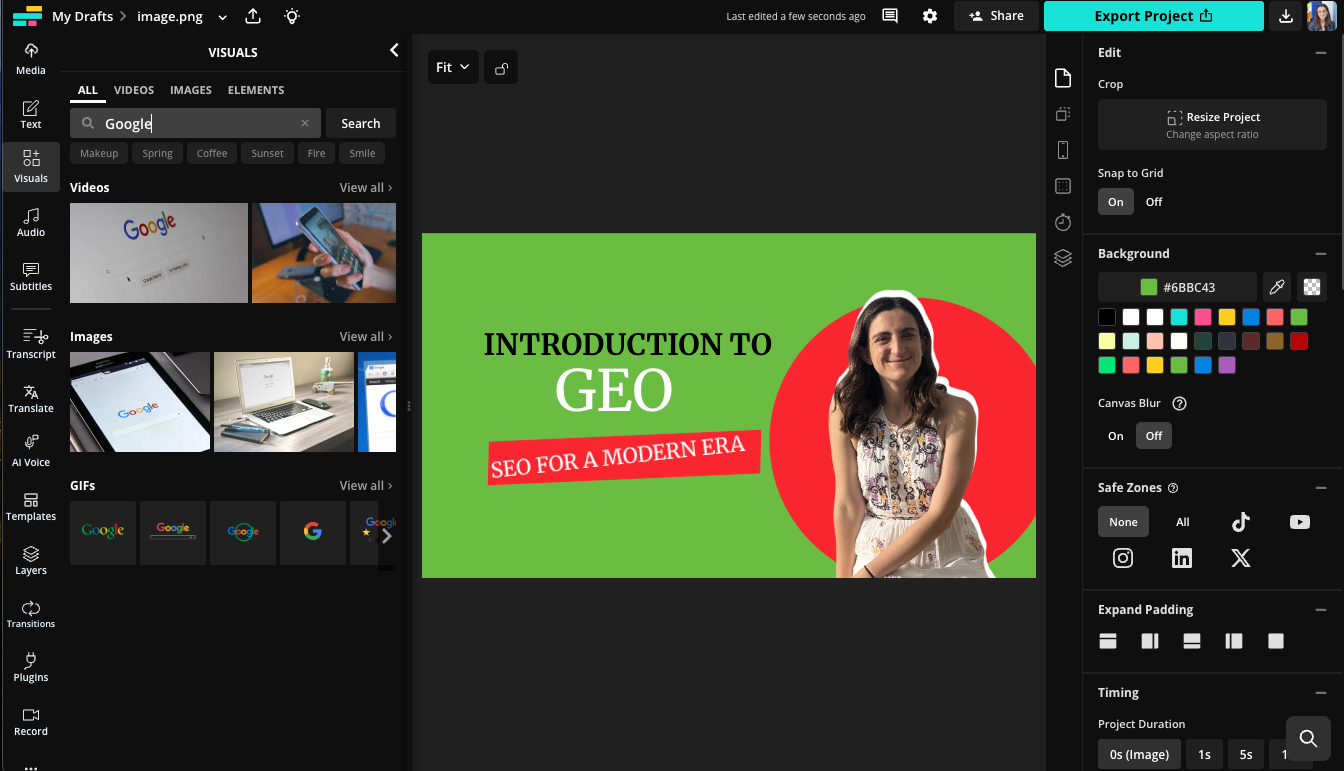
If you want a more detailed, specialized background, you can also search for background images, gradients, and designs by selecting "Images" from the top menu. Here, you can enter any search term to perform an image search: try adding "background" or "wallpaper" to your search term to find the most relevant, high-quality results.
A good background image or design doesn't interfere with the poster's text, logos, or images, and brings out the most important features of the poster. Check out the example below:
The colors are bright, but they enhance the text and theme of the event, and the most important parts are framed by the background. A poster backdrop like this can be made from scratch in just a couple minutes in Kapwing's Studio, and can effectively grab your audience's attention.
Step 3: Add & Customize Your Text
This is probably the most important part of your poster: the text. For flashy, informative promos, your text needs to be concise, informative, and well-presented, so it'll take some trial & error to get it just right. Start by selecting "Text" from the top menu, or simply selecting the template's existing text box and replacing it with the message or title that you want. Resize, rotate, and move your text by clicking & dragging its corner buttons. Using the tools in the right-hand menu, you can choose from hundreds of fonts and precisely change your text's color, style, and border. By clicking "Animate" from the right-hand menu, you can choose from 5 different animations and adjust their speed and color.
Have fun with your text! Make sure your font, size, orientation, and animation convey a distinctive character, tone, or theme. This doesn't mean that you have to use wildly distinctive lettering, but that your text should fit with whatever you're promoting. Take a look at this poster, for example:
Your text should include only the most important information, and be easily readable. Make sure that your event's title, location, and time are presented clearly, and that any taglines and extra information don't get in the way of your main text. You might only have a few seconds of your audience's attention – make them count!
If you want to convert the poster into a video or GIF, try the "Magic Animate" feature in the Animations section of the sidebar. This will help you create an eye catching MP4 promotion that will do better on social media, like an Instagram story.
Step 4: Export
Once your poster looks just right, it's ready to be processed. If any parts of your poster are animated, click "Settings" near the upper right-hand corner and make sure "Output File" is set to "GIF." Now, double-check your work and click "Publish" in the upper right-hand corner of the Studio. Kapwing will immediately begin processing your file, which should take under a minute.
After your export finishes, download to save the poster to your device. You can share the link or embed the video in your website.
Conclusion
Weather you're a student group or small business owner, poster making can help drive attention and attendees to your event, fundraiser, campaign or cause. A branded poster campaign can bring new customers to a club, restaurant, or art gallery; attract readers to a blog; or raise awareness.
Remember to tag us @KapwingApp whenever you share your content on social media– we love to see what our creators are passionate about! And be sure to subscribe to the Kapwing Resources page – we’re constantly writing new tutorial and features to help you make the most out of Kapwing.
Related Articles:
• Meme Fonts: Which Ones to Use and How
• How to Make Reusable Thumbnail Templates
• How to Edit a Movie Trailer Online
• How to Make a Reaction Collage
• Picture Video Maker


