
How to Use Google VEO 3 (with Video Examples)
Veo 3 is Google's first AI model capable of generating video and audio from one prompt
The Google Veo 3 AI video generator has been gaining attention, and for good reason. Touted as Google’s most advanced video model to date, Veo 3 can produce high-quality video with a focus on realistic character movement and accurate object physics. It also supports synchronized audio generation, including ambient sound and spoken dialogue.
Although the model still has a few limitations, such as occasional subtitle errors and unwanted on-screen text, its wide range of features makes it a powerful tool for content creators, brand marketers, and even filmmakers.
In this article, we’ll walk through how to use Google’s Veo 3 video generator, with real examples of generated videos included. We’ll cover how to write effective prompts, review the platform’s video specs, and explain the model’s strengths and limitations.
Table of Contents
- How to Use the Google Veo 3 Video Generator
- Video Generation Prompt Examples
- Veo 3 Strengths and Weaknesses
- Veo 3 Video Specs
- Frequently Asked Questions
How to Use the Google Veo 3 Video Generator
To access the Veo 3 video generator, you'll need to navigate to the correct site. This can be trickier than expected, as Veo 3 isn’t available on all Google platforms, even ones you’d assume it would be.
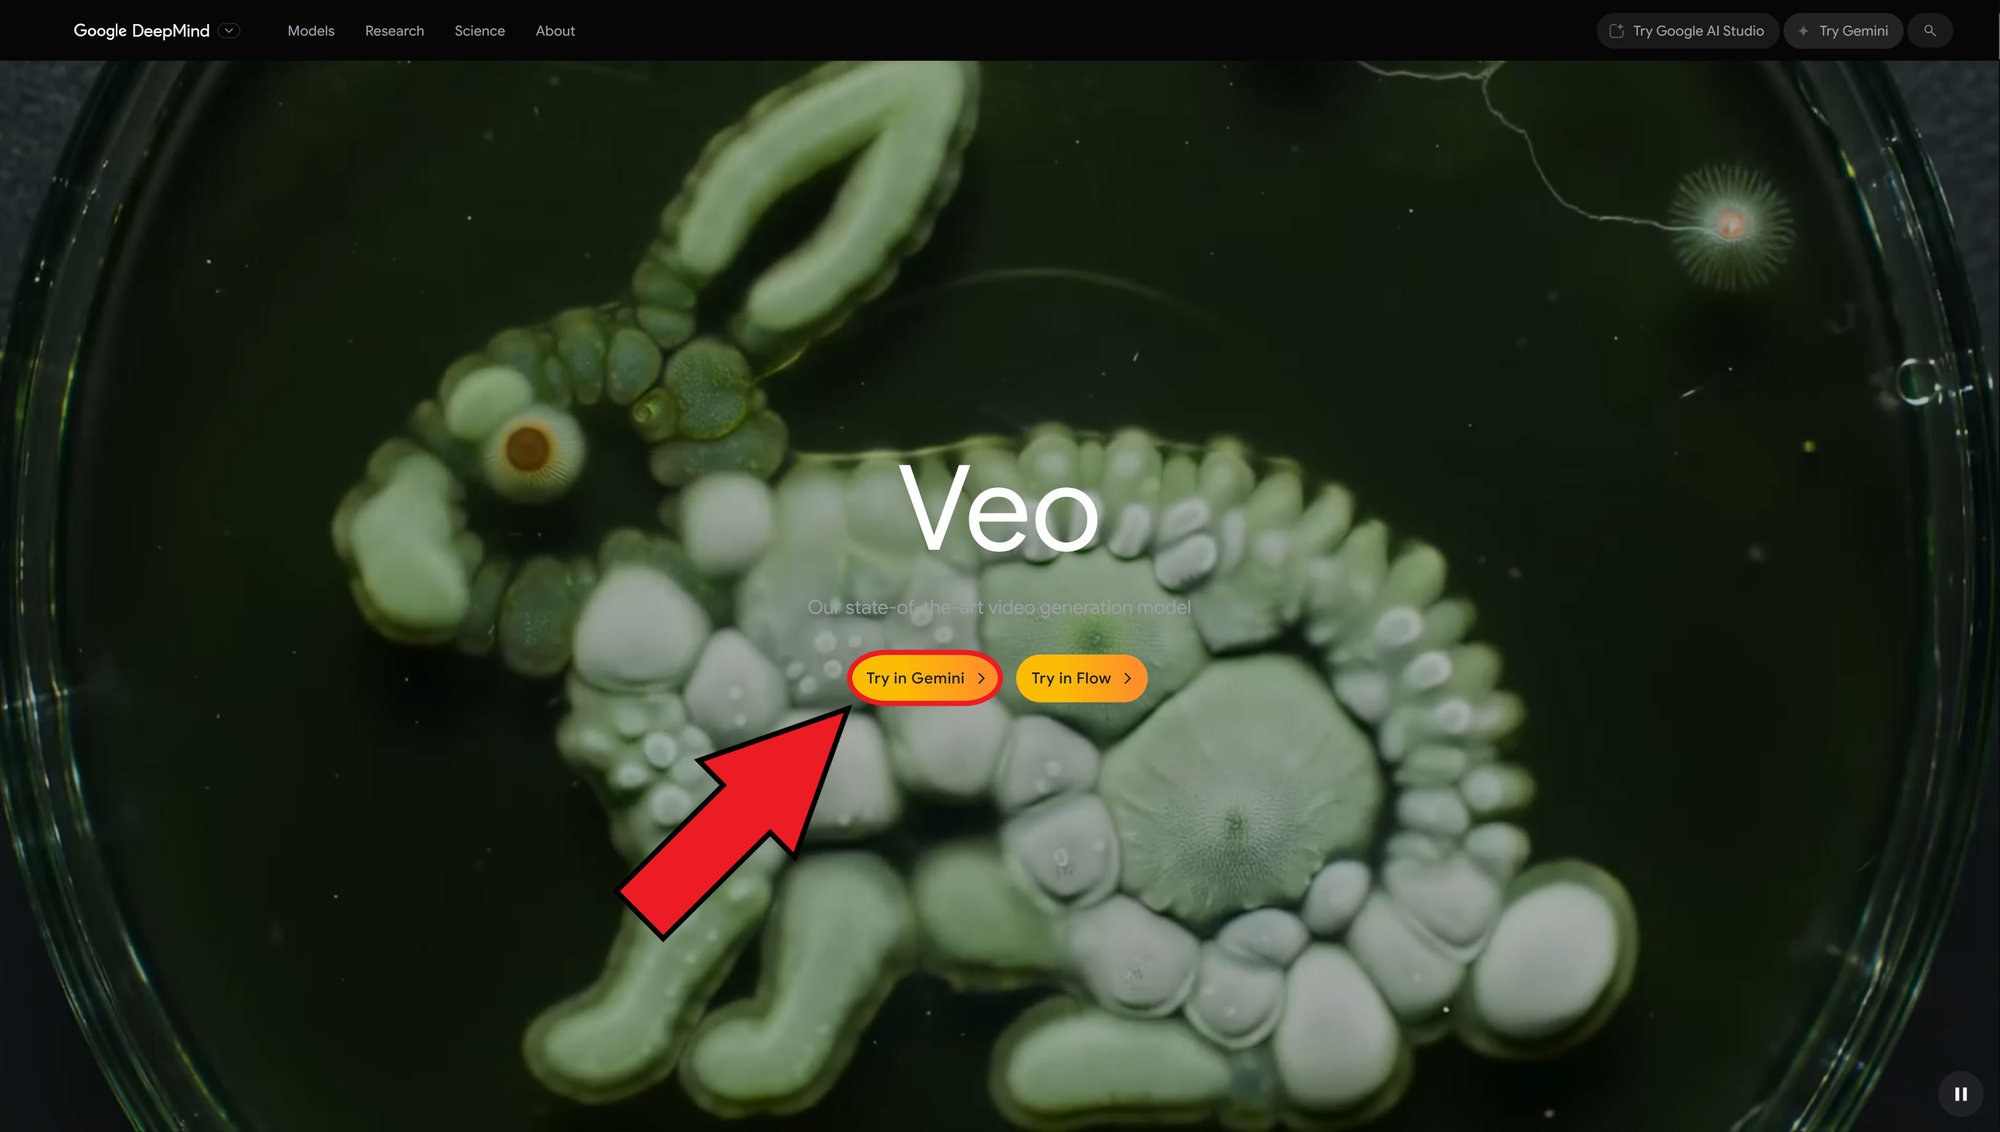
For the most direct method, head to Google’s official Veo site and click the Try in Gemini button. This will take you to the Gemini interface, where the Veo 3 model can be accessed.
A subscription is required to use Veo 3, though Google offers limited access through free trials and discounts. These are often available to students and educators.
Once inside the Gemini studio, click the Video button located beneath the prompt bar. This is how you activate Veo 3.
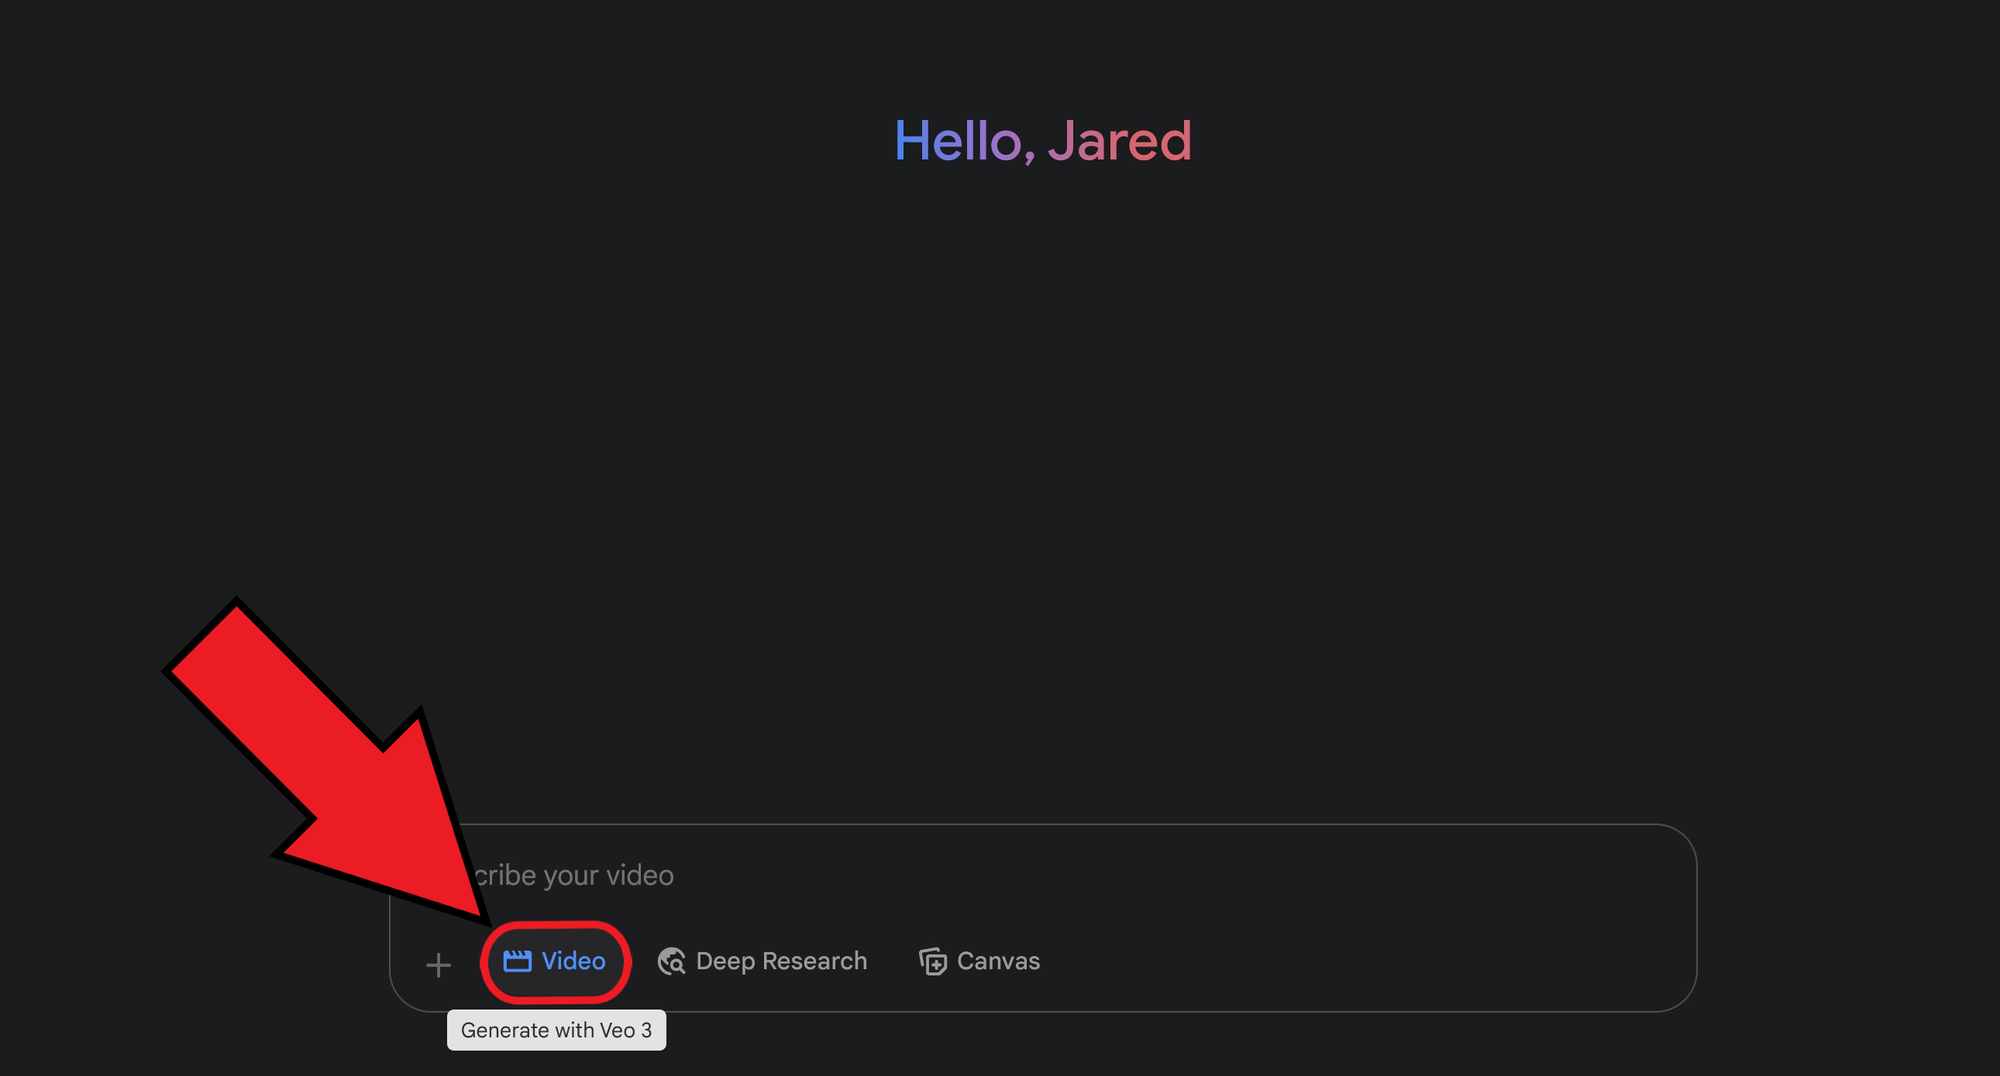
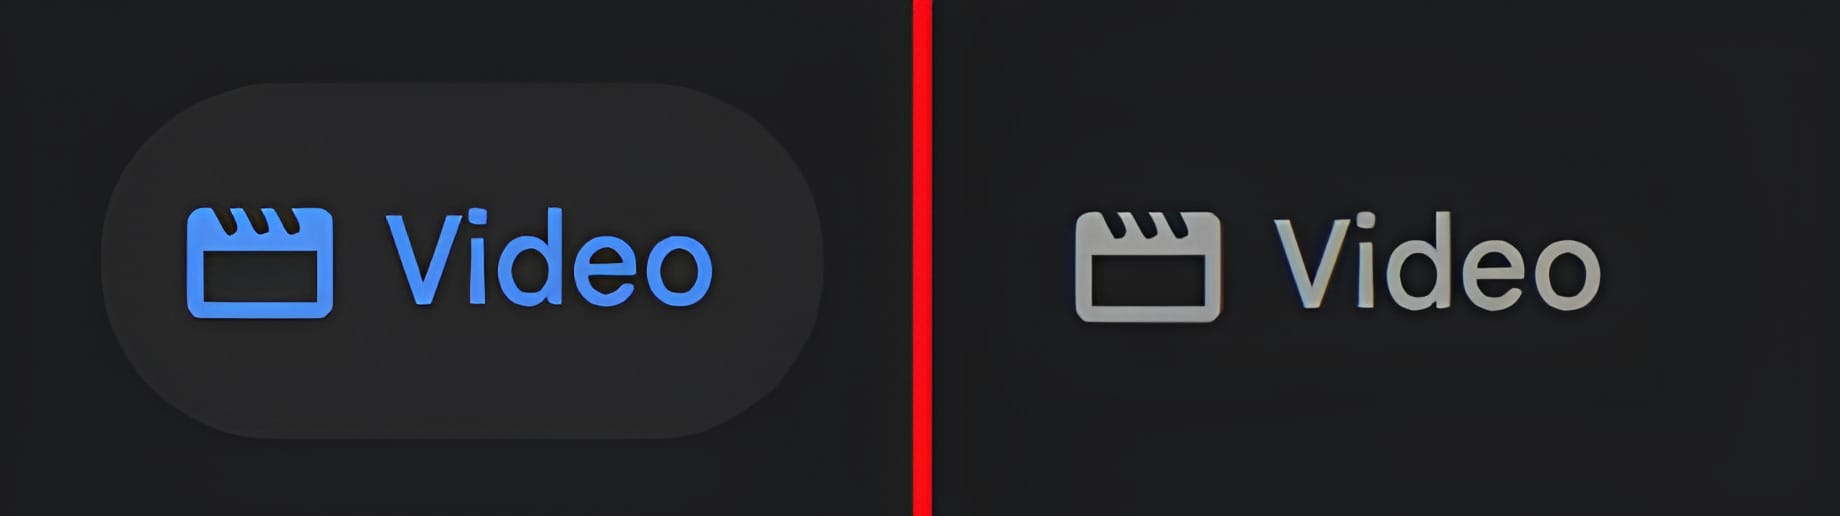
If you have access to the model, hovering over this button will display a tooltip reading "Generate with Veo 3." When selected, the button will appear highlighted with blue text. If it’s grey, the model is inactive.
At this point, you're ready to begin writing a prompt and generating a video. Since Veo 3 creates synchronized audio alongside video, crafting a quality prompt takes more care than with basic text-to-video tools. While standard AI prompt tips still apply, such as being descriptive and specific, there are a few additional guidelines unique to Veo 3.
Before we dive into prompt writing, let’s explore the Veo 3 interface. If you’d prefer to jump straight into video generation, skip to the next section.
Navigating Veo 3
The Gemini Veo interface includes several menus and options, but here we'll focus on the tools specifically used to generate videos.
Left-hand Sidebar:
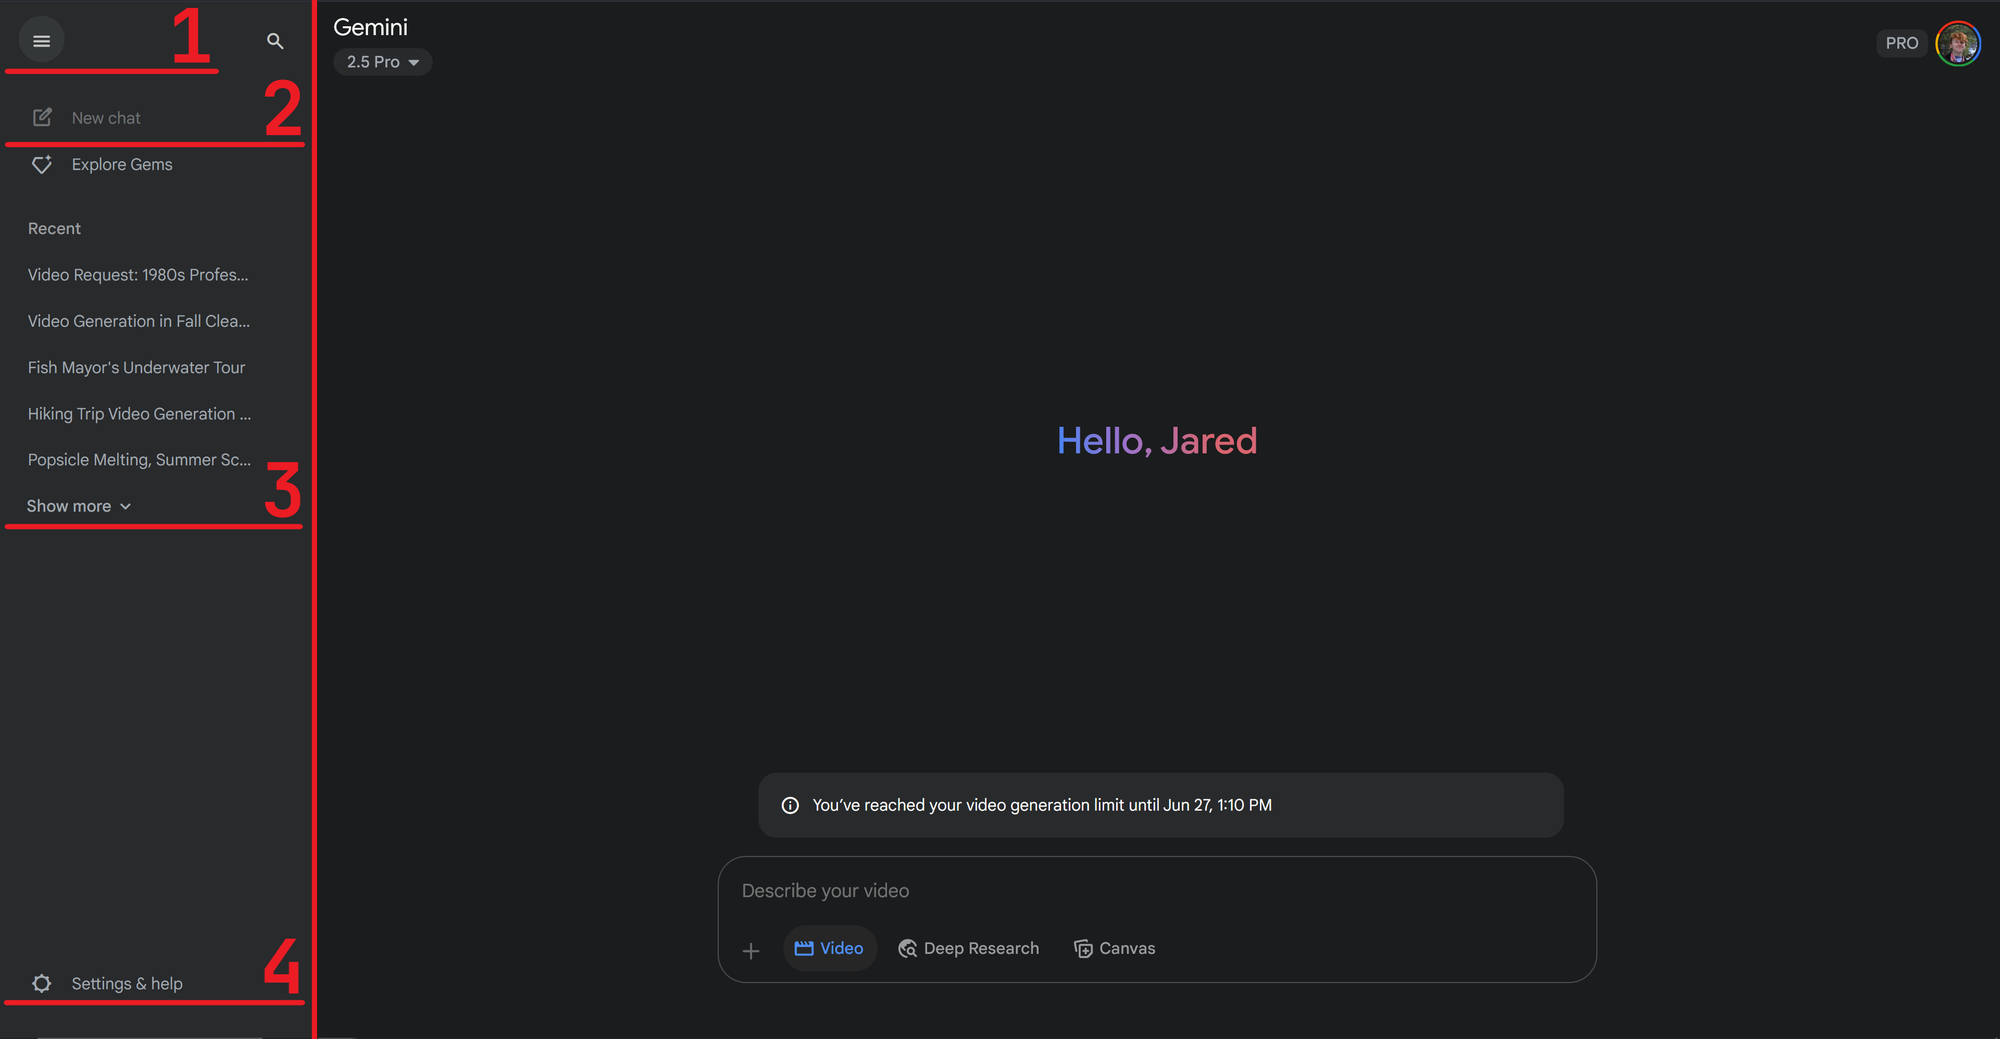
- Collapse sidebar: Click the three-bar icon to hide the sidebar and expand the video workspace to full screen
- New Chat: Start a fresh chat thread. This helps keep text-only interactions separate from video generations
- History: View recent generations or click Show more to access your full video prompt history
- Settings & Help: Manage your subscription, give feedback, and report any bugs or issues
Prompt Area:
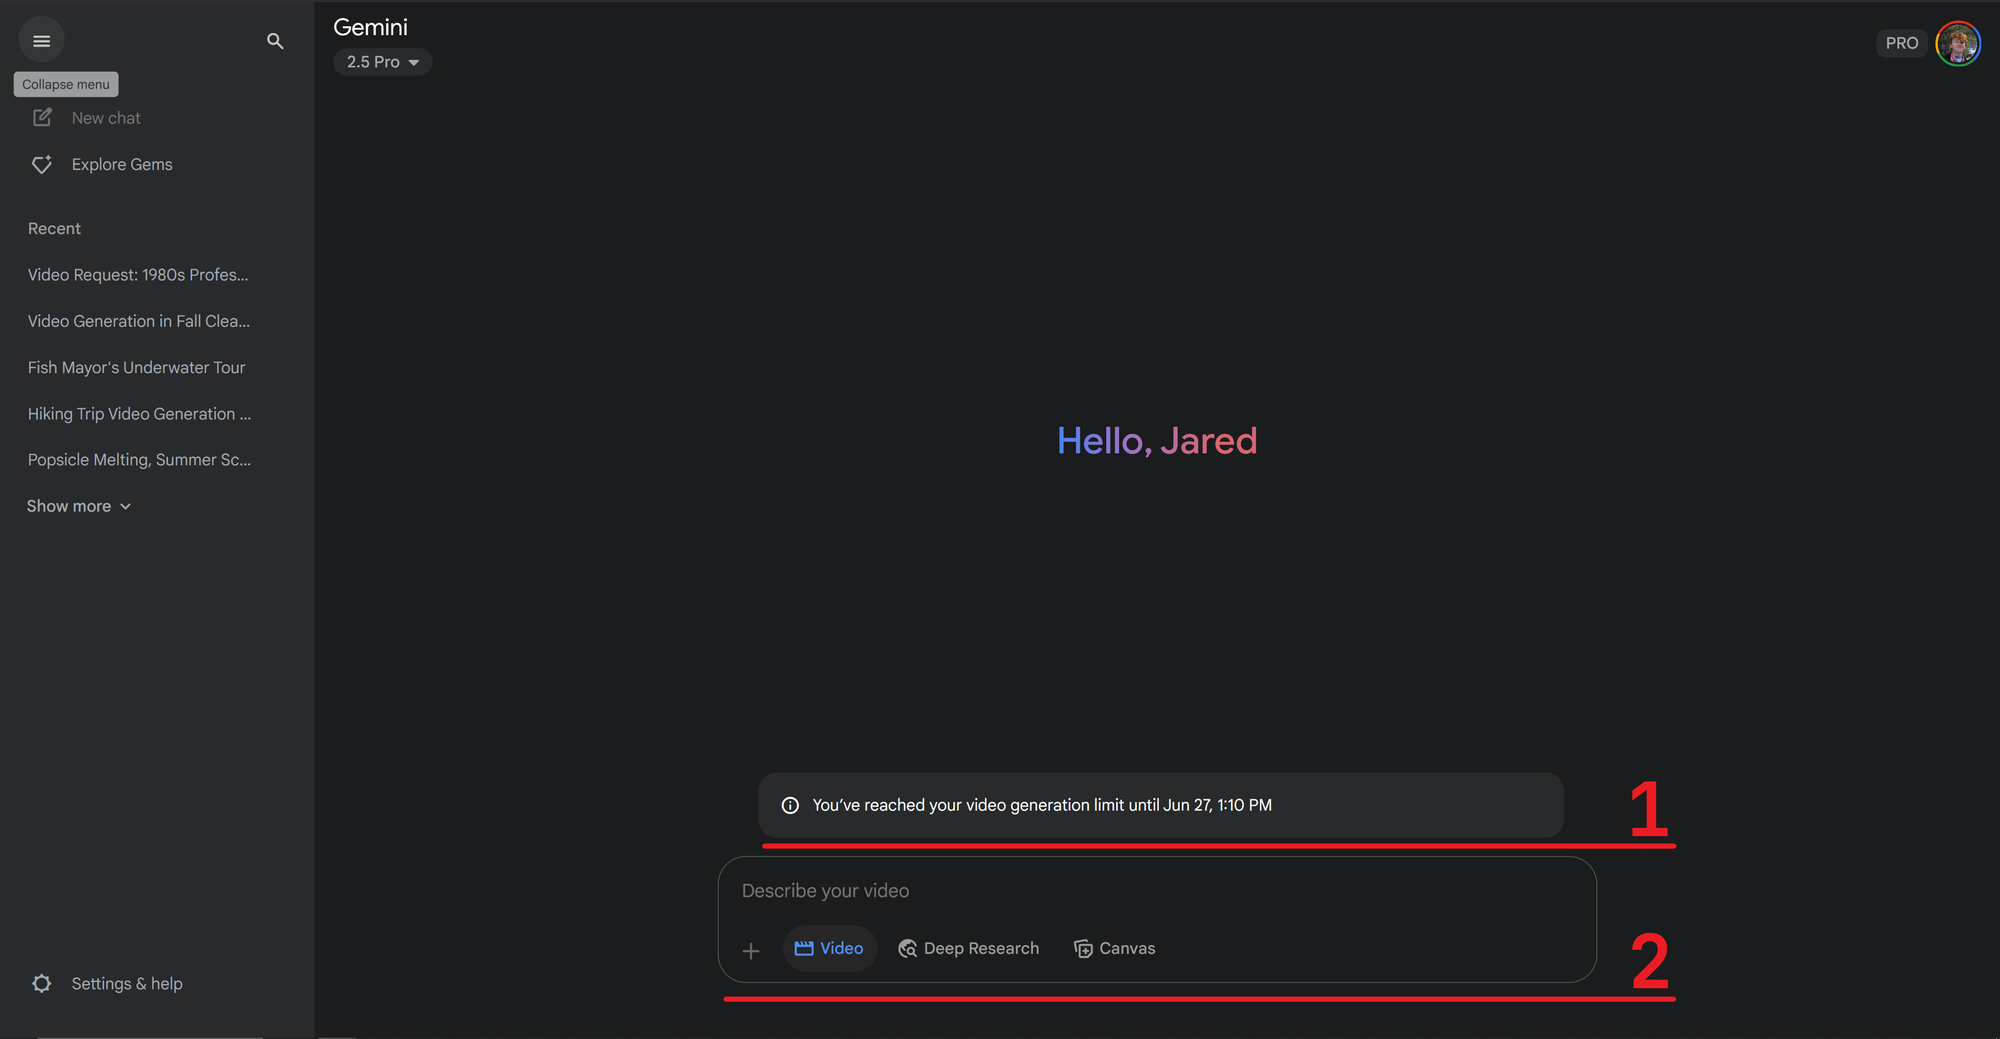
- System Messages: Notifications regarding generation limits or other alerts appear in this space
- Prompt box: Enter your video description here. You can also access tools like Deep Research across other Gemini models
After generating a video, you'll see some additional tools:
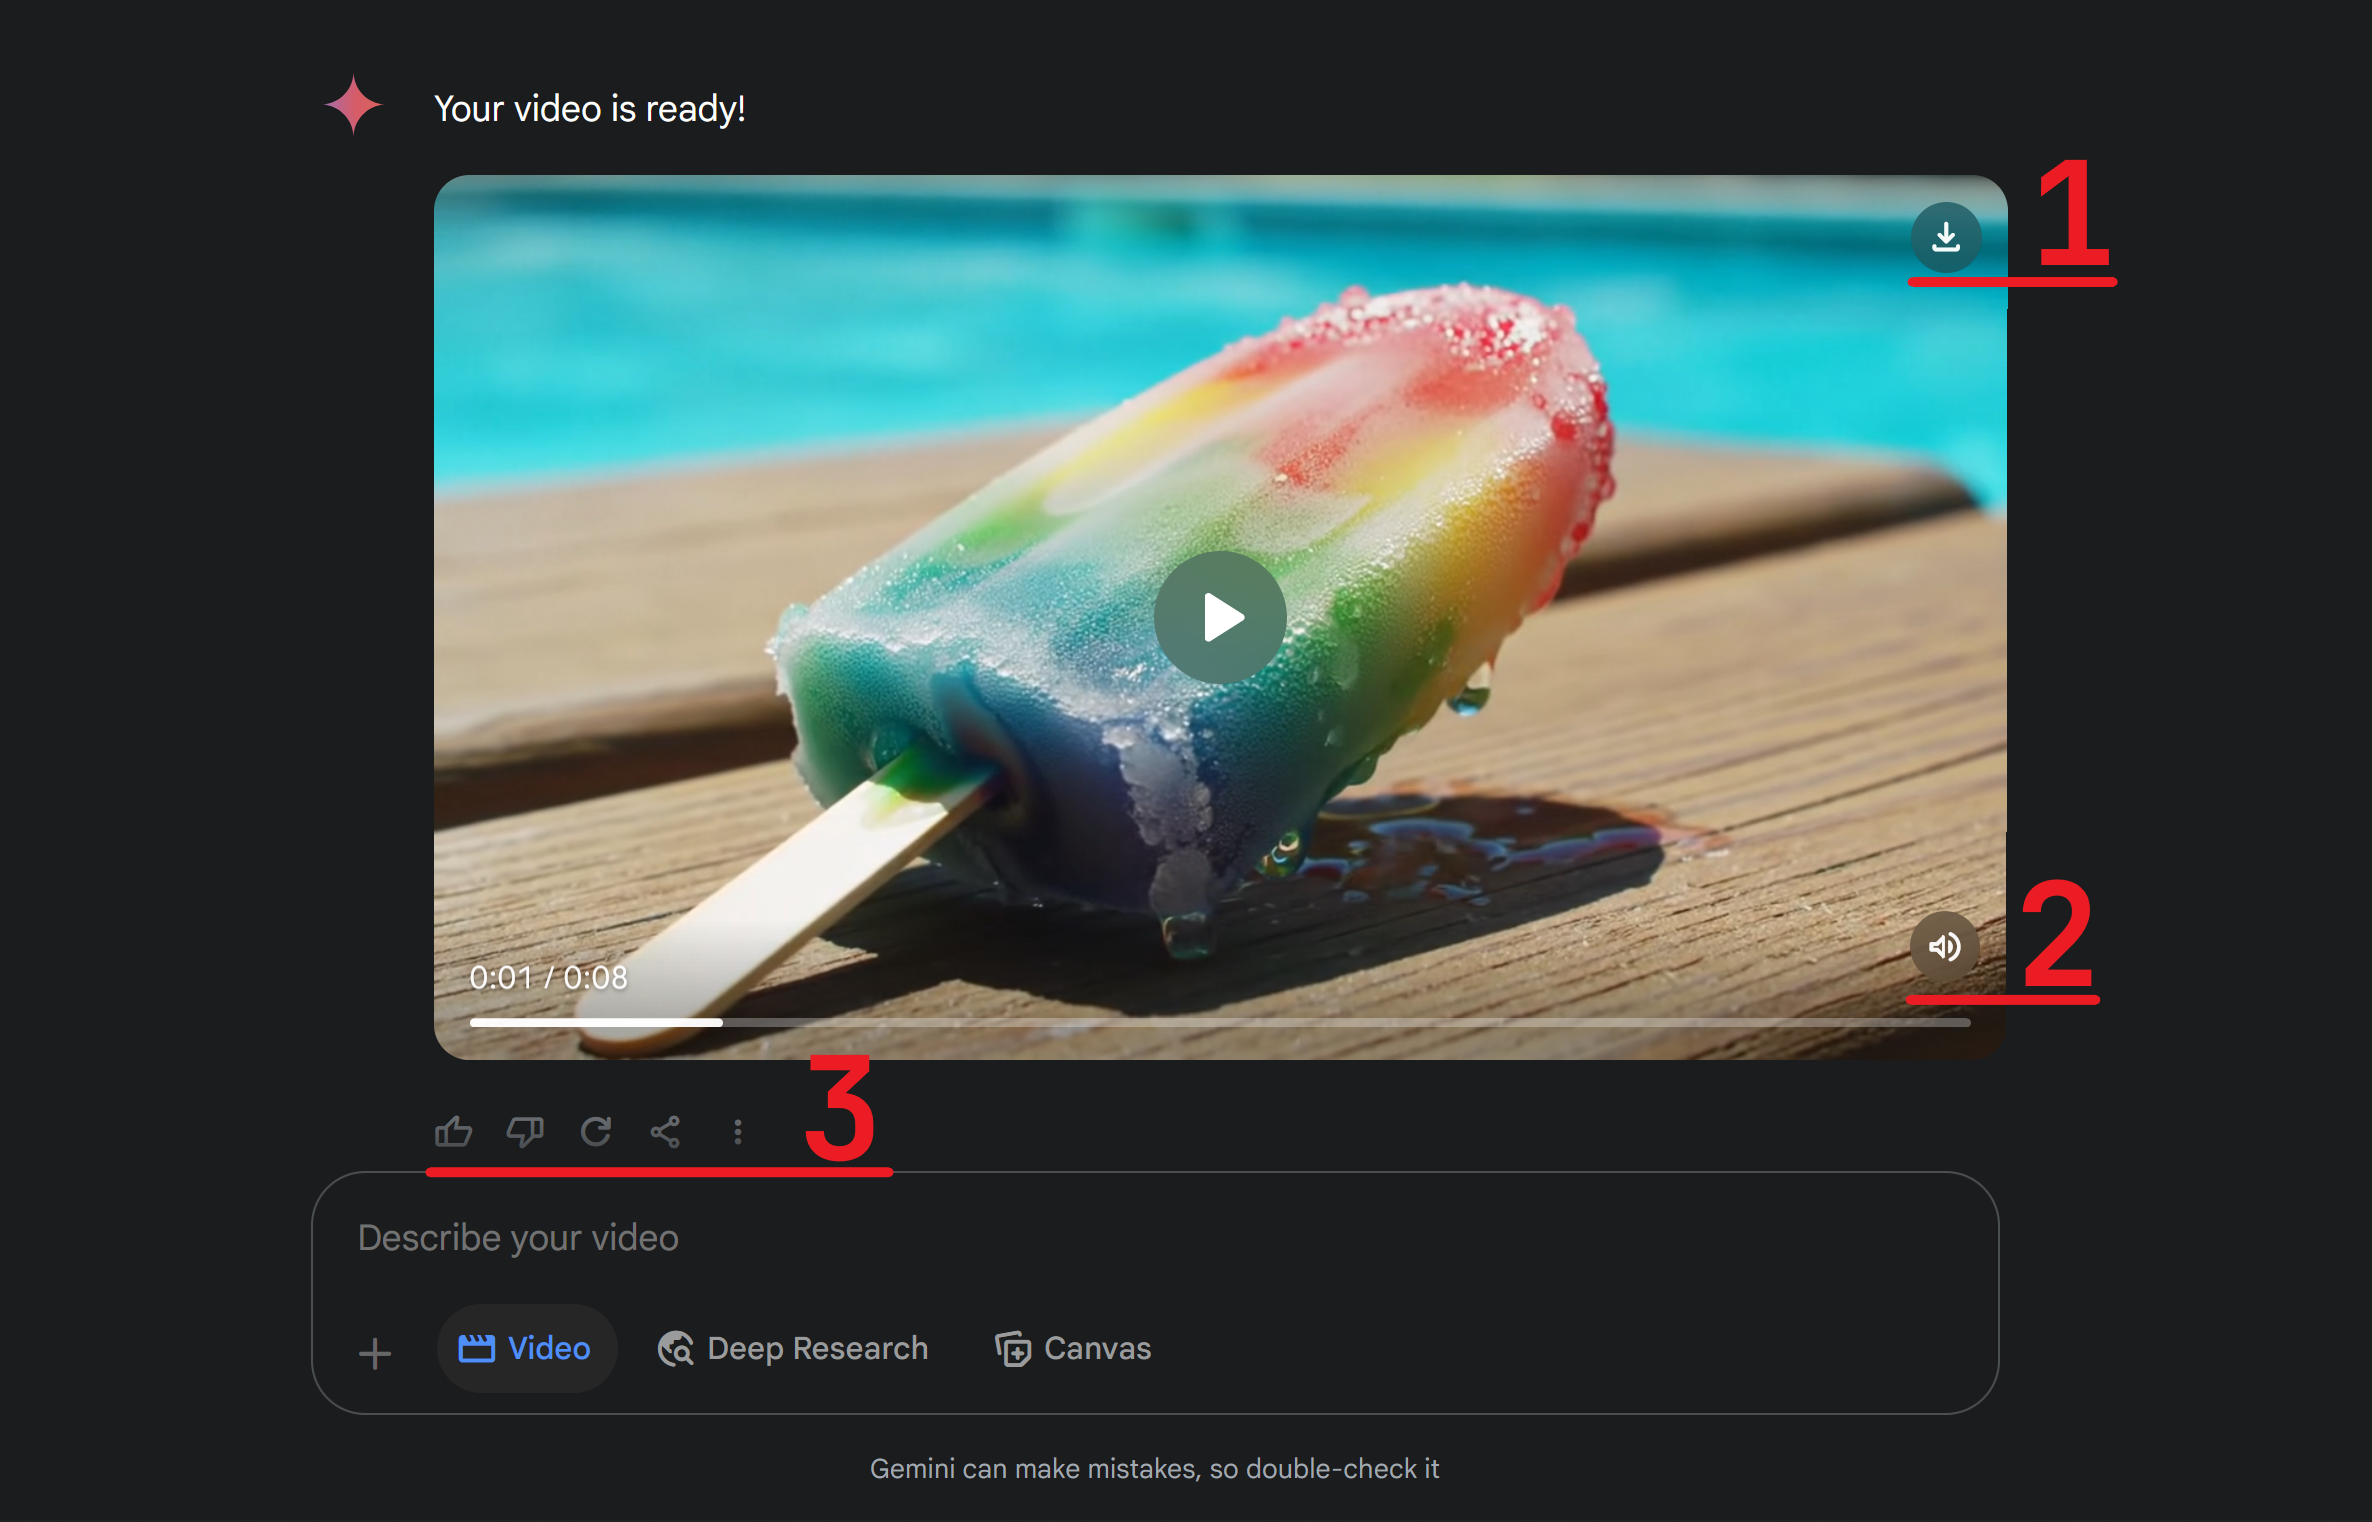
- Download icon: Save your video directly to your device
- Volume icon: Mute or unmute audio during playback
- Feedback icons: Rate your video or request a redo to help fine-tune the model over time
Now that we’ve covered how to access and navigate the Veo 3 interface, let’s break down how to write effective prompts with real examples to help you get started.
Video Generation Prompt Examples
Writing an effective prompt for Veo 3 requires attention to both the visual and audio elements of your scene. The video model performs best when your prompt is rich in detail, clearly describes the setting, and includes audio cues if needed.
To show how much a prompt can impact the final output, here are three real-world examples based on a single concept: an elderly man walking through a small town.
Here is my starter prompt:
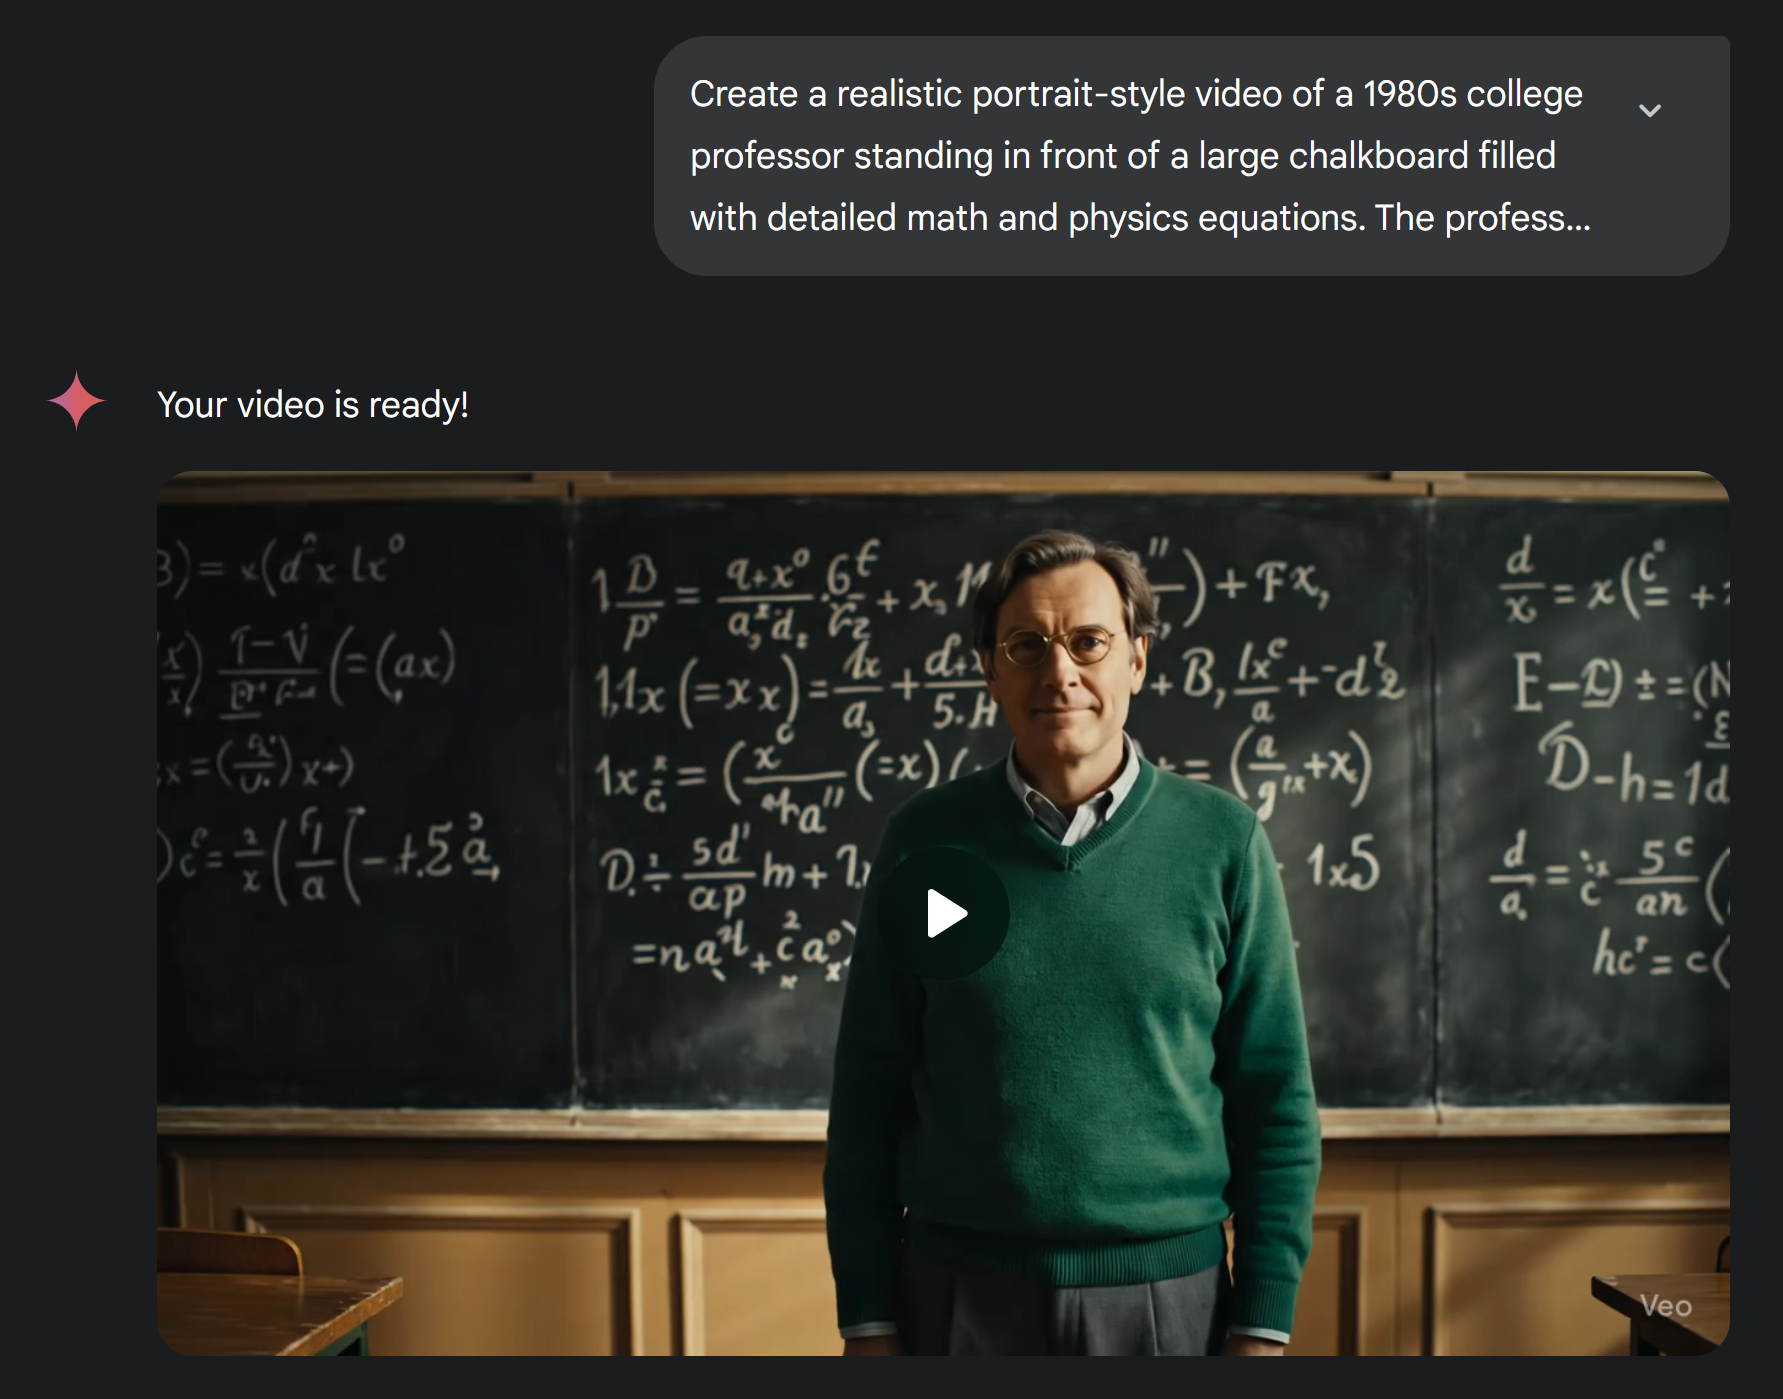
Generate a front-facing video of a wise old man wearing a slick green suit walking down a sidewalk with a cane in his hand
This generation is silent and did not include all of the elements from my prompt.
This version is visually sufficient, but lacks in certain areas. The model ignored some prompt details, like the cane, and the background looked more like a large city than a small town.
To revise this, I pasted the original prompt into ChatGPT and asked for it to be optimized for video generation. I also explained the setting and tone I was aiming for, which led to the following improved version:
Generate a front-facing tracking shot of a wise, elderly man in a tailored green suit, walking slowly down a city sidewalk. He holds a polished wooden cane in his right hand, his silver beard catching the light as he glances thoughtfully ahead. The scene is set during golden hour, with warm sunlight casting long shadows across the pavement.
This version is visually accurate but still lacks audio.
This version introduced camera direction, object detail, and environmental cues, which made the scene feel much more intentional. However, because I didn’t include any audio information, the resulting video was completely silent.
For my final generation, I asked ChatGPT to revise the same prompt again and add relevant audio cues. The result was:
Generate a front-facing tracking shot of a wise, elderly man in a tailored green suit walking slowly down a quiet city sidewalk. He holds a polished wooden cane in his right hand, and his silver beard catches the golden hour light as he gazes forward with quiet thoughtfulness. Soft footsteps and the rhythmic tap of the cane echo gently against the pavement. In the background, faint birdsong and distant city ambience blend with the warm breeze, creating a calm, reflective soundscape.
This version is visually accurate and includes appropriate audio.
This final version delivered a complete and cohesive result, both visually and aurally. Including audio information in my prompt led Veo 3 to create the most usable clip out of the three.
Audio Prompting Tips
Since audio is one of Veo 3’s defining features, learning how to prompt for it effectively is key to producing standout content.
As a general rule, any scene that should include audio must specify it directly in the prompt. If no audio cues are provided, the result is often a silent video, even in cases where sound seems like an obvious inclusion.
Despite clear dialogue, this video was generated without any audio.
For the best results with dialogue, include exact quotes in quotation marks.
For example:
Generate a video of a news anchor presenting the daily stories. He begins by confidently saying, "Welcome back to channel 5 news. Let's get into our top story of the day." In the background, a large digital screen displays a slowly rotating globe, gently illuminating the set.
This ensures the model generates voice over that matches the quote and integrates it into the scene naturally.
Alternatively, you can allow Veo 3 to generate dialogue on its own by describing the scenario in detail. Here’s a more complex example, optimized by ChatGPT, used to create a scene of a skateboarder explaining a trick:
A teenage boy with medium-length brown hair, wearing a red hoodie and black jeans, stands confidently at the edge of a concrete skatepark during golden hour. He holds a skateboard under one arm and speaks directly to the camera in a relaxed tone, clearly explaining the trick he's about to perform — a kickflip over a small ramp. Behind him, other skaters of various ages ride through the park, doing tricks on rails and ramps. The sky is partly cloudy with warm sunlight casting long shadows. Graffiti decorates the park's surfaces. The scene includes ambient sounds: skateboard wheels scraping, occasional cheering, and distant traffic. The camera is set at eye level in a medium shot, focused on the teen’s upper body and face with a shallow depth of field that gently blurs the busy background. Include natural voiceover audio that matches his speaking and facial expressions. Do not include any on-screen text, subtitles, or caption overlays of any kind.
Despite the lack of direct quotations, this video accurately conveyed the message of my prompt.
Despite not including direct quotes, the dialogue in this generation was surprisingly accurate and well-timed. While it didn’t include creative variations, it matched the tone and setting effectively.
In another example, I prompted Veo 3 to generate a scene where a woman is sitting at a table at an outdoor coffee shop, describing a recent hiking trip with her family.
The resulting clip included realistic ambient sound and contextually appropriate dialogue, even though the speech content was left up to the model.
Veo 3 generated relevant dialogue entirely on its own to match my video prompt.
These examples show that while imperfect, Veo 3 is currently one of the best consumer-facing AI tools for combining text-to-video generation with synchronized voice over.
To get a full picture of what this model can and cannot do, let’s now look at its strongest areas — and where it still falls short.
Veo 3 Strengths and Weaknesses
Strengths
Beyond prompt design, it’s important to understand where Veo 3 excels and where it struggles. Knowing its limitations can help you shape more realistic expectations and produce more reliable content.
Veo 3 is at its best when generating short scenes with simple camera movements and subtle atmosphere. Ambient audio and soft motion (like a person walking or sitting) are also handled especially well.
For the best results, describe a specific subject action. Otherwise, the model will fill in movements on its own, leading to slightly impersonal results.
Characters move awkwardly when Veo 3 is not given specific actions to follow in the prompt.
Weaknesses
The model’s biggest challenge is advanced or cinematic camera direction.
For example, a prompt requesting a birds-eye view of a youth baseball game produced warped visuals and an awkward layout.
This video generation contains unusual subject errors and does not align with my prompt.
Another test using a dolly zoom of a basketball player reciting poetry resulted in unstable movement and odd perspective shifts.
Veo 3 was unable to execute the desired camera shot and instead produced an unusual result.
Not all video generators have these constraints. Tools like Higgsfield AI are better equipped for stylized shots and offer features like reference image inputs and motion-aware prompts. These capabilities can make a major difference if your project relies on dynamic scenes or specific camera techniques.
Another issue with Veo 3 is the unintended appearance of subtitles or on-screen text.
These video captions are inaccurate and distract from the video.
When dialogue is included in a prompt, the model sometimes adds these captions without being asked. These are often inaccurate and distract from the scene. To avoid this, certain troubleshooting steps are recommended.
For a deeper look at solving this issue, refer to our Veo 3 subtitles guide.
Despite these quirks, Veo 3 remains a powerful tool when used with care. With clear scene structure, detailed descriptions, and a bit of experimentation, it can produce some of the most cinematic and believable AI-generated videos currently available to the public.
Veo 3 Video Specs
As you may have noticed, all of the included video examples appear rather similar. That is because, while Veo 3 is great at generating video content, it is bound to a specific set of parameters that limit details like video aspect ratios, length, and file size. Let’s take a look at each of these specs in more detail.
- Format: MP4
- Length: 8 seconds
- File Size: Approx. 5MB
- Resolution: 1080 × 720 pixels
- Frame Rate: 24 fps
- Audio: 48 kHz, 2-channel stereo
Unlike other AI generators, specifying a different orientation in your prompt will not change the output. All videos created using Veo 3 are currently limited to the 16:9 horizontal orientation.
Given this limitation, Veo 3's use cases become slightly limited without the help of a dedicated editor. Namely, videos being used for applications like social media will need to be resized prior to posting.
Doing so is easy, free, and takes about one minute. To start, upload your generated video to the Kapwing editor.
Then, select the background of your project to access the Resize Project tool on the right-hand side.
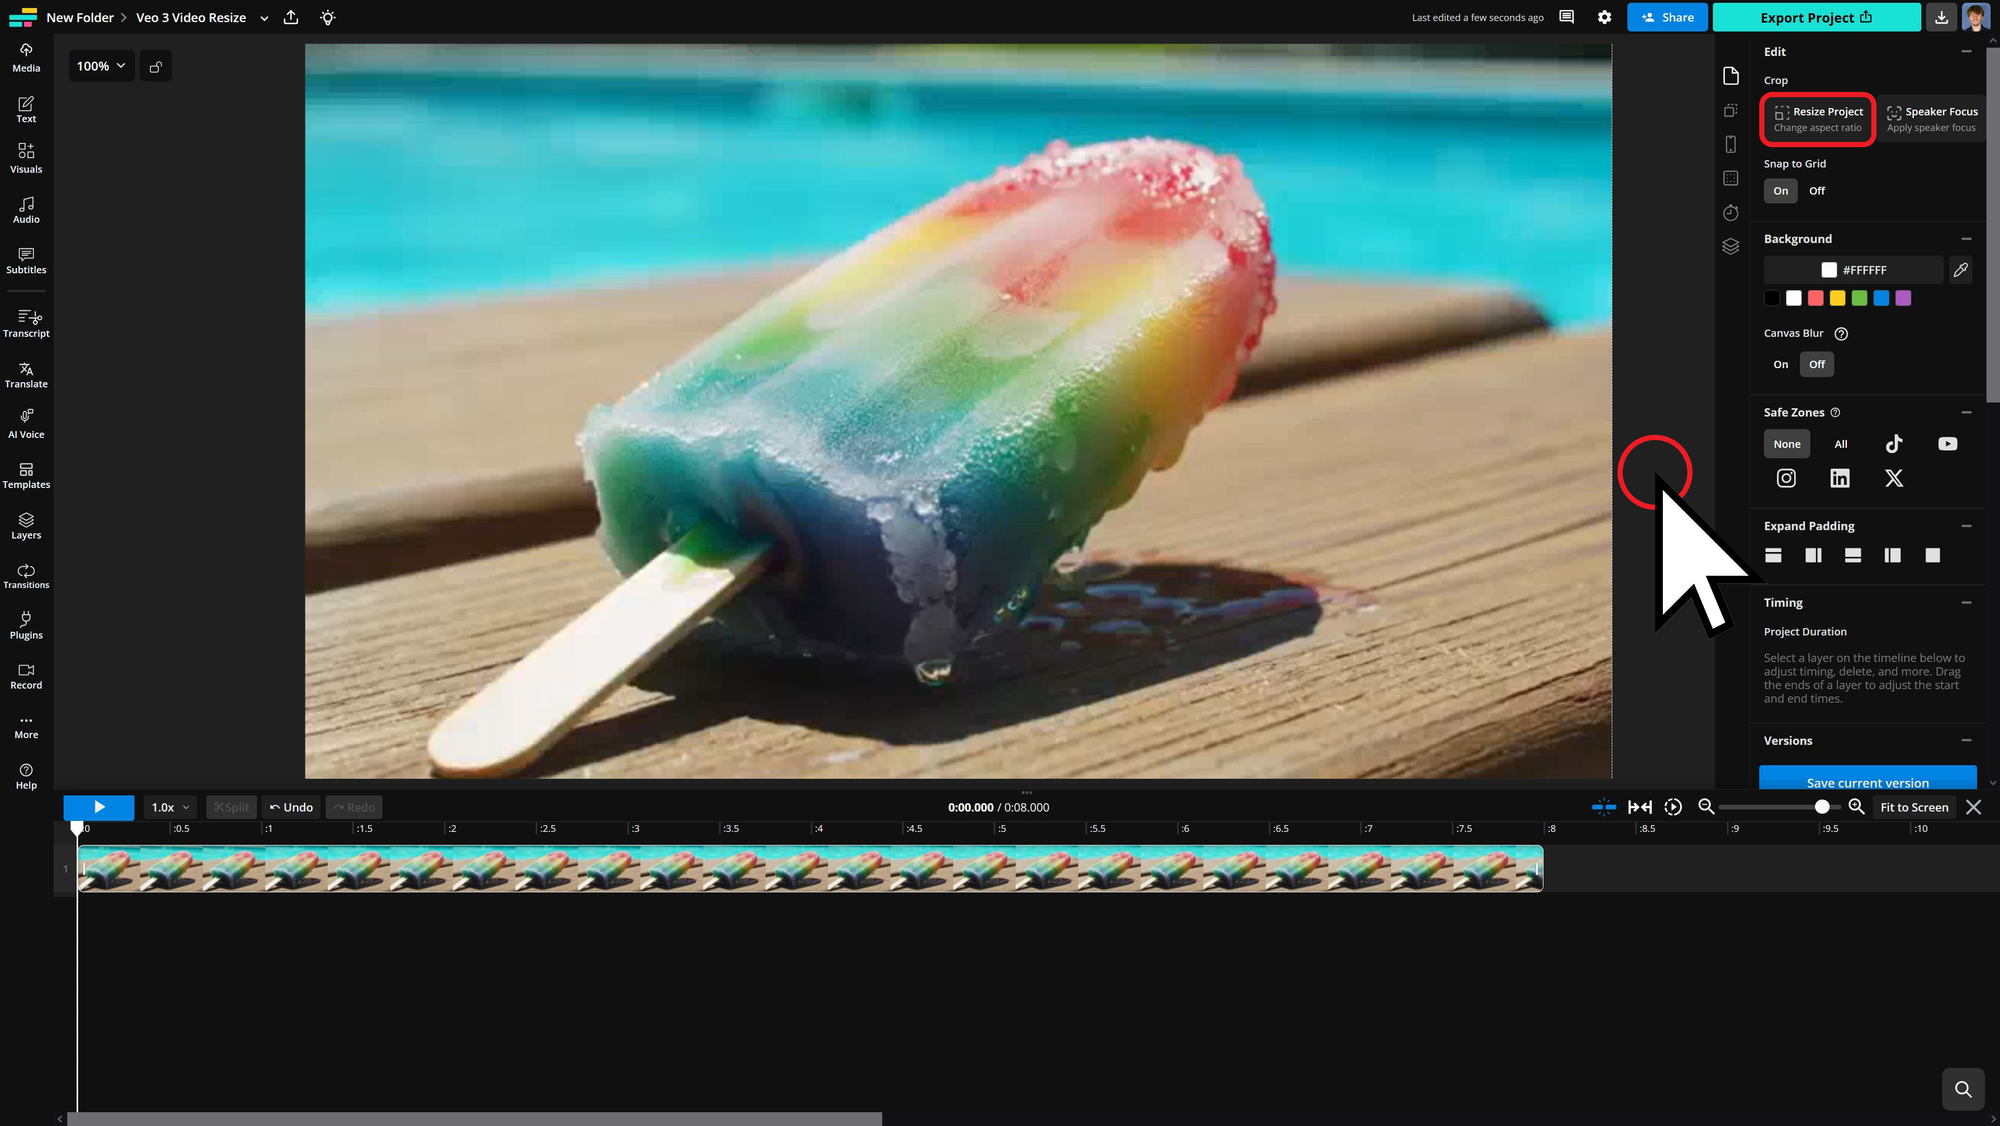
From there, select your desired aspect ratio from the Size dropdown or enter custom dimensions. In my case, I am using the 9:16 aspect ratio preset to be compatible with mobile viewing.
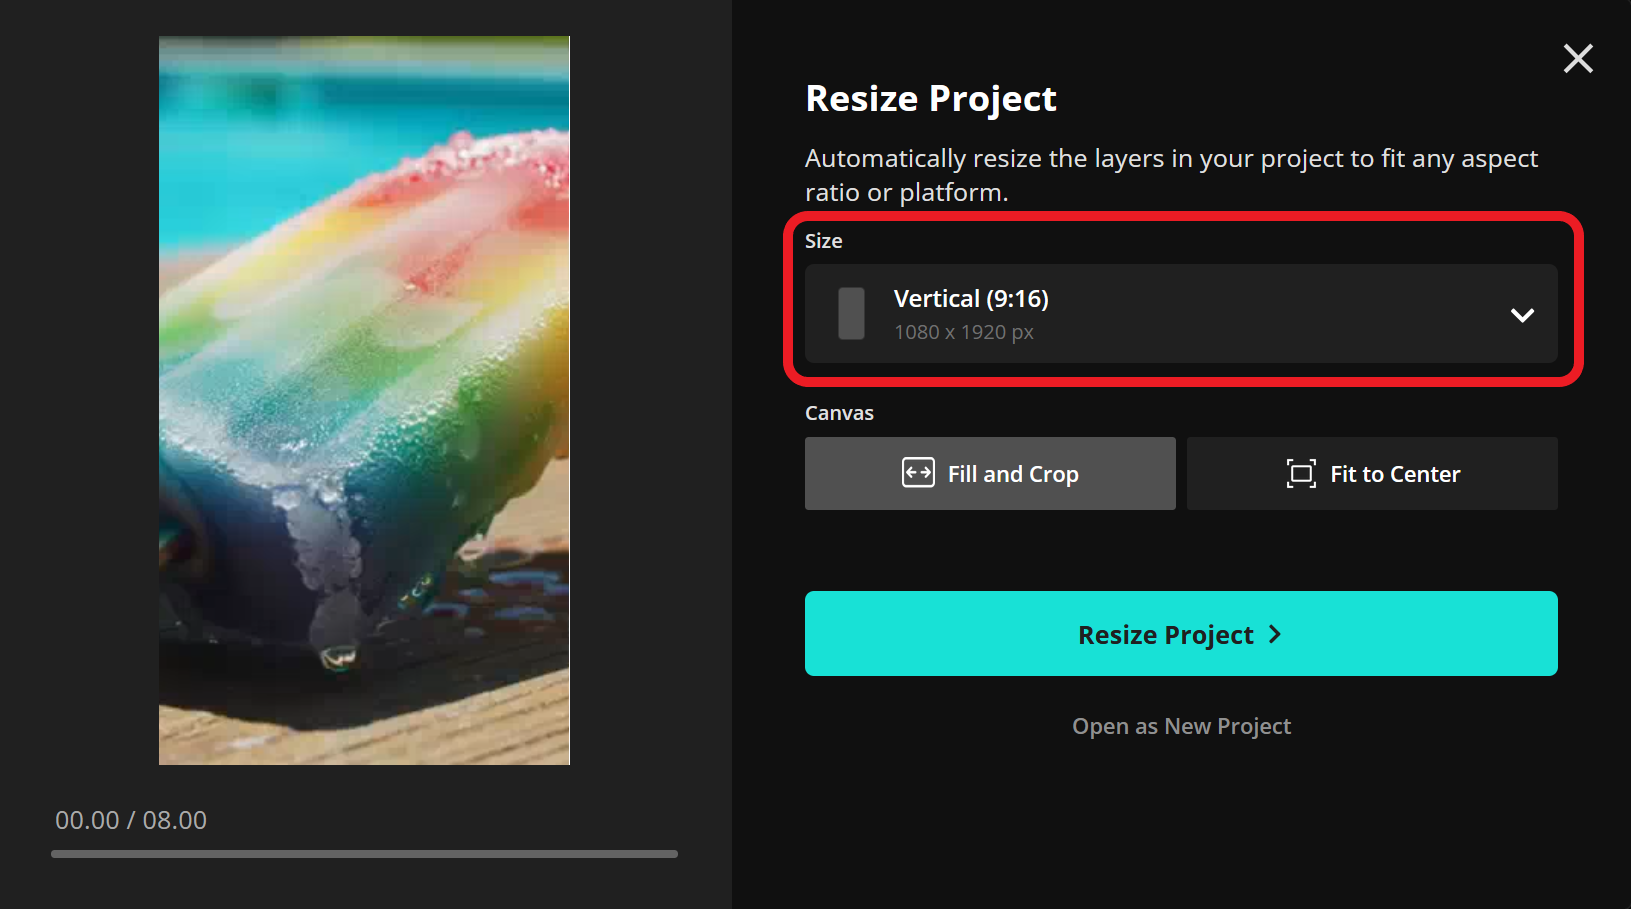
Finally, double-click on your video to access the Crop tool. Slide the video frame to adjust its display and ensure your video subject is visible.

Your video is now ready to export and share.
Frequently Asked Questions
Is Veo 3 free?
No, the Veo 3 model is not free, but trial access and reduced-cost subscriptions are available for qualifying individuals.
Does Veo 3 generate audio?
Yes, the Veo 3 model generates both audio and video, including dialogue, sound effects, and ambient noise. Be sure to specify the desired audio in your prompt, as videos may generate without sound if it's not mentioned.
Why is there text or subtitles in my video?
Veo 3 sometimes adds on-screen text or subtitles automatically when dialogue is present. Certain remedies, like 'negative prompts' may be applied to avoid this.
Can you generate video from an image?
No, the Veo 3 model currently supports only text-to-video generation. It does not support image-to-video input at this time.
Does Veo 3 allow editing?
Not directly. Once a video is generated, you'll need to use a dedicated video editor to make any changes.
How long are Veo 3 videos?
Veo 3 videos are currently limited to a maximum of 8 seconds in length.
Can I change the video orientation?
Without using a resizing tool, all Veo 3 videos are generated in a 16:9 aspect ratio.


