
How to use Google Gemini Veo 2 Video Generator
Video content makes up over 65% of the internet — start generating your own
Gemini is part of Google’s suite of AI tools designed to support creators, students, and professionals by offering features like research assistance, code generation, and now, video production. Among its growing set of tools are Flash 2.0, Whisk Animate, and the newly released Gemini Veo 2.
Some may already recognize the name Veo 2, as Google has teased its release for months, even opening a waitlist for early access. Now that the video generator is officially live, it's time to explore how it works — and how you can use it to elevate your content. Whether you're a social media creator or a marketer looking to build standout visuals, Veo 2 offers a new way to bring ideas to life.
In this article, we’ll walk through how to access Gemini Veo 2, generate videos, and review its advanced specs so you can seamlessly integrate it into your creative workflow.
Table of Contents
- How to Access the Veo 2 Video Generator
- How to Use the Gemini Veo 2 Video Generator
- Veo 2 Advanced Video Specs
- Pricing
- Veo 2 Versus Veo 3
How to Access the Veo 2 Video Generator
To use the Gemini AI video generator, start by navigating to the official Google Gemini homepage and clicking the "Try Veo 2" button.
This will redirect you to the Gemini Advanced page, where Veo 2 is hosted.

From there, you’ll be prompted to purchase a subscription to access Gemini Advanced, which includes video generation tools like Veo 2.
Fortunately, Google is currently offering a 30-day free trial, giving you time to experiment with the platform before committing.
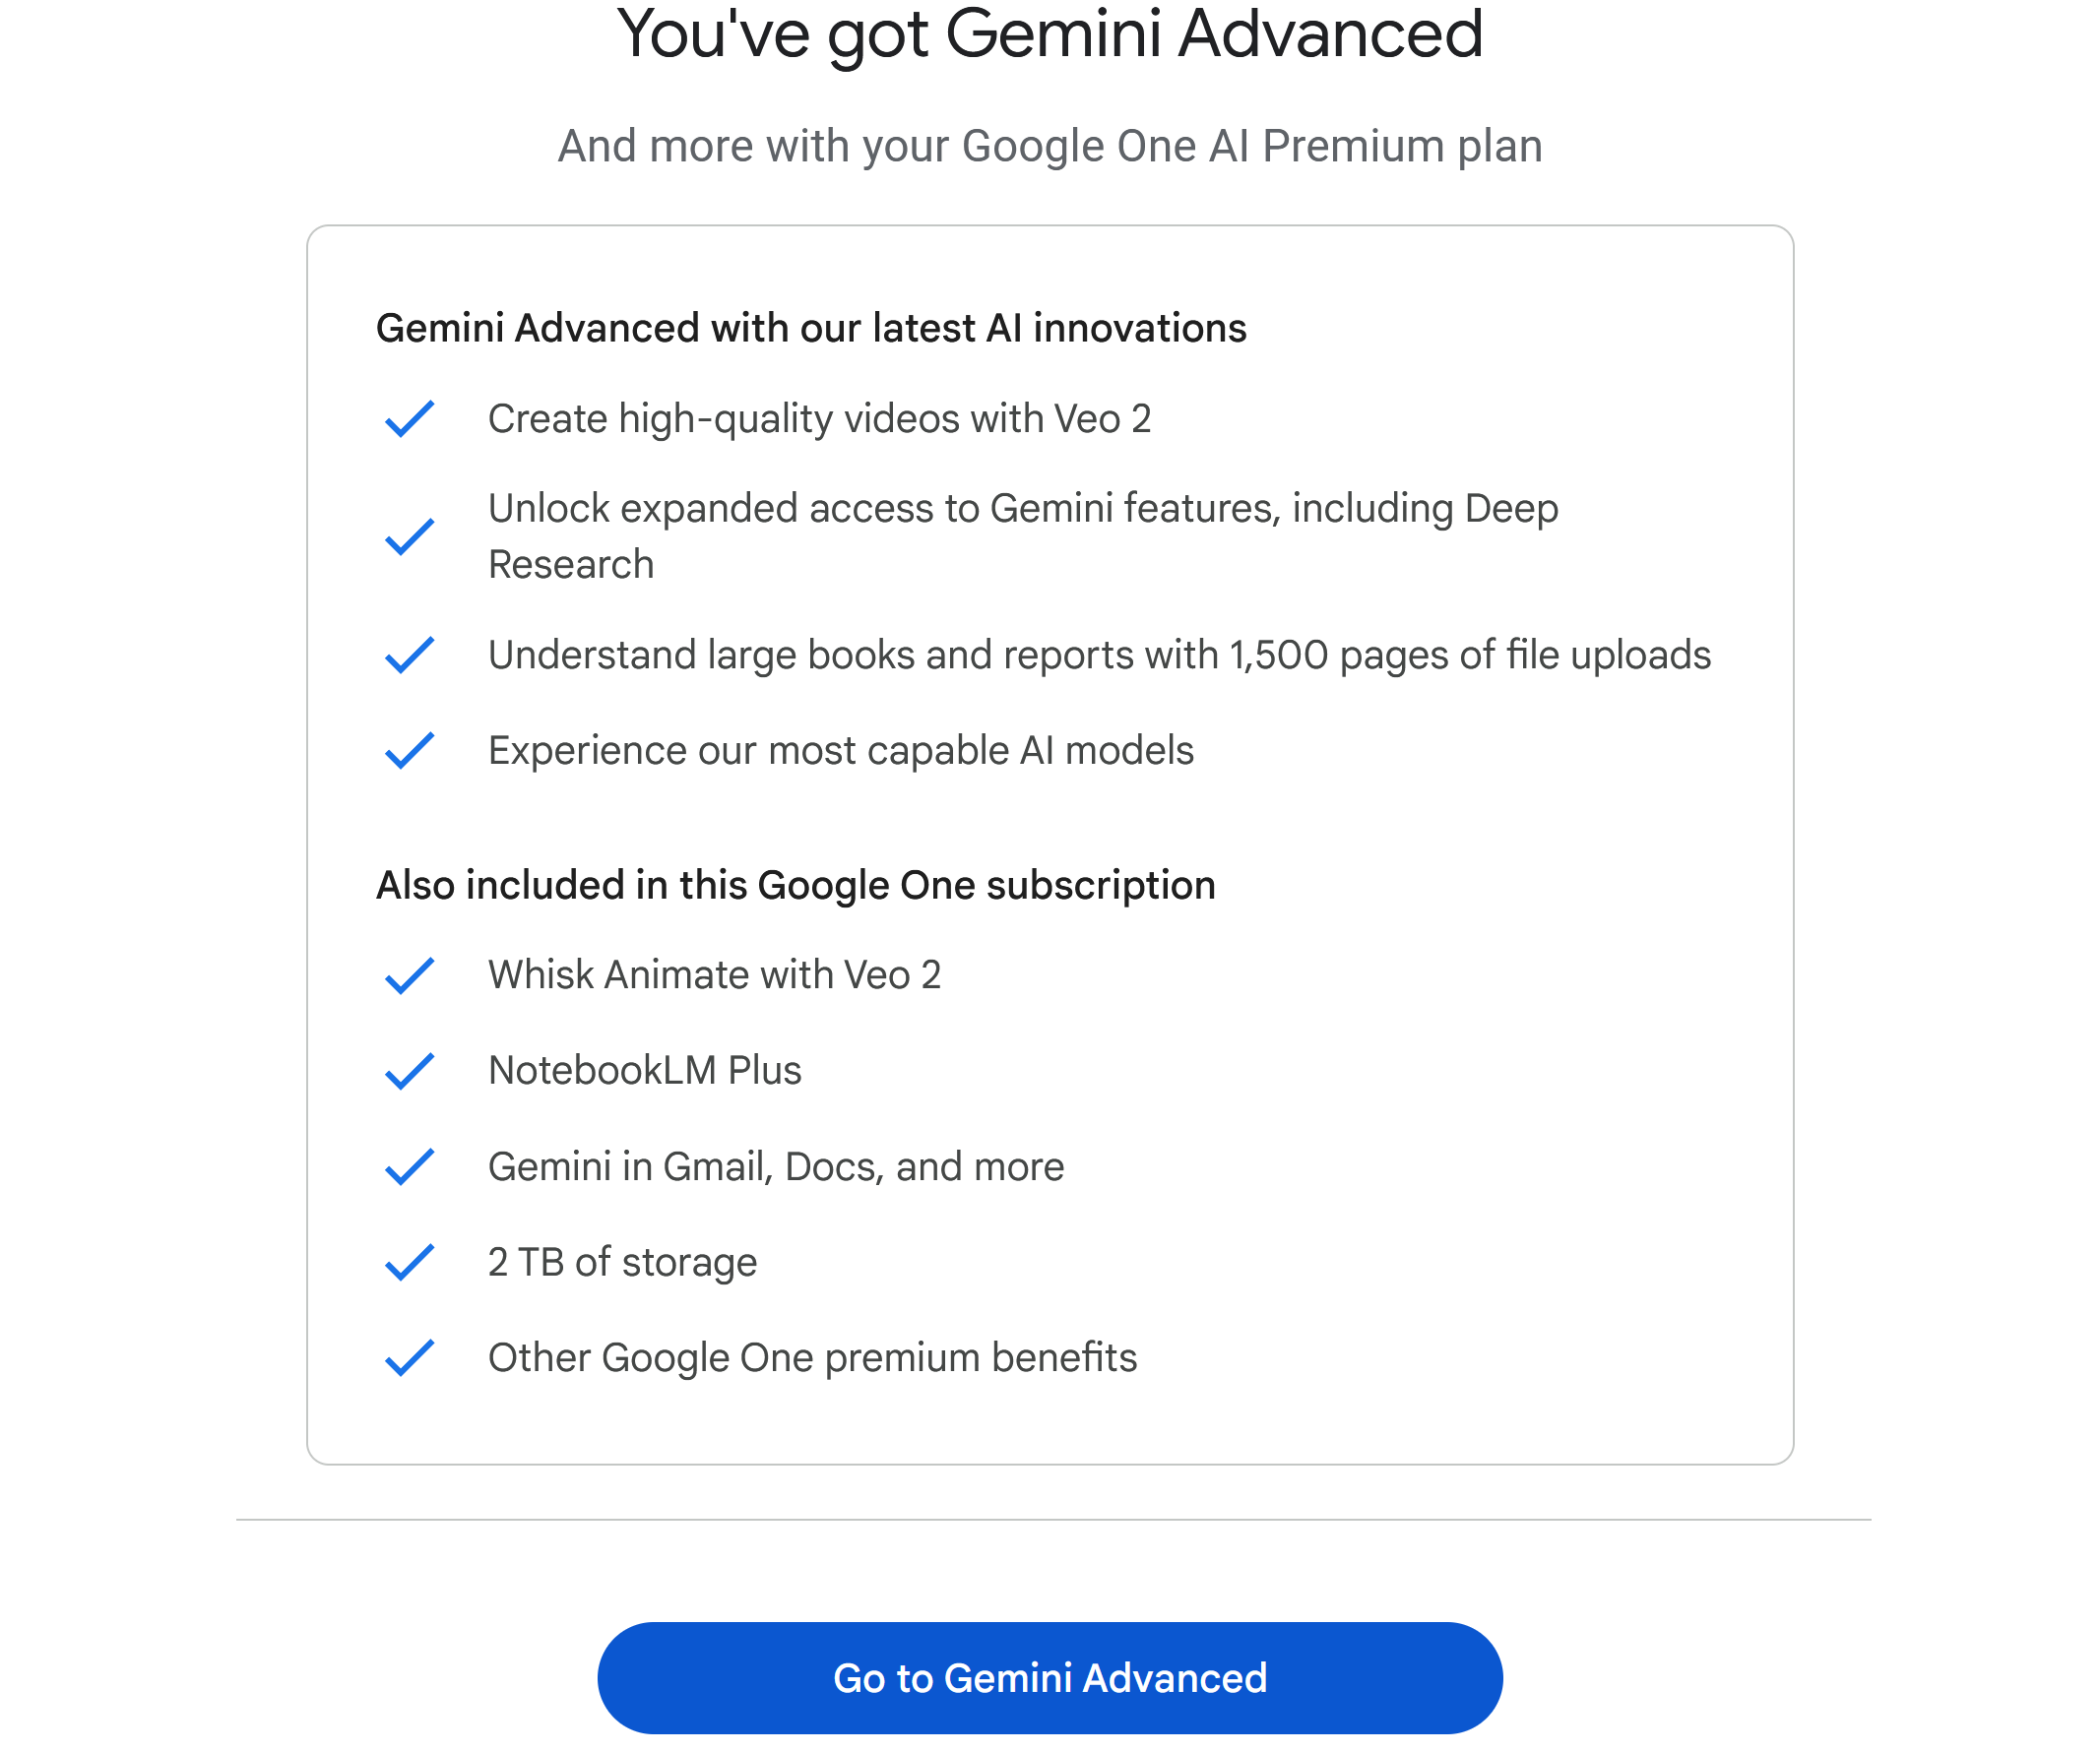
As with all Google products, you'll need to sign in using a Gmail account. The account you use will receive access to all Gemini tools, including Gemini Flash 2.0, Whisk Animate, and Veo 2, and will also receive billing updates and product announcements.
How to Use the Gemini Veo 2 Video Generator
Once you’re logged into Gemini, accessing the Veo 2 generator is straightforward. Let’s start by looking at the generation interface.
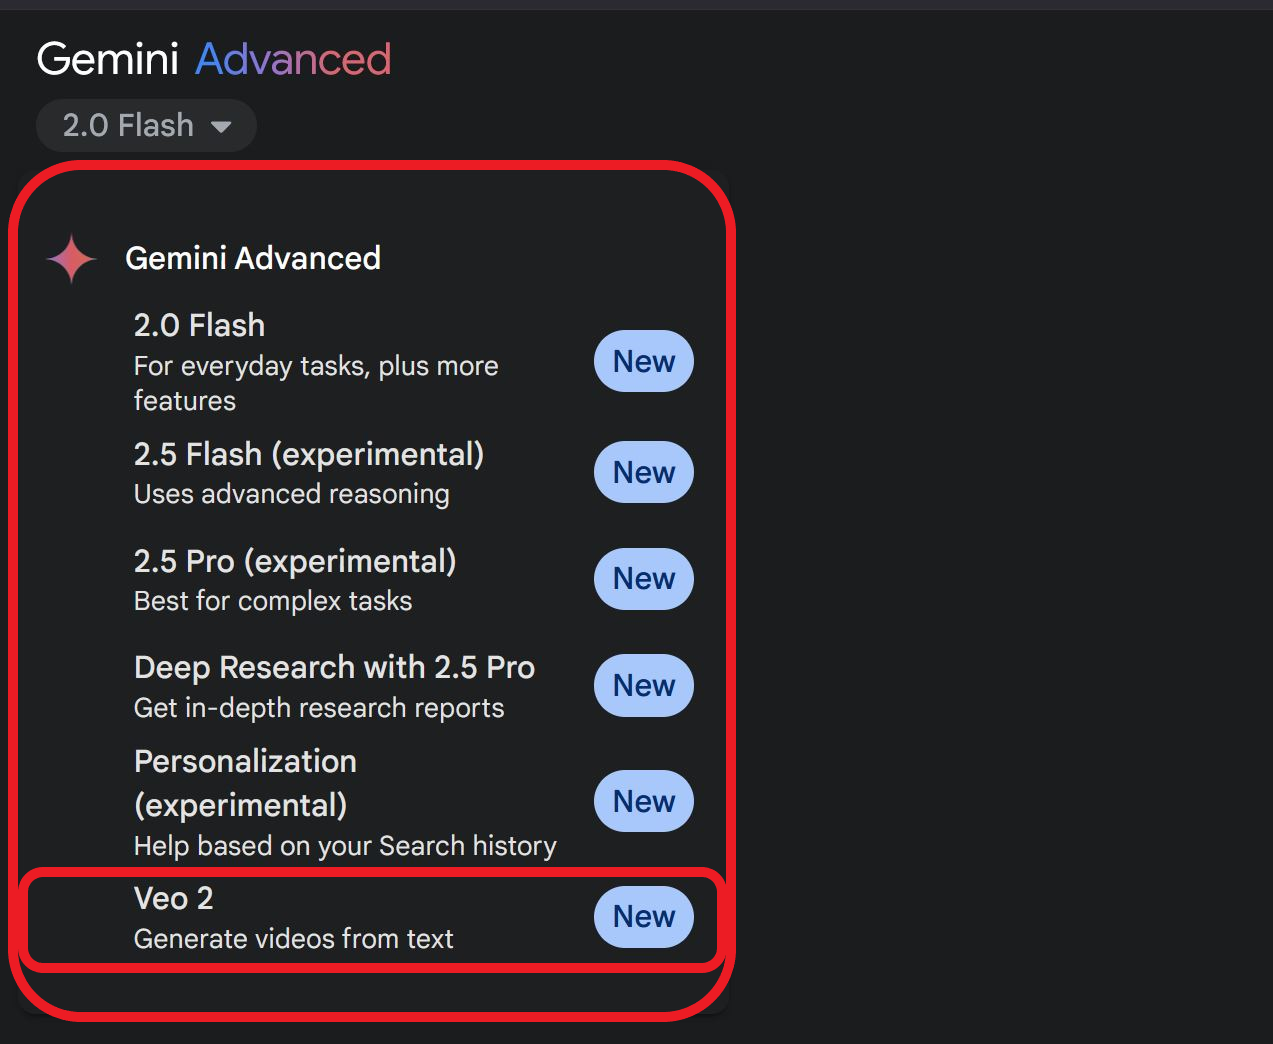
By default, Gemini will be set to the Flash 2.0 generator. To switch to Veo 2, click the model button located underneath the “Gemini Advanced” label in the top-left corner.

From the dropdown menu, select the Veo 2 option at the very bottom. This is the model we’ll be using for the remainder of this tutorial.
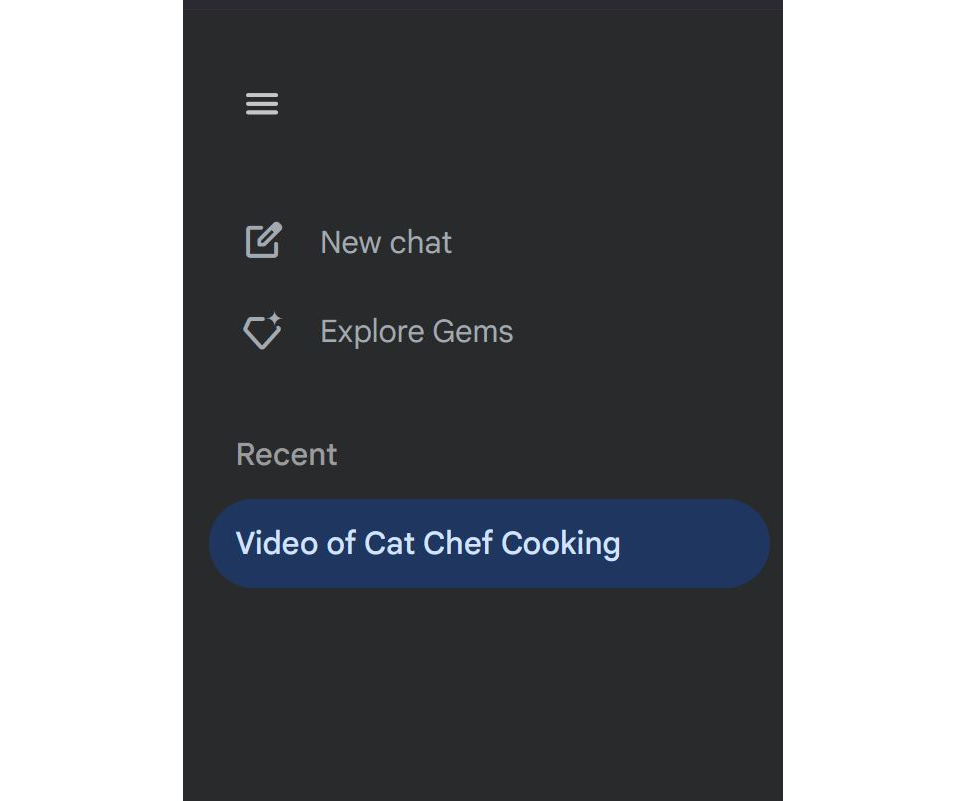
To the left of the model selector, you’ll see a collapsible sidebar that can be expanded or minimized by clicking the three-bar icon.
While this menu isn’t required for video generation, it’s the best place to view past generations or start a new chat.
Generating Videos With Veo 2
To begin generating an AI video, start a new chat session. At the bottom of the screen, you’ll see a prompt input box.
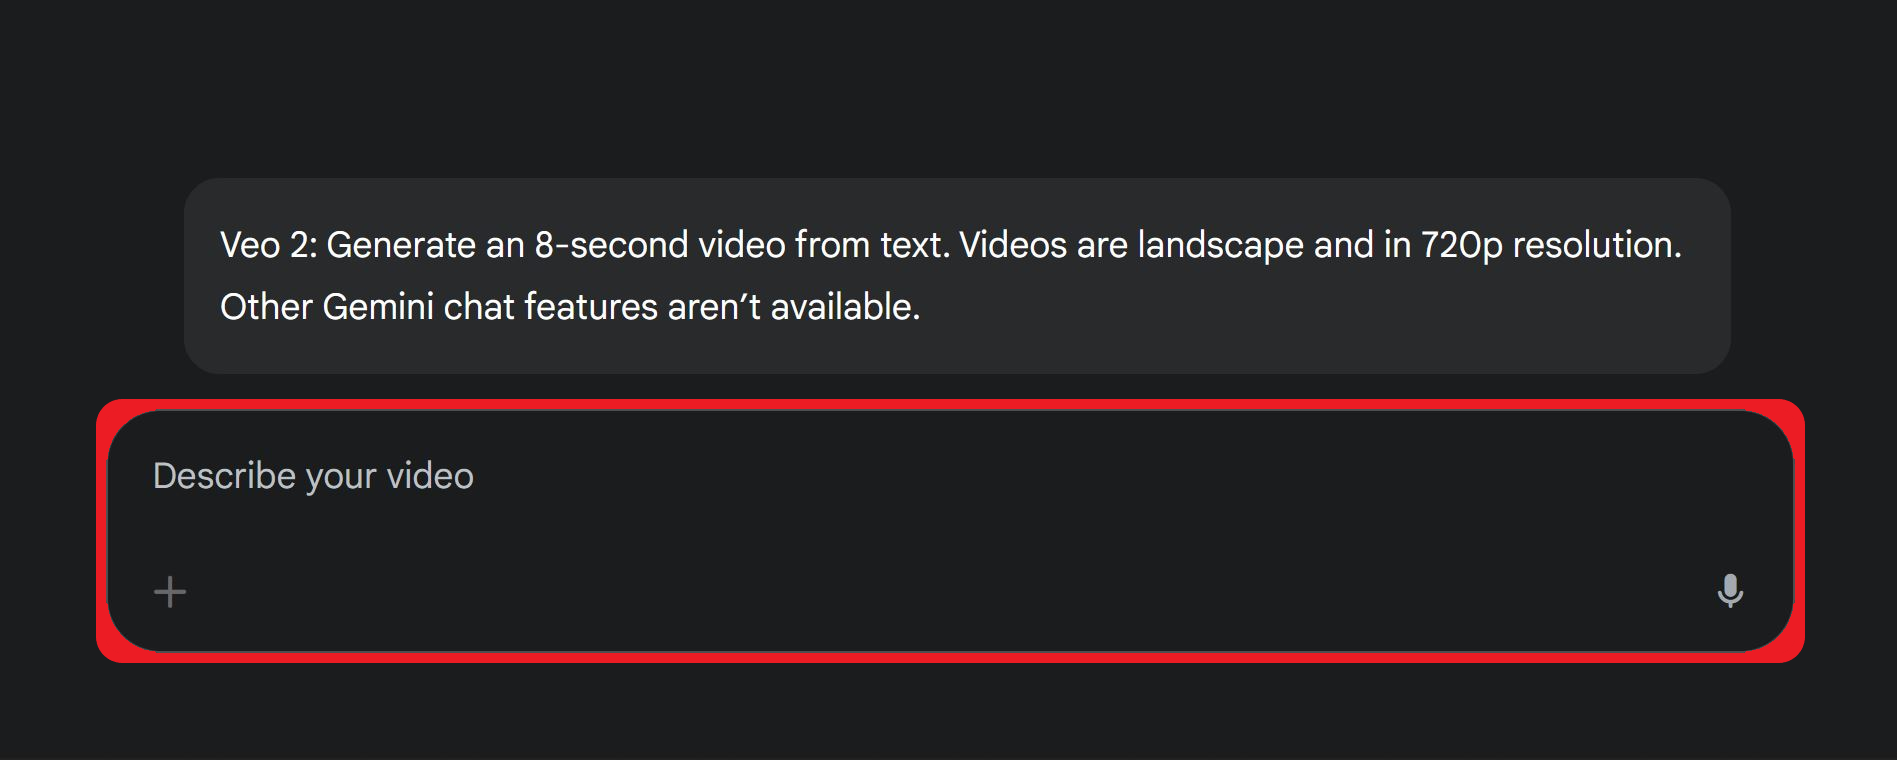
Currently, Gemini Veo 2 only supports text-to-video, so the file upload icon on the left side of the box will be greyed out and inactive. However, if you prefer not to type, you can click the microphone icon on the right to use voice dictation.
Whether you choose to type your prompt or speak it aloud, the same core principles apply when writing for Gemini Veo 2:
- Be as descriptive as possible: Instead of a vague phrase like “a man with a hat,” try something more visual — “a tall, confident man wearing a tattered jacket and blue jeans, topped with an off-white Stetson hat.”
- Provide context: Place your subject in a setting. Describing the surroundings — like “standing under a flickering streetlamp on a rainy sidewalk” — gives the AI more to work with and improves scene consistency.
- Include movements or actions: AI videos are prone to looking a bit... awkward. Oftentimes, the subject seems unfamiliar with their environment because the model is trying to animate realistic movement without any direction. To avoid this, include simple actions like “standing stoically” or “gently walking” to give your subject something definitive to do.
- Provide a camera angle: While the best angle may seem obvious to you, don’t assume Veo 2 will pick up on it. Instead, generate a more cinematic result by adding phrases like “using a wide shot” or “filmed from an overhead drone angle.”
When in doubt, try copying your prompt into another AI assistant like ChatGPT and ask it to revise the prompt for AI optimization. Many video generators have already incorporated their own built-in “enhancement” tools to replicate this process.
For reference, here’s a side-by-side comparison of a prompt I originally wrote with no enhancements, followed by the same prompt after running it through ChatGPT:
Original Prompt + Video Generation:
Generate a front-facing video of a wise old man wearing a slick green suit walking down a sidewalk with a cane in his hand
Example Veo 2 generation without an enhanced prompt.
Enhanced Prompt + Video Generation:
Generate a front-facing tracking shot of a wise, elderly man in a tailored green suit, walking slowly down a city sidewalk. He holds a polished wooden cane in his right hand, his silver beard catching the light as he glances thoughtfully ahead. The scene is set during golden hour, with warm sunlight casting long shadows across the pavement.
Example Veo 2 generation with a ChatGPT enhanced prompt.
As you can see, enhancing the prompt ensured more of my original intent made it into the final video. It also gave the scene more personality, replacing a cold, industrial setting with something softer, warmer, and more cinematic.
Saving and Downloading Veo 2 Videos
Once your video is finished rendering, there are two main ways to save or share it.
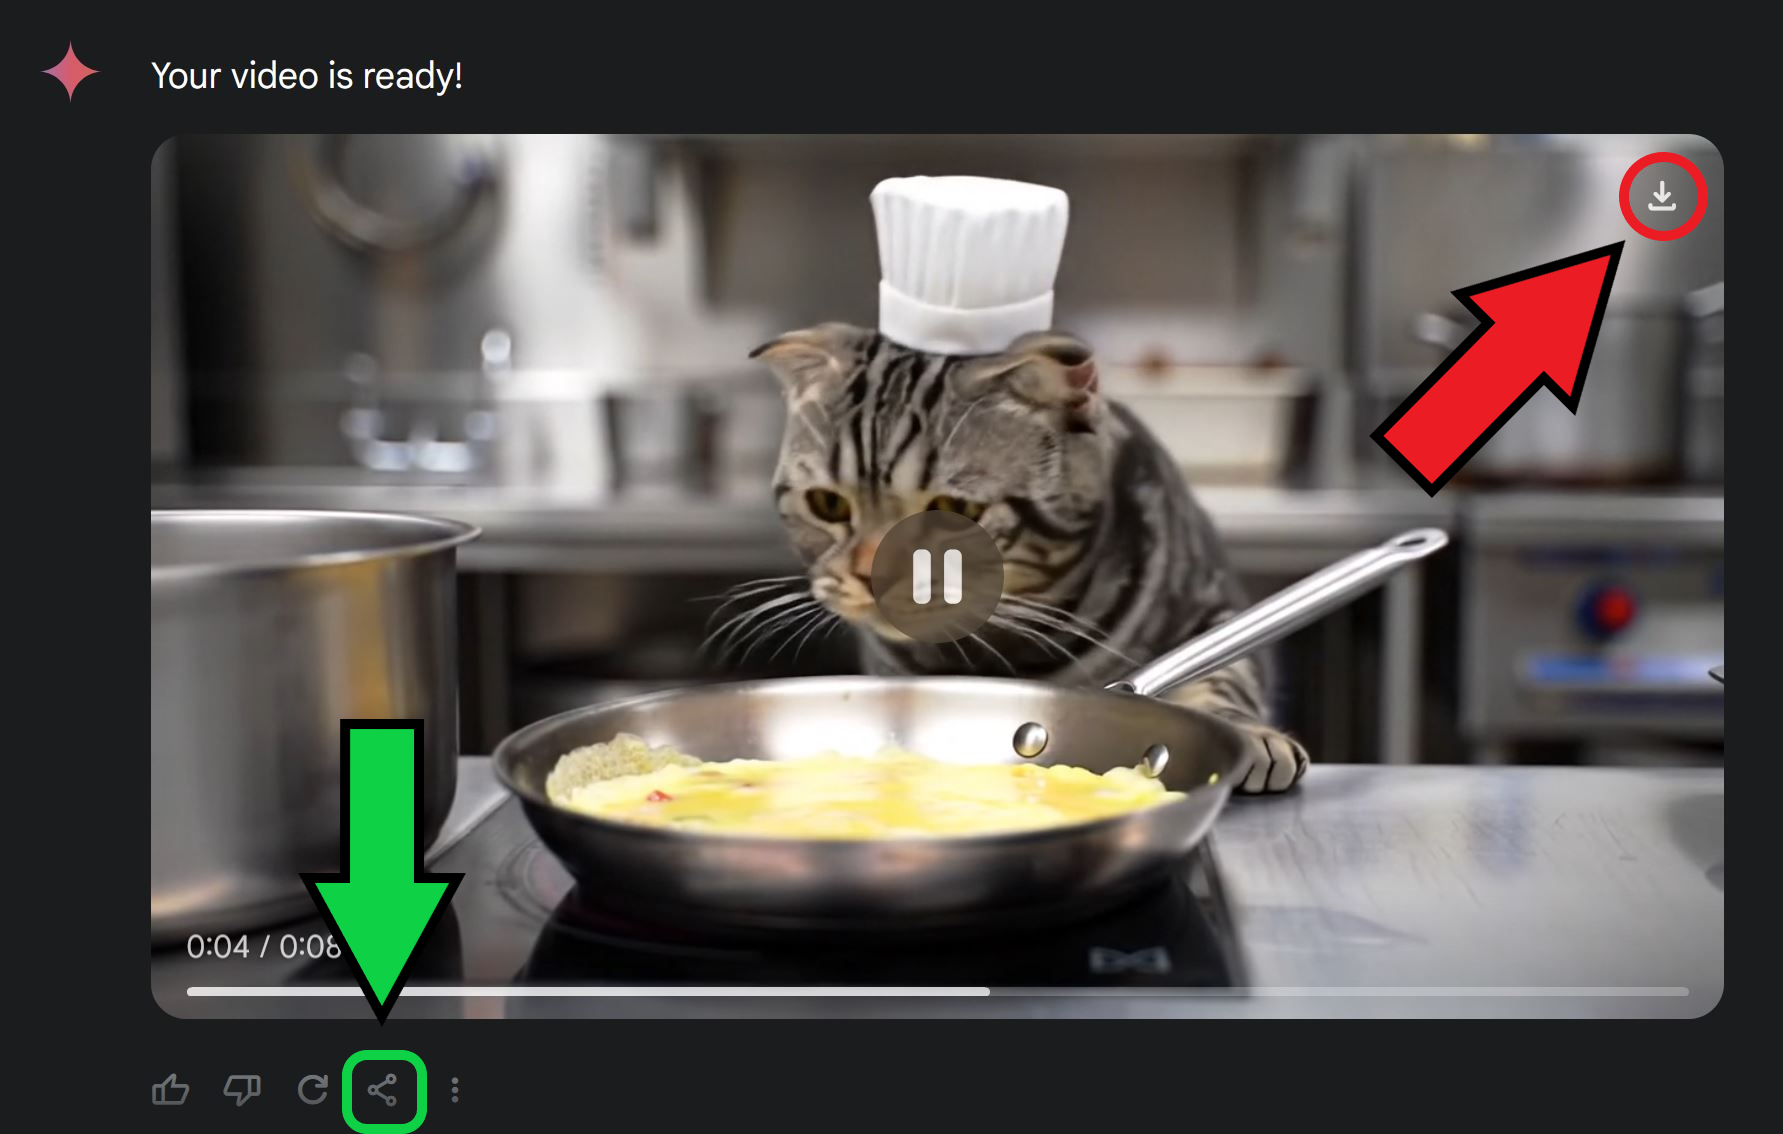
To download it directly to your device, click the download icon in the top-right corner of the video. This option is best if you plan to use the video for editing, posting, or embedding into another project.
If you're collaborating with others, you can also share the entire generation session. Click the link icon in the toolbar beneath the video to copy a shareable link to the chat. This is especially useful for sharing your video prompt and result with a marketing team or creative partner.
Just keep in mind: anyone with access to the shared conversation link can edit or even delete the generation. If you're sharing work in progress, make sure your collaborators know to preserve the original content.
Veo 2 Advanced Video Specs
The Gemini Veo 2 AI video generator is highly capable of producing realistic videos, perfect for implementing in advertisements or b-roll in video projects. However, its video specs are mostly static, meaning you'll need to use an alternative editing platform to make most changes.
Let’s take a look at the specific video specs for a Veo 2 video:
- Video length: 8 seconds
- Framerate: 24 frames per second
- Resolution: 1280 x 720 pixels
- Aspect ratio: 16:9 horizontal
- File type: MP4 video file
- File size: 1–3 MB on average
Generating videos in a horizontal aspect ratio is ideal for traditional advertising like TV and long-form video ads. However, it’s less effective for advertising on mobile. With over 80% of advertisers now favoring mobile advertising, optimizing your content for mobile display has become essential.
The best way to do so is by resizing your content to fit mobile formats. To resize a Veo 2 video, start by uploading it to an automatic video resizer.
Once uploaded, select the background of your project to access the Resize Project tool on the right-hand side.
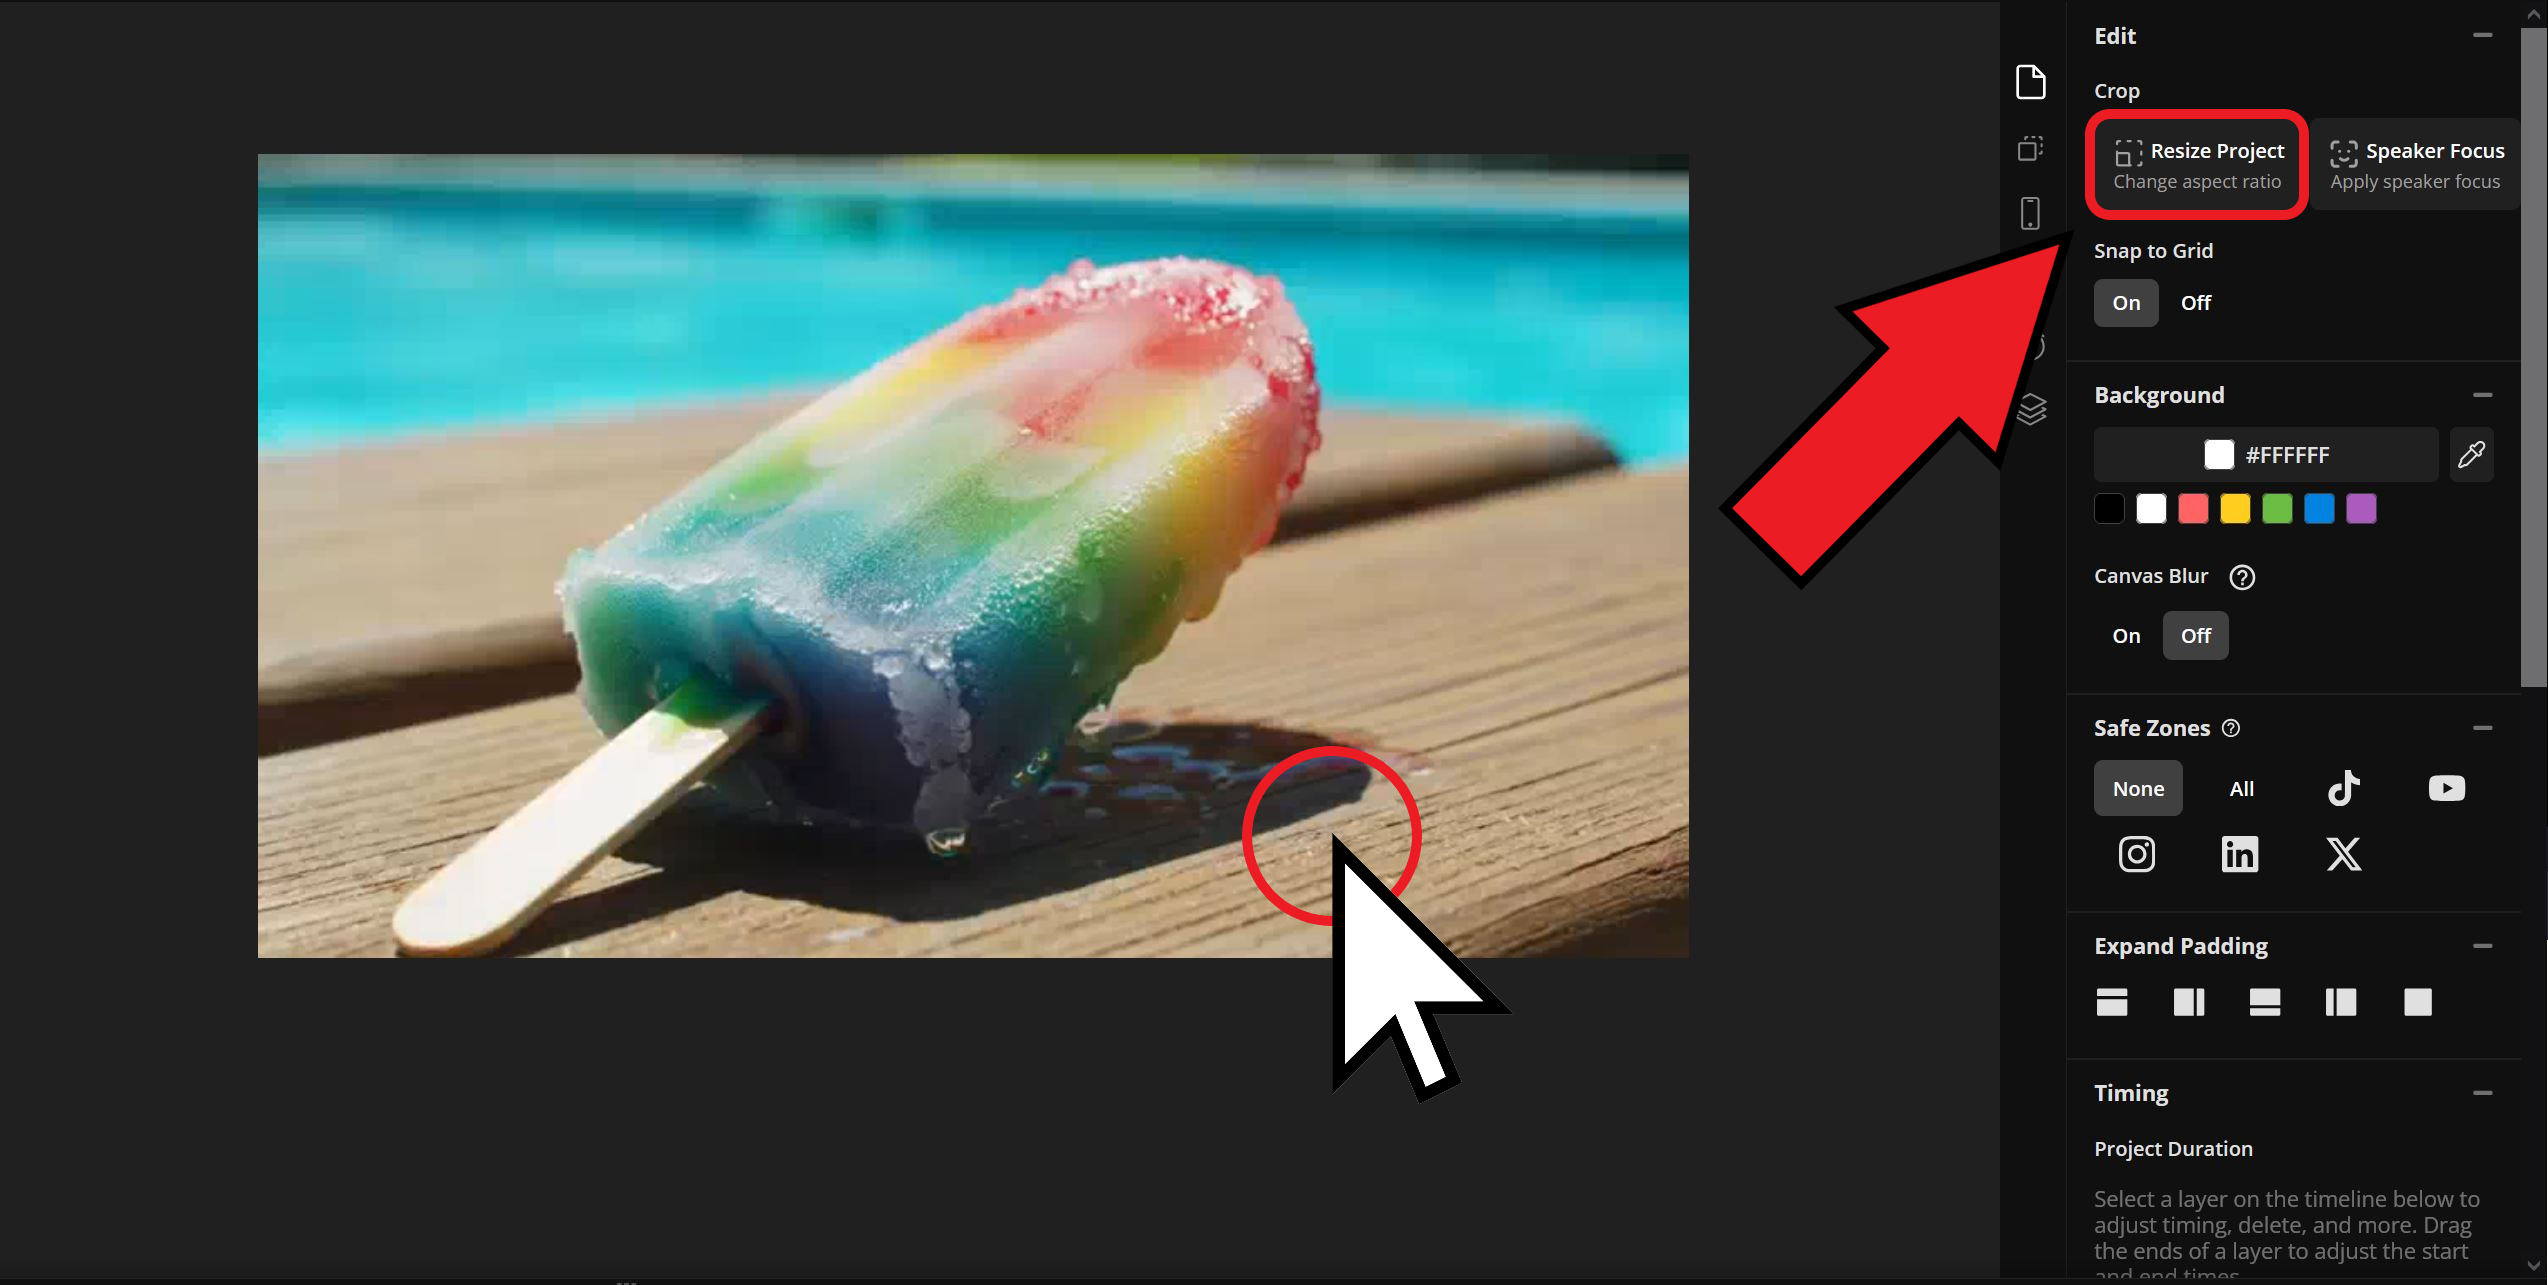
Then, either select a preset aspect ratio from the Size dropdown or enter custom video dimensions.
I am optimizing this video for an Instagram Post Ad, so I chose the 4:5 portrait aspect ratio preset.
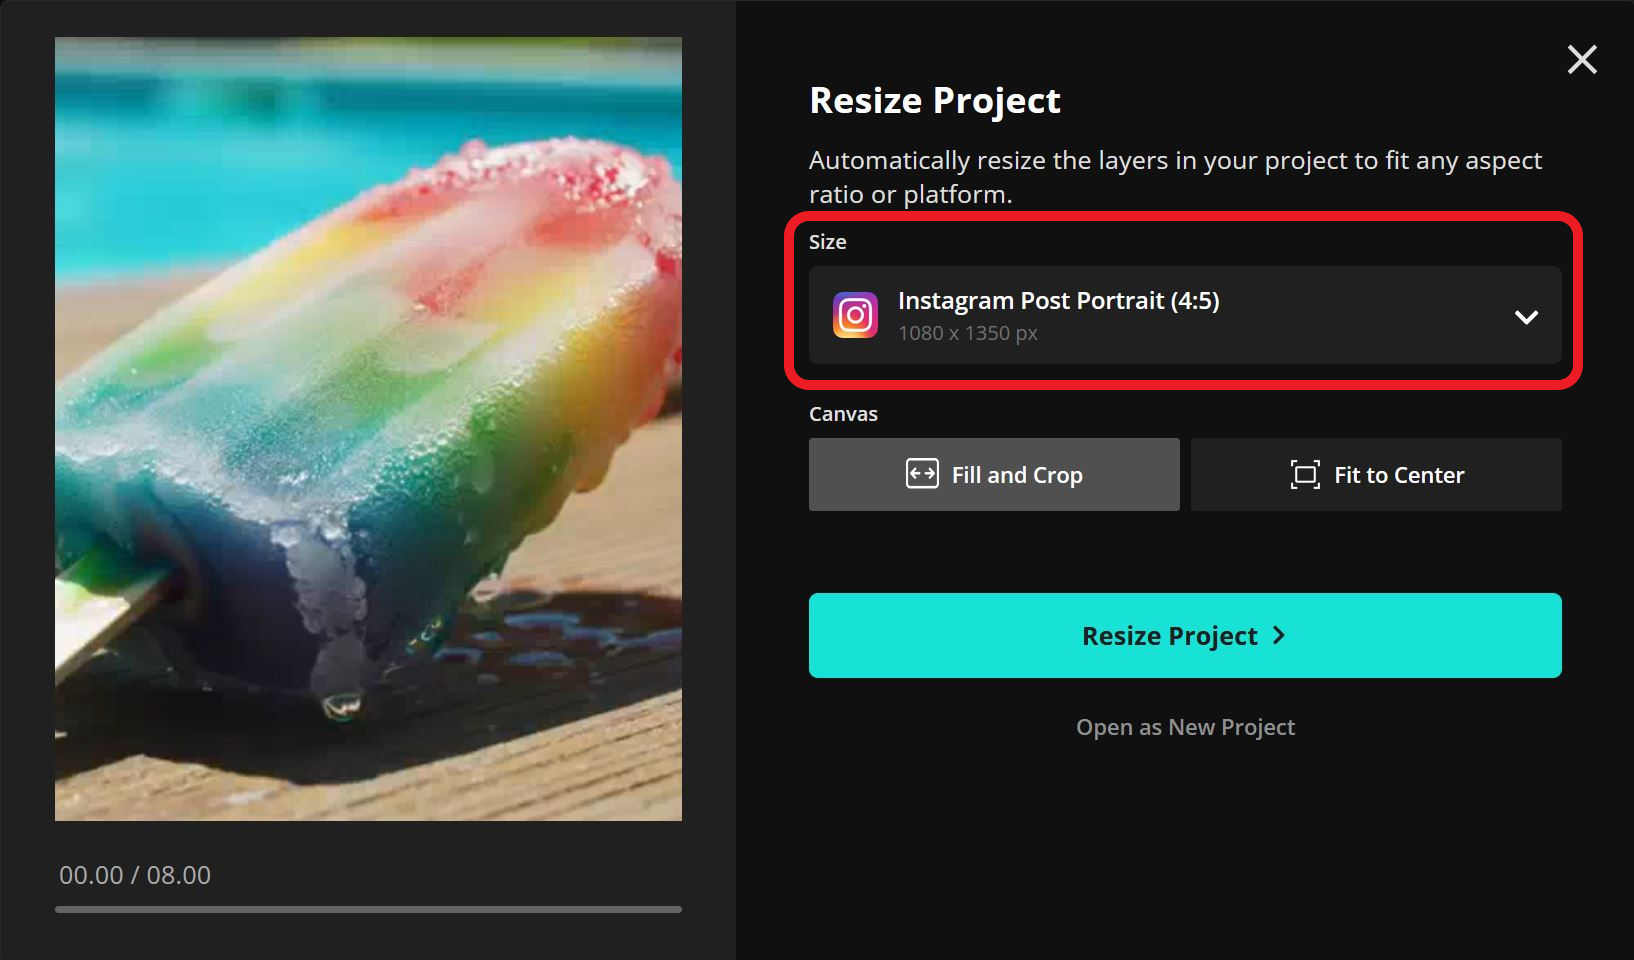
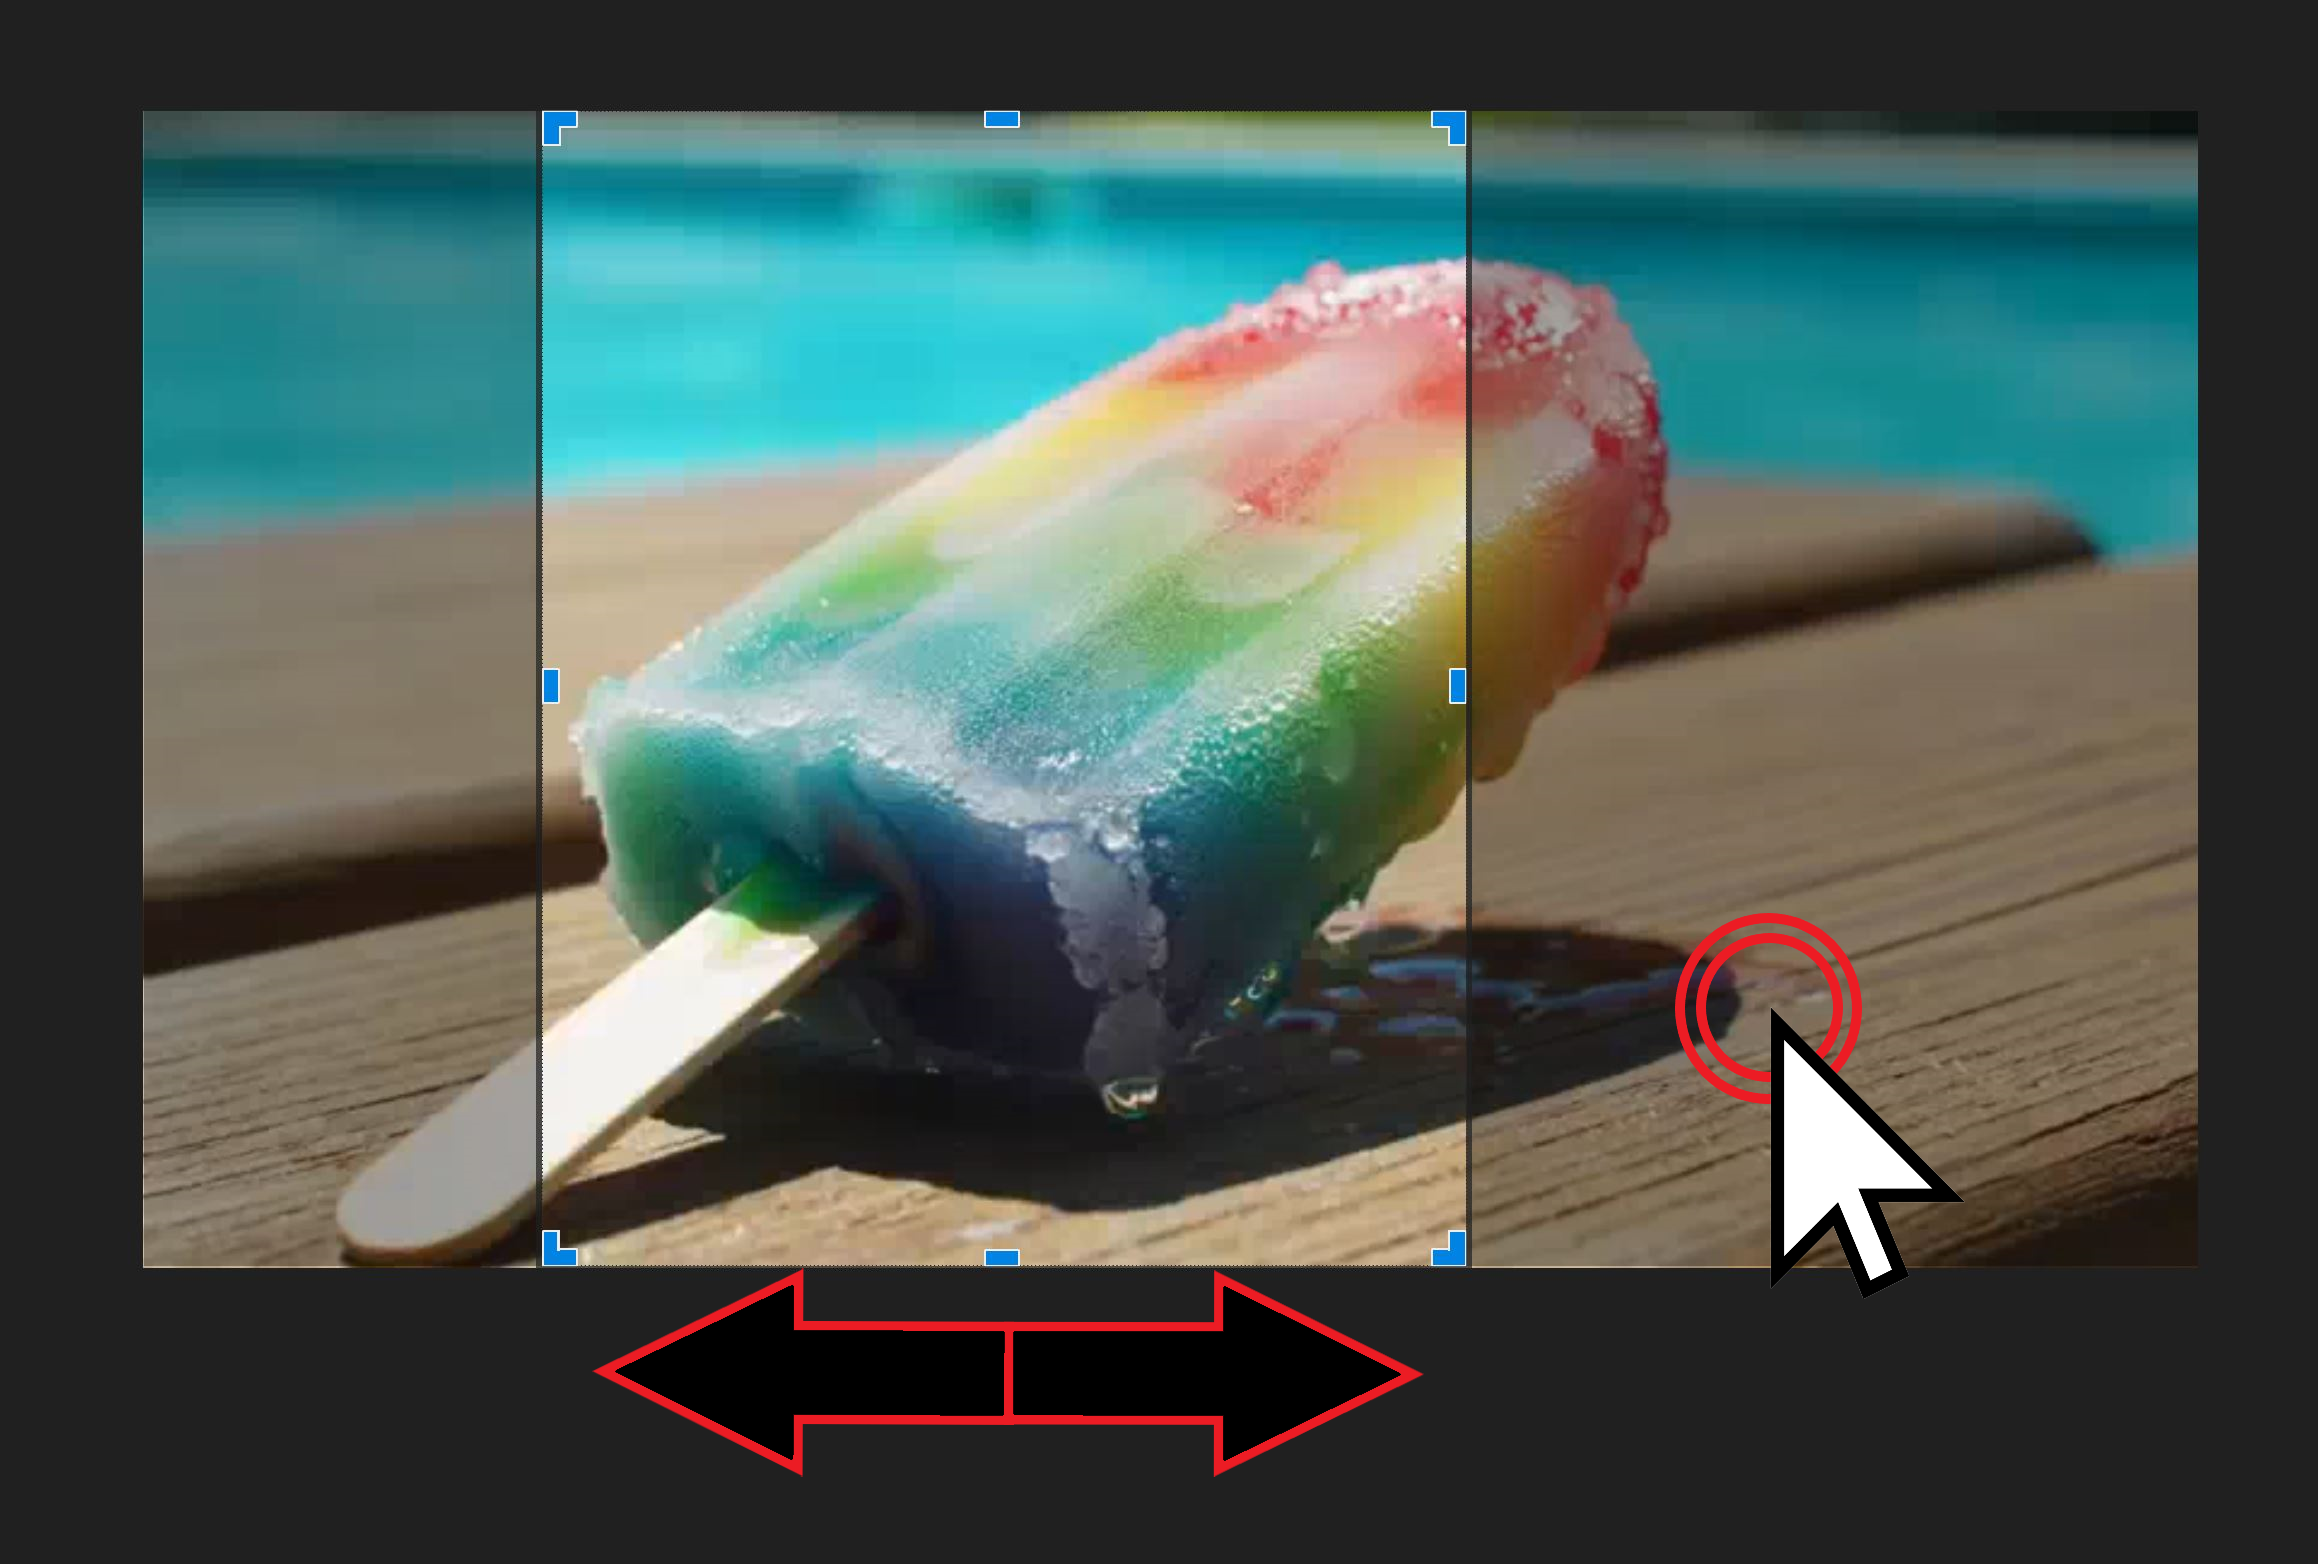
Finally, adjust the framing of your video by cropping it. To crop, double-click on your video and drag the frame to your desired position.
Once you’ve completed this process, you’ll have a Veo 2 AI-generated video resized for any application. To further ensure compatibility with your desired platform, consider using a Safe Zone template during editing to prevent important details from being covered by user interface icons.
Pricing
The Veo 2 AI generator is priced differently depending on how you plan to use it. For individual users, access requires a Gemini Advanced subscription, which starts at $20 per month. This subscription is not limited to the Veo 2 generator — it includes access to a broader range of tools within the Gemini suite.
Here’s a brief look at some of the features included with a Gemini Advanced plan:
- 2 TB of cloud storage
- Access to Gemini’s chatbot and writing assistant
- Gemini integration across Google Workspace apps (Drive, Docs, Gmail)
- Access to AI video generators like Veo 2, Flash 2.0, and Google Whisk
- Priority access to future releases and experimental features
A full list of tools and benefits, including information on available discounts like the student plan, can be found on Gemini’s pricing page.
For API use cases, pricing is currently set at $0.50 per second of video generated using the Veo 2 model. Developers can view full pricing details — including comparisons with other models like Flash 2.0 — on Google’s video generation API page.
Veo 2 Versus Veo 3
While Veo 2 may be the most practical option for casual creators or those simply looking to gain experience with an AI video generator, it isn’t the only choice available. Google also offers a more advanced model, Veo 3, which is included in the highest consumer pricing tier for a Gemini subscription.
This premium subscription costs $249.99 per month and includes access to the Veo 3 video generator, along with additional perks such as expanded cloud storage, early access to tools in development, and even a YouTube Premium membership.
So how does Veo 3 compare to Veo 2?
According to Google’s official Veo page, Veo 3 offers significant improvements over Veo 2, as well as new features not currently available in other Gemini models. Enhancements include better realism, more accurate physics, and improved prompt adherence. New features include native audio generation, capable of producing sound effects, ambient noise, and even dialogue.
Example video created using the Gemini Veo 3 AI video generator.
For artists or creators working within a specific visual style, Veo 3 also retains the ability to generate videos from image inputs, allowing you to create animated sequences that maintain a consistent and customized aesthetic.
Veo 2 vs. Veo 3 — Who Should Use What?
Veo 2 is ideal for creators testing short-form ideas, experimenting with prompt design, or generating quick visual assets without the need for complex or lengthy outputs.
Veo 3, on the other hand, is built for professionals who prioritize cinematic quality and high-end video generation above all else. At its current price point, Veo 3 is cost prohibitive for most users. However, for those seeking an all-in-one content generation solution, it is the most advanced option currently available through Google.


