How to Turn a Live Photo into a Video
Live photos let you choose the perfect frame from a 3-second window. I'll show you how to create a short video clip from any Live Photo, using only your phone.
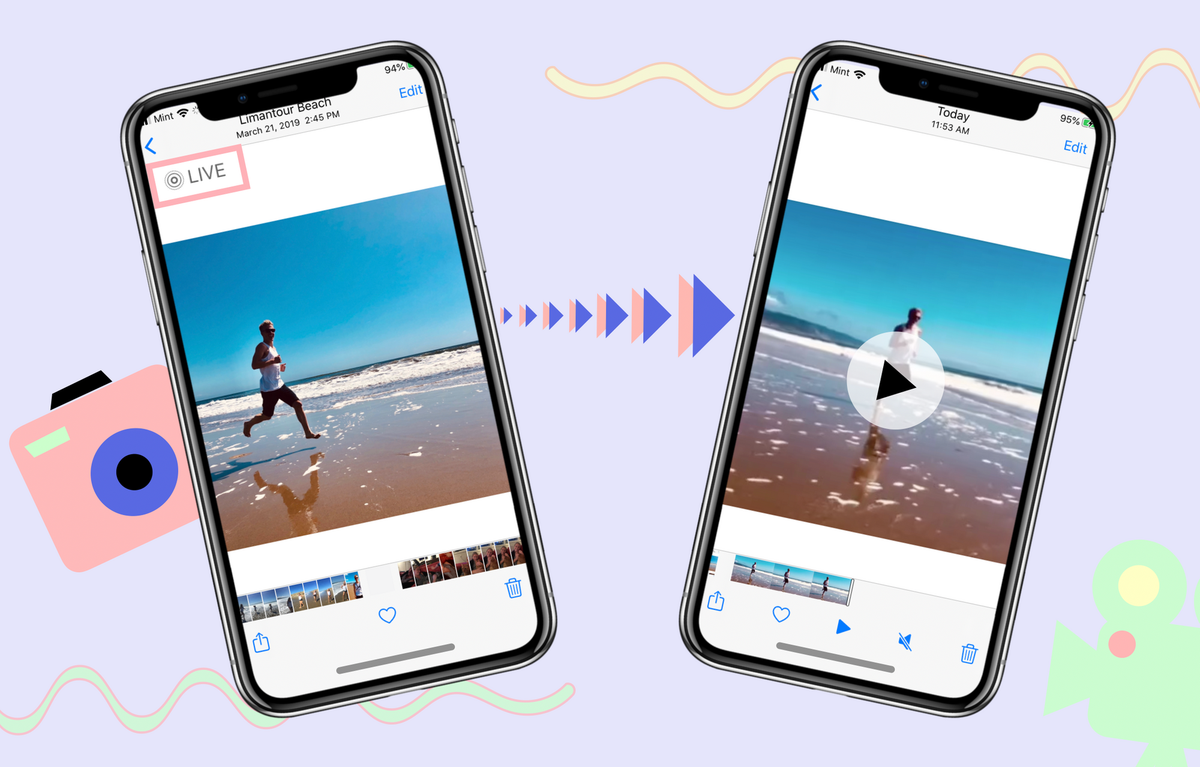
One of the coolest features of the iPhone camera is the Live Photo option. No picture is a bad picture – all you have to do is choose the best frame in the 3-second window shot as a live photo.
Sometimes, though, it would be nice to use those 3 seconds as a video. If your iPhone is running iOS 13 or newer, you can convert your live photo to a video right in your Photos app. However, if your iOS is a little more outdated, you'll need to use a program like Kapwing.
In this blog post, we'll show you the two different ways to convert a Live Photo to a Video.
Method 1: iOS 13 Photos App
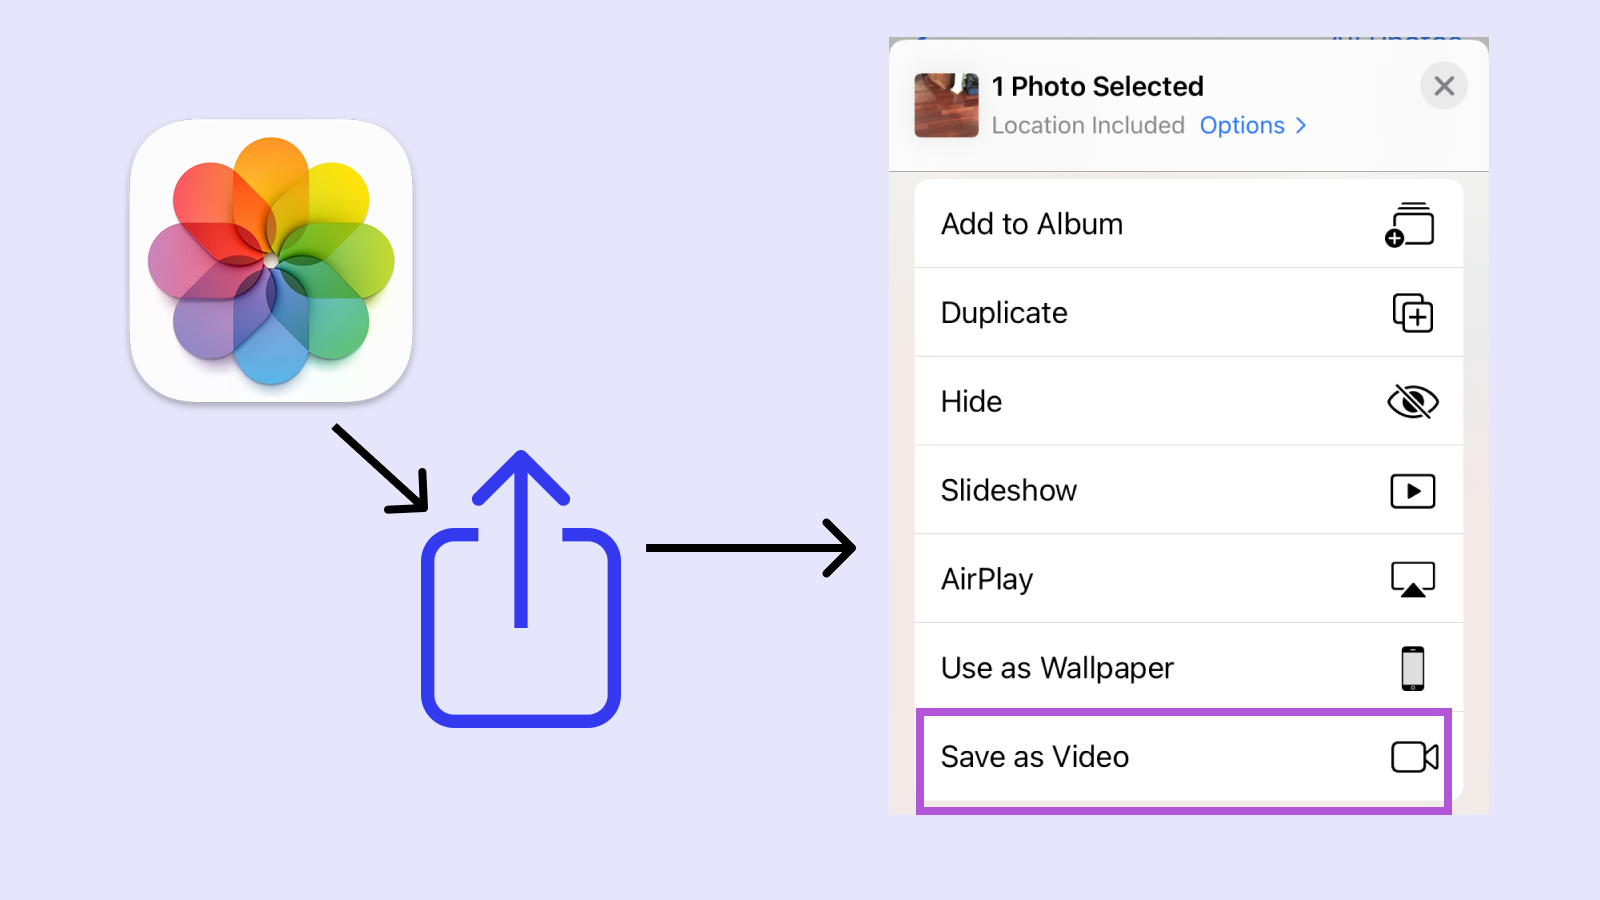
If your iPhone is running iOS 13 or later, it's very easy to turn your live photo into a video. All you have to do is:
- Open the photos in the Photos app
- Click the blue Share icon
- Scroll down
- Click "Save as Video"
Once you've clicked "Save as Video", your new video will appear in your Photo collection. It's that easy!
Method 2: Using Kapwing
If you have iOS 12 or an older operating system, you won't have a "Save as Video" setting on your phone. But, you can use Kapwing to turn your live photo into a video.
- Switch your live photo to a bounce or loop
- Save it to your files
- Convert to video
- Process & download as a video
Step 1: Switch your live photo to a bounce or loop
While you aren’t able to make video files from your live photos on your iPhone, you do have 1 option to change how they play. Go to your Photos app, select the live photo you want to use, and swipe up (or scroll down, if you’re on your computer).

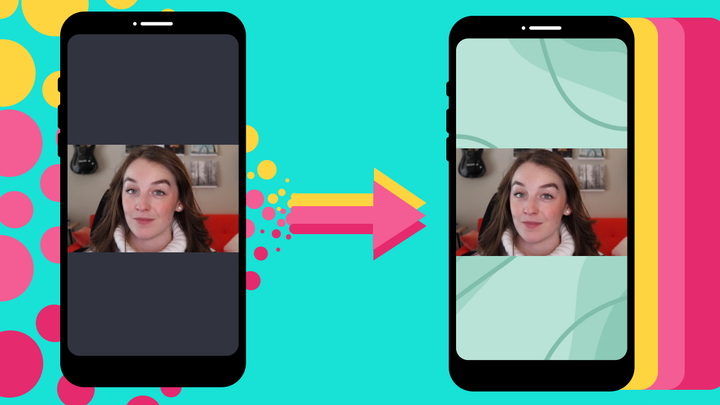
You’ll see 3 options for your live photo: live, bounce, and loop. To make your live photo a video, you’ll need to choose either the loop or bounce option. I recommend going with the bounce style because the loop option truncates your video with a fade effect, although that can have a cool effect for certain videos!
Step 2: Save it to your files
Unfortunately, when the looped or bounced photo is saved in your camera roll, it’s not actually saved as a video. Even if you send it to your computer and export it as a file, it will be saved as a GIF.
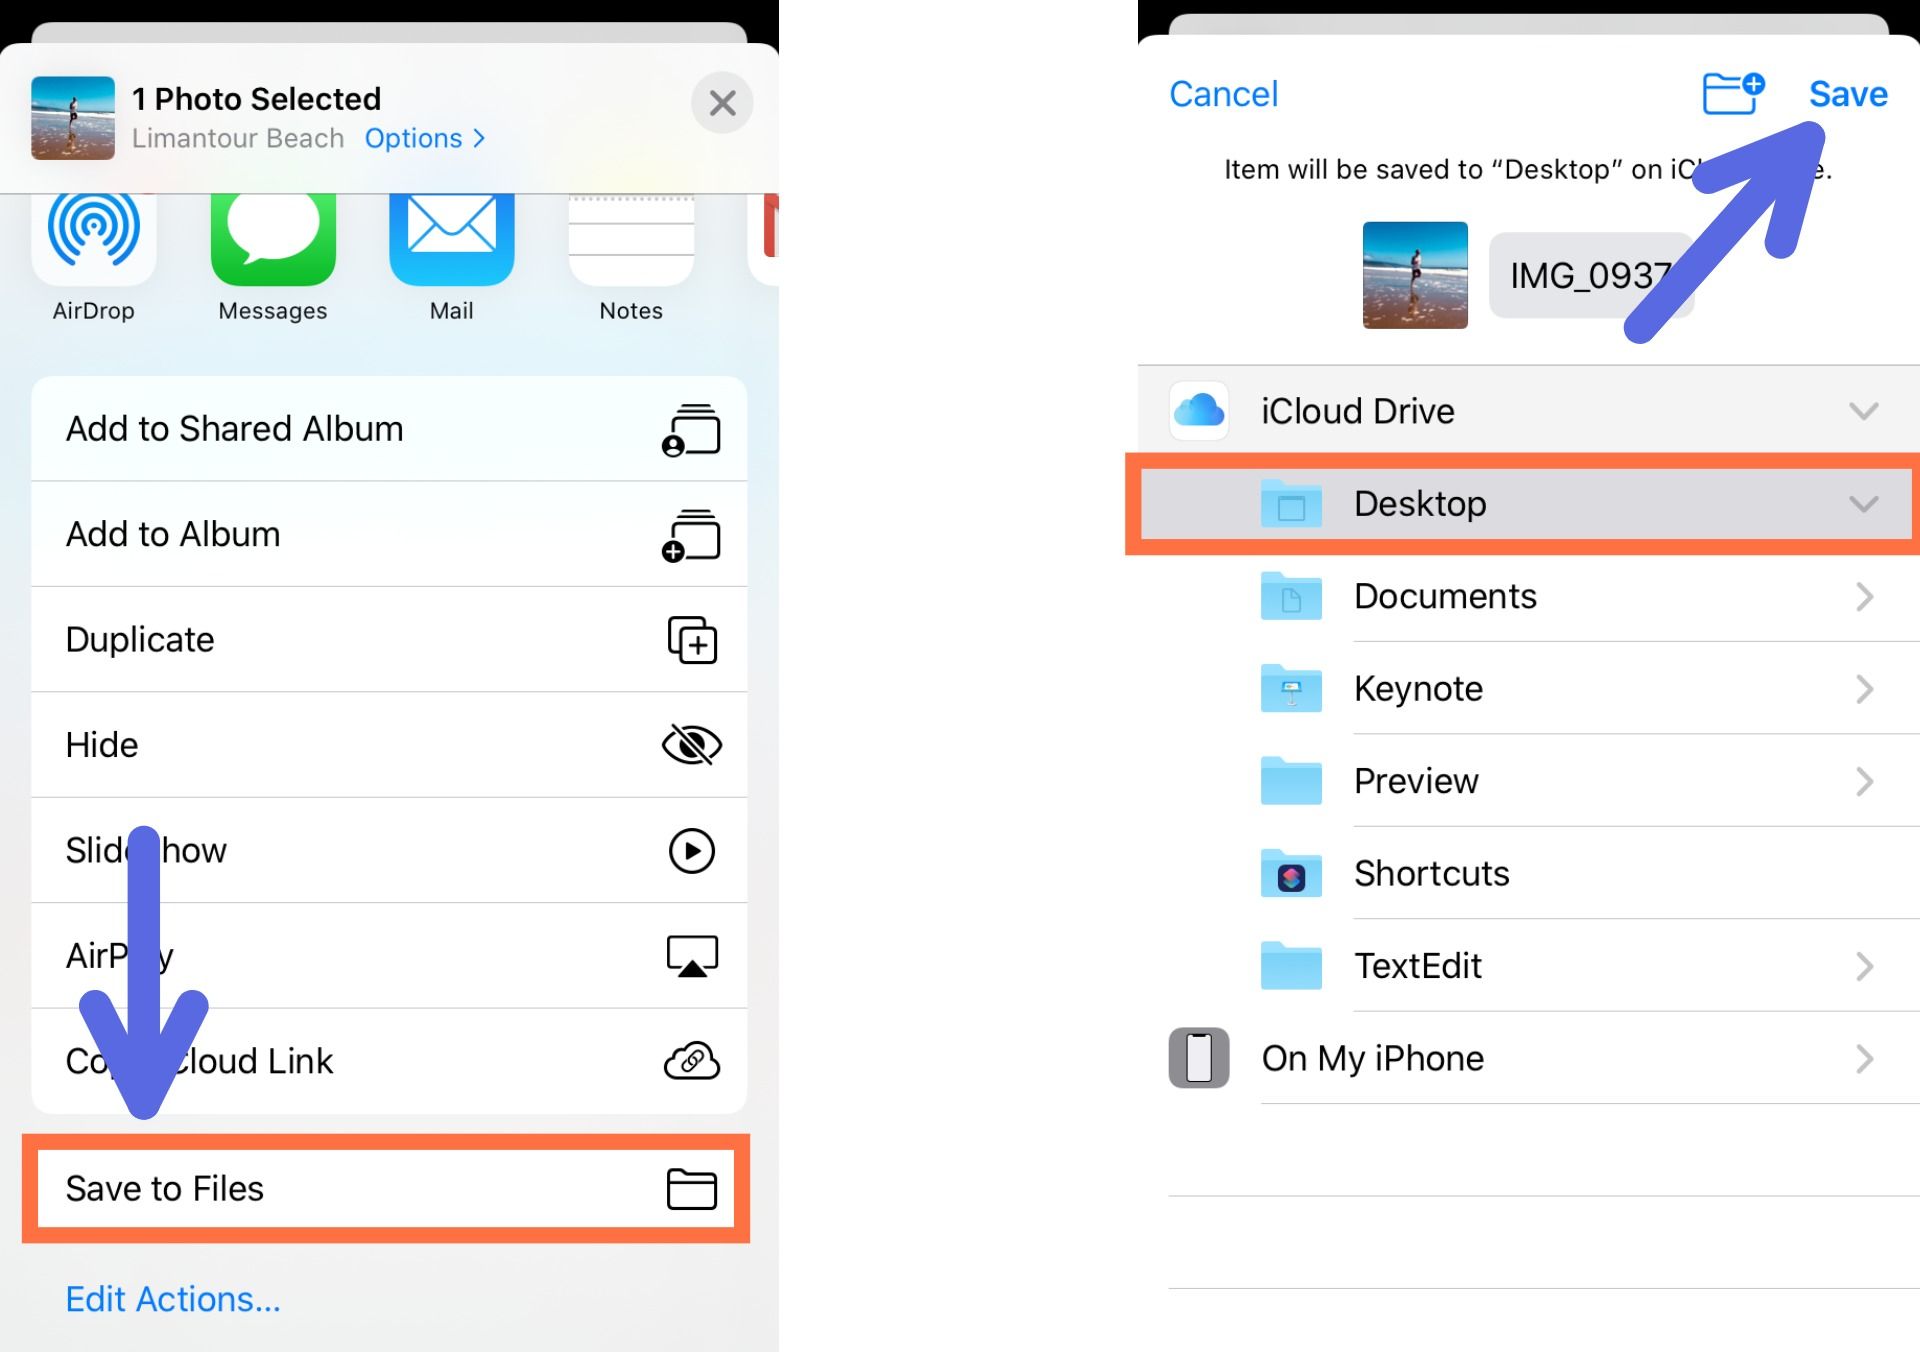
Instead, you need to select the photo in your Photos app, choose the “Share” button (it looks like a square with an arrow coming out of it), scroll down, and select “Save to Files.” Go with the first option it gives you – this way, it’ll be the first item you find in the next step – and hit “Save.”
Step 3: Convert to Video
After step 2, you still won't be able to access the live photo video on your phone. We know, it's annoying 🙄 Apple makes it hard.
There's one final step to getting the video: convert your new GIF to a video. Open Kapwing's Studio in the your phone's browser. Click "Get Started."
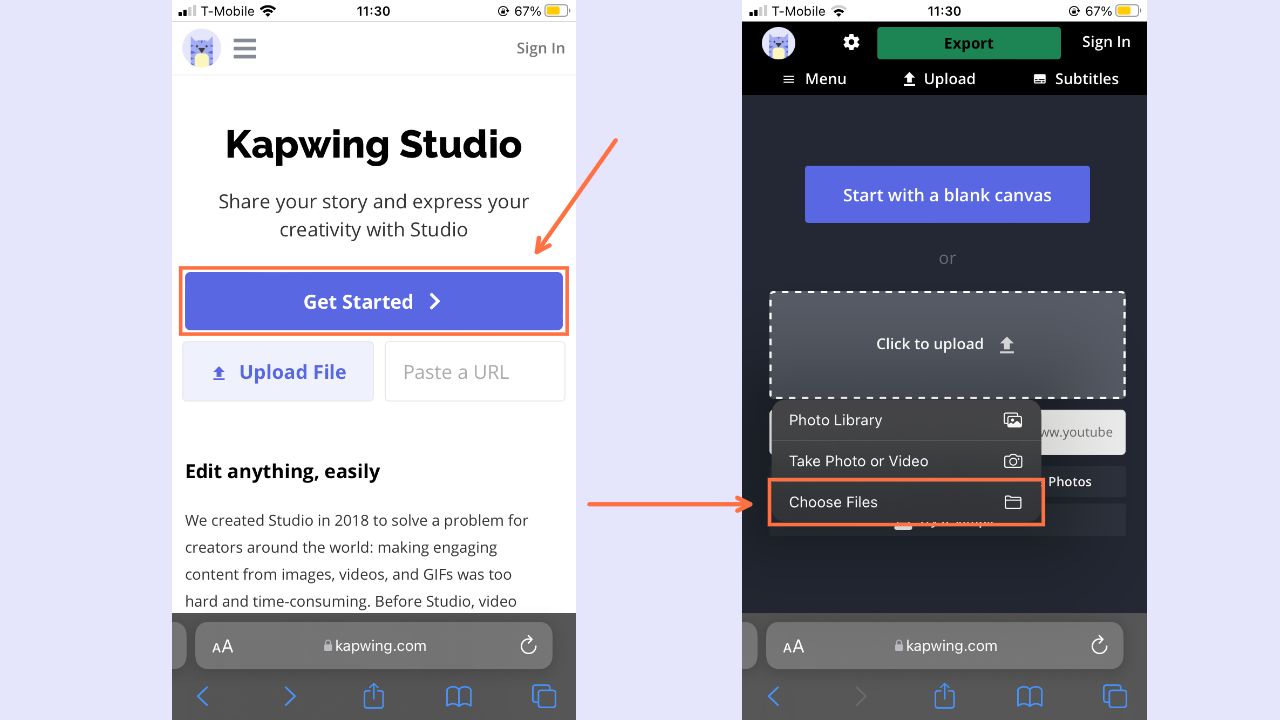
Then, tap “Click to Upload,” then “Choose Files.” Your saved loop or bounce file should be the most recent one in your file browser. Just select the file you want, and your video will immediately begin uploading to the Kapwing Studio.
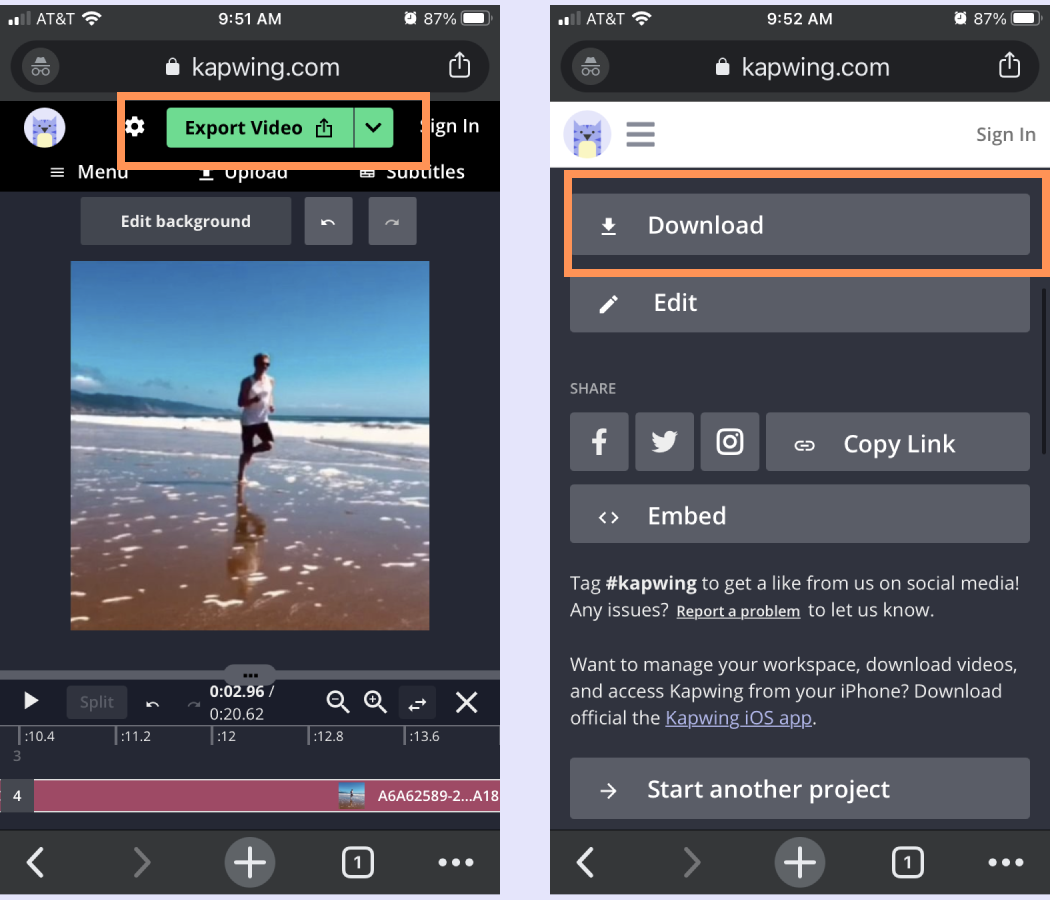
Step 4: Process & download as a video
Once your file is done uploading to the Studio, you’re ready to process it. Just click “Export Video” in the top right corner of the window. Kapwing will automatically work its magic and your live photo will be ready to download as an MP4 video file in no time. Once Kapwing is done processing, simply click “Download."
If you're not signed into a Kapwing account, sign in or sign up using your Google or Facebook account – once you've signed into a Kapwing account, the watermark in the lower right corner will be removed from your final video.
Remember to tag us @KapwingApp whenever you share your content on social media– we love to see what our creators are passionate about! And be sure to subscribe to the Kapwing Resources library – we’re constantly writing new tutorial and features to help you make the most out of Kapwing.
Related Articles:
• Convert GIF to MP4
• How to Make Animated GIFs from Videos
• How to Make a Live Photo Loop