How to Take and Edit Screenshots on a Laptop
Need to take a screenshot and edit it? Regardless of the computer you're using, I'll show you how to take and edit screenshots without downloading anything.
It’s easier than ever to grab a quick picture of something that you come across while browsing the internet on your laptop. Sometimes you just see something that you have to use for a thumbnail, profile picture, or more, and you need to screenshot it.
Whether you are using a Windows PC or a Mac, you can use built-in functions to grab whatever is on your screen. And you can’t forget about needing to edit the picture to fit your needs, which is where Kapwing comes in.
- How to take a screenshot
- On Mac
- On Windows - How to edit a screenshot on any device
1. How to Take a Screenshot
In order to take a screenshot, you are going to have to look at what kind of laptop you have: Windows or Mac. Each one has ways that you can get a screenshot easily, just with different keyboard shortcuts and processes.
Take a Screenshot on Mac
Taking a screenshot on Mac is seamless and easy, as Apple has built in a couple keyboard shortcuts that you can use to quickly snap a picture:
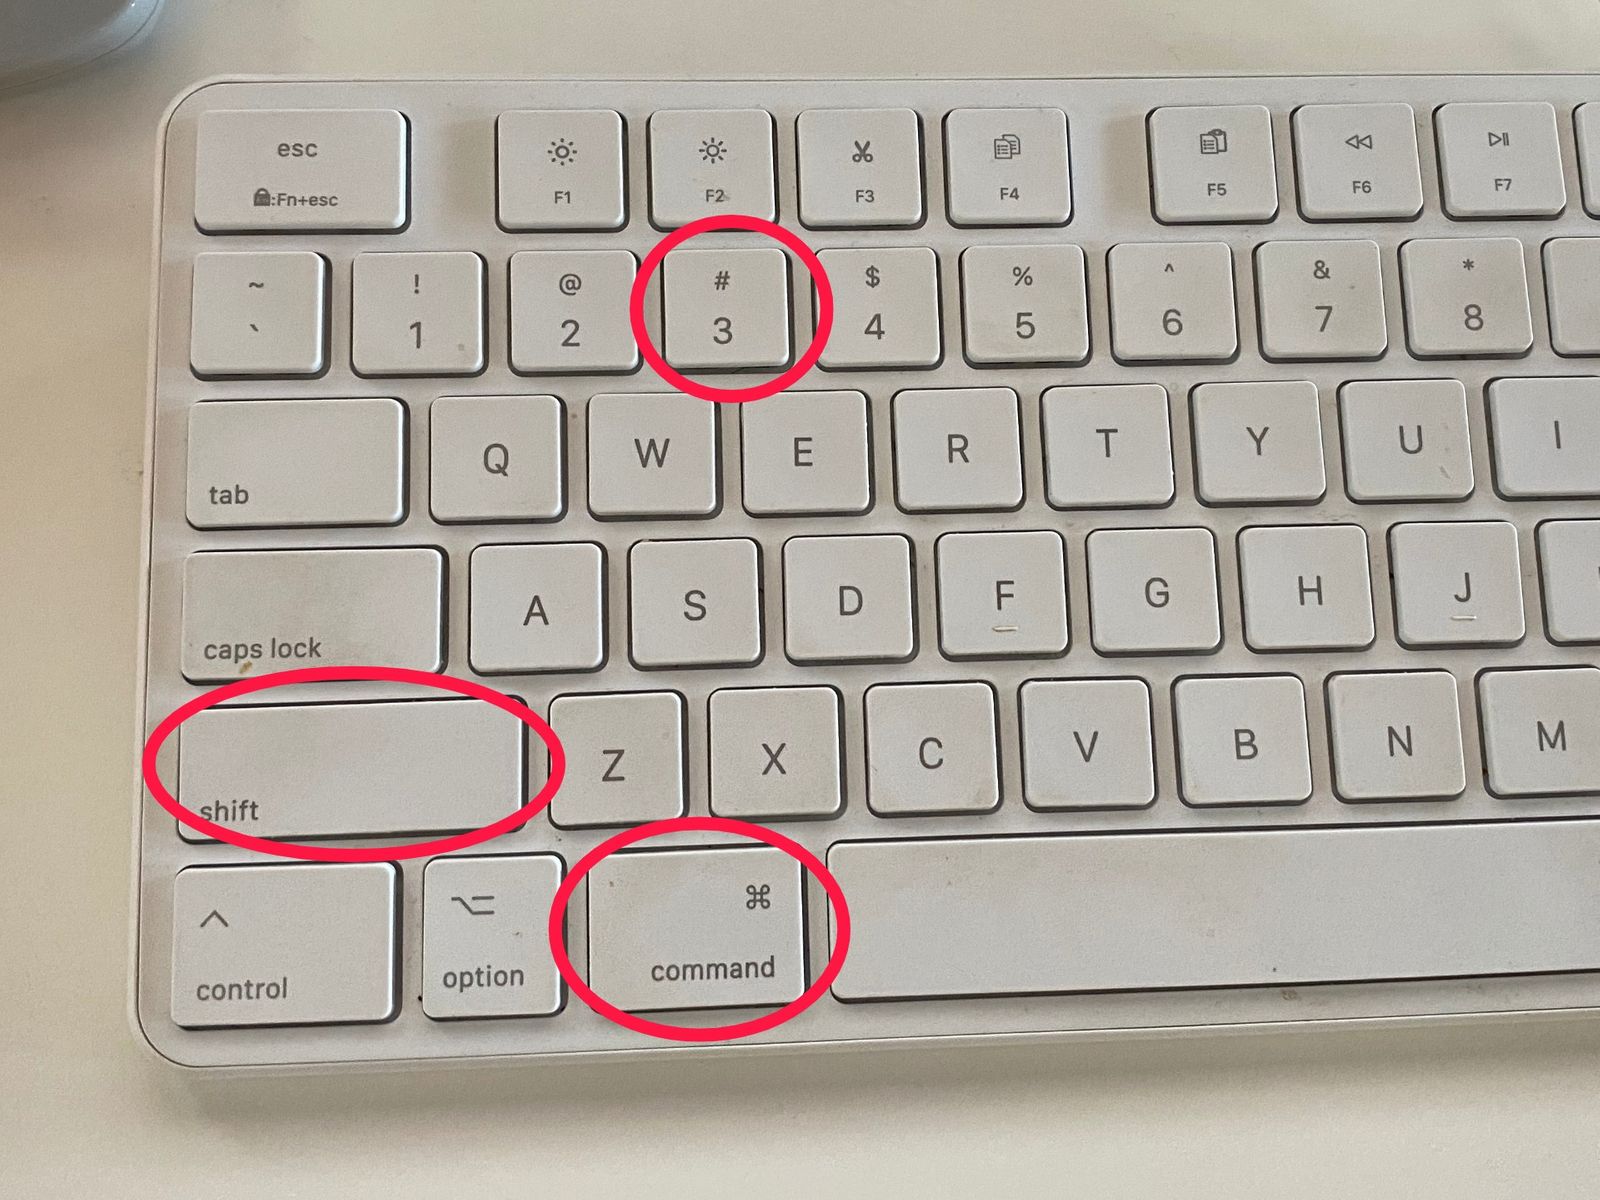
- Command + Shift + 3: take a picture of your entire screen.
- Command + Shift + 4: choose a portion of your screen to take a screenshot of.
- Command + Shift + 5: take a picture of the current browser window or a selection of the screen, with more settings
As a default, I use the second method – command + shift + 4 – as it gives me the most control, quickly. The first one is quick and easy to use with a moment's notice. Either way, your screenshot is going to appear on your Mac’s desktop.

Take a Screenshot on Windows
Just like with Mac, you can use a couple of keyboard shortcuts to quickly get a screenshot on your Windows PC:
- Windows Key + Print Screen: this will take a screenshot of your entire screen and automatically save it to your computer in your Pictures section, under Screenshots.
- Alt + Print Screen: this shortcut will take a screenshot of your active window and copy it to your Clipboard. You will then have to open it in an image editor to save it to your files.
2. How to Edit a Screenshot on Any Device
With your screenshot saved to either your Mac or Windows PC, it’s time to edit it however you want to. There are limited native tools for editing an image on a mac or windows computer. For example, on windows, you can open the image in Microsoft Paint and draw on it, add shapes, or add text.
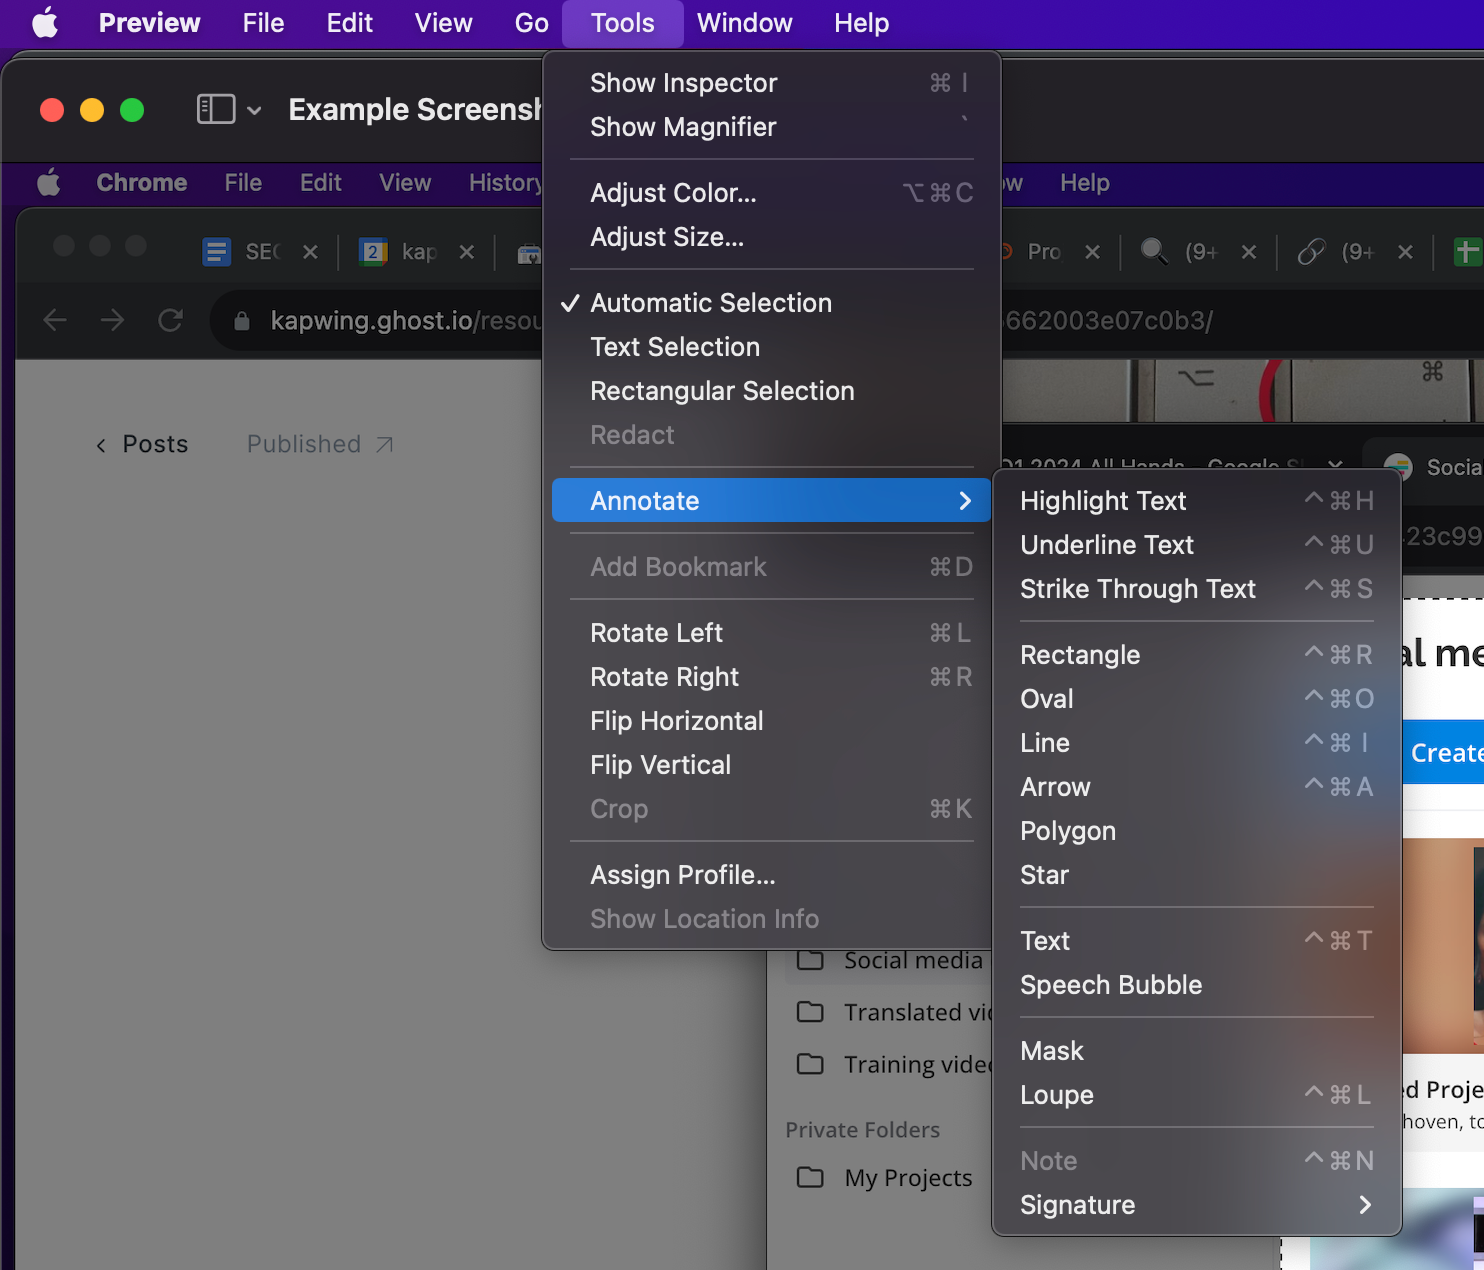
On a Mac, double click on the screenshot to open it in Preview. Then, crop, adjust the color, add Text or Shapes by opening the Tools menu in the navigation bar.
If you want a more powerful image editor, consider uploading your image to the Kapwing’s Studio.
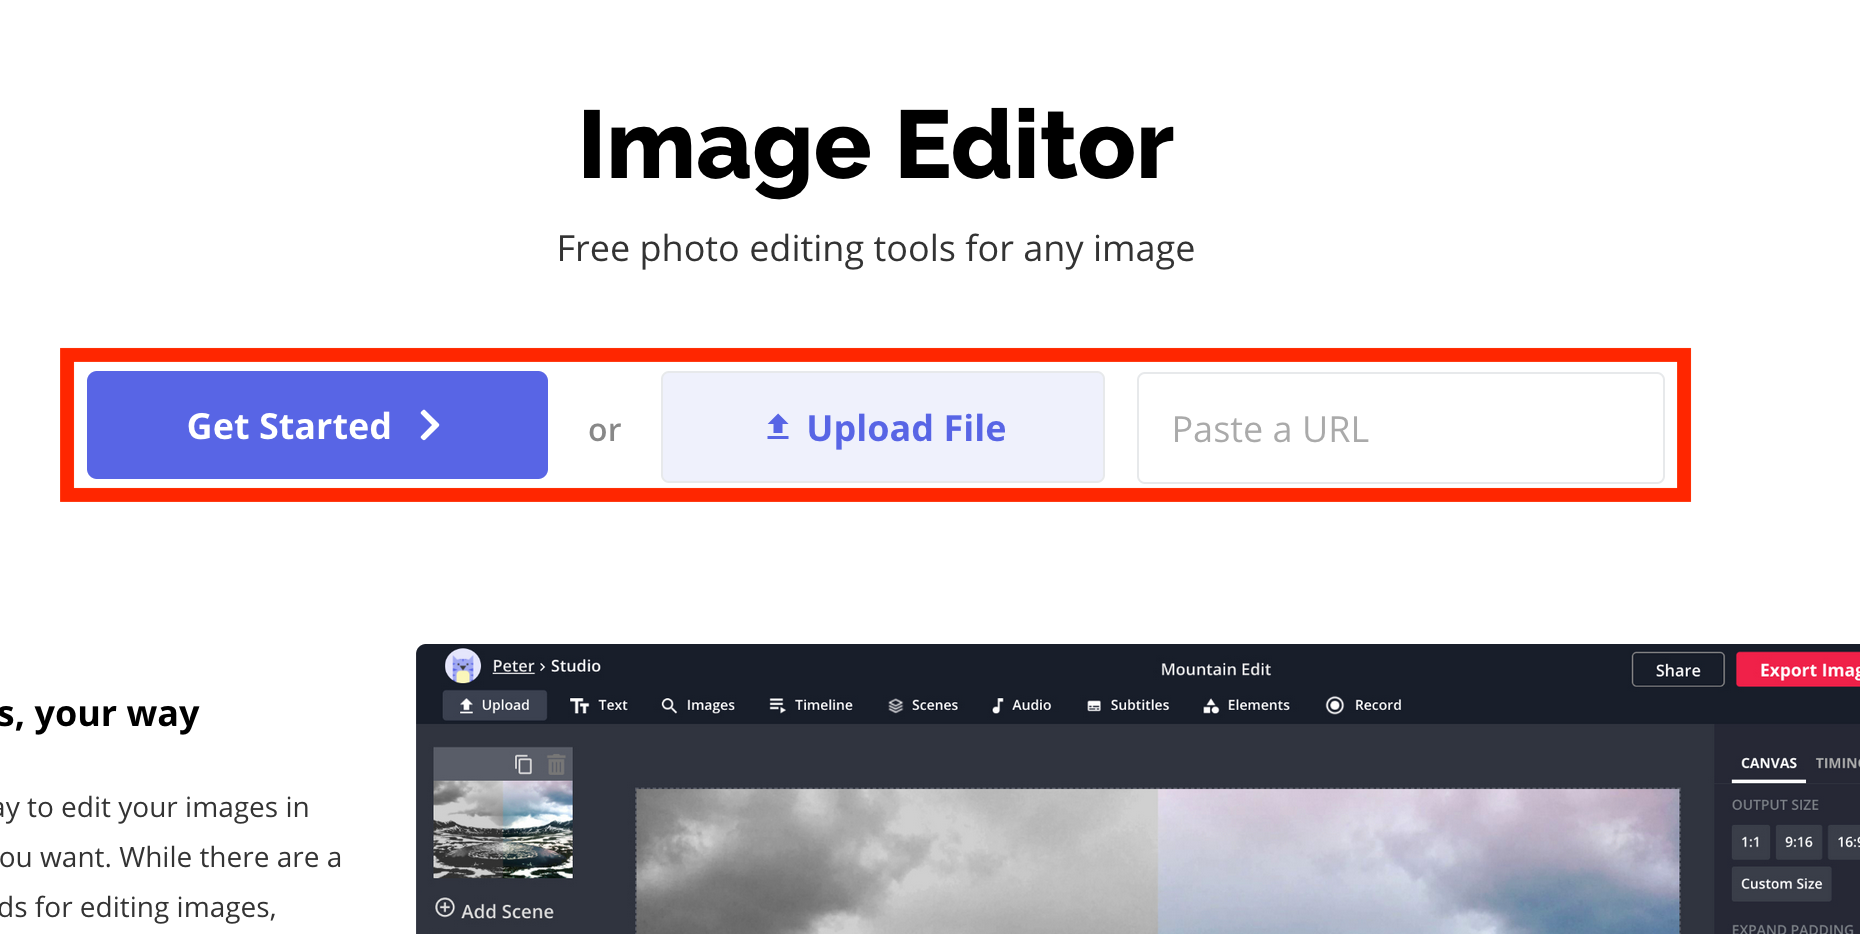
Head to the Kapwing Studio, which will show you three options for importing your screenshot: Get Started, Upload File, and Paste a URL. Get Started allows you to start from scratch, Upload File will upload any file from your hard drive, and Paste a URL will let you post any picture’s URL from the internet.
Since you have the screenshot saved to your laptop, click on Upload File and select your screenshot to upload.
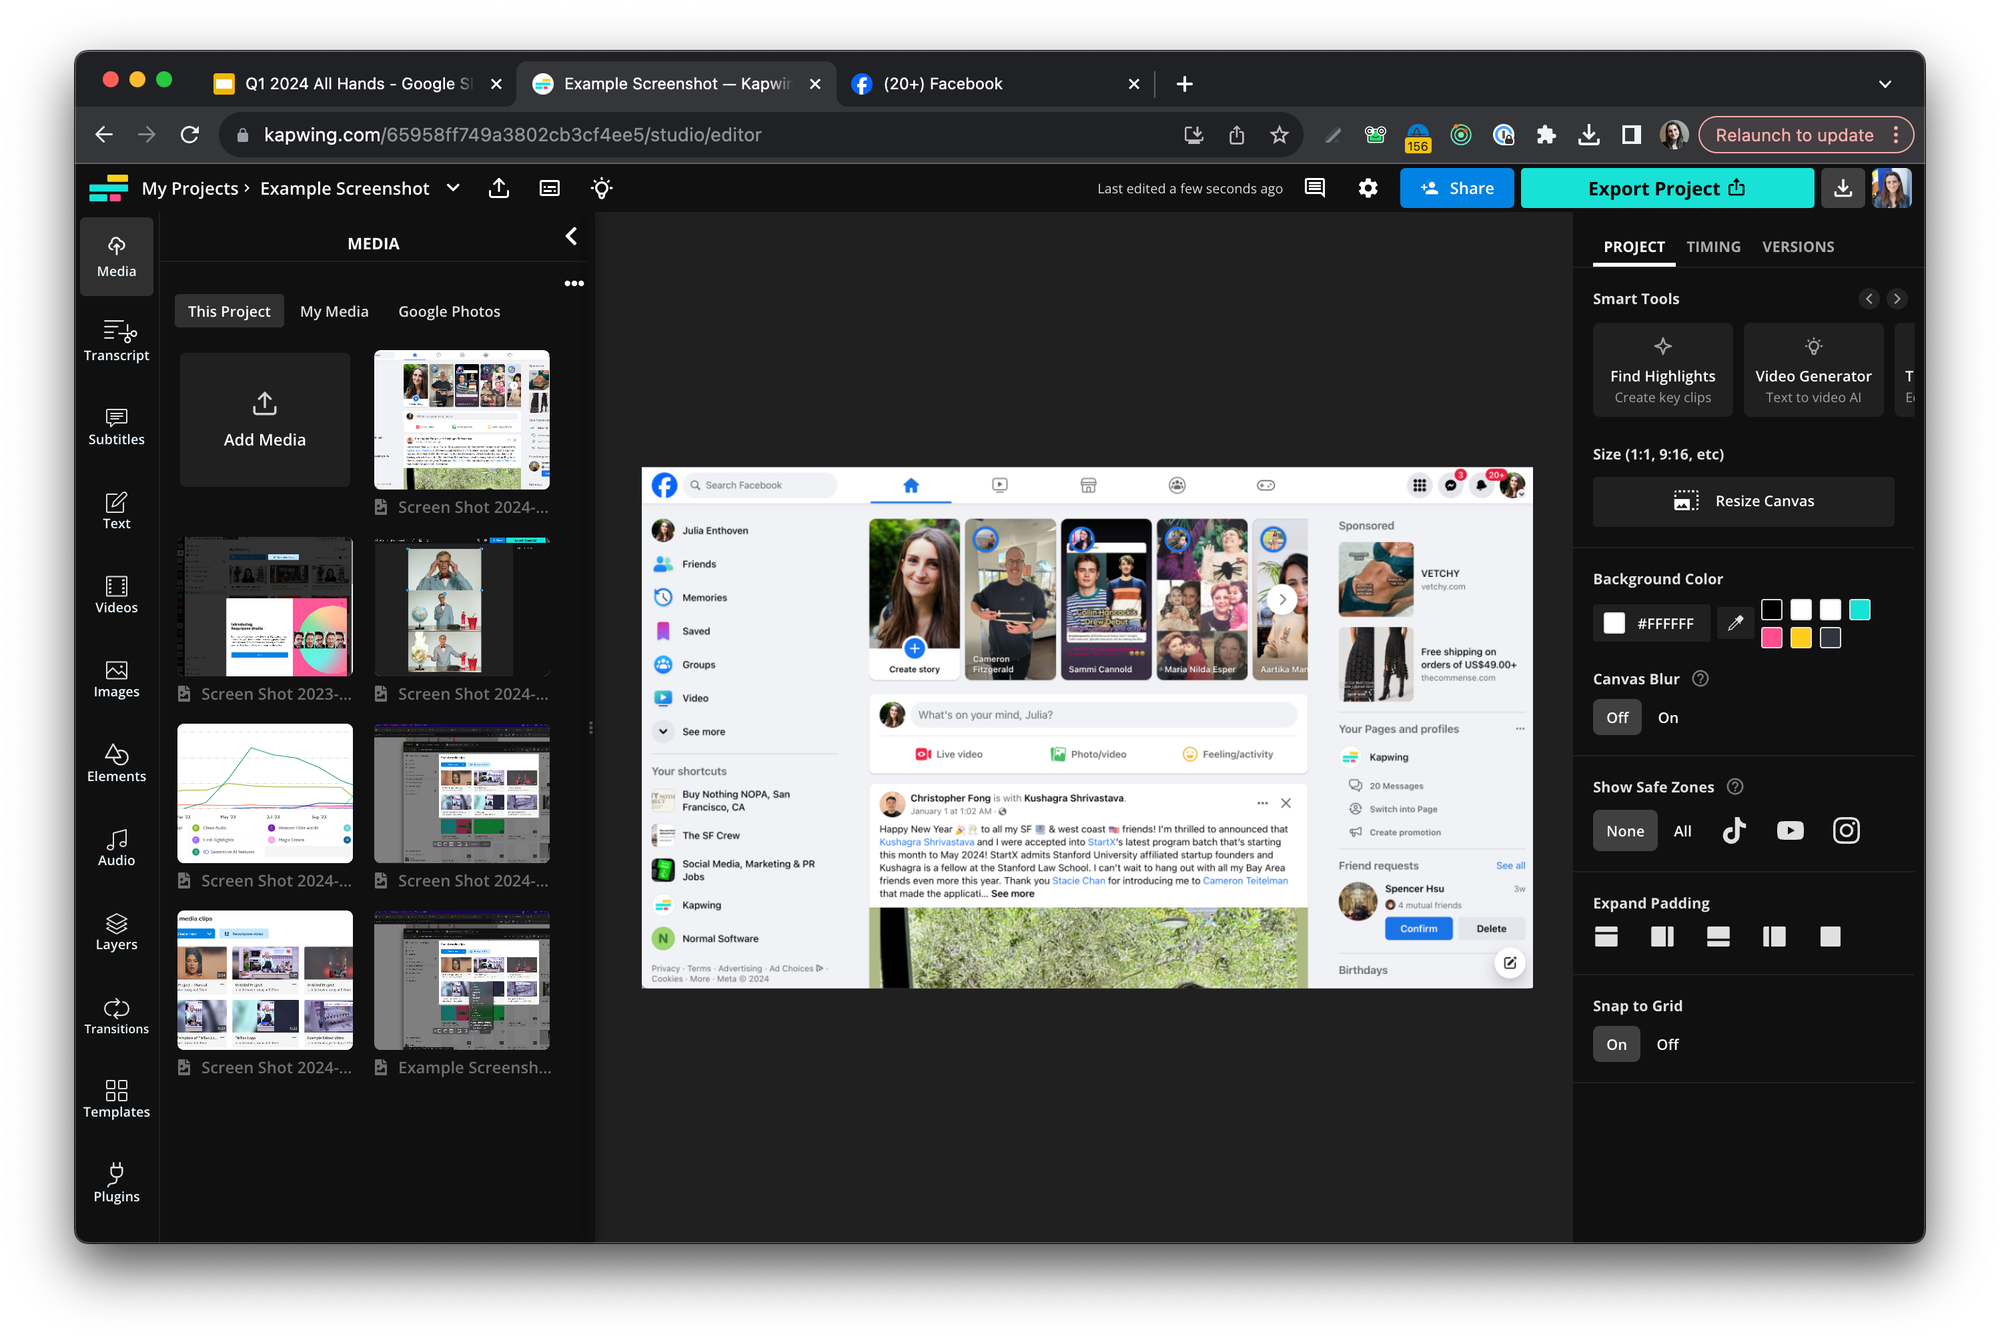
You will now be in the editing studio, where you can see a variety of options that you can edit your image with. Get started by resizing the image to your desired dimensions. The Crop tool is going to be useful so you can get rid of any excess parts, like an upper toolbar or Dock menu. Double click to crop.
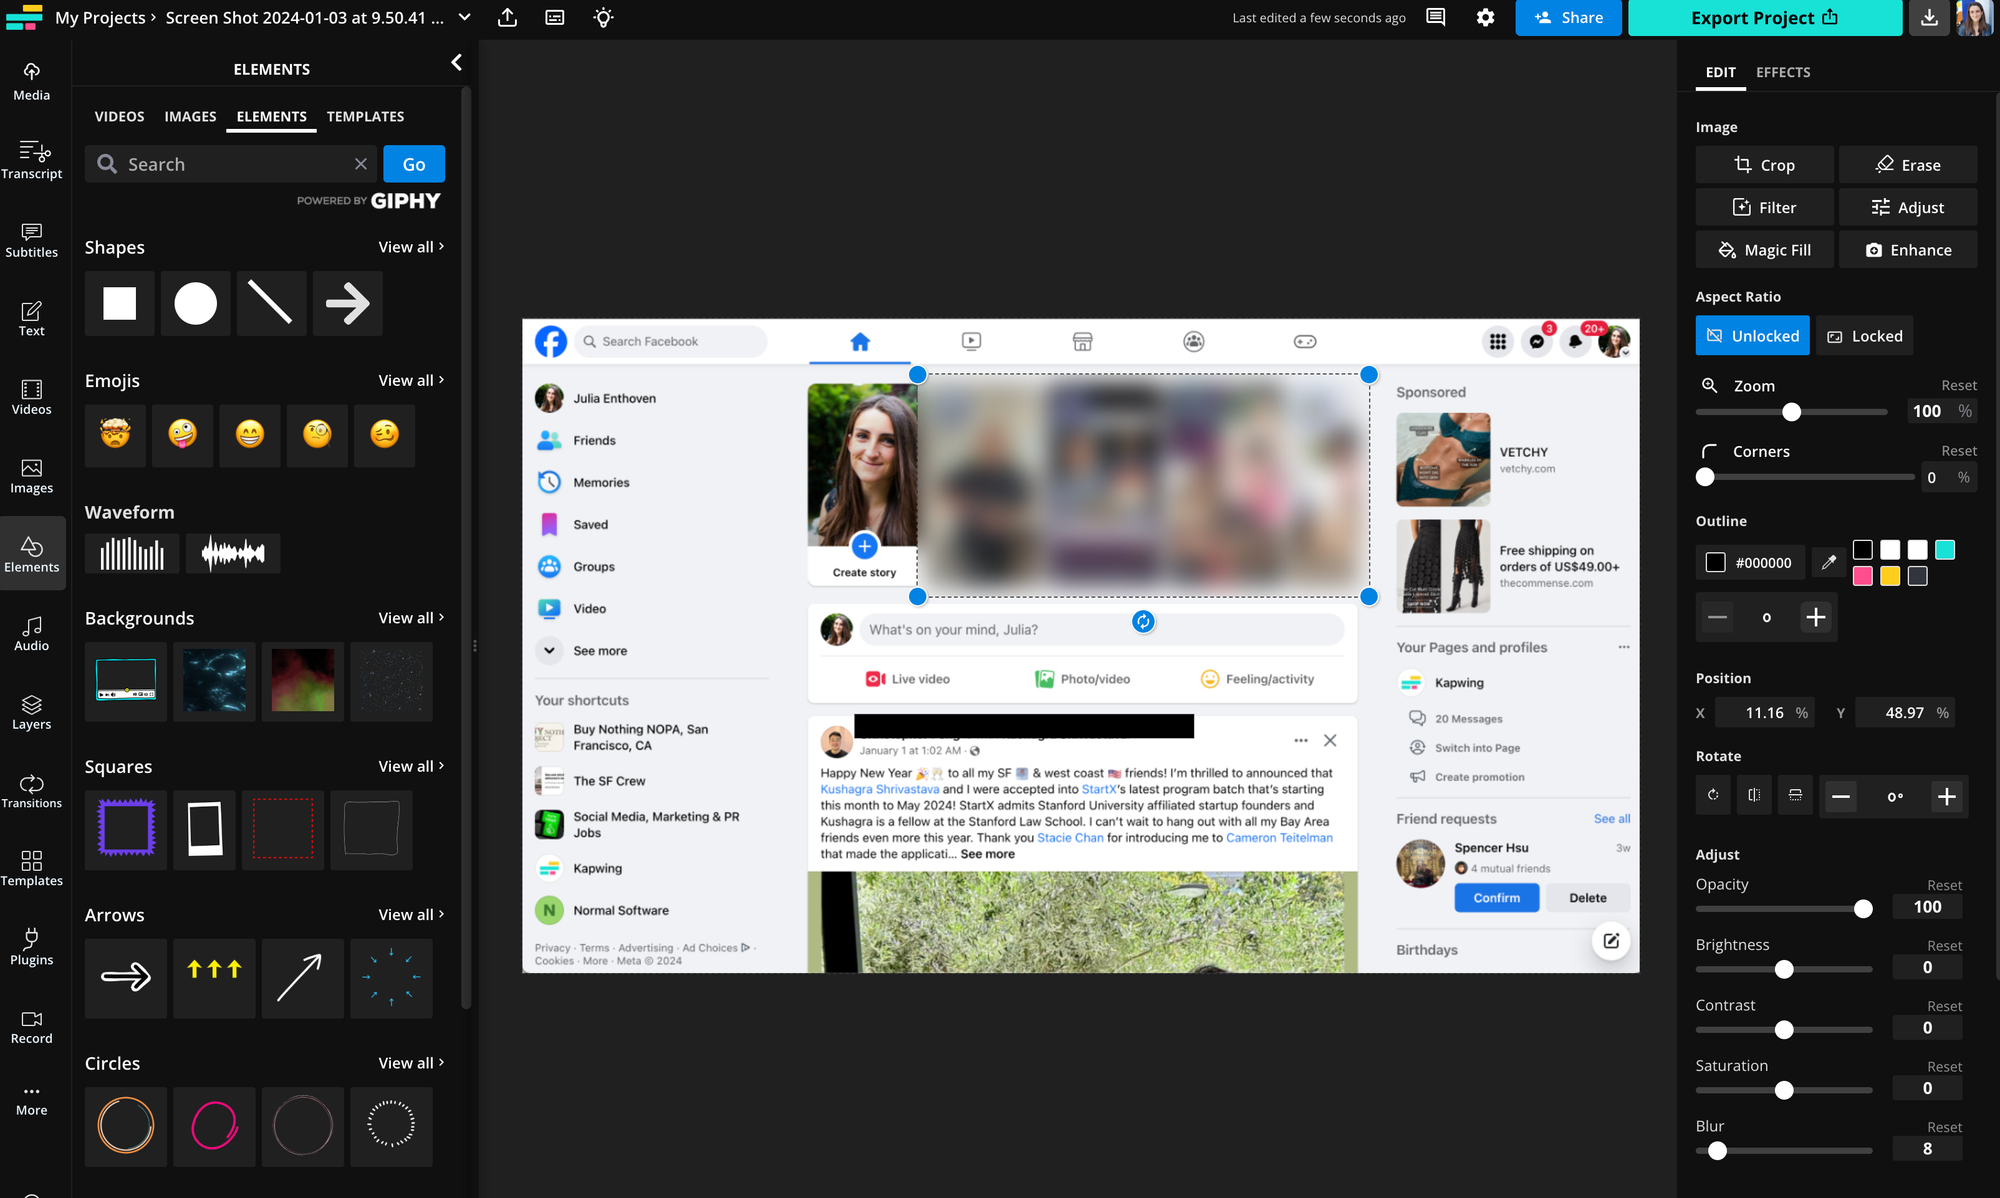
Beyond that, you can adjust the Brightness, Contract, and more in the Adjust section. The Erase tool will allow you to select certain parts of your image and erase them, taking away your screenshot’s background.
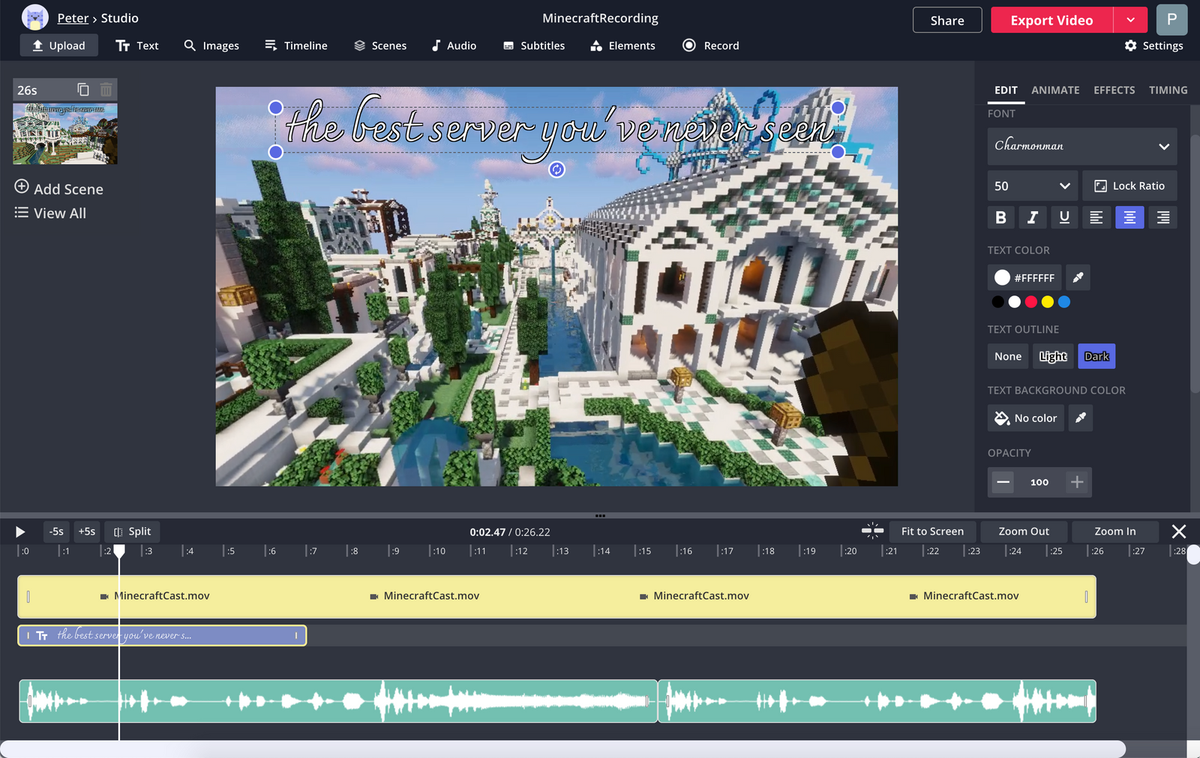
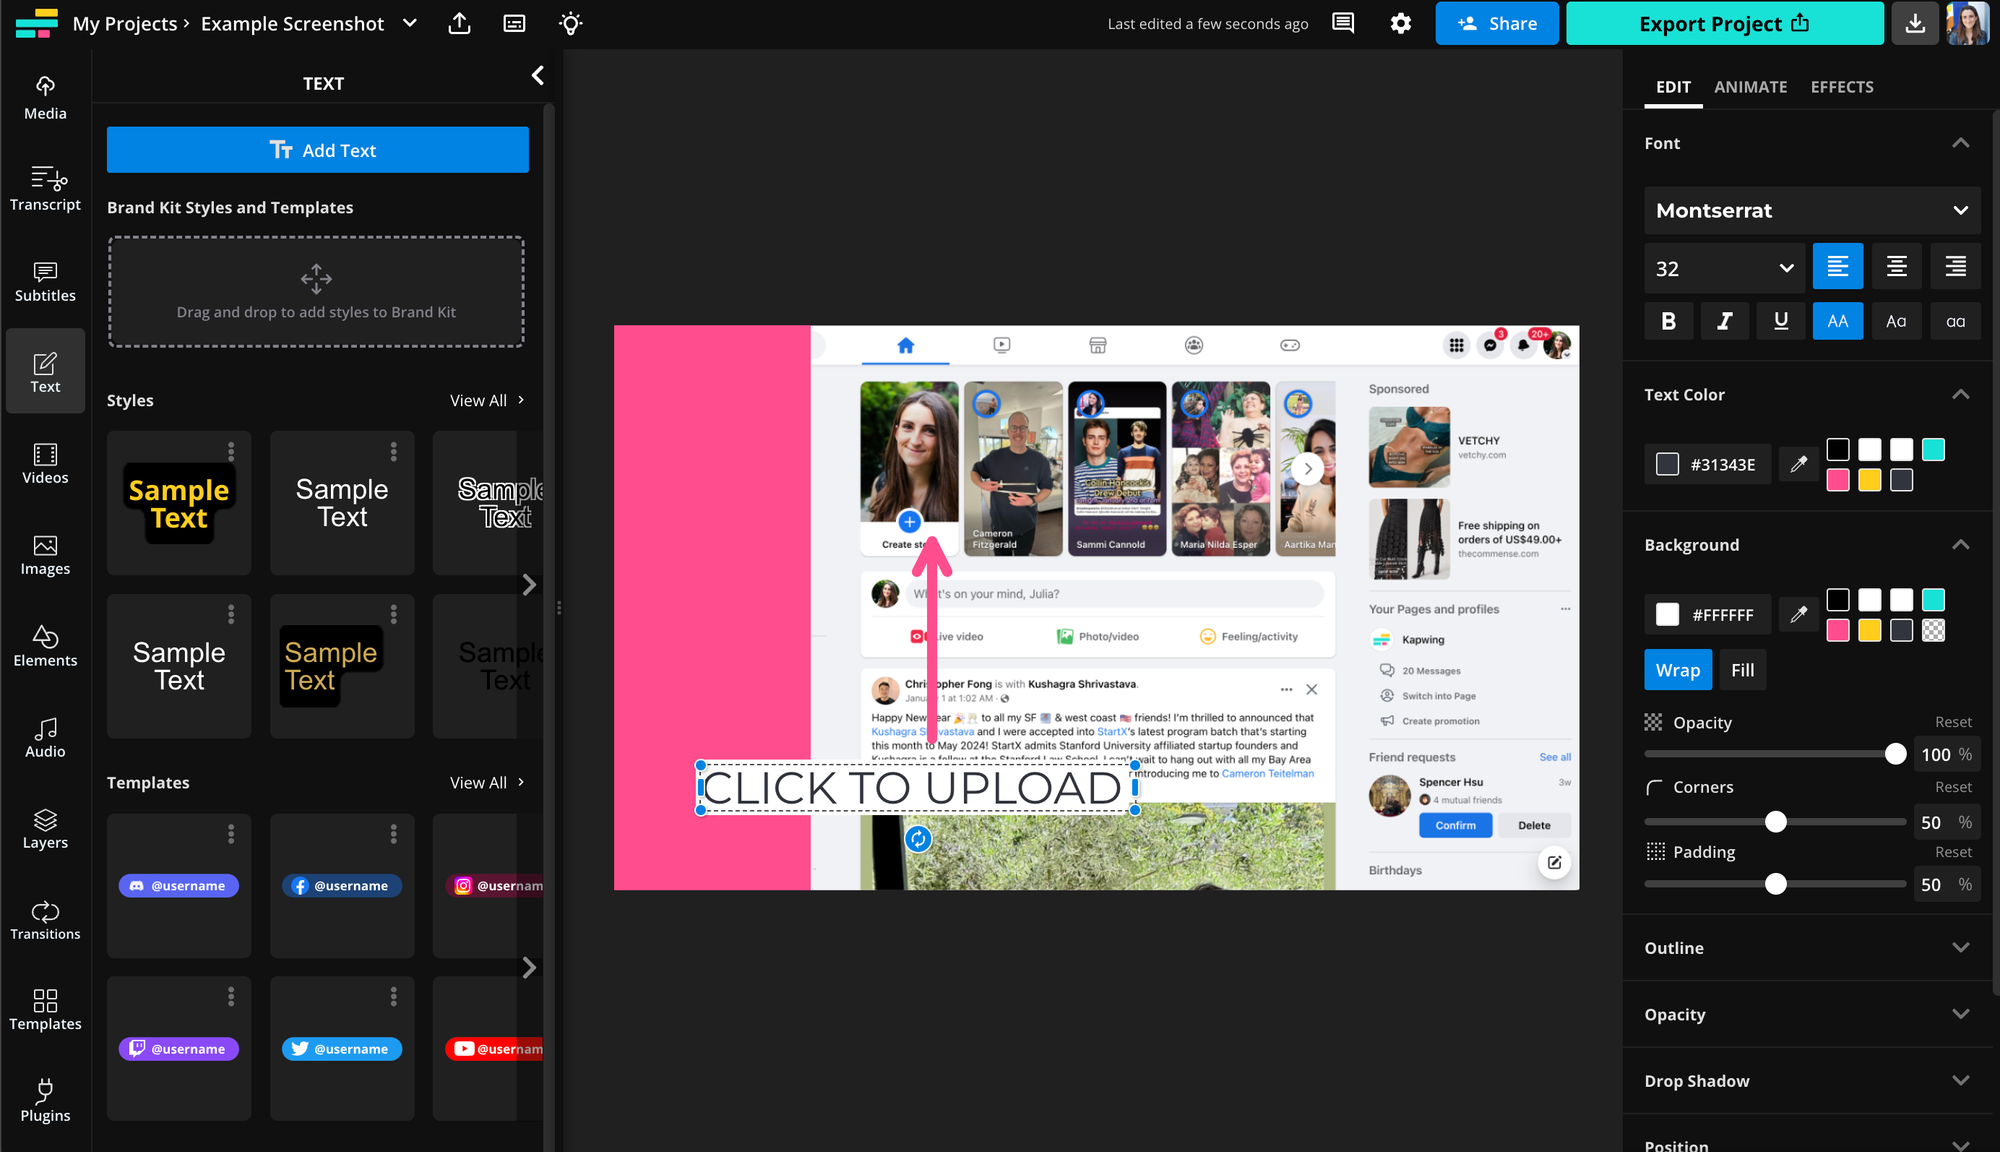
To annotate the screenshot, use the Text and Elements tab to add overlays on the screenshot. For example, I added text with a white background color and a pink arrow using Kapwing's intuitive design tools. Adding a box, circle, GIF, or pointer draws attention to one part of the screenshot.
To redact a part of the image, make a copy of the image layer and crop down the section that you'd like to redact. Then, blur the top layer so that it hides or obscures the subject in the image. You can also use a black rectangle to hide parts of the screenshot, like names or personal information (PII).
Kapwing also has several AI Image editing tools which could be helpful:
- Image generator: Use AI to generate a custom background behind the screenshot using a prompt like "blue gradient background"
- Enhance: If the screenshot is blurry or small, use the "Enhance" button to increase the resolution of your picture.
- Extend: If you need to change the aspect ratio of the screenshot, the "Magic Fill" feature uses AI to extend the image in either direction.
3) Save and Download the Edited Screenshot
When it has been edited to perfection, look to the top-right corner and click on Export Project and export as a PNG or JPEG, two different image formats. This will start Kapwing's processing so you can download your edited picture.
In a second or two, you can download the edited screenshot straight to your computer's files. You will also be able to access the image again, later, in your Kapwing workspace.
Taking and editing a screenshot is that simple, with much of it being taken care of, automatically, by your laptop. Until your next project, be sure to check out Kapwing on YouTube and Instagram for more online tutorials, as well as follow us on Twitter for updates and news for our online video editor.
Related Articles