How to Make a Twitch Screen: Starting Soon, BRB, and Offline Screens
A designated screen for breaks and upcoming streams keeps viewers in the know while adding eye-catching graphics to streams. Learn how to make custom screens for your stream with Kapwing.
Twitch has given gamers, musicians, and digital artists alike the floor to showcase their passions while enthusiastic viewers cheer them on from behind a screen.
To keep a growing virtual audience engaged, streamers are encouraged to produce entertaining broadcasts that are at least two hours long. According to Twitch, streams under one hour should be avoided.
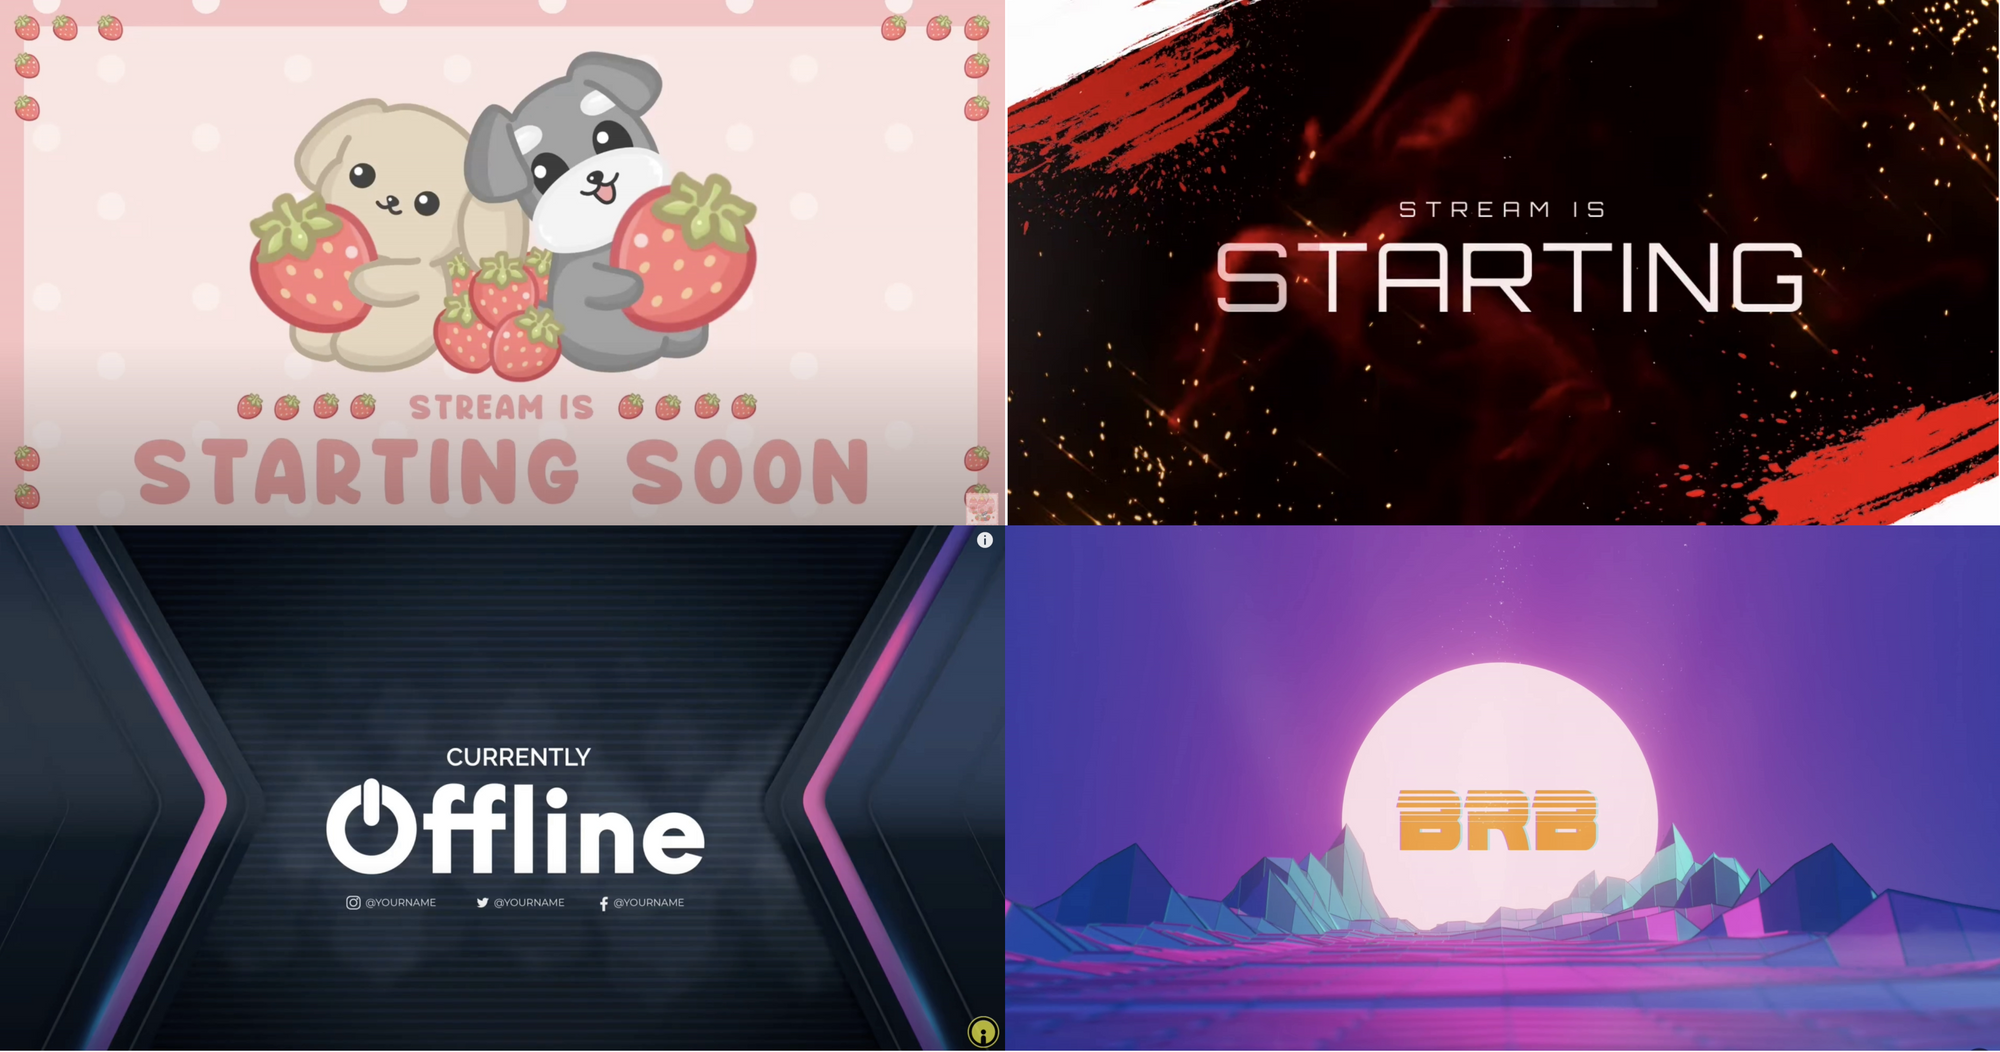
Whether you're streaming for two hours or a whopping six, Twitch screens can help livestreams run smoothly. For example, starting soon screens give viewers a chance to slowly trickle in, chat, and get comfortable before a stream begins, while Twitch BRB screens are displayed when streamers need to step away. Below are a few examples I found from YouTube that caught my eye.
In this article, I'll show you how to make a custom starting soon, BRB, and offline screen to keep viewers in the know while you're away. Then, I'll wrap up the article with a quick tutorial on how to upload your screens.
- Open Kapwing Studio
- Resize background
- Edit Twitch screens
- Upload to OBS or Streamlabs
Step One: Open Kapwing Studio
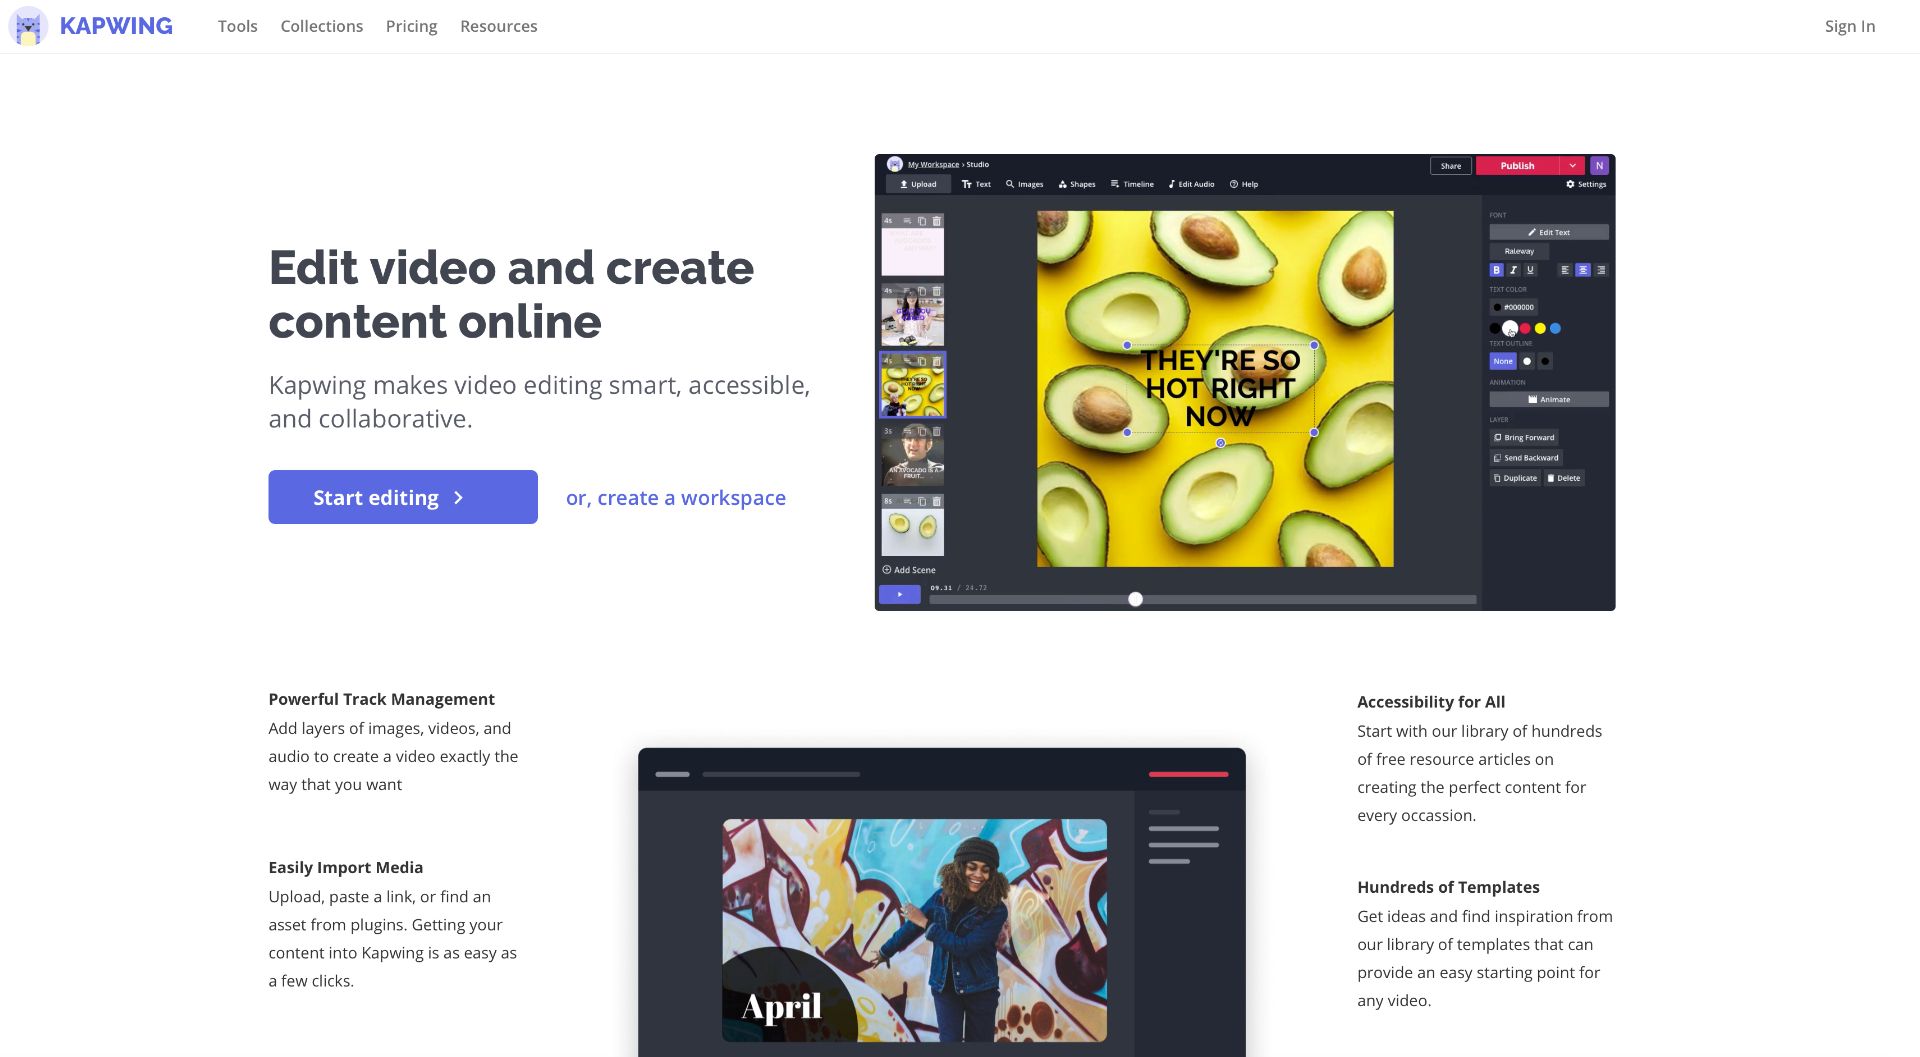
Let's get started by heading over to Kapwing, and clicking the purple Start Editing button. While you can use Kapwing on any device with a browser, I recommend using a PC, especially if you're a first-time user. You can comfortably access each tool in the Studio, and editing a project is easier when working with a larger screen. After clicking the Start Editing button, you'll be in the Kapwing Studio. Go ahead and click around to get comfortable with this online tool!
Here are few things to know about Kapwing before going any further in the tutorial. Kapwing was made by and for creators, is packed with free and intuitive tools to edit media, and is cloud-based. This makes accessing, editing, and exporting content convenient, even when you're on the go. With the free version of Kapwing, you can export videos up to seven minutes long, store content for two days, and a quick sign-in with your email removes the watermark. Now, onto step two!
Step Two: Resize Background
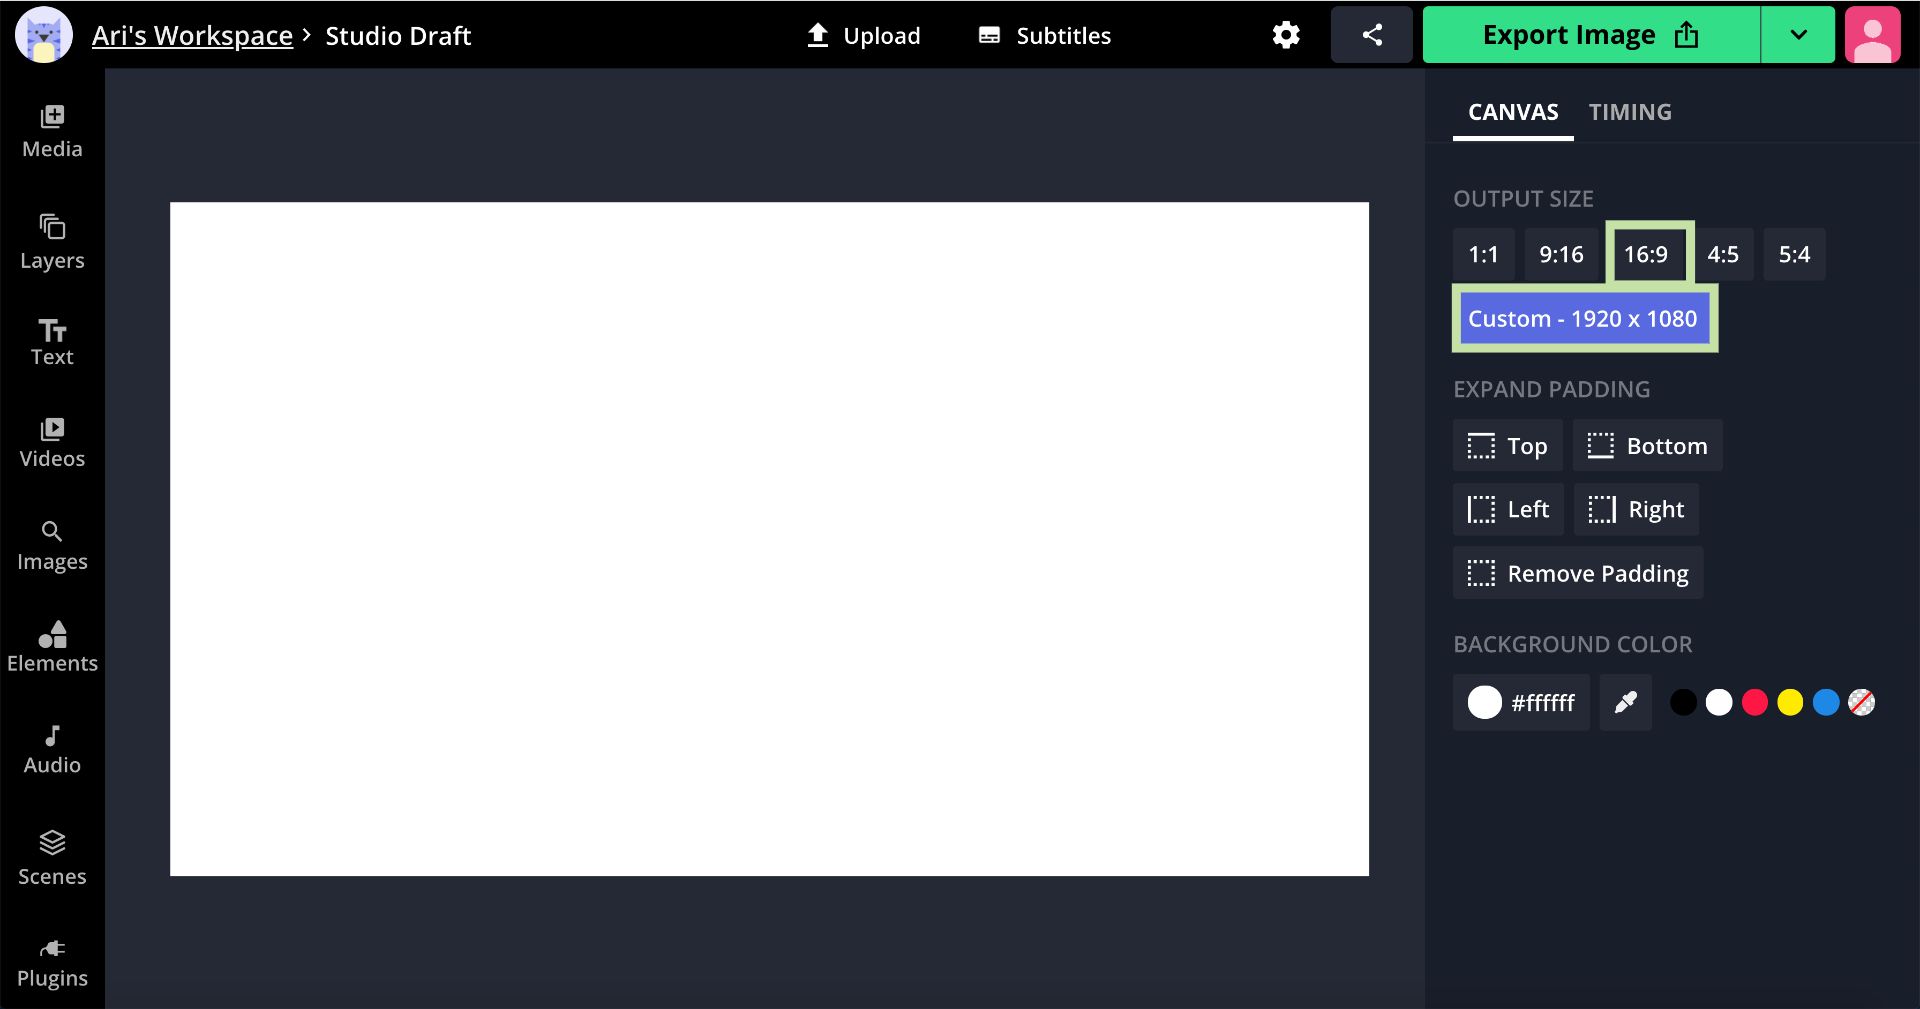
Resizing the background to make Twitch screens is a fairly straight-forward process. Starting Soon Screens, BRB screens and Offline screens are 1920x1080 with a 16:9 aspect ratio. All you have to do is click, Start with a Blank Canvas, then choose 16:9 under Output Size. You can click Custom and enter the width and height in the respective spaces.
Step Three: Edit Twitch Screens
Now for the fun part! It's time to spruce up the canvas to bring our screens to life. It's a good idea to have a folder ready to go with branding assets such as fonts, hex color codes, logos, and watermarks. You'll need to upgrade to Kapwing Pro if you want to upload fonts. In the following sections, I'll go over design ideas for each screen, beginning with the starting soon screen, but feel free to come up with your own creative design!
Twitch Starting Soon Screen
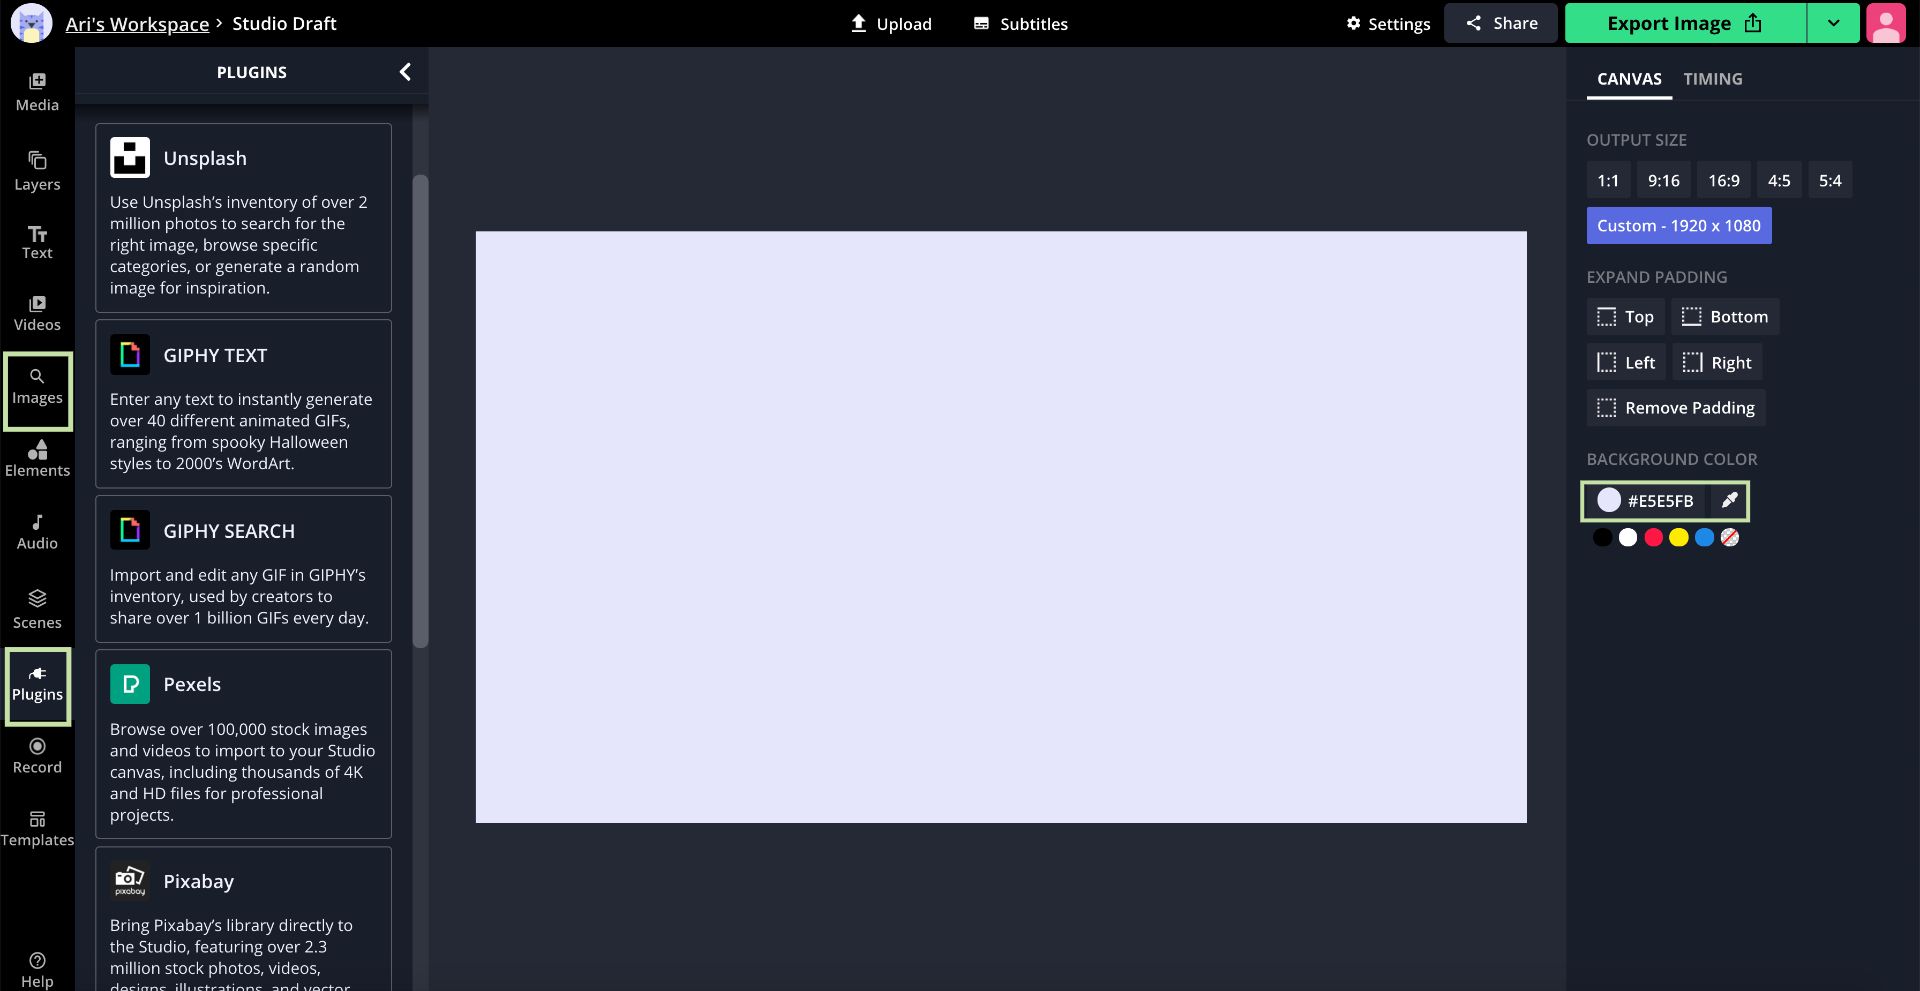
The starting soon screen can be as minimal or out of the box as you like. If you have a background on your PC, you can drag and drop it into the Studio, click Upload, or paste an image url to import the file. If you want to use a solid color background instead, click the circle under Background Color and choose a color you like, or enter a hex color code. The plugins tab or image search tool are great options if you need to find a background for your screen.
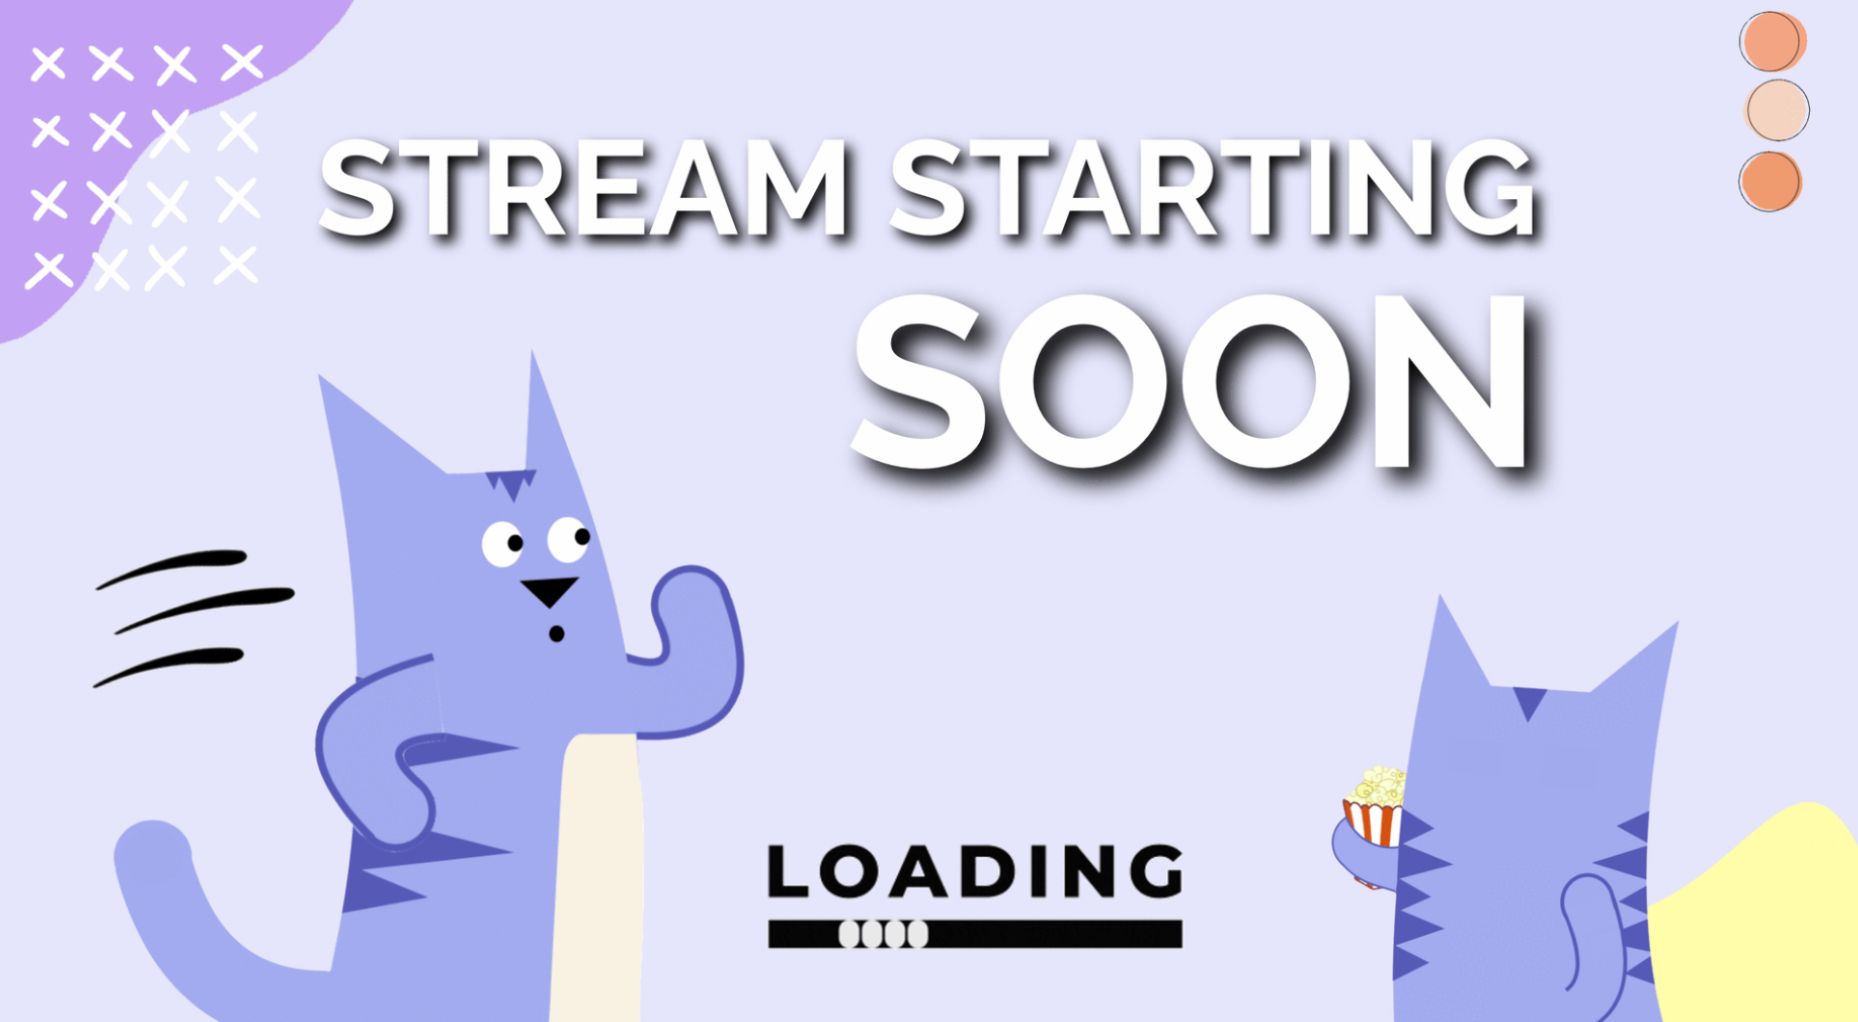
From here, I recommend uploading your assets to the Kapwing Studio. I added a few logos, then dragged the corners to adjust the size, and clicked the text tool on the left to add my title. Something like "stream starting soon" gets the point across to viewers in only a few words. Try to use large, bold, easy-to-read text, so viewers aren't straining their eyes to read it.
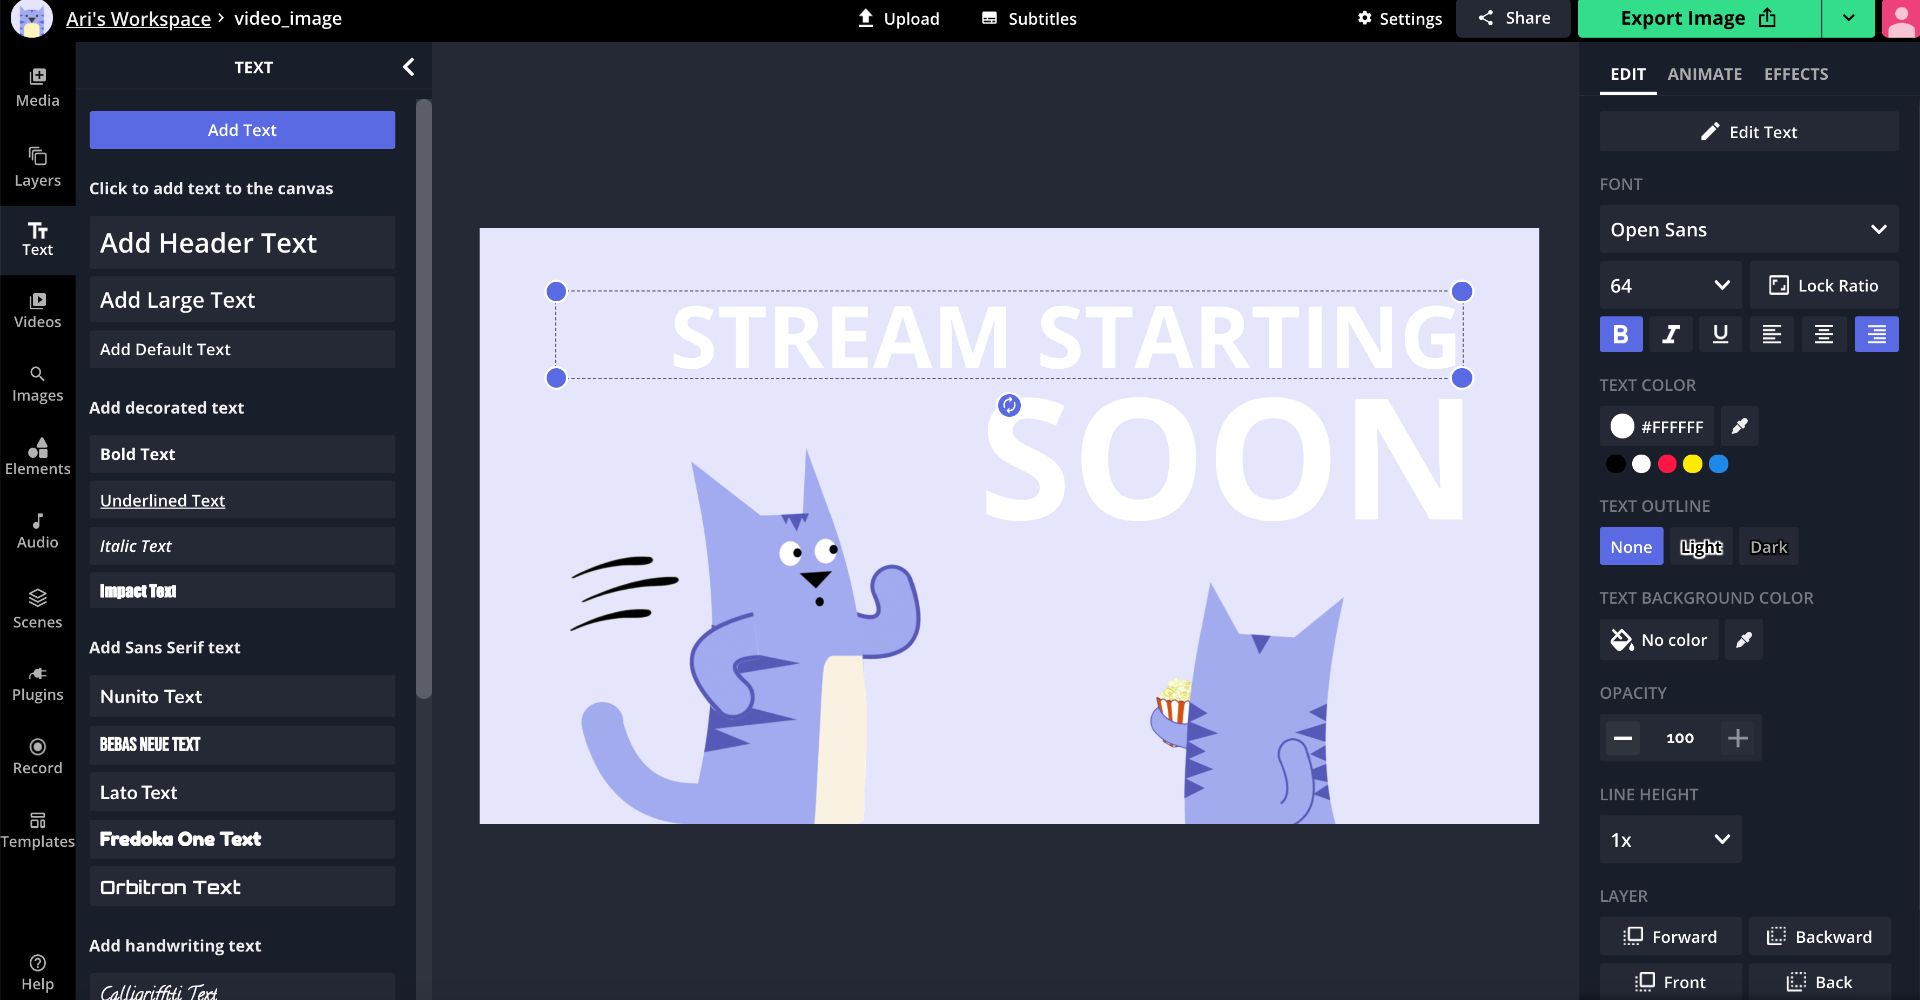
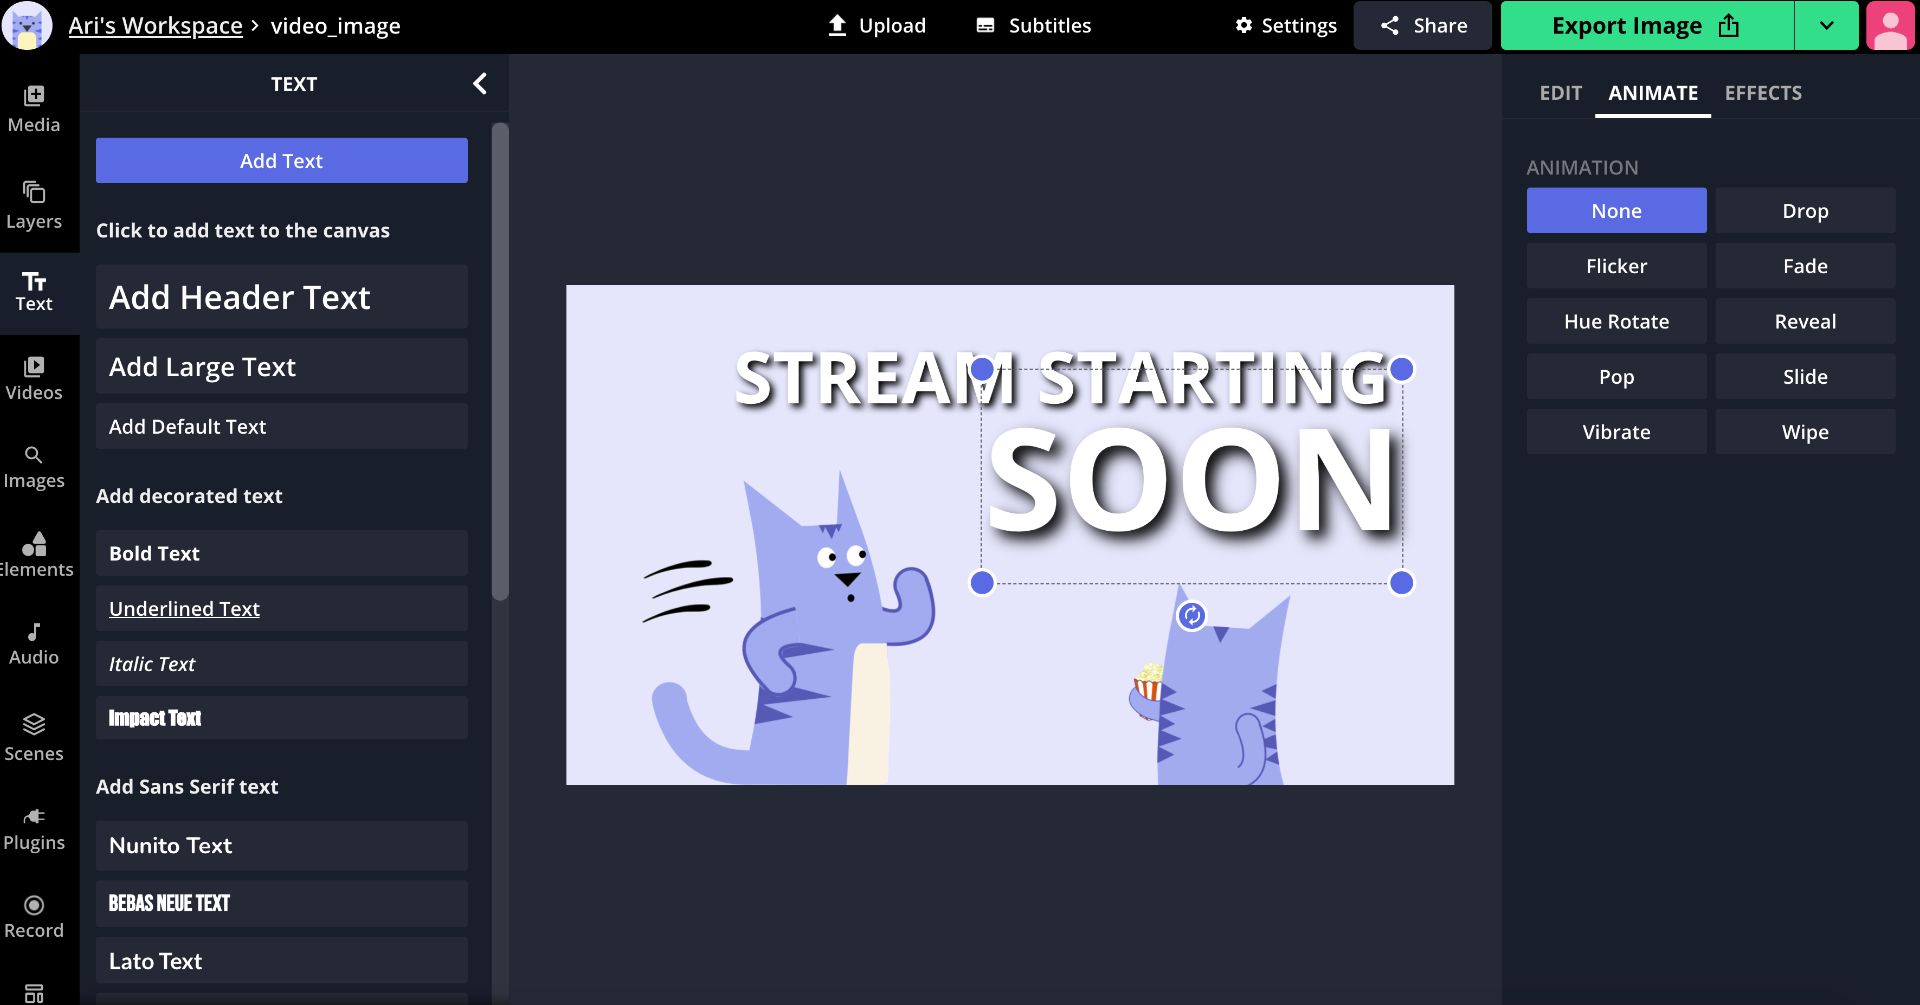
To spruce up your text, you can change the style, outline color, size, and even add a drop shadow with the effects tab. For a more eye-catching appearance, you can add an animation such as flicker, hue rotate, and reveal, by clicking the Animate tab on the right side of the Studio.
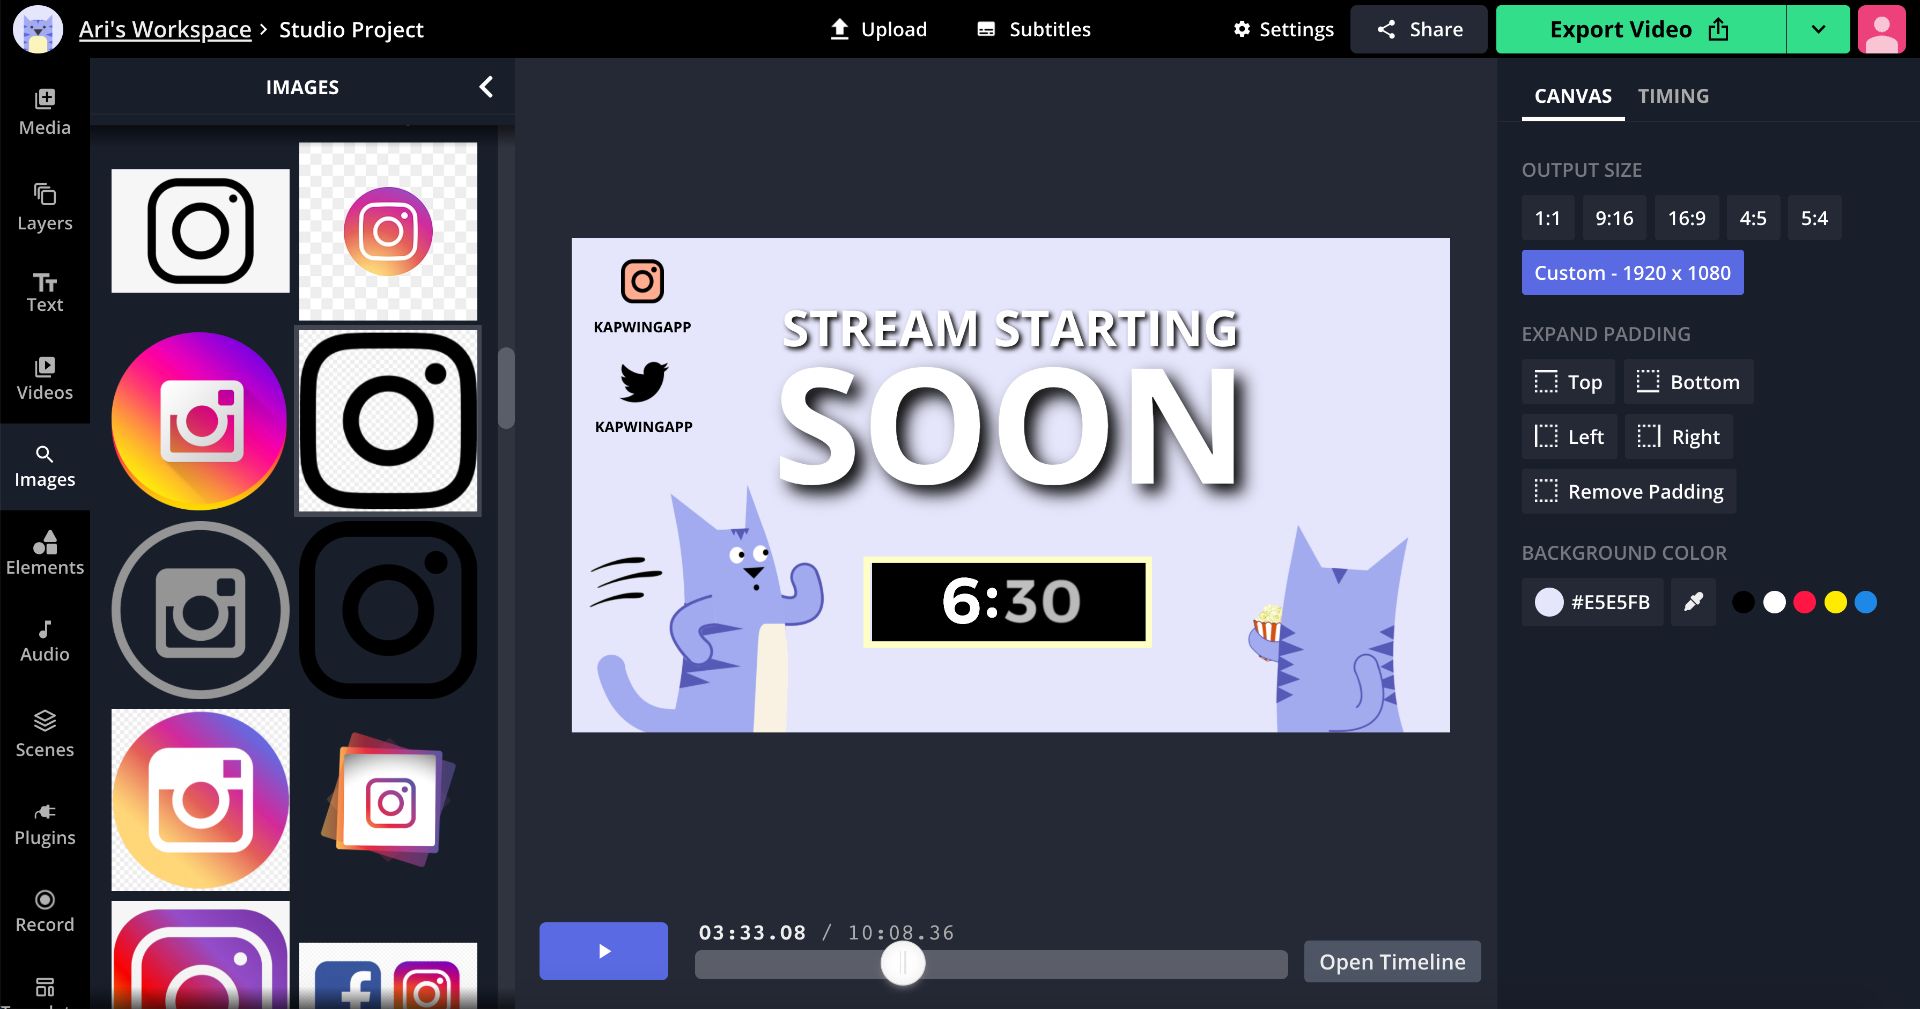
Popular starting soon screens, regardless of the streamer, typically include a countdown timer and social media icons with a tag. You can import a countdown timer from YouTube or use plugins to find timers within the Studio. If you need social media icons to promote other channels, try using the image search tool in the toolbar on the left. Afterward, add your tag so viewers can hit the follow button while they wait.
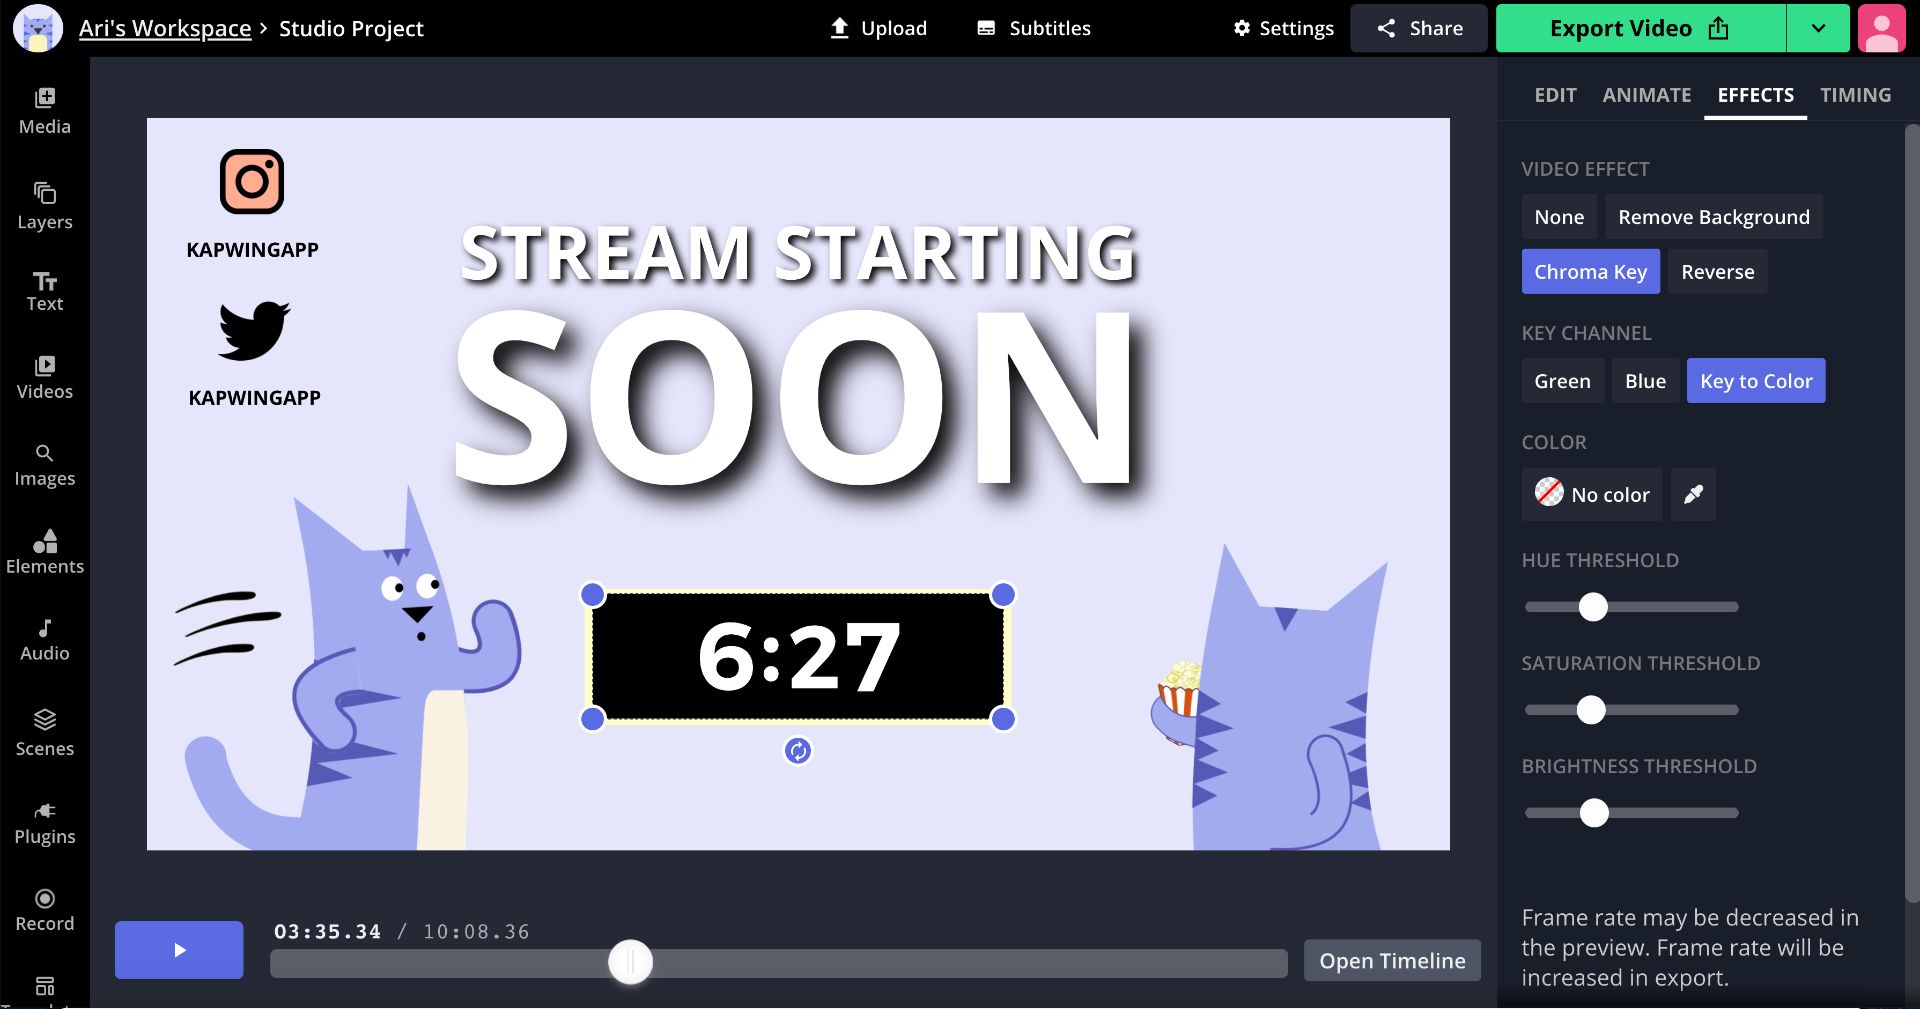
In this example, I found a free countdown timer with the Pixabay plugin. This is optional, but if you click Effects, you can key out the background to make the timer transparent. A progress bar GIF is a great alternative to a countdown timer if you'll be gone for an unspecified amount of time. You can find these GIFs with the image search tool or GIPHY plugin.
All that's left is to add any final touches to the background of the screen. Everything I used can be found by clicking Elements then typing in terms like "borders," "designs," and "corners" into the search bar. I ended up swapping out the countdown timer for a progress bar GIF to complete my starting soon screen. Below is the final look! To save your screen, click the green export button, then Download after it has been processed.
Twitch BRB Screen
The BRB or intermission screen is perfect when you need to take a quick snack, bathroom, or mental break before streaming again. The layout is pretty similar to the starting soon screen so you can reuse what you made earlier or start from scratch. I'm going to make something fresh!
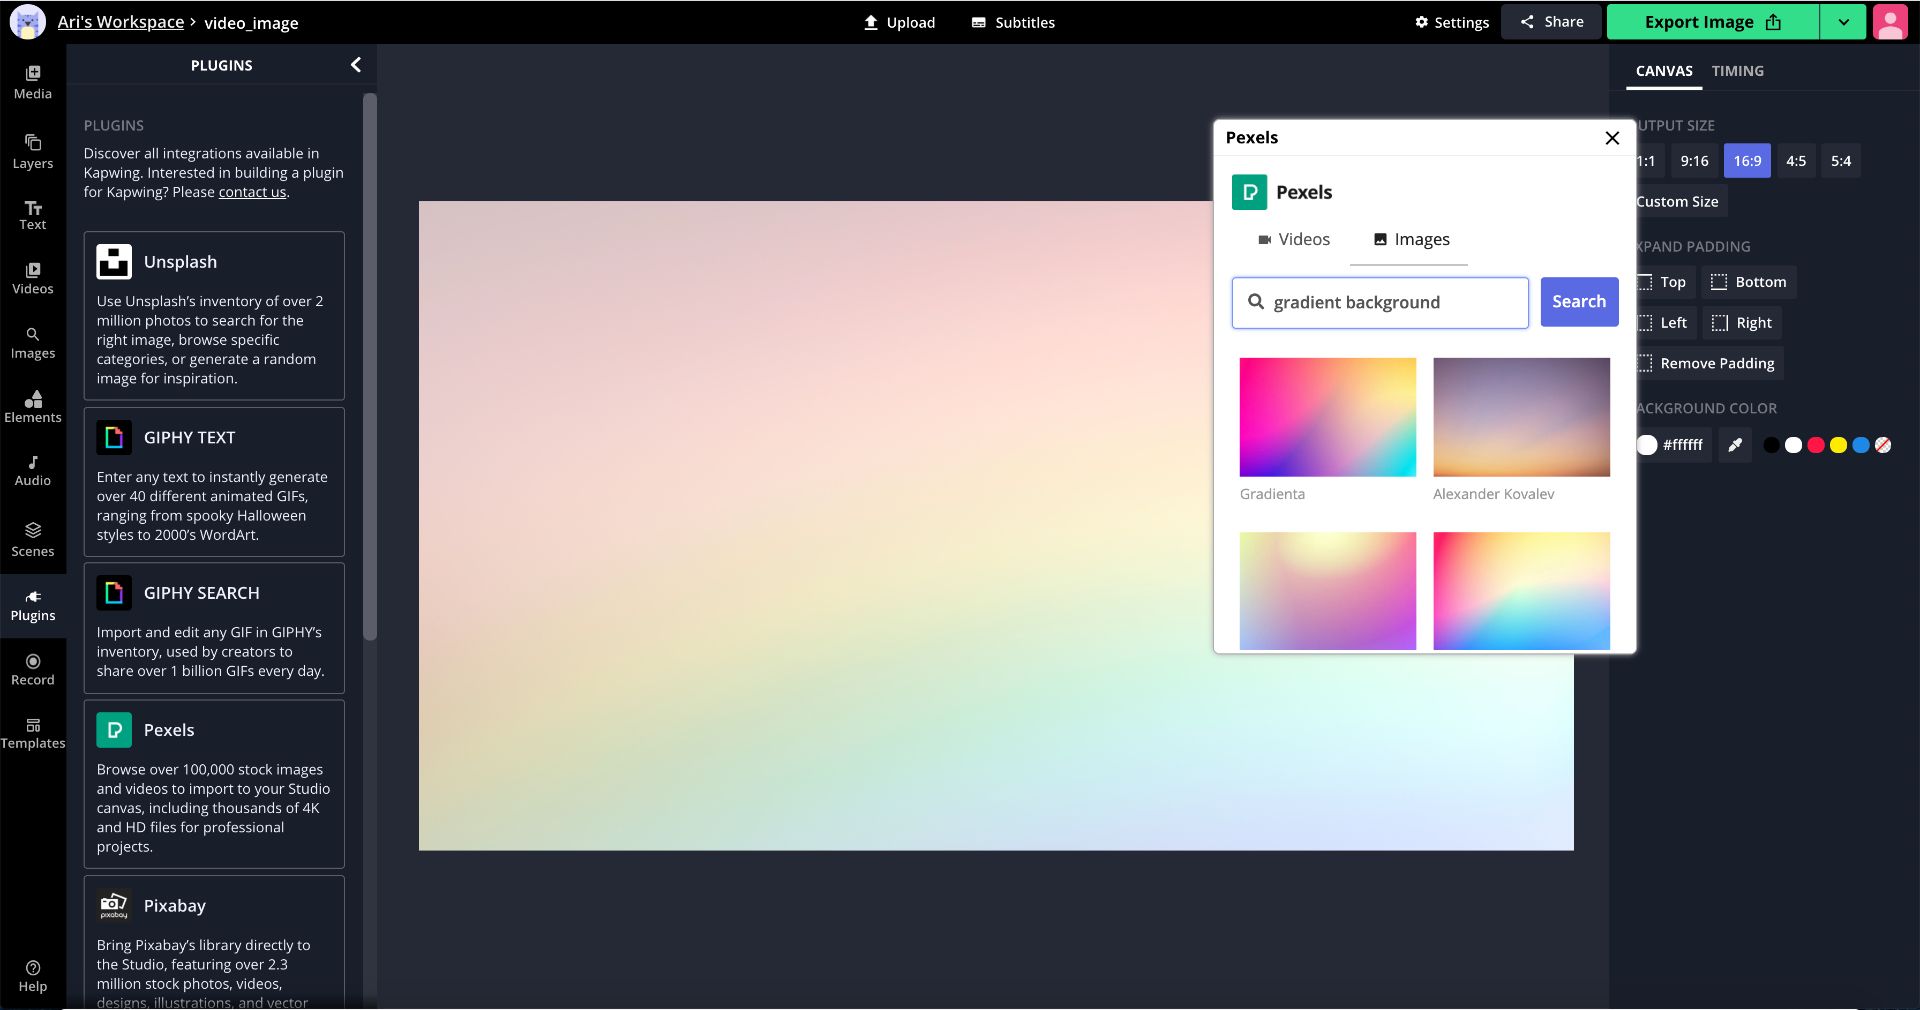
For my background, I used a gradient wallpaper from Pexels and dragged the corners to fit the image to the canvas. You can also use the crop tool to zoom in on a section that want to highlight as the background. With Pexels and Pixabay, you can also search for animated backgrounds if you're looking for something a bit more dazzling.
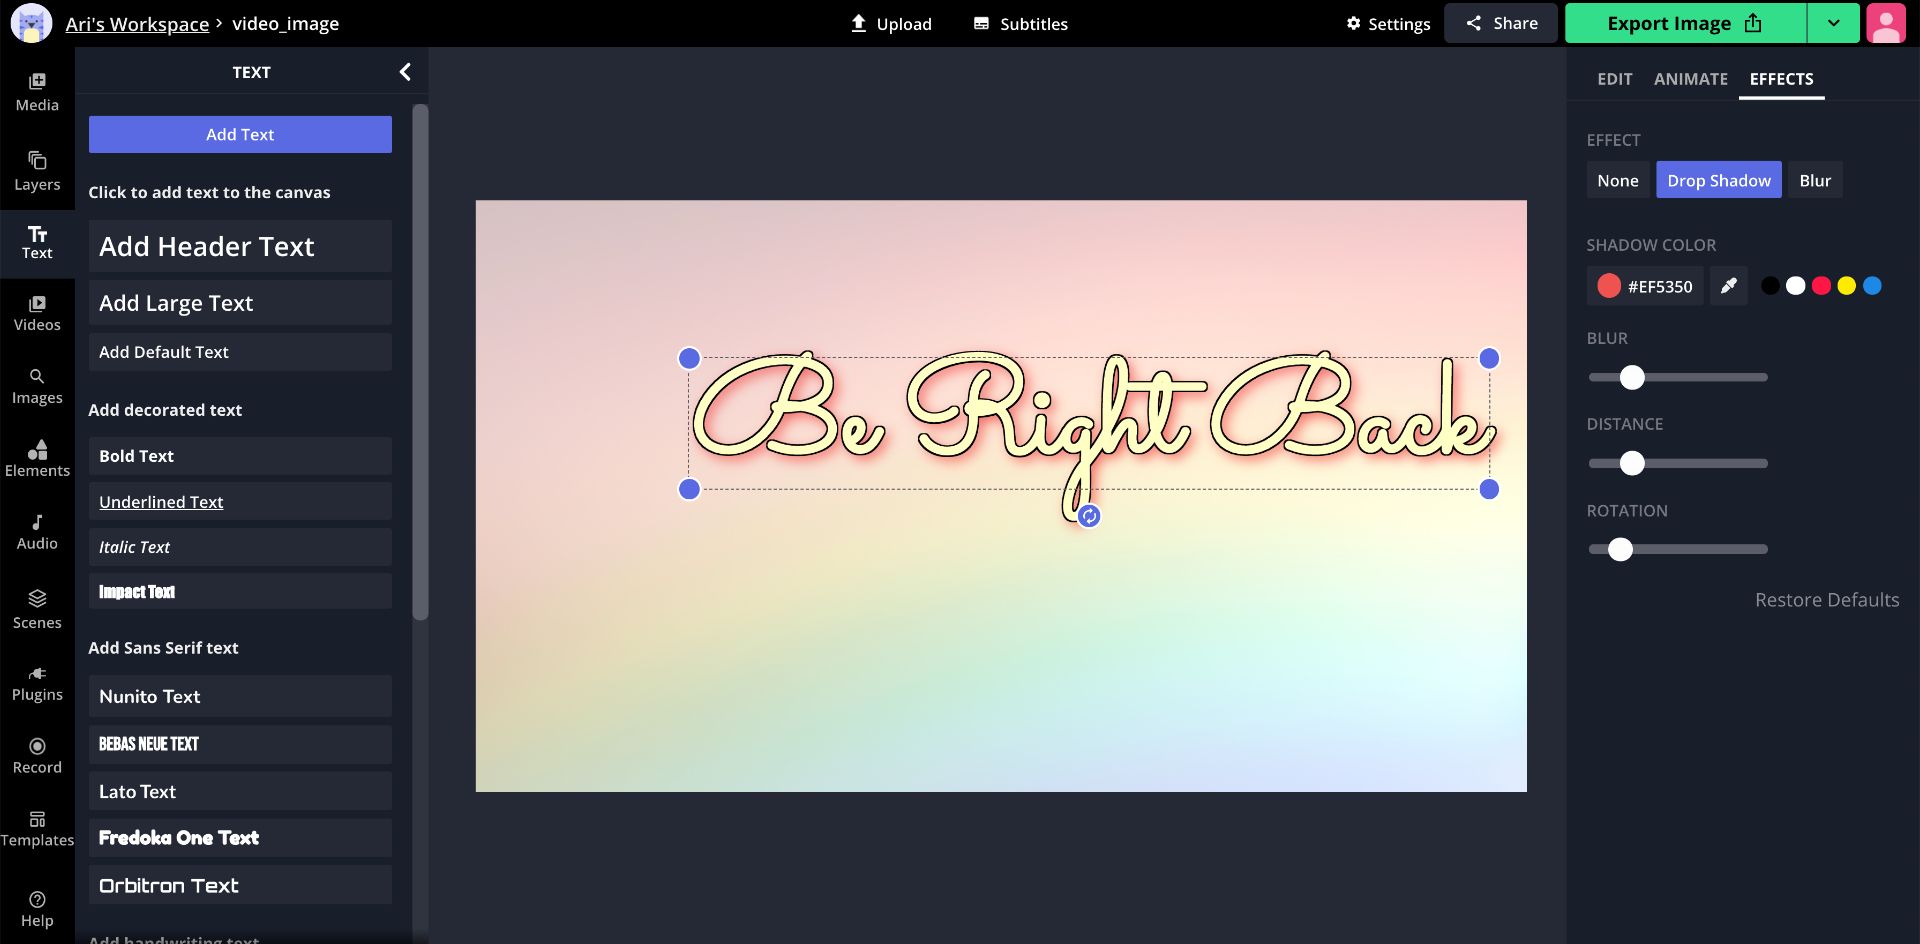
From here, you can add a title that lets viewers know you're taking a break. Some ideas for text include, "be back soon," "BRB," and "see you soon." These are clear messages indicating you're stepping out and will return momentarily. I used a cursive font called Sacramento, added an outline to make it pop, then threw on a drop shadow. If you use the drop shadow tool on a dark background, you can adjust the setting to create a glowing text effect! The GIPHY text plugin also has an animated text generator you can test out!
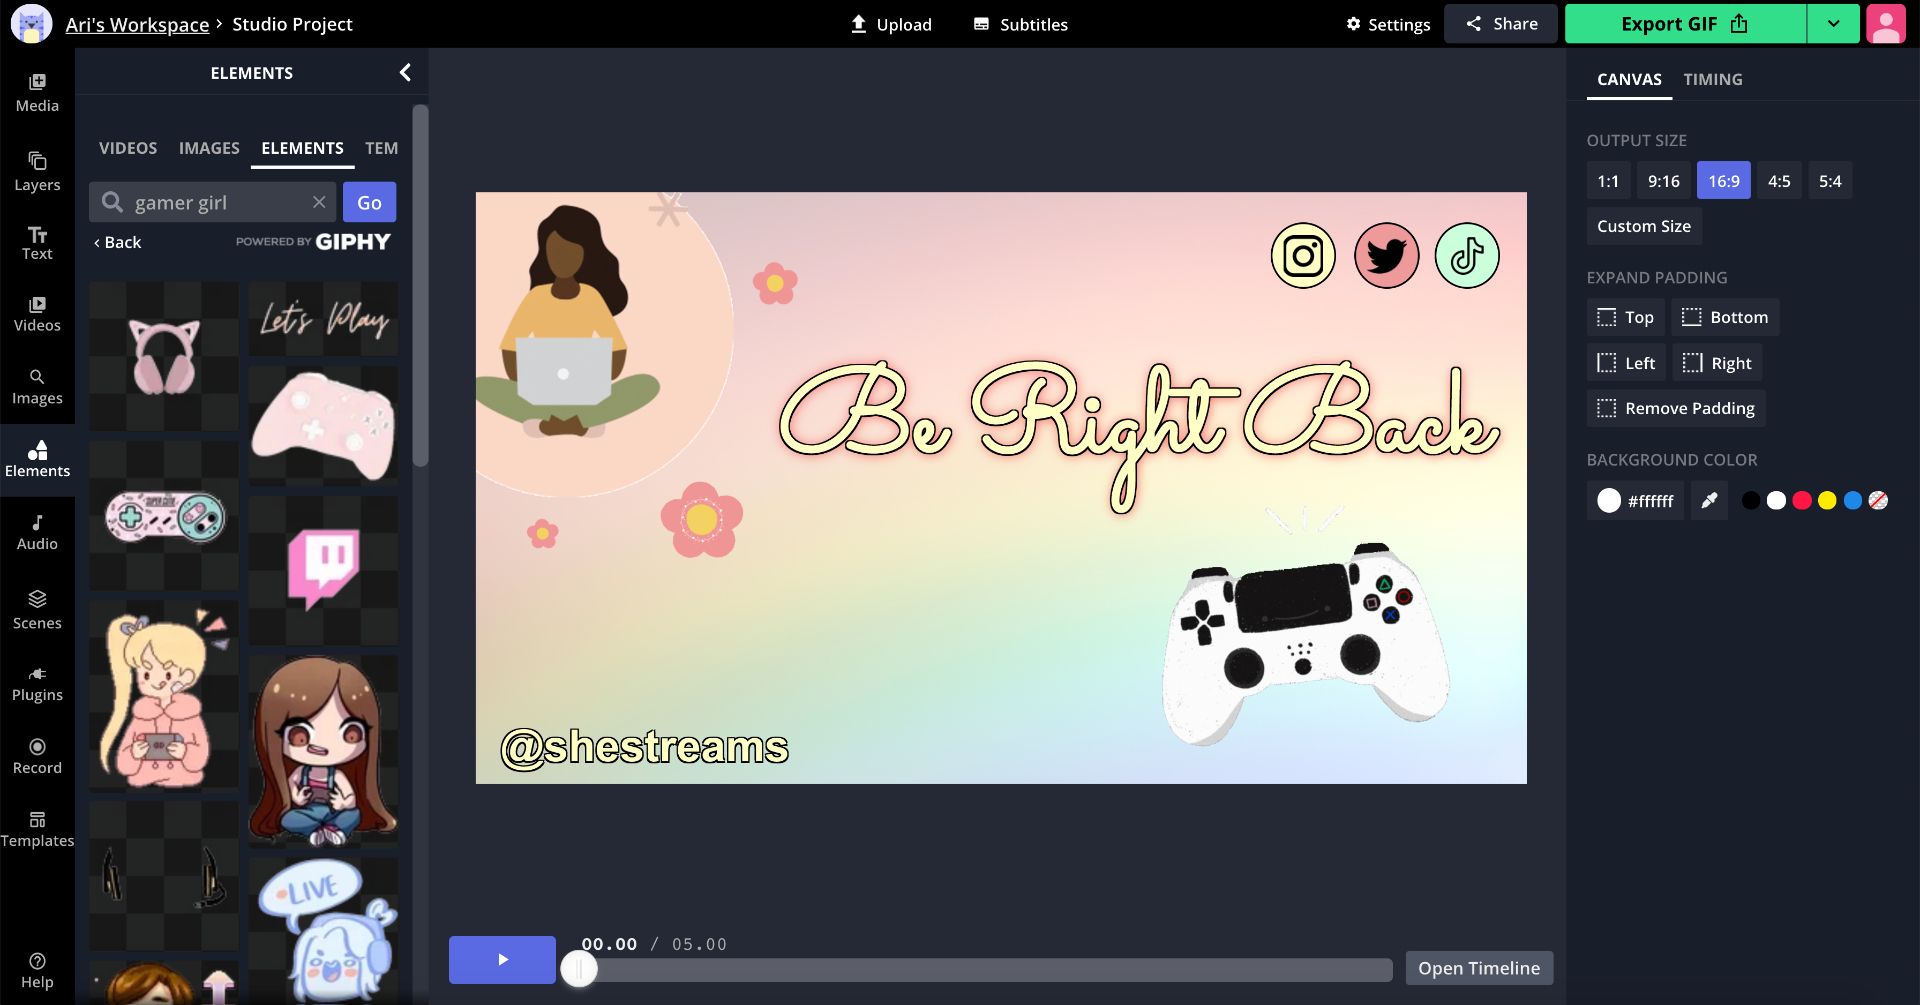
If you know you'll be gone for a specific amount of time, you can a timer countdown, otherwise, continue designing your Twitch waiting screen as you see fit. I added my social media icons with circles behind each png to make them stand out. My GIFS were found by browsing in the elements tab on the left side of the Studio. You can come up with a cool design by overlapping shapes, combining GIFs, and overlaying images onto your background.
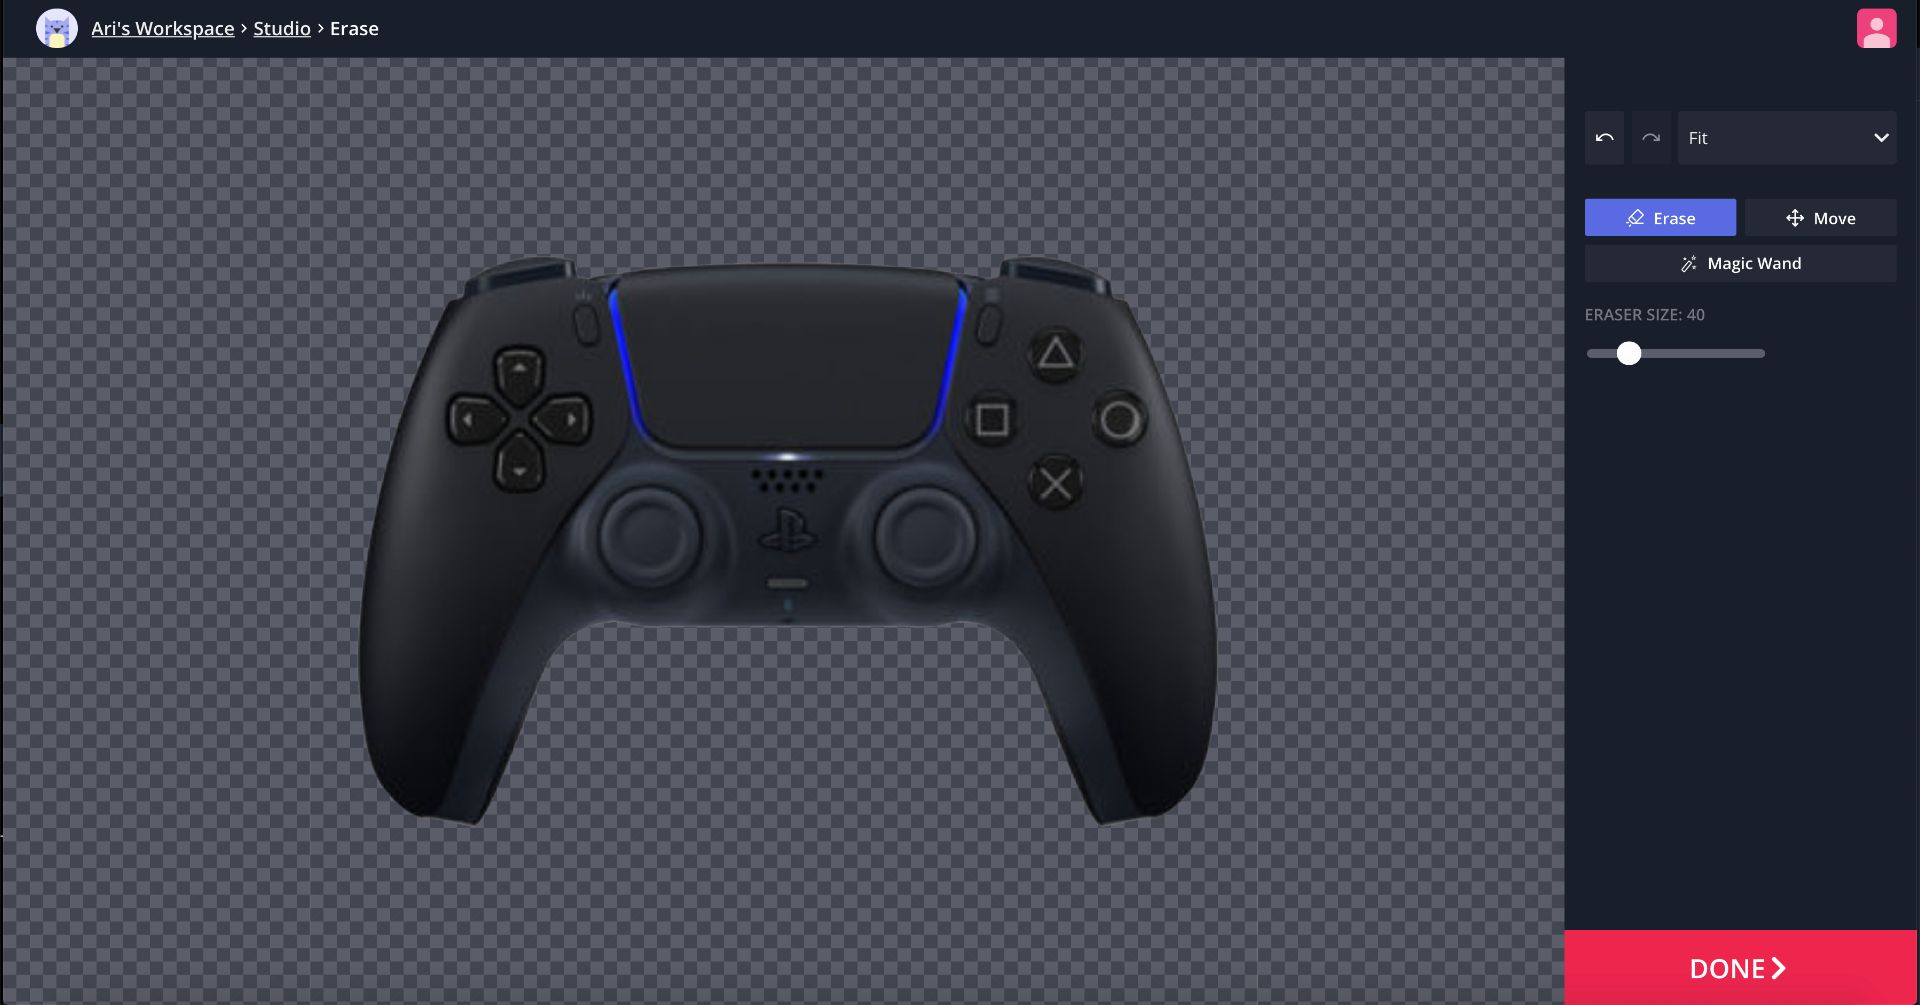
Let's say you have an image and you want to remove the background. This could be a logo, watermark, or icon that you found online. With the image selected, click Erase and use the magic want tool to select the background. Then you can delete the background and use the brush tool to remove smaller areas.
When you're finished, click the green export button to process your BRB screen. This should only take a few minutes and afterwards, you can download the screen onto your computer. If you notice a small watermark in the corner and want to remove it, begin by signing up for a Kapwing account with a preferred email address. From here, you can immediately download a watermark free version of your screen.
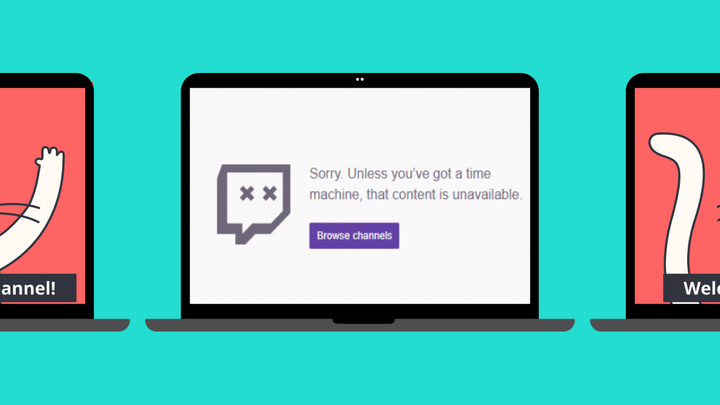
Twitch Offline Screen
Last but certainly not least for this tutorial is the Twitch offline screen. The offline screen prevents a flood of concerning messages from viewers asking where you are when the stream isn't live. This is particularly helpful for new viewers that are still getting used to your streaming schedule.
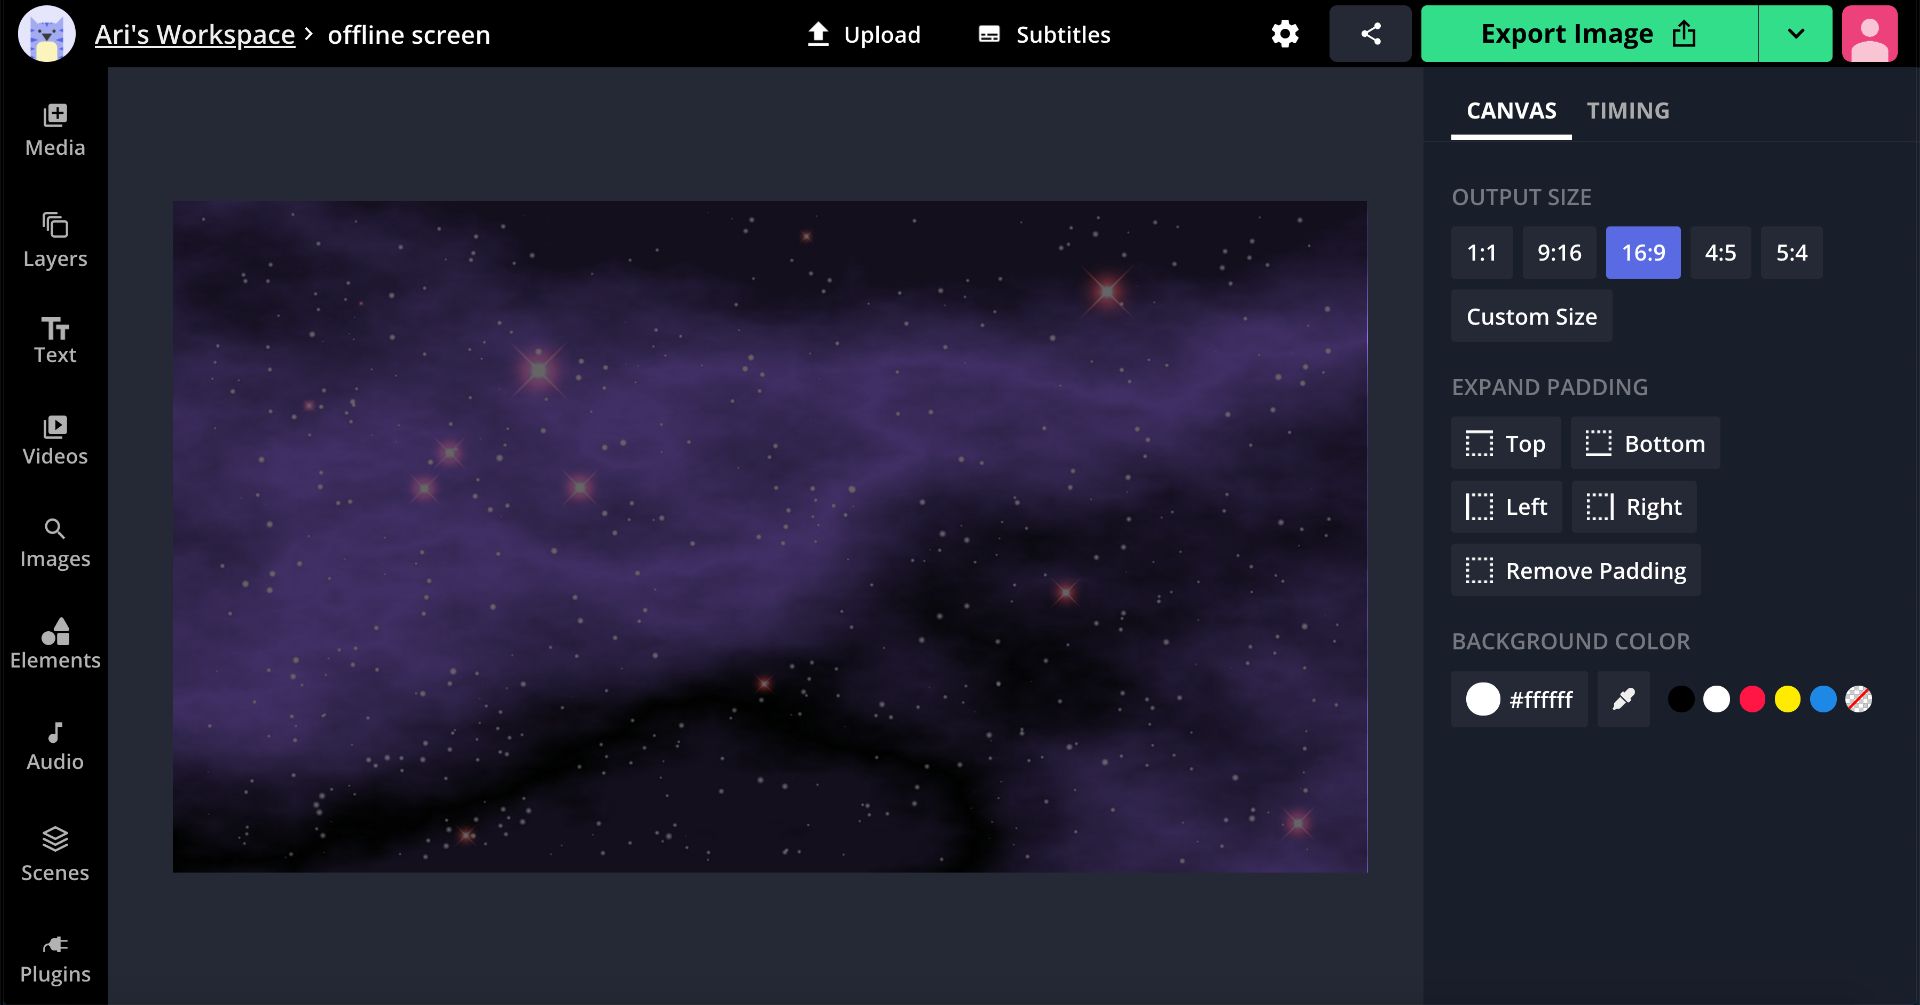
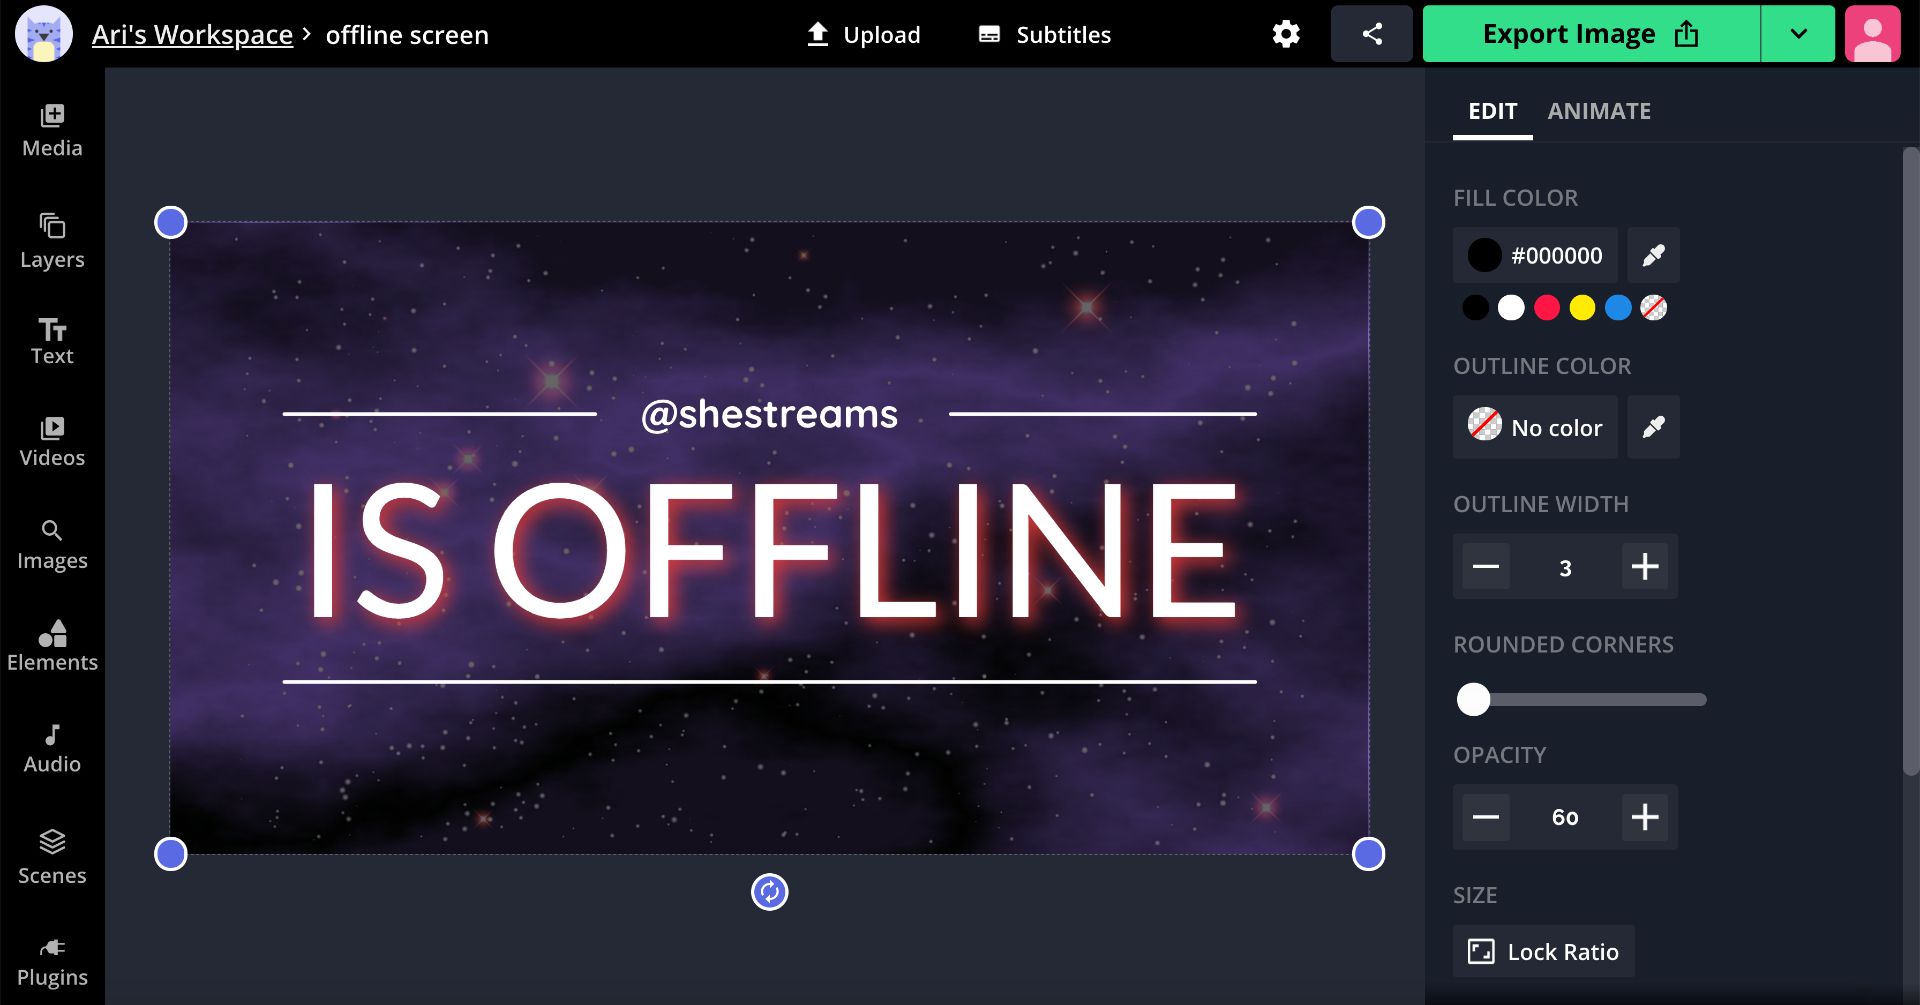
Like the previous screens, the optimal size for an offline screen is 1920x1080 with a 16:9 aspect ratio. I found this pretty galaxy background with the Pexels plugin, then placed a black rectangle from the elements tab on top. This is to ensure my text can be seen on top of my background. Next, I lowered the opacity so intricate details from my background are still visible.
Every successful offline screen should include text indicating you're offline, paired with your social media username. That way, viewers and subscribers have a way of staying in the loop when changes are made to your schedule.
Once you have the essentials down, it's time to add more flair. So far, I'm working with a still image, and while that works, I want to add some animation. This is optional, but you can click Elements and add sparkle with the twinkle GIFs. It's an easy way to give viewers something a bit more interesting to look at without putting in a ton of leg work.
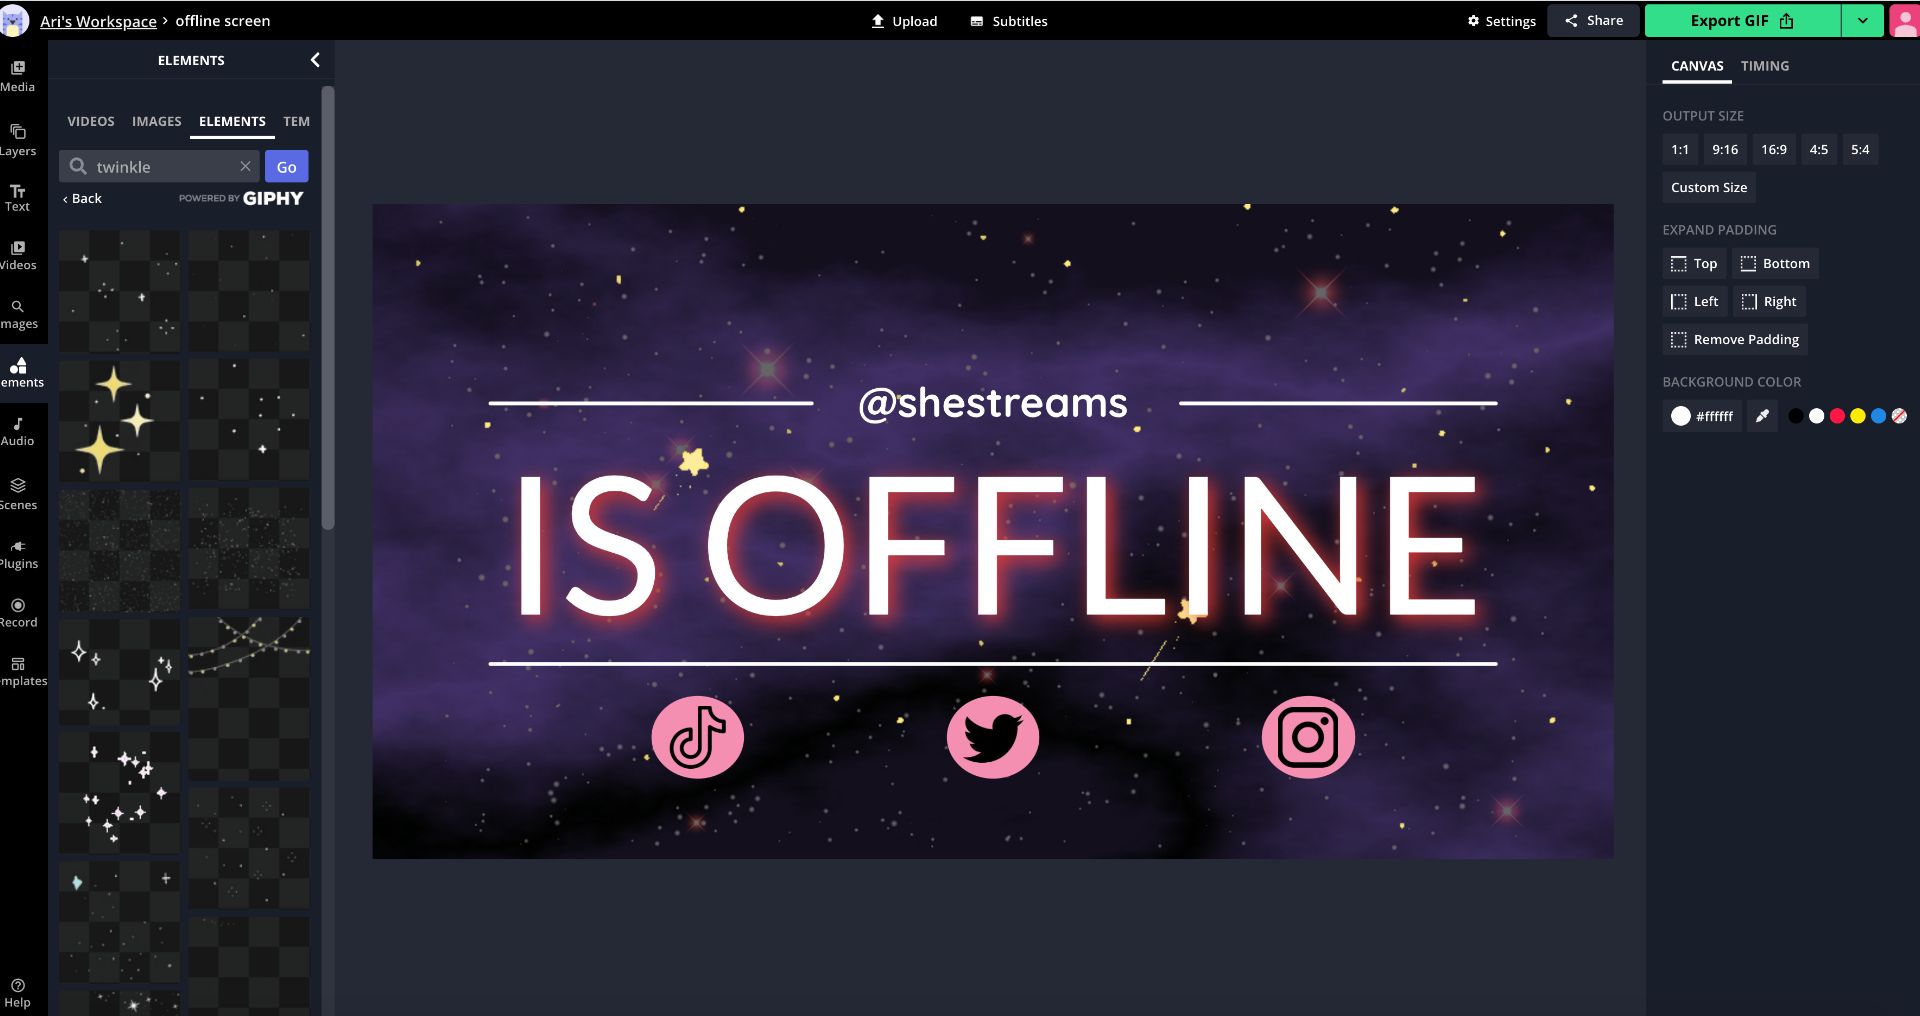
You can search for intricate overlays, add animated stickers, overlay emojis, and change the appearance of an image with the adjust tool until you're happy with the look. When you're satisfied, click Export then Download to save the offline screen, and proceed to the final step.
Step Four: Upload to OBS or Streamlabs
Now it's time for the screens to make their grand debut! In this example, I'm uploading my screens to OBS Studio, but you can also use Streamlabs OBS. These are the top two platforms Twitch streamers use, and the process for uploading screens is very similar. Begin by launching the desired streaming platform on your computer.
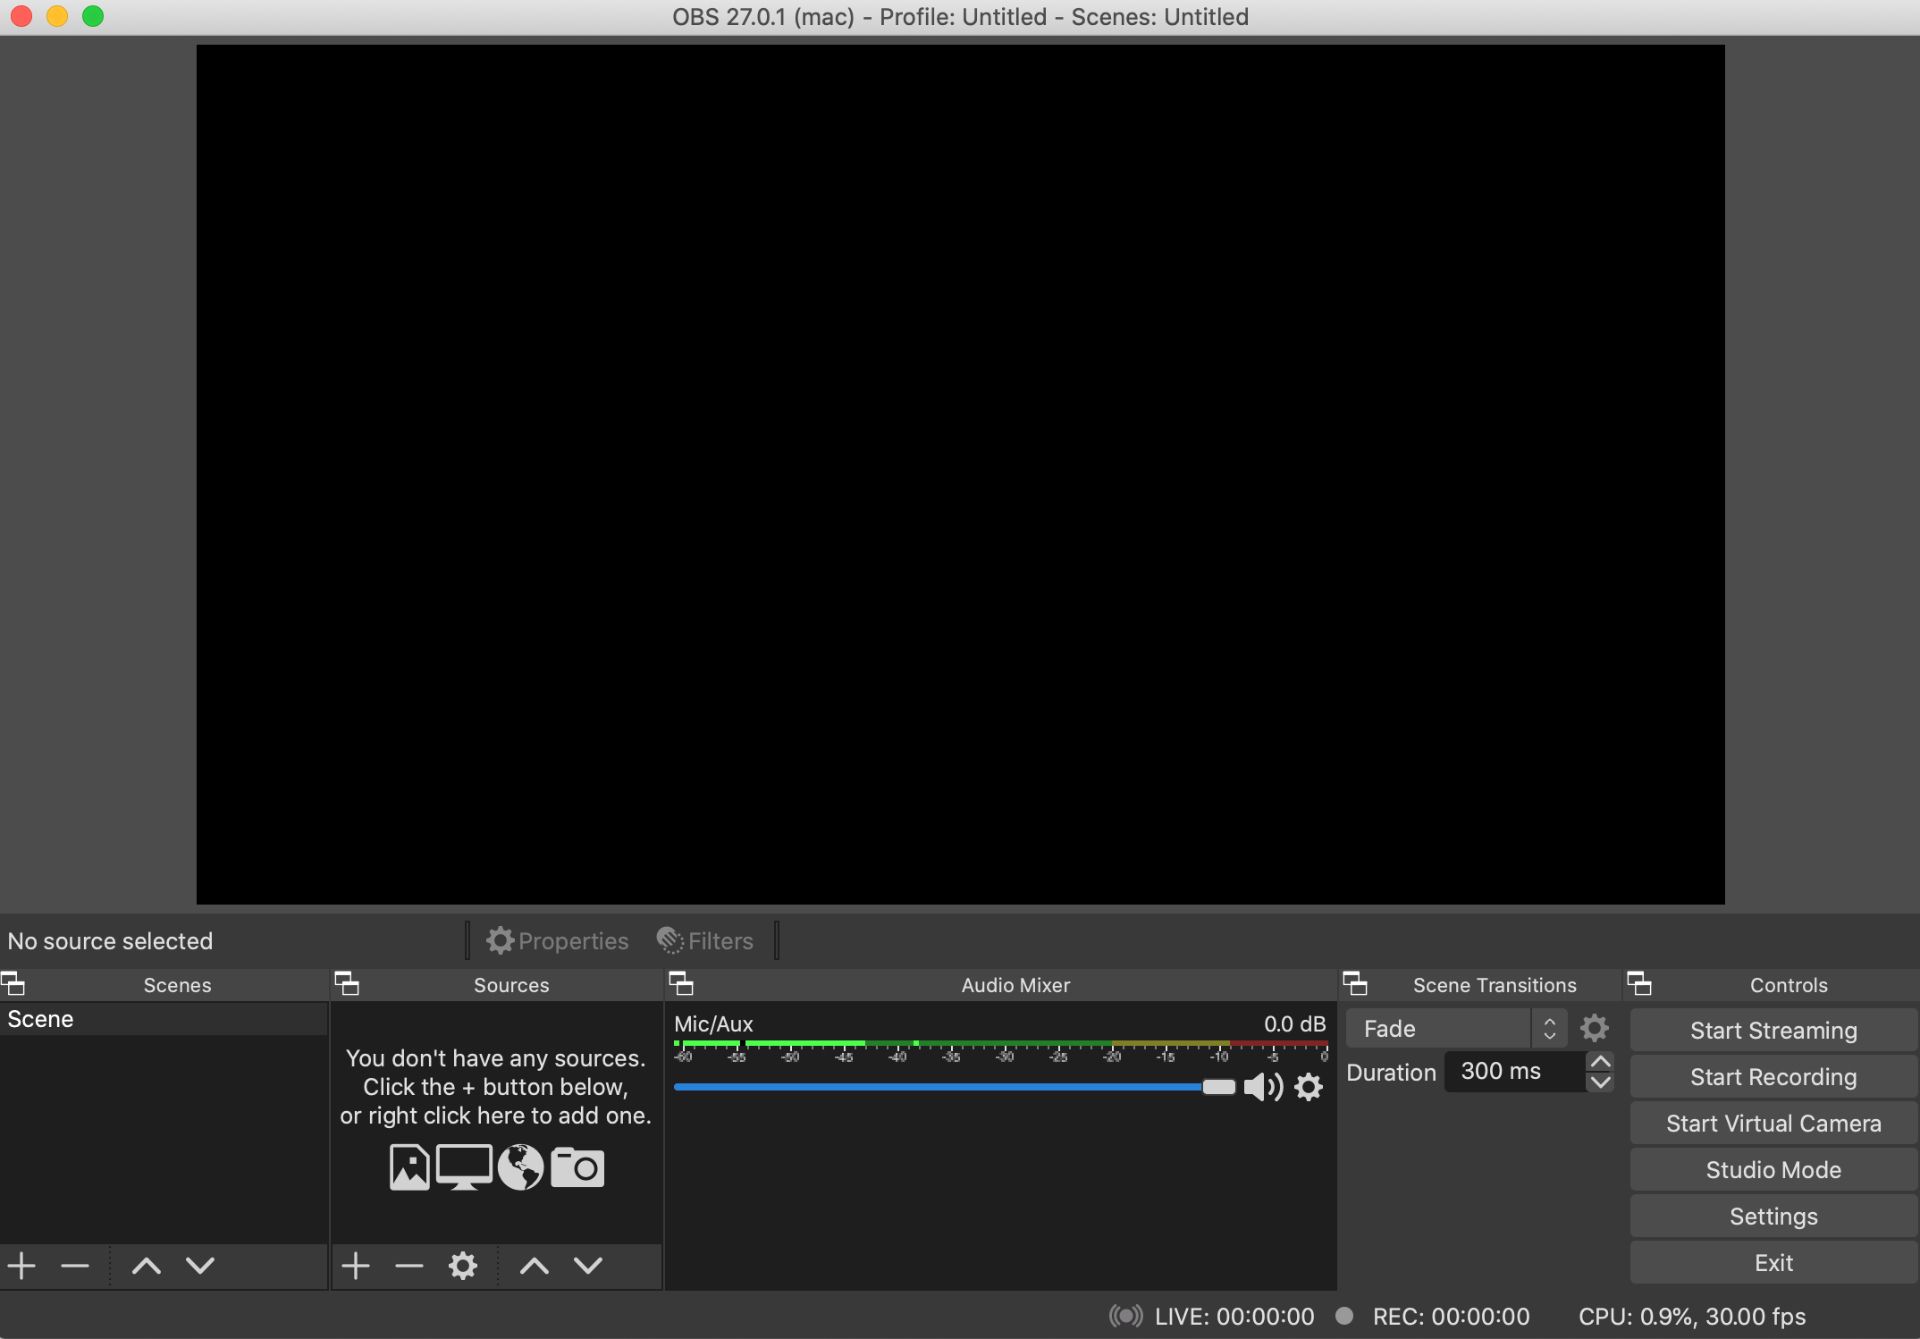
From here, I'm going to right-click on the first scene and rename it to Starting Soon. You can also click the plus sign to add a new scene for additional screens. I decided to make a scene for each of my screens to save time.
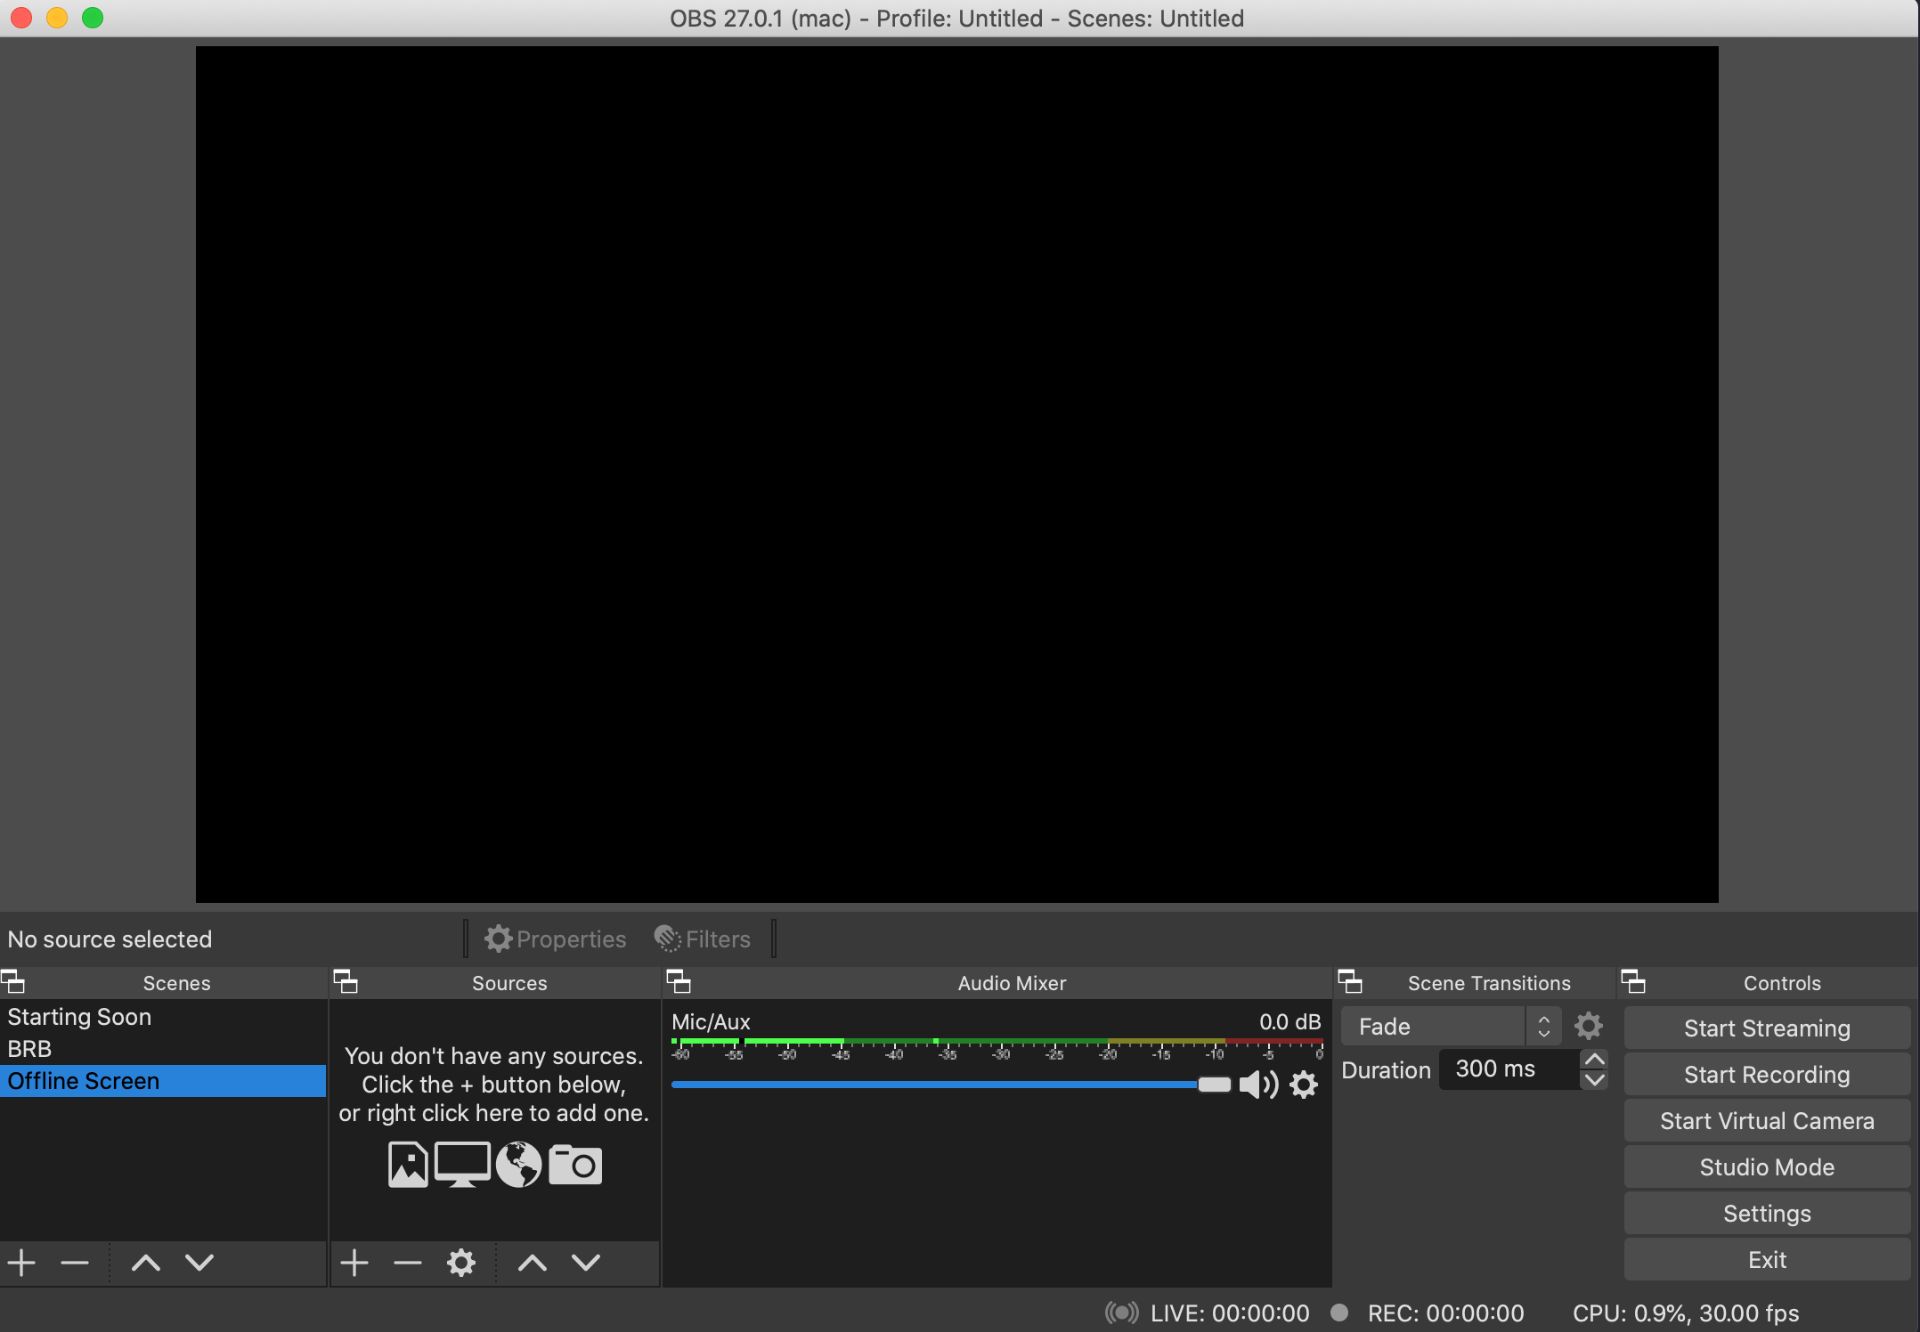
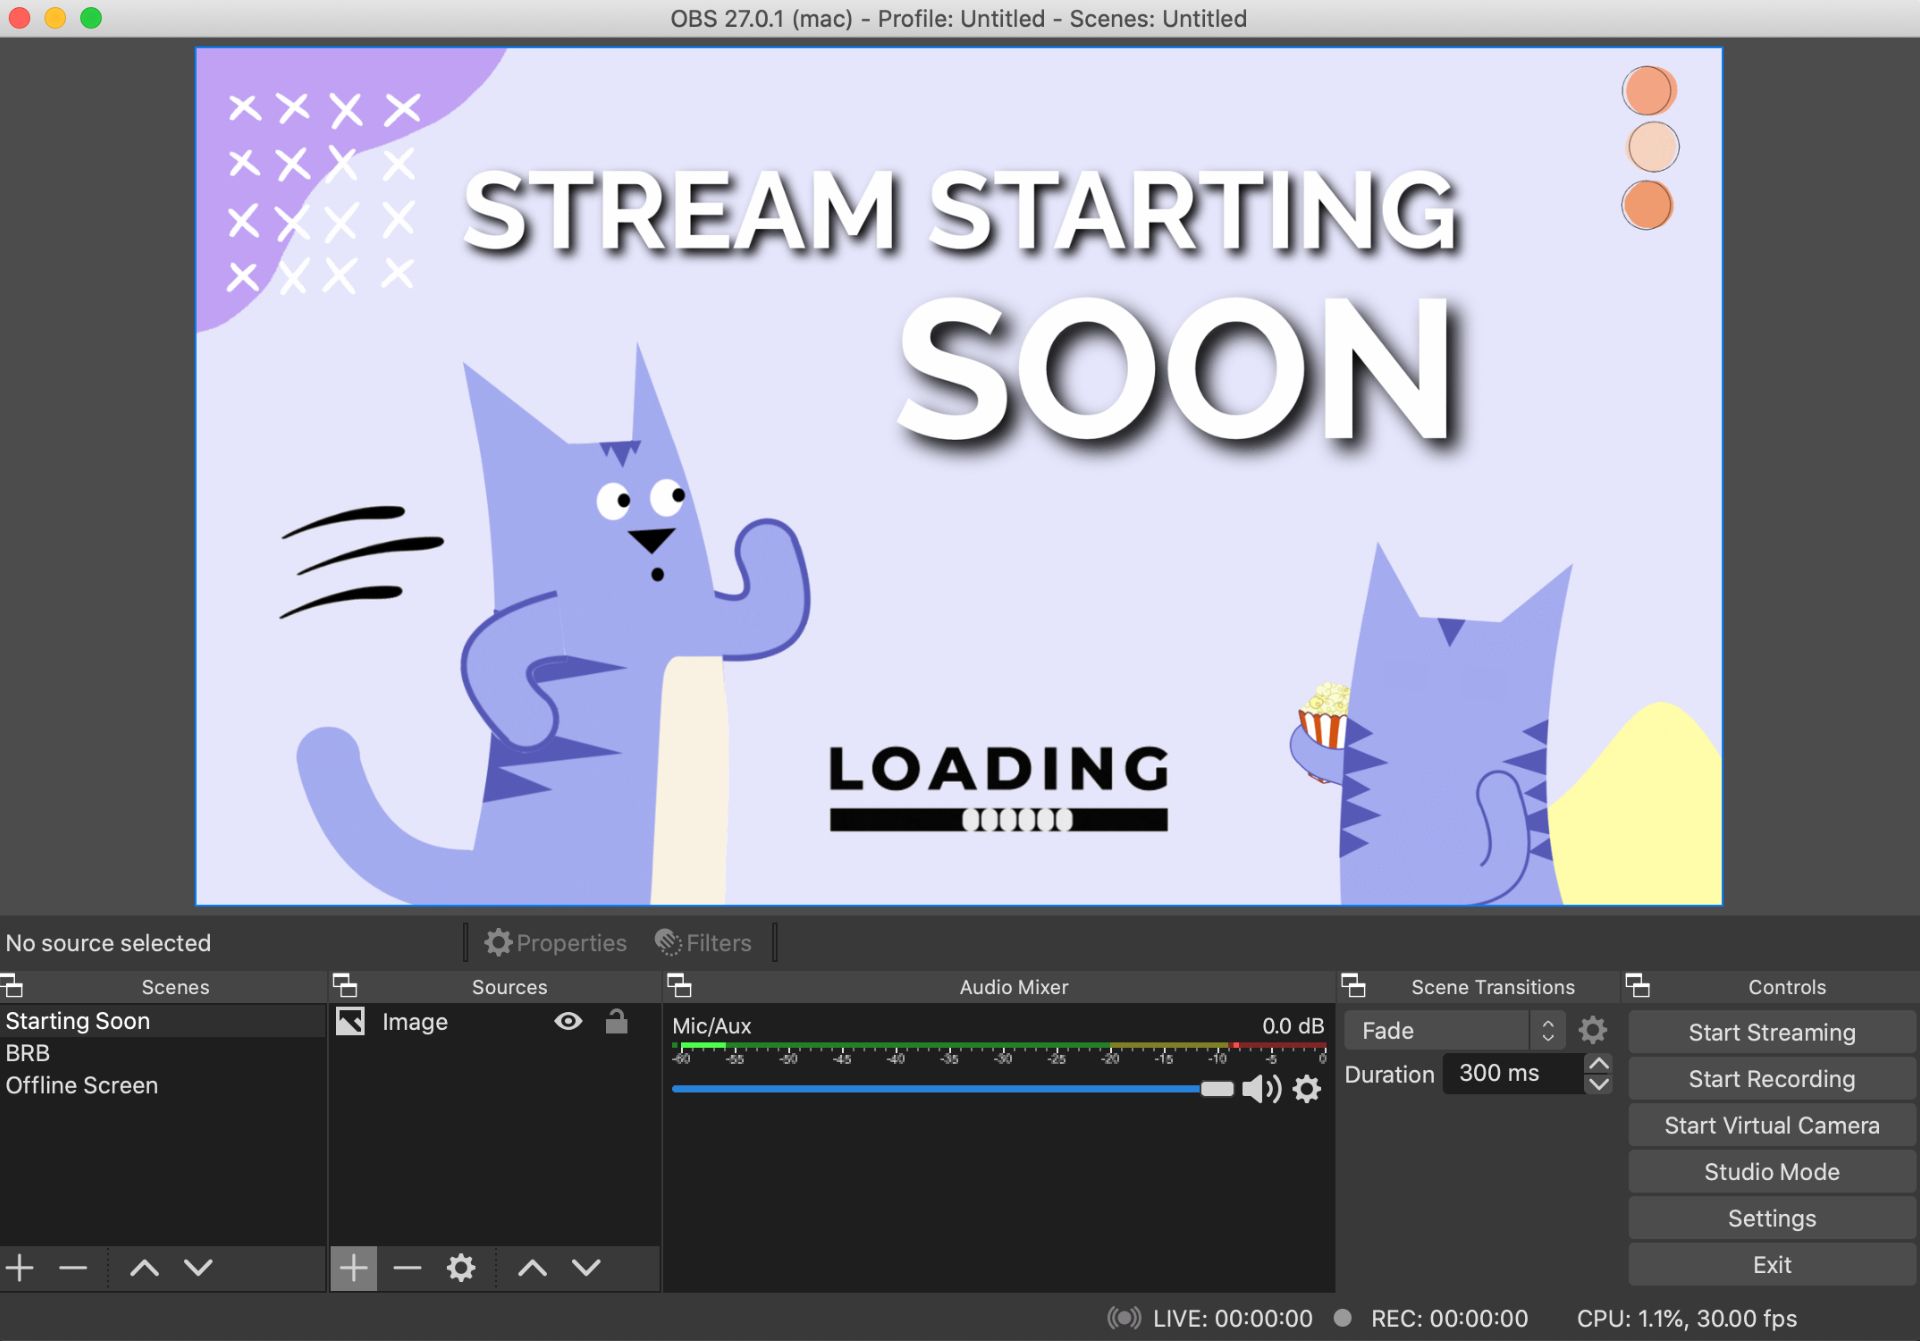
With a scene selected, click the plus sign under Sources and upload the corresponding Twitch screen. In this example, Starting Soon is selected, then I clicked the plus sign and Image to upload my screen. After following these steps, you'll see your custom screen in action! Repeat this process to upload your remaining screens then you'll be set for future streams.
When you gear up for your next stream featuring a screen made with Kapwing, be sure to let us know ! We'd love to see what you've made to celebrate your work. Follow us on Instagram, Twitter, and TikTok to connect and view more content from the team!
Related Articles