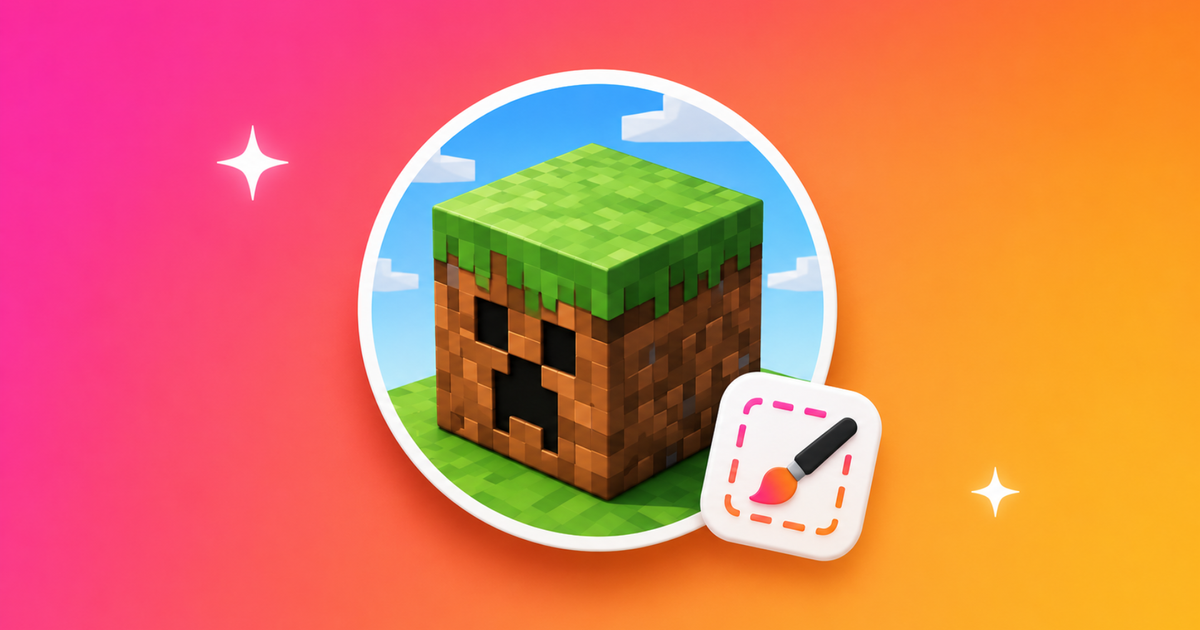
How to Make a Minecraft Server Icon
In this step-by-step tutorial, we're sharing image requirements and design tips you need to make a Minecraft server icon with ease.
Creating server icons isn't easy. You have to consider design requirements, file size limits, and format restrictions that may feel constrictive to the creative process.
We're sharing all the technical aspects, design tips, and upload requirements you need to make a Minecraft server icon with ease without comprising creativity. All you need to prepare for the tutorial is a browser to access a free online editor and a reliable device to complete each step.
- Find an image for your Minecraft server icon
- Upload image to the PNG Maker
- Edit Minecraft server icon
- Export and upload to Minecraft Server
Step One: Find an Image for Your Minecraft Server Icon
Let's begin the tutorial by finding an image for the Minecraft server icon. A few ideas to consider are initials representing the server name, custom logos to establish a unique identity, creative symbols, and game characters. You can use Pinterest and Google to browse existing server icons for more inspiration. Below are a few examples.
Step Two: Upload Image to the PNG Maker
Open your browser and visit the PNG Maker by Kapwing to begin creating your Minecraft server icon. All server icons should be 64 x 64 pixels with a PNG file extension, and this free tool easily supports both requirements. Feel free to use the PNG Maker on any device, like a mobile phone, tablet, or computer.
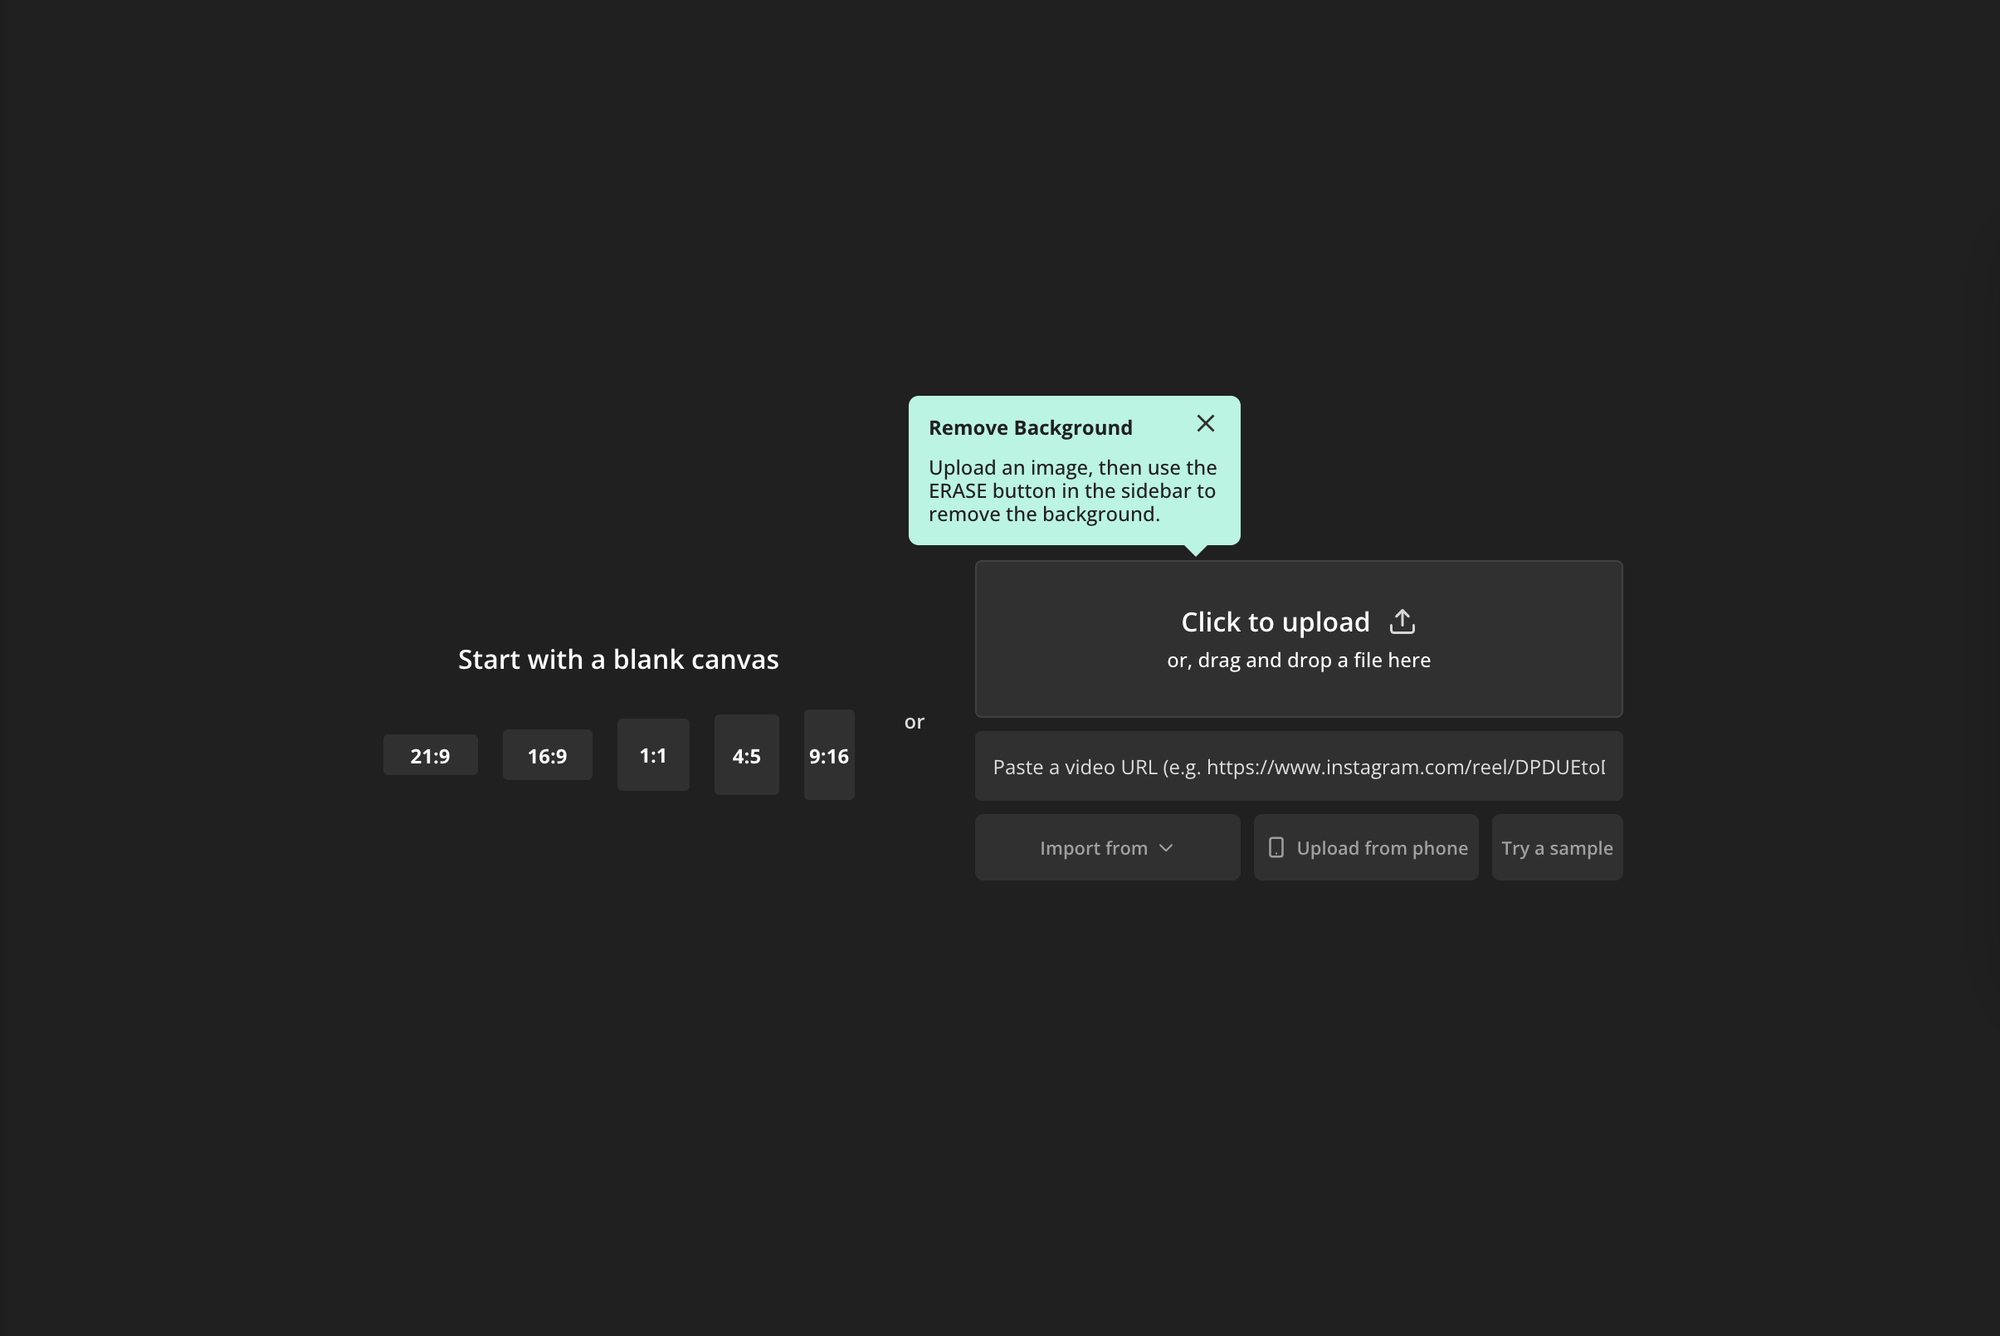
From here, you have a few options for opening the editor. You can tap or click the get started button to begin with a blank canvas, upload a file from the file browser, or you can paste an image link. The second option is ideal if you already have an image saved on your device.
If you need help finding the perfect image, select the get started button, then use the Plugins tool to browse images from Pixabay and Pexels. In addition to images, Pixabay provides free illustrations and vectors by talented creators, perfect for server icons. Type a descriptive term in the search bar, then tap or click the search button to generate results. Below is an example of what you can expect to find with the Pixabay plugin.
Step Three: Edit Minecraft Server Icon
To resize the canvas to the optimal dimensions for a server icon, click Custom under Output Size on the right side of the Studio and type 64 in each space. Then, click Done to save the changes.
Click or tap the eraser to open the remove background tool. This will convert your image to a PNG and make the background transparent. You can adjust the eraser size, or use the magic wand tool to quickly select and isolate the background from the icon. You can zoom in or out to make precise edits.
If your image is already transparent and you need to remove the background color from the canvas, click the transparent icon under Background Color.
With the design specifications complete, we can begin customizing the server icon. You can use the Elements tool to browse shapes and emojis and use the image search tool to find overlays, graphics, and borders. Drag the ends to scale the size and reposition your element on the canvas.
You can use the adjust tool to change the appearance of your server icon if you want a different look. Select the image, click Adjust, then drag the circle from left to right to decrease or increase the intensity of a setting. You can also click Filters and choose between 17 options. Click a filter to view a preview.
Here's a before and after of the server icon after using the adjust tool.
Step Four: Export and Upload to Minecraft Server
Review your icon, then select the export image button at the top of the PNG maker to begin processing the project.
When it’s finished processing, change the file name to 'server-icon.' This file name is required to upload the icon to your Minecraft server, then click Download to save it to your device. You can sign in with an email address to remove the watermark for free and you'll have a free workspace to store and edit content for up to two days.
Open your server files and drag and drop the file from your desktop or download folder into the root directory of your Minecraft server. Launch and refresh your Minecraft server and your new icon should appear for all to view!
Create a server icon or profile picture for other platforms by reading the articles below, and stay in touch with the Kapwing team by following us on Instagram and Twitter. For video editing tutorials for modern creators, visit our YouTube channel.