
How to Make a Fake Texting Story Video
Learn how to make a video of a fake text conversation! Add text messages, time out when they appear on a Timeline, insert sound effects, and export to download a text message story to publish and share with friends.
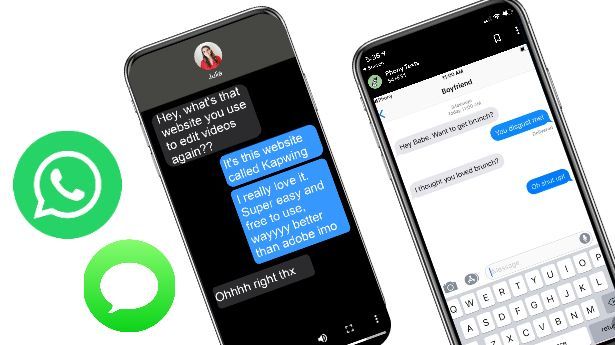
A text message thread is the modern version of a novel. Watching how a conversation unfolds over iMessage or Messenger is like listening in on an intimate discussion between two people and can make for a funny, compelling, or emotional story to share with others. Popular on Snapchat, Instagram, and TikTok, these phony text story videos have become a popular format for bite-sized social media dramas and comedies.
The easiest way to make a video of a text conversation is to just screen record a real text conversation. Ask a friend to help you and give them a script with detailed instructions. Then, delete your past text history with that friend and rename their contact info to represent whatever character you want to pretend to be texting with. Turn on screen recording when you're ready to have the conversation, and get it started! Once you stop the screen recording, you'll have a saved MP4 of the text message to share.
Video edited on Kapwing
It is possible to make a text message video by yourself, although it's not easy to emulate the animations of iMessage in real time. Making a realistic video may require a more sophisticated tutorial or AfterEffects skills. But if you're trying to create a meme or something entertaining for social media, you don't need super high fidelity output. You can use an online video editor like Kapwing to fake the text thread.
In this tutorial, I'll show you how to make a basic fake texting story video like the one above. This step-by-step instruction guide uses the Kapwing Studio, an online video and image editor. I recommend signing in to Kapwing to use it with no watermark and have your worked autosaved as you go.
Step 1: Prepare the Background
To get started, go to Kapwing.com and start a new project.
Set your canvas to the 9:16 aspect ratio to emulate a vertical video or Story format. This size makes the texting video look like a smartphone screen and is compatible with TikTok, Instagram Stories, and Snapchat discover.
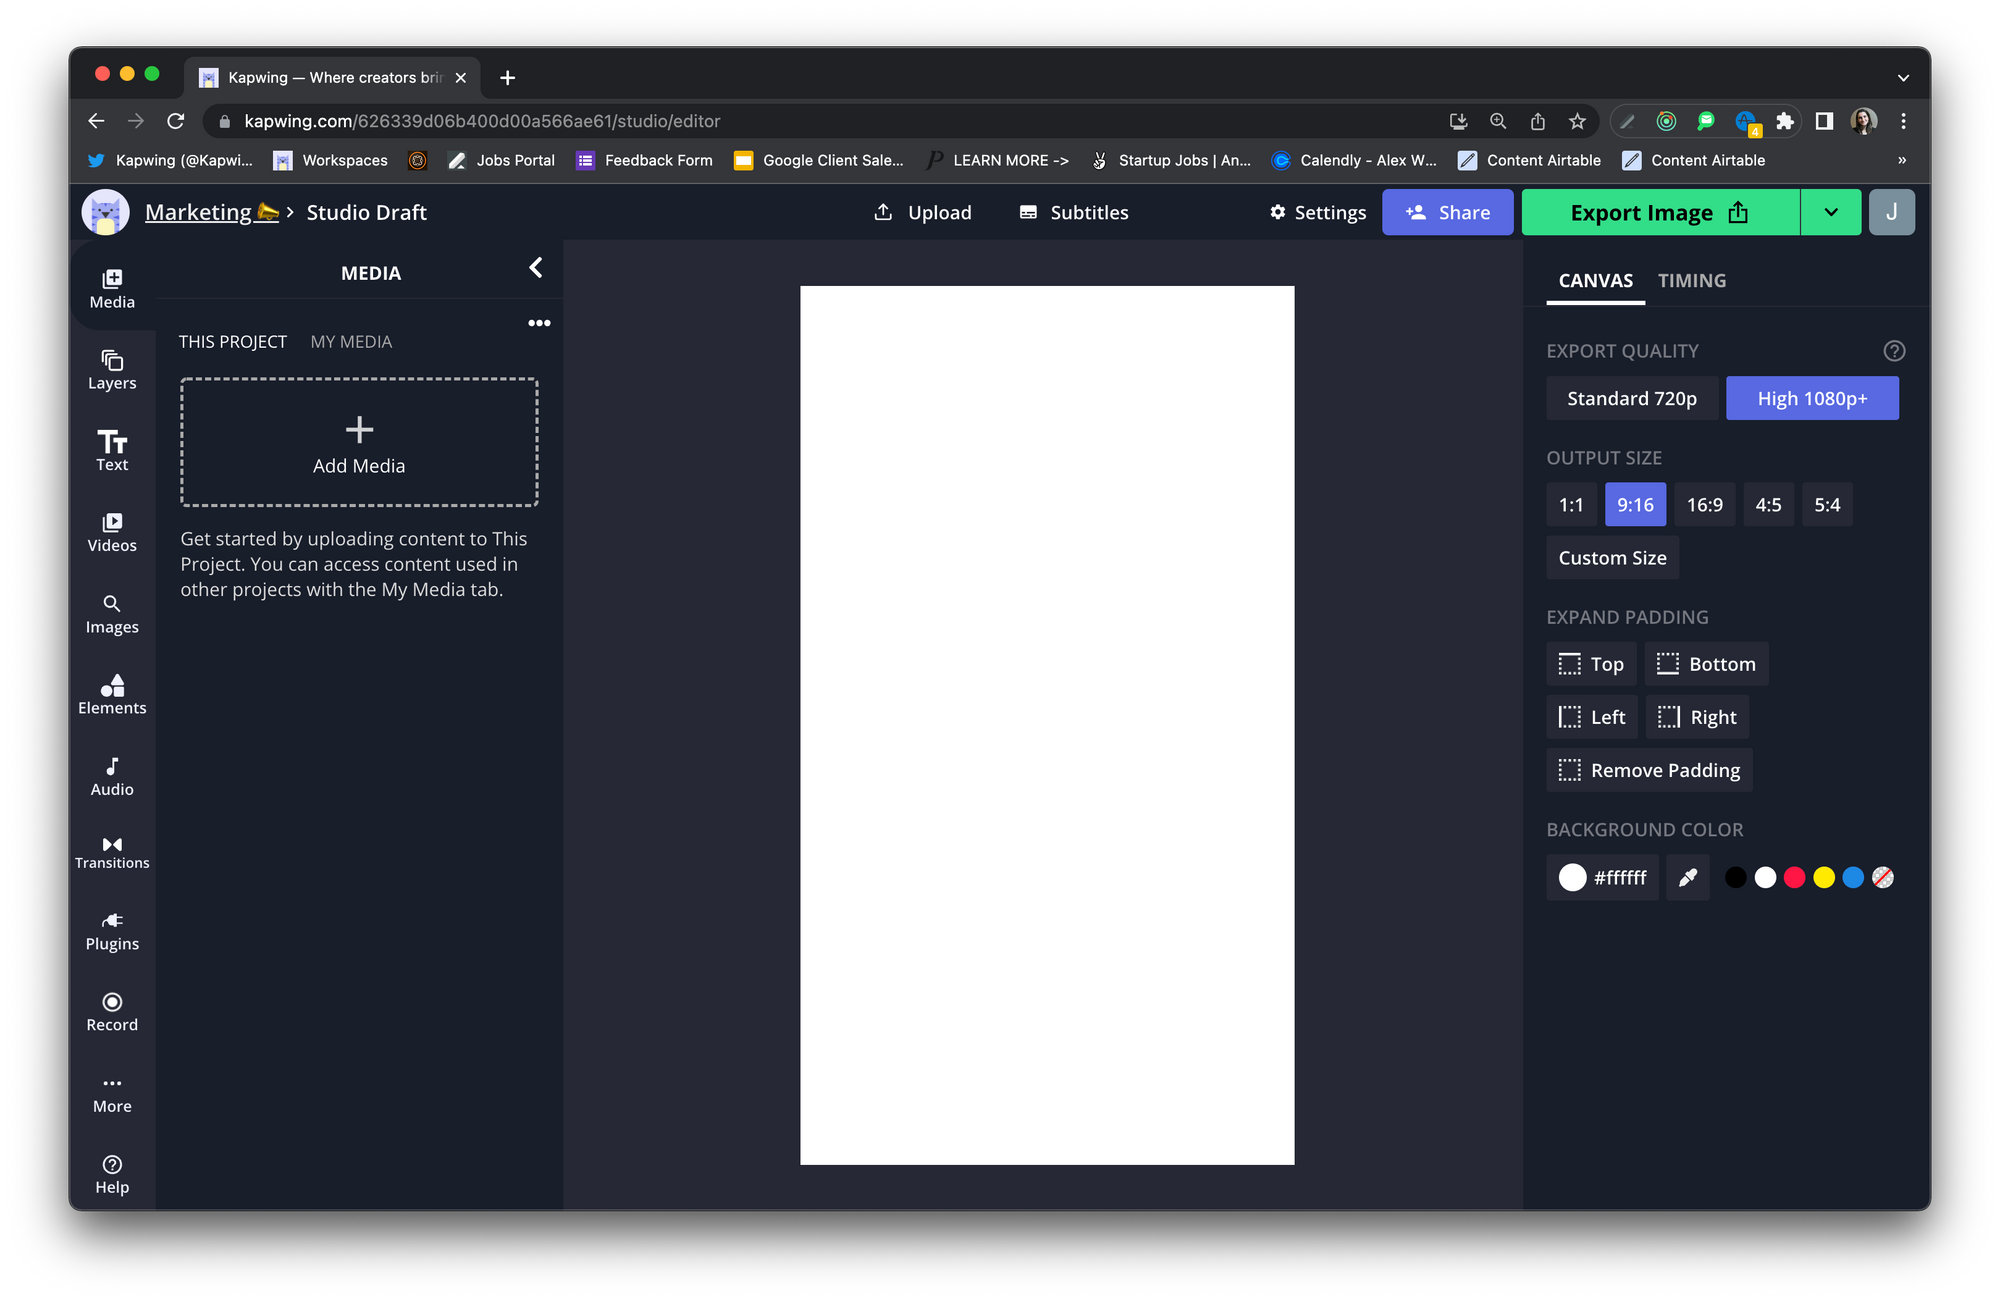
Now, you want to set up the frame to look like the platform that you're using for the text story. To make the screen look correct, take a screenshot on your phone of a real text conversation, then use it as a stencil for sizing the elements on screen. Alternatively, you can use this iMessage text video as a template.
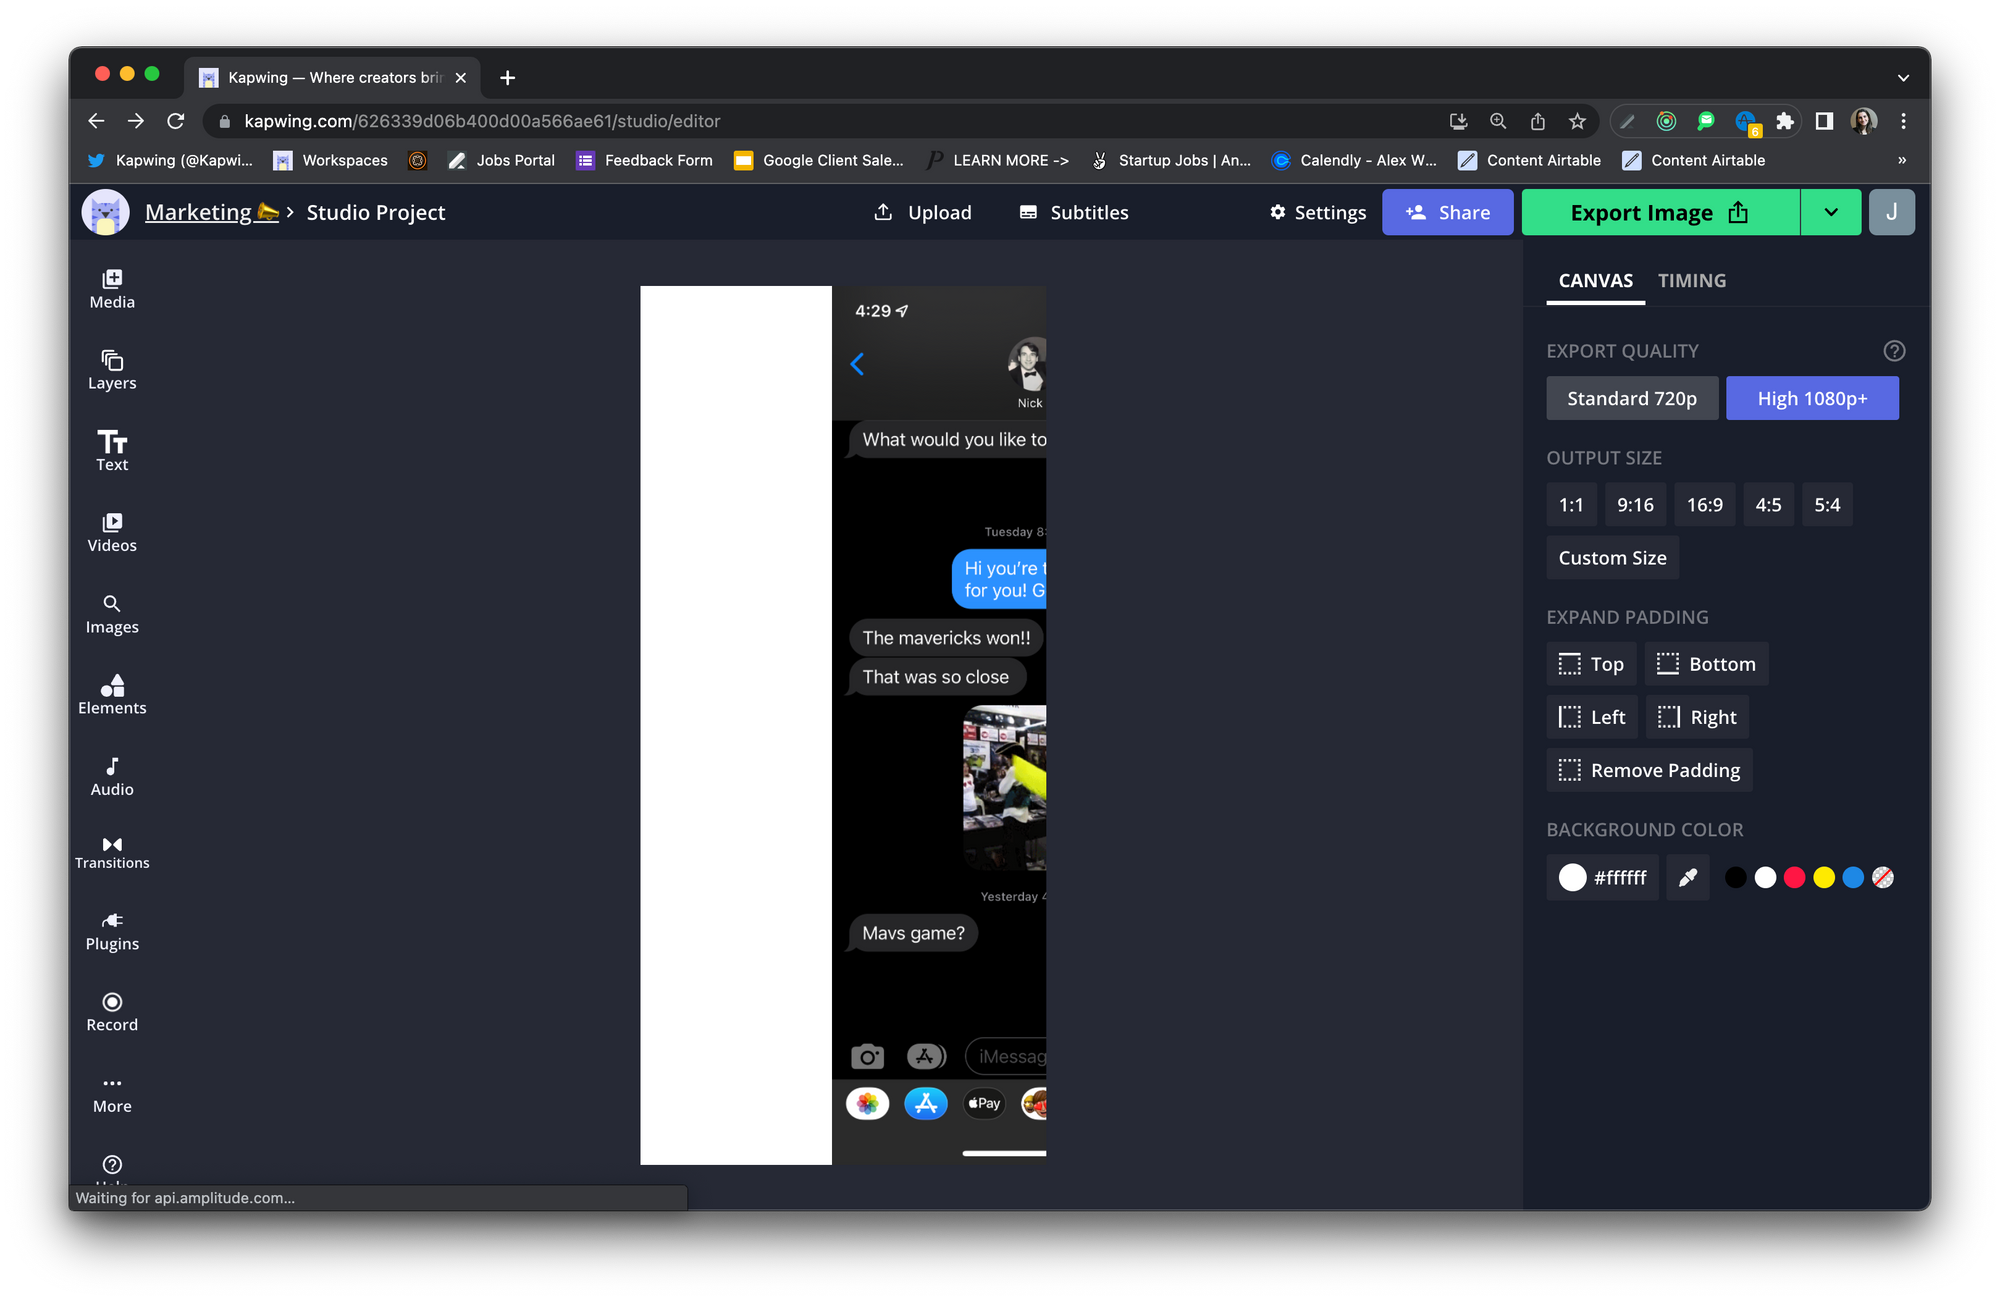
All of my screenshots are backed up to Google Photos, so I imported a recent text thread from Google Photos using the "Upload" button in the media library.
You can emulate any platform you want, but in my example, I used iMessage, iOS 10, with dark mode. Here's the styling options I made to the background before adding the text messages or animation:
- Background: Black (#000000). Unselect any selected layers and use the "Background Color" selector to change. This works for phones that use dark mode.
- Top frame: I created a gray rectangle at the top of the screen for the native phone framing. Find the box shape under the "Elements" tab. The box fill color is #3D3C3C.
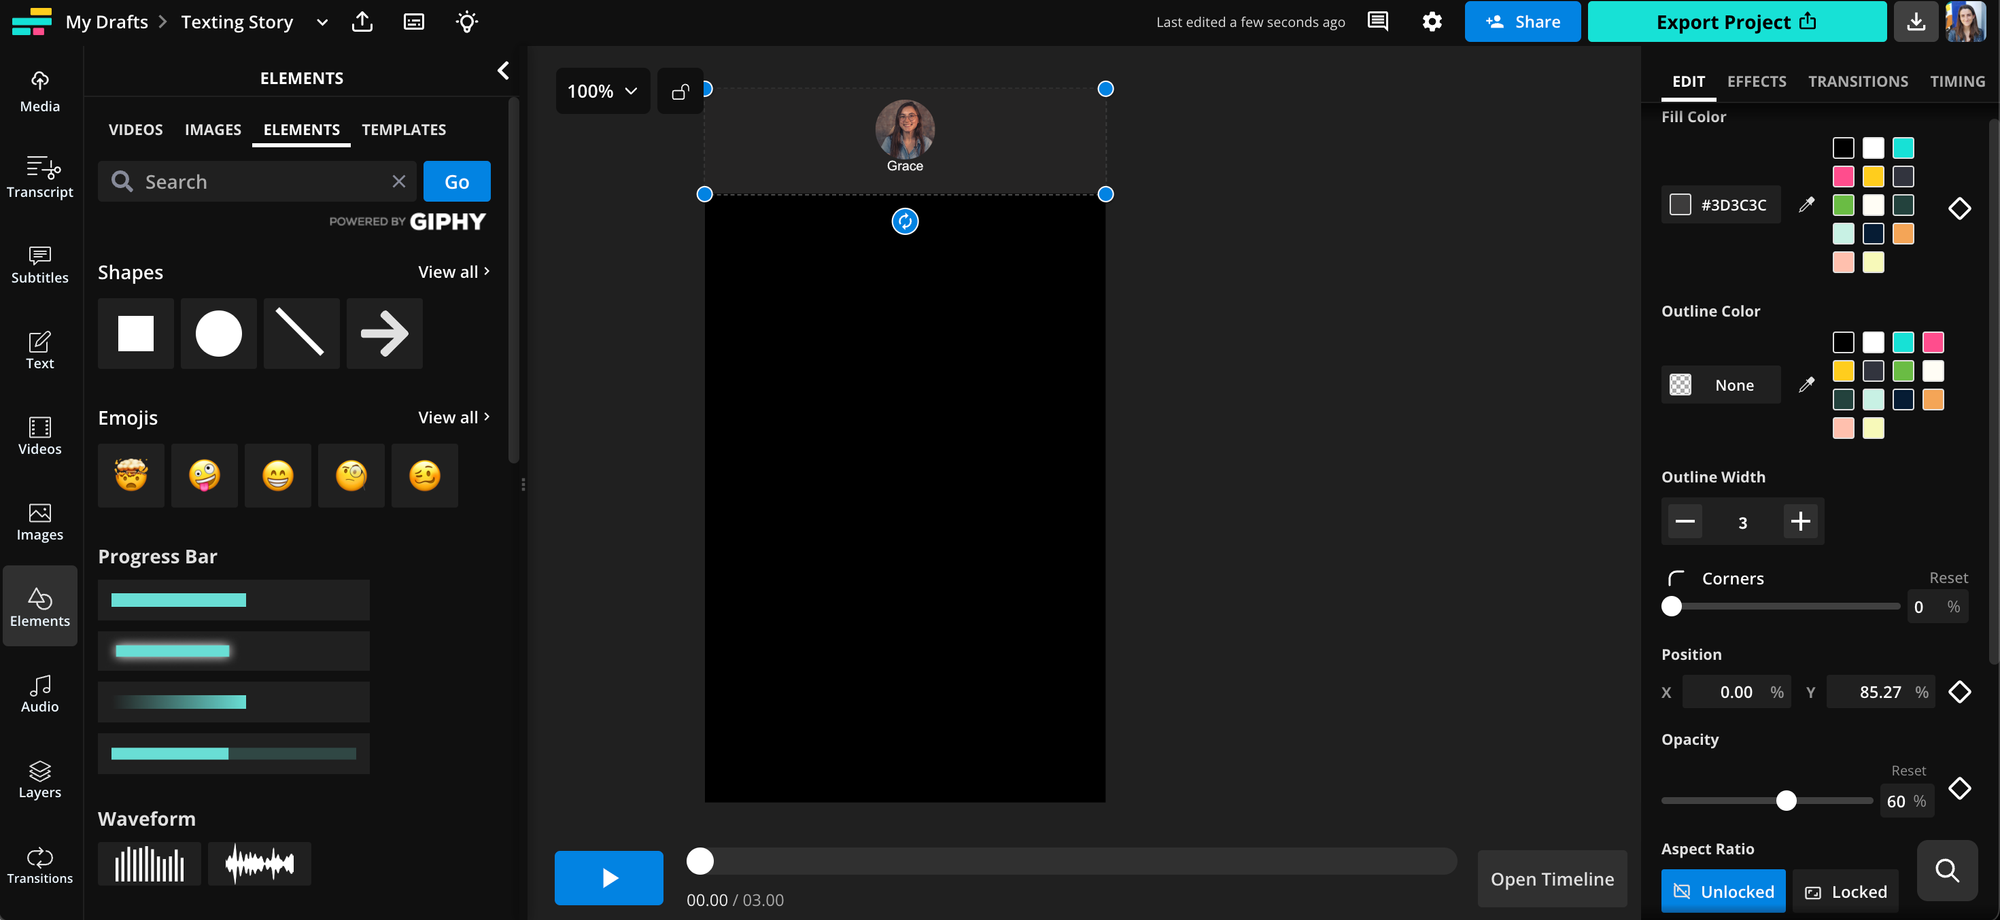
- Contact profile photo: In the text story, you have one primary contact. This represents the person that the main POV character is texting, the person who has gray bubbles. You can use any photo or image you like, but you need to crop the photo to a square. To crop the square image into a circle, slide the "Rounded Corners" option to 100% to make the photo round.
- Contact name: I added a text layer, made it white, changed the font to Helvetica, and positioned it small under the profile photo. iMessage has a small arrow next to the person's name, on the right. Make the name anything you like! You can include emojis and nicknames, if you want to.
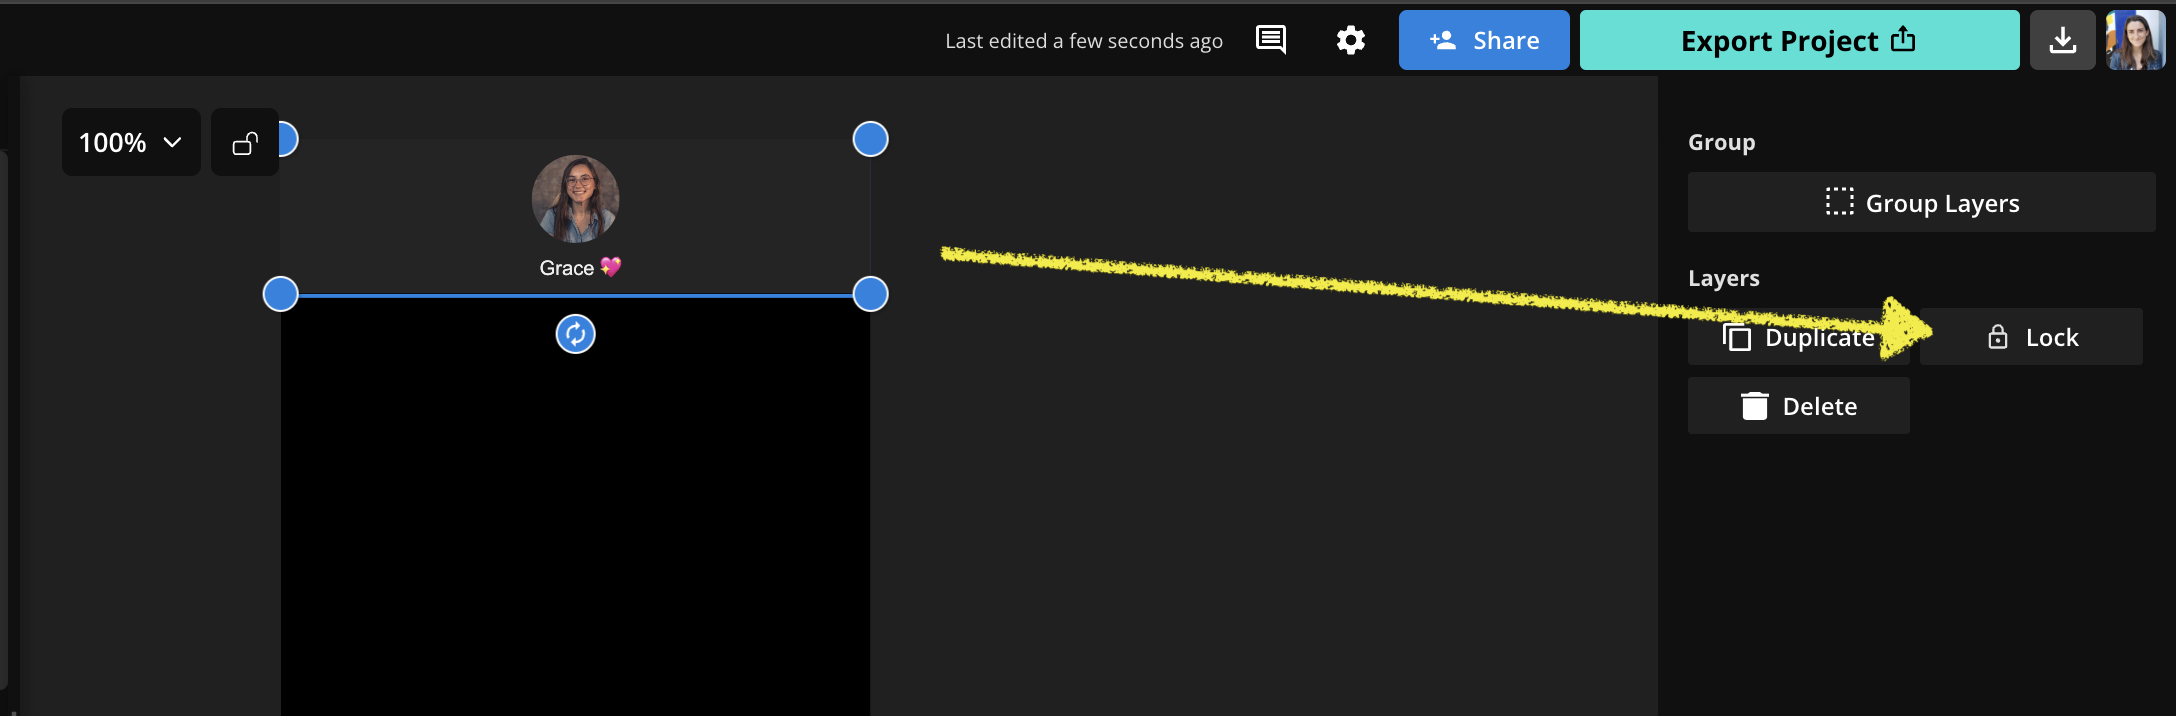
Now your canvas is fully set up for the text story video! Before adding the text messages, select the top frame and lock that layer in place. This will help you avoid accidentally selecting and adjusting it later.
Of course, you can also use an image background that you already have (from a screenshot, for example) or a video background to make the text conversation an overlay.
Step 2: Add the Text Messages
The next step is to actually add the text message contents! At first, you're going to put all of the text bubbles on the screen. In the next step, you will add the timing to insert dramatic pauses and animation and make the text screenshot into a video.
To add a text message to one side or the other:
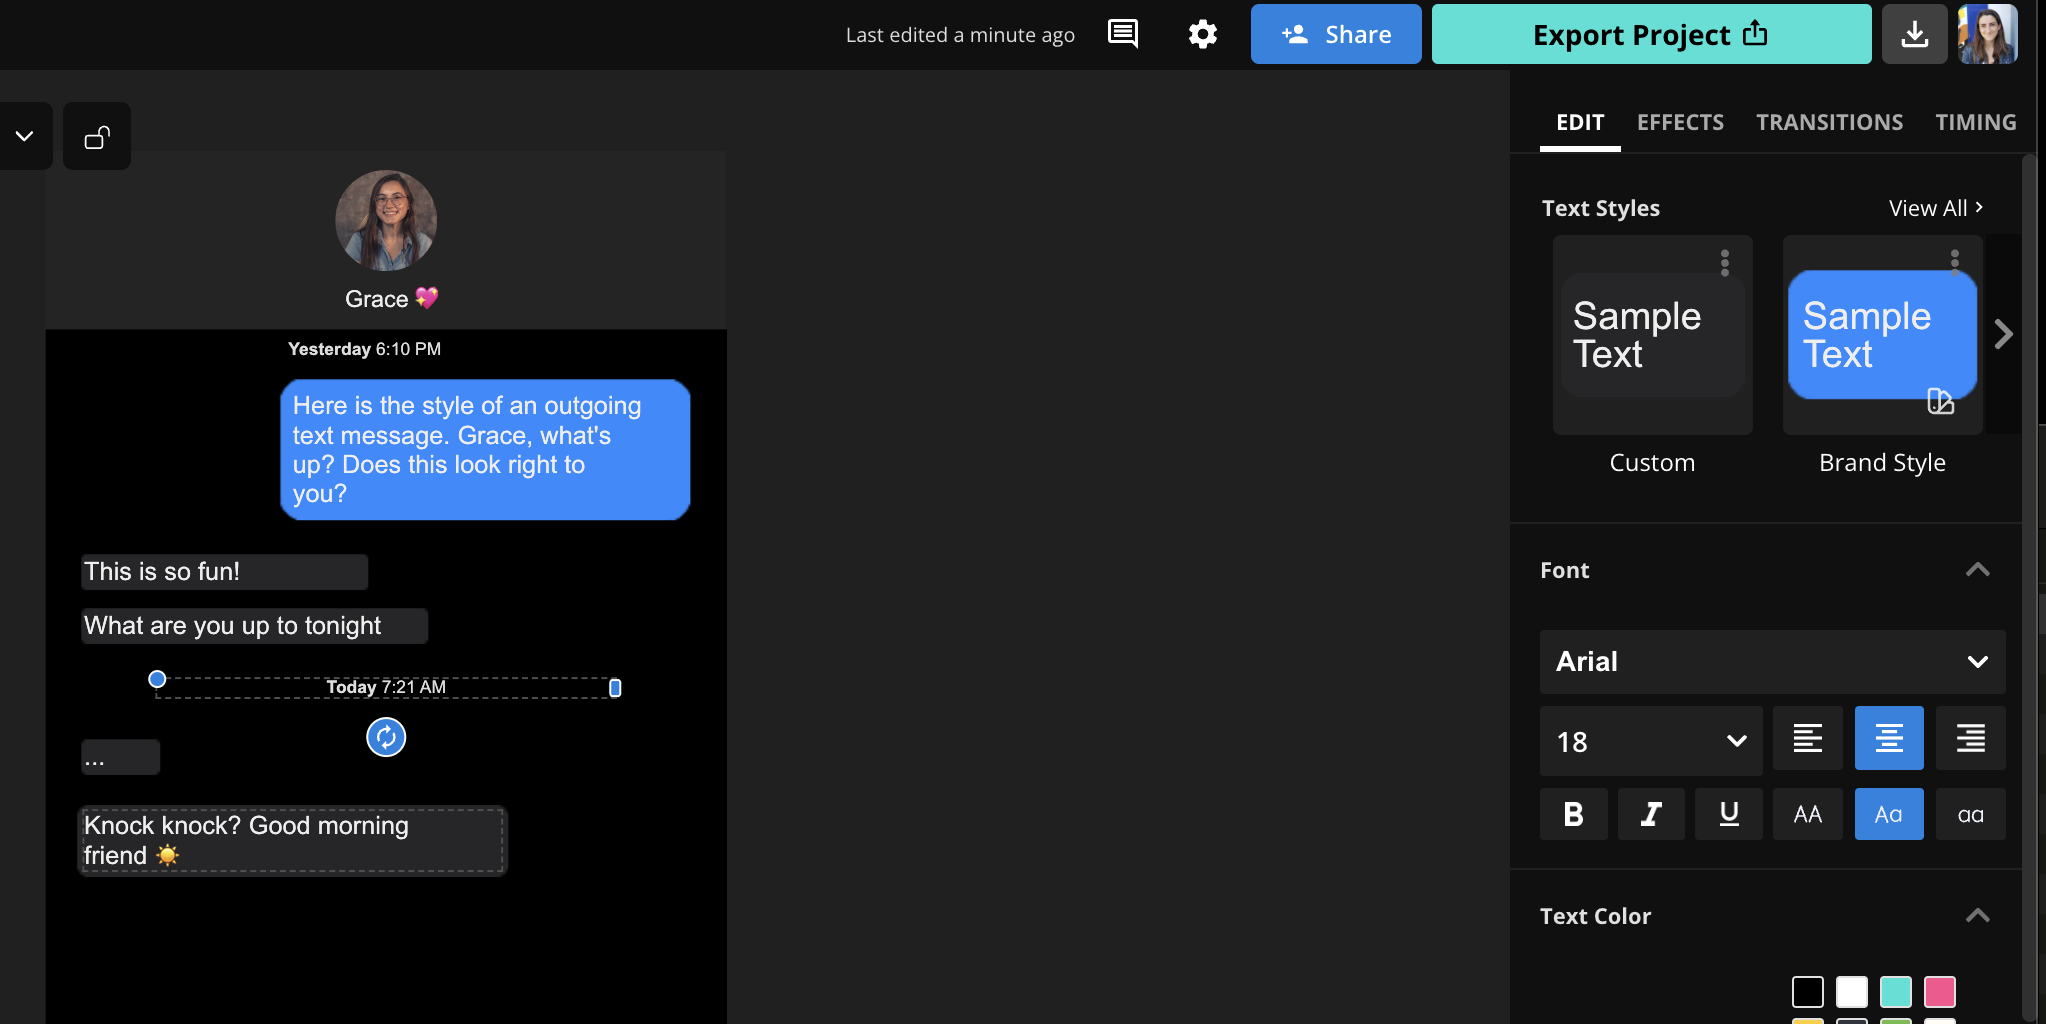
- Text message: Add a text layer and type the message text that you want to appear. For the iOS case, make it Arial font and white with no outline. Add a 1.15x line height spacing to look less crowded. Ensure that it is left aligned (not centered).
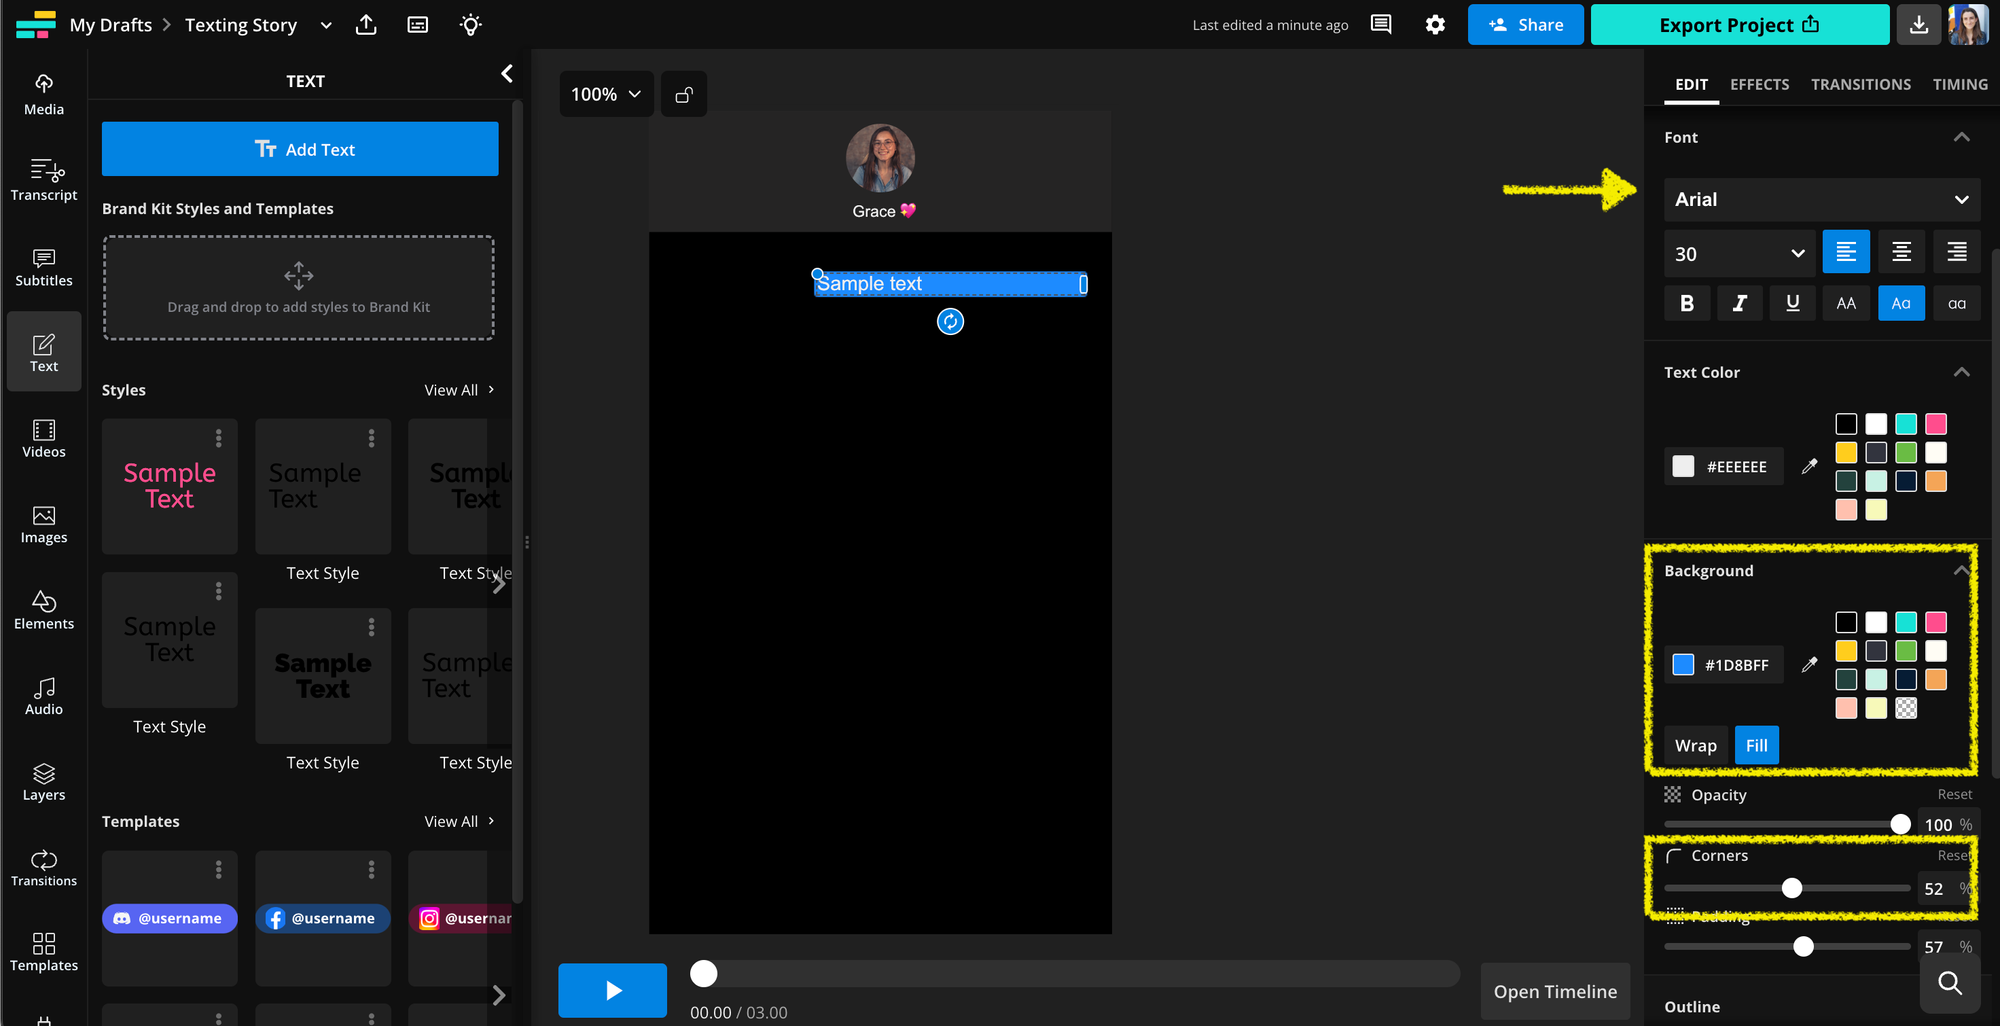
- Text bubble: Using the Background of the text layer, change the background fill to "Fill." Stretch the horizontal width of the text box to take up about 2/3 of the canvas. Use the rounded corners slider to round the corners slightly. Change the fill color of the rectangle to be either gray (#262628) for incoming messages, green for SMS, or blue (#1D8BFF) for outgoing messages. Change the padding and corners to ~40 on the slider. You can adjust the styling based on what color you'd like the messages to be and save the styling to your brand kit so that it's consistent for each message.
- Time stamps: You can also add text layers with the time that the conversations started.
- Tapbacks: Use the "Elements" tab to find emojis to use for tapback reactions on the messages or the "Images" tab to search for icons.
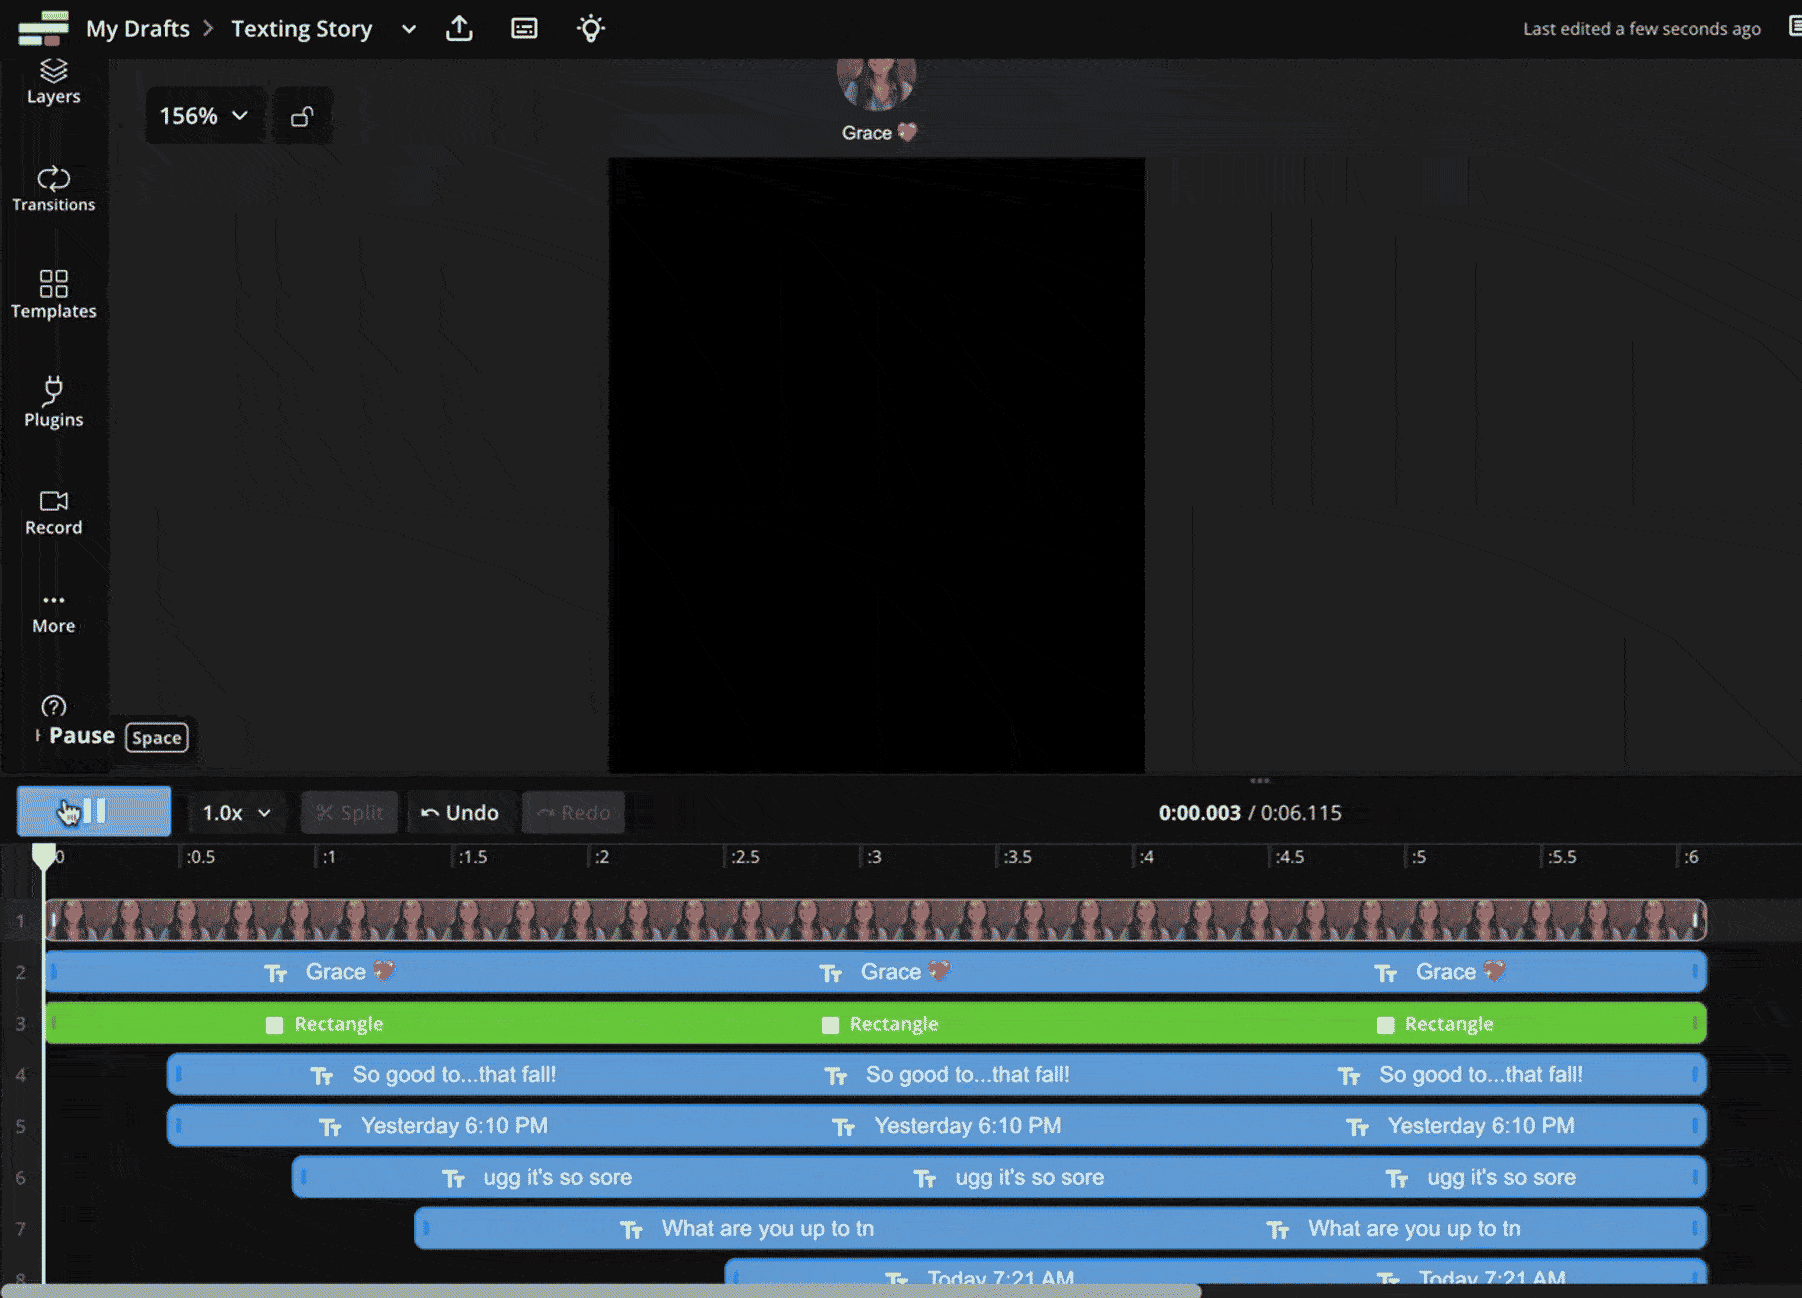
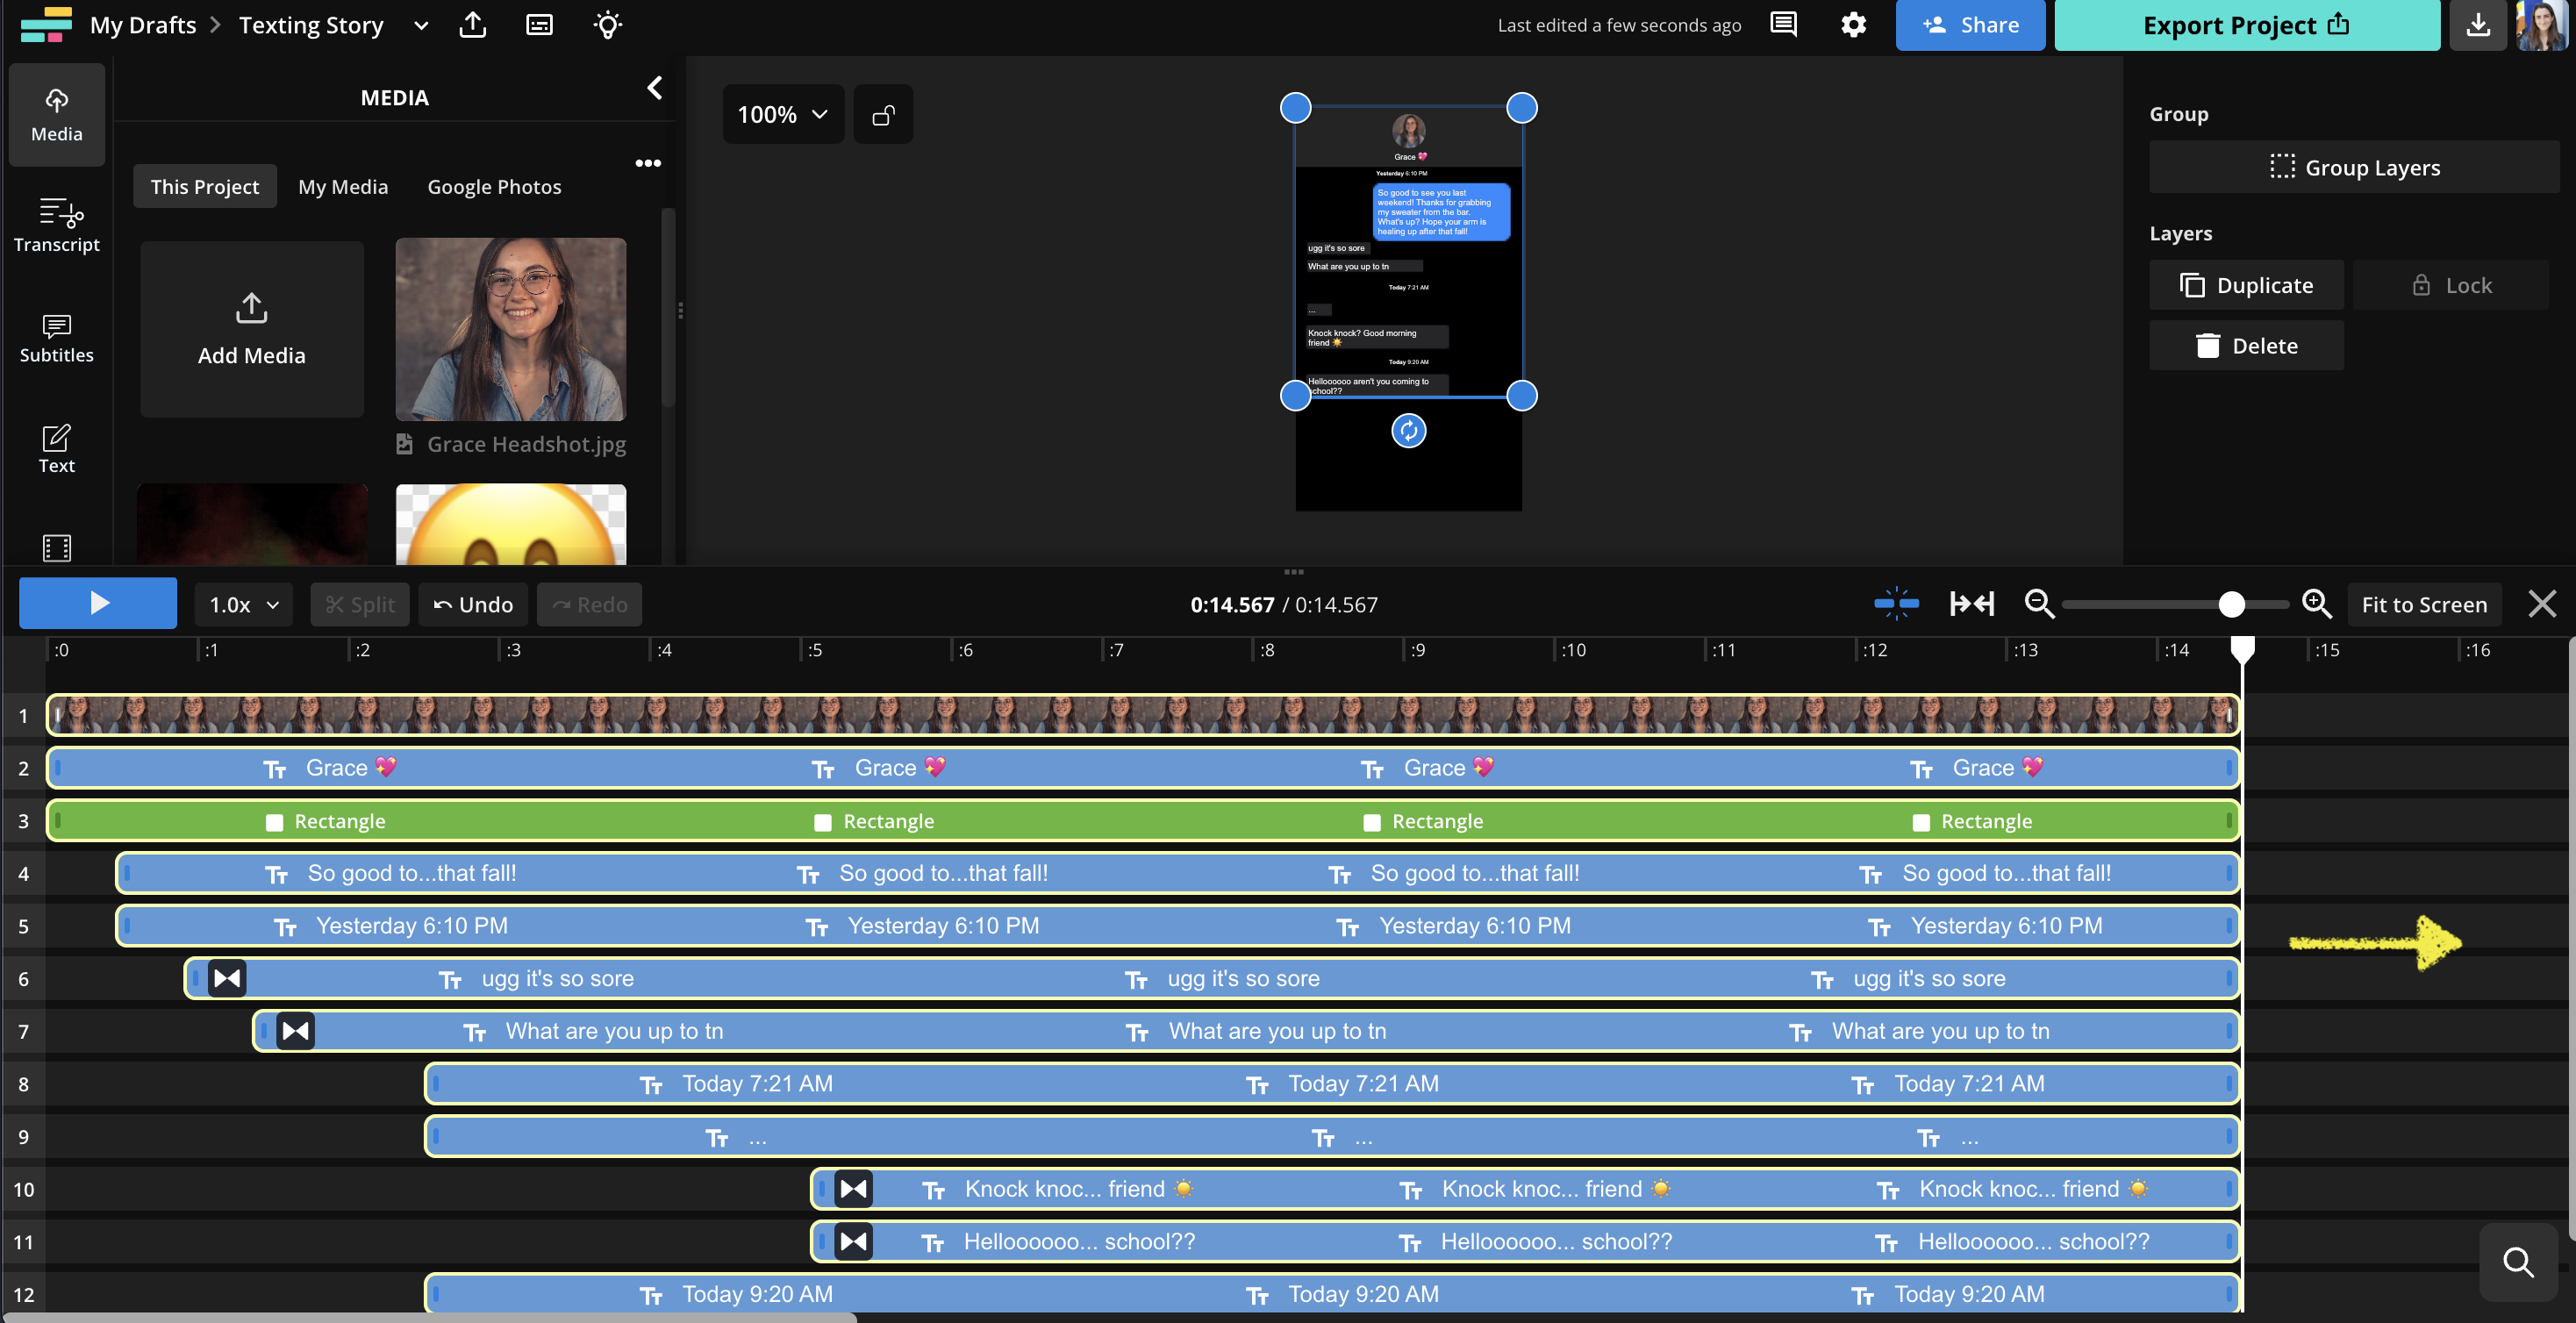
Step 3: Animate in Timeline
Once you have all of the text message bubbles filled in, it's time to animate them into a live text story.
Start by opening the "Timing" tab and giving one of your text layers a duration. You can do this by adding an effect in the "Animate" tab or adding a sound effect to make the timeline appear.
Now, use the timeline to adjust when each text layer appears. Click on the first text layer and slide the start time to the moment it should appear on the screen. Then, click on the attached rectangle and drag it so that the times match. Or, use the "Split" button the split the layer, deleting the first segment. Moving the start time means that the layer will appear at the delayed timestamp, emulating a text conversation.
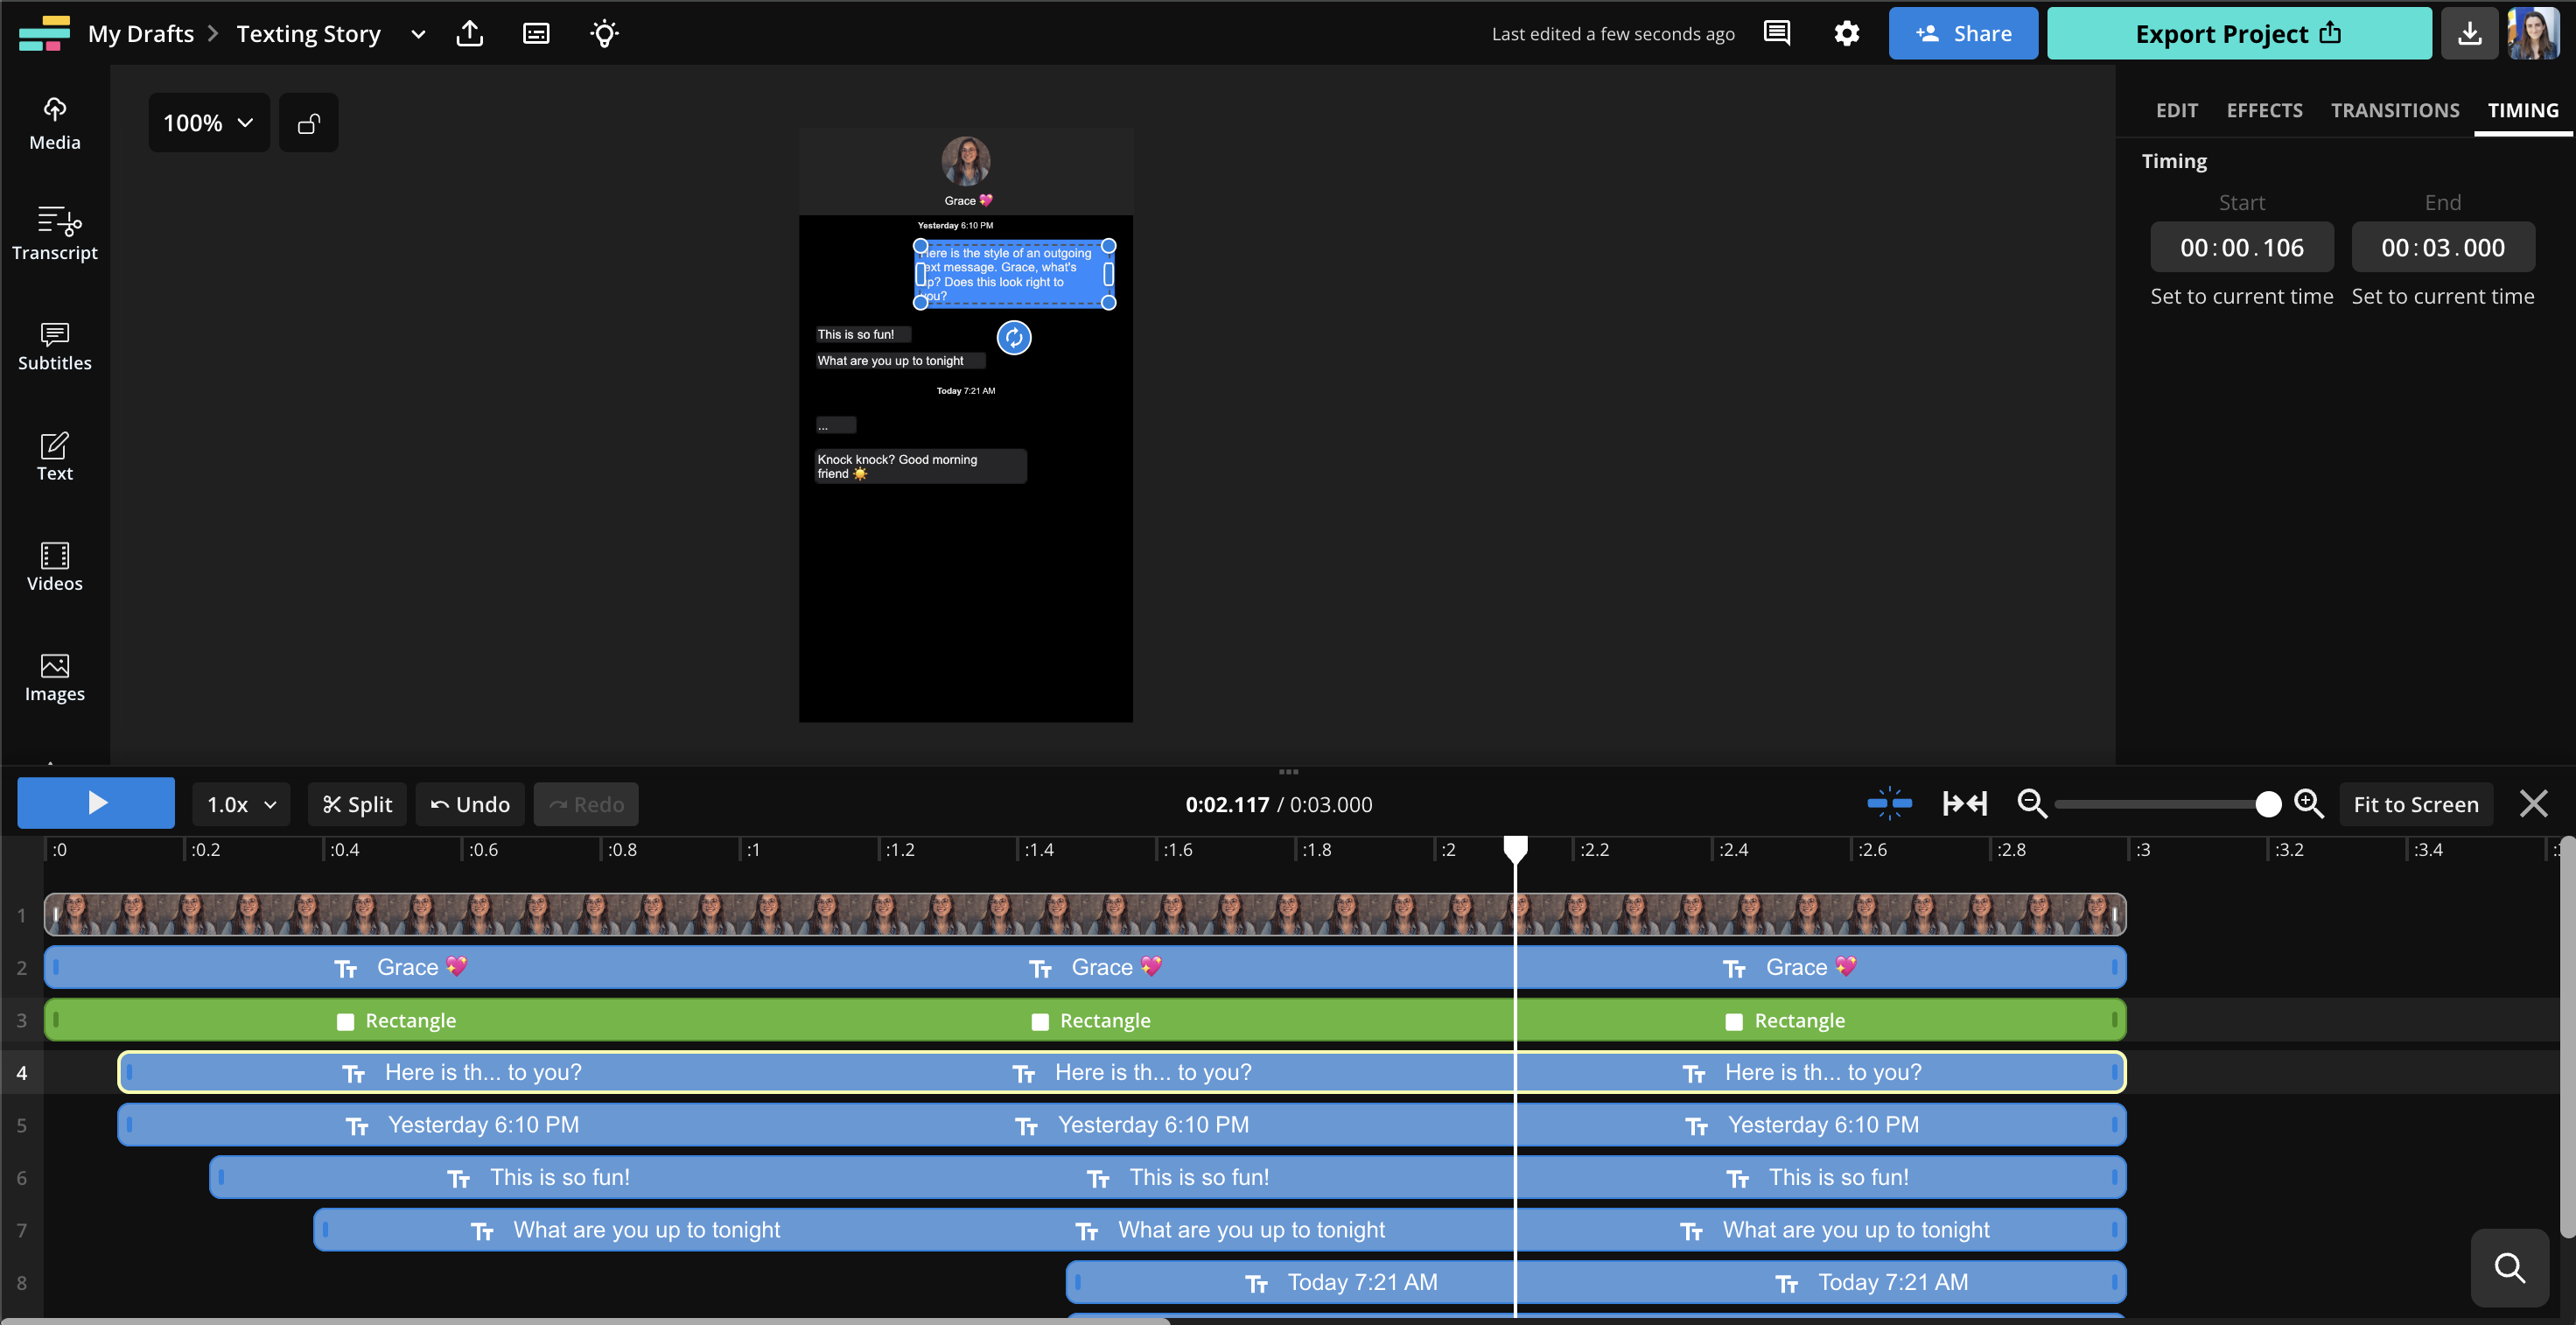
Repeat the following steps for the rest of the text messages and bubbles, but with increasing delay. If you want there to be a dramatic pause, make that text message take a longer time to appear in the timeline.
Watch the video preview through to make the timing match the normal cadence of a text thread. You want to give the viewer enough time to read and digest each thread before making the next bubble appear.
To make the text messages look more like real iMessages, consider adding a "Fade" effect. Use the Transitions tab on each text layer to make it appear with a quick fade, .03s.
If you ever need to make the text story longer, select all of the layers and drag the end time right in the timeline, increasing the full duration of the story.
Step 4: Add Sound Effects [Optional]
To keep the viewer engaged in a text story, it helps to add sound effects when a new text appears or sends. With Kapwing, you can drag MP3 audio tracks directly into the timeline and time them out with the corresponding text message layers. You can also use the "Sound Effects" tab to search for text pop up and typing sounds. The "Text Message Sound Effect" is great for the sound of typing.
Download the "DING" for an incoming text message and the "SWOOP" for an outgoing message. Then, open the Timeline tab and drag the sound effects into the Timeline to upload. Once the sound effect layers upload, adjust them in the Timeline so that the main sound is lined up with the start time of the text message.
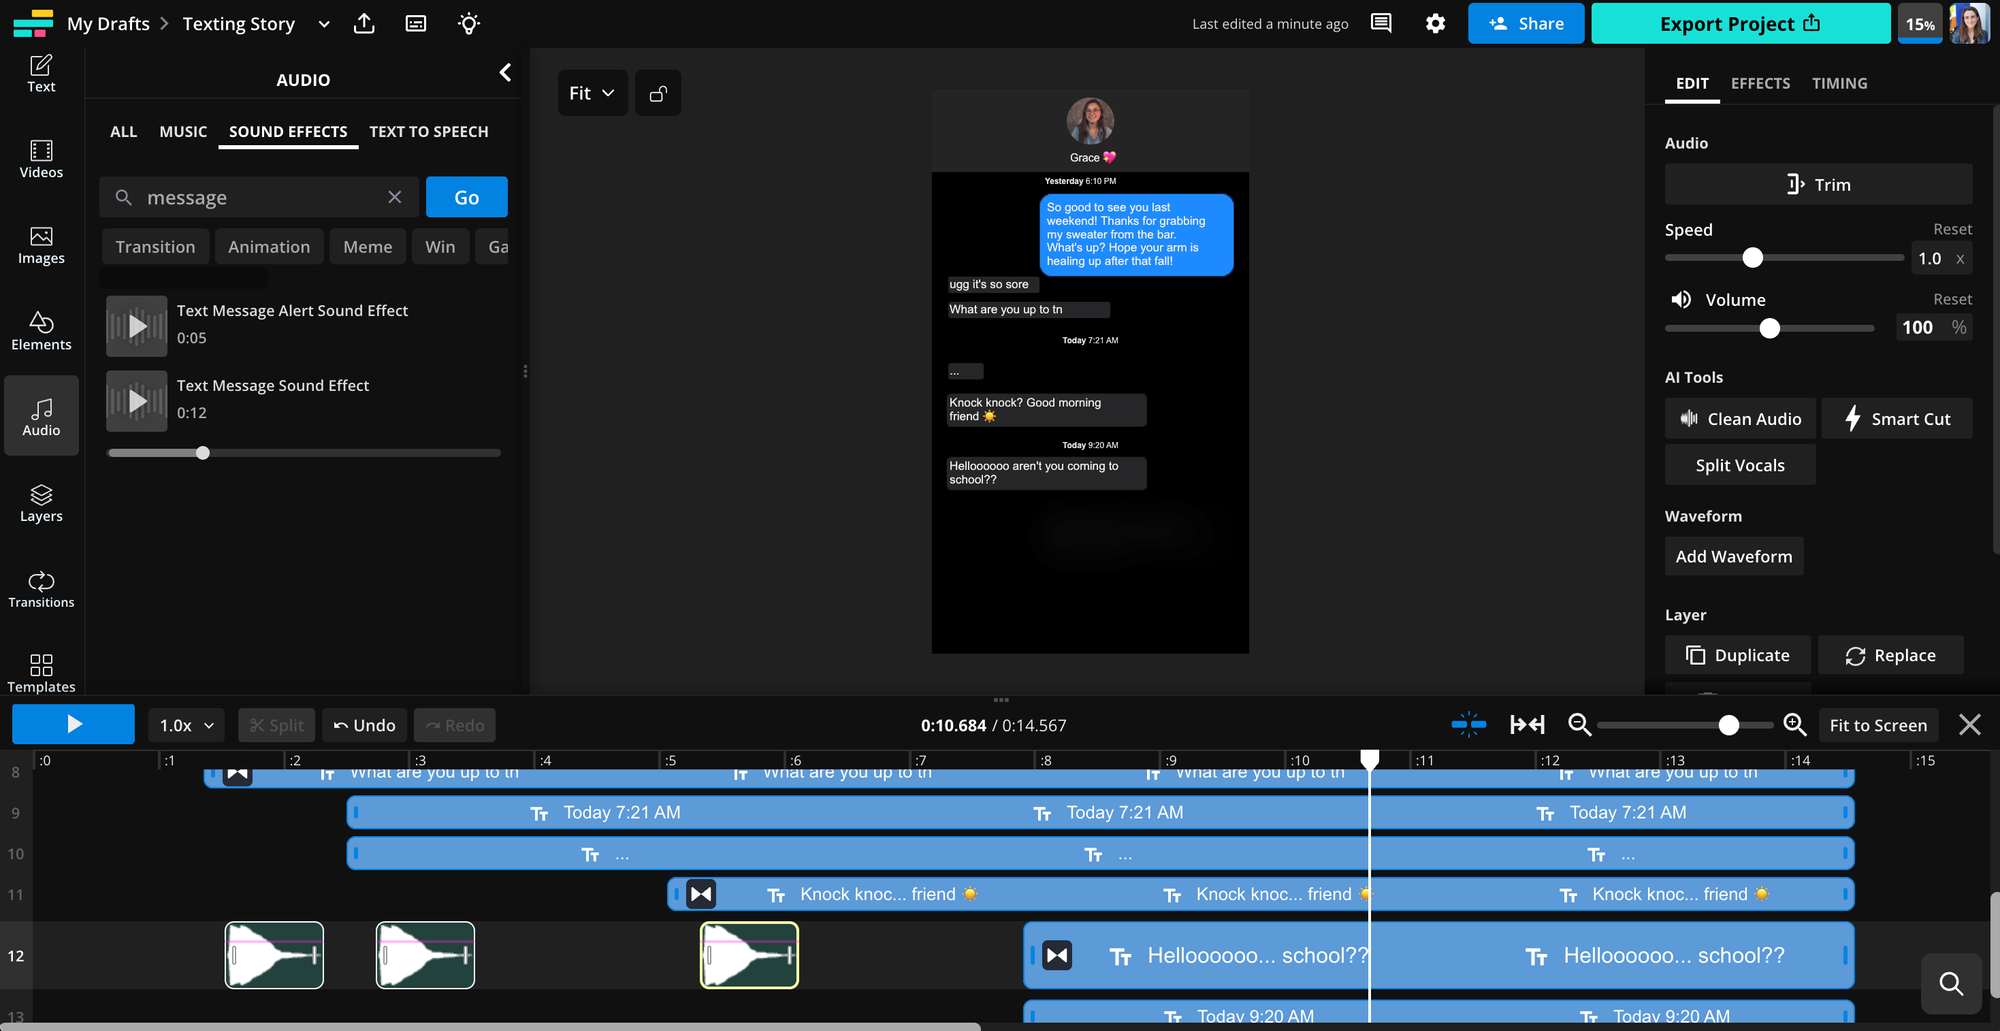
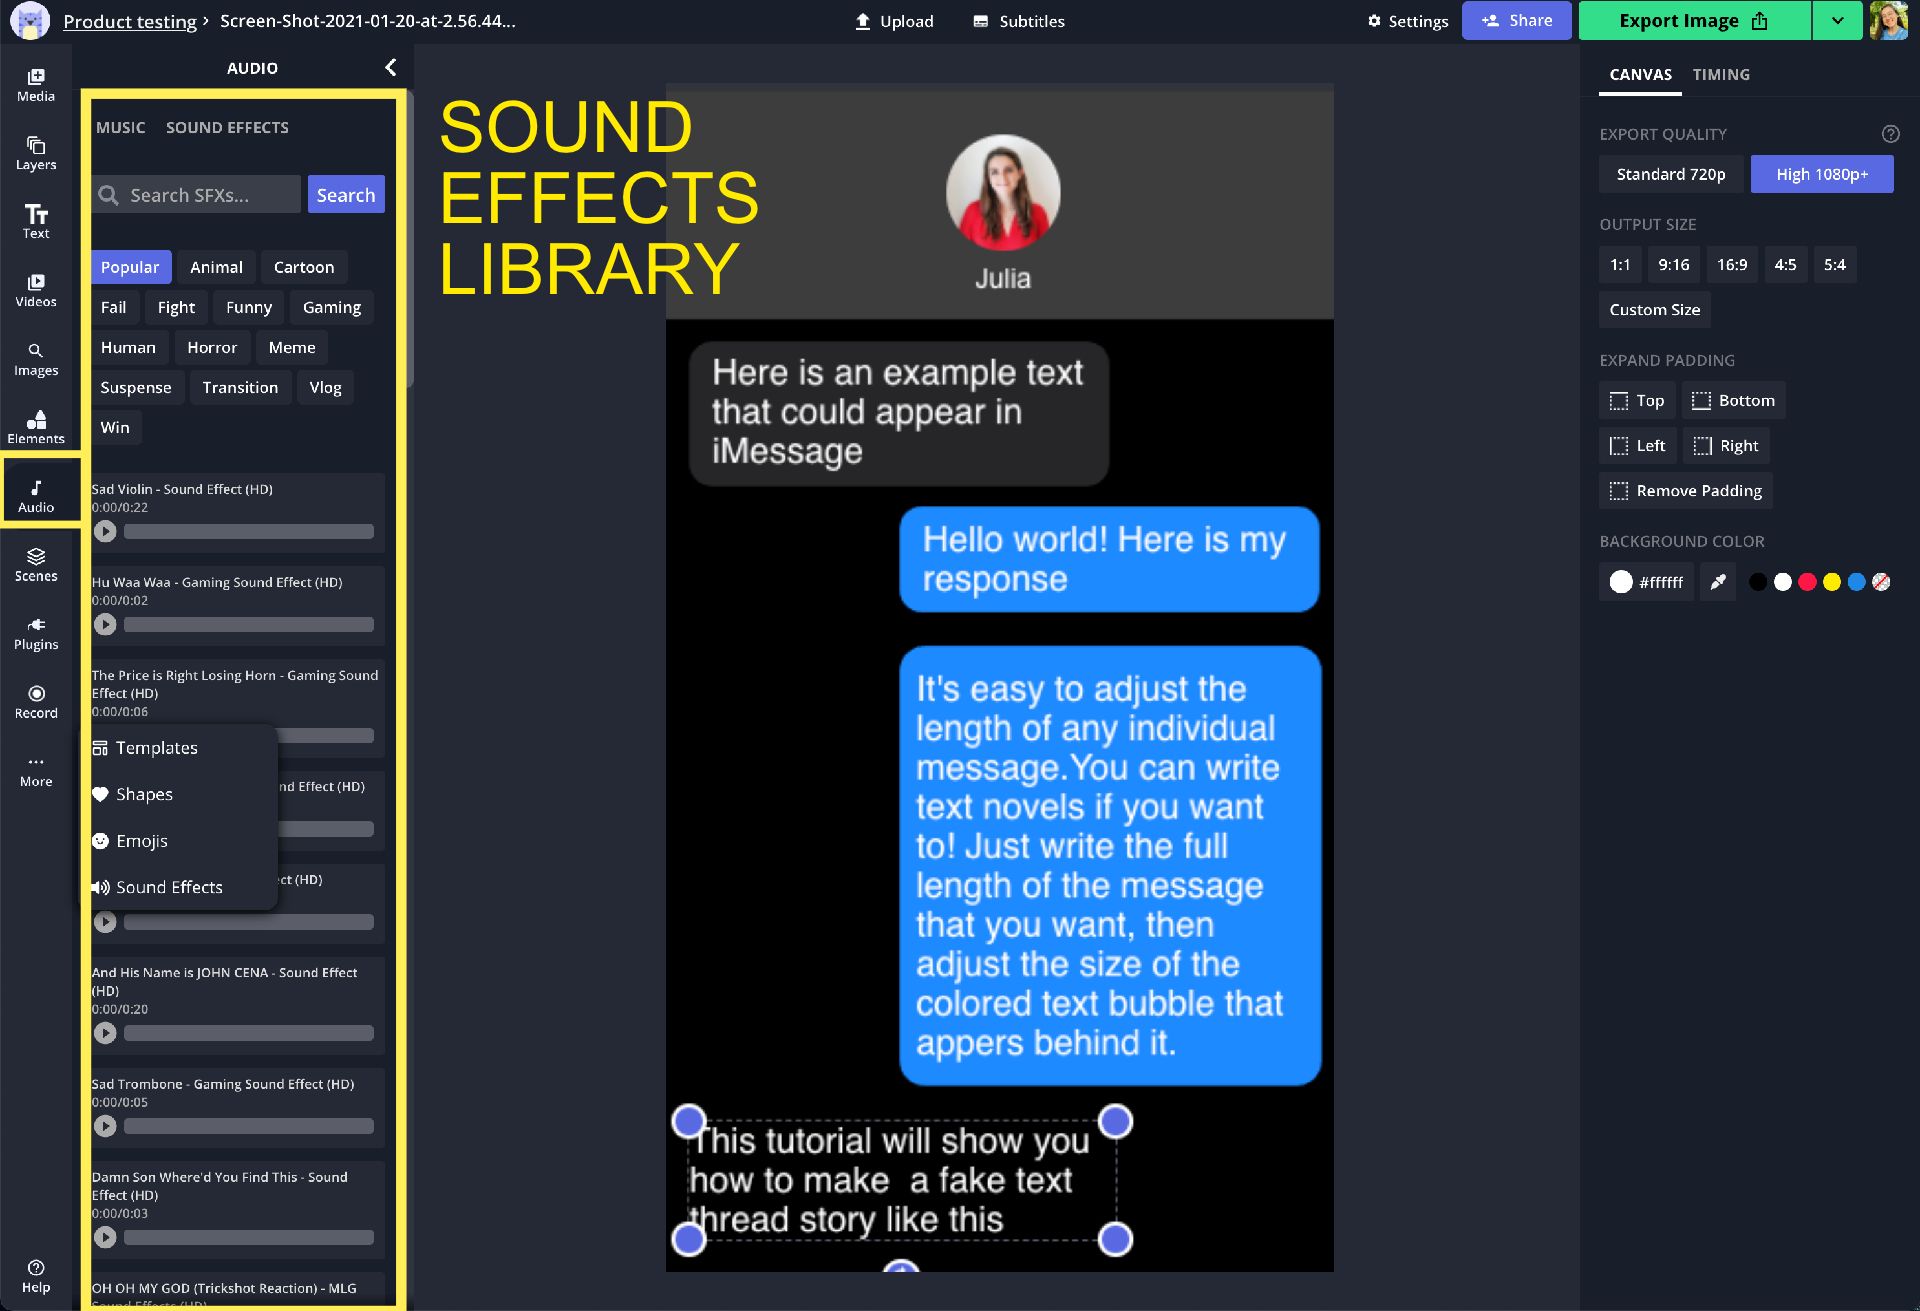
We also have a library of free, no copyright sound effects right within the editor that you can add to your video. It includes popular sounds that creators use on YouTube and social media which are great for spicing up your text video to make it more entertaining. You'll find them in the "Audio" tab and the "Sound Effects" tab within there.
You can add as many MP3 audio files as you like and adjust the volume across the layers. Once you've added the sound effects, move them around in the timline to match when text bubbles appear.
Step 5: Export and Share
Now your text story is complete! Add any other finishing touches, like an appearing or disappearing keyboard at the bottom of the screen, a "..." ellipsis message that disappears after a few moments, or other image overlay. You can experiment with adding animations to the text and shape layers.
When the video preview looks good, click "Export video" to process the final text story output MP4. After a few moments, Kapwing will return the text story video that you can download, embed, publish on social media, or share with friends.
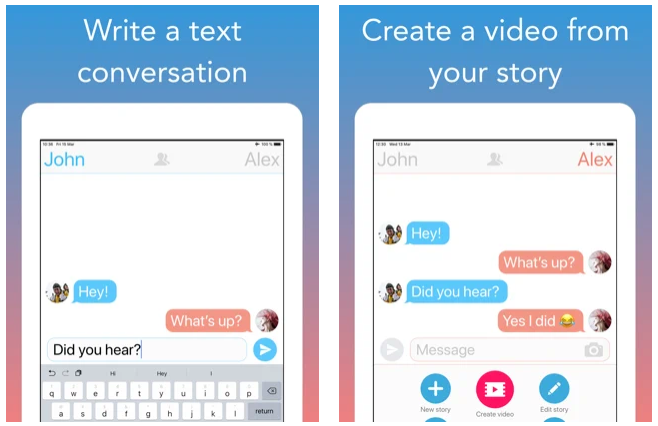
Note: One final way that you can make a texting story is by using an app called "Texting Story." The texting story app helps with making videos on their smartphone rather than on their computer. Texting Story makes text conversations with red and blue bubbles; see the screenshots below. It's less realistic, but requires less manual editing work compared to Kapwing.
Thanks for reading! I hope that this article makes you create better fake text stories to make your friends laugh, cry, and pretend to be each other. You can also use these text story videos as a green screen background for gold reaction videos on TikTok. Text messaging is poetry for GenZ. Please input your email and connect with KapwingApp on Twitter to subscribe for more updates on social media video formats!


