How to Edit Videos With Claude Code (Free AI Video Editing Skill)
We gave Claude Code our raw footage and a free editing skill. Here's how it turned everything into a finished YouTube Short without us touching the timeline.
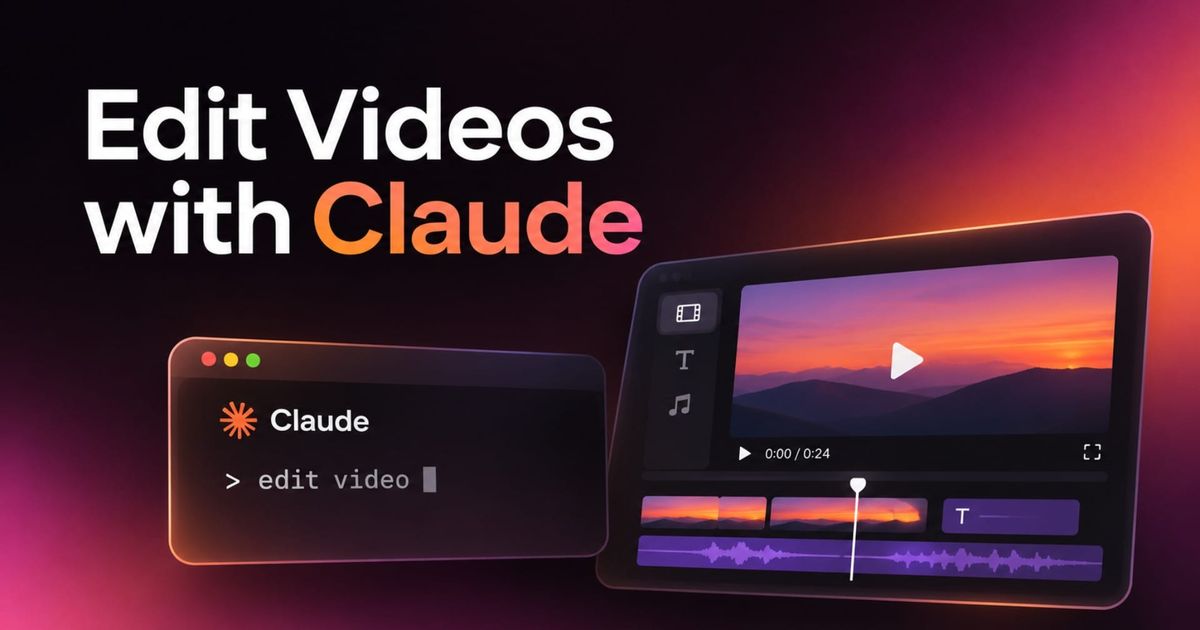
Editing a YouTube Short involves more than trimming footage. You need to cut pauses without clipping dialogue, match screen recordings to what you're saying, add captions and graphics, balance music, and make sure everything looks right in the final export. Even a minute-long video can involve dozens of individual edits.
We wanted to see how much of that process Claude Code could handle without a human editor. Using a custom video editing skill, we gave Claude our raw footage, brand assets, sound effects, and examples of previously published Shorts. It produced a finished 70-second video in about 40 minutes, with 98 clips across 13 tracks. We didn't make a single manual edit to the result.
Below, I'll explain how the workflow works, share the free skill, and walk through the exact commands we used to edit a YouTube Short with Claude.
Table of Contents:
- Can Claude Edit Videos Automatically?
- How to Edit Videos With Claude Code
- The Results: Can Claude Edit an Entire YouTube Short?
- Tips for Getting Better Results With Claude Video Editing
- Frequently Asked Questions
Can Claude Edit Videos Automatically?
Yes, Claude Code can automate much of the video editing process when it's connected to the right tools and instructions. It can transcribe footage, identify cuts, organize clips, generate graphics, mix audio, and render a finished video.
However, Claude Code isn't a traditional video editor. It doesn't open a timeline and manually drag clips around the way you would in Premiere Pro or Kapwing. Instead, it uses commands and editing tools to analyze your media and construct the video programmatically.
For this experiment, we used a free custom Claude Code skill called /shorts-editor. The skill combines several tools:
- Claude Code interprets your instructions, studies reference videos, and plans the edit.
- FFmpeg handles media analysis, cutting, and audio processing.
- Whisper transcribes speech and helps Claude identify precise cut points.
- HyperFrames builds the video timeline and renders the finished edit.
The skill also creates a reusable editing guide based on your previous videos. Rather than asking Claude to make generic editing decisions each time, you can teach it how your videos typically look and sound.
How to Edit Videos With Claude Code
The process has five steps. You'll install the free skill, organize your media, give Claude examples of your editing style, run the edit, and let it inspect the finished video.
You only need to install the skill and establish your editing style once. For future videos, you can reuse the same setup with new footage.
Step 1: Download and install the free Claude video editing skill
Start by downloading the /shorts-editor skill. This is a set of reusable instructions that tells Claude Code how to process footage, choose layouts, construct a timeline, and check the final export.
The download contains shorts-editor-skill.zip. You'll need Claude Code installed on your computer before using it. To install the skill manually, open your terminal in the folder containing the ZIP file and run:
unzip shorts-editor-skill.zip
mkdir -p ~/.claude/skills
cp -R shorts-editor ~/.claude/skills/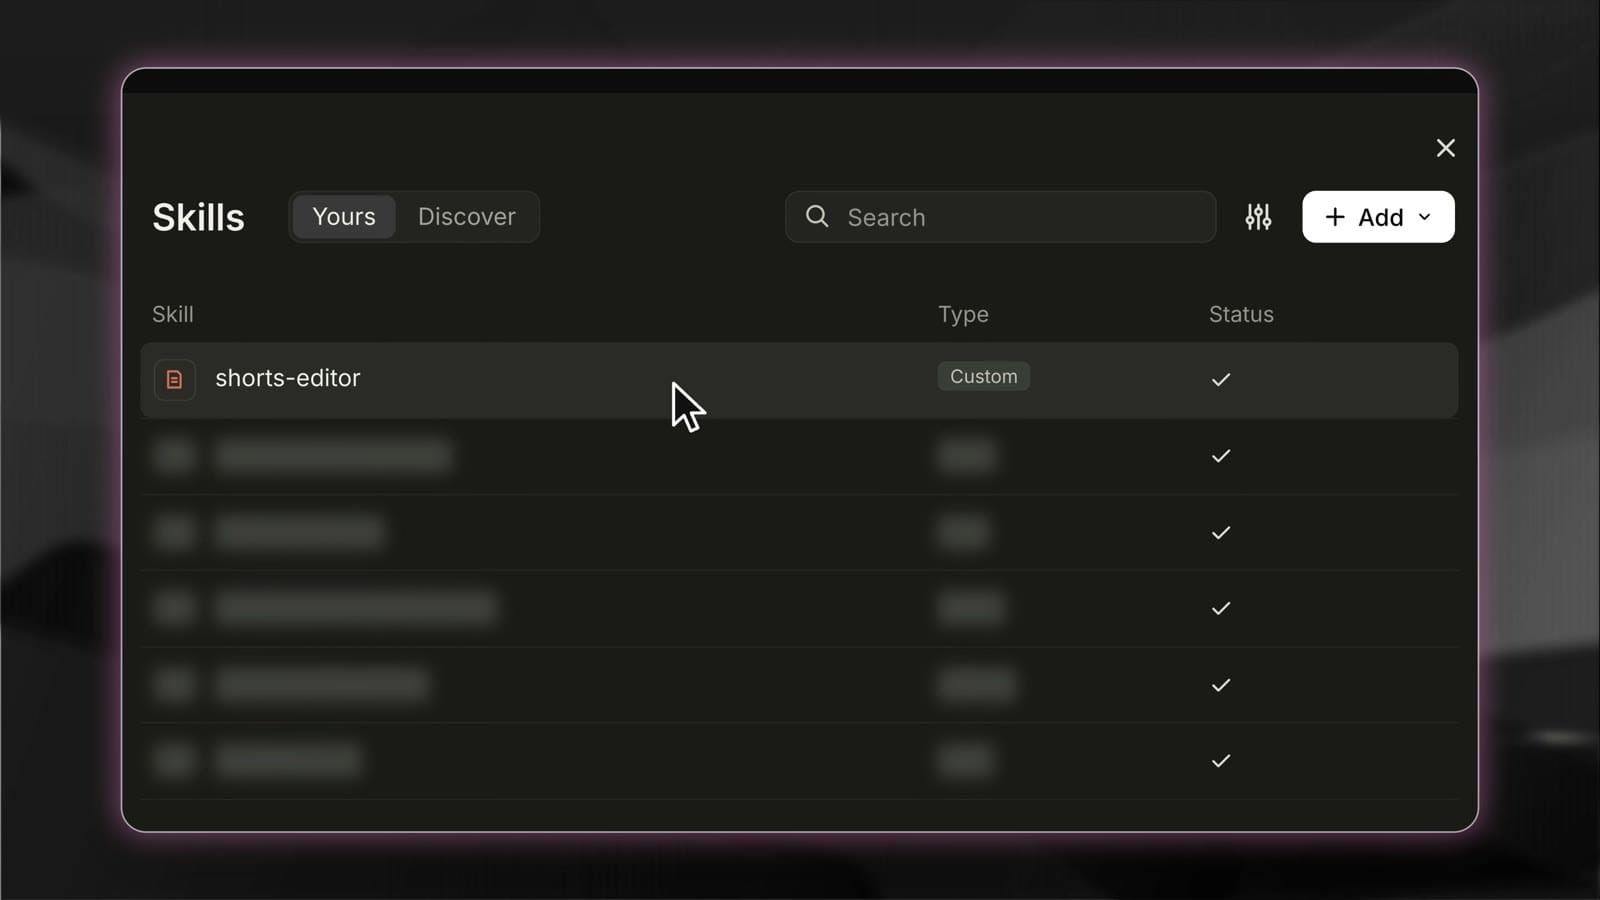
Start a new Claude Code session afterward so it can discover the skill.
Alternatively, the skill's instructions describe attaching the ZIP to a Claude Code conversation and entering:
install this skillStep 2: Organize your footage and editing assets
Next, create a folder containing everything Claude will need to produce the video. This includes your footage, B-roll, music, sound effects, logos, and examples of previously edited videos.
The advantage of keeping everything together is that Claude can work from a defined set of assets rather than searching for missing material or introducing graphics and audio you didn't approve.
Here's the folder structure we used:
my-short/
├── footage/
├── broll/
├── music/
├── sfx/
├── brand/
└── references/
Each folder serves a different purpose:
| Folder | What to include |
|---|---|
footage/
|
Talking-head footage, screen recordings, and raw video clips |
broll/
|
Supporting footage, screenshots, product images, and results |
music/
|
One to three licensed music tracks |
sfx/
|
Whooshes, clicks, transitions, and other sound effects |
brand/
|
Logos, fonts, and other brand assets |
references/
|
Three to ten finished videos demonstrating your editing style |
For the best results, separate your screen recordings by step or topic. If you're demonstrating three different features, for example, use three distinct recordings rather than one long capture. This makes it easier for Claude to match each clip to the relevant part of your narration.
You'll also need FFmpeg, Whisper, Node.js 18 or newer, and HyperFrames. You can check your installation with:
ffmpeg -version
whisper --help
node -v
npx hyperframes --version
If Whisper isn't installed, you can install it with:
pip install openai-whisperThe skill checks for these dependencies when it starts and identifies anything missing.
Step 3: Teach Claude your video editing style
One of the biggest challenges with AI video editing is consistency. An AI might be able to cut footage and add captions, but that doesn't mean the result will resemble the videos you normally publish.
The /shorts-editor skill addresses this by studying your existing videos before it begins editing.
Add three to ten examples to the references/ folder. Ideally, these should represent the format you're trying to reproduce, including your usual camera framing, transitions, graphics, captions, and audio.
Then run:
/shorts-editor learn my style from ./references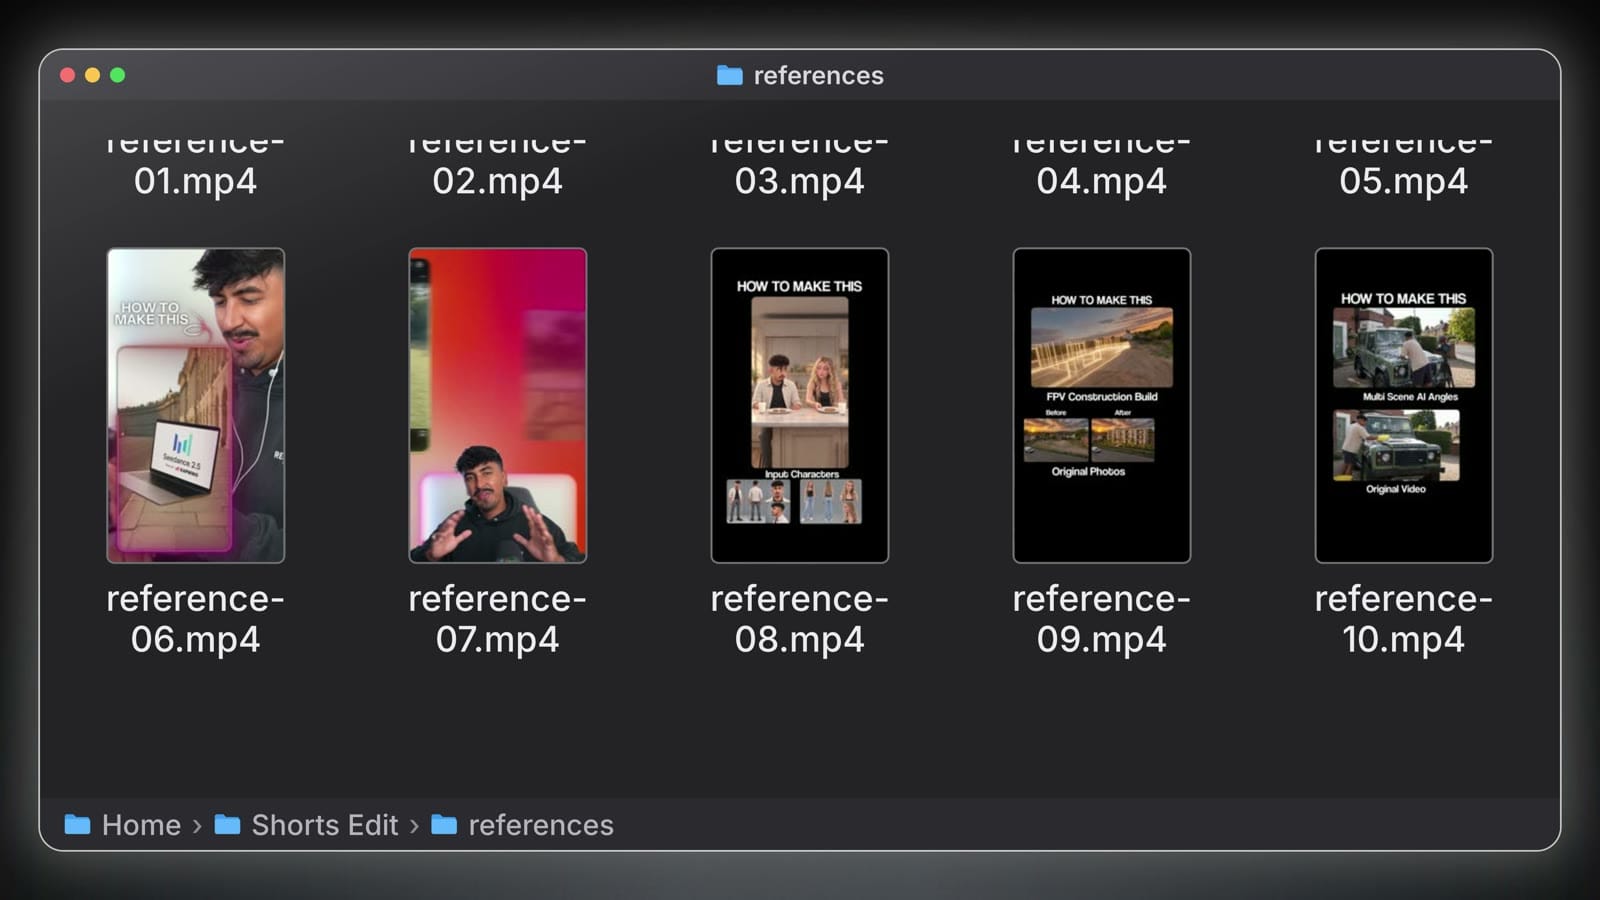
Claude analyzes the reference files using metadata, extracted video frames, timing information, and audio measurements. It uses that information to create a document called references/layout-guide.md.
The guide describes the layouts used in your videos, including where different elements appear, when they're introduced, how long they remain visible, and which transitions or sound effects accompany them.
For example, a tutorial might use a full-screen talking head for the introduction, switch to a screen recording with a smaller presenter window for the demonstration, and display a result card after each completed step.
Step 4: Ask Claude to edit the video
Once your footage and references are organized, open Claude Code from the project folder.
cd my-short
claude
Then enter:
/shorts-editor edit this folderFirst, it transcribes your talking-head footage and add timestamps to individual words. Those timestamps help it identify pauses, repeated takes, and the exact moments where cuts should occur.
Rather than cutting at arbitrary intervals, Claude uses the transcript to preserve complete sentences, remove unnecessary gaps, and keep the final take when you've recorded the same line more than once.
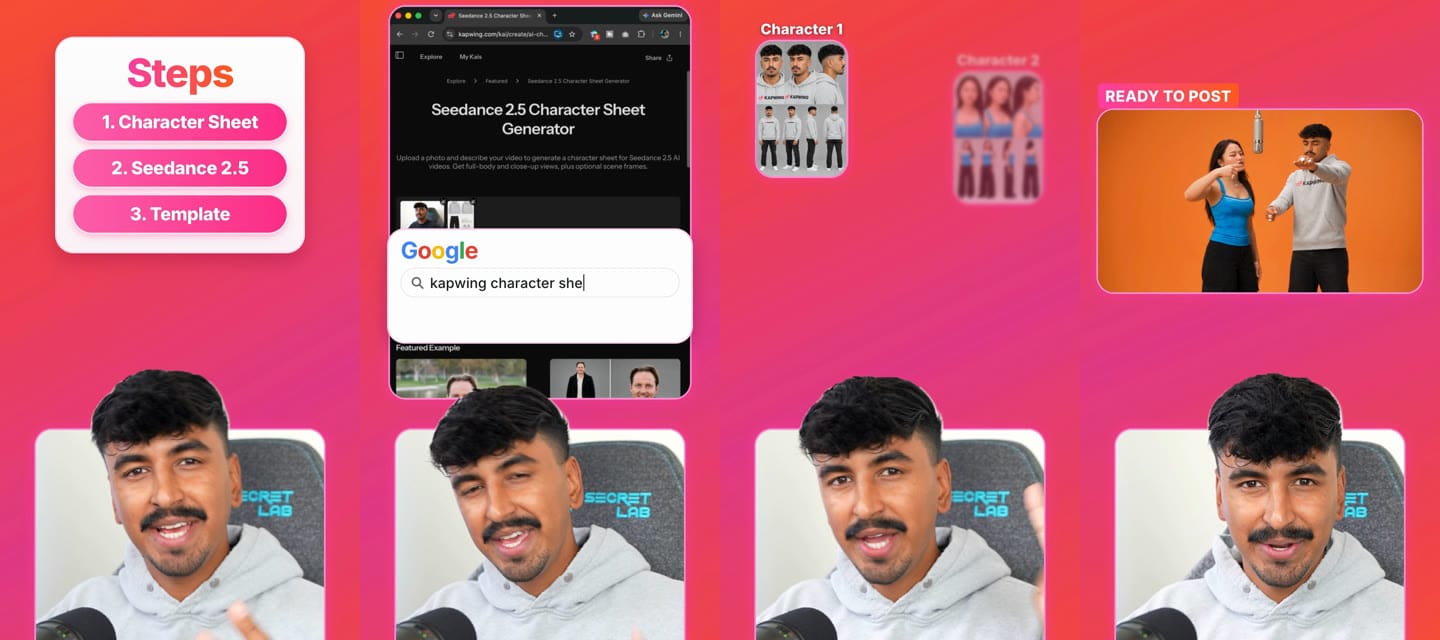
The skill assembles these elements into a HyperFrames project and renders the finished video at 1080 × 1920, the vertical format used for YouTube Shorts and Instagram Reels.
It saves three important files:
| Output | Purpose |
|---|---|
output/final.mp4
|
The finished video |
output/timeline.json
|
A structured timeline containing the clips and tracks |
output/edit-notes.md
|
A record of the layouts Claude selected and why |
Step 5: Let Claude check and fix the finished video
Rendering a video doesn't guarantee the export is correct. A timeline can look fine in a preview while the final MP4 contains missing graphics, incorrect layering, or audio problems.
Claude extracts frames from the finished video to look for layout problems, compares the exported audio against the original dialogue, and measures audio levels to identify problems with the music mix.
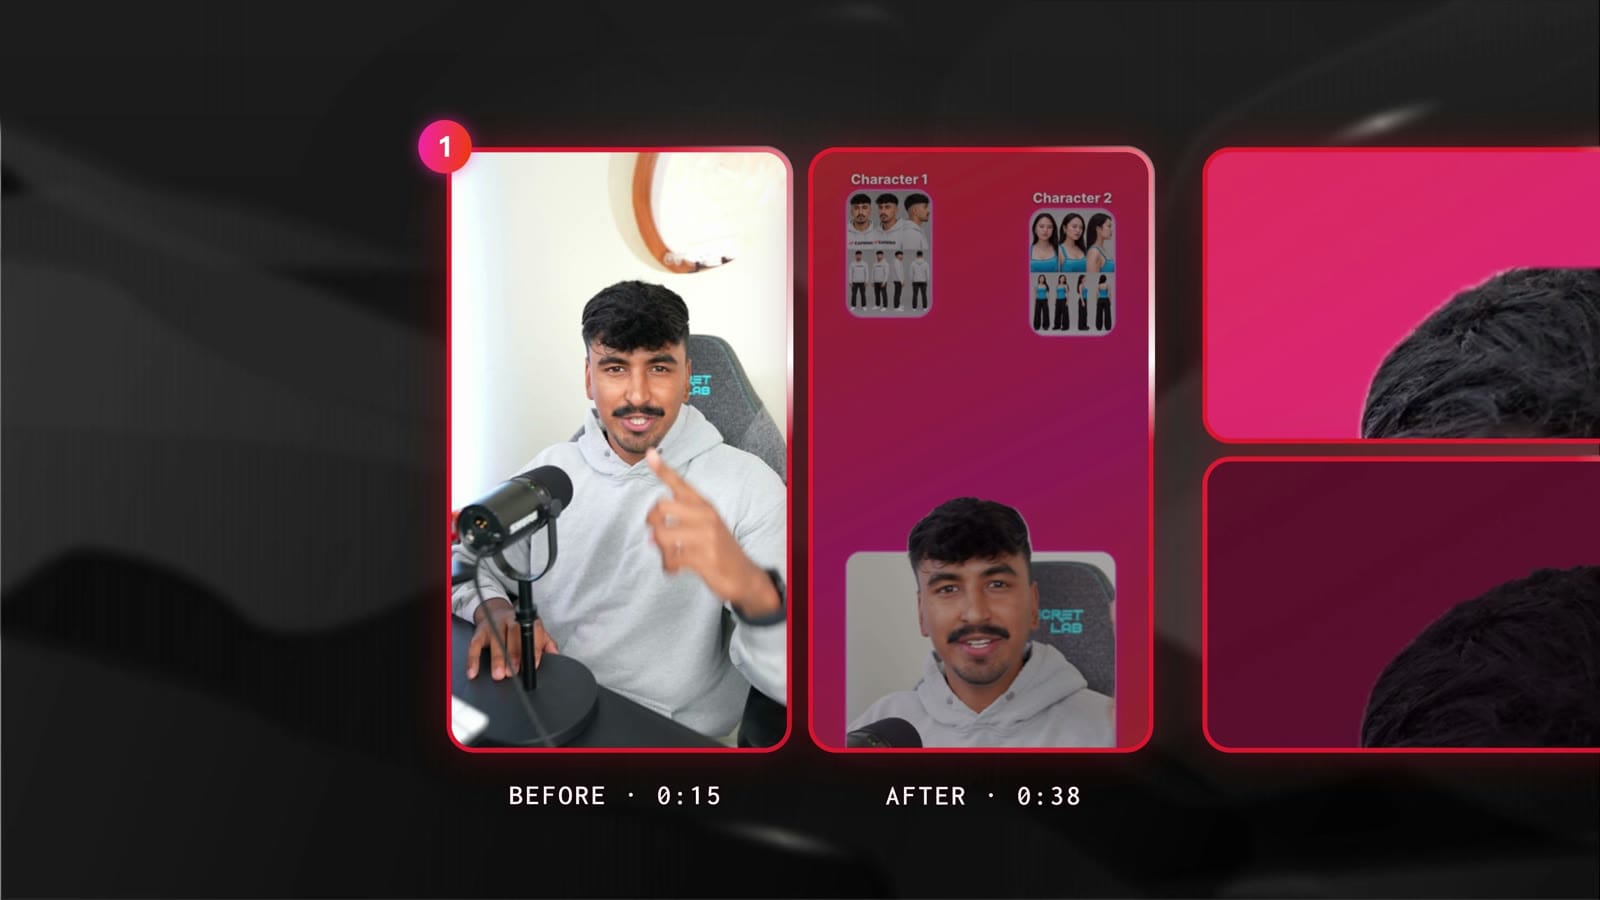
In our test, these checks caught several issues that would otherwise have required manual review and another editing pass.
| Problem Claude found | How it fixed it |
|---|---|
| One full-screen talking-head shot covered the intended layouts for 49 seconds | Identified two elements sharing a name, renamed one, and rendered again |
| Part of a wall lamp appeared in the presenter cutout, while some hair was clipped | Cleaned the cutout and checked the affected frames |
| Text and labels overlapped the edges of graphic cards | Resized and repositioned the cards |
| Music was too loud during quieter speech | Adjusted the music loop and lowered it beneath the voice |
This doesn't eliminate the need for human review. You should still watch the finished MP4 before publishing, especially if it contains brand names, product demonstrations, or licensed music. However, it reduces the amount of manual troubleshooting required.
If you want changes, you can describe them directly to Claude. The skill can render a new numbered version, such as final-v2.mp4, while preserving the previous export.
The Results: Can Claude Edit an Entire YouTube Short?
For our test, Claude re-edited a previously published Hotel Lobby Short using our source footage and editing assets. We deliberately withheld the original finished Short from its reference library to see whether it could reproduce our editing approach independently.
The result was a complete vertical video, with cuts, graphics, screen recordings, background music, and sound effects. We didn't make any manual changes to the exported version.
Here's the breakdown:
| Metric | Our result |
|---|---|
| Final video duration | 70.7 seconds |
| Editing and rendering time | Approximately 42 minutes |
| Reported API cost | $9.92 |
| Export resolution | 1080 × 1920 |
| Timeline complexity | 98 clips across 13 tracks |
| Sound effects | 18 |
| Audio loudness | -14 LUFS |
| Manual edits after export | 0 |
The reported cost is an estimate at Claude Code's API list prices, not a fixed fee for the skill. Your actual cost will depend on your Claude Code setup, footage length, and how many editing or rendering passes are needed.
The most interesting result wasn't simply that Claude could assemble the video. It was that it identified and corrected problems in its own rendered output, including a major layering issue that initially covered most of the intended graphics.
That said, this was a single controlled experiment using a prepared folder of assets and a custom skill. It doesn't mean Claude will produce a publish-ready video from any collection of footage without supervision.
Tips for Getting Better Results With Claude Video Editing
Use references that match your intended format. Claude's editing decisions depend heavily on the layouts it extracts from your examples. If you want fast-paced tutorials, use examples of fast-paced tutorials rather than unrelated cinematic videos. The more consistent your references are, the more useful the resulting style guide will be.
Organize screen recordings by topic. A separate recording for each step makes it easier for Claude to match visuals with narration. It also gives the skill more flexibility to trim or accelerate footage without disrupting another part of the demonstration.
Only include audio you have permission to use. The skill works from your supplied music and sound effects, but that doesn't automatically make those assets licensed for publication. Check the usage rights of any music before including it in your project.
Review transcripts for proper nouns. Whisper can misinterpret brand names and technical terms. In our test, it occasionally transcribed "Kapwing" incorrectly, even when the original speech was clear. Check the source audio before treating every transcription mismatch as an editing error.
Watch the exported MP4, not just the preview. Claude can catch many technical problems, but it can't reliably judge every creative decision. Review the pacing, clarity, visual hierarchy, and audio before posting.
Frequently Asked Questions
Can Claude Code edit videos?
Yes. Claude Code can edit videos by using external tools and custom skills to transcribe footage, create cuts, assemble timelines, add graphics, mix audio, and render video files. The /shorts-editor skill demonstrated in this guide automates those steps for short-form videos.
Is the Claude video editing skill free?
The /shorts-editor skill is free to download. However, running it requires Claude Code and may involve usage costs depending on your subscription or API configuration. Our test cost approximately $10 at API list prices.
Can Claude edit YouTube Shorts and Instagram Reels?
Yes. The skill produces vertical 1080 × 1920 videos suitable for YouTube Shorts, Instagram Reels, and similar short-form formats. It can combine talking-head footage, screen recordings, graphics, captions, music, and sound effects.
Do I need video editing experience to use Claude Code?
You don't need to know how to edit a timeline manually, but you should be comfortable organizing files, using a terminal, and following setup instructions. The skill handles much of the technical editing process, although you'll still need to review the finished video.
Can Claude edit videos without a custom skill?
Claude Code can coordinate video editing tools through commands and scripts without a custom skill. However, a reusable skill packages the workflow into a consistent set of instructions, reducing the amount of prompting required for each new video.
Can Claude edit videos in my own style?
Yes, to an extent. The /shorts-editor skill analyzes reference videos and creates a layout guide describing their framing, graphics, transitions, timing, and audio. Claude then uses that guide when assembling new edits. Results depend on the quality and consistency of the references.
Does Claude need my original footage and audio files?
Yes. This workflow requires local media files, including the footage you want edited and any supporting assets. Claude works from the materials in your project folder rather than automatically sourcing unrelated footage, logos, or music.
Can I make changes after Claude finishes editing?
Yes. You can ask Claude to revise the edit and generate a new export, or open the finished MP4 in a video editor such as Kapwing to make additional changes manually.