How to Add a Timestamp to a Video
Learn how to add a customizable timestamp to your video with Kapwing, a free online video editor you can use on any device with a browser.

Whether you’re posting a series of funny clips, a live performance of your favorite band, or conducting a film analysis, adding timestamps to your videos makes lengthy content user-friendly. By adding timestamps, viewers are aware a new topic is beginning and can reference it later to rewatch relevant sections. In this tutorial, I will show you how to add a timestamp to a video in three easy steps using Kapwing.
- Upload Your Video to Kapwing
- Add a Timestamp to Your Video
- Download and Share Your Time Stamped Video!
- (OPTIONAL) Make a List of Relevant Timestamps
Step 1: Upload Your Video to Kapwing
Whether you are new to Kapwing or have used it in the past, you can upload your video by launching the Kapwing website in your browser. Then click, Start Editing to open the Studio. You can also create or sign in to an existing workspace by clicking, Sign In To Workspace.
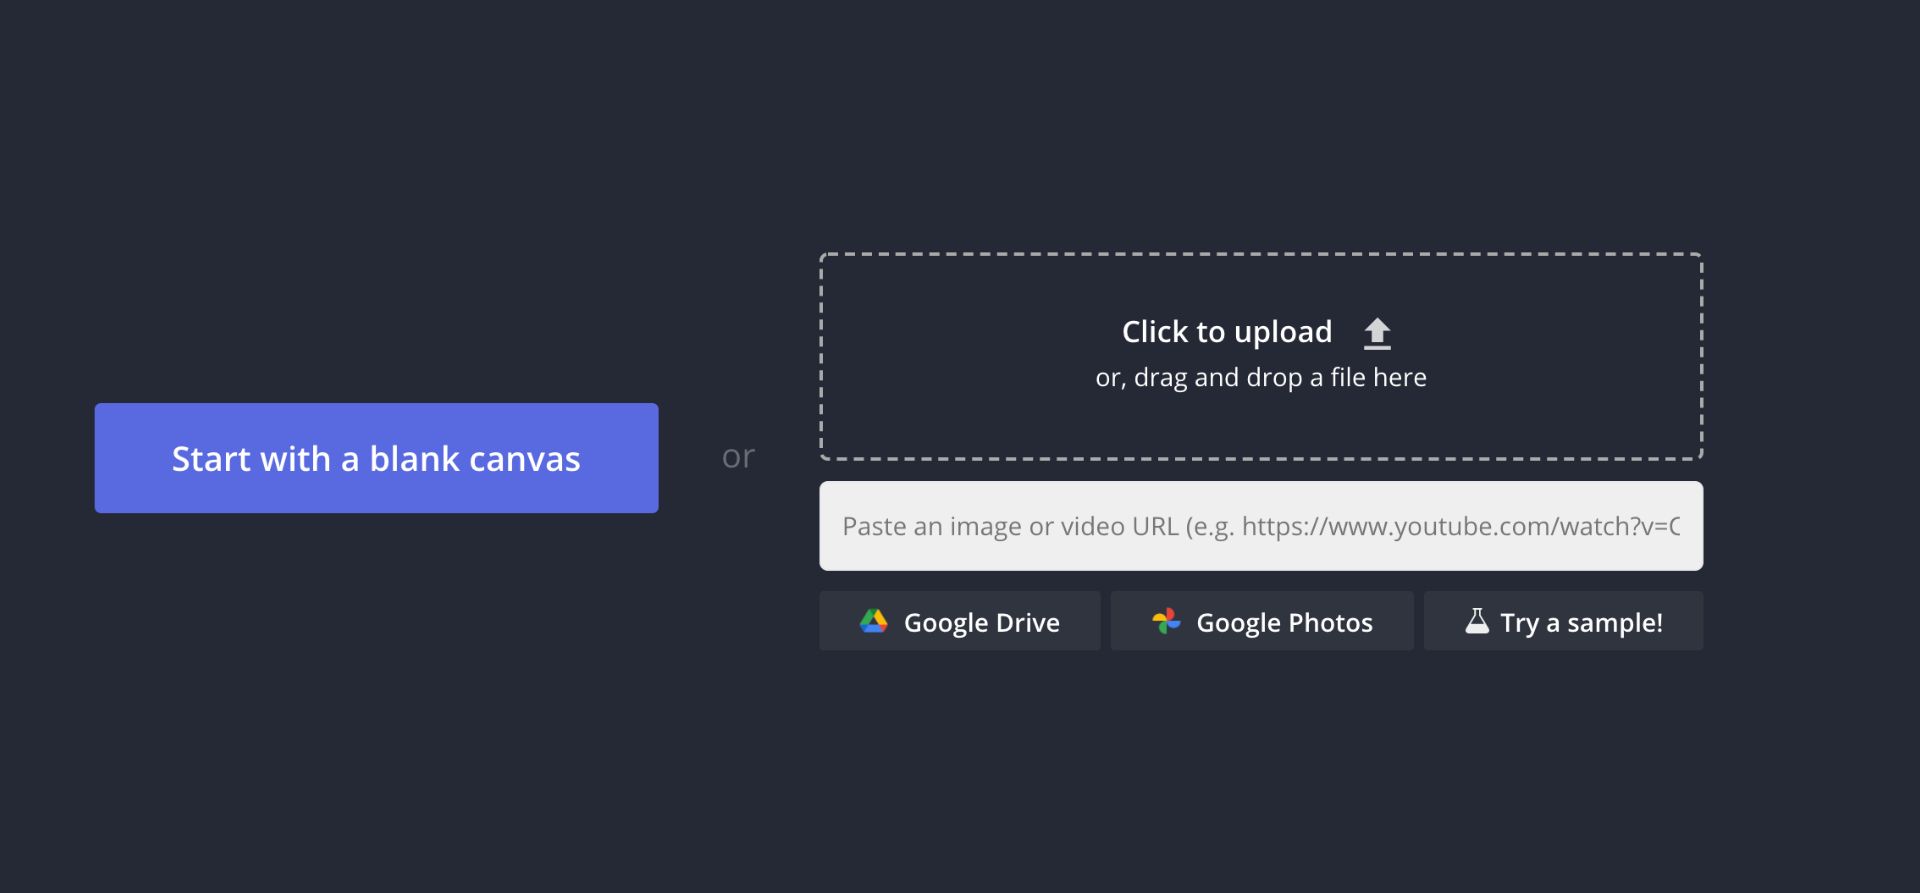
From here,you can choose to start with a blank canvas or upload a video from any iPhone, Android, PC, or tablet. To upload your video, select Click to Upload to select the video from your file browser, or drag and drop the file directly onto the Click to Upload rectangle.
You can also paste a link from TikTok, Twitch, and more to import media into Kapwing. Alternatively, you can import media from Google Drive or Google Photos.
Once your video has been uploaded, you can preview and edit it as needed using Kapwing’s built-in video editing features.
Step 2: Add a Timestamp to Your Video
After uploading your video, you should now see the Kapwing Studio Workplace. To add a timestamp to your video, first click on Text on the left-hand side toolbar.
To replicate the timestamp look, I recommend using the fonts Anaheim, Source Code Pro, Courier New, or Roboto Mono. Kapwing has a large font library that you can browse so you can find the right style for your video.
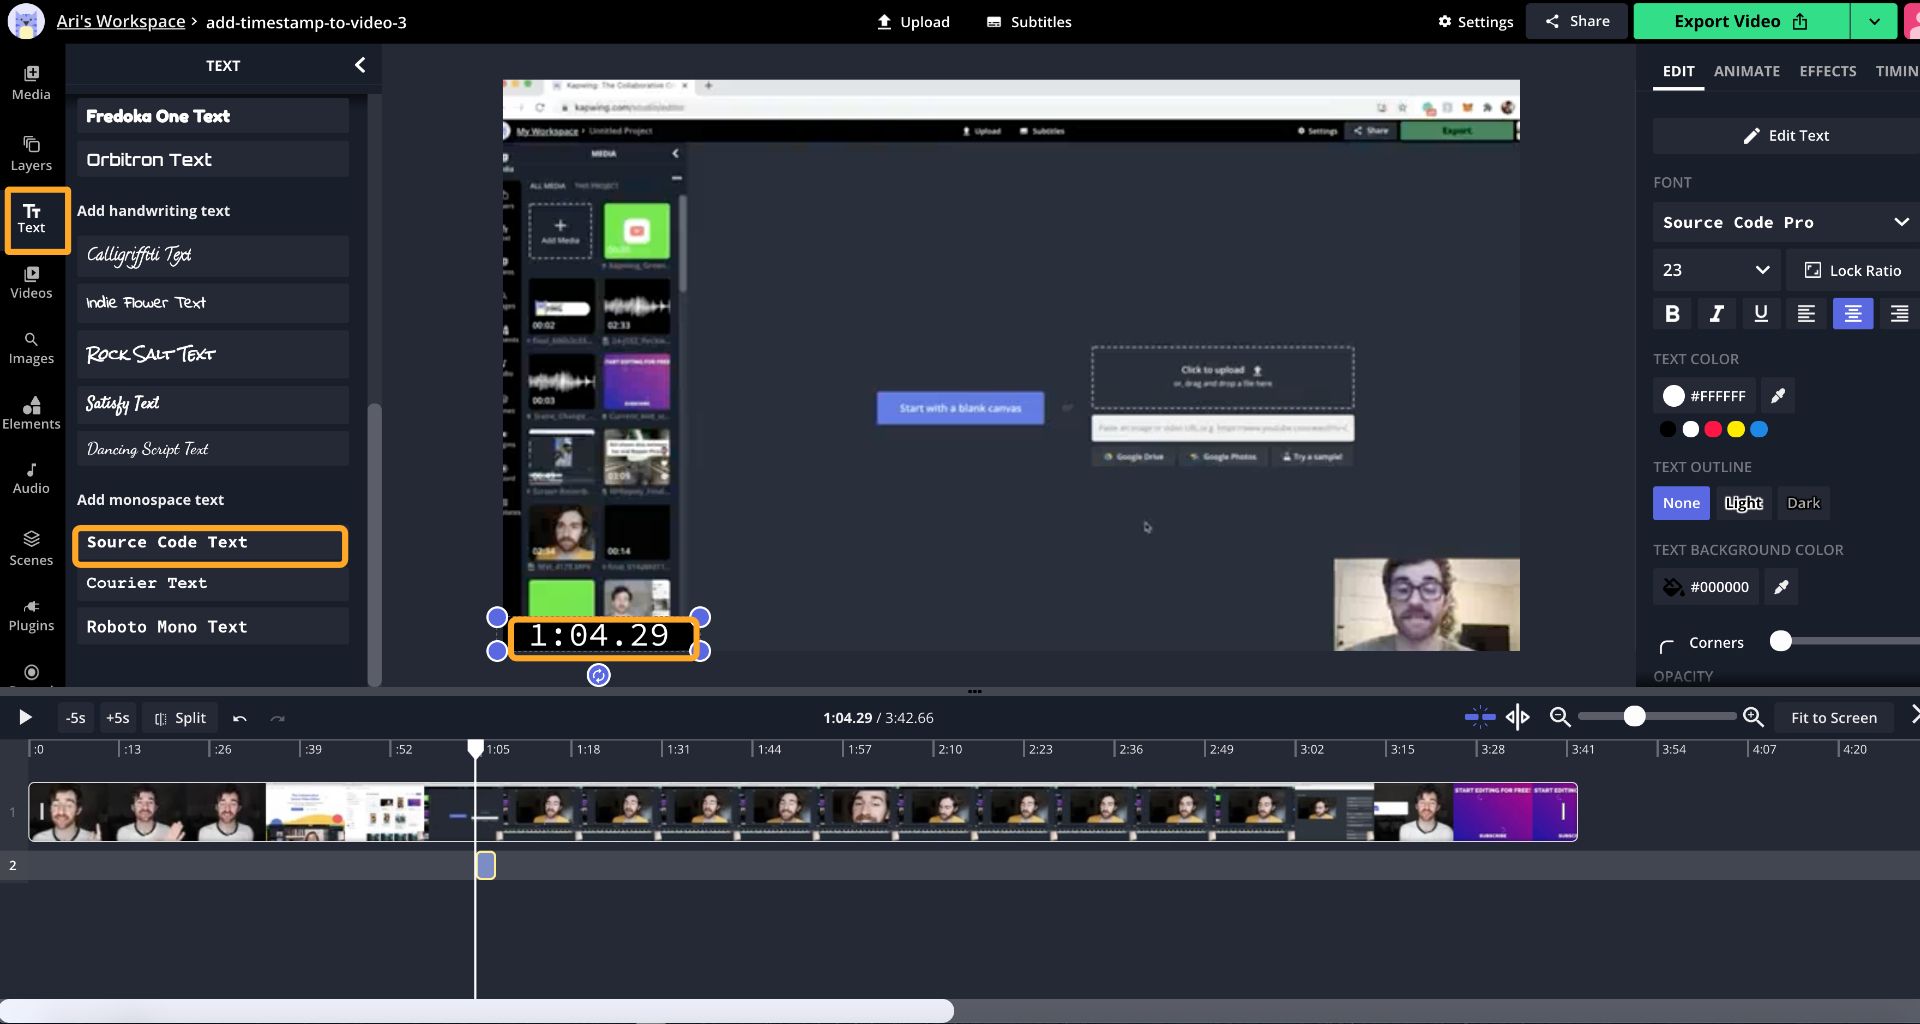
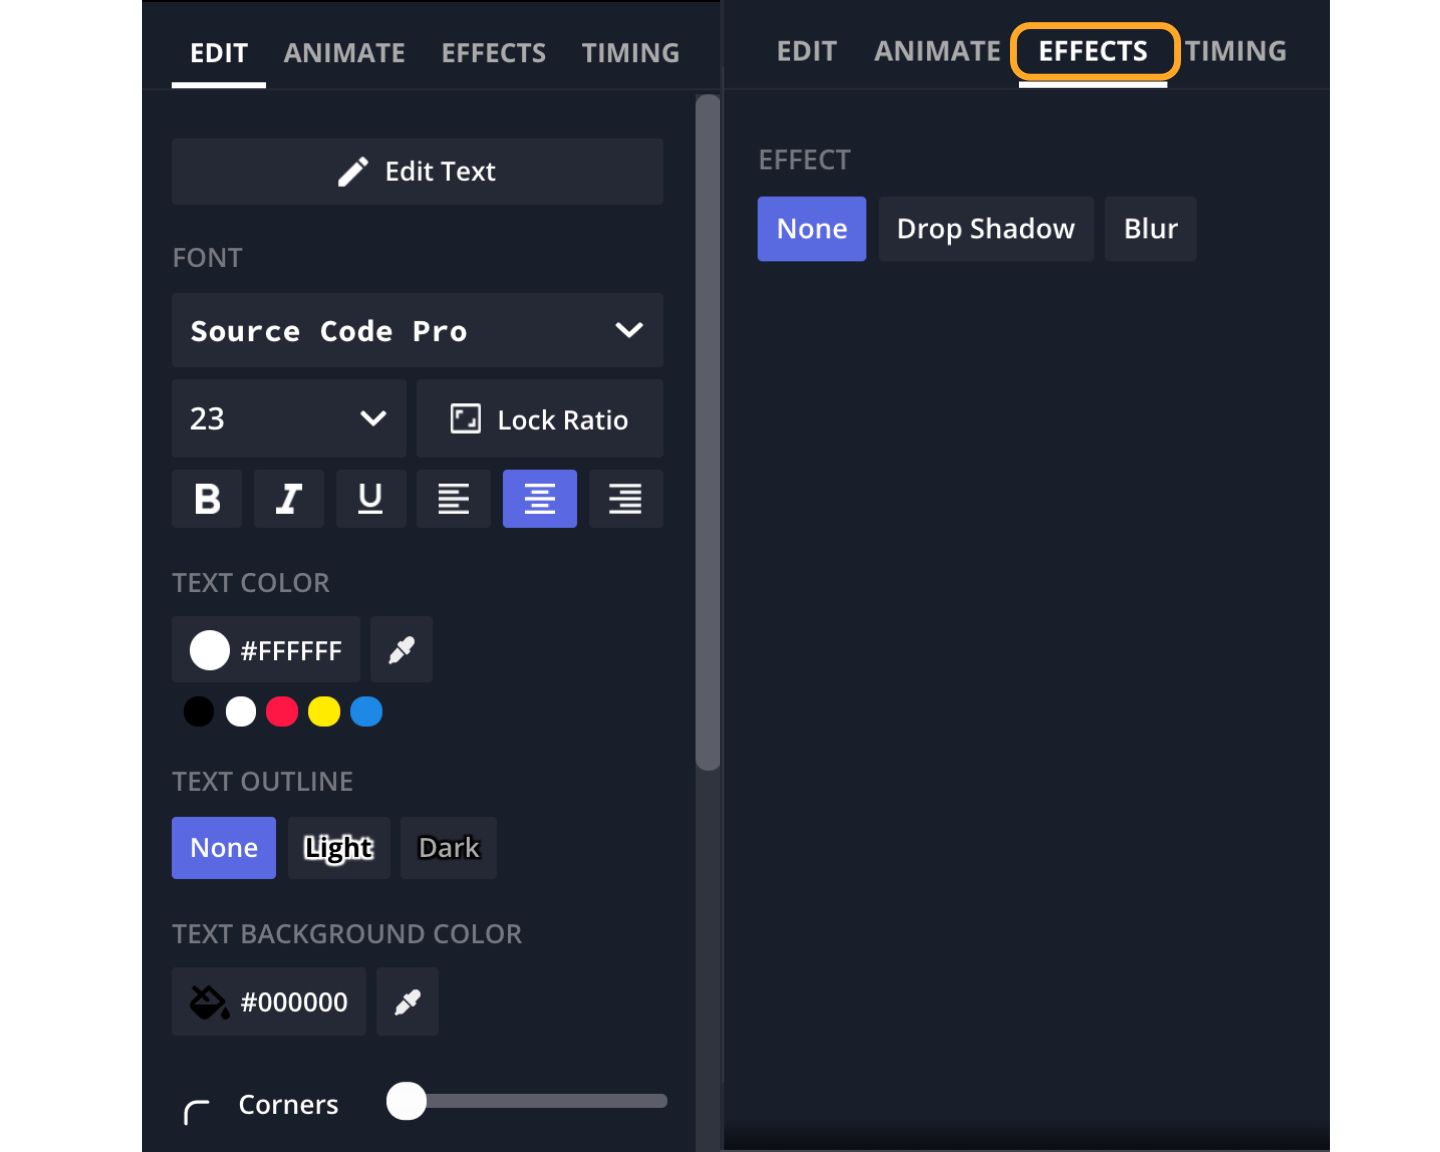
In the right-hand side panel, you can find different tools to edit your text. You can change the font style, size, and colors. In the effects tab at the top of the panel, you can add various effects to your text such as drop shadow and blur.
Step 3: Download and Share Your Time Stamped Video!
To download your video, you can either immediately click on the green Export Video button located on the top right of your workspace or click the drop down arrow directly to its right to export it as a specific file format.
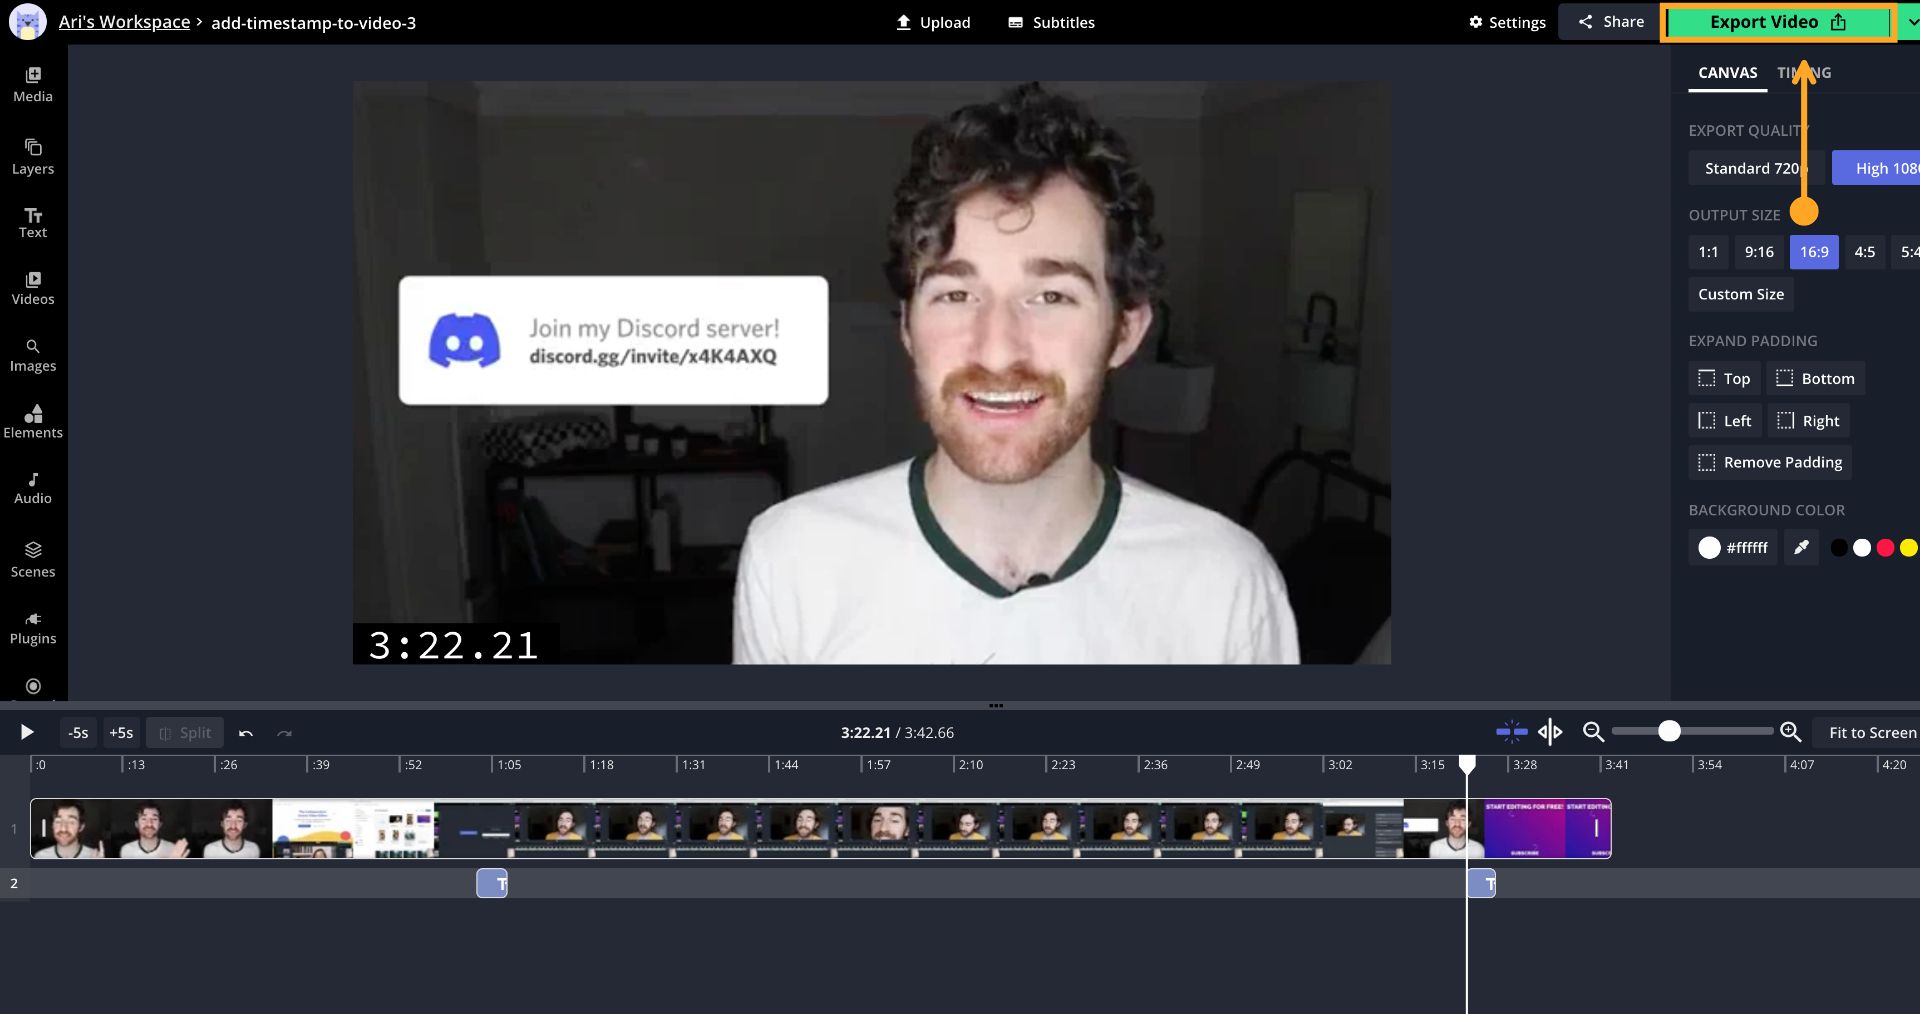
After rendering, you can share your video using the provided links or you can download the file to publish it directly to any desired platform. If you would like to make any changes, you can easily go back into your workspace and make any edits as needed.
Step 4 (OPTIONAL): Make a List of Relevant Timestamps
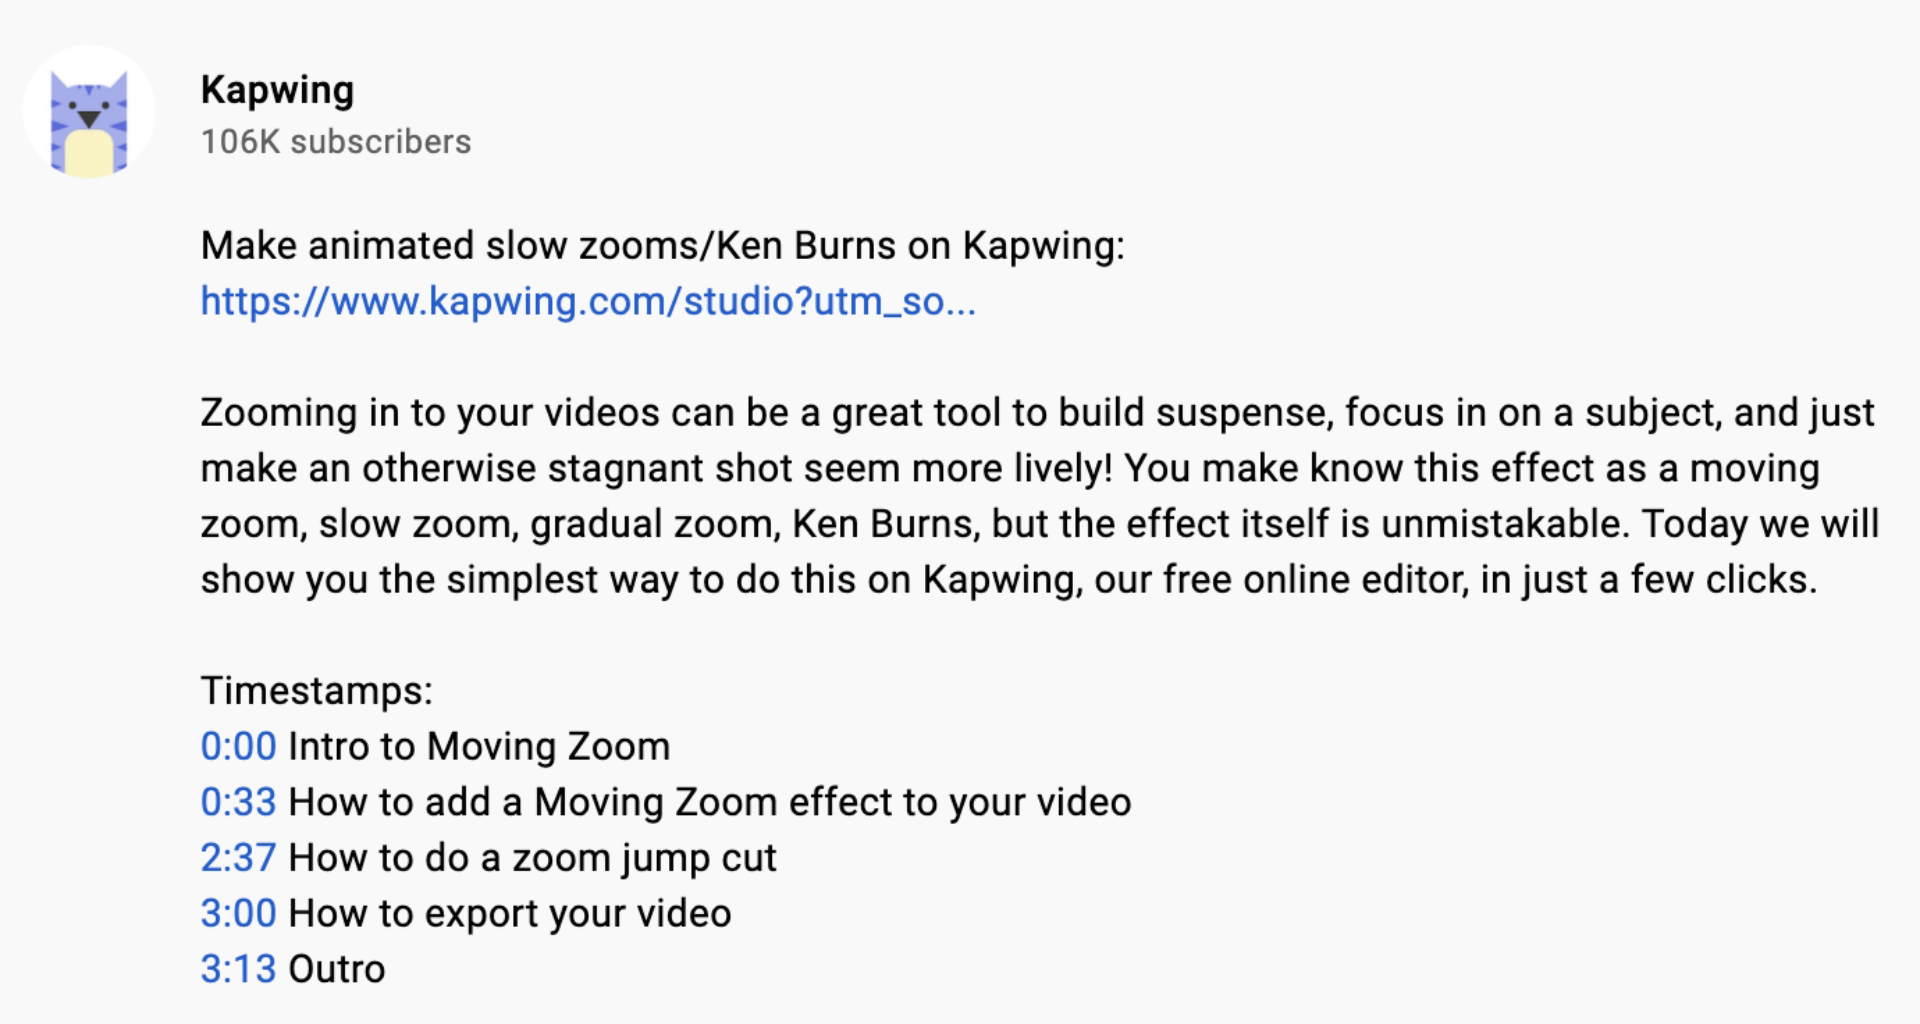
To make locating your timestamps even easier, I recommend making a list of relevant timestamps. Not only will a list make finding specific sections of a video easier to find, but adding this list to your YouTube video’s description will automatically generate clickable timestamps that viewers can click and be taken directly to that point in time.
If you have any feedback about Kapwing or the Kapwing Studio feel free to let us know! For more tips and tutorials on creating great digital content in 2021, check back in at the Kapwing Resources page, subscribe to our YouTube channel, or read through some articles related to timestamps and video-editing: