How to Change Your Discord Avatar for Each Server
Thanks to a recent update, Discord Nitro users can change avatars for every server. Learn how to change your server identity with this step-by-step tutorial.
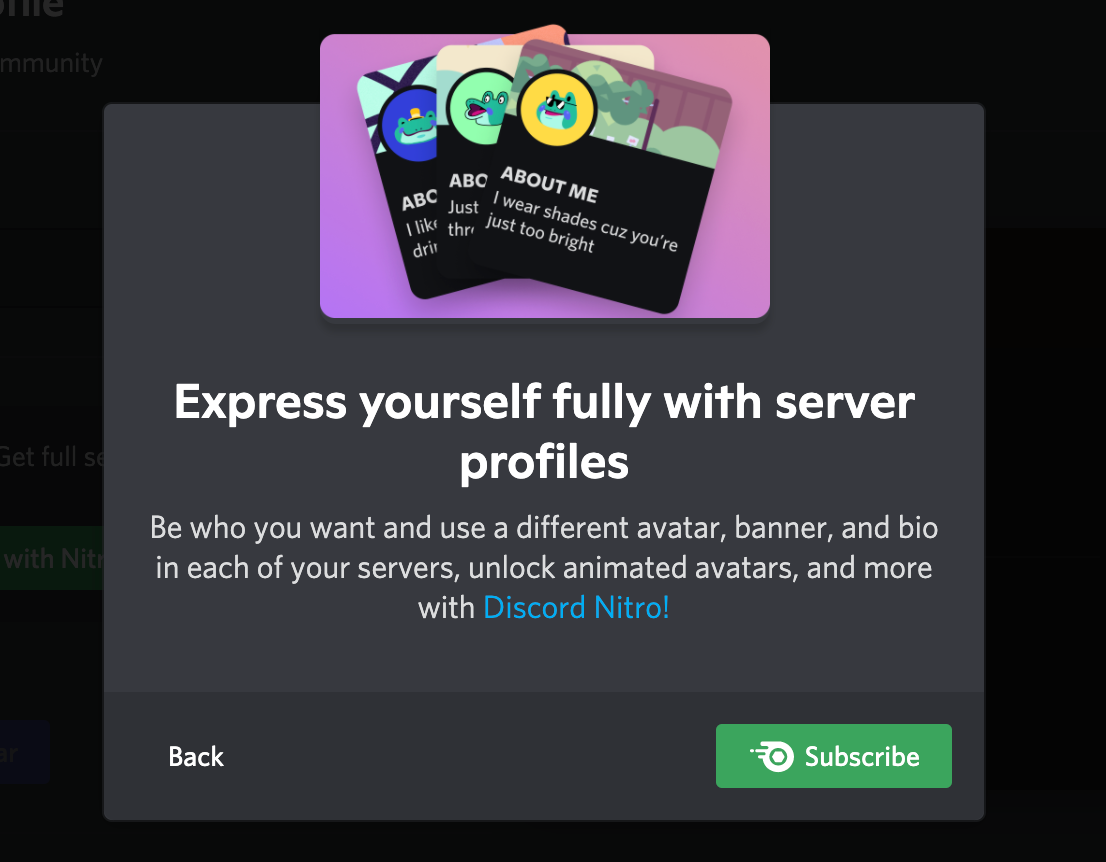
The perks for Discord Nitro just got better with the release of custom avatars and nicknames across servers. This update empowers users to showcase a new identity while navigating different communities.
The goal of this feature is simple. Be who you want to be. You can add a professional PFP for work-related servers and funny PFPs for communities with friends. Any server you don't update will display your primary profile avatar. In this article, I’ll show you how to change your Discord server identity with a custom image. Let's get started!
- Make 128x128 Avatar Images
- Change server identity
Step One: Make 128x128 Avatar Images
In this tutorial, I’m using Kapwing's Discord Avatar template to resize and edit my server avatar. You'll need to design your avatar image to 128x128 to upload it to Discord. Kapwing also lets you add design elements like frames, filters, and overlays, so it's ideal for tweaking your avatar PNG for different servers.
Visit Kapwing in your browser and click "Start Editing." We recommend signing in so that your avatars are saved in the cloud with no watermark.
Drag and drop a PNG, JPG or GIF, click "Upload," or paste a link to import your avatar into the Studio, then click "Custom" under "Output Size" and change the dimensions to 128x128.
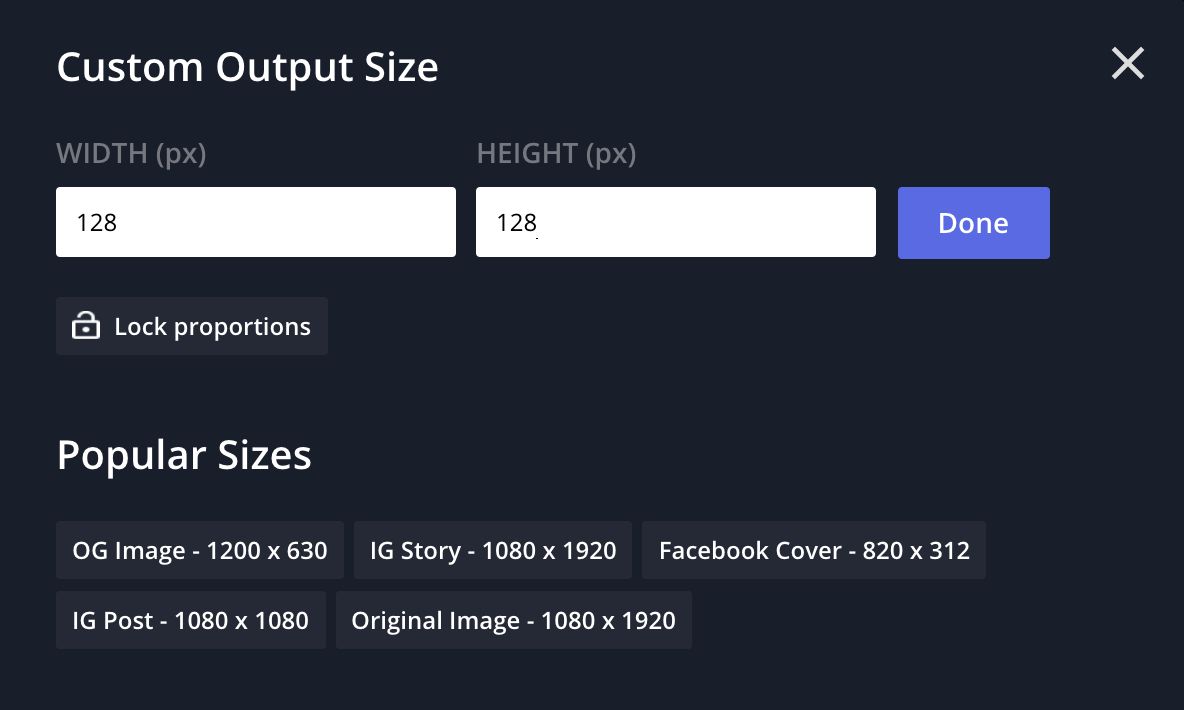
Keep in mind that your avatar will be cropped into a circle so a choose an image with the subject in the center. You can also use this 128x128x Discord avatar template instead to get this size preset and the circular frame.
You can customize the avatar so it better represents your identity for a particular server. Add an animation for an animated Discord avatar, overlay shapes, or place a border over your avatar to make it eye-catching.
Click "Elements" to pick a shape, then drag the ends to adjust the size. You can customize the outline, change the color, and adjust the opacity to your liking. If you want to find overlays, click the Image Search tab on the toolbar. Avoid using text because it will be difficult to read on your avatar.
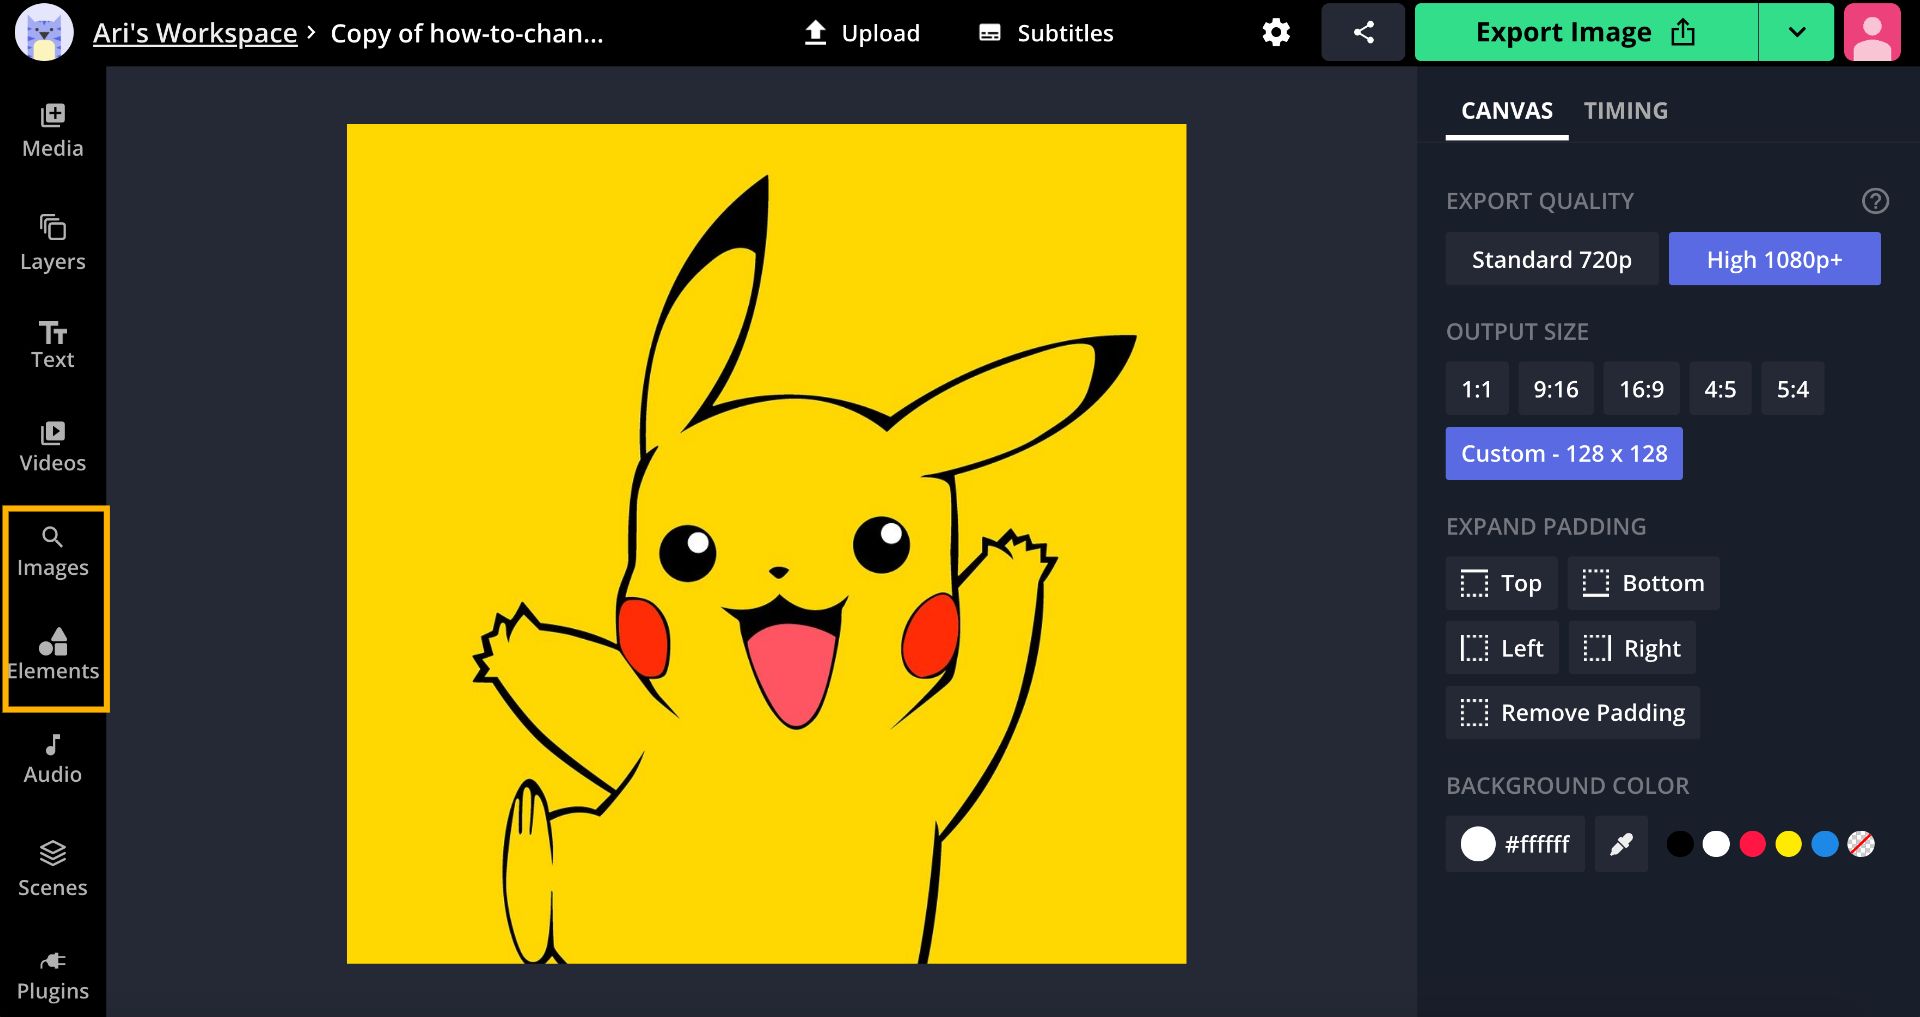
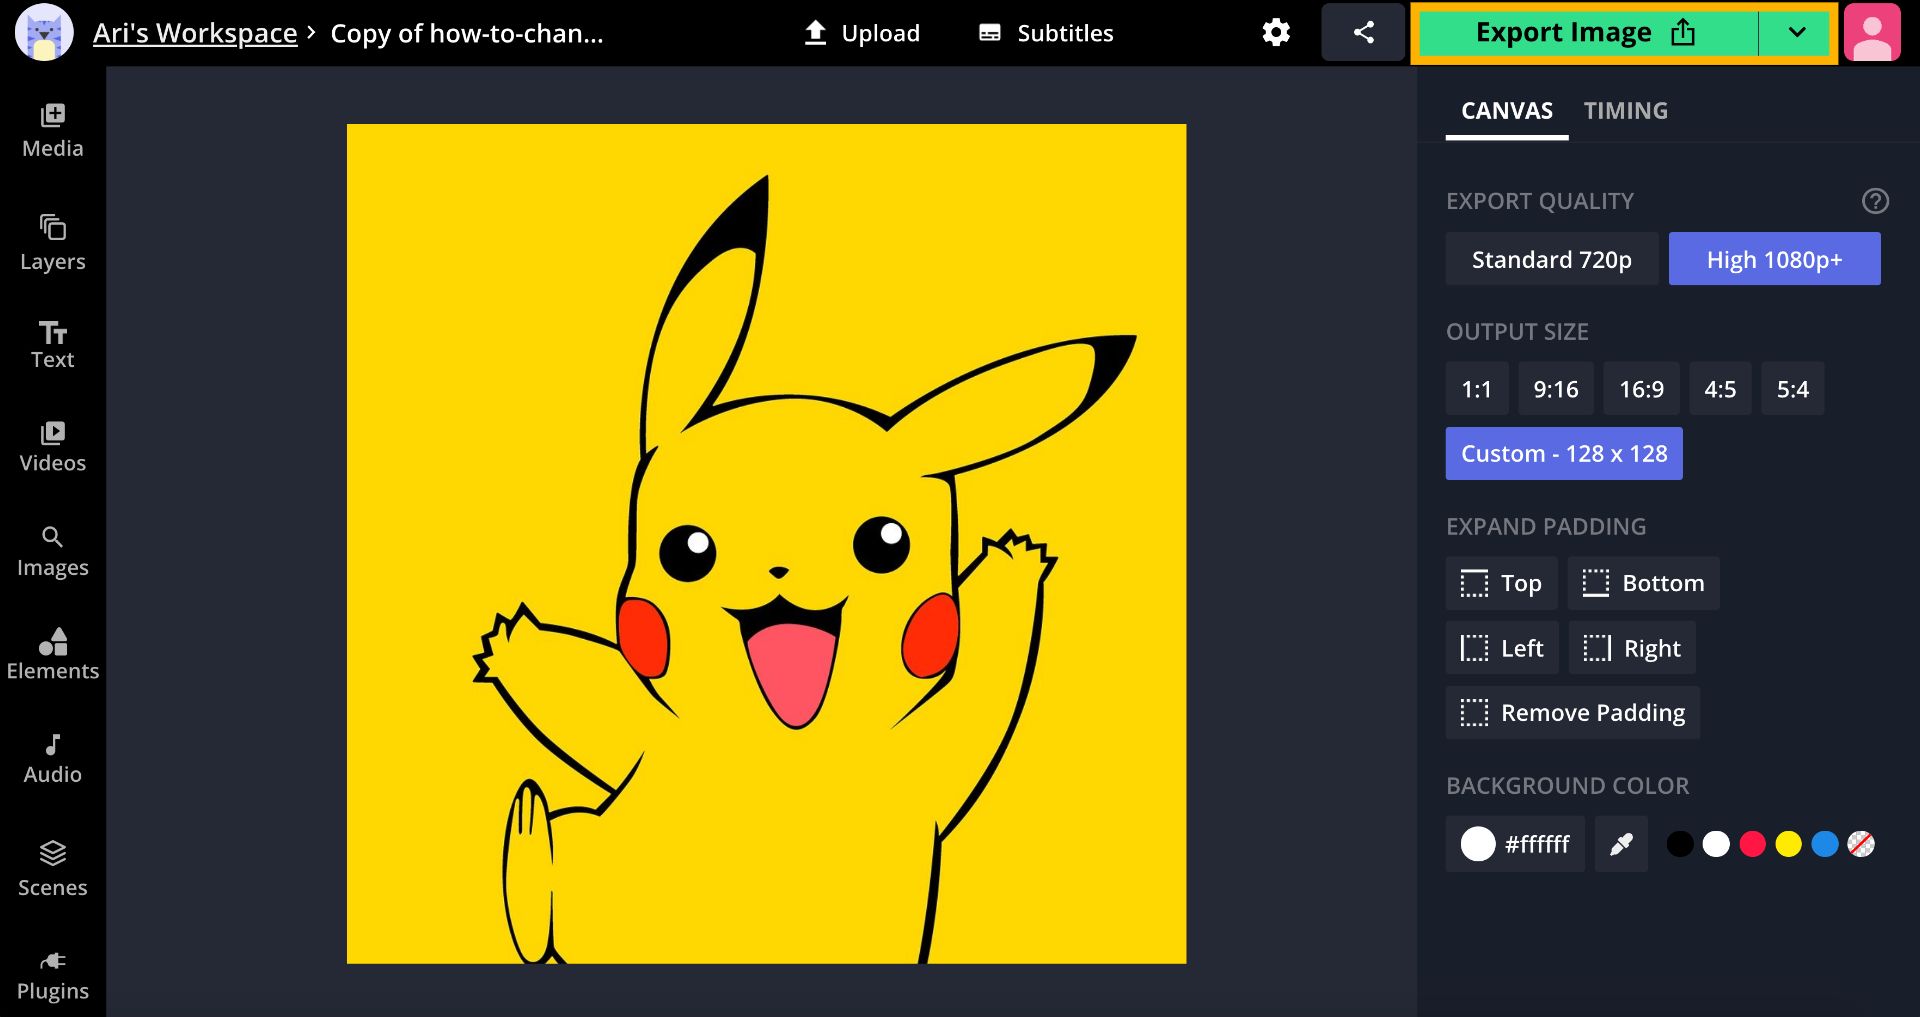
Make any final tweaks to your server avatar and when you’re happy, click "Export Image" at the top left corner of the Studio to begin processing the project. From here, click "Download" to save the avatar to your computer.
Try these free Discord tools:
- Discord Video Compressor Online
- Free Online Video Compressor
- Free Discord Banner Maker
- Free Online GIF Maker
Step Two: Change Server Identity
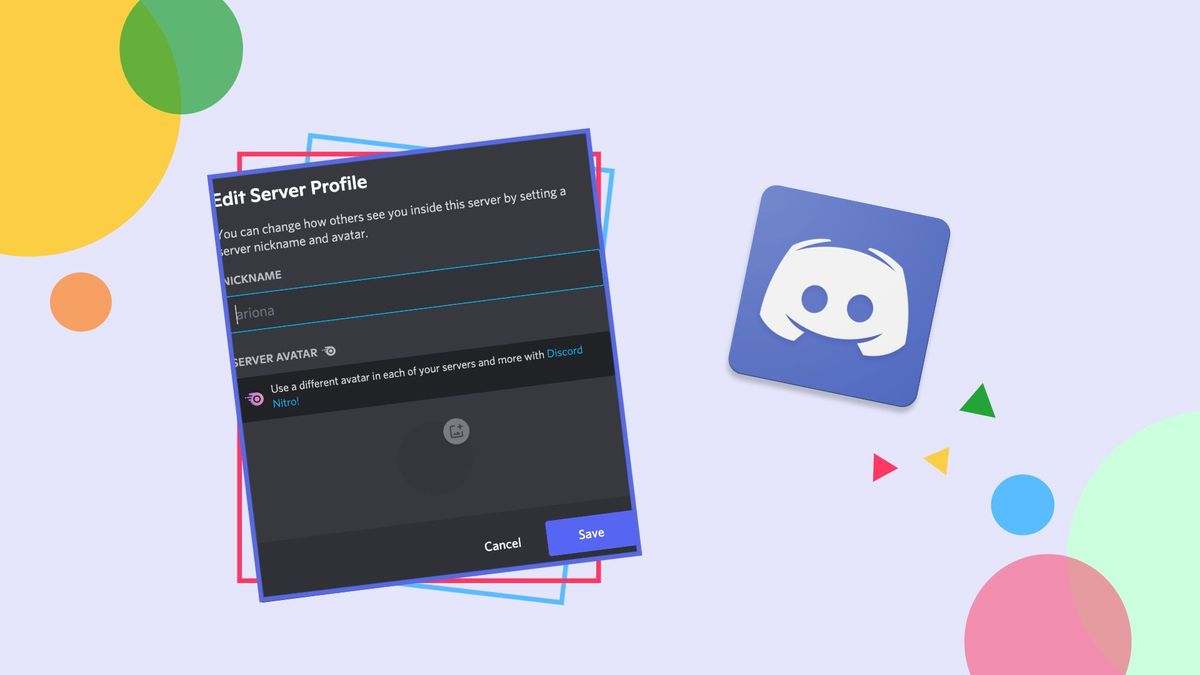
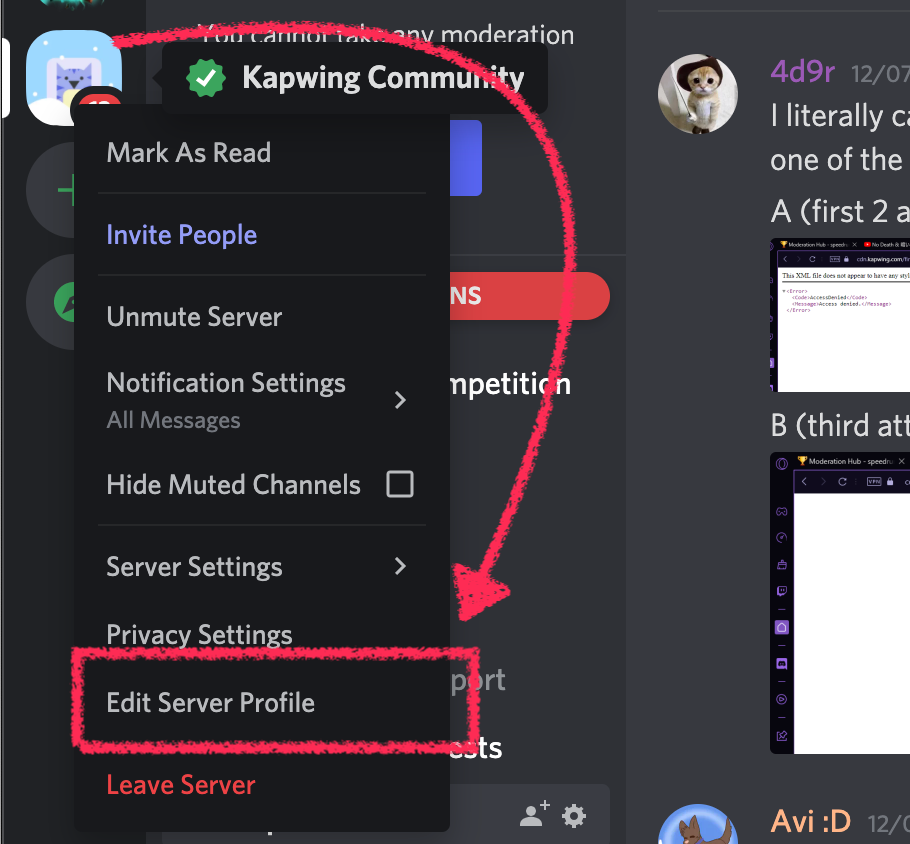
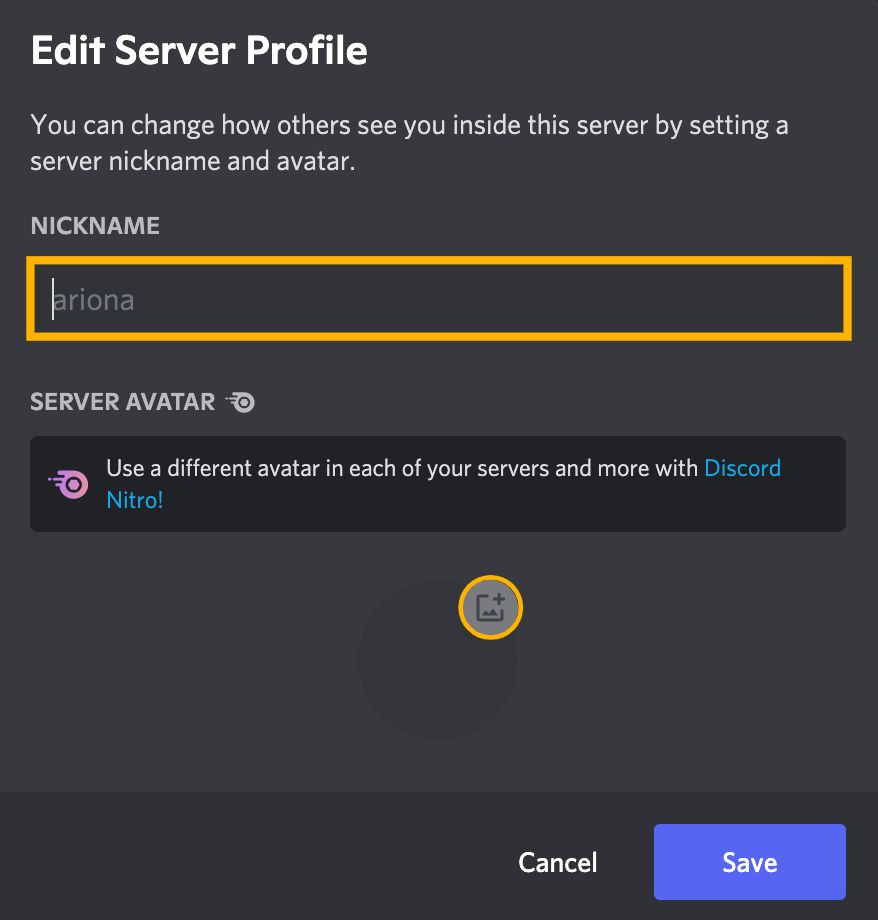
Log into Discord on your computer, then right-click on your current server avatar in the member list and click Edit Server Profile.
Note that you must be a Nitro subscriber to have different avatars for different servers. Free users will see a promo to upgrade to Discord Nitro
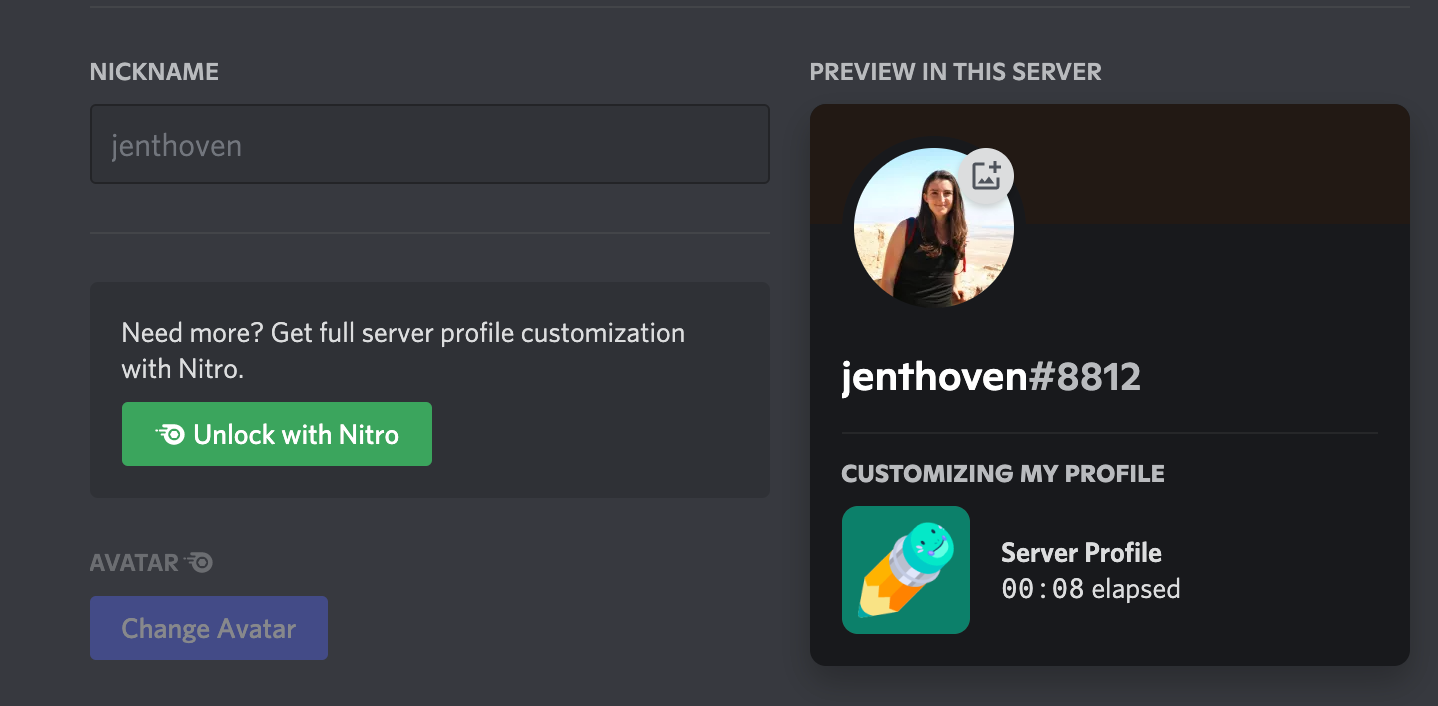
But if you are a Discord Nitro member, you can get started here with uploading the new profile avatar. From here, type a nickname for the server you’re in, then click the upload icon next to your avatar to change the picture. Save the changes and you're all set to debut your new identity! If at anytime you want to revert the changes, click Reset to Primary Avatar. Continue this process for every server avatar you wish to change.
Continue adding flair to your Discord server with the help of the related articles below, and subscribe to our YouTube channel for trendy TikTok tutorials. If you want to connect with us for feedback and suggestions, hit the follow button on Instagram and Twitter.
Related Articles