
How to Make a Discord Rules Banner
Discord admins are equipping their space with a rules banner to maintain a lively and thoughtful community. In this article, I'm sharing how to make your own rules banner.

Server owners are keeping their communities in tact by designing and uploading a custom banner in the rules channel. When members joins, the banner quickly points them in the right direction to maintain a lively and thoughtful space.
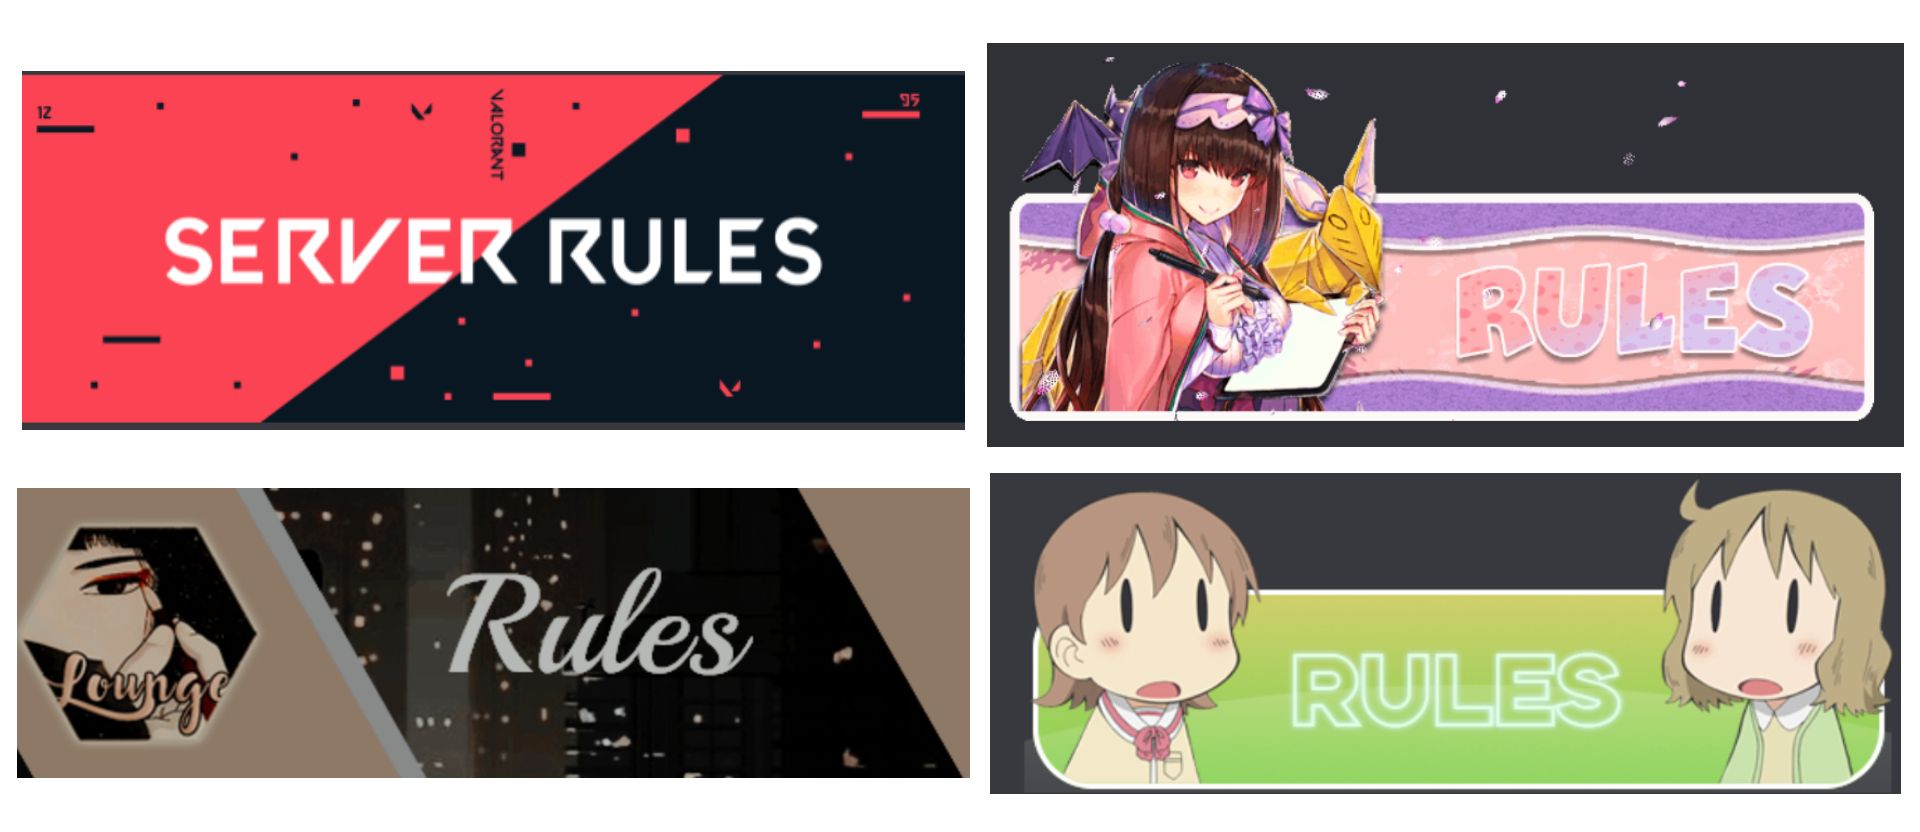
While this banner isn't native to Discord like the server banner, more admins are adopting its use. It can be easily spotted and gives a channel that's generally dull to a look at some flair. For owners hoping to create a visually-appealing space, this is one more asset to complete the look you're going for. Below are a few rules banners that caught my eye you can use for inspiration.
How to Make a Discord Rules Banner for Your Server
In this tutorial, I'll show you how to make a Discord rules banner in Kapwing. Let's get started!
Step One: Open Kapwing and Resize the Background
Head over to Kapwing, click start editing, then start with a blank canvas to open the Studio. Kapwing is a free browser-based video editor you can use on any iPhone, Android, PC, or tablet. For this tutorial, I recommend using a PC.
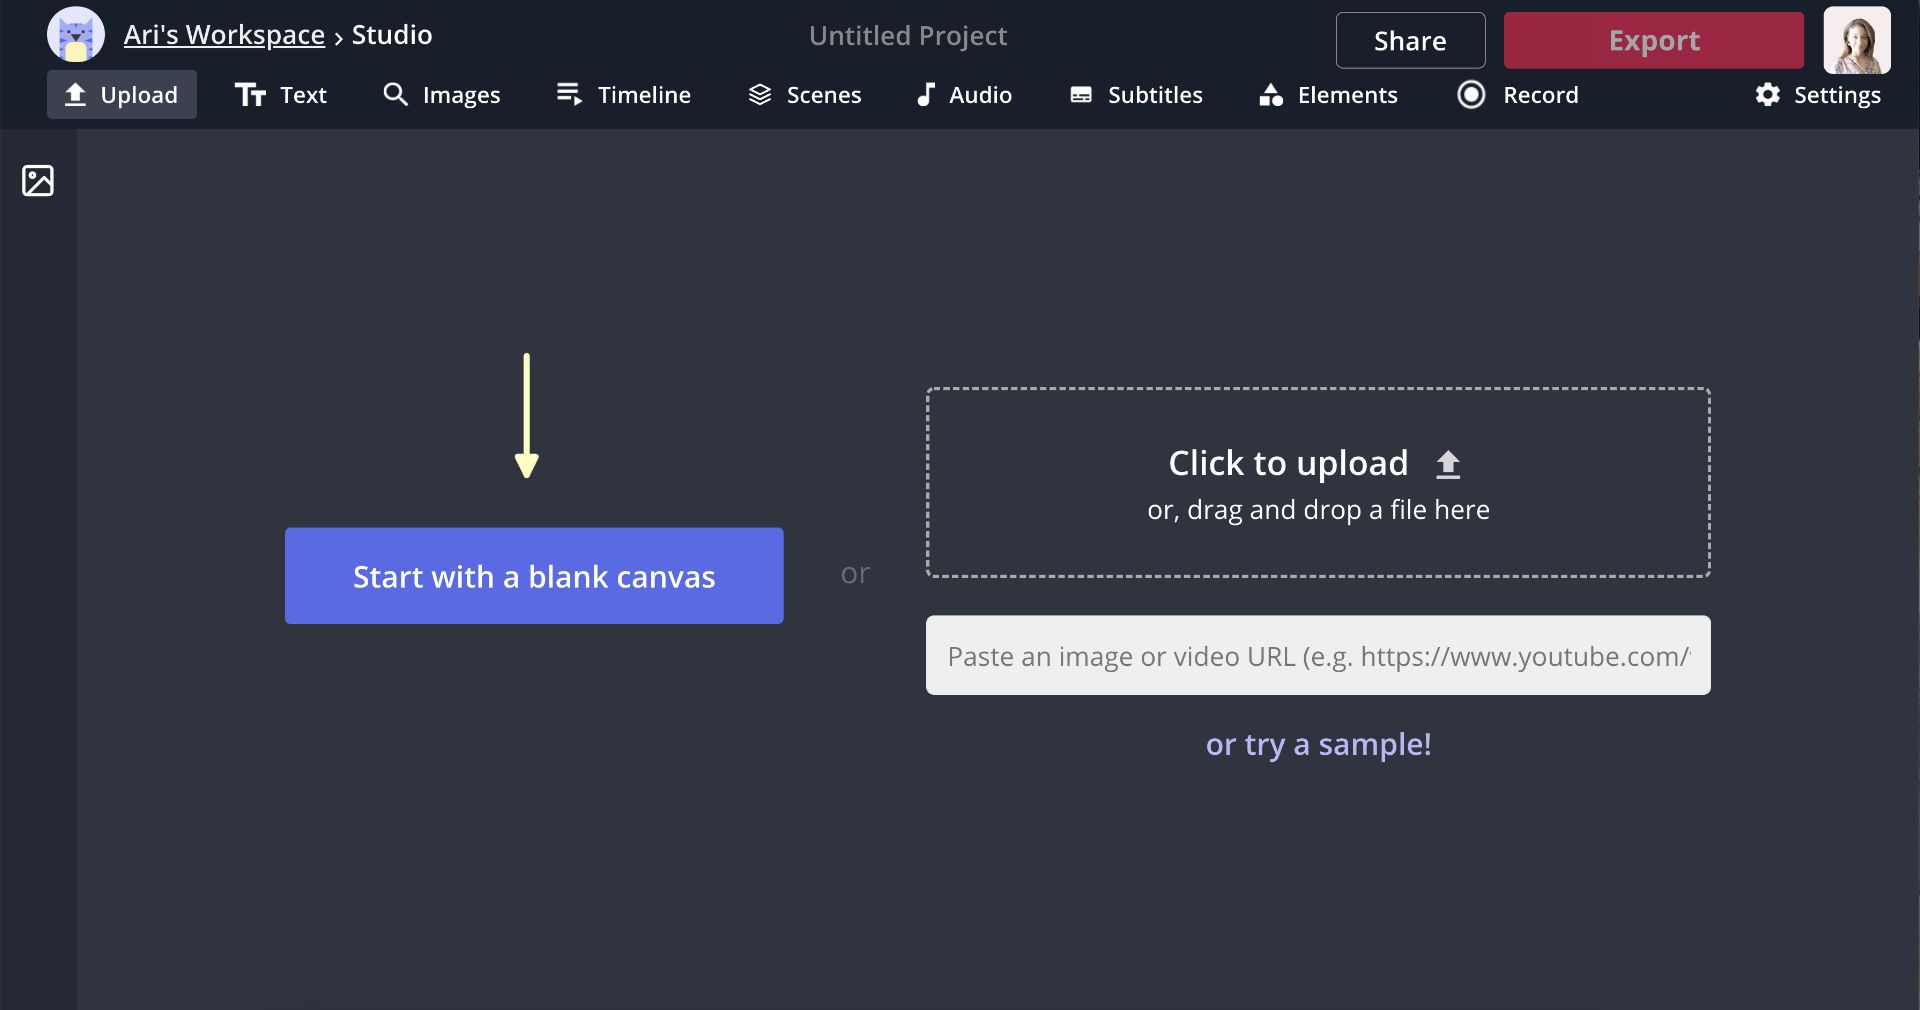
I'm resizing the background to be 750 x 350 pixels so I have plenty of room to add text and and images to decorate the banner. There isn't a particular size you have to use, but this is a good starting place. To change the size, click custom under output size.

Step Two: Edit the Banner
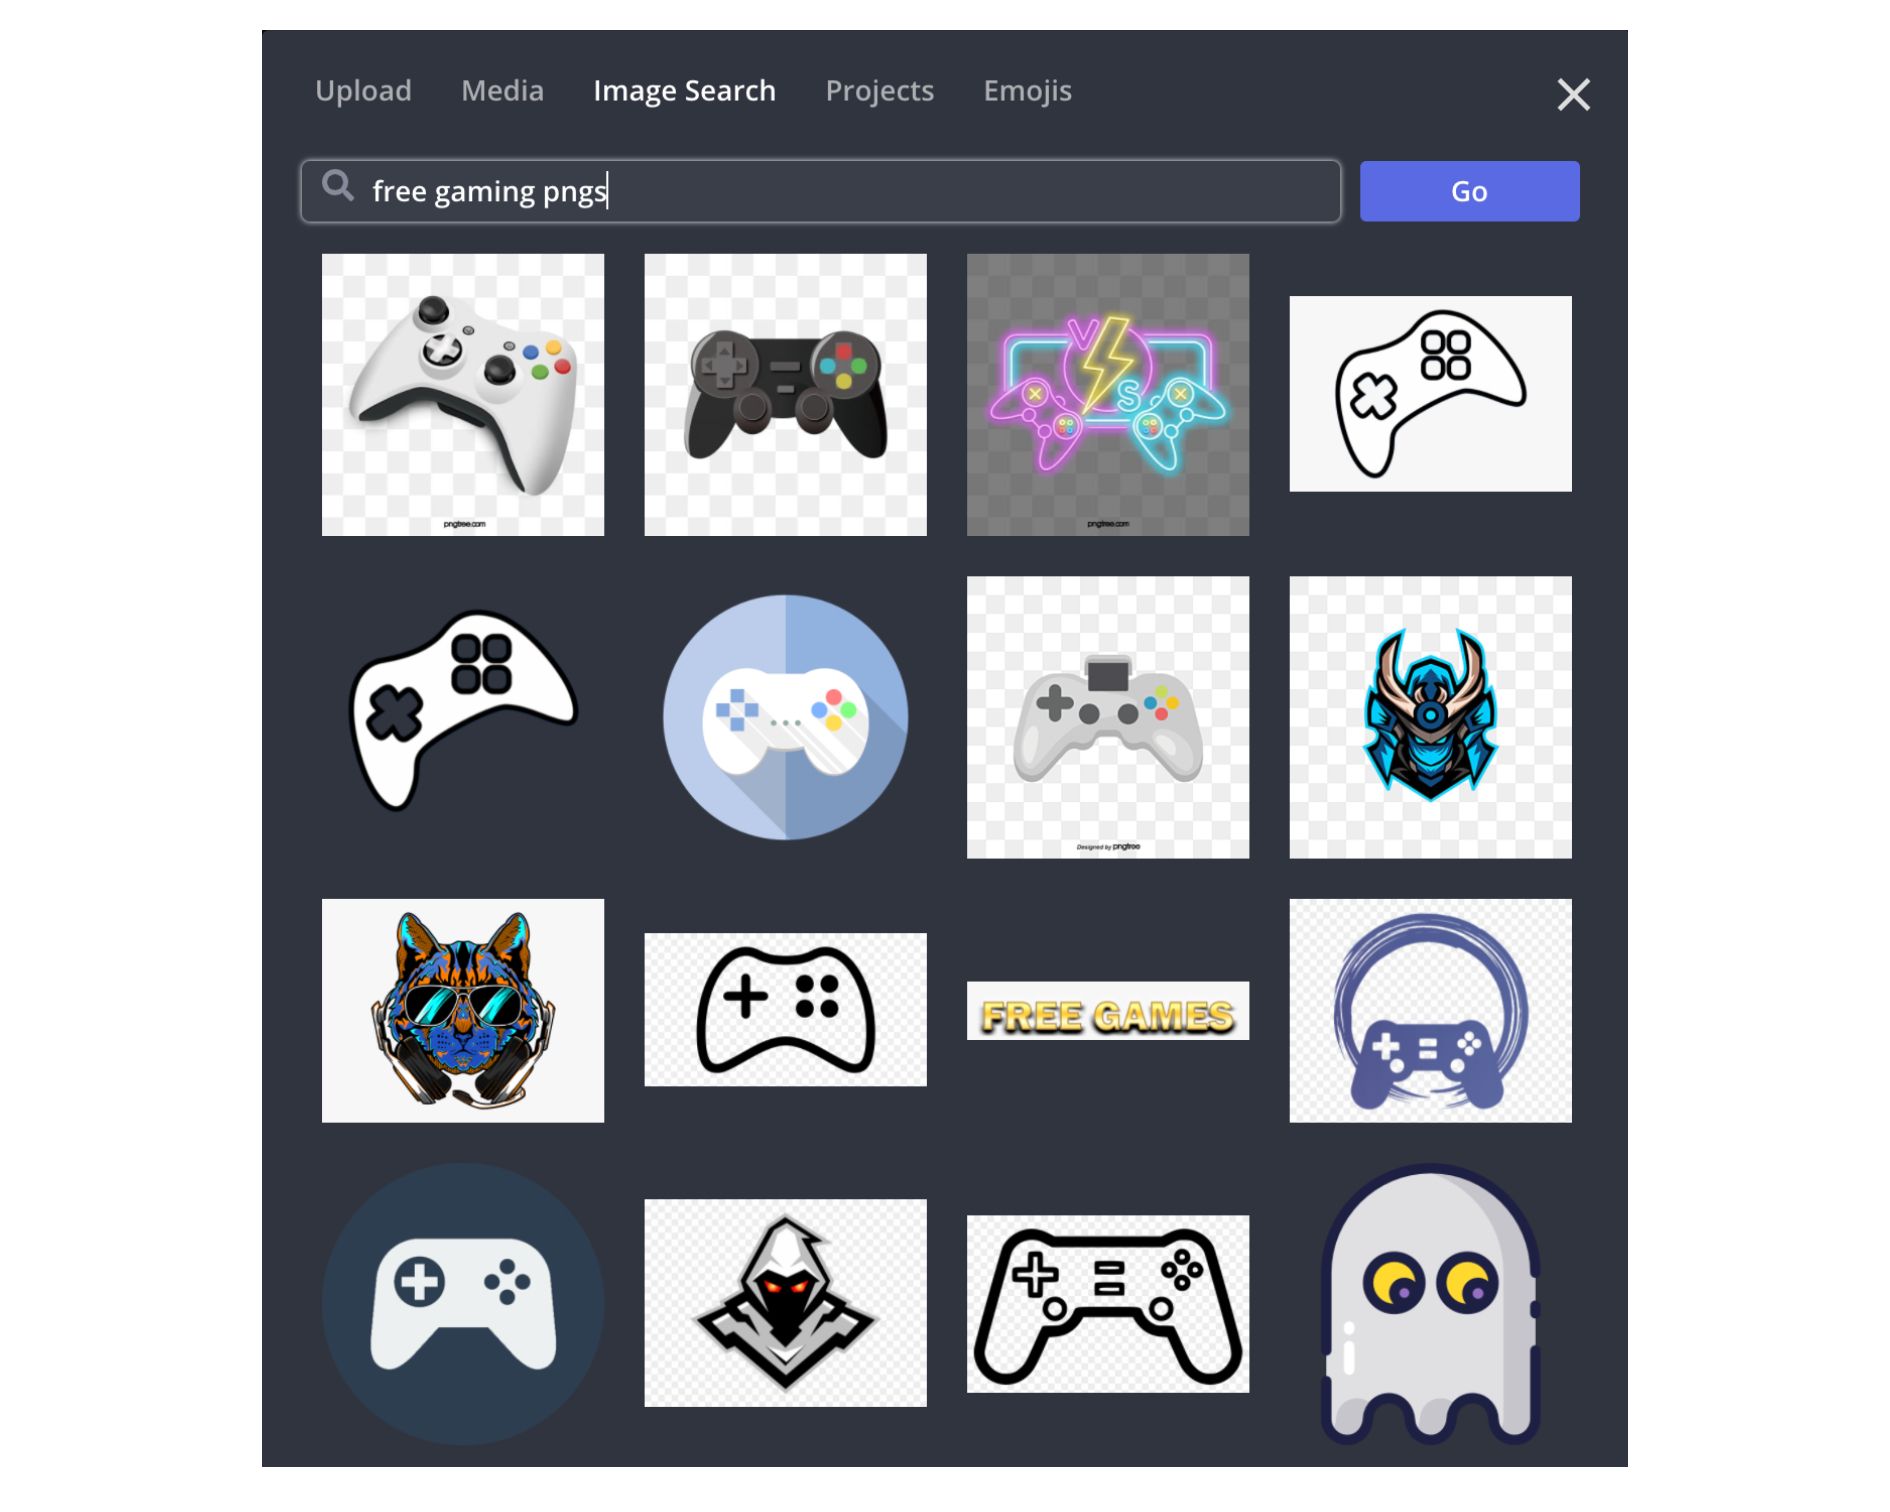
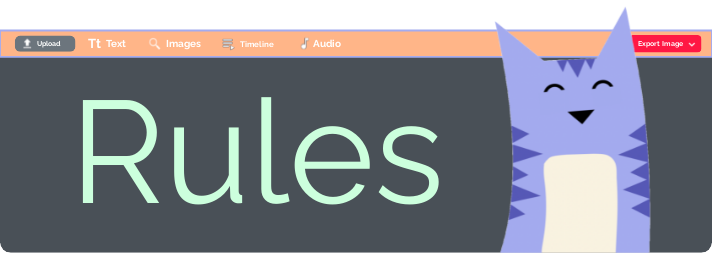
The basics of a typical rules banner are simple. Text that reads"rules" accompanied with a logo. Of course, you can stray away from this practice and design a banner that feels right to you. The image search feature is a great place to find overlays, pngs, and backgrounds to make your banner. To get here, click images, then image search and type a phrase in the search bar.
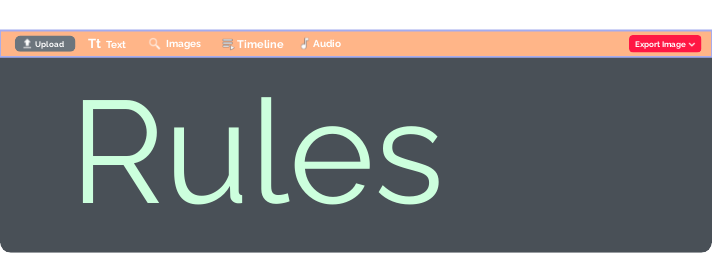
You can use the text tool to add a message to your banner and adjust the size, color, font, and style to whatever your desire. An outline can make your text pop and adding a background is helpful if the font is blending into the banner.
I stuck with the basics and mixed in a little inspiration from the banners above. First, I clicked elements and added a rectangle with rounded corners to serve as my banner. I changed the color, added another rectangle at the top, and added text to build a banner that resembles the Studio. At least, that's what it's supposed to look like. You can be the judge of that.
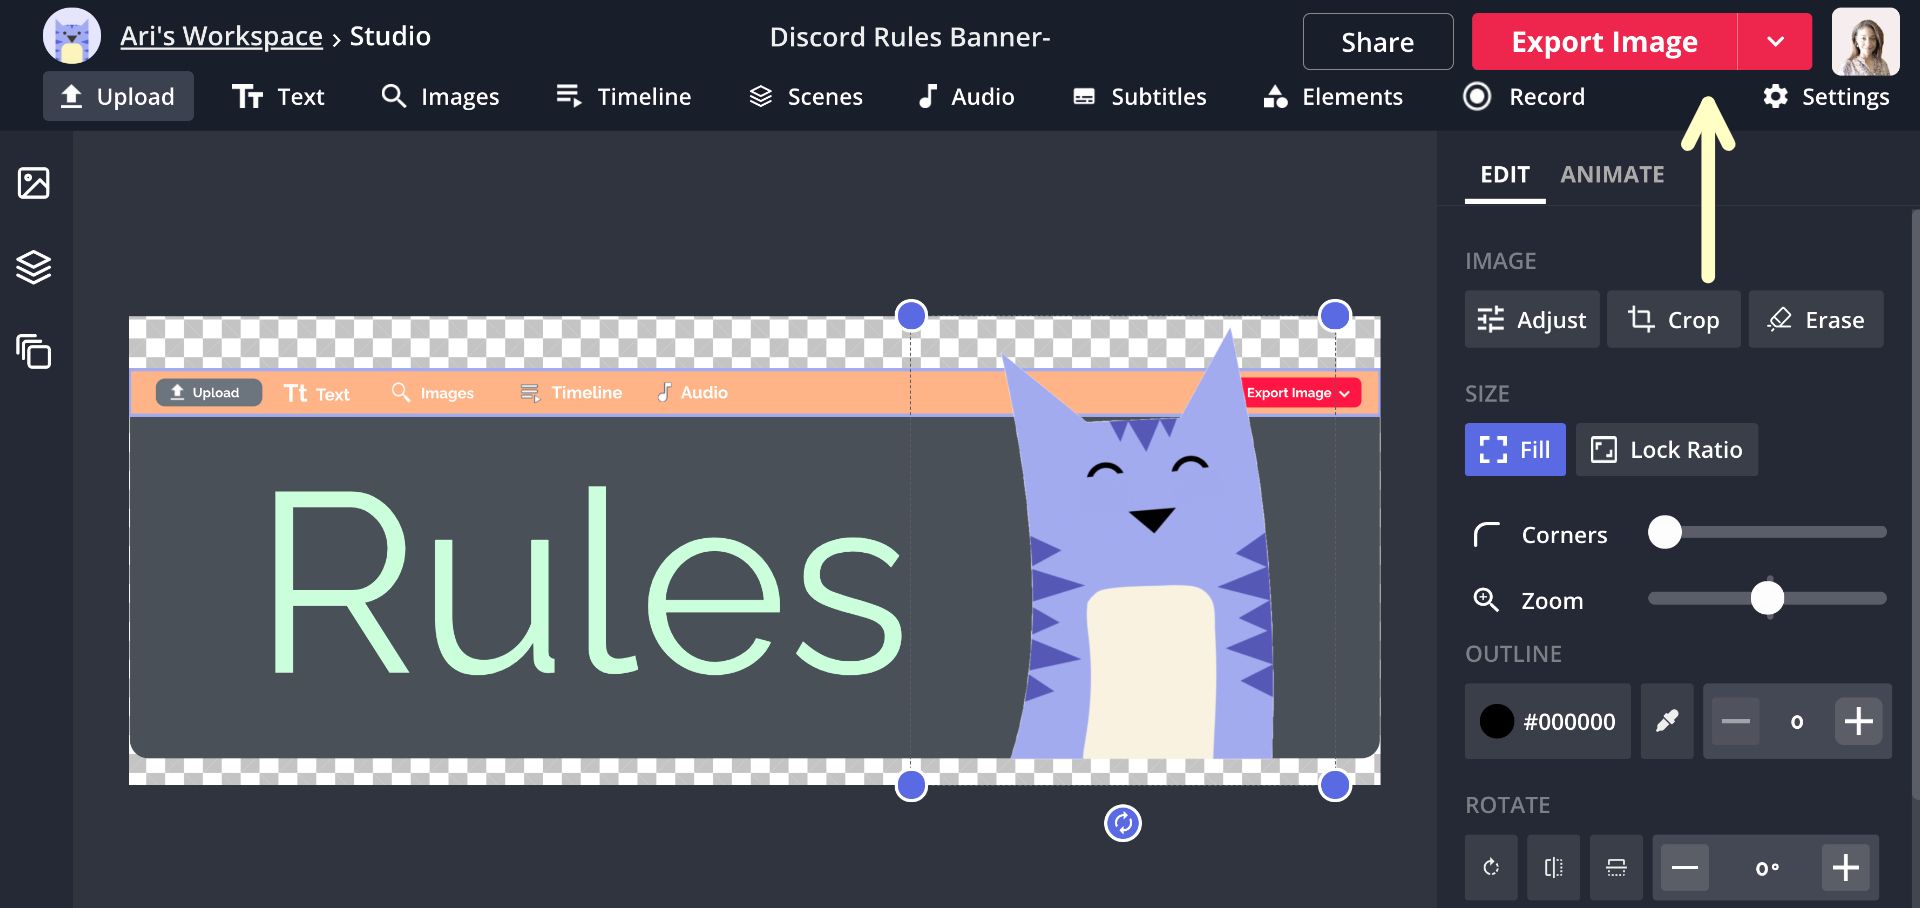
I added the famous Kapwing kitten and changed the size so the PNG slightly extended beyond the banner. Below is a final look at the rules banner for our Discord server.
Step Three: Export and Download
When you're finished, click export image at the top, then click download after it has been processed to save it to your device. You can create a free Kapwing account to remove the watermark, then proceed to save the banner.
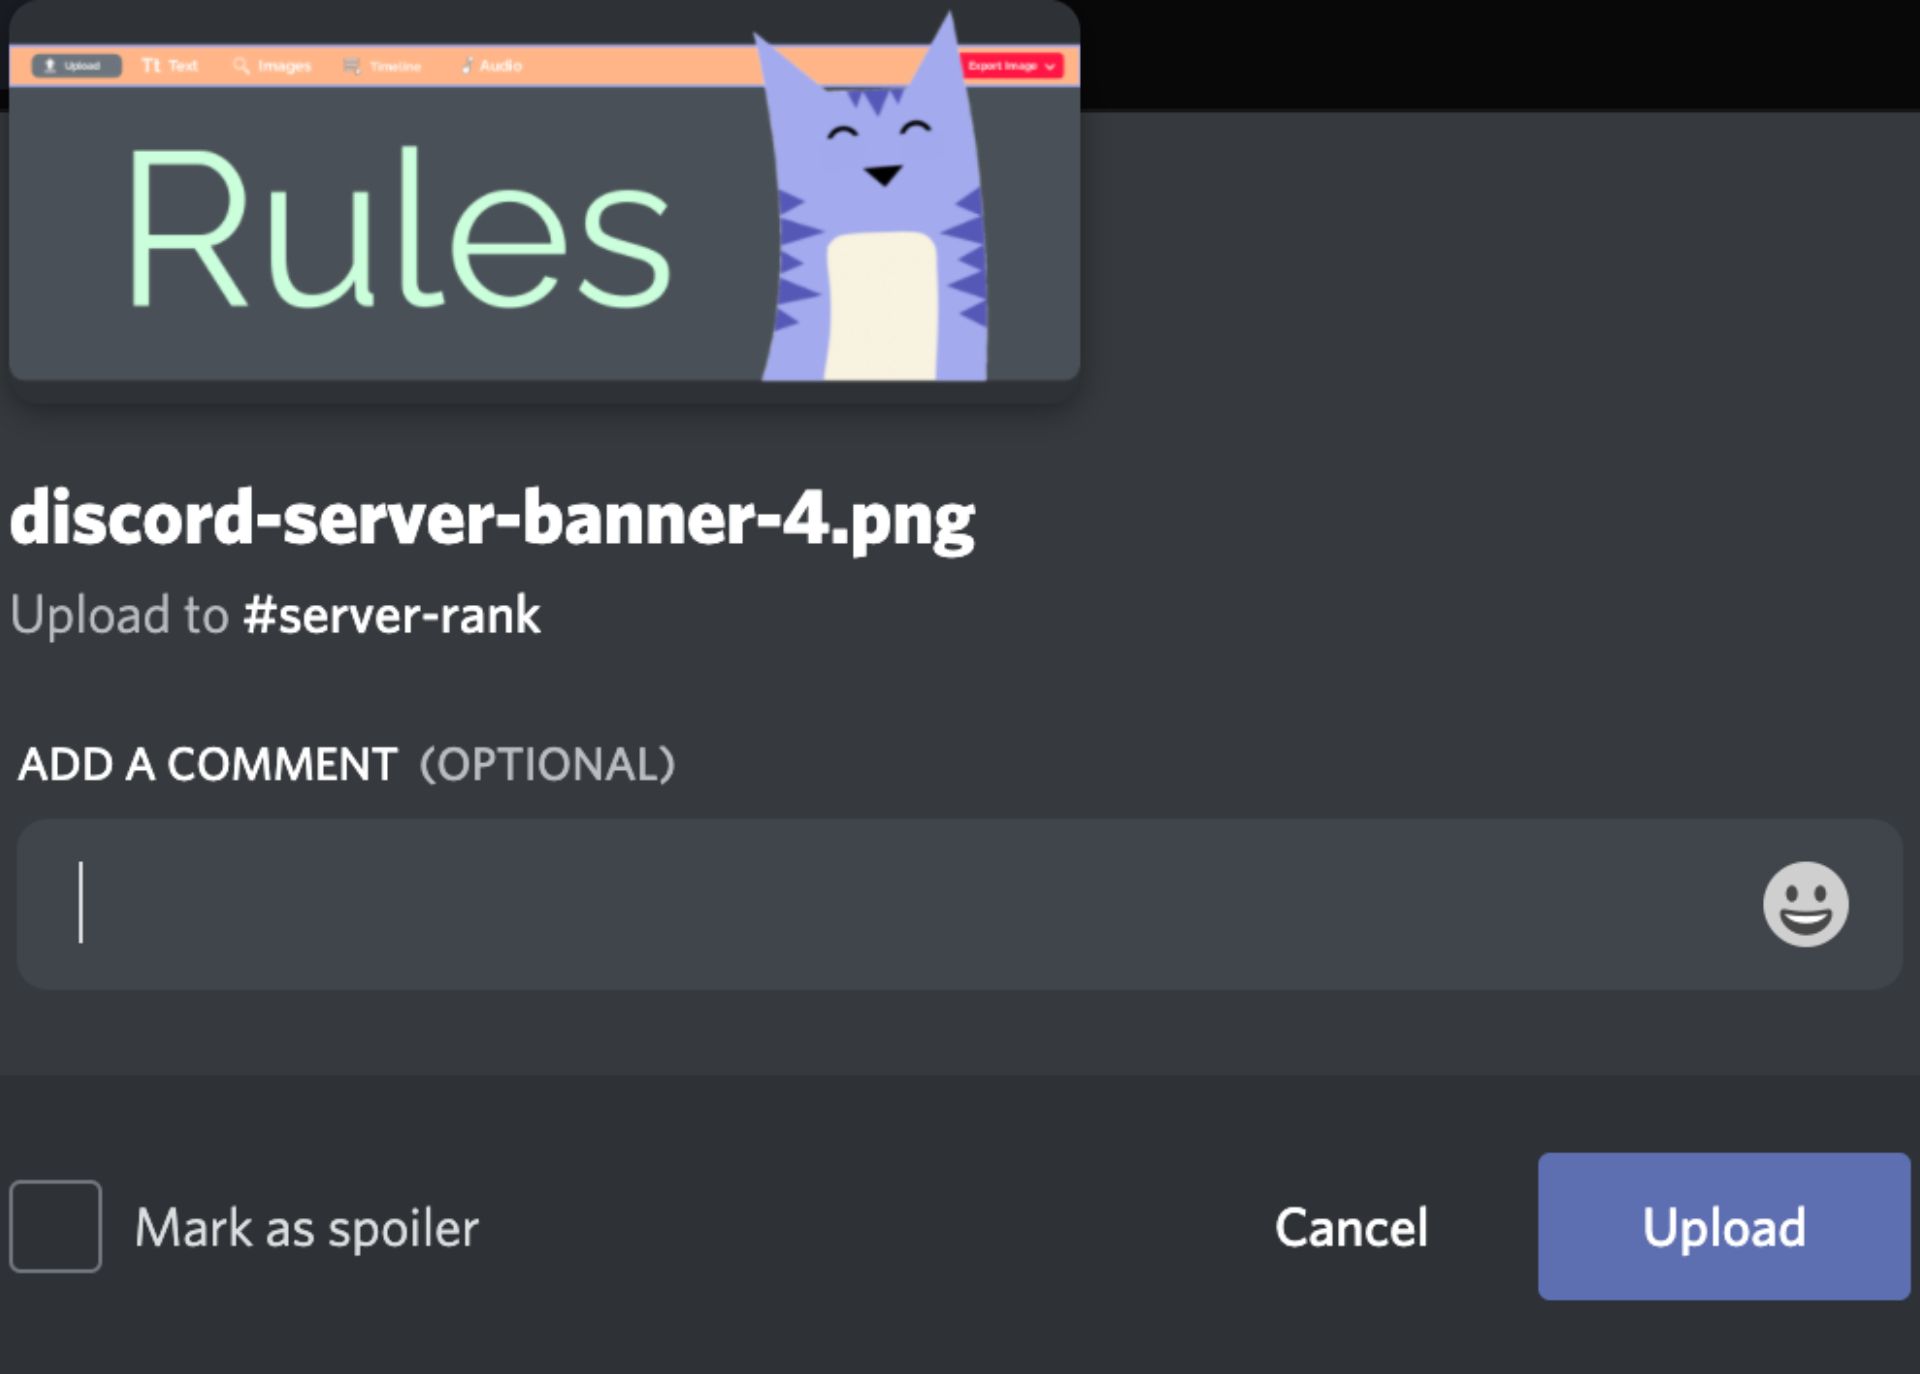
Step Four: Upload to Discord
Head over to Discord and pull up your rules channel. Then, drag and drop your picture into the channel and your rules banner is all set for members to see!
If you made a banner with this tutorial, tag us on Instagram so the team can see and check out the articles below for more Discord content. Subscribe to our YouTube channel to stay up to date on all things Kapwing, and watch viral TikTok tutorials.
Related Articles:


