How to Make Custom Discord Role Icons
The long-awaited role icons are finally here for Discord servers. Learn how to make and upload discord role icons with this step-by-step tutorial.
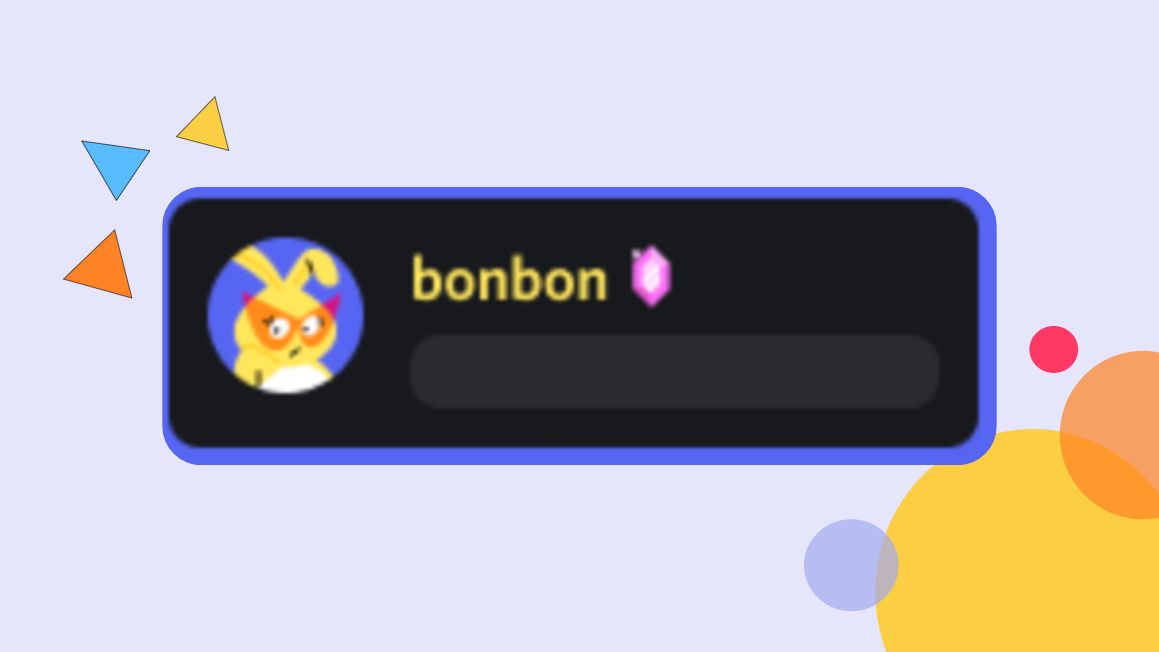
The long-awaited role icons are finally here for level two Discord servers. In a few clicks, owners can distinguish roles with a unique image for improved visibility.
This feature is one members can appreciate too. The 64x64 pixel icon appears alongside a username for fellow users to find within the member list or chat. Additionally, owners can use this feature as an opportunity to improve their server's aesthetic. Compelling icons can match themes and be updated as the design evolves. In this article, I'll show you how to make a Discord role icon then upload the image to your server.
- Find a role icon image
- Upload and Resize Image in Kapwing Studio
- Export and Download
- Upload role icon to Discord
Step One: Find a Role Icon Image
Get started by brainstorming role icons that are visually appealing and align with your server. Tokens, badges, and emblems would make for great role icons across servers with varying interests. I recommend using images with no text or busy backgrounds, otherwise, it will be difficult to see. If you're using an icon, keep the image in the center of the background so it doesn't get cropped out. You can use JPG or a PNG file for the role icon. Below are a few ideas to help you plan.

Step Two: Upload and Resize Image in Kapwing Studio
In this tutorial, I'm using Kapwing to make my role icon. Kapwing is a free browser-based video editor you can use on any device and has intuitive tools for modern content creation.
Head over to Kapwing in your browser then click Start Editing or Create a Workspace. I suggest creating a workspace to save and create multiple icons for up to two days. All you have to do is sign up with an email address to create a free account for your workspace.
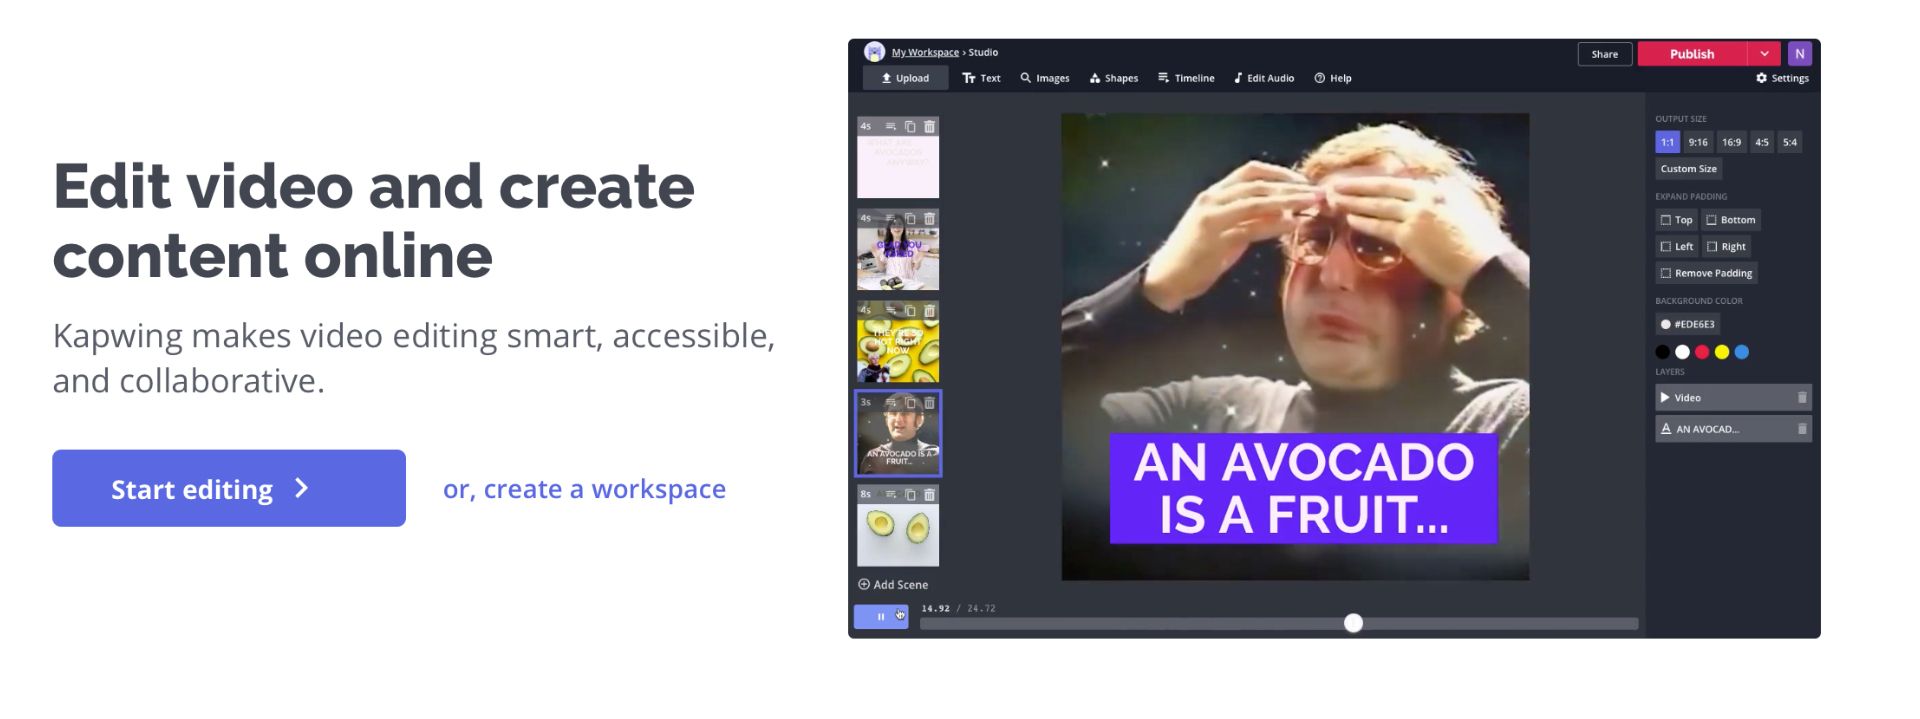
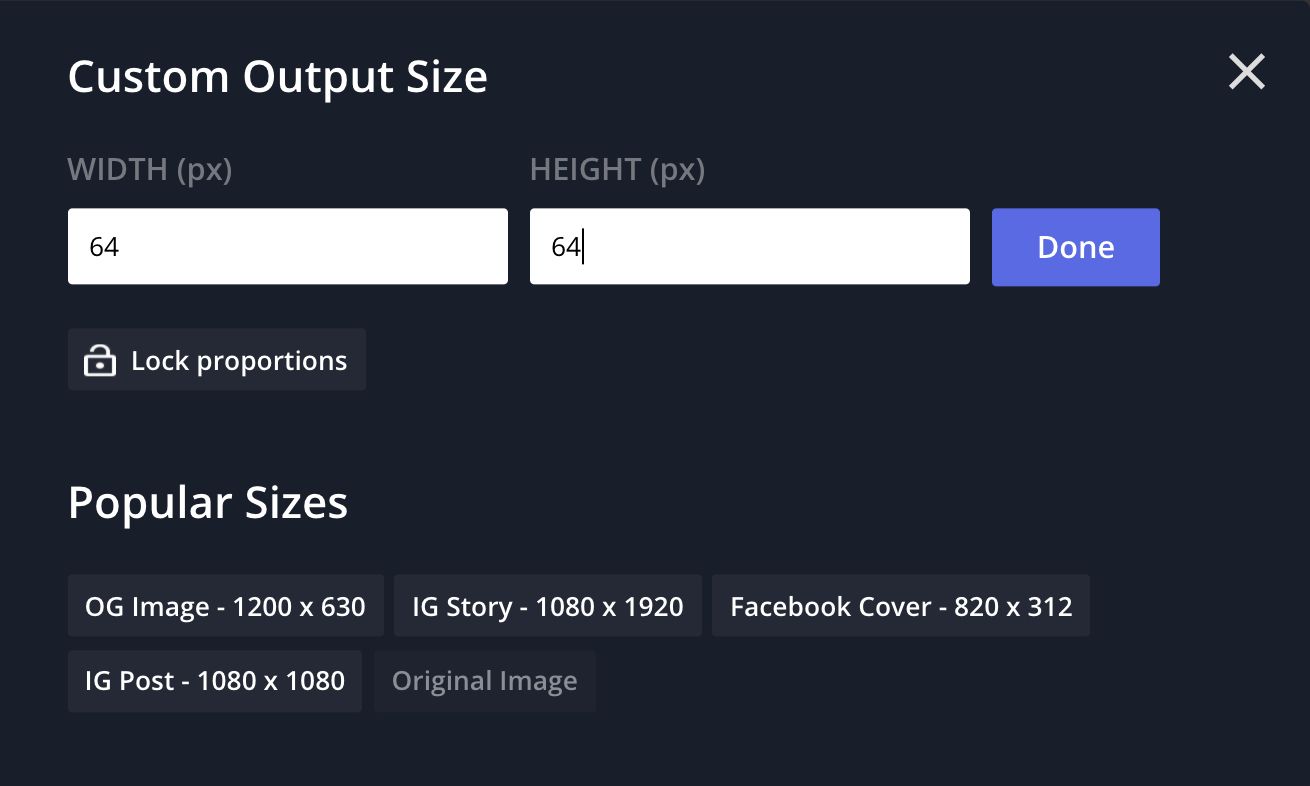
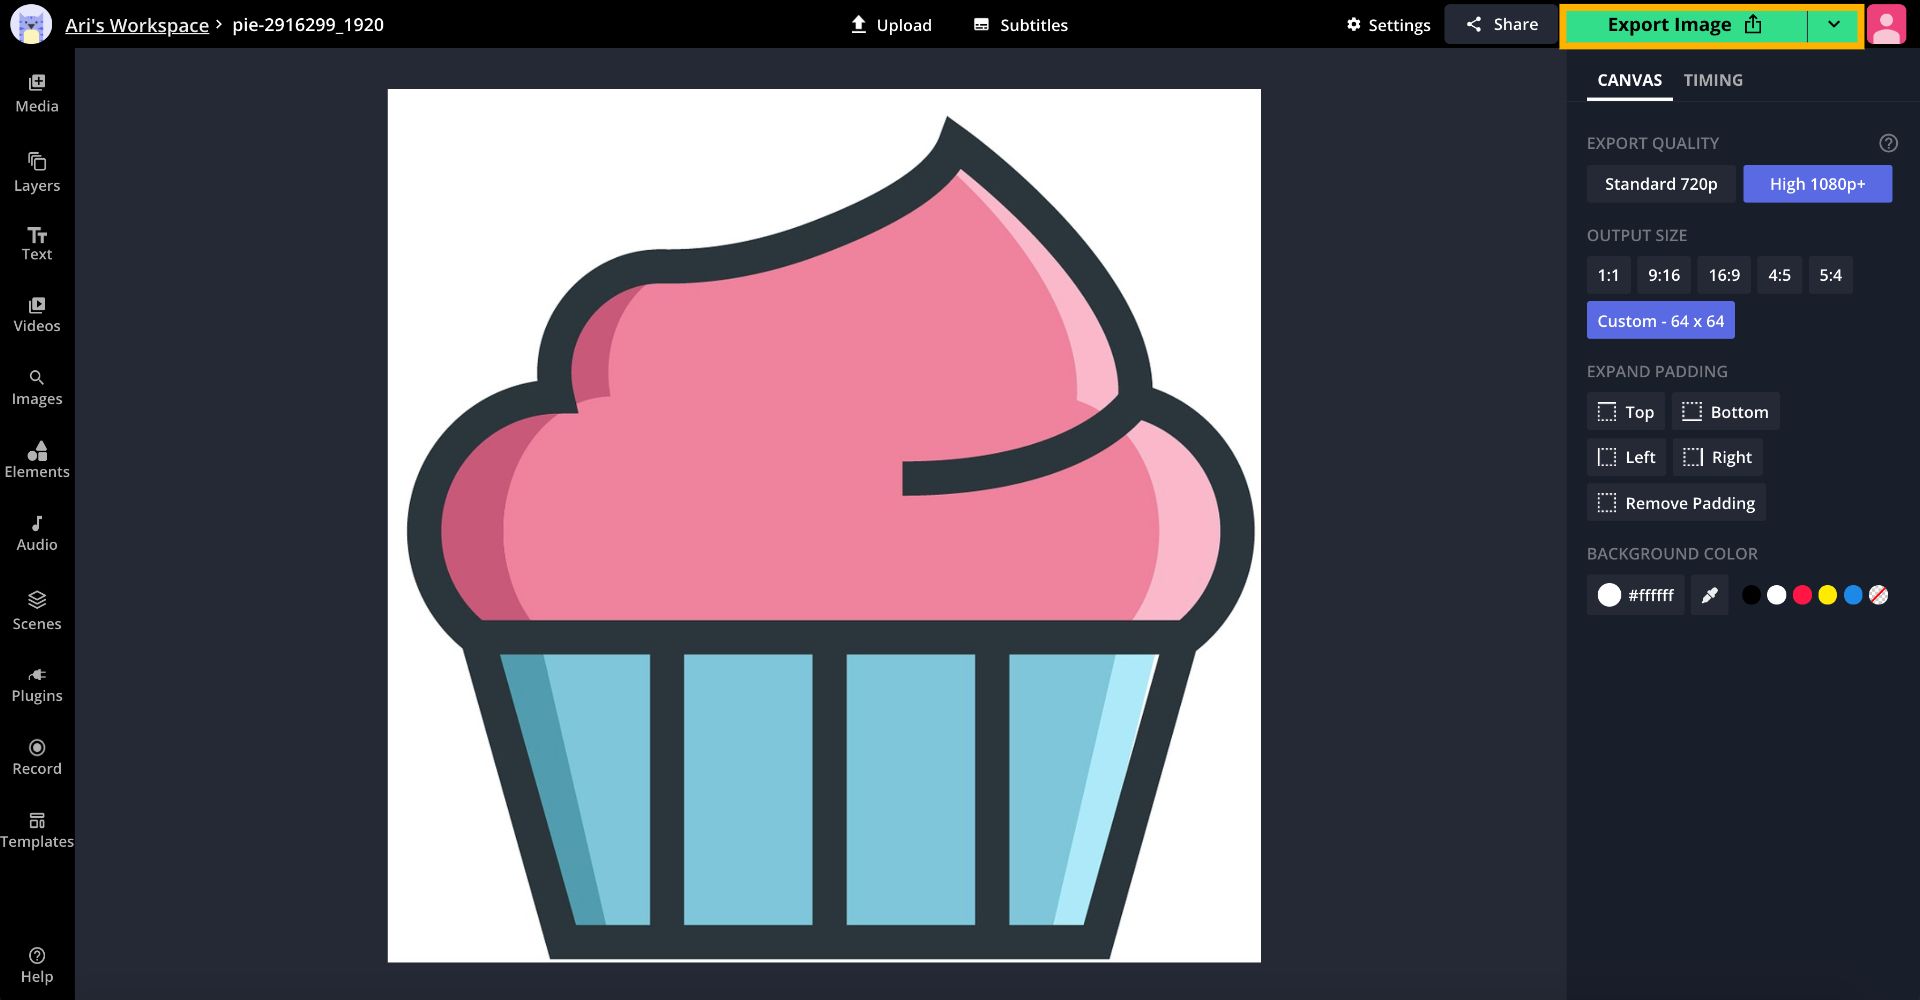
There are a few ways you can upload an image to the editor. You can click Upload, paste an image link, or drag and drop the file onto the canvas. Once your image loads, click Custom under Output size on the right side of the Studio, then change the dimensions to 64x64.
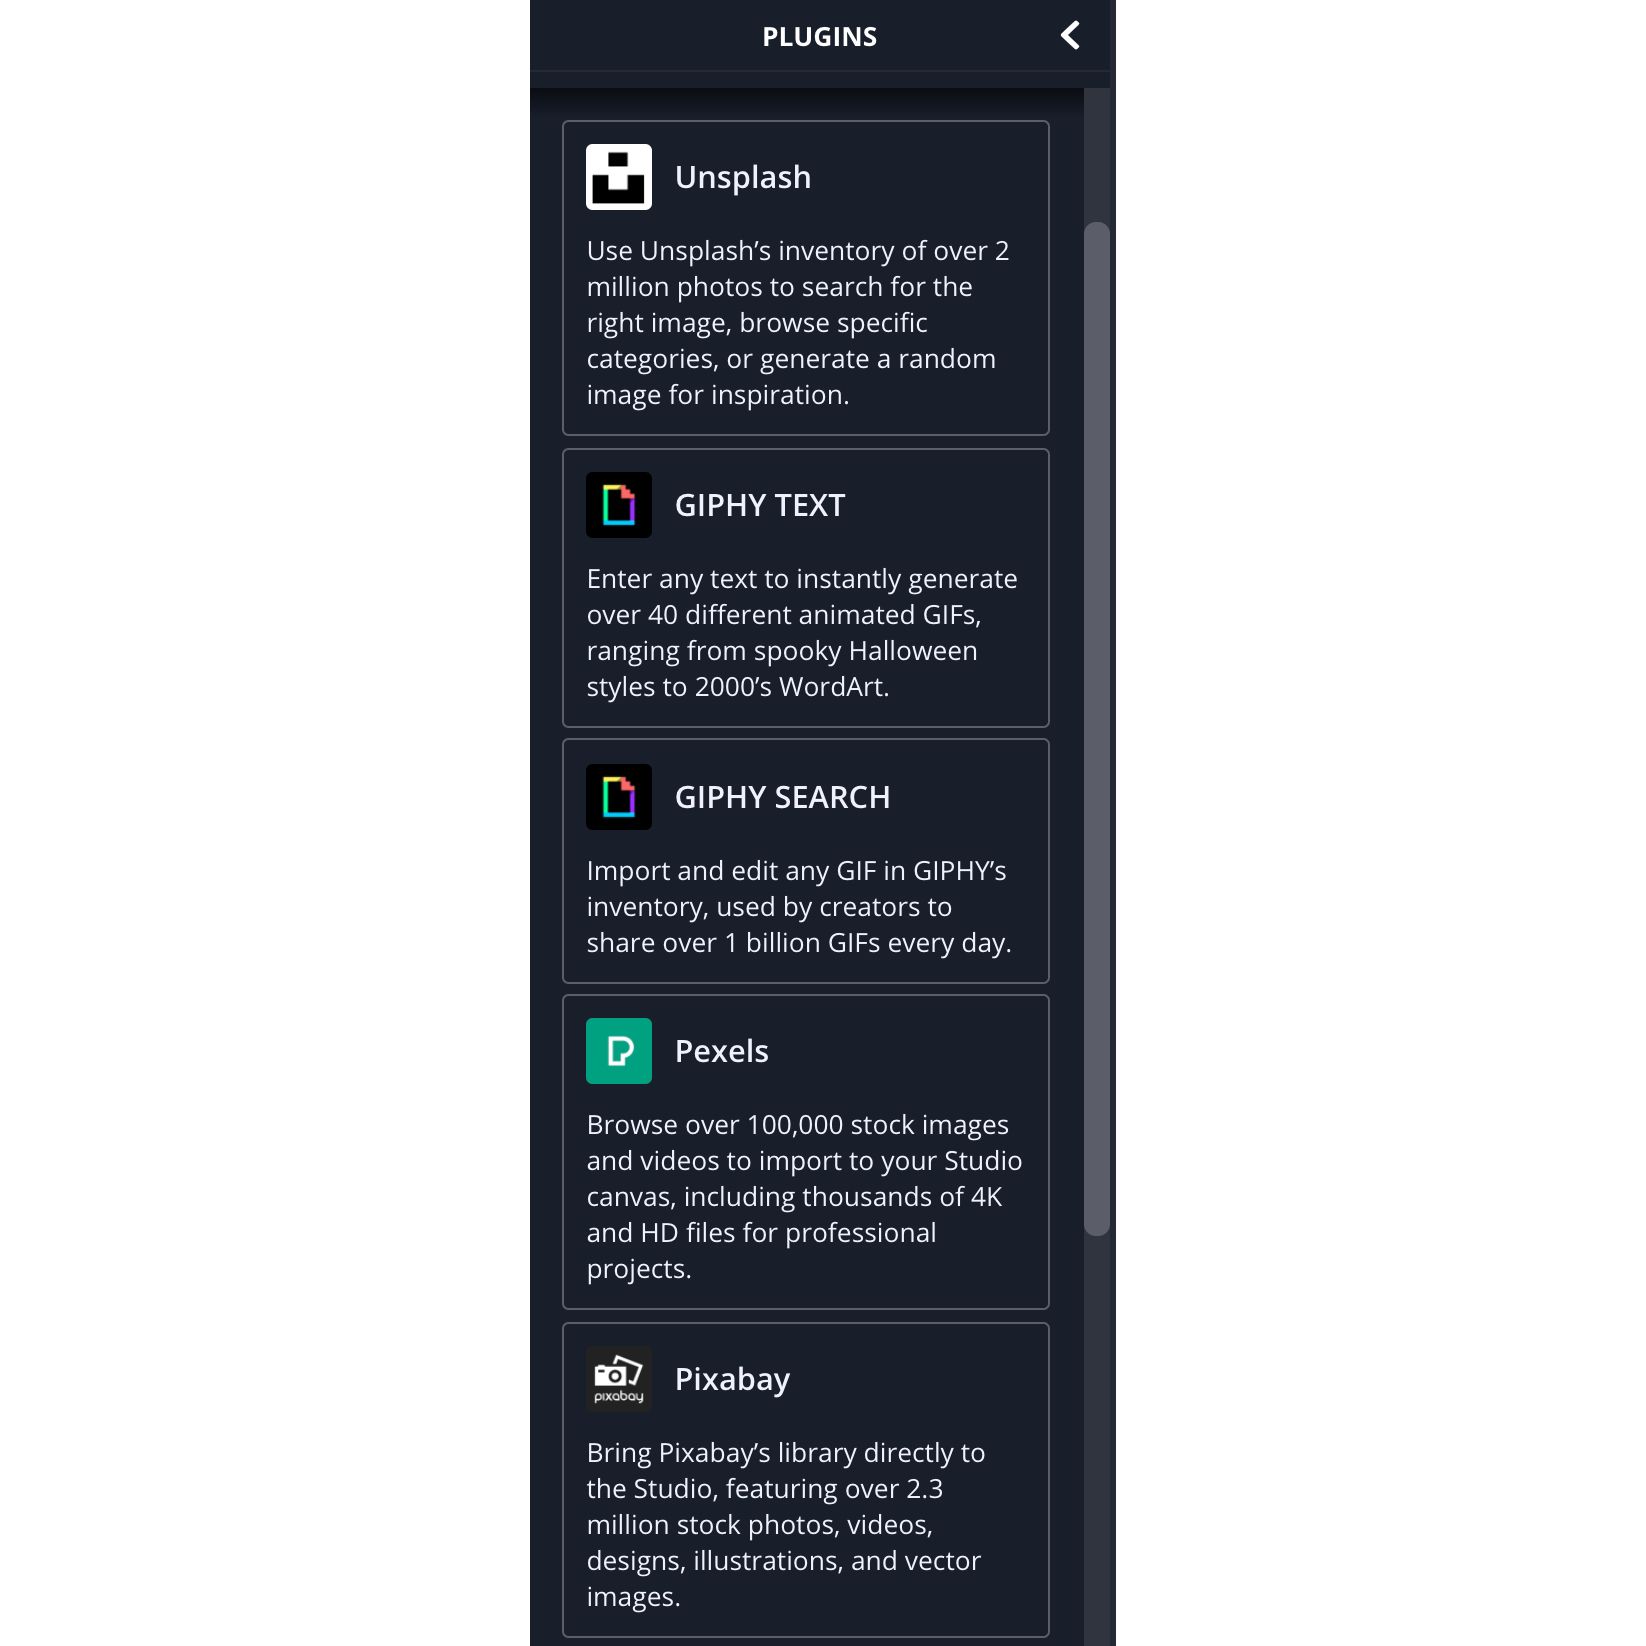
If you're still looking for the perfect picture to serve as your icon, click Plugins then browse Pexels, Unsplash, and Pixabay until you find something you like. Each option provides high-quality images you can freely use and modify.
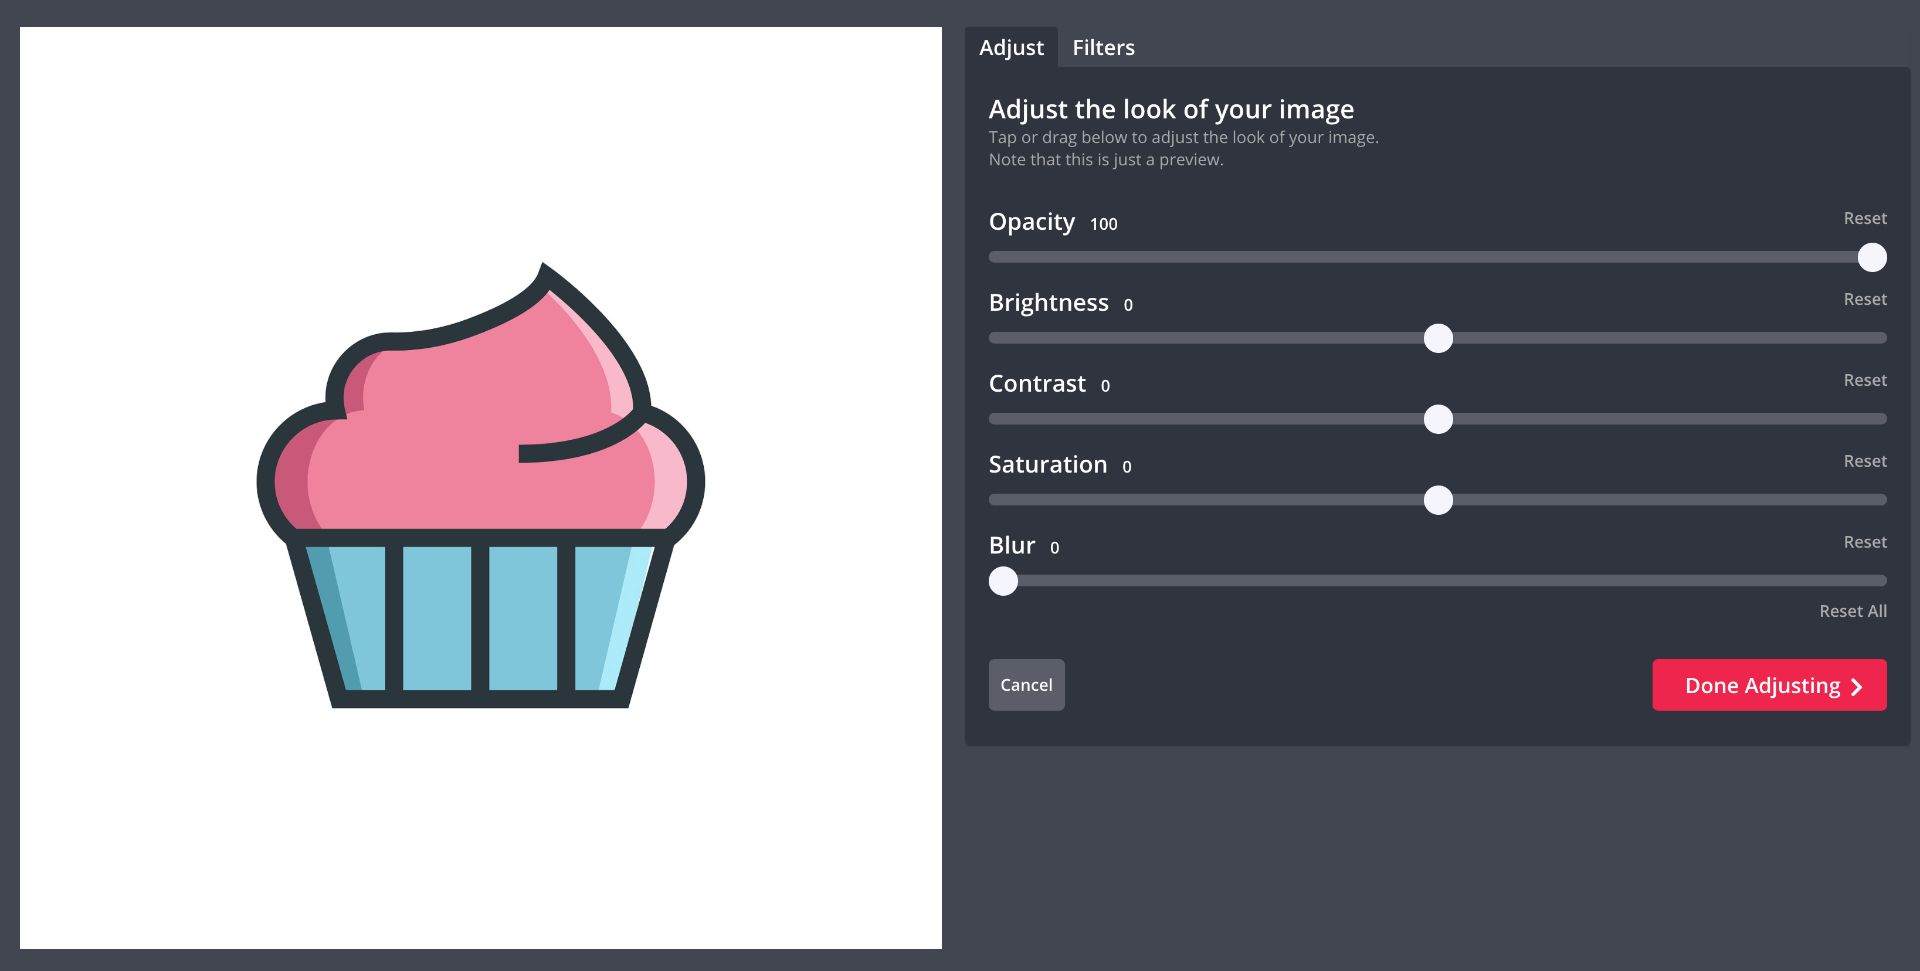
You can make additional edits to your role icon for added flair. Click Adjust and drag the sliders from left to right under each setting to change the look, and click Filters to browse through 17 unique options. You can use the crop tool to highlight a specific portion of an image, then resize the canvas again by clicking Custom then typing 64x64 pixels.
Try these trending Discord tools:
Step Three: Export and Download
When you finish editing the role icon, click Export Image in the top right corner of the Studio. After the icon processes, give your image a filename you can easily remember, then click Download to save it to your device. If you see a small watermark in the corner, sign in with an email address to remove it, then download your image.
Step Four: Upload Role Icon to Discord
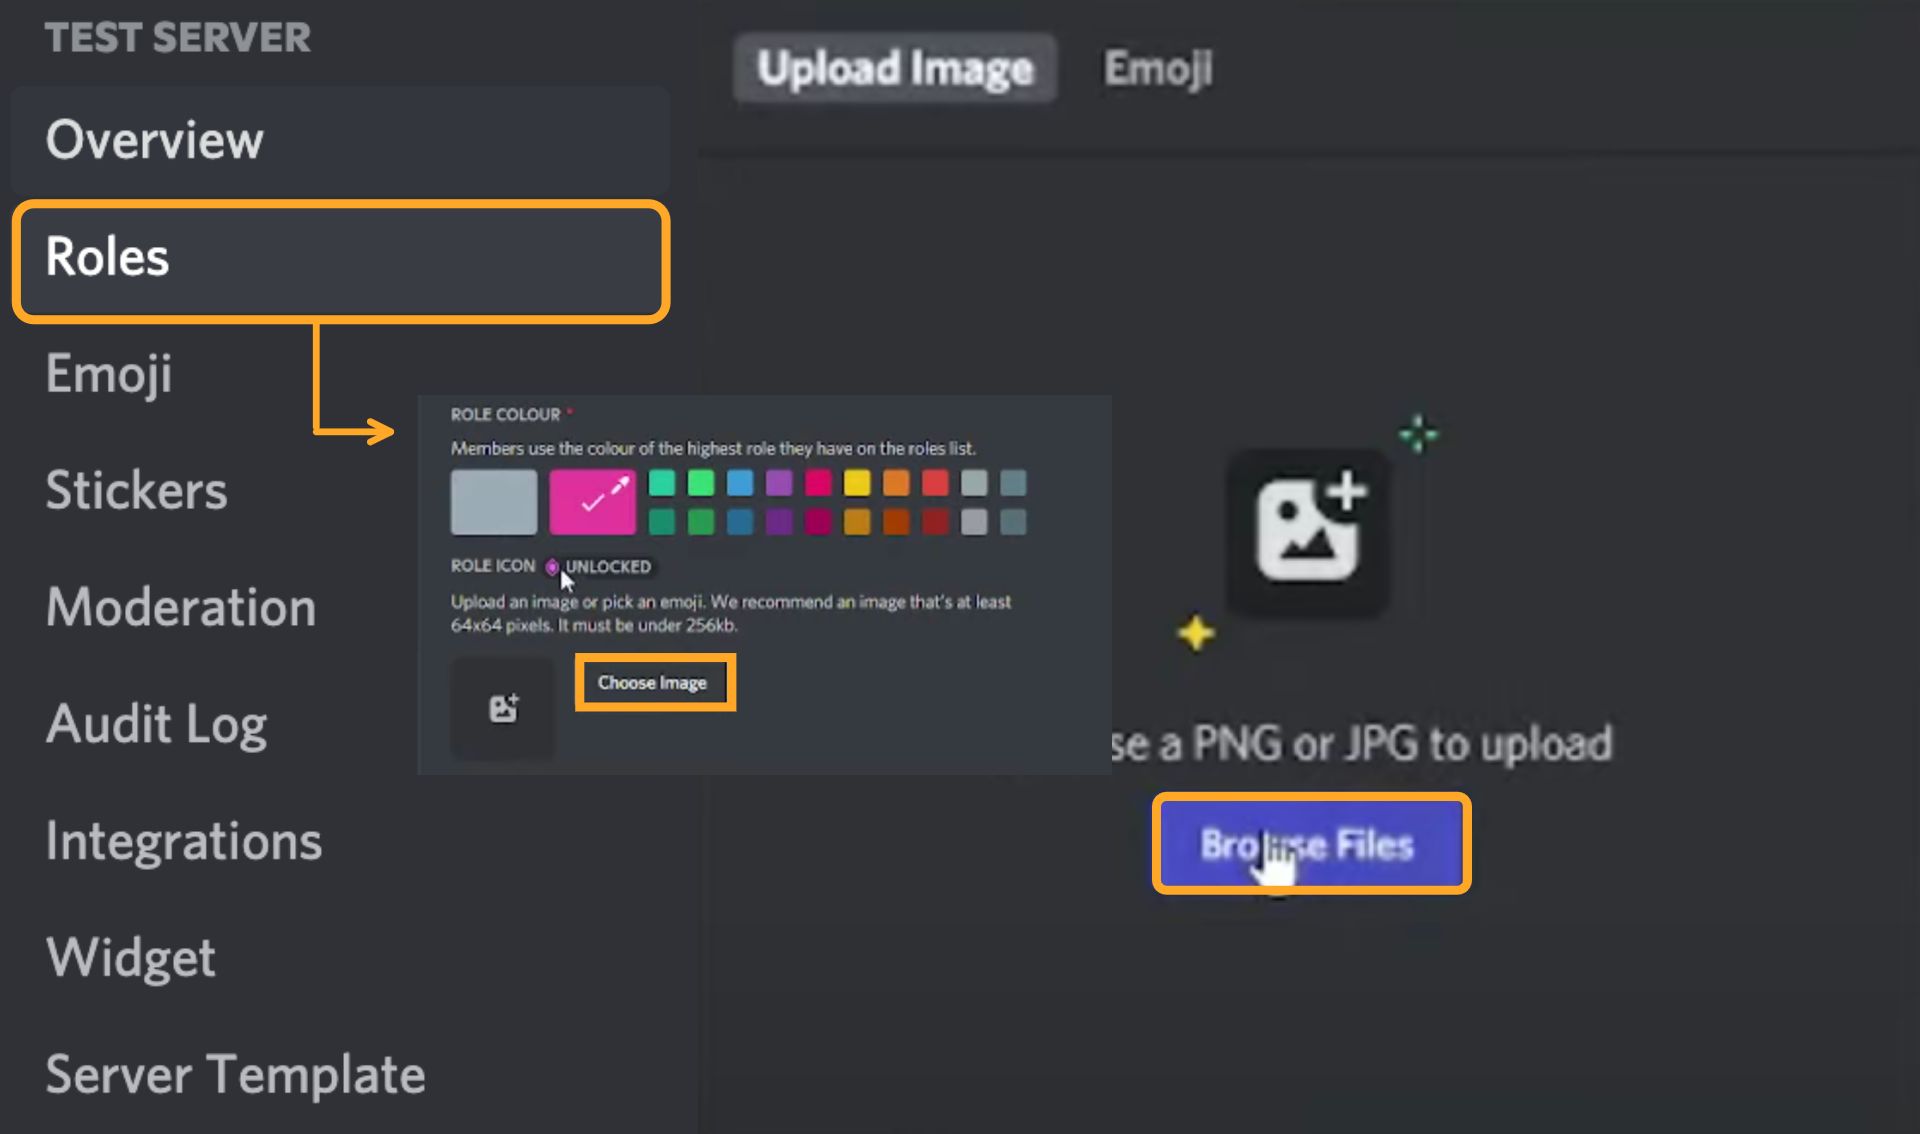
To debut the new icon, launch your server, then click the down carrot next to the server name at the top left corner. Click Server Settings, then Roles and choose a role to customize. Under Role Icon, click Choose Image, then Browse Files to upload your 64x64 image. Your image needs to be under 256kb to appear. After uploading your icon, click the green Save Button at the bottom of the screen. Now, your custom role icon is visible to members!
Watch our video tutorial below to make your own custom Discord role icons.
Enter your email below to get the latest Discord tutorials and read the related articles to continue stylizing your server. Subscribe to our YouTube channel for trendy tutorials and content creation tips, then head over to Instagram and Twitter to give your feedback. We always look forward to hearing from our creators!
Related Articles
- How to Create a Discord Server Banner Background
- How to Make an Invisible Profile Picture on Discord
- How to Make a Profile Banner for Discord
- How to Make a Discord Server Invite Background

