The Best Voice Over Equipment for Beginners (What Our Team Uses to Record)
Get our best voice over equipment recommendations for marketers, plus what voice over gear you can skip.
From in-depth tutorials to short TikTok voice overs, narration is an essential part of creating great video content.
Voice overs provide important context, add personality, and directly change the pace and tone of your videos. In short, voice overs play an outsized role in determining whether your video will be engaging—or a total flop.
But a lot of the advice online for how to build a voice over setup is geared toward professional voice over artists recording for film, not scrappy marketers who are building for brands. So, we're sharing a look at the gear we use to create voice overs at Kapwing, along with other equipment recommendations based on your goals and budget; this is a list built for marketers, assembled by marketers. Let’s get into it.
Voice over recording equipment for marketers
In order to start recording voice overs, you’ll need recording equipment—shocker!
You'll want to avoid "shiny new object" syndrome and skip investing in piles of gear before knowing exactly what you need and testing the waters. Fortunately, there are really only a few essentials you need to get started with voice overs.
1. A good microphone
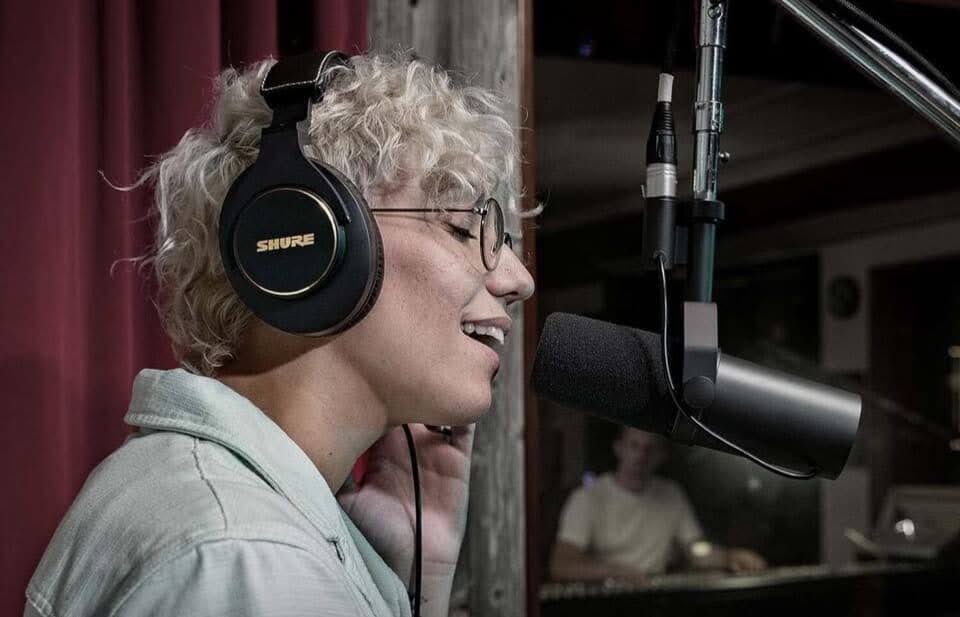
Good audio quality is arguably more important for videos than the actual video quality. No one wants to sit through static-filled, tinny audio. Now, that doesn’t mean you need to run out and buy the most expensive microphone on the market. There are plenty of great microphones available for a reasonable price.
Generally, cardioid microphones with an XLR connection are the go-to choice for voice overs if your budget allows for one, although there are a few less expensive USB mics that can get the job done. In short, microphones with a cardioid pattern primarily capture sound from the front of the mic, which reduces unwanted noise and results in richer, fuller-sounding voice recordings.
Our gear picks:
- Mid-range ($99): The Blue Yeti mic. This is one of the best USB microphones on the market; it provides good sound quality for the price and ease of use. This is a good pick for beginners who want a mic they can just plug in and start recording with.
- Higher-end ($250): The Shure MV7. This is an XLR microphone with the option for USB connection, which gives you some room to grow–start out with USB recording then switch to XLR as you add to your voice over gear kit and knowledge base.
2. An audio interface
What is an audio interface and why do you need one? Put simply, audio interfaces do two main things:
- Convert your recording from analog to digital. An audio interface converts your microphone’s signal into a format that the recording software on your computer can actually recognize.
- Boosts the mic level audio to line level. Most audio interfaces also contain a built-in preamp. The preamp boosts audio levels before the recording is converted to digital, reducing the need for excessive post-processing that could add distortion.
Many interfaces will also feature knobs and dials for custom level adjustment while you record as well as stereo output for sound monitoring through headphones or speakers.
If you’re using a USB microphone, no extra interface is required. USB microphones record in digital, not analog, and they have an internal preamp, so you can simply plug the mic into your computer. For a lot of marketers, a USB microphone will likely be good enough to capture voice over audio.
XLR microphones, however, do require an audio interface.
Our gear picks:
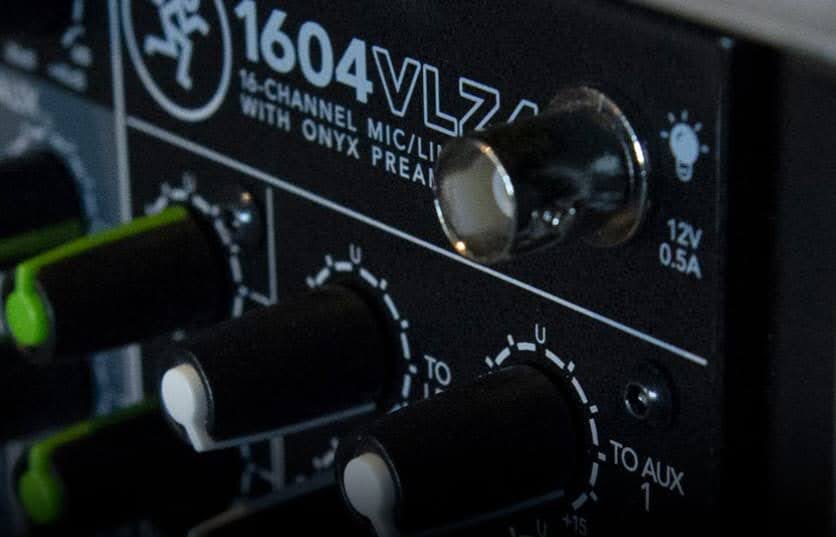
- Mid-range ($130): The Mackie 402-VLZ4. Popular for its zero-latency headphone monitoring and durability–users say it’s “built like a tank.” Greg, our Head of Content, uses this 4-channel analog mixer with his Shure SM7B microphone.
- Mid-range ($150): The Zoom P4 Podtrak. Popular for its compactness, portability, and ease of use, the Podtrak is favored by podcasters. Jack, our Video Content Strategist and former full-time podcaster, uses this with his Shure SM7B mic.
- Higher-end ($200+): The Focusrite Scarlett 2i2. Popular for its high-fidelity recording, user-friendly design, and built-in anti-clipping features, the Scarlett is a longtime favorite among VOAs. Meghan, our Editorial Content Strategist, used the Gen 2 model for audiobook narration and voiceover work. The newer generations have only improved on an already solid interface.
3. A microphone stand
Some microphones come with their own mic stands. This is particularly common with the USB mics. Unfortunately, they’re usually desktop stands, which don’t capture sound as well as a mic arm.
While recording, your microphone should be directly in front of your mouth, not below it. An adjustable mic arm allows you to position the mic at the correct height and distance to capture clear audio. There are plenty of options out there at all price points but we recommend steering clear of anything too budget.
What to look for in a mic arm:
- Sturdiness. You want a sturdy arm that will be able to hold the weight of your microphone and that won’t bounce around at the slightest movement.
- High-quality clamp. Look for something with a strong clamp that won’t damage your desktop. A felted or silicone lining on the inside of the clamp is key.
- Standard adapter. Your mic arm needs to be compatible with your microphone. Look for a standard 3/8" to 5/8" adapter, which will work with most mics and shock mounts.
- Smooth movement. The ideal mic arm should have a balance of strength and flexibility–making it easy to move the mic toward or away from yourself but staying put once you move it.
4. A pop filter
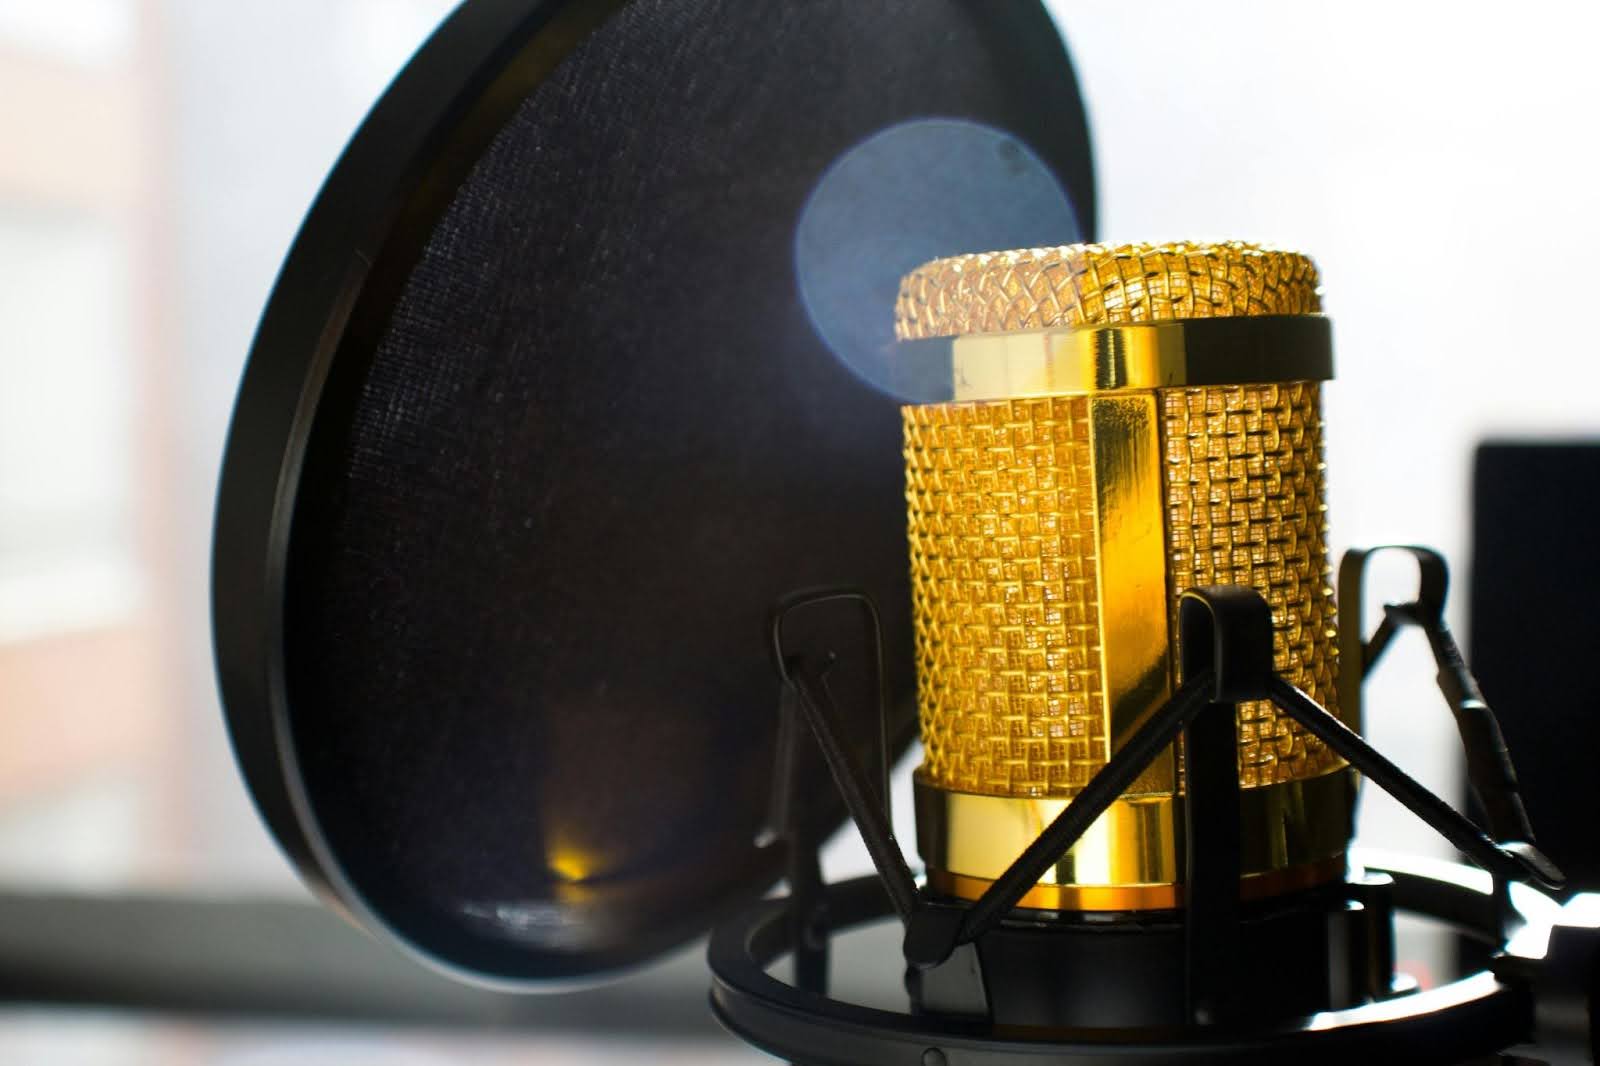
You might be able to get away with no pop filter or pop guard on a higher end microphone. But a more budget-friendly USB microphone will pick up sibilance (‘s,’ ‘z,’ ‘sh,’ and ‘zh’ sounds) and plosives (‘p,’ ‘k,’ and ‘t’ sounds) like nobody’s business. These can sound harsh and distracting to your listeners.
The double layers of mesh inside the pop filter disperse airflow as you speak, so plosives don’t send quite so much air into the mic. Most pop filters will run about $8 to $15.
What to look for in a pop filter:
- A sturdy clamp. The most common pop filter design is built to clamp onto your mic stand or arm. You want a clamp that is both wide enough to fit over the stand arm and tight enough that it won’t wiggle or come loose over time.
- A long enough arm. The pop filter sits at the end of a flexible arm. You want the filter to sit about six inches away from the mic, so this arm should be between a foot and a foot and a half in length for proper adjustment.
- A wide enough filter. 6” is the standard diameter of most pop filters. This should be wide enough to cover the front of your mic. Some pop filters are designed with a u-shape, however. If you choose this kind, make sure it’s wide enough to encompass both the front and sides of the mic. This won’t work with rounder mics like the Blue Snowball or Blue Yeti.
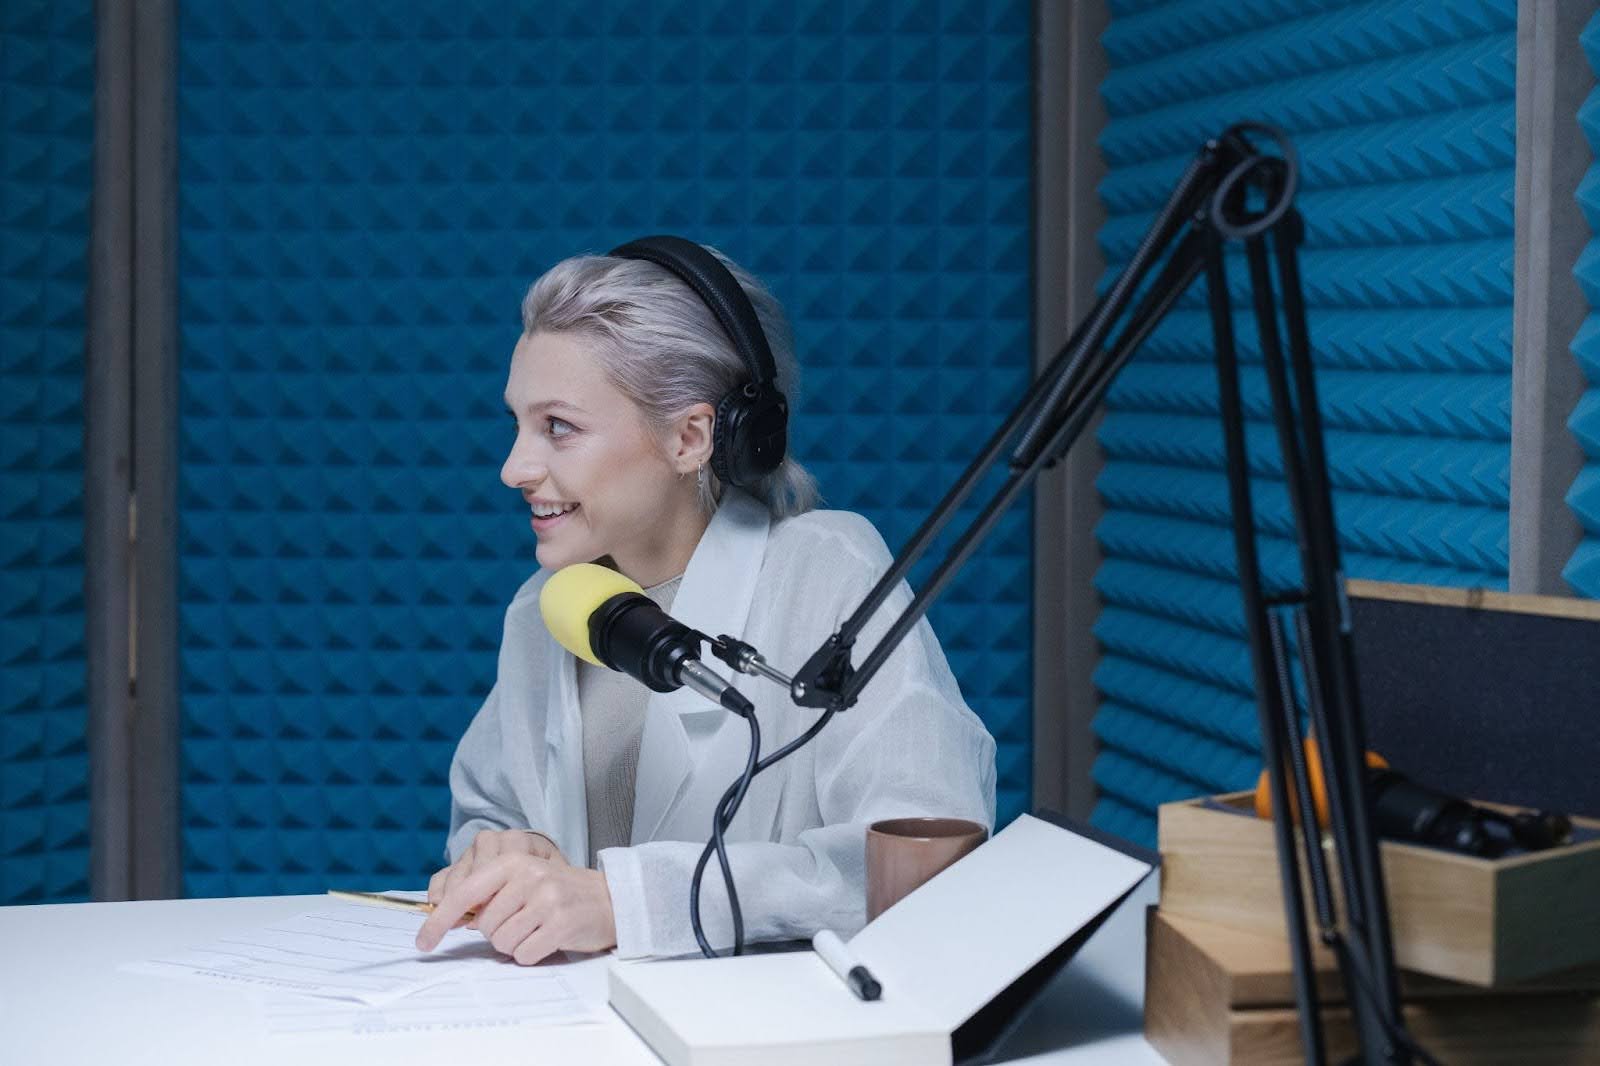
5. A quiet space to record
This isn’t necessarily a piece of equipment, although there is equipment that can help (more on that in a moment), but it is a vital part of any voice over setup. No need to build out a full recording studio. You can get decent audio as long as you choose the right space to record.
How to choose a quiet voice over recording space:
- Pick a room with carpet. Soundwaves bounce off of flat, hard surfaces, like tile or hardwood floors. Carpet, on the other hand, absorbs some of that extra sound, reducing echo in your recording.
- Pick a room without too much traffic. The break room at the office or your family’s living room are not ideal for voice over recording. Instead, choose a room where you won’t be disturbed and that’s removed from other noises in the building.
- Pick the right time of day. If the neighbors always mow their lawn at 10am on a Tuesday, maybe pick a different time and day to record. If you’re recording from your home office, avoid starting a load of laundry or running the dishwasher until after you’ve finished your voice over.
If you know you’ll be recording a lot of voice overs in your space, you can add a few sound dampening panels to the walls as an extra measure. These can run you anywhere from $40 for a 50-pack of the foam variety all the way up to $80 a panel for professional grade mesh panels.
Another option if you find yourself struggling to keep your recording room perfectly quiet, especially if the noise is coming in through the windows, is an isolation shield.
Our gear picks:
- Budget-friendly ($15): Monoprice Microphone Stand. This isolation shield easily clamps onto most mic stands and boom arms with a standard threaded mount for your microphone. The curved frame is fitted with acoustic foam that reduces ambient and reflected sound while recording. Greg, our Head of Content, uses this model to capture smoother audio with less background noise.
6. Audio editing software
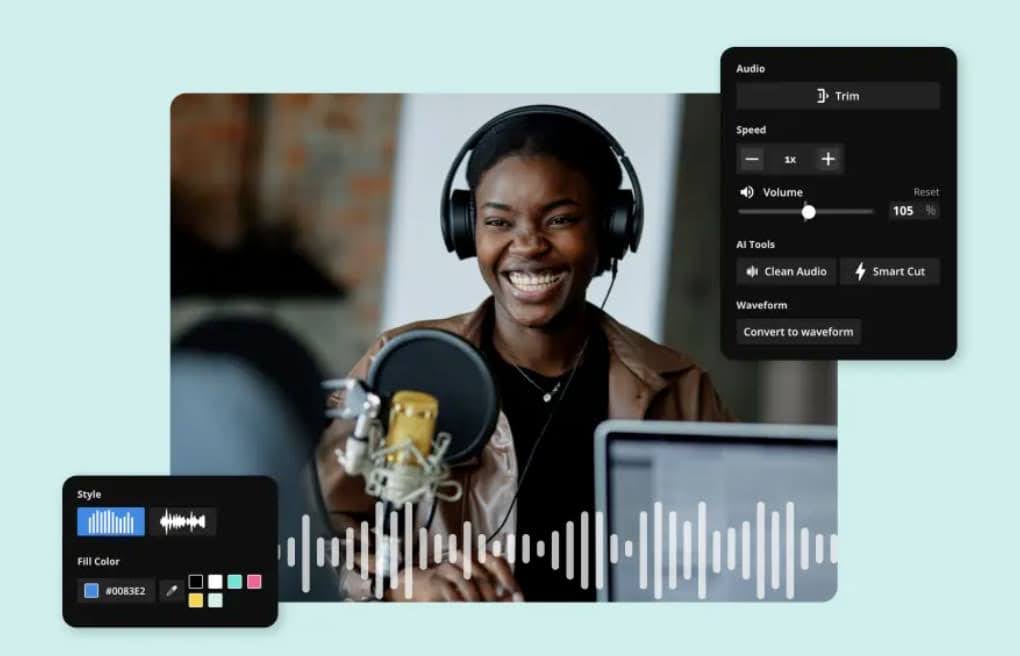
The last thing you need to create great voice overs is some way to edit your audio. There are plenty of audio editors out there, but many of them have a steep learning curve. With the right software, though, you don’t need to learn audio engineering from the ground up.
What to look for in an audio editor:
- Auto-leveling. Even if you have no idea what a dB is, an audio editor with auto-leveling will help you produce clear audio with consistent volume and no clipping.
- Smart noise removal. Instead of fussing with noise floors and preset filters, find an editor with automatic noise removal that removes background noise, pops, static, echoes, etc.
- Filler word removal. If you record voice overs off the cuff without a script, the ability to automatically remove long silences and cut filler words (like ‘um’ and ‘uh’) from the audio will save you time while editing and make your final video sound that much more polished and professional.
- Text-based editing. Edit out mistakes and multiple takes by editing the transcript instead of scrubbing back and forth through the audio.
We also recommend using an editor that supports video editing as well. It’s much easier to do all of your editing in one place, rather than moving between tools, downloading and uploading MP3 or WAV files, and learning multiple softwares.
Create a voice over with no voice over equipment
You don’t have to wait on your new voice over equipment to arrive to start making professional sounding voice overs. In fact, you don’t have to buy any recording equipment at all if you don’t want to.
Thanks to AI, you can now use text-to-speech to generate realistic sounding voice overs. Using a tool like Kapwing’s voice over generator, simply type in your script, choose the AI voice you want, and with just a few clicks you’ll have a high-quality voice over to add to your video.
You can even generate AI-powered voice overs that sound like your own voice by using voice cloning. All you need is a few samples of your voice to train the AI.
Ready, set, record
With these gear recommendations and tips, you should be able to start making voice overs for your marketing videos without breaking the bank or taking night classes in audio engineering.
As with most things in video marketing, the quality can be good if the content is great, so don’t stress over having the perfect equipment and setup. The only non-negotiable thing you need to make an engaging voice over is a solid video idea.
Everything else is icing.