How to Make and Edit a Bio Photo for Any Website
Your bio photo may be the first place your professional contacts see you, so it’s important to make a good impression. I'll help with everything from your photoshoot to your finishing touches.

Your bio photo may be the first place your professional contacts see you, so it’s important to make a good impression.
You probably want these to have the highest quality of all your online pictures – you might dress up for them, or make them black & white for an extra polished look. But you don’t need to schedule a shoot with a professional photographer to get a professional-looking bio photo! I’ll show you how to format and arrange the perfect bio picture for free and online, using Kapwing. Here’s what you should know:
- DIY photoshoot setup
- Formatting your bio photo
- Making it black & white
- Blurring the background
1. DIY Photoshoot Setup
You don’t want to take a selfie for your bio photo, but you don’t need a phenomenal camera or your own tripod either. There are some simple solutions to any problem you run into. Here are my main tips:
- I definitely recommend getting a friend to take your photos for you, if possible. This gives you flexibility in setting up your picture, and will save tons of time.
- You’ll want to take pictures in a light environment– windows that don’t face the sun are good sources of indirect light for portraits.
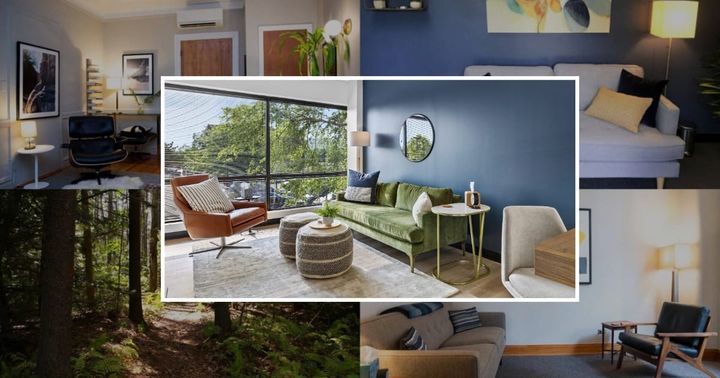
- You want an uncluttered background that gives your photo some depth of field. Backdrops like bookshelves or textured walls are perfect for your portrait’s background, as long as you’re standing at least a few feet in front of them.
- For portrait-style photos, you want your camera to be close to face level. 10 degrees or so above or below your face is fine – just see what angle you like best.
For more in-depth knowhow and tips for higher-level portraiture photographers, read through this excellent overview of how to take bio photos.
2. Formatting Your Bio Photo
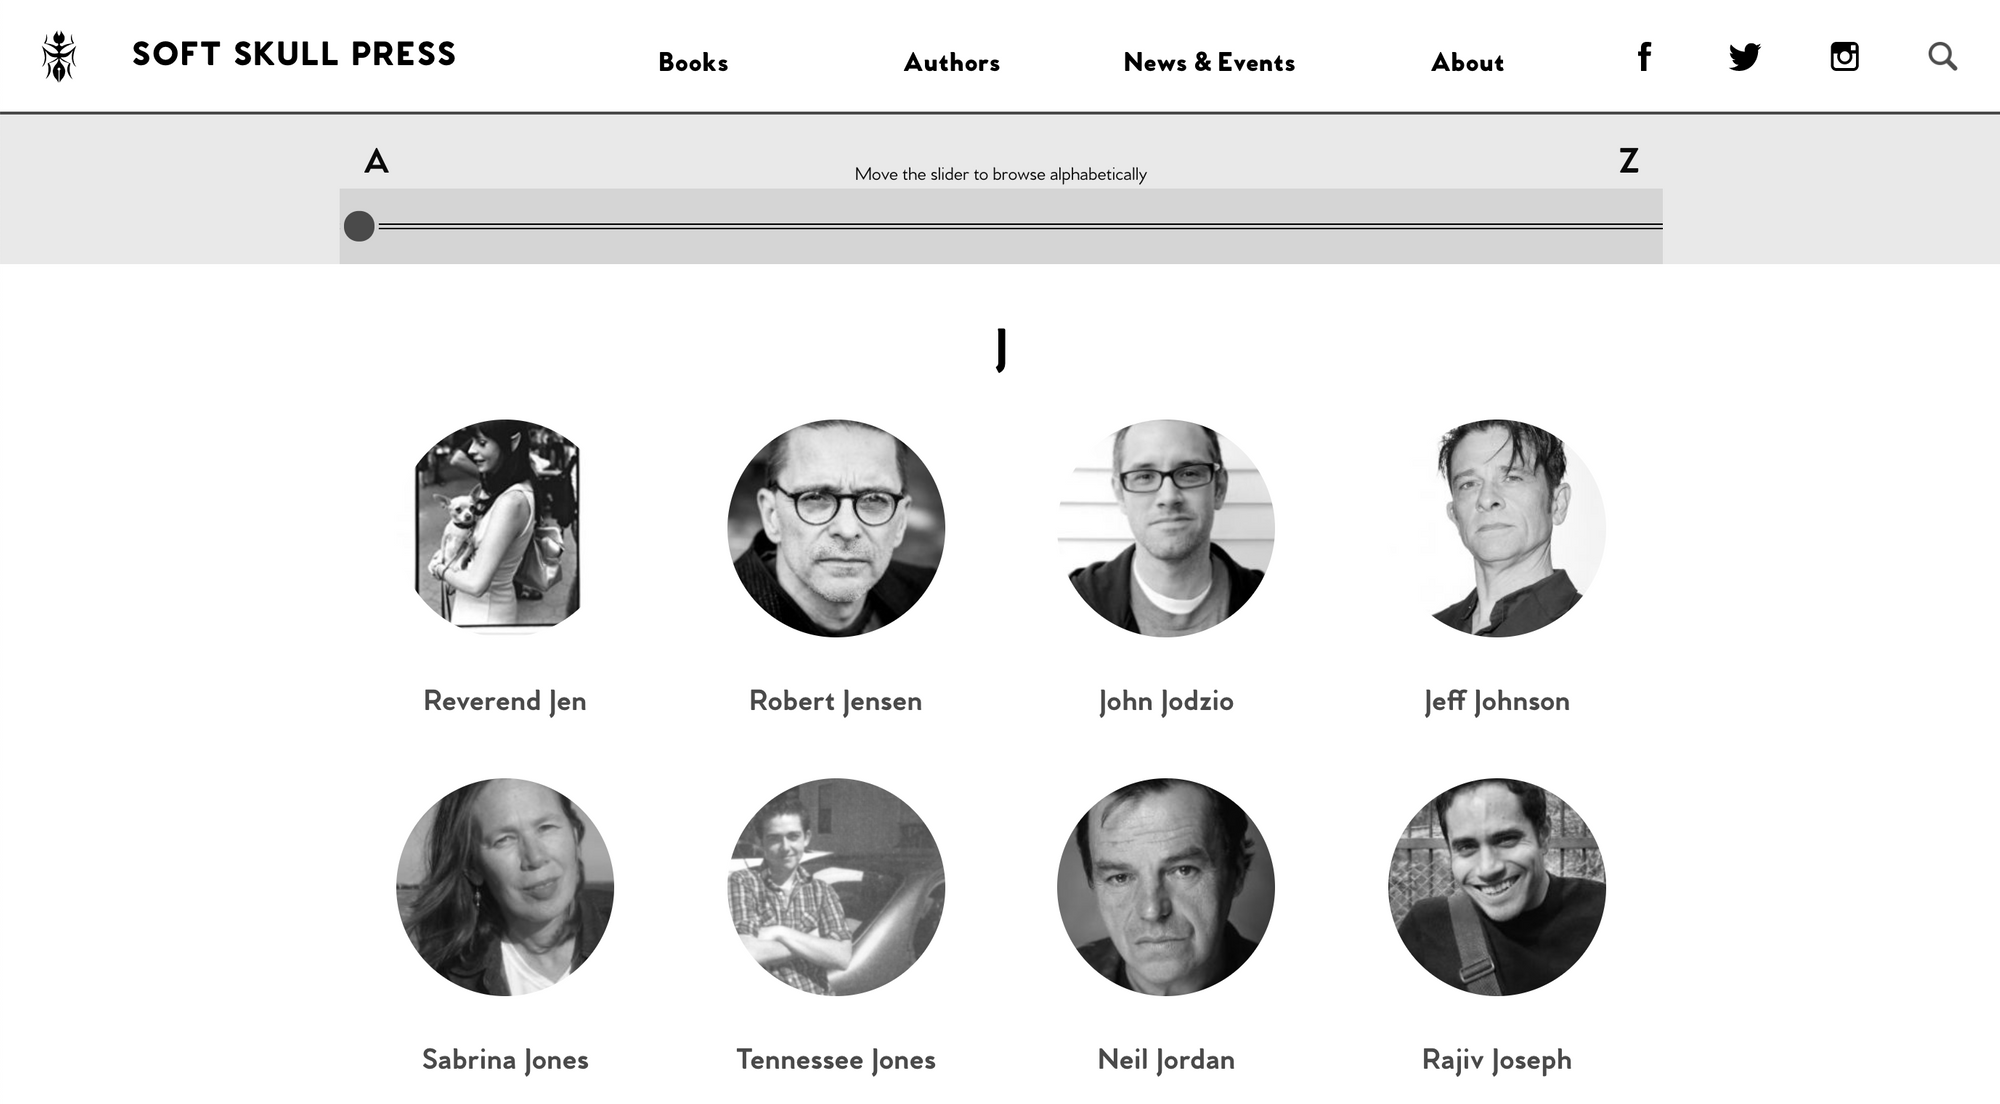
I’m not sure where your bio photo is going, and what its dimensions need to be. Some websites are able to format photos with any aspect ratio, some use taller rectangles, others need square photos, and often websites even crop bio photos to a circle. Before you start editing your picture, you should make sure you know how it’s going to look in its final form. Check out the existing bio photos posted by your company or group, and edit your own accordingly.
I recommend using Kapwing to make whatever formatting adjustments your bio photo needs. Just go to the Studio and drag your image onto the canvas to get started. Here’s a basic rundown of how you should format you picture for different types of bio photo:
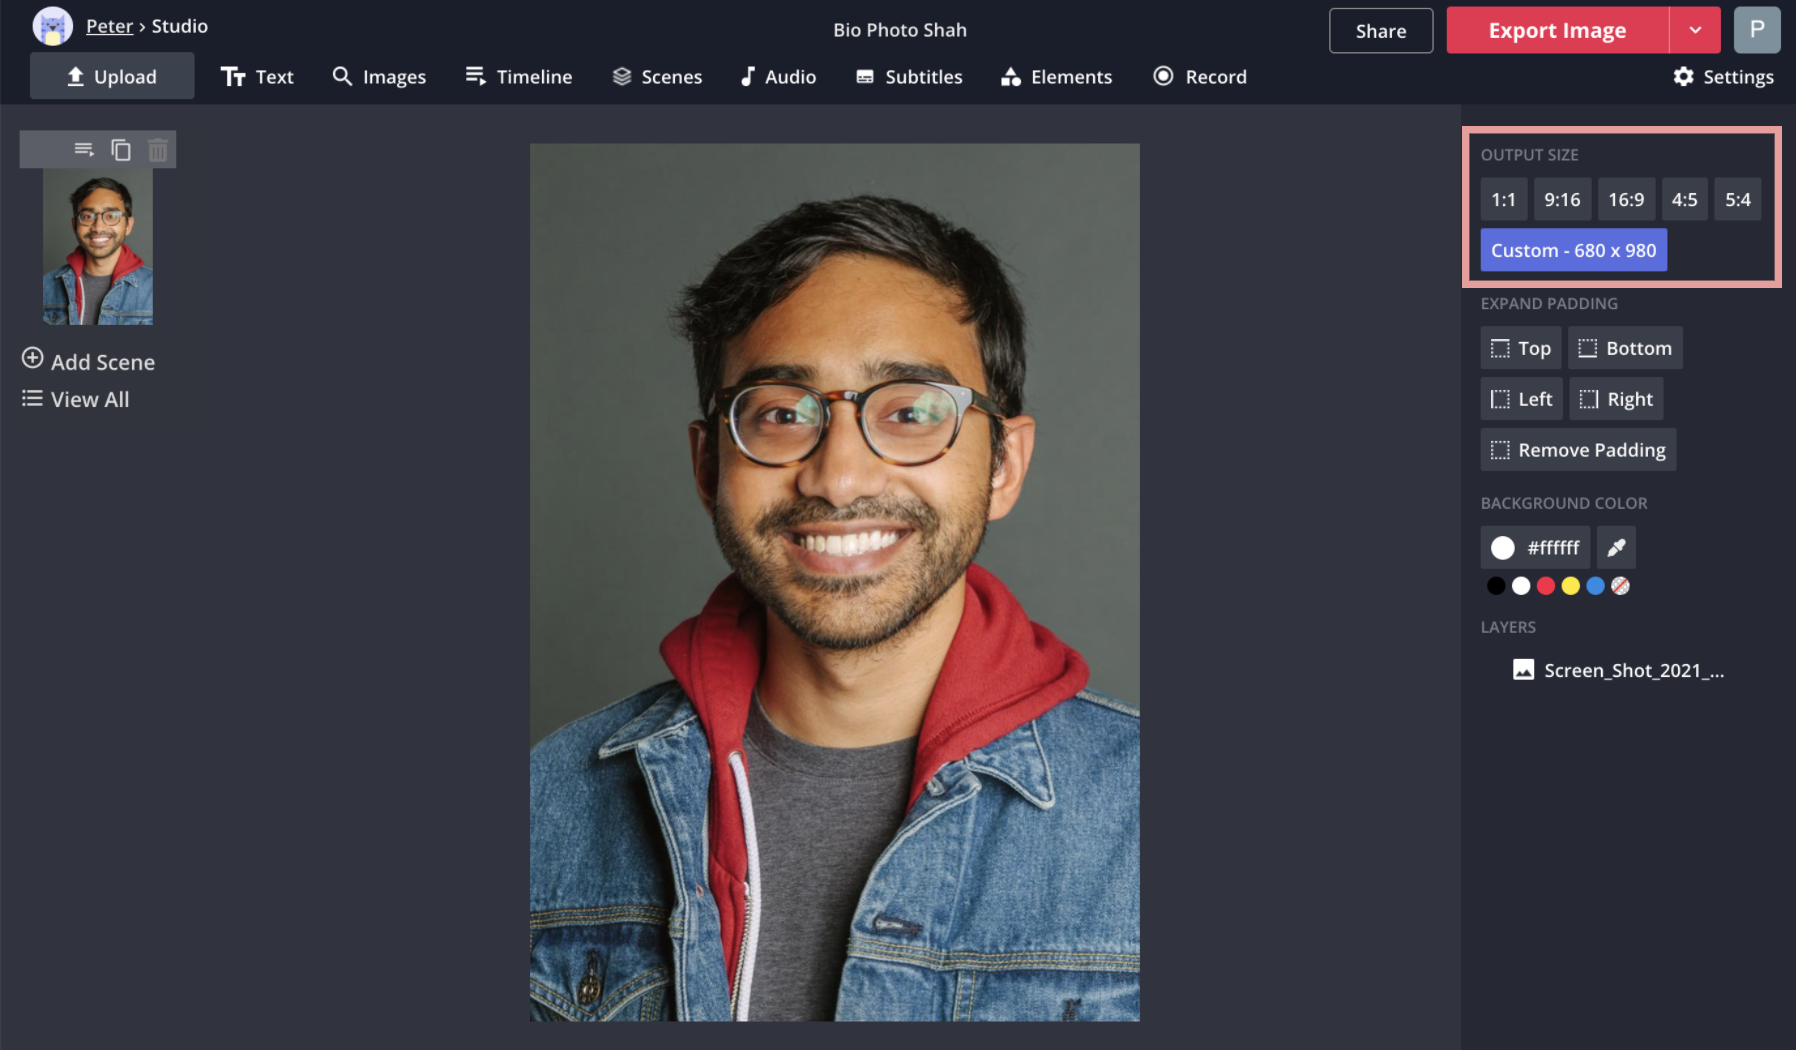
No requirements: If your photo destination can handle photos with any aspect ratio, you should still format your bio picture as well as possible. Crop out unnecessary parts and zoom in as much as you need to draw attention to your face. Make sure your face is mostly centered or a bit higher than the center of the frame.
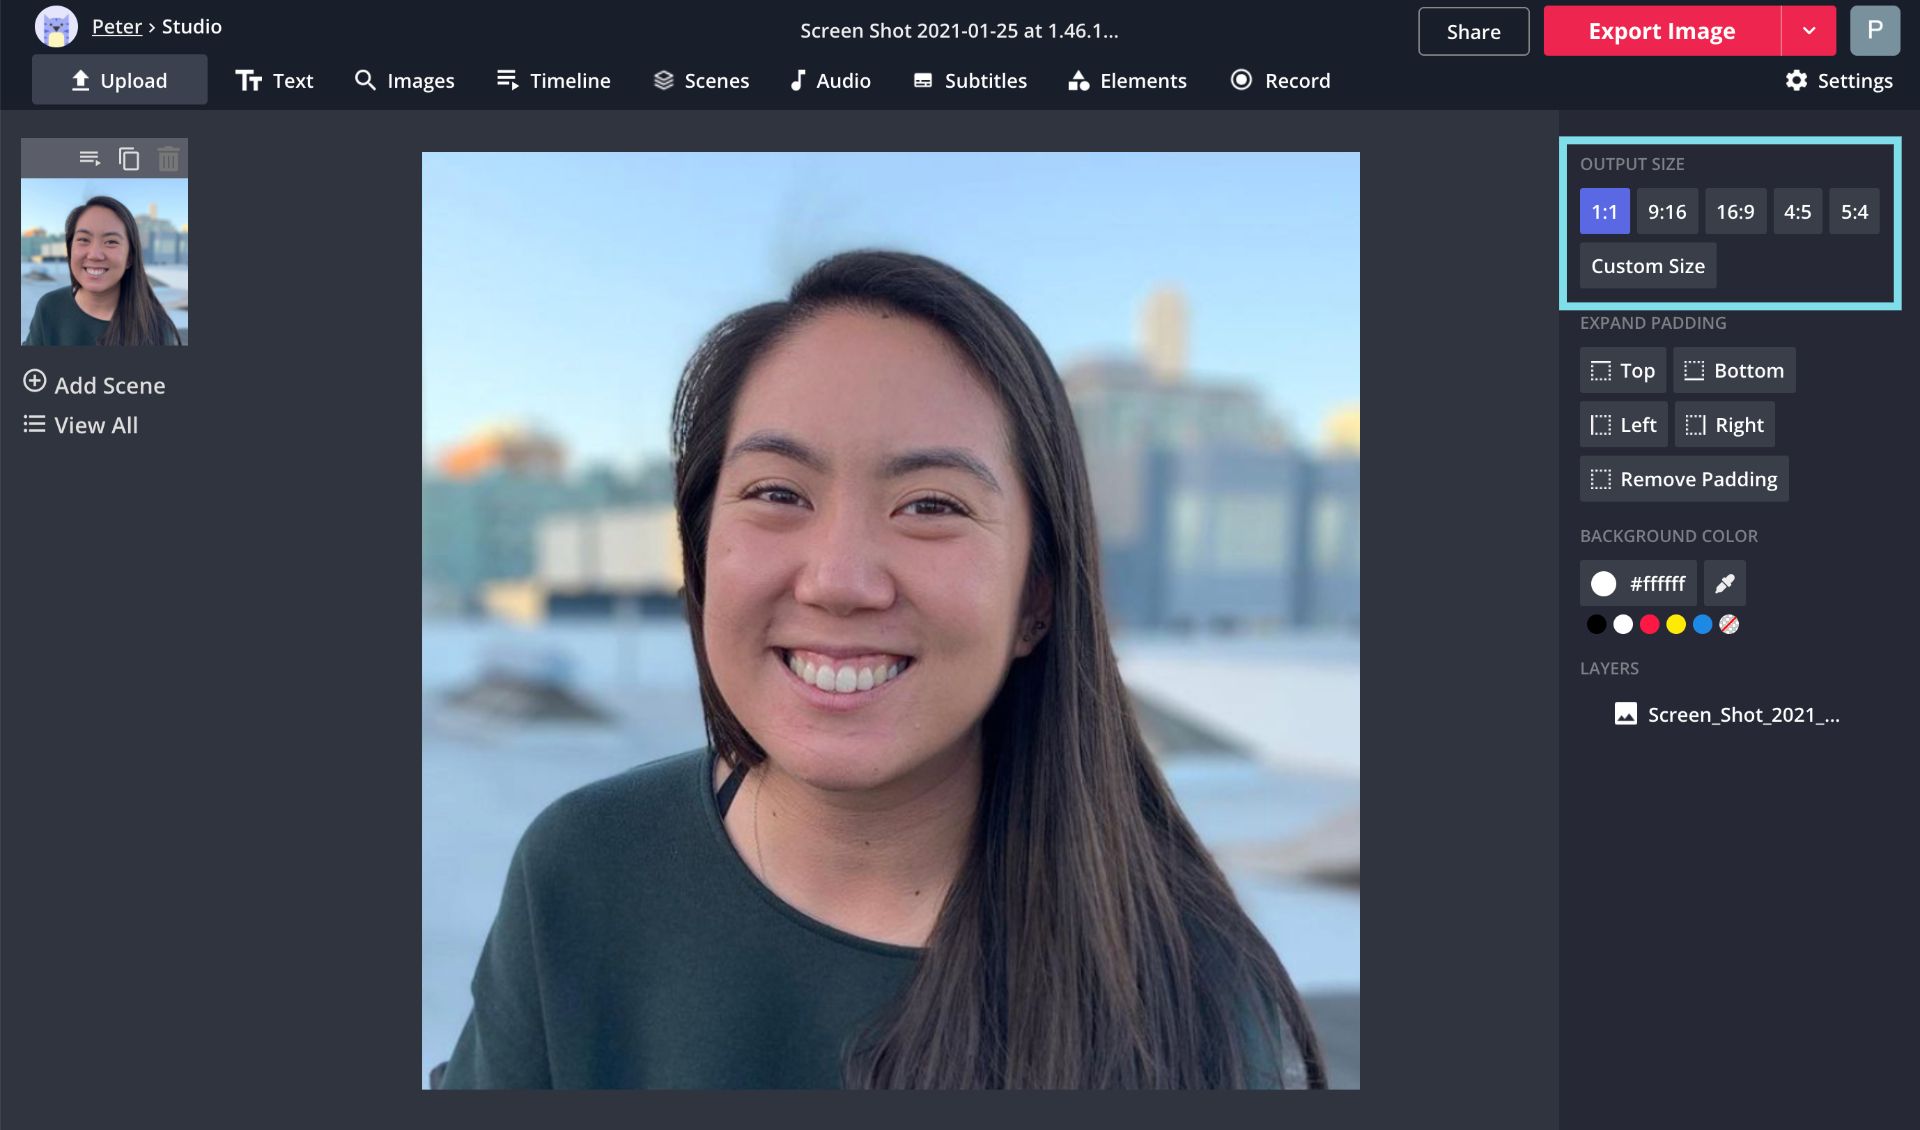
Square: The most common aspect ratio for a bio photo is probably square. In the Kapwing Studio, select your photo layer, choose the Crop tool, and select Square (1:1). Drag the crop area and its corners to frame the photo the way you want. Make sure your face is the focal point of the frame, and center it left to right.
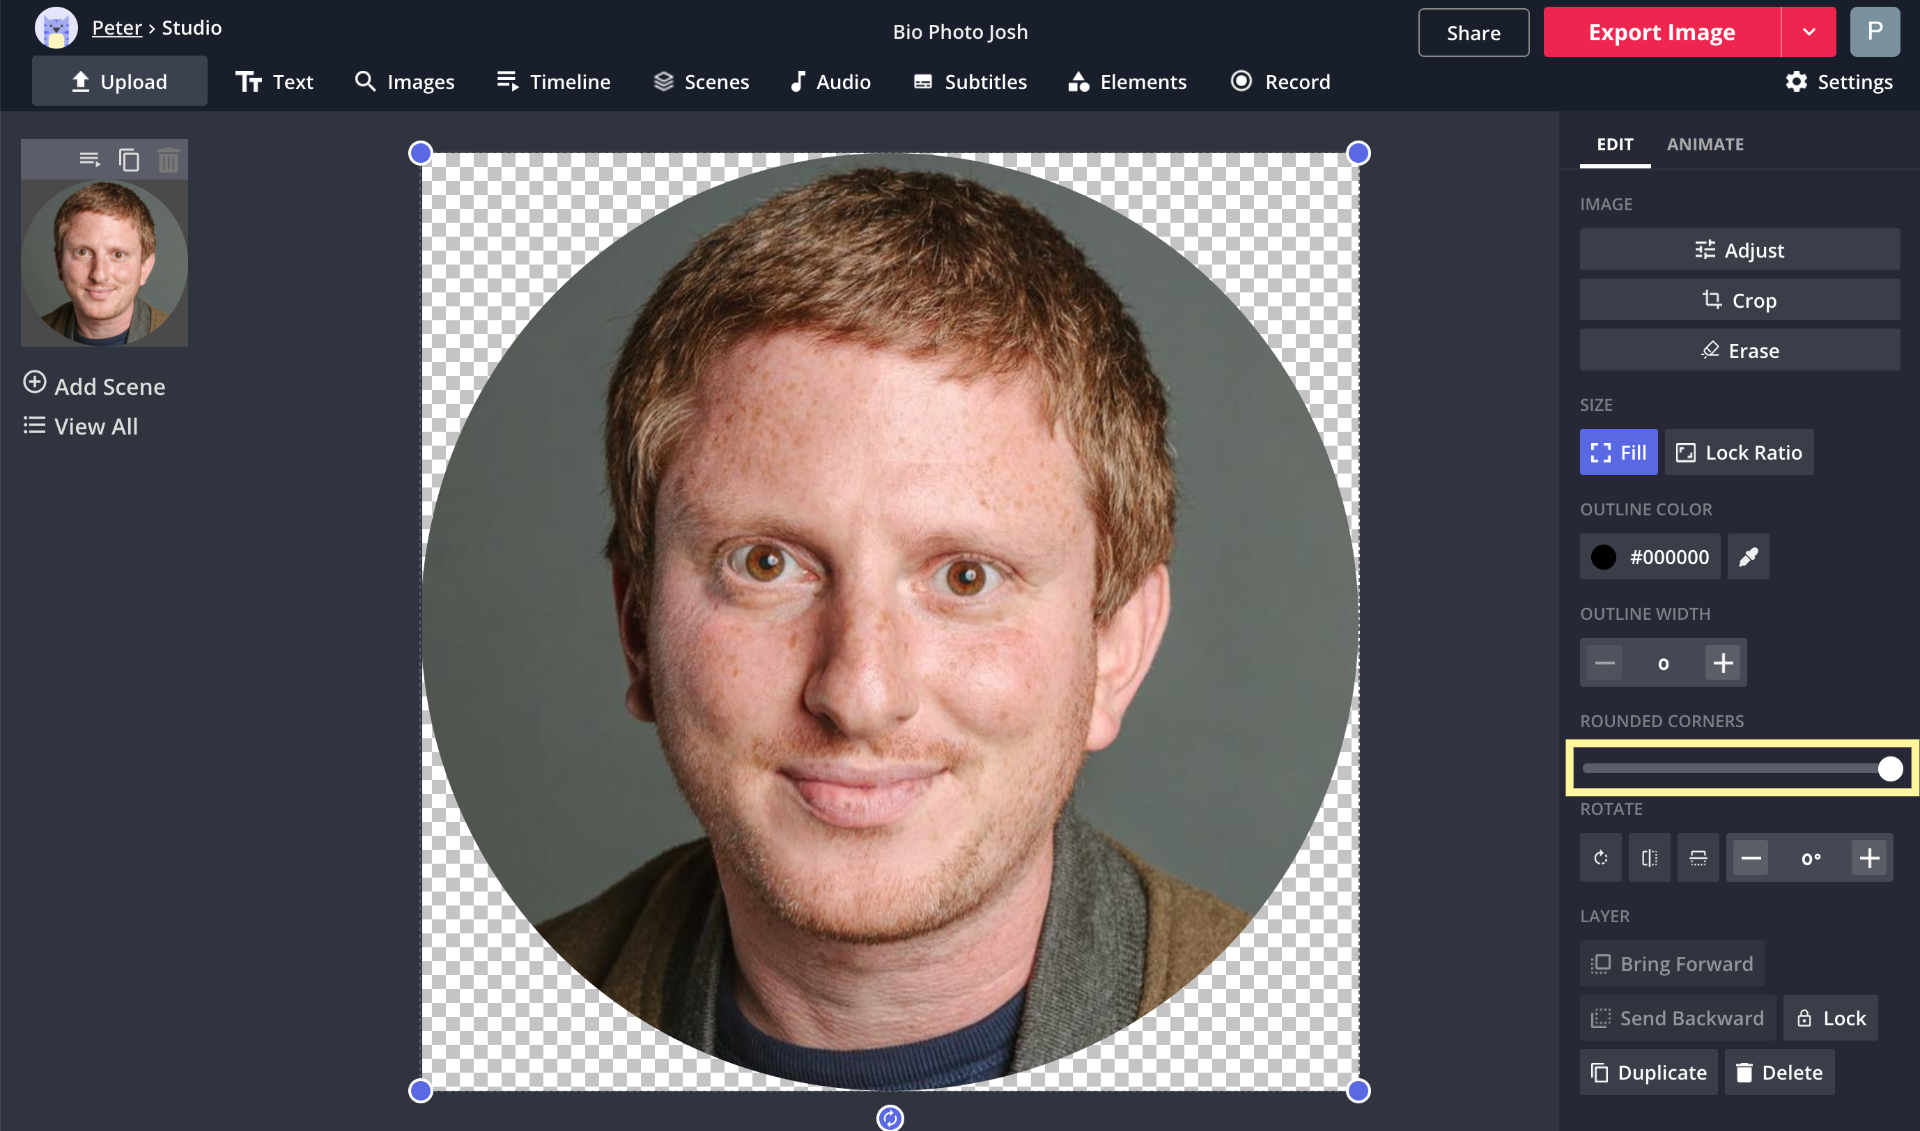
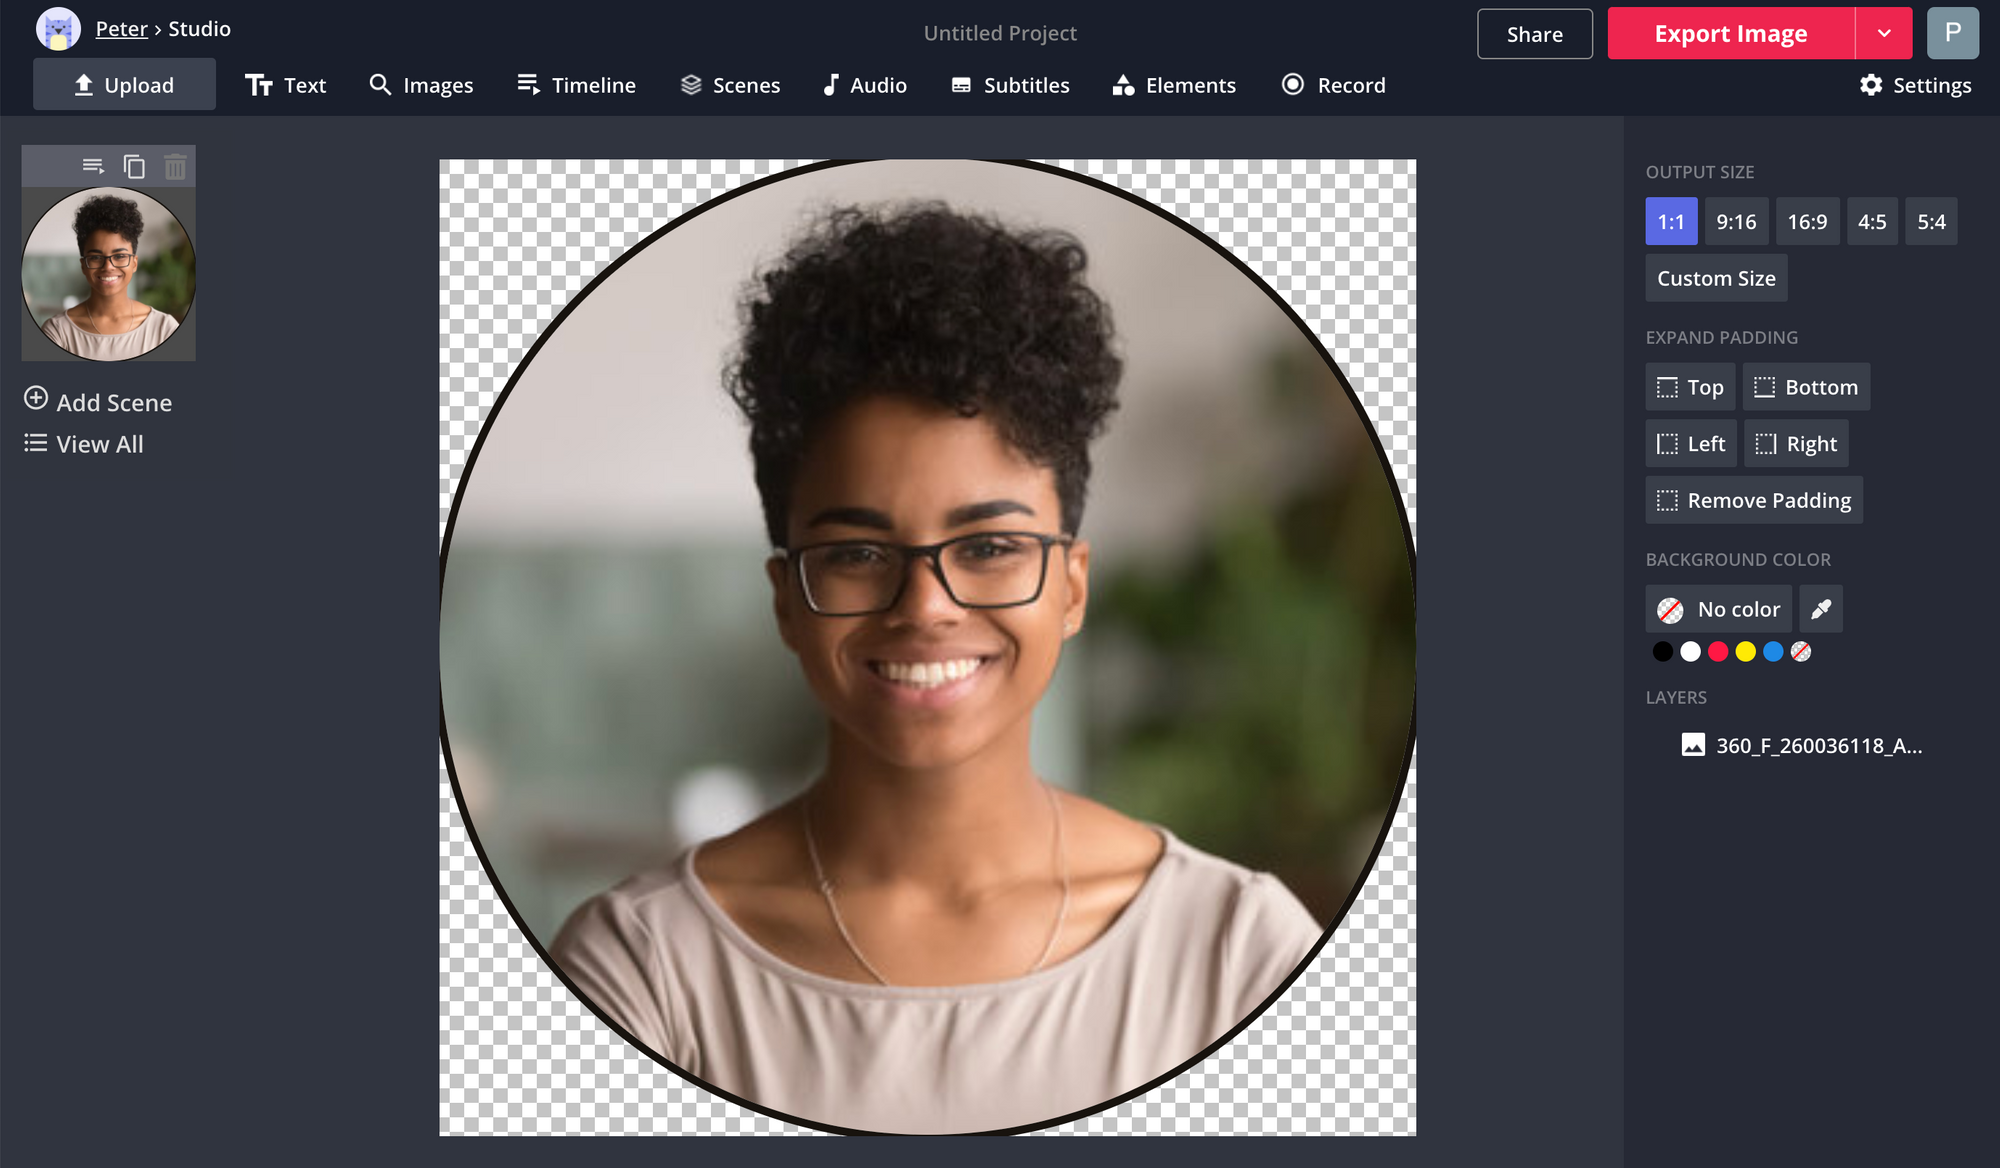
Circle: If your bio photo is going to be formatted as a circle in its final location, you can mostly treat it like you would treat a square. In the Kapwing Studio, crop it so the focus is on your face, then return to the Studio and move the Rounded Corners slider all the way to the right. Make your images background transparent in the Background Color options, and your bio photo will be cropped to a circle.
3. Making It Black & White
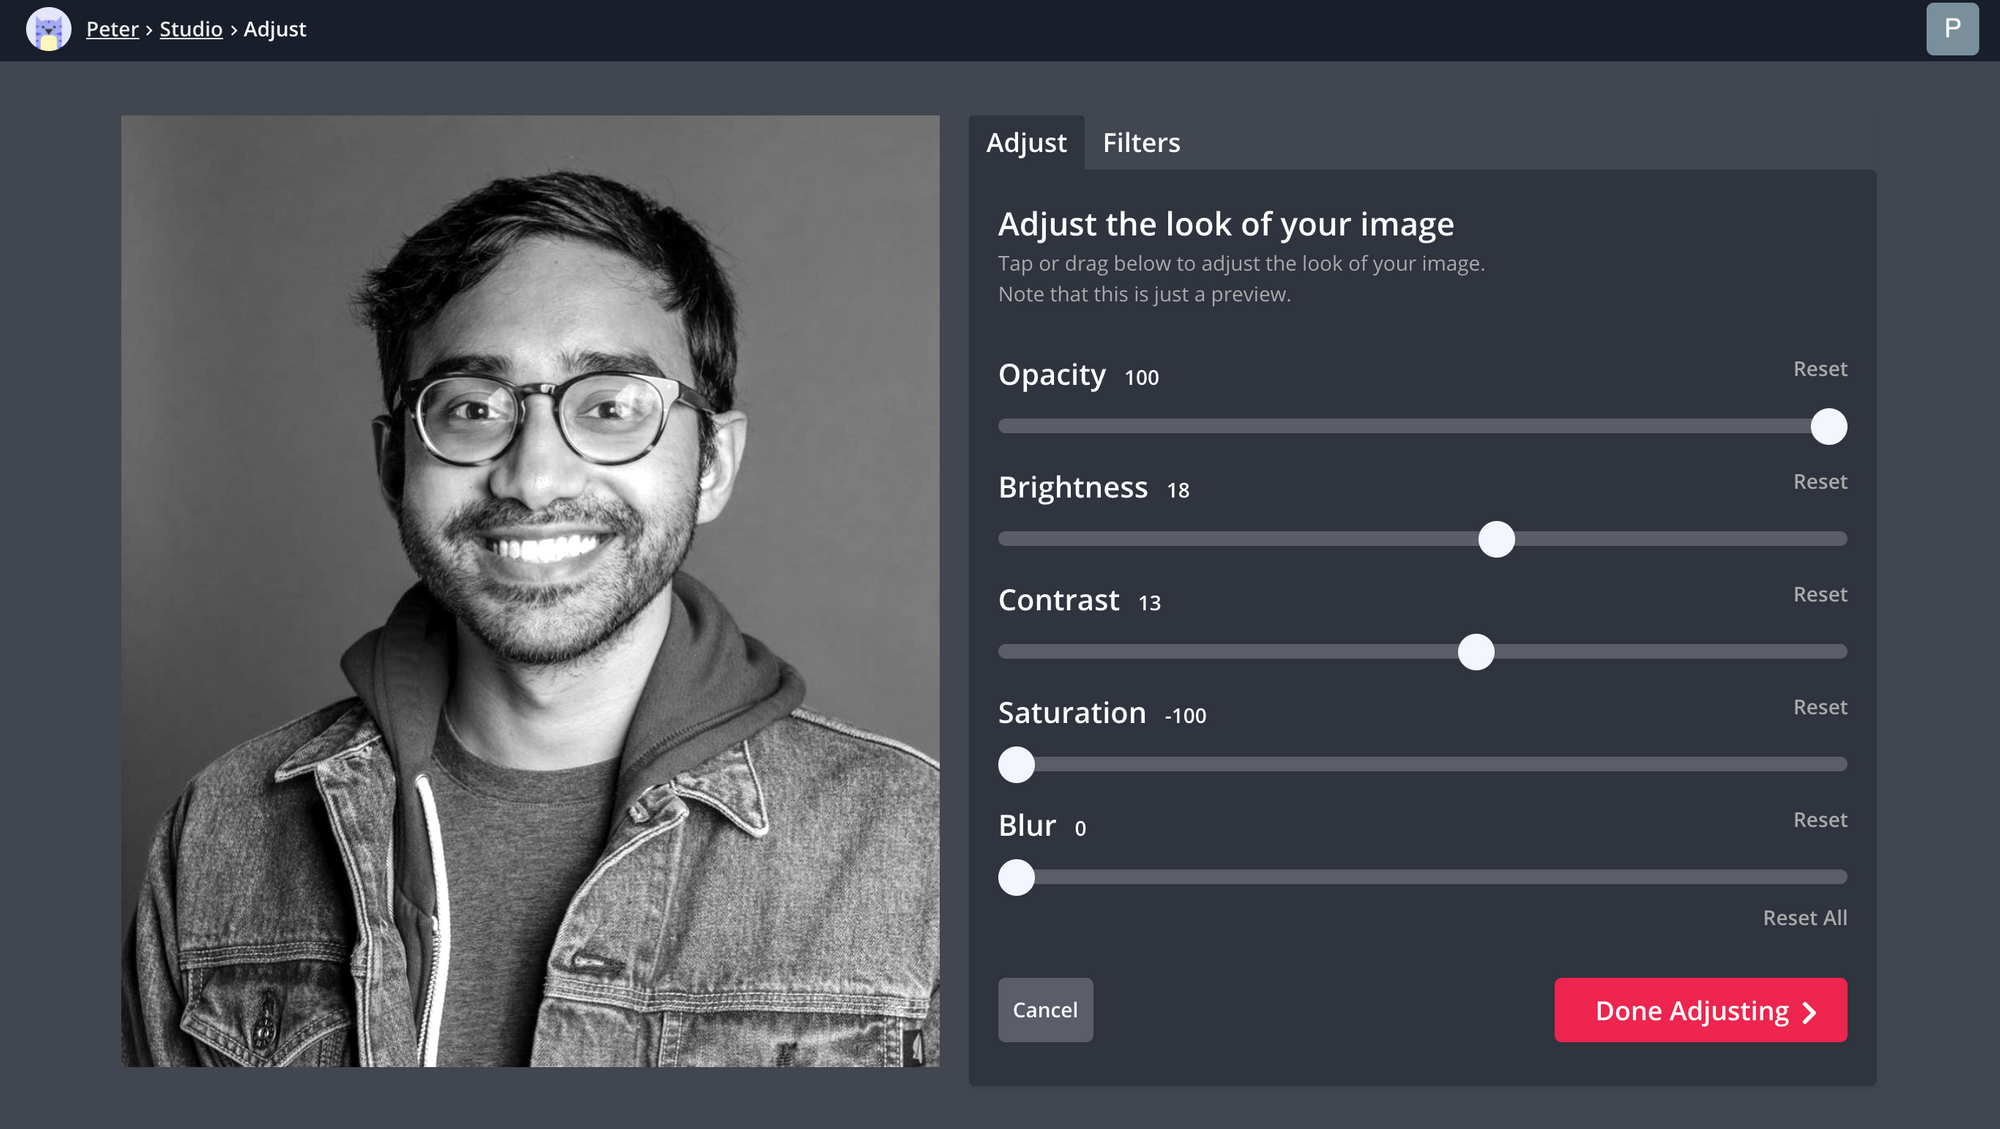
This step is completely optional, but it’s a common stylistic choice for professional bio photos. When you’re done formatting your picture in the Kapwing Studio, select the Adjust tool and slide Saturation all the way down. Your photo will be black & white, but its contrast may not be high enough, so while you’re in the adjustments window, you can drag the contrast button a bit to the right.
4. Blurring the Background
If you’re familiar with Portrait Mode on iPhones, or the Bokeh effect seen in more professional photography, you know that a blurred background gives photos a pleasant depth-of-field effect. This is achieved naturally with certain camera lenses, but you can also blur your photo’s background digitally to give it a higher quality appearance.
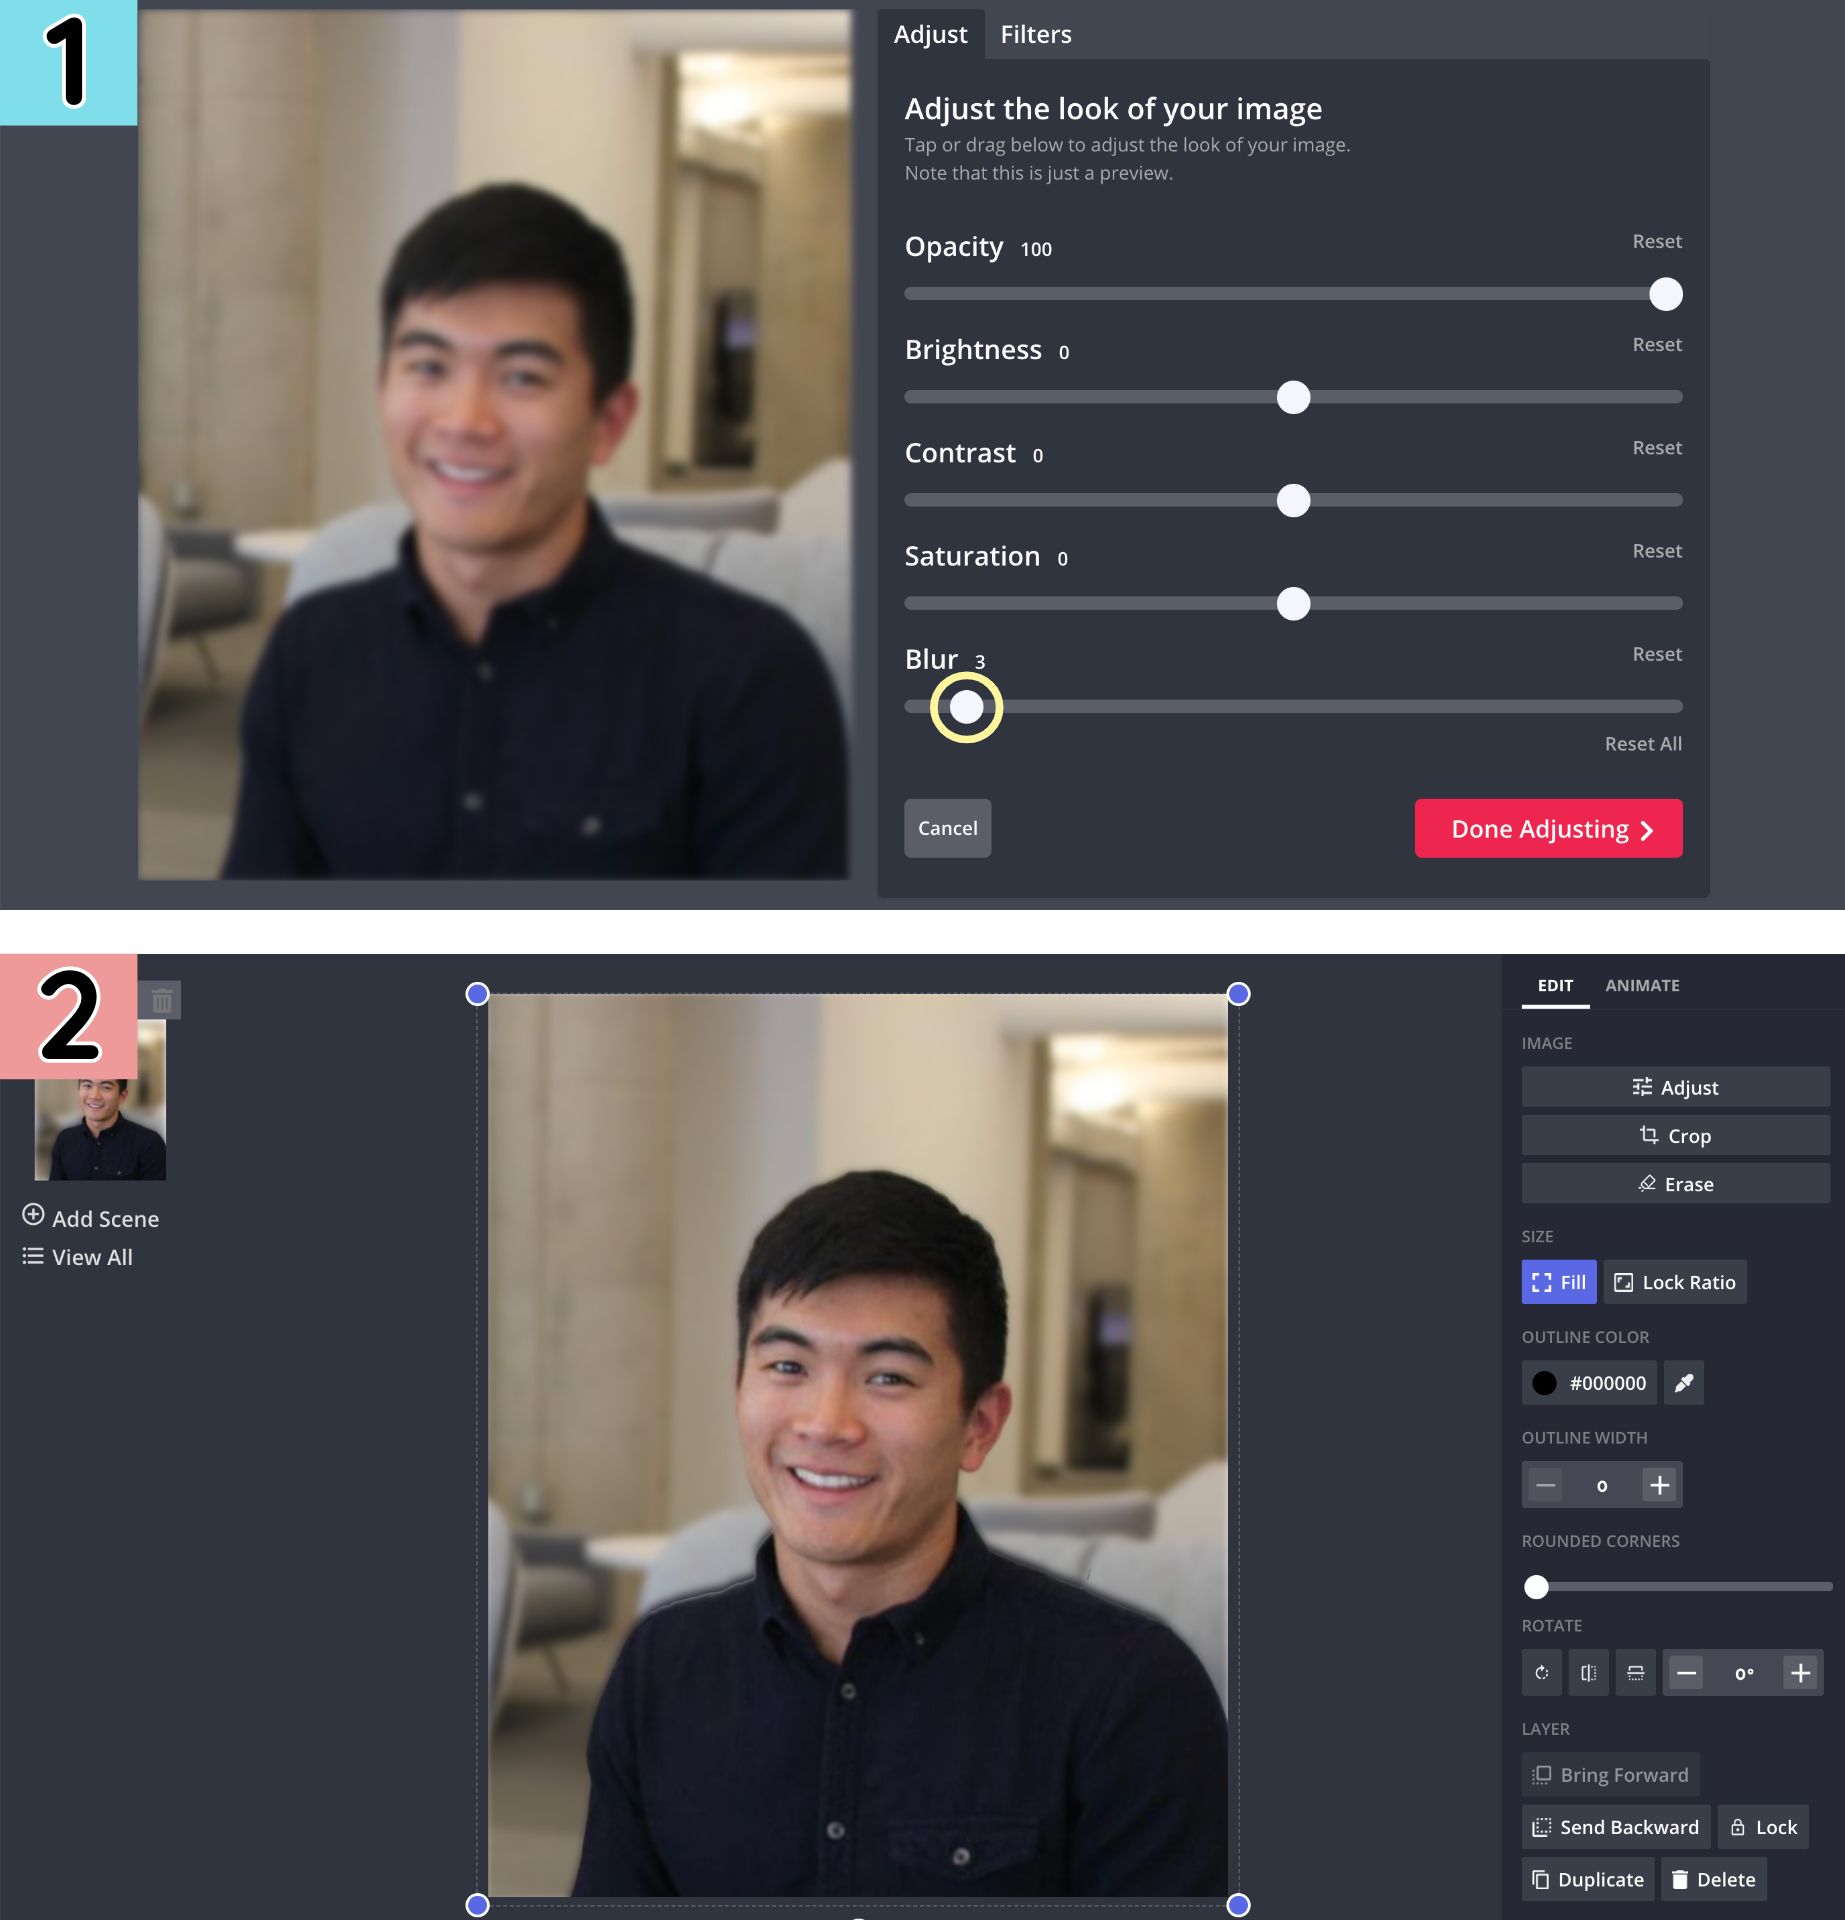
When your photo is uploaded to the Kapwing Studio, copy & paste the photo and select the Erase tool. Here, you can use the adjustable, single-click Magic Wand tool to erase areas of similar color in combination with the Eraser tool, which lets you remove precise parts of your photo’s background, down to just a few pixels at a time. Back in the Studio, select your original background layer, click “Adjust,” and move the Blur slider to the right until your background looks just right. For the perfect effect, you might want to very slightly enlarge the top, transparent photo layer and re-center it on the blurred background.
I hope this article helps you craft the perfect professional photo for your company bio. For more content on photo and video editing, check out our YouTube channel Kapwing App. And while you’re here, read through some related articles on image editing and photography:
• How to Add a "God Rays" Effect to a Photo Online
• How to Make a Pure White Background in a Photo
• How to Add a Lens Flare Effect to Photos
• How to Design a Custom Tattoo Online