How to Create a Bokeh Effect in your Photos Online
Creating a bokeh effect is a great way to add a soft and dreamy aesthetic to a background. In this tutorial, I'll show you how to create a bokeh effect online in a few easy steps!

Achieving beautiful photo effects used to take expensive photography gear, but thanks to online tools, anyone can add stunning effects like bokeh to their photos. Creating a bokeh effect is a great way to add a soft and dreamy aesthetic to a background.
The word bokeh comes from the Japanese term "boke-aji," meaning blur quality. According to Photography Life, bokeh is the quality of blurry parts of an image rendered by a camera lens and the quality of reflected points of light. Colorful backgrounds with lights typically create photos with good bokeh.
There are options to create a bokeh effect in photos from your camera roll. In this tutorial, I'll show you how to create a bokeh effect online! Photos with a Christmas tree, string lights, and city lights in the background work well with this tutorial.
- Open Kapwing Studio
- Duplicate the image and blur the background
- Erase the background
- Add shapes
- Export and download
Step 1: Open Kapwing Studio
I'll be using Kapwing to create a bokeh effect on a photo. Kapwing is a photo and video editor you can access for free online. Click Get Started, then upload a photo or paste a URL to an image.

Step 2: Duplicate the Image and Blur the Background
I'm going to make a copy of the photo by clicking Duplicate. One photo will be used for the background, and the other photo will only have the subject. Click the background photo to select it.
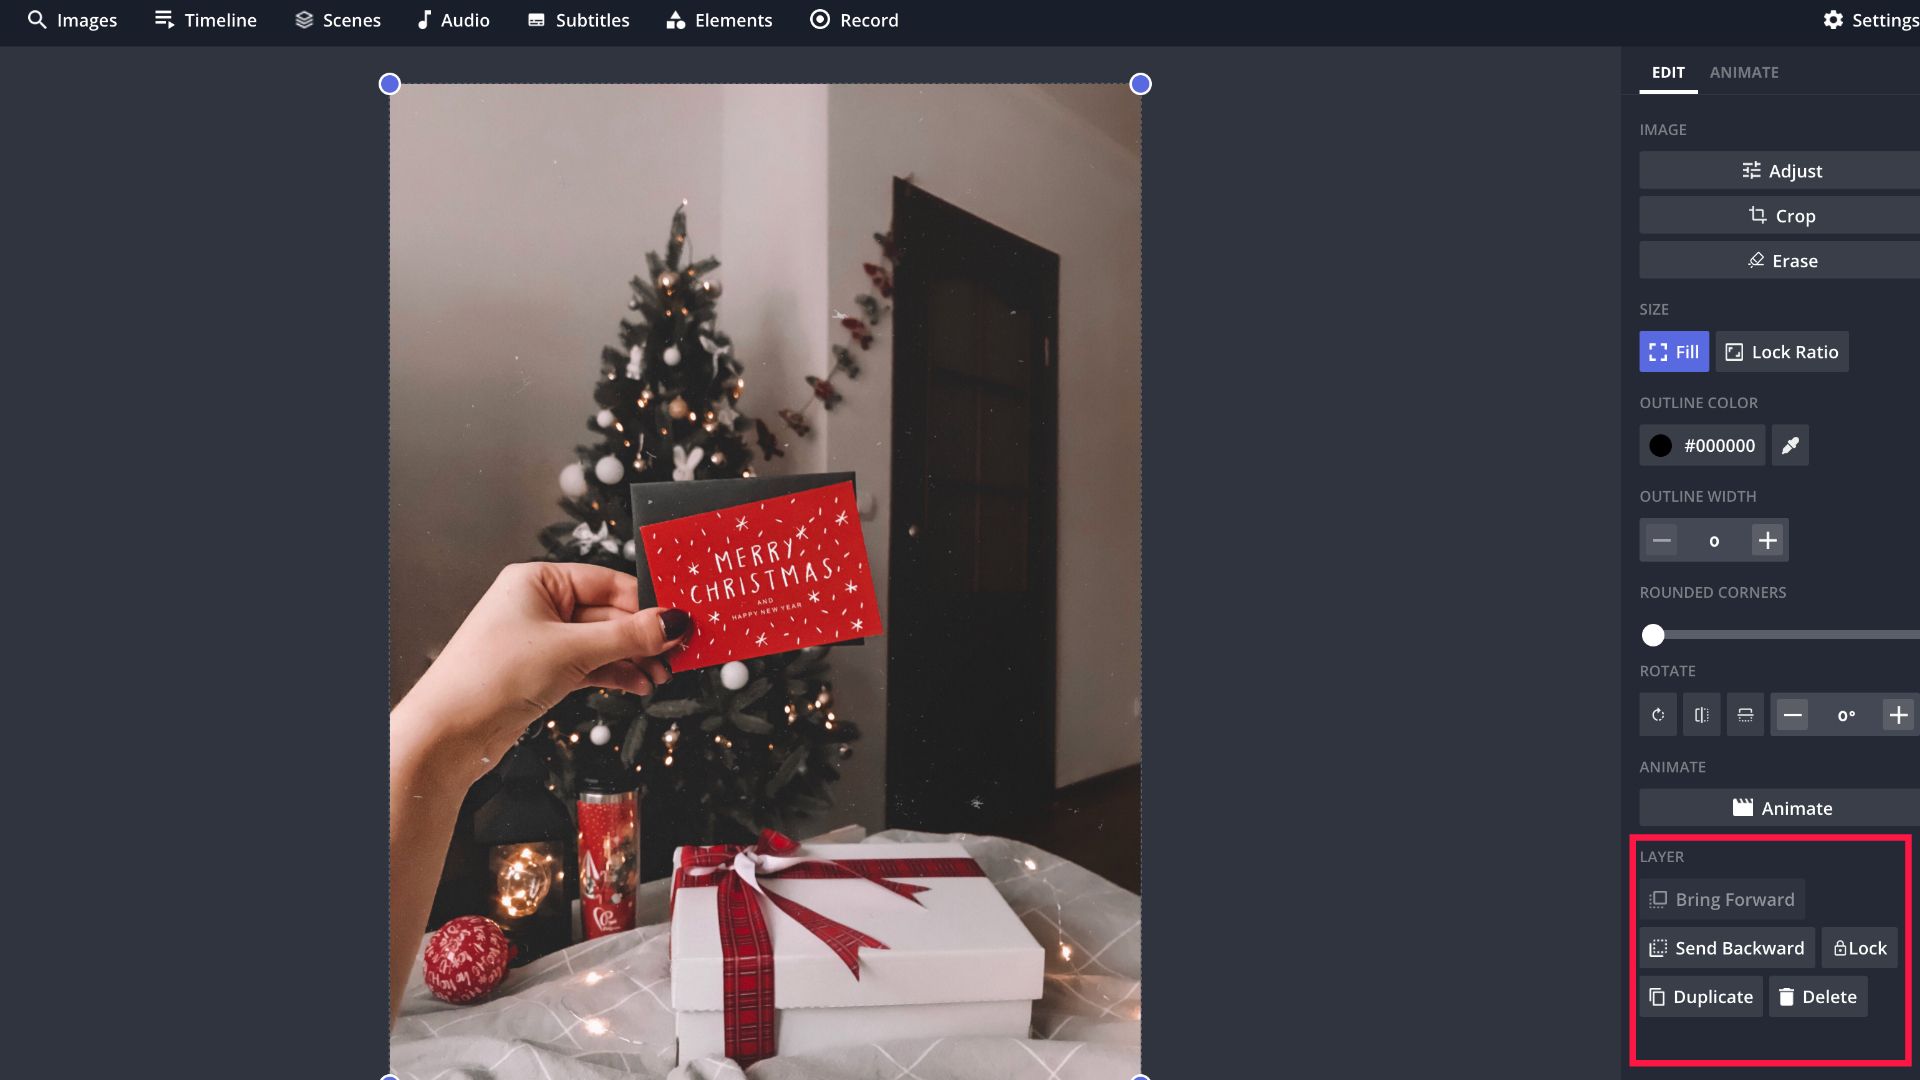
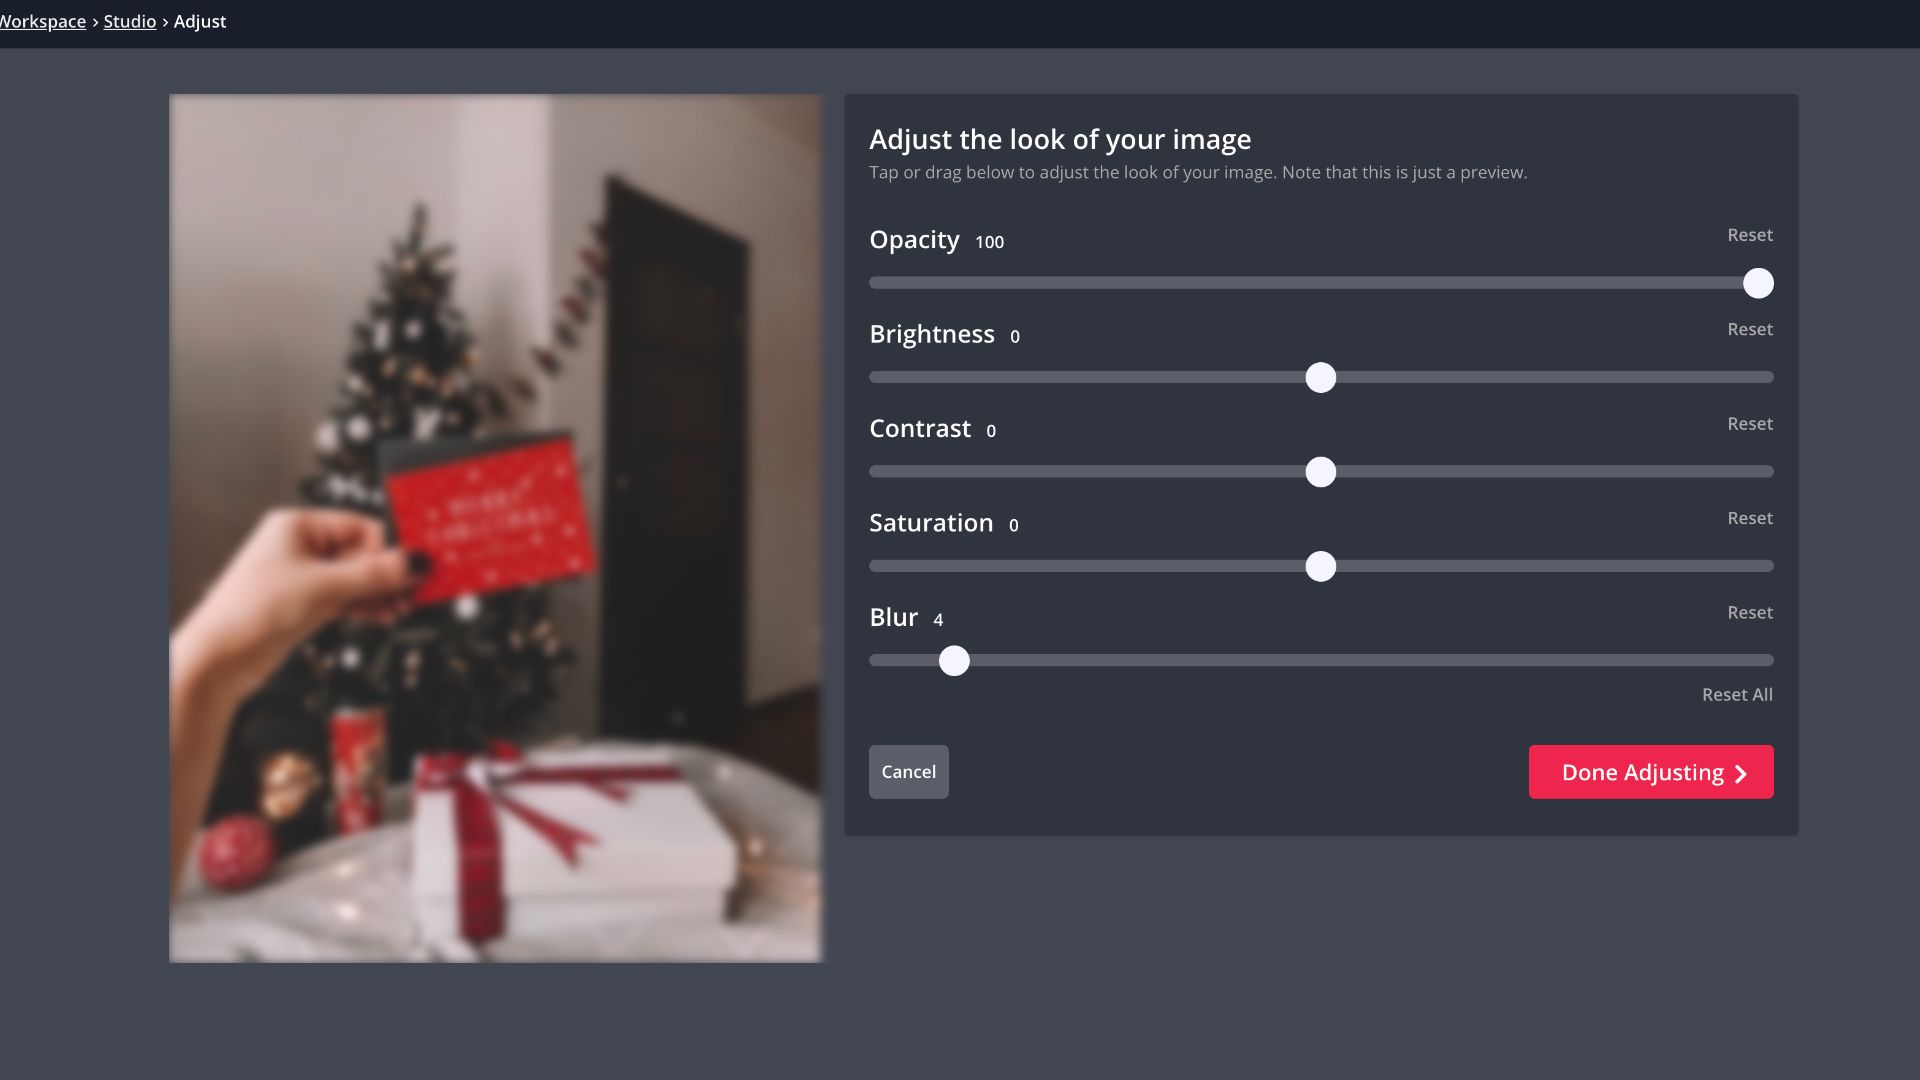
Click Adjust located at the right side of the studio, then drag the circle underneath Blur to make the image blurry.
Step 3: Erase the Background
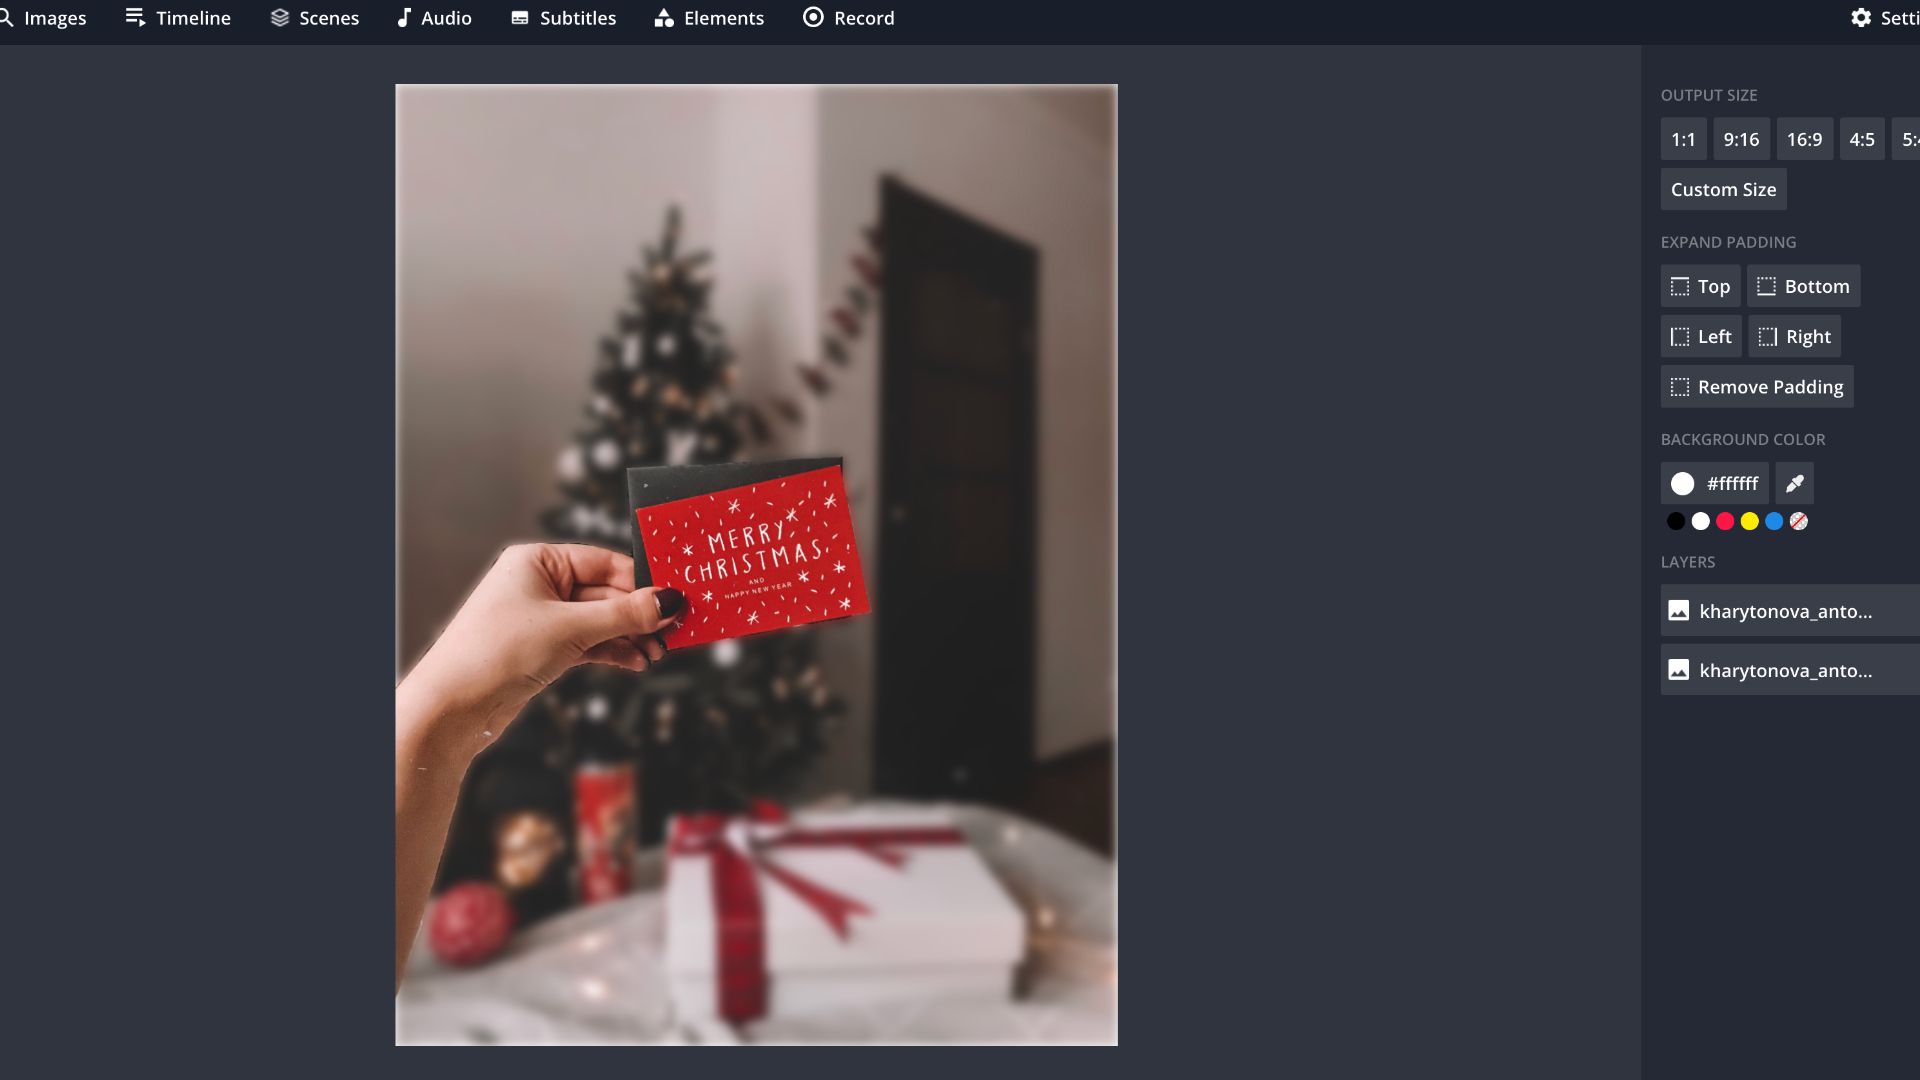
Now I'm going to bring my subject back into focus. Click the image without the blurred background, then click Erase. Use the Magic Wand to remove the background from the subject. You can adjust the Sensitivity Bar to change the strength of the magic wand. Click the Erase brush to remove smaller details from the photo.

Your photo should resemble the image below once you've erased the background.
Step 4: Add Shapes
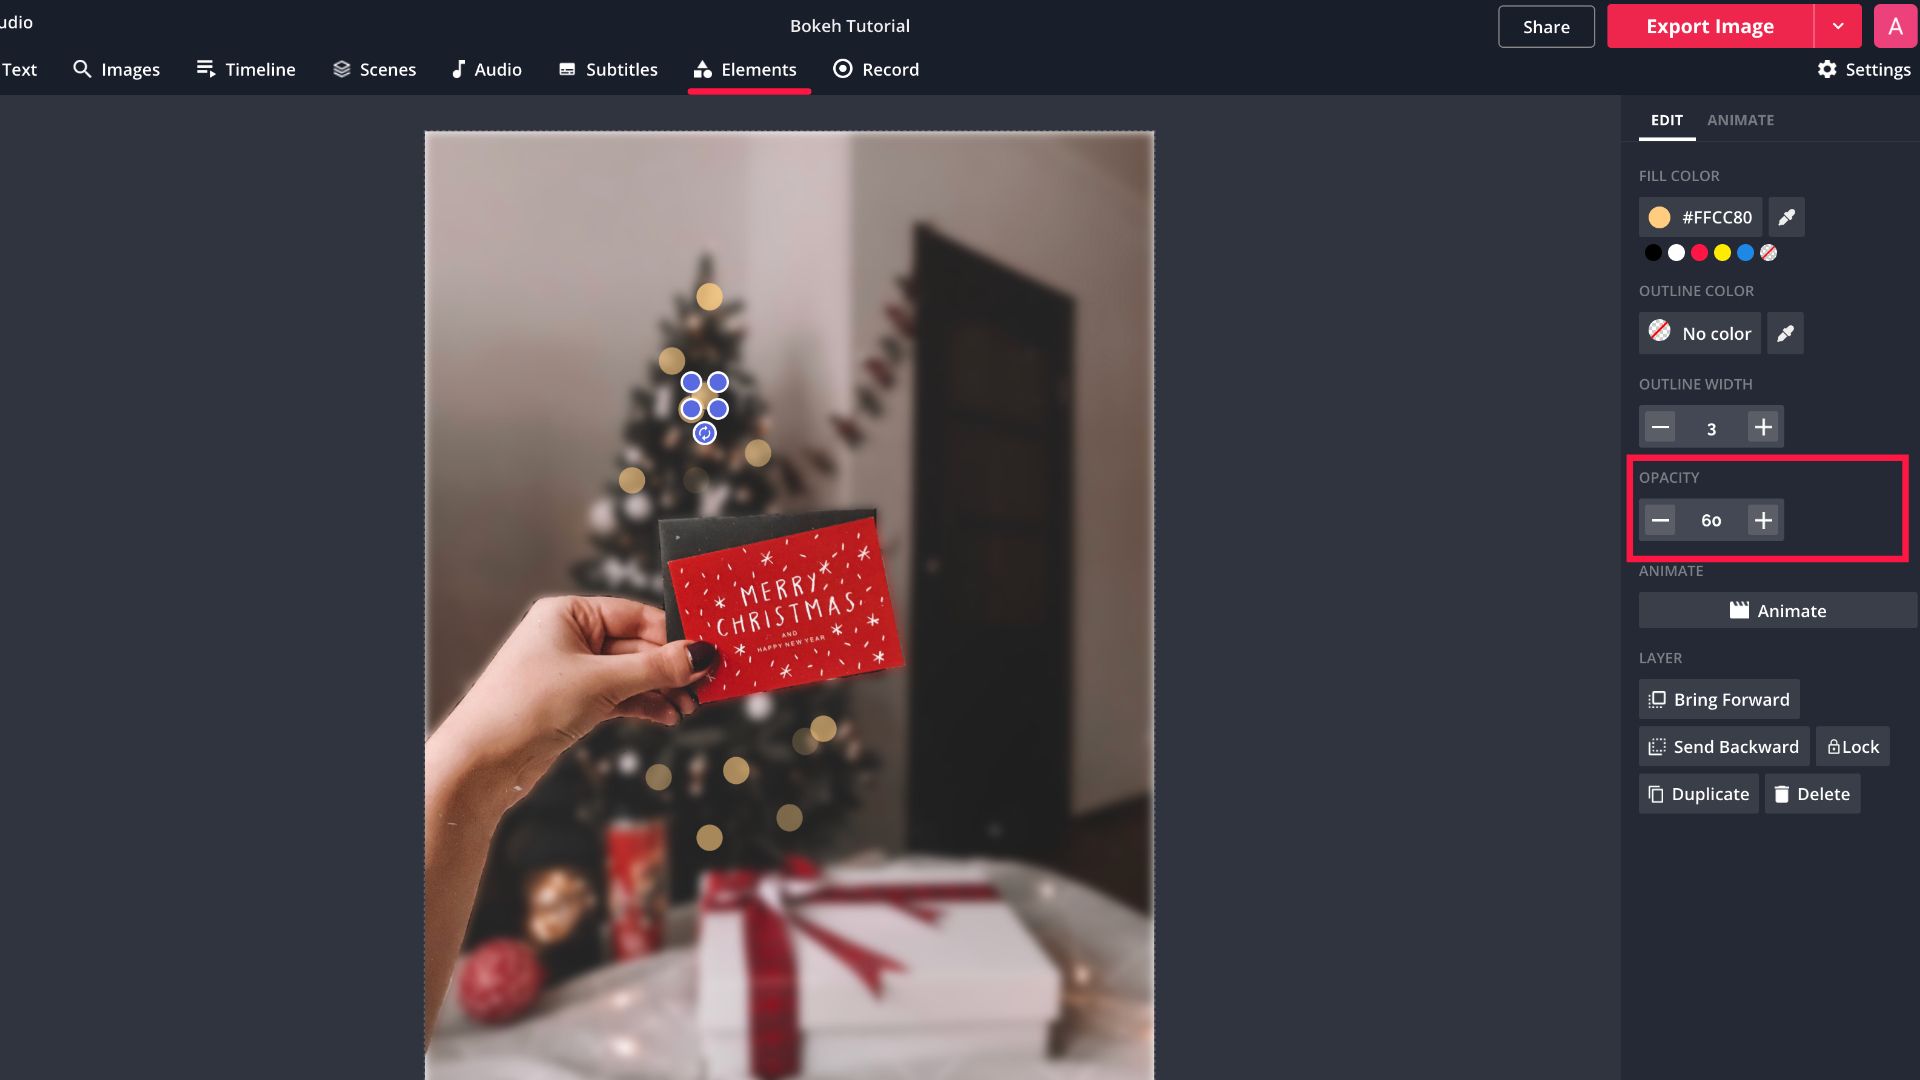
Click Elements to add shapes where light is reflecting in the photo. I used circles in this example. Stars add a whimsical look and for more customization, change the fill color.
Click a shape, then click Duplicate to build the bokeh effect. Randomly place shapes onto the photo and adjust the opacity to create sparkling lights. Overlap shapes to make the bokeh effect more realistic.
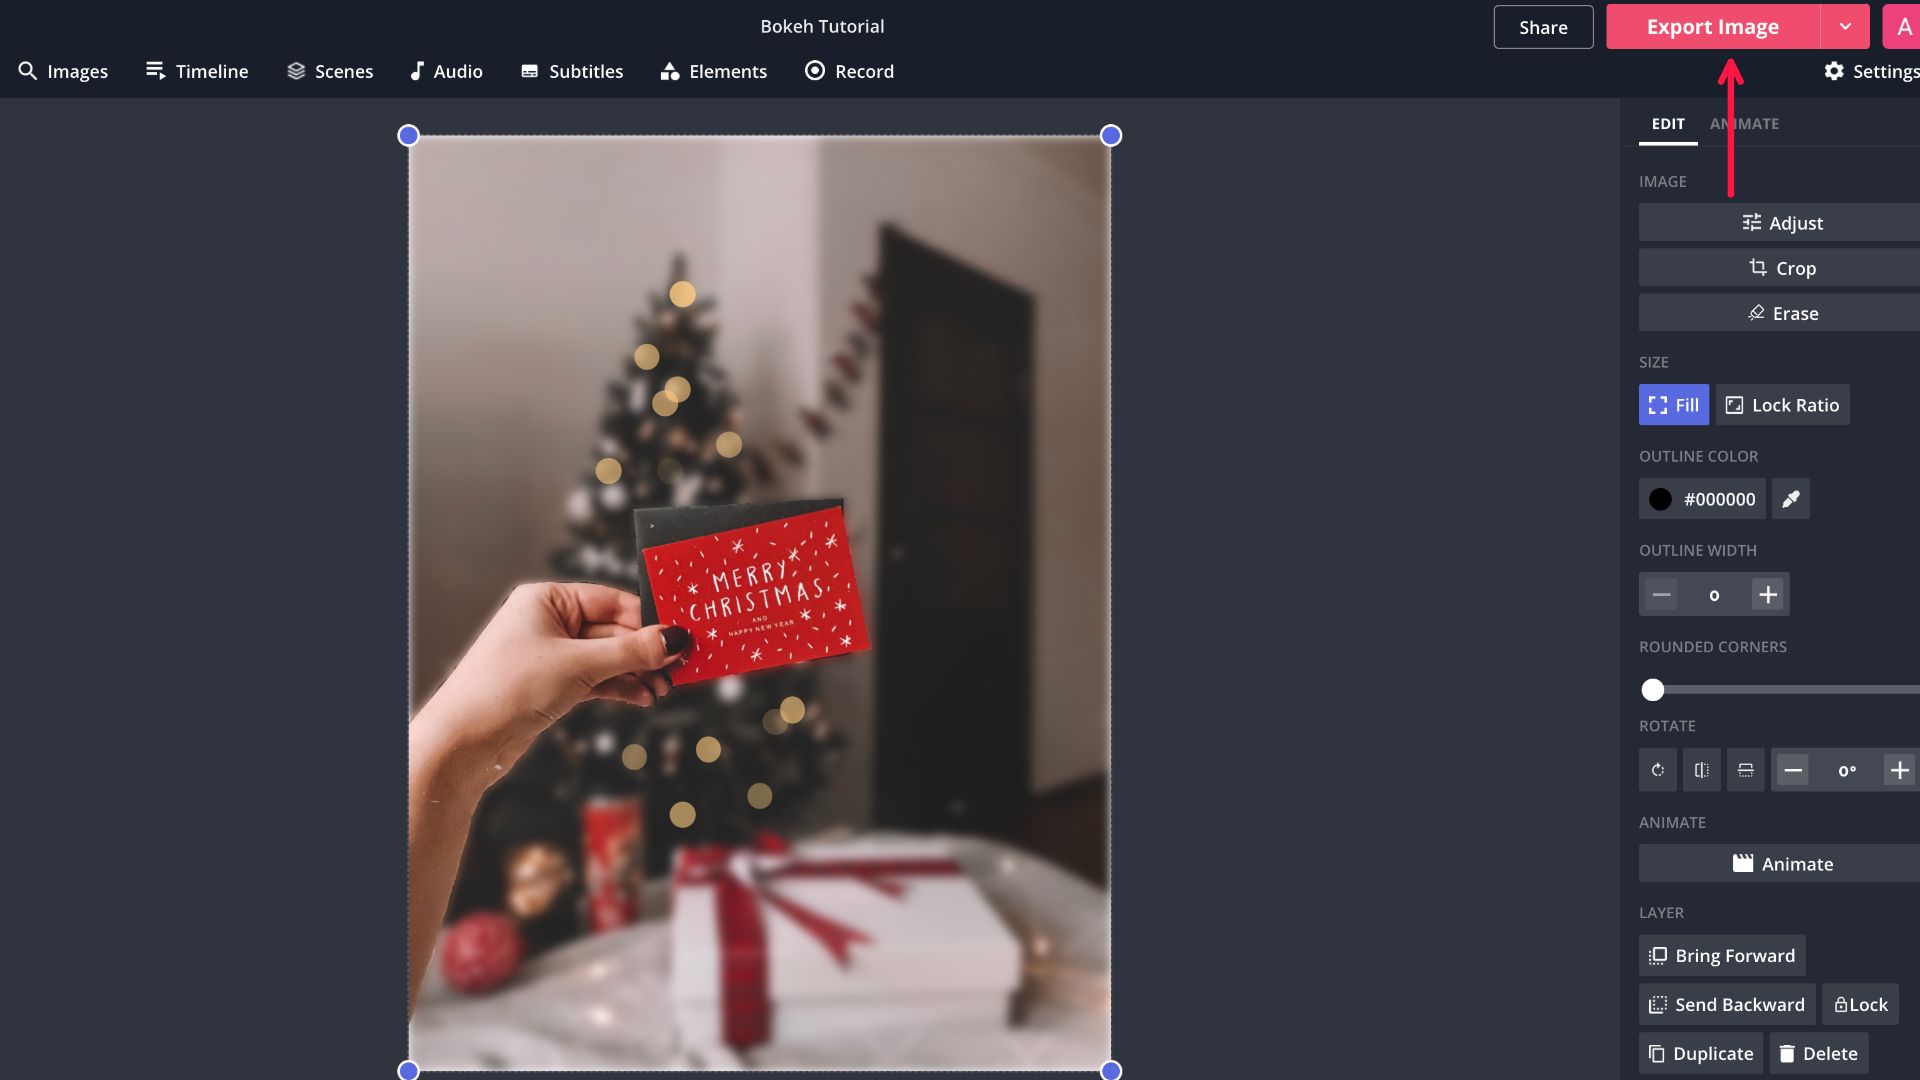
Step 5: Export and Download
When you're finished adding and adjusting each shape to your liking, click Export Image, then Download. Now you know how to create a bokeh effect in your photos!
I hope this tutorial was helpful and made creating a bokeh effect a breeze! For more content, make sure to subscribe to Kapwing App on YouTube and follow us on Twitter at @KapwingApp. We love seeing what you create, so remember to tag us!
Related Articles