How to Make an AI Aging Timelapse Video From Photos
Turn a lifetime of photos into one seamless aging timelapse.
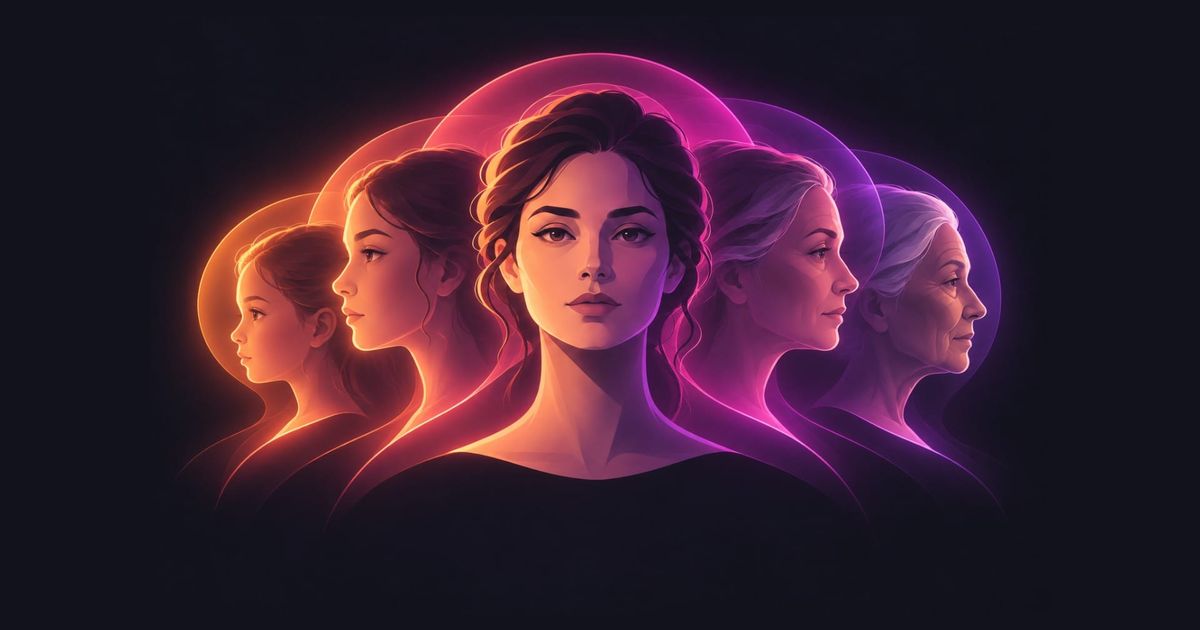
There’s something strangely compelling about watching a person age in just a few seconds. One moment they’re a kid, the next they’re a teenager, then an adult — with each stage blending smoothly into the next.
That’s the idea behind AI age progression videos. Instead of simply cutting between old photos, you can use each image as a start or end frame and let an AI video model generate the transition in between. String a few of those clips together, and you get a continuous timeline that makes it look like someone is growing older in real time.
In this guide, I’ll show you how to make one using photos from different ages, generate smoother transitions between them, and combine everything into a video.
Table of Contents
- What Is an AI Aging Timelapse Video?
- How to Make an AI Aging Timelapse Video
- How to Make the Aging Effect Look More Realistic
- Frequently Asked Questions
What Is an AI Aging Timelapse Video?
An AI age progression video shows the same person moving through different stages of life in one continuous sequence. Instead of cutting from one old photo to the next, AI generates the motion between them so the face gradually changes from one age into another.
Popular versions of the trend often follow someone’s parents or grandparents from childhood to the present day. Other creators apply the effect to celebrities, showing their appearance change across different eras, or even generate imaginary children and show what they might look like as they grow from a baby into an adult.
The effect can be made with real photos, AI-generated images, or a mix of both.
How to Make an AI Aging Timelapse Video
The most controlled way to create the effect is with start and end frames.
You give MiniMax a younger image as the first frame and an older image as the last, then ask it to generate the transition between the two. Because the end frame of one clip is also the start frame of the next, the transitions can connect much more naturally on the timeline.
Step 1: Choose or Generate Photos From Different Ages
Start by collecting the reference images you want to use as milestones in the progression. If you're making a video from real photos, you should choose a handful of age milestones rather than trying to include every year. For example: Age 1 → Age 5 → Age 15 → Age 25 → Age 35 → Age 45
Make sure to choose photos where the face is fully visible. Front-facing or slightly three-quarter headshots are much clearer than images where the subject is far from the camera or turned away.
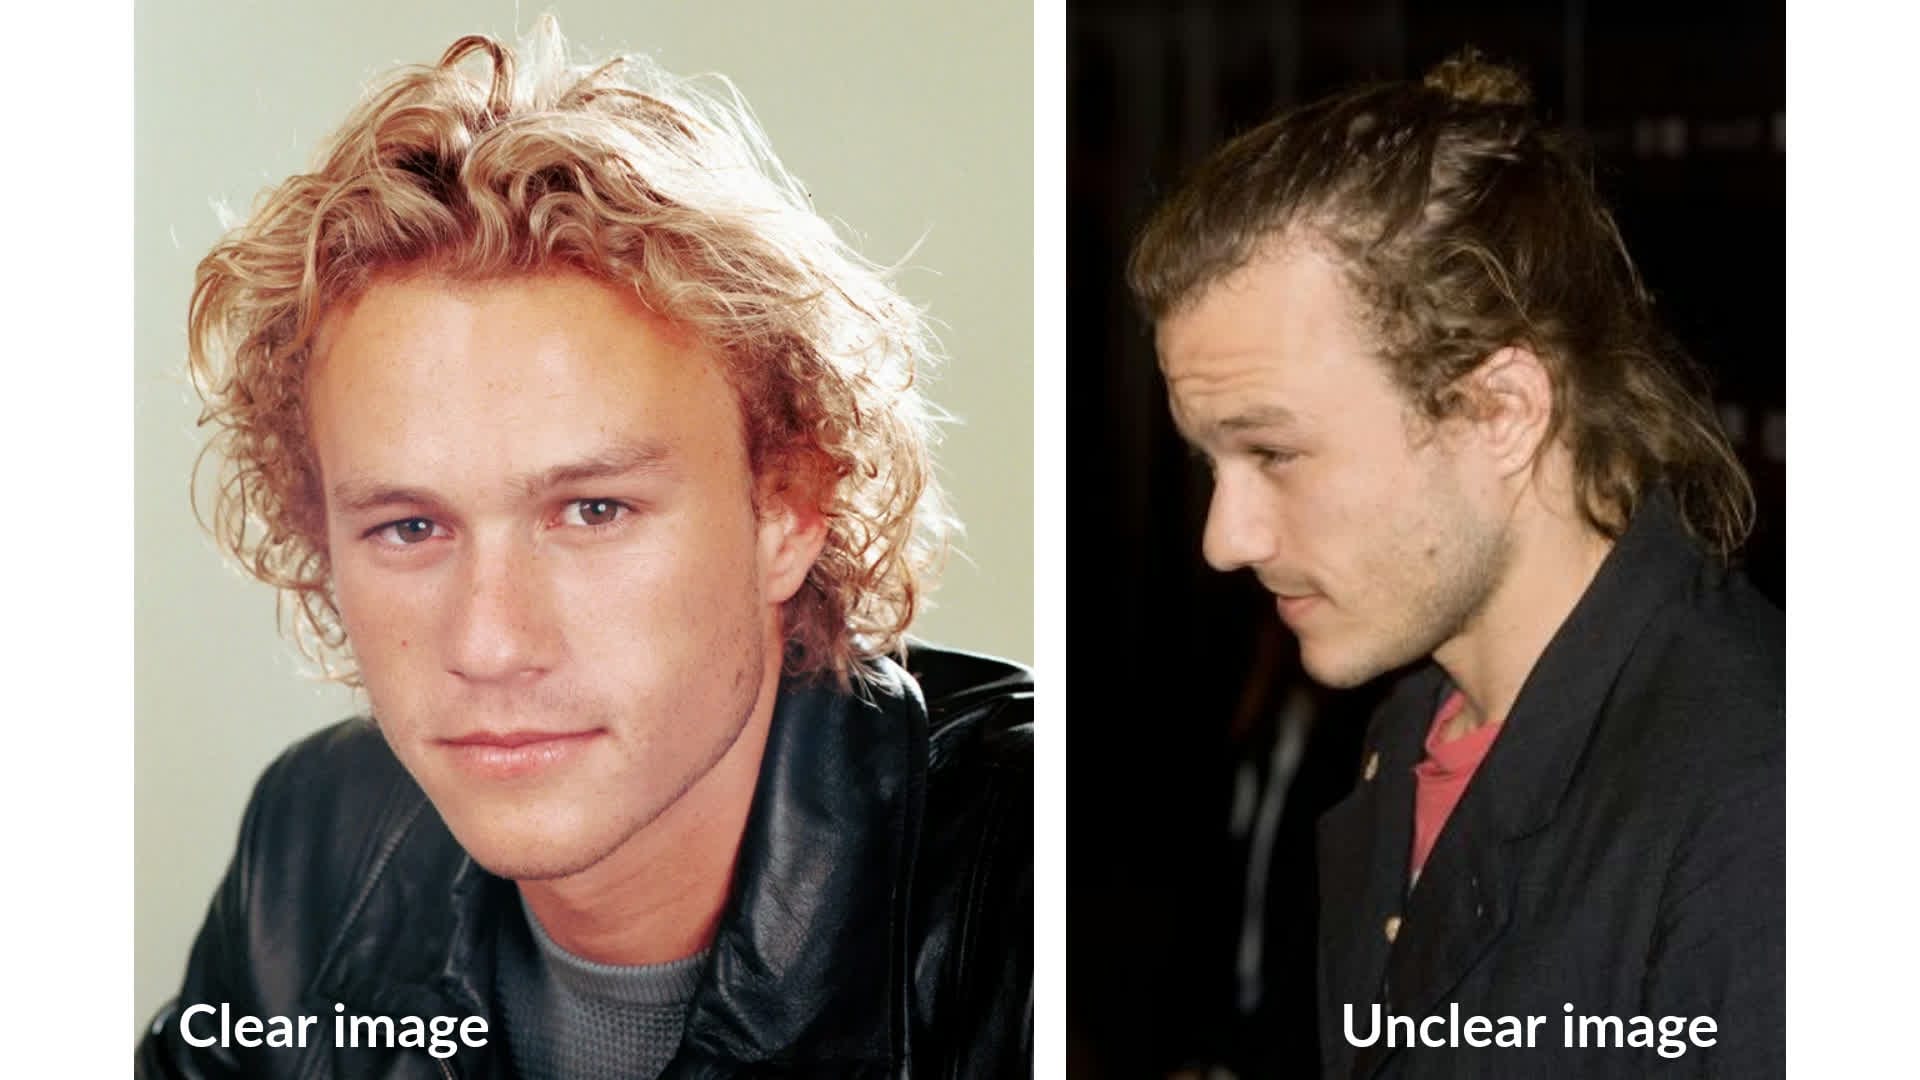
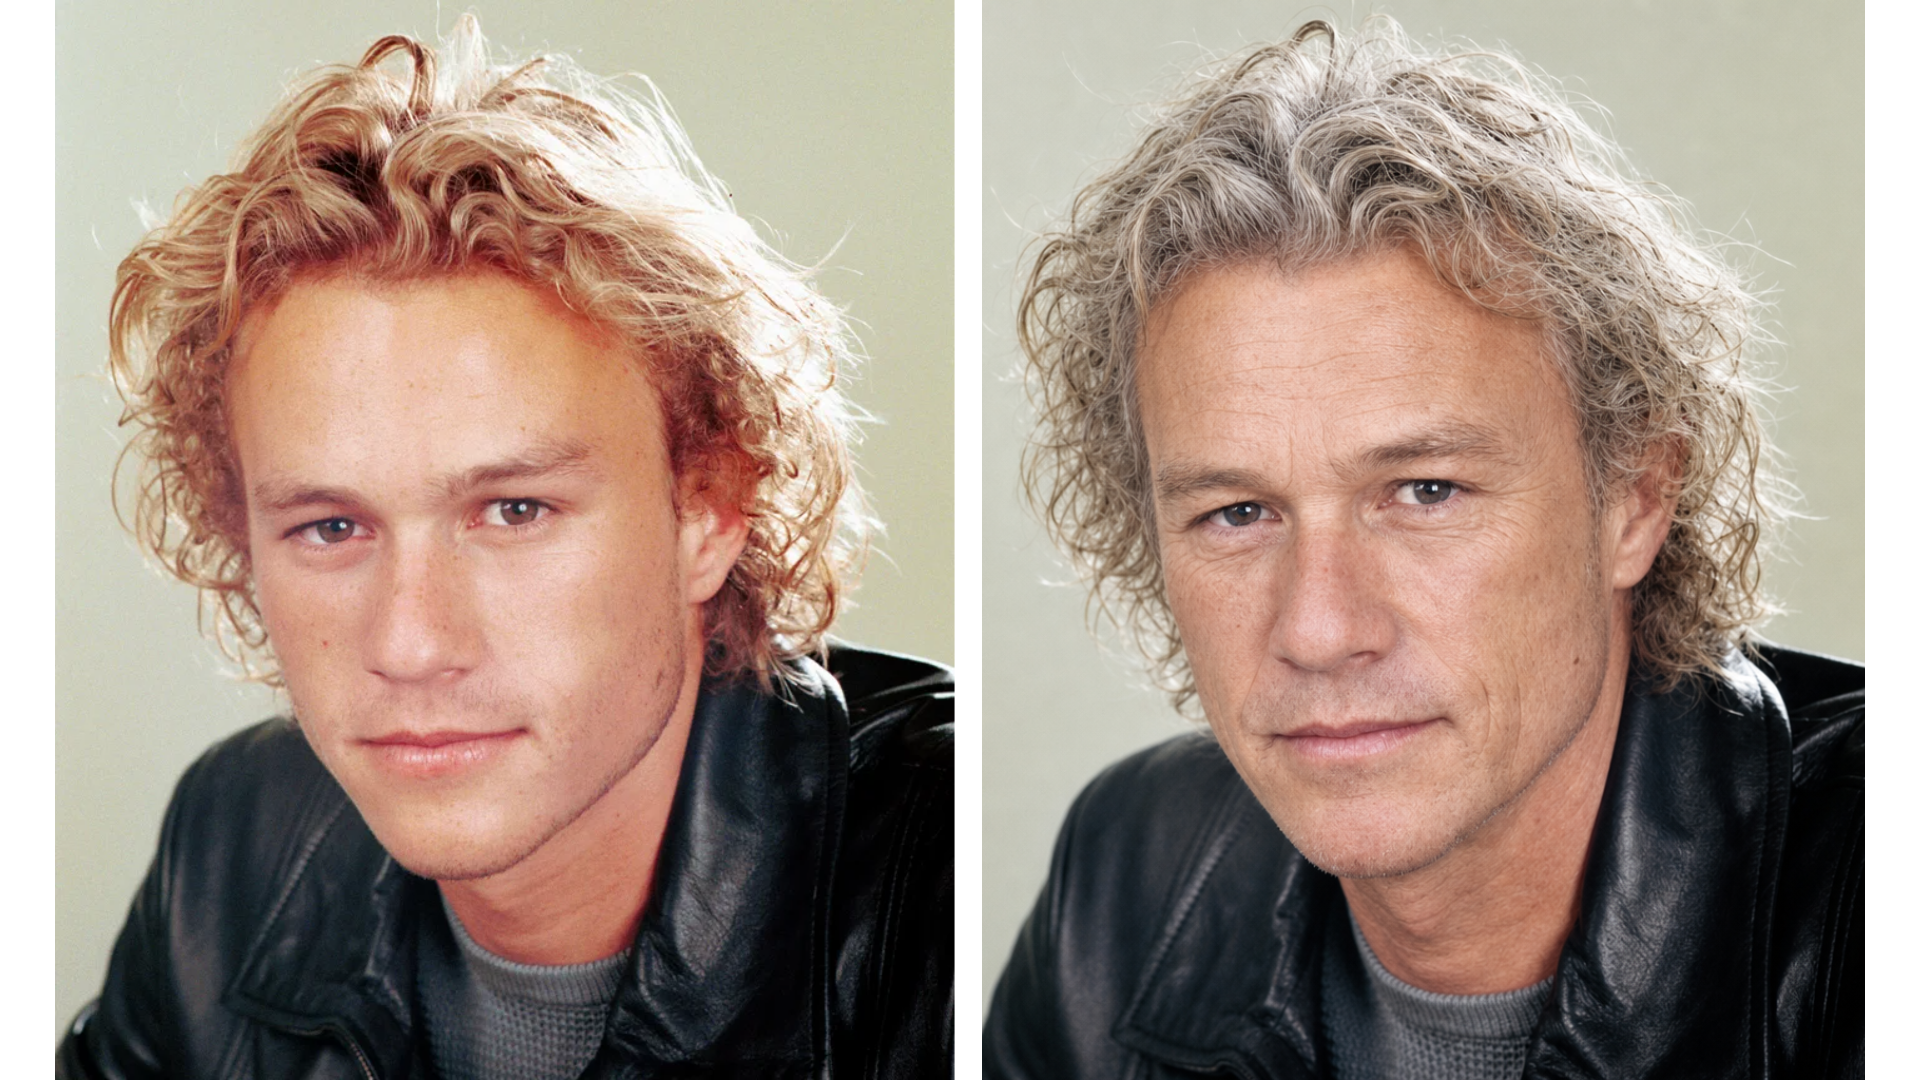
You may not actually have photos of the person at all of the ages you want to show. If you're creating a future aging progression, for example, the person obviously hasn't reached those ages yet. In that case, start with one clear current photo and use Kai's image generator to create several older versions of the same person using the example image prompt below.
I'll note here that AI-generated older versions should be treated as creative approximations, not predictions of exactly how someone will look in the future. Their main purpose in this workflow is to give the video model consistent start and end points for each stage of the progression.
Prompt: Generate an Older Version From a Current Photo
Use the person in the reference image as the identity source. Show the same person at approximately 55 years old. Preserve their recognizable facial identity, facial proportions, eye color, skin tone, and distinguishing features. Age them naturally with realistic facial maturation, subtle wrinkles, age-appropriate skin texture, and natural changes to the hair and face shape. Keep the same camera angle, expression, framing, lighting, clothing, and background. Photorealistic and realistic rather than exaggerated. Do not change their identity or make them look like a different person.
Step 2: Turn Each Photo Into a Consistent Headshot
Your photos will probably come from different years, cameras, and settings. One might be a school photo, another a vacation picture, and another a selfie. If you use them as-is, MiniMax has to change the person's age and reconcile differences in pose, background, lighting, and framing at the same time.
To make the aging transition smoother, first turn each photo into a consistent headshot. The goal is to keep the person's appearance at that age intact while standardizing everything around them. We inputted the below prompt into Kai:
Prompt: Turn a Photo Into a Neutral Headshot
Use the person in the reference image as the identity source. Preserve their exact age, recognizable facial features, face shape, skin tone, hair, and distinguishing features. Recreate the person as a realistic head-and-shoulders portrait facing directly toward the camera with a neutral, natural expression. Center their face in the frame. Use soft, even studio lighting and a simple neutral gray background. Keep the camera at eye level with natural proportions and minimal perspective distortion. Photorealistic, natural skin texture, no beautification. Do not make the person younger or older and do not alter their identity.
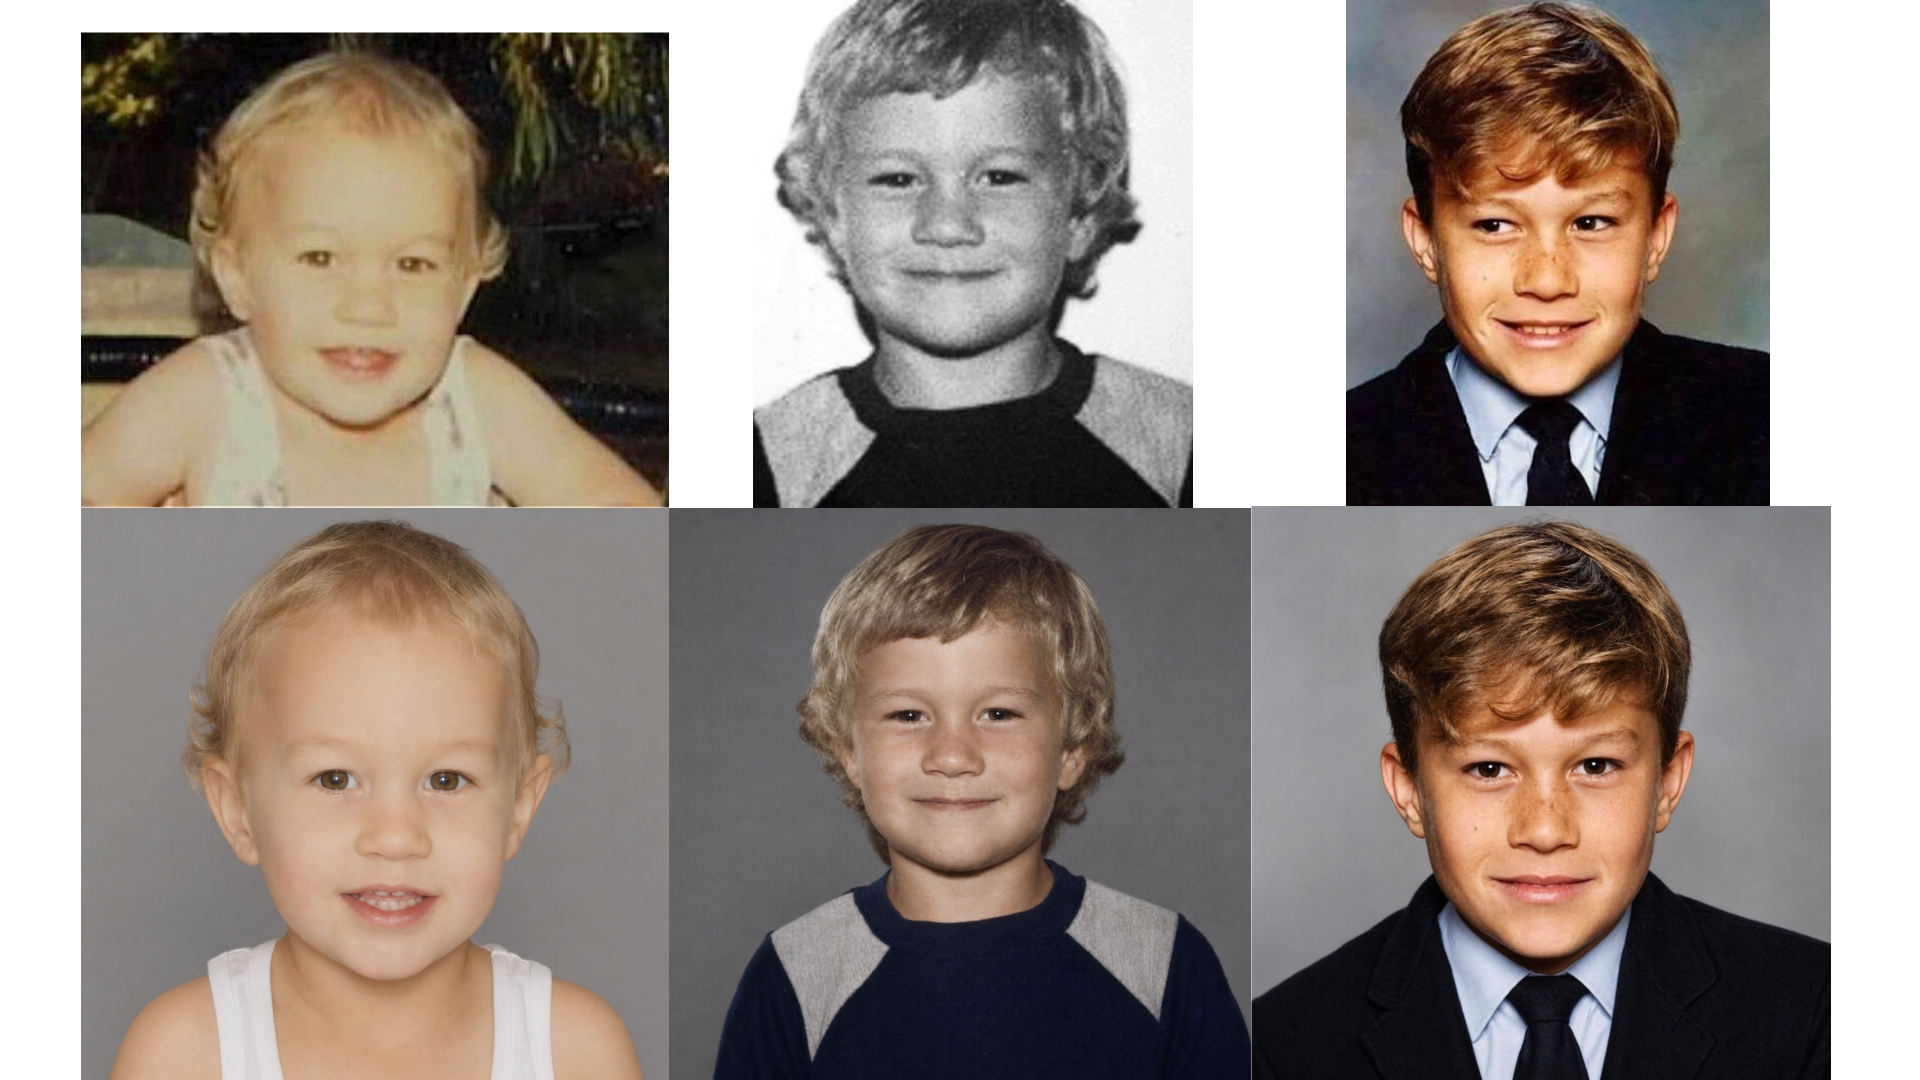
For our edit, we turned every image into a simple headshot with the subject centered against a neutral background.
But you can also use standardized backgrounds or prompts to show different life milestones. For example, you could show a progression through life milestone images (graduation, wedding), or build a video around birthdays, with a numbered cake changing alongside the person.
Step 3: Animate Each Age Transition
Once your images are ready, animate them into short video transitions using a model that supports start and end frames.
Work through the progression one interval at a time. In Kai, upload the younger image as the start frame and the next age as the end frame. Select MiniMax H3 as your model, and paste the below prompt:
Prompt: Animate an Aging Transition
Create one continuous portrait shot that gradually transitions the person from the appearance in the start frame into the appearance in the end frame. Preserve the same identity and recognizable facial structure throughout. The aging should happen progressively and naturally, with smooth changes to facial proportions, skin texture, hair, and other age-related features. Keep the face centered, the camera locked, and the framing consistent. No cuts, sudden jumps, warping, or changes to identity. End naturally on the supplied final frame.
Then repeat the same process for every pair of images in your progression.
Since the end frame of one clip is also the start frame of the next, the clips should connect more naturally when you combine them later.
Step 4: Combine the Clips Into One Aging Timelapse
Once you've generated each age transition, add the clips to your editing timeline in the studio in chronological order.
Because the end frame of each clip matches the start frame of the next, you usually don't need to add a transition between them. Place the clips directly next to each other and trim any duplicated frames or pauses at the joins.
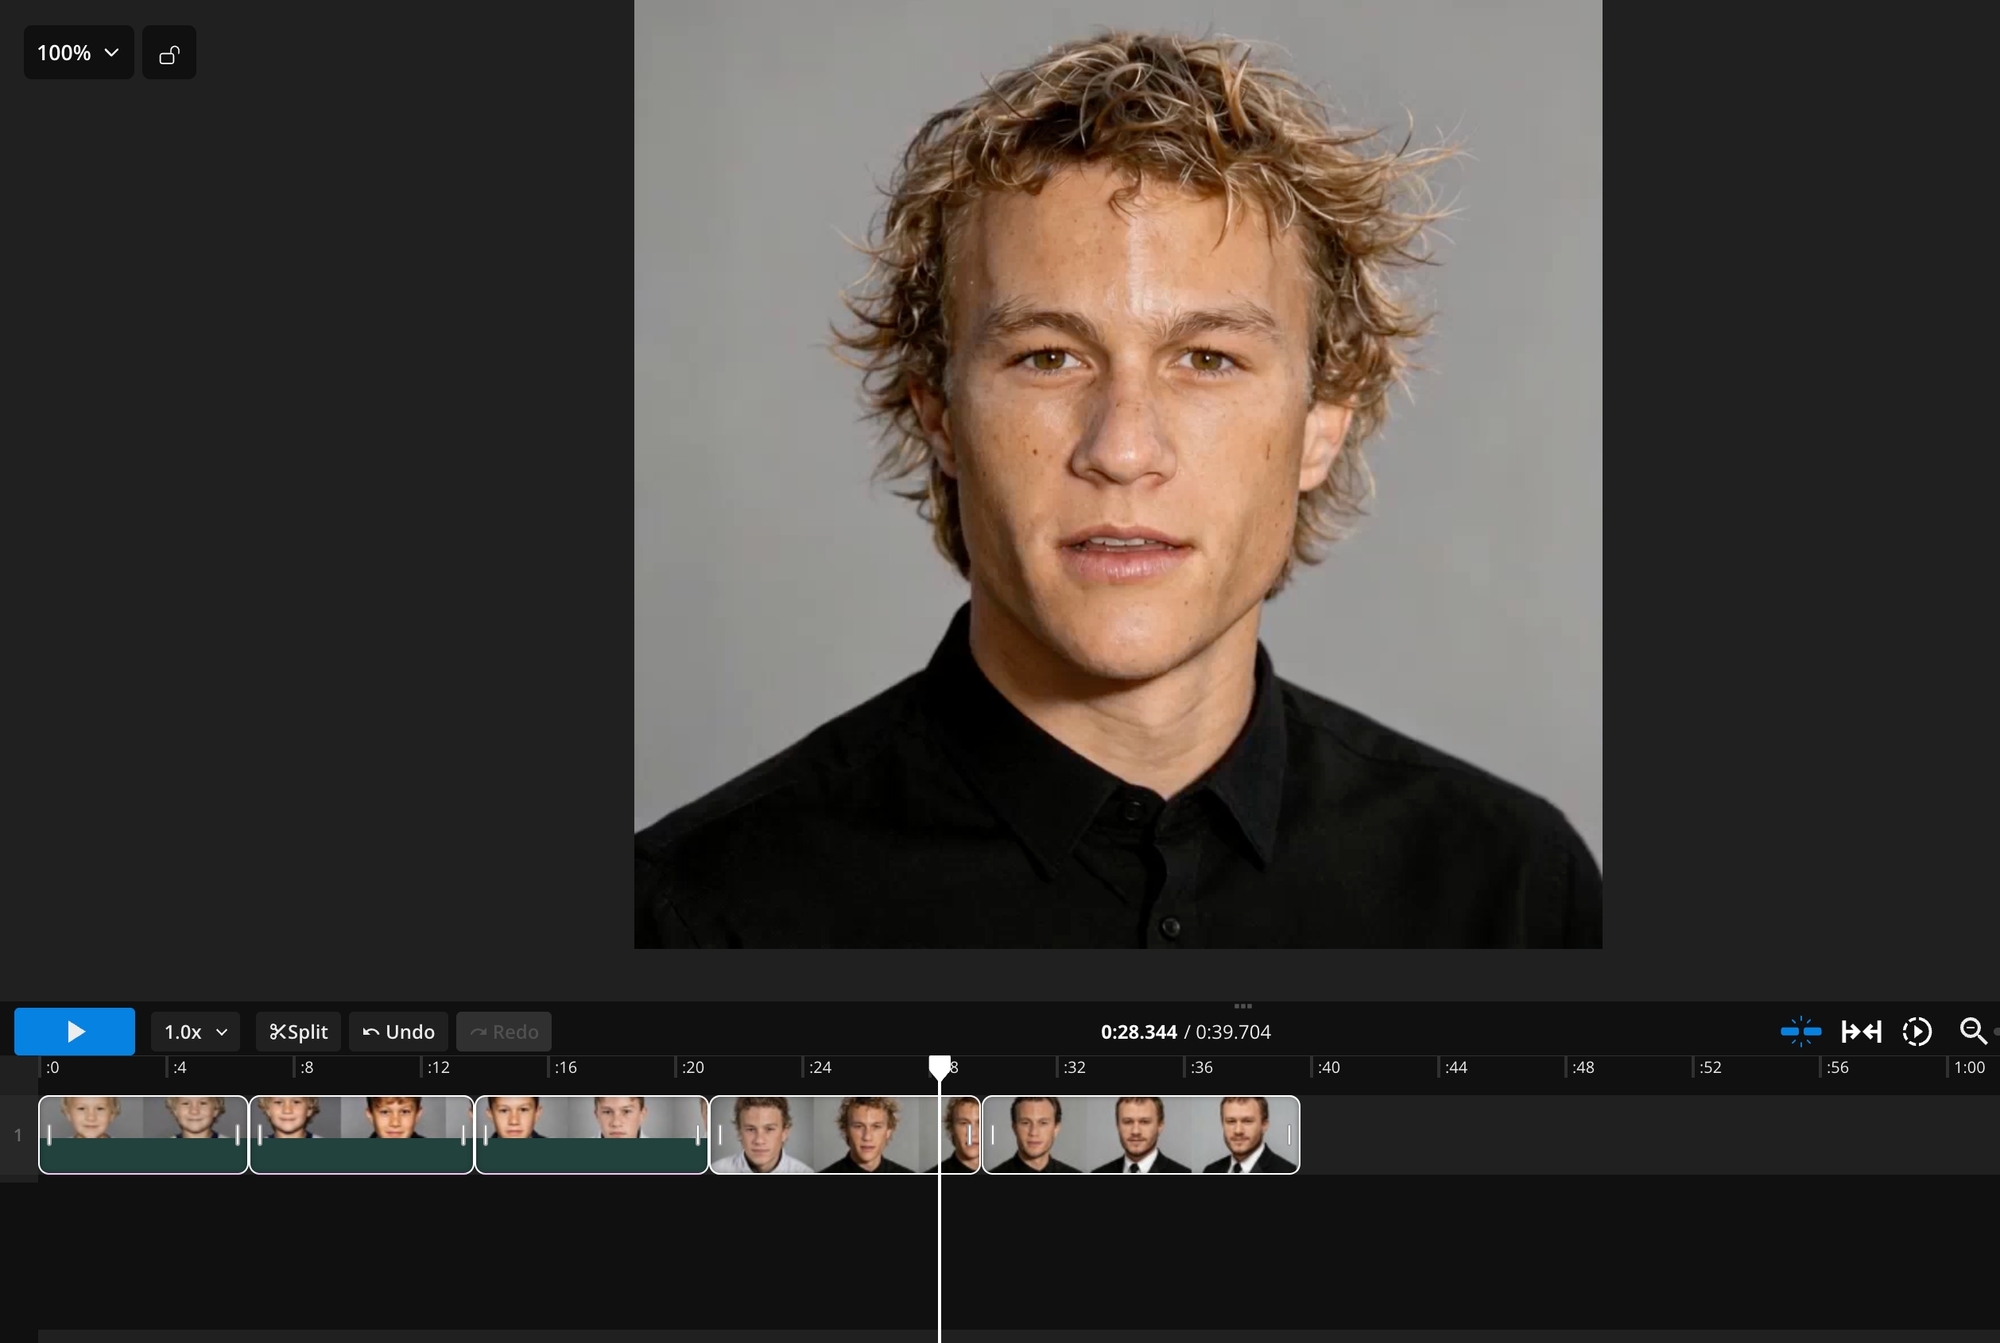
Watch the full sequence back and pay attention to the handoff between clips. If one transition feels noticeably faster or slower, trim or adjust its speed so the aging feels continuous. From there, you can add finishing touches such as music and sound effects, age labels, or dates. For a simple portrait-style edit, subtle labels like Age 5, Age 15, and Age 25 can help viewers follow the timeline without distracting from the face.
If you're creating the video for TikTok, Reels, or Shorts, resize to a 9:16 aspect ratio and leave the first and final ages on screen for slightly longer.
Frequently Asked Questions
Can you make an AI aging video from one photo?
Yes. If you only have one current photo, you can use an AI image generator to first create younger or older versions of the same person. Those images can then act as the age milestones for your video.
This is especially useful for creating a future-self aging video when real photos from those ages obviously don't exist yet.
How do you make an AI age progression video?
Start with photos of the same person at several ages and arrange them from youngest to oldest. For smoother results, standardize the framing of each portrait, then use neighboring images as the start and end frames of separate AI video generations. Combine those clips in chronological order to create one continuous aging timelapse.
How many photos do you need for an AI aging timelapse?
Two photos are enough to create one age transition, but using several photos gives you more control over a longer progression. Around four to six age milestones is a good starting point for a video that moves through childhood, adolescence, adulthood, and later life.
Can AI predict what I'll look like when I'm older?
Not exactly. An AI-generated older version is a creative approximation based on the current image, not an accurate prediction of how someone will age. Genetics, lifestyle, health, hairstyle, and countless other factors affect someone's future appearance.
For this workflow, generated future images are best treated as visual possibilities that provide endpoints for the aging animation.
Why does the face change or warp during an AI aging video?
Face warping usually happens when the start and end images are too different or the model has to solve too many changes at once. Large differences in pose, camera angle, facial expression, lighting, or framing can all make the transition harder.
Try using more similar portraits, adding an intermediate age, or keeping the camera static so the model can focus primarily on changing the person's age.
How do you make an AI aging video look more realistic?
Keep the person's face in roughly the same position across every image and avoid unnecessary changes to framing or camera movement. Using several age milestones instead of one extreme transformation also gives the AI clearer endpoints.
For a portrait-focused aging timelapse, a locked camera, neutral background, and subtle natural movement generally keep attention on the facial changes rather than the generation itself.
Can you make an AI de-aging video?
Yes. The same process works in reverse. Arrange the photos from oldest to youngest and use the older image as the start frame and younger image as the end frame. Prompt the model to gradually de-age the subject while preserving their identity.