How to Add Captions to a Twitter Video
Twitter doesn't have auto-captions anymore but you can still add subtitles to create accessible Twitter videos. Learn how to generate and upload SRT files plus how to add permanent captions to your videos.
Despite all of the overwhelming evidence that subtitles and social video go hand in hand, Twitter is one of the only major social media platforms that doesn’t have an auto-captions feature.
Back in December 2021, they announced that they would begin rolling out auto-captions to Android, iOS, and web users. The feature was widely criticized for inaccuracy and lack of customizability. Rather than improving it, however, Twitter quietly abandoned auto-captions sometime between October and November of 2022.
This happened right around the same time the new CEO fired the entire Accessibility Team. Not exactly shocking, but still disappointing.
So, with no word as to when or if Twitter will be adding auto-captions back to the platform, how can you make accessible Twitter videos, whether for your business or personal brand?
In this article, we’ll discuss how to add captions on Twitter in a few easy steps as well as why it’s so crucial. Let’s dive in.
Understanding Twitter Video Accessibility
Adding Twitter captions to your videos will help make your content more accessible and inclusive to all Twitter users. Captions are critical for users who are deaf or hearing impaired, so that they can enjoy videos like anyone else. However, when you add captions to your videos, it also allows people who keep the audio off while watching videos to consume your content. So, not only are captions helpful from an accessibility perspective, they also improve your reach to the general public, too.
The biggest positive impact of captioned videos on Twitter is that expanded potential audience. Those with hearing impairments who couldn't previously watch your content can more easily understand it now. And those with ADHD or auditory processing disorders can read the captions along with your words, helping them process and understand your videos better.
Captioning your Twitter videos is also a good way to boost your engagement. With more people watching your videos, you'll likely see an increase in retweets, replies, and likes. People will watch your videos longer instead of scrolling to the next tweet, which helps the algorithm work in your favor. Plus, 80% of people viewing videos are more likely to finish a video with subtitles on it.
You'll also be viewed more positively as a brand or influencer for sharing accessible content on your profile by people who rely on Twitter captions to consume content. People will also be more likely to understand what the speaker in the video is saying with captions. This helps combat any comprehension barriers that may arise from accents or language fluency.
From an SEO perspective, social media algorithms like Twitter understand what your video is about. With the rise in video content, algorithms can accurately understand the topic of a video, which can help you rank in search results based on your video topic, which will in turn boost your viewership, view time, engagement metrics such as likes, retweets, and replies.
So, if all of this is true, why don’t all videos on Twitter have captions? (Apart from Twitter’s lack of an auto-captions feature.)
While we can’t speak for every Twitter user who posts video content, we do know that there’s a common misconception that adding subtitles or captions is time consuming and difficult. These perceived hurdles may outweigh the benefits in some users’ opinions.
Fortunately, it’s actually pretty simple to add subtitles to your video on Twitter. Whether you use a third-party tool or use Twitter’s native features, you don’t need to do much heavy lifting to add Twitter captions to your videos. That means you can reach more people without a ton of extra work.
Here’s how.
2 Proven Methods for Captioning Twitter Videos
Since Twitter rolled back their auto-caption feature, there are now only two ways to add captions to your Twitter videos:
- Upload an SRT file to Twitter or
- Add auto-captions with a video editor.
We’ll walk you through both options so you can decide which works best for you.
How to Upload Captions to Twitter with an SRT File
SRT stands for SubRip Subtitle file. It’s one of the most common types of captioning files for video and is the only way (currently) to add captions to your video in the Twitter app. Where do you get an SRT file? Well, you’ll need to generate one. The easiest way to do that is with an SRT File Maker. We recommend Kapwing because it automatically generates subtitles and SRT files, without you having to format anything.
Here’s a step-by-step guide to creating your own SRT file with Kapwing:
Step 1) Open a new project in Kapwing.
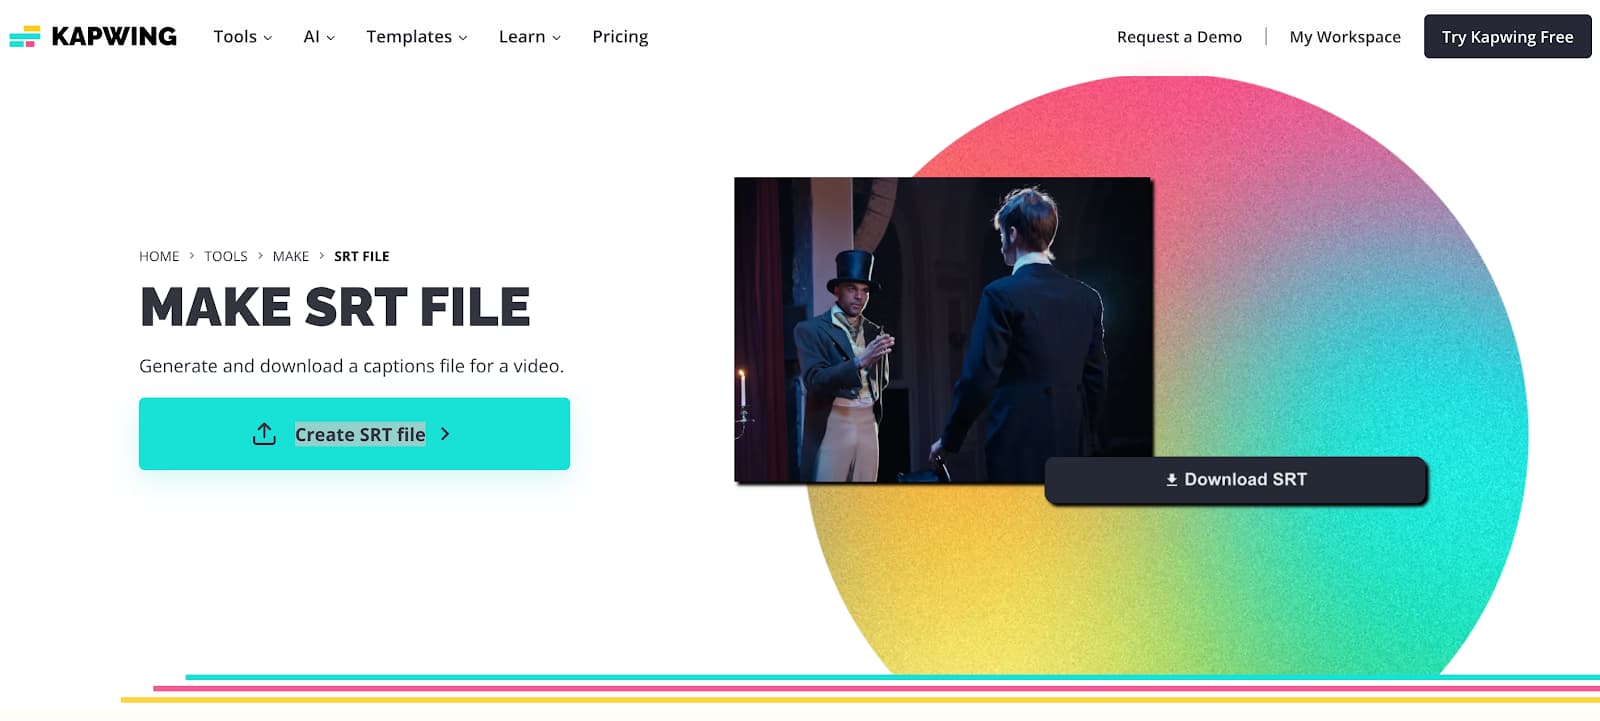
Head to our SRT File Maker tool and click Create SRT File to get started. This will take you into the Kapwing editor.
Step 2) Upload your video file.
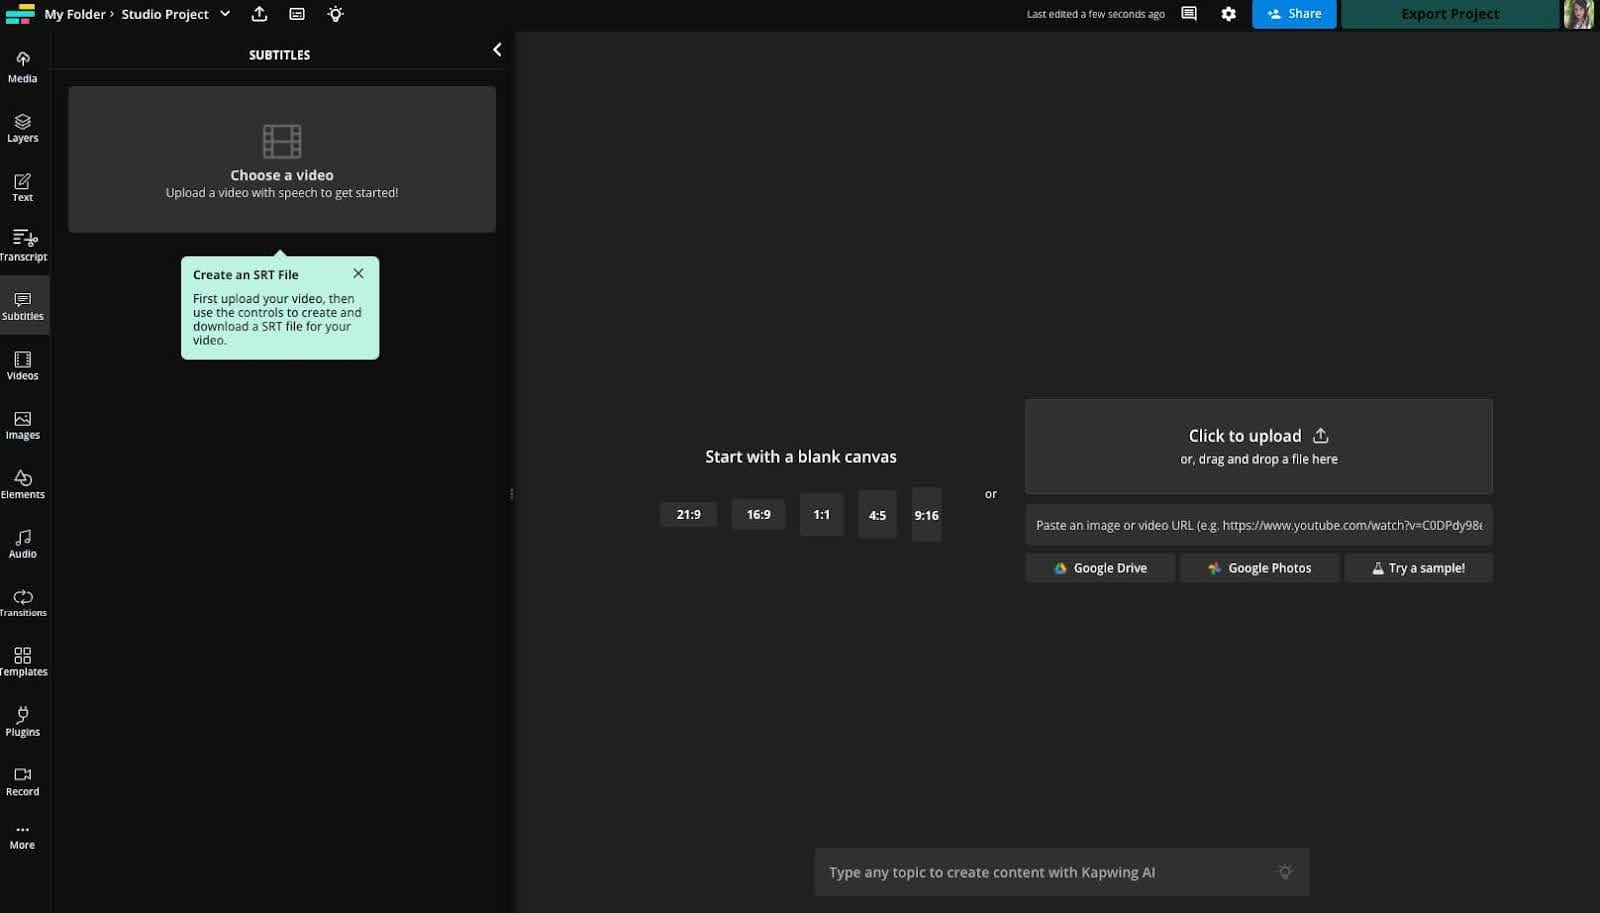
Once inside the editor, you’ll be prompted to “Choose a video.” Click on the upload button in the main editor or in the Subtitle tab on the left to do so. You can upload your video straight from your device, import from the cloud with Google Drive and Google Photos, or paste a link to import it.

You’ll see your video file appear as a layer in the timeline below once you upload it.
Step 3) Generate automatic subtitles for your video.
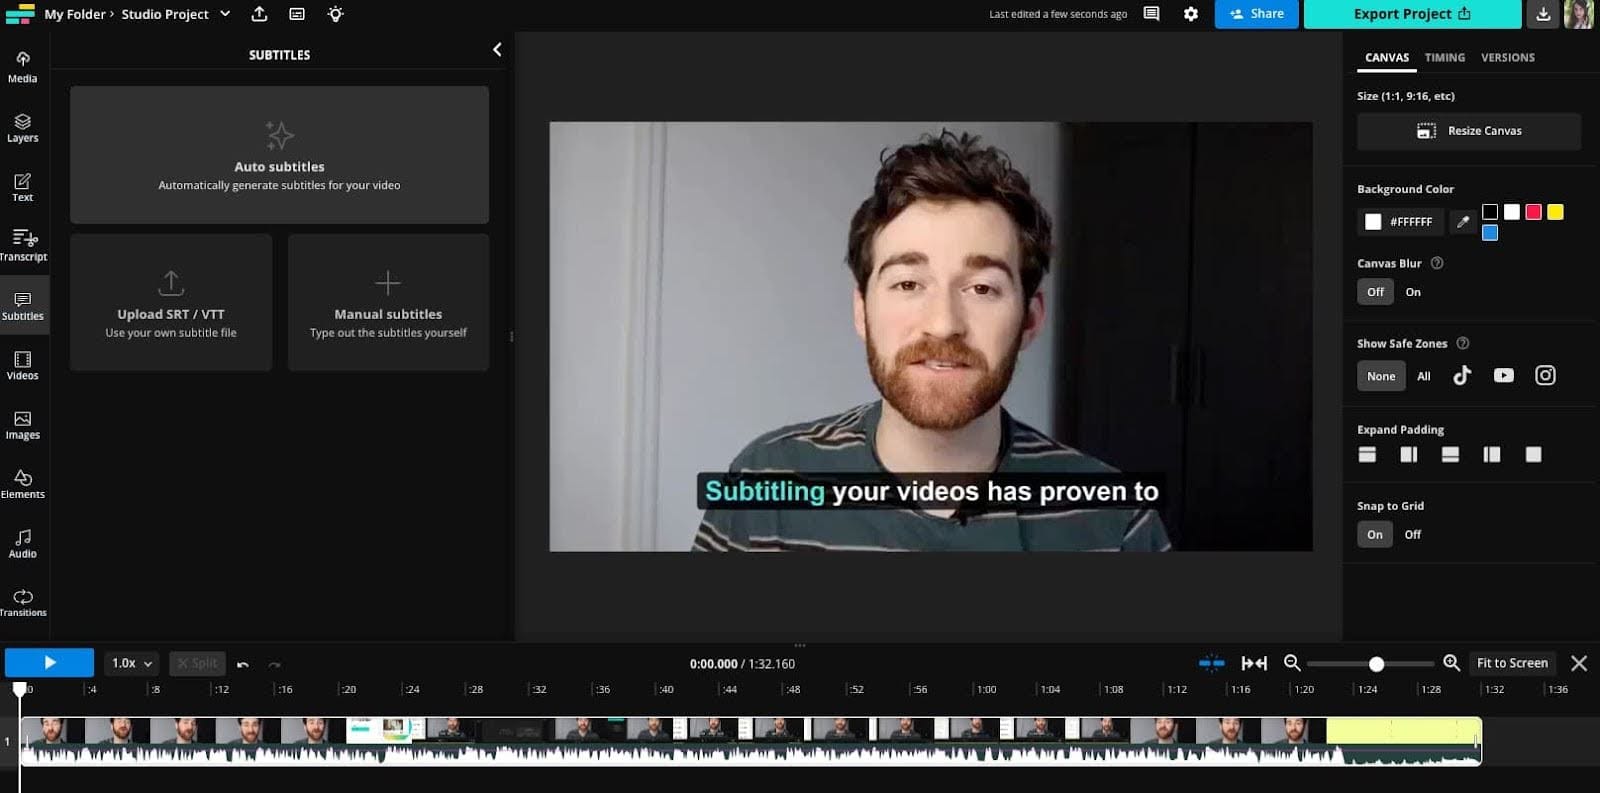
In the subtitles tab on the left side of the editor, you’ll see a few different options for adding subtitles. Select the “Auto subtitles” button up top. This is the fastest way to generate subtitles for your video, which we’ll then turn into an SRT file.
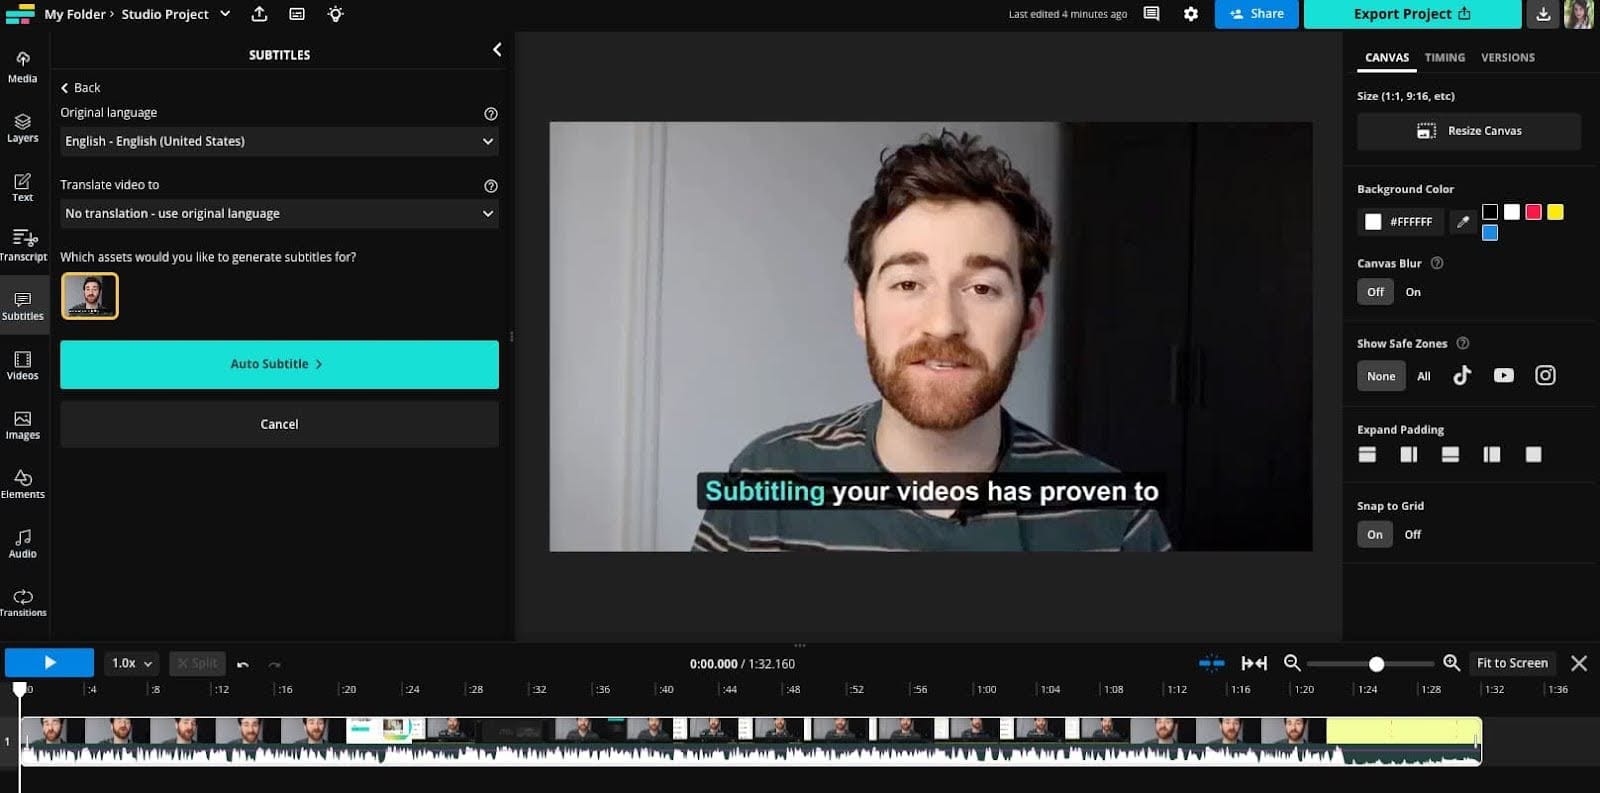
Choose the language you want your subtitles in. Kapwing can translate subtitles in over 70 languages, so if you ever want to translate your video to reach a new audience, you can. Click “Auto Subtitle” once you’ve made your selection and Kapwing will start generating your subtitles.
Step 4) Download your SRT File.
When the subtitles are ready, they will appear as a separate layer on the timeline below as well as in the subtitle tab to the left. If you were planning to add the captions directly to your video, this would be where you would edit them, customize font and style, change the placement, etc. For now, though, we’ll just be exporting these subtitles as an SRT.

Scroll through the transcript view of the subtitles to make sure they’re correct. While Kapwing’s subtitler is generally very accurate, sometimes it does make mistakes. Look for homophones that have been spelled incorrectly, like “bomb” instead of “balm,” for example. Also double check the spelling of some proper nouns, especially if it’s a brand name.

When you’re happy with how the subtitles look, click on the download icon and select “as .SRT” as your file type. Your new SRT file will be downloaded to your device. We recommend changing the file name to something clear and recognizable, like “CampaignName_video_captions.srt” so it will be easier to find in your file browser when it’s time to upload to Twitter.
Step 5) Upload your SRT file to Twitter.
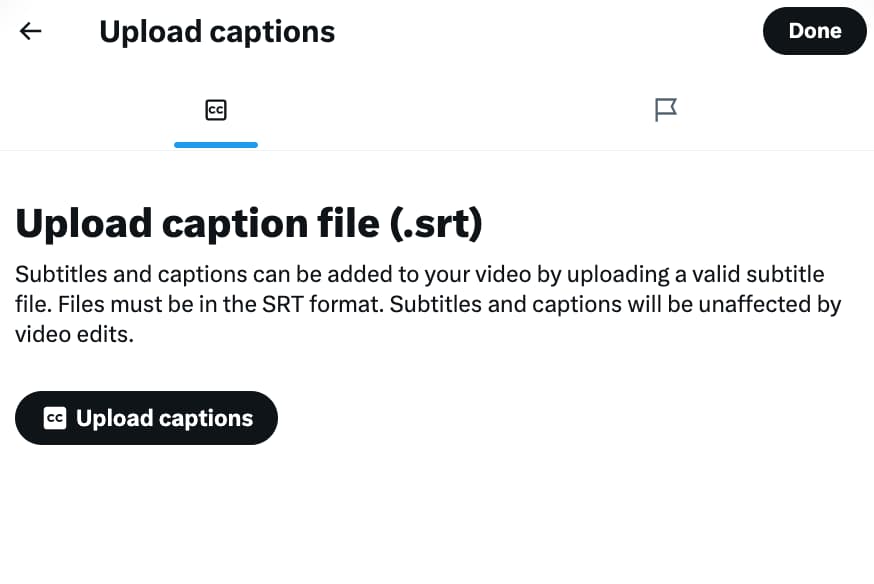
Write your tweet and attach your video. After your video has finished uploading, you’ll see the option to “Upload caption file (.srt)” just below the video.
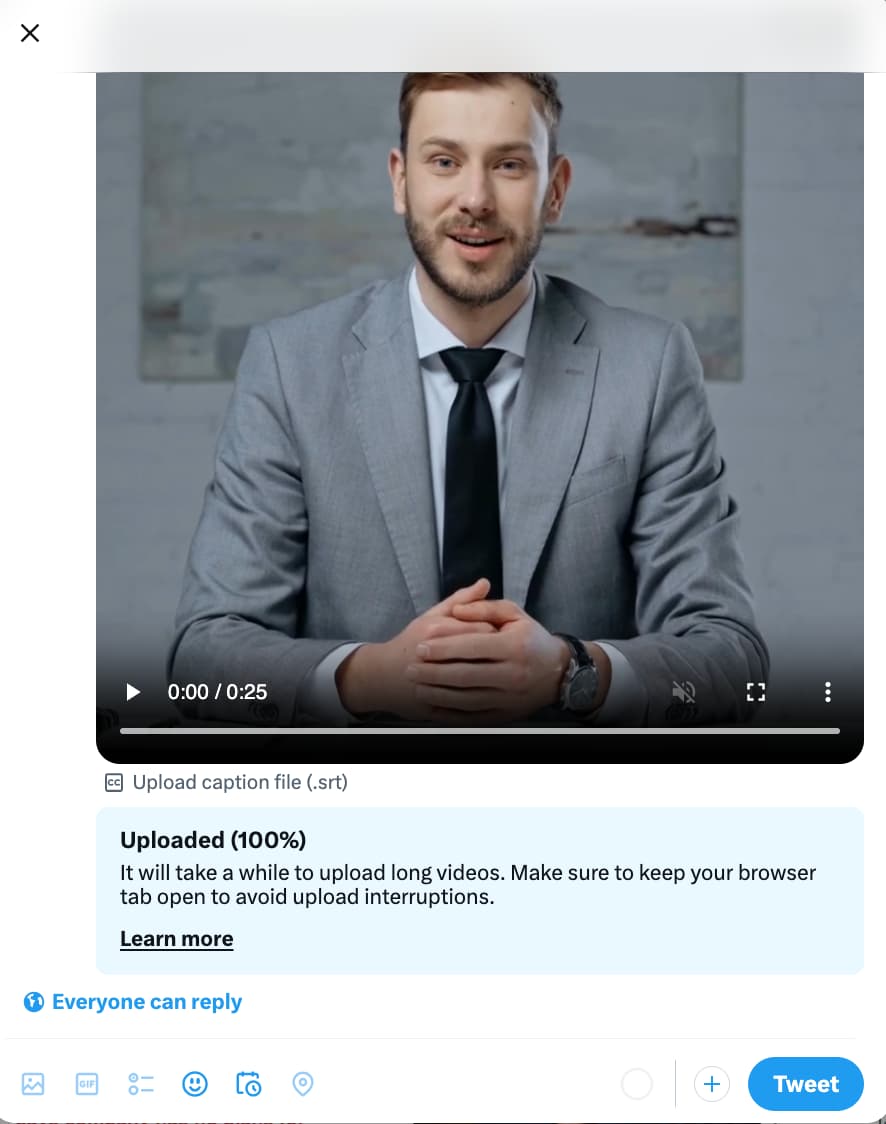
Click on it to open the “Upload captions” window. From here, click the “Upload captions” button. Select the .SRT file you just made.
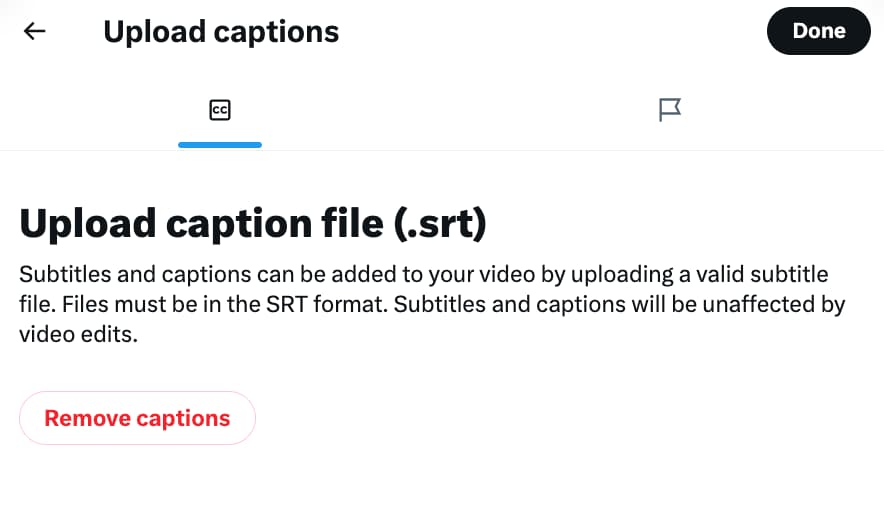
Once your SRT file is uploaded, the “Upload captions” button will turn into a red “Remove captions” button. Click “Done” in the upper right corner to save your changes and return to the main tweet editor.
Publish or schedule your tweet as usual. Users who have captions turned on in their device’s accessibility settings will now be able to toggle the captions on and off for your video.
How to Add Permanent Subtitles to Your Twitter Videos
If you want to add permanent subtitles to your Twitter video that can’t be turned off, you can do that with Kapwing, too. This is a good idea if you plan on repurposing your video content on other platforms, like TikTok and Instagram Reels, which don’t currently support SRT uploads.
Baking subtitles into your video with Kapwing’s video caption generator only requires a few more steps than creating an SRT file. First, follow Steps 1 – 3 from the previous tutorial:
- Open a new project in Kapwing.
- Upload your video file.
- Generate auto subtitles.
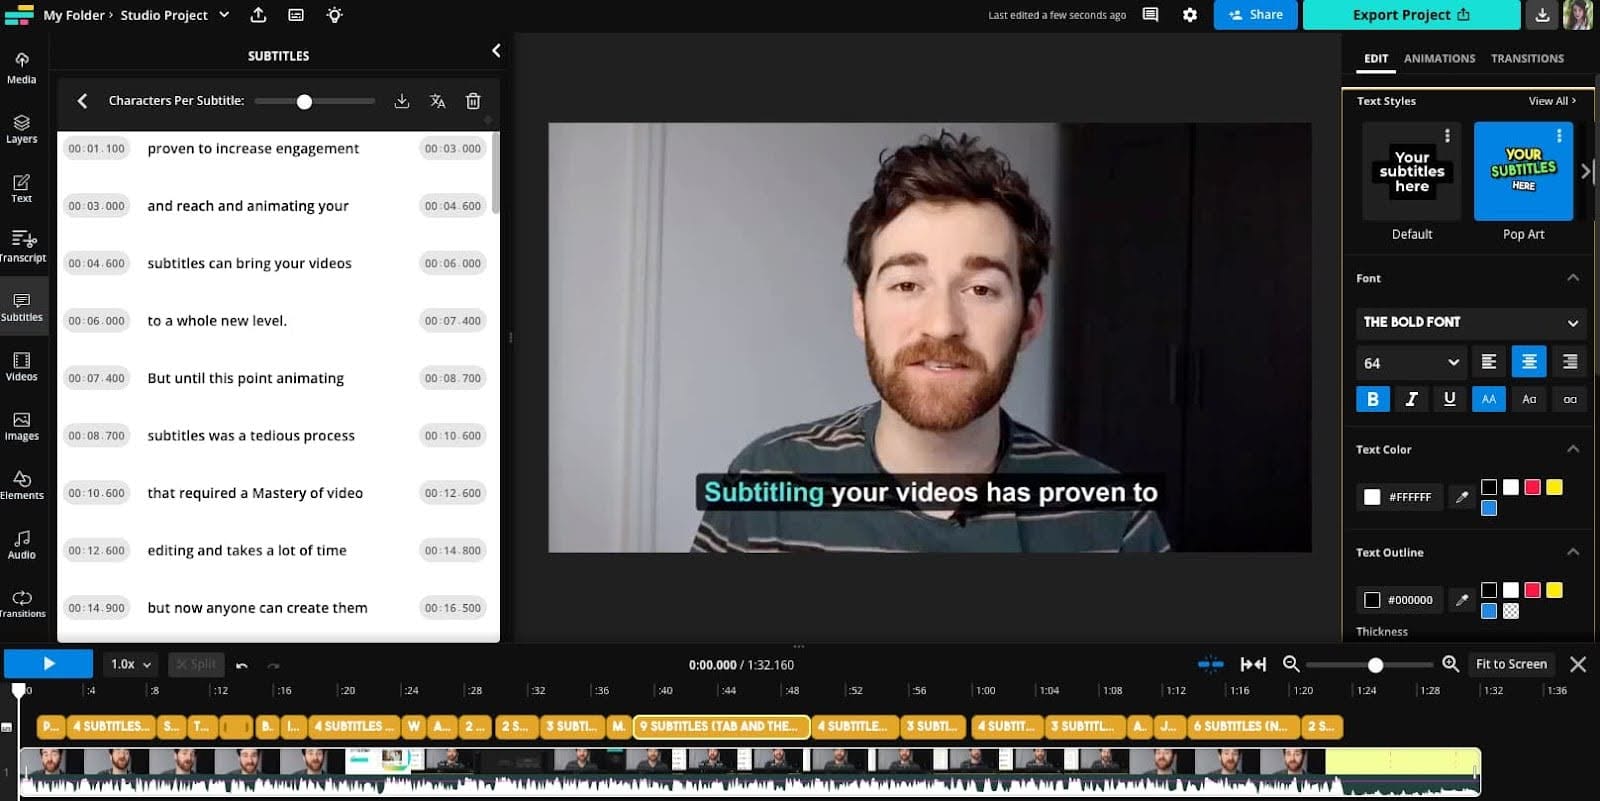
Next, instead of downloading the SRT file, you’ll want to customize your subtitles. By selecting the subtitle layer in the timeline, you can access the edit menu to the right where you can choose the best font for your subtitles, background color, font size, and style.
When making edits to your captions, you'll want to keep accessibility guidelines in mind to ensure that people with low vision can easily read your captions. Choosing fonts that are traditionally easy-to-read, using a larger font, and having a high contrast color palette like black and white or orange and blue can be helpful to ensure that people can easily read the captions on your video.
You'll also want to ensure that the timing of the captions to what the speaker is saying is spot on. Fortunately, Kapwing's transcription timing is accurate but other tools may require more manual effort to do this.
Feel free to play around with style within those guidelines, though. Choose from different preset styles, like “Pop Art,” “Handwriting,” or “Typewriter,” or create your own with your brand fonts and colors. You can also add extra eye-catching motion for better engagement using our preset animation styles.
When you’re happy with how your permanent subtitles look, export and download your project then upload to Twitter and anywhere else you want to share it. No captions file necessary.
Make More Accessible Twitter Videos
Adding closed captions to your Twitter videos will greatly benefit people who experience hearing loss of varying degrees. However, beyond accessibility, it's important to note that there's a growing population of people who simply prefer watching videos without the sound on. People enjoy watching videos while reading captions or subtitles without loud audio startling them or because they’re in a quiet place.
Whether you add an SRT file with Twitter's CC feature or use Kapwing's subtitle generator is up to you. Adding captions to your video content will improve your social media performance, boost the number of views you get, and help more people consume your entire piece of content. If you're looking for an accessible video editor for your agency, team, or brand, check out Kapwing's subtitle software.
Twitter Video Captions FAQs:
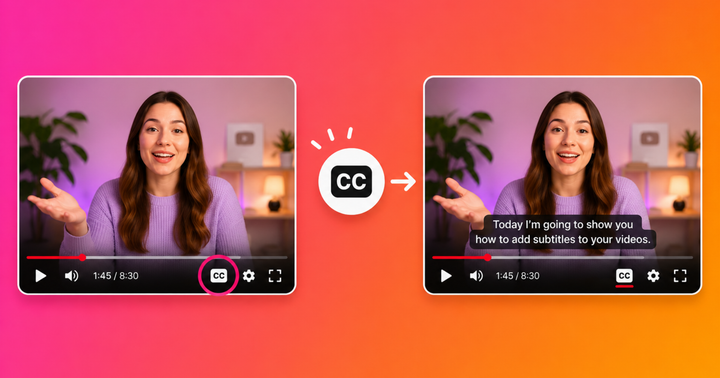
How do I turn on subtitles on Twitter?
You can add subtitles to your own Twitter videos by uploading an SRT file or by adding subtitles permanently with a video editor like Kapwing. To turn on subtitles for videos on your timeline, you’ll need to turn captions on in the accessibility settings of your phone. You will then see the CC option to toggle subtitles on or off for any Twitter videos that have subtitles added.
Does Twitter have subtitles?
Twitter does not have an auto-subtitle function currently, but the option to add CC by uploading an SRT file with your video is available on web, iOS, and Android.
How do I turn off captions on Twitter videos?
You can turn off captions on Twitter by expanding the video. The video automatically hides all captions when you expand the screen and the video audio will turn on automatically. You can also tap the three dot button in the top right corner to manually toggle captions on and off.
How do I turn off captions on Twitter app?
You can turn off captions on the Twitter app by expanding the video to make it full screen on your phone, which will turn on the audio automatically. You can also turn captions off in the accessibility settings of your phone.