How to Make a Discord Welcome Banner
Create an attractive welcome banner for Discord in a few steps with this step-by-step tutorial.
Creating an attractive server starts with setting up a compelling welcome channel. The welcome channel is a member's first destination after joining a server.
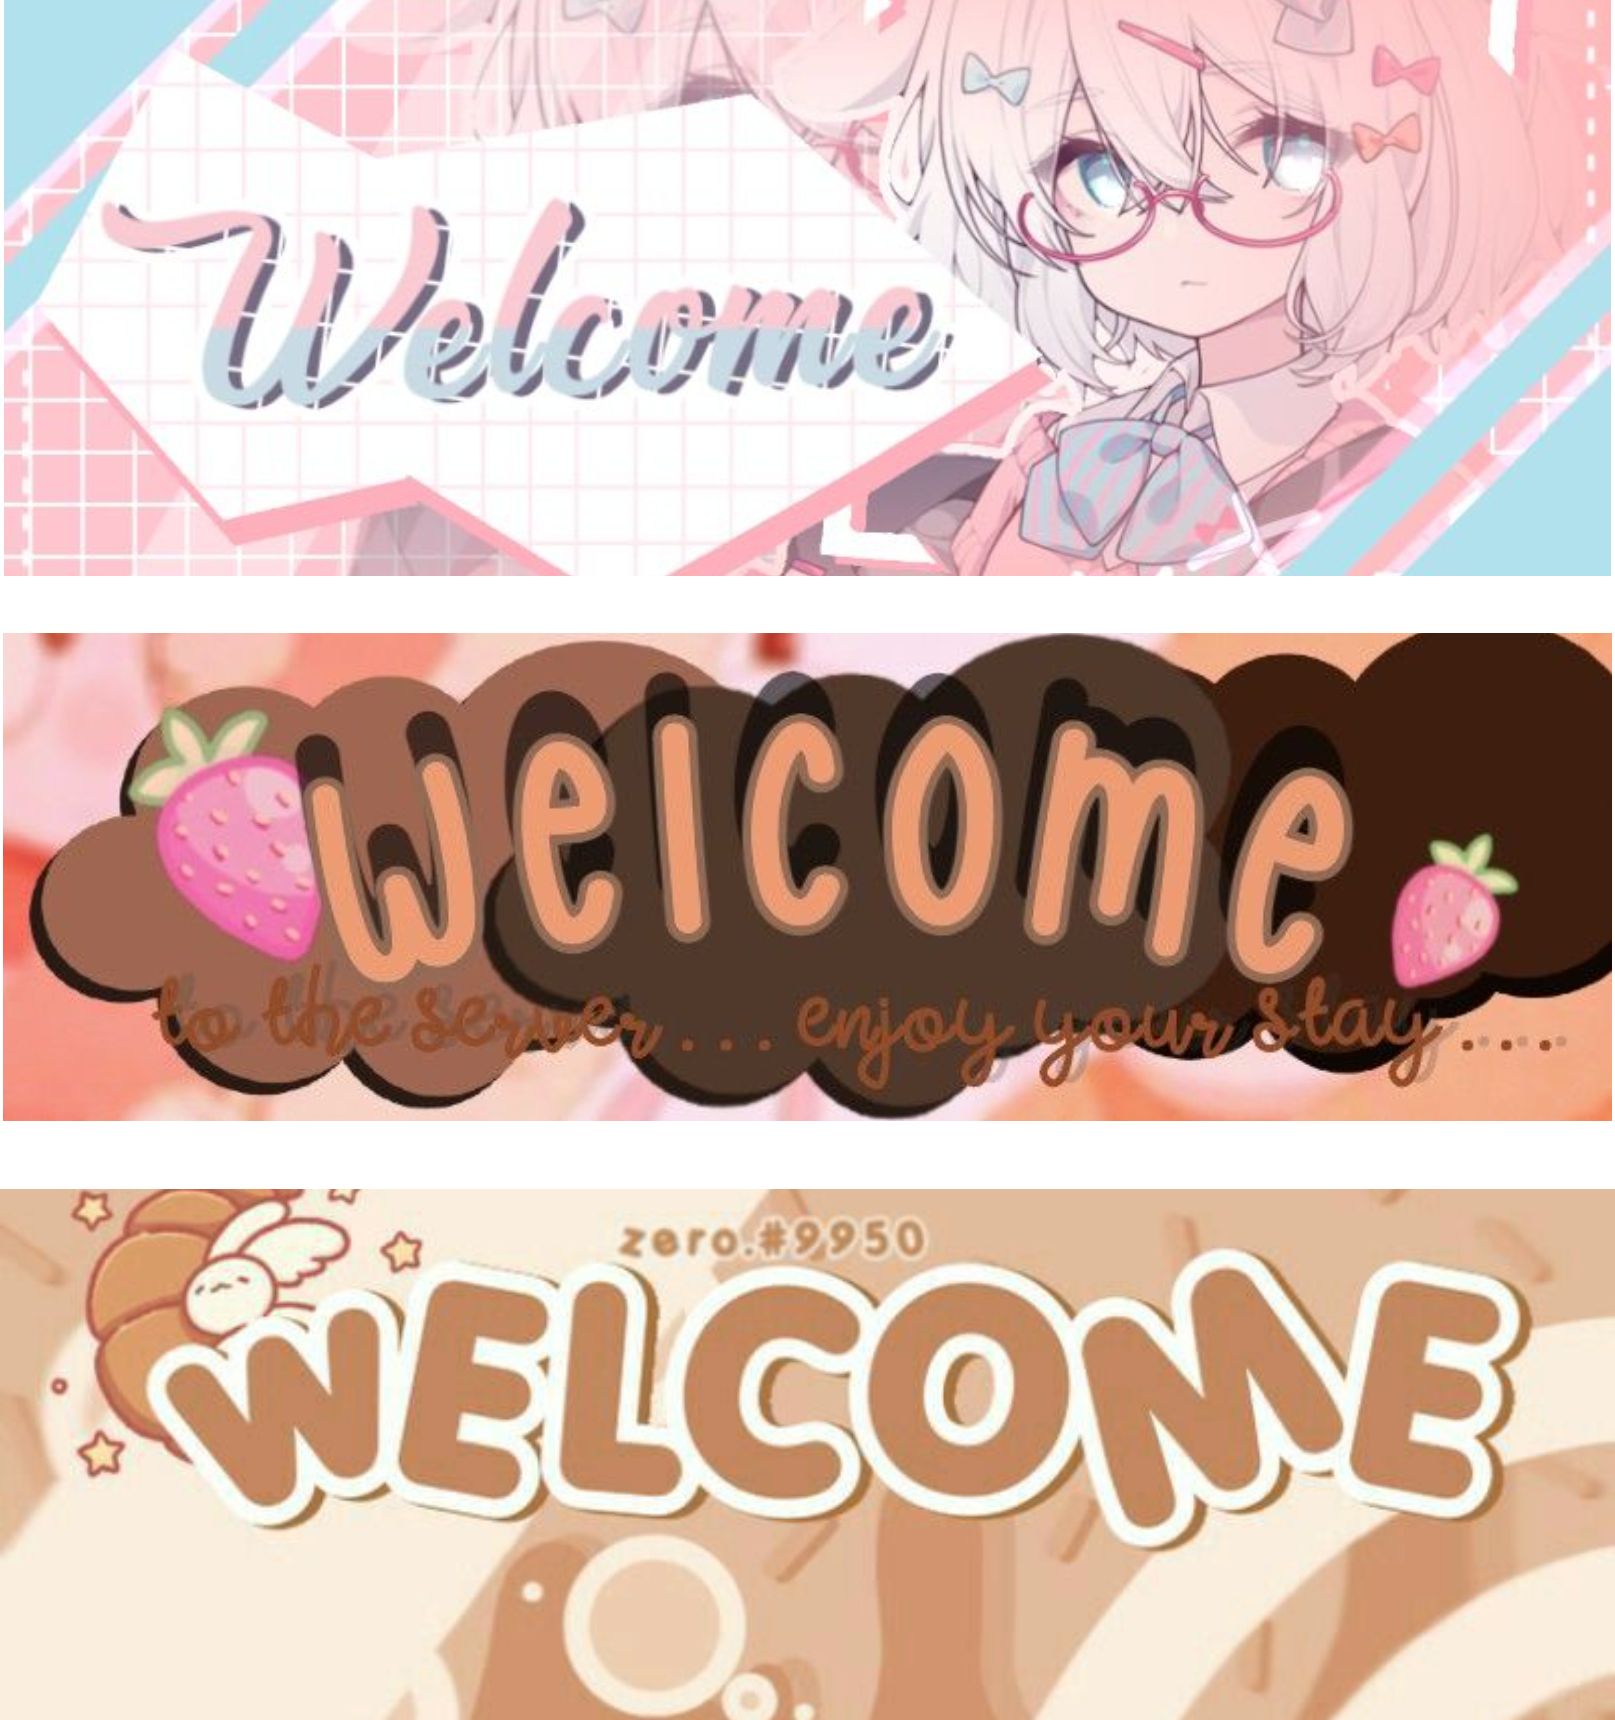
This channel clarifies rules, provides a warm introduction to newcomers, and describes the server's purpose to attract the right people. In addition to text, a welcome banner adds context and provides eye-catching imagery members can enjoy while reading over expectations and frequently asked questions. In this article, we're covering how to make a Discord welcome banner like the examples below to create a memorable first impression.
Step One: Resize Background
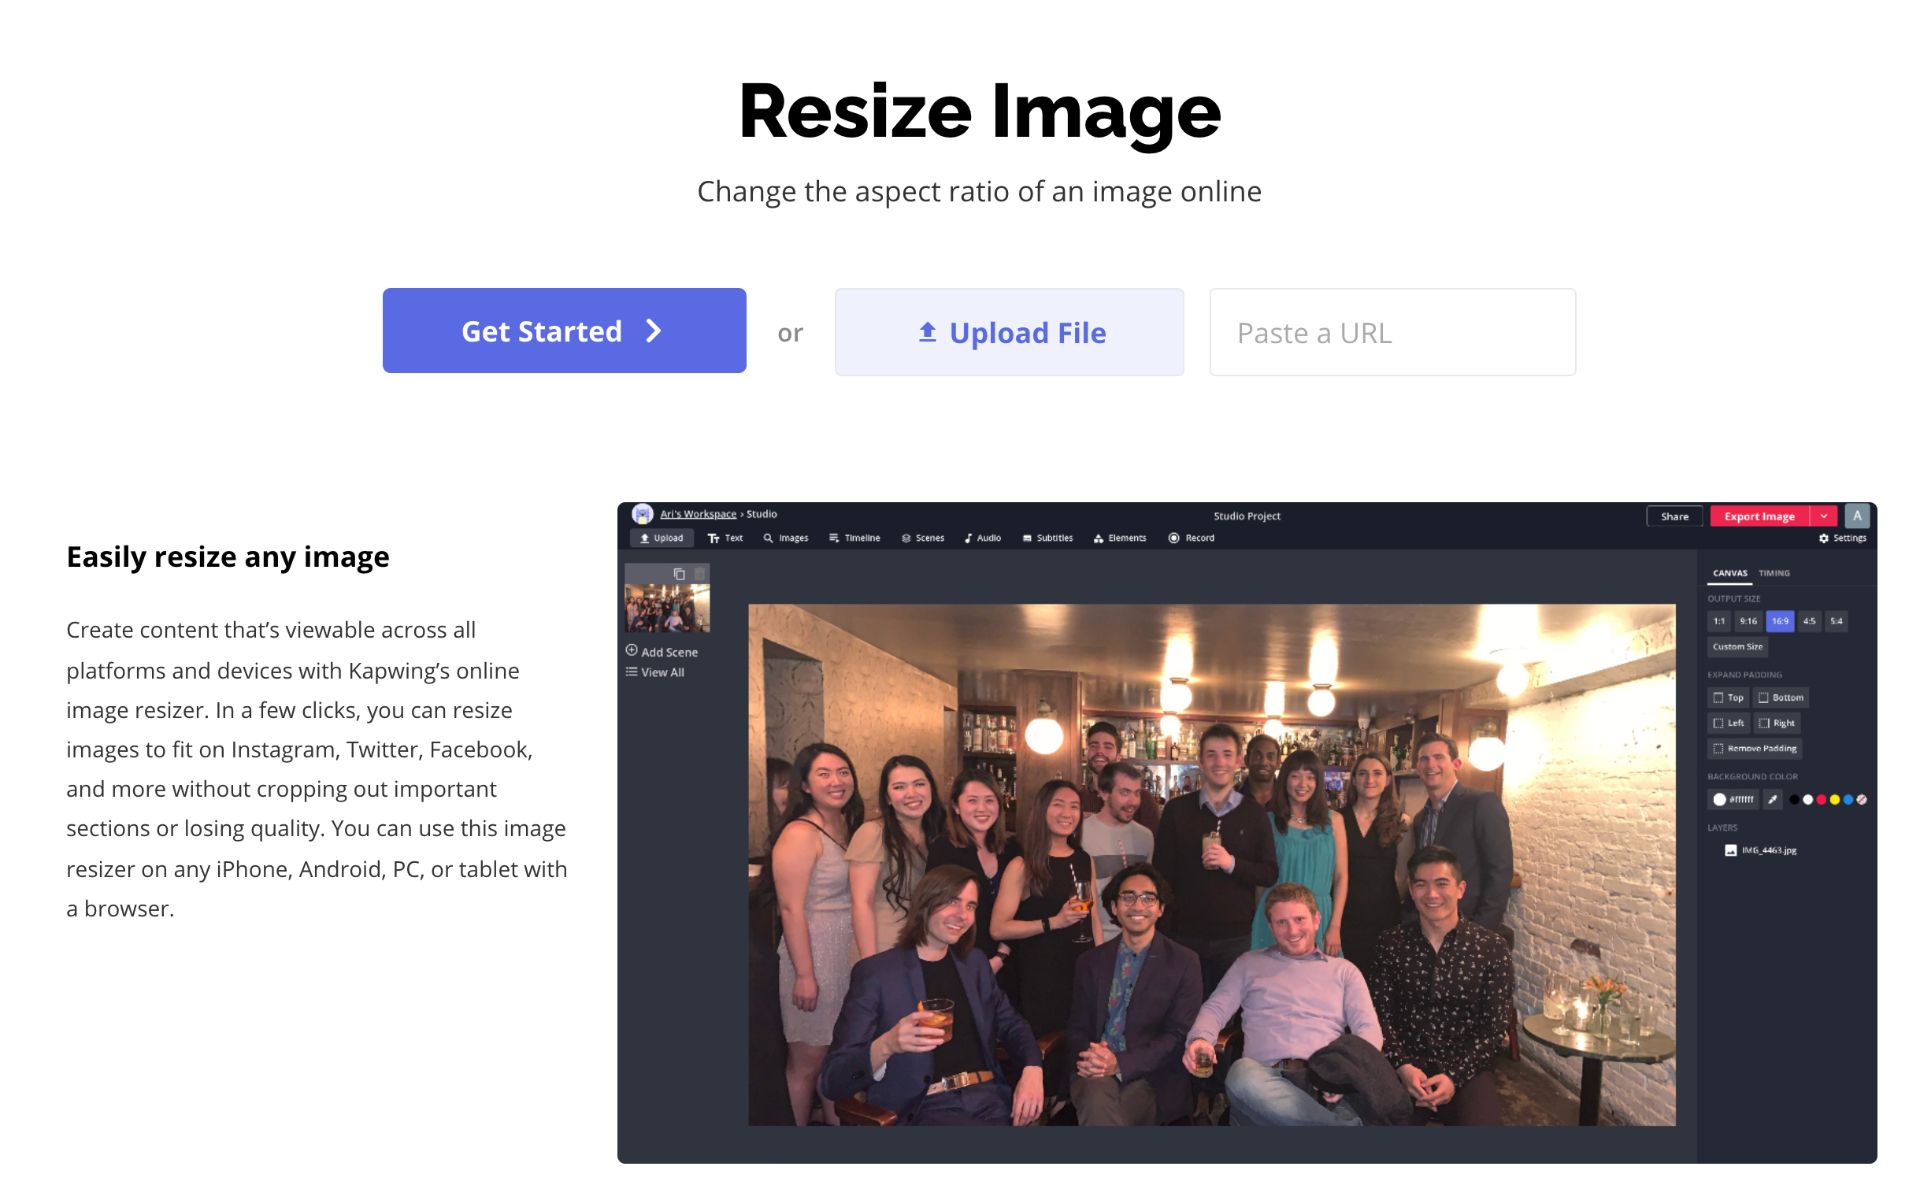
Open the Resize Image tool in your browser to get started. This free tool by Kapwing crops and resizes images to the desired aspect ratio without reducing its quality. Click or tap the get started button to open the Studio or click Upload File to add an image to the Studio from your file browser. You can also paste an image link.
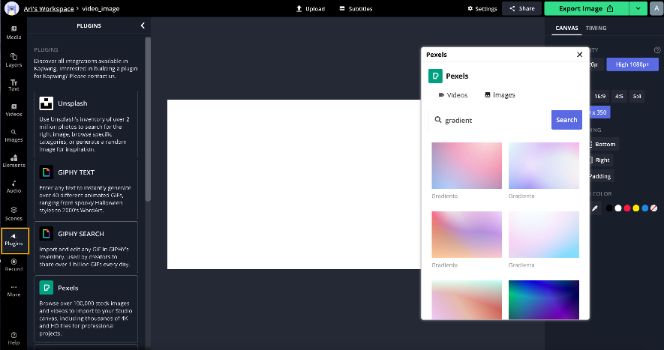
Click Plugins located on the left side of the Studio if you selected the get started button and need a background for your banner. From here, you can explore free high-quality images from Pexels and Pixabay.
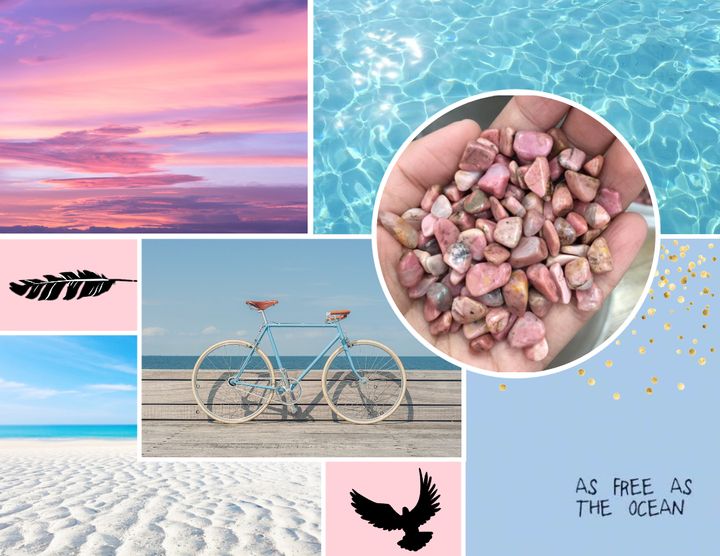
Click the search bar at the top, then add descriptive text that describes your ideal background. The results will populate, and you can perform another search until you find what you like. You can use one image or overlap multiple images to create a collage background for your banner. Alternatively, you can fill the canvas with a solid color.
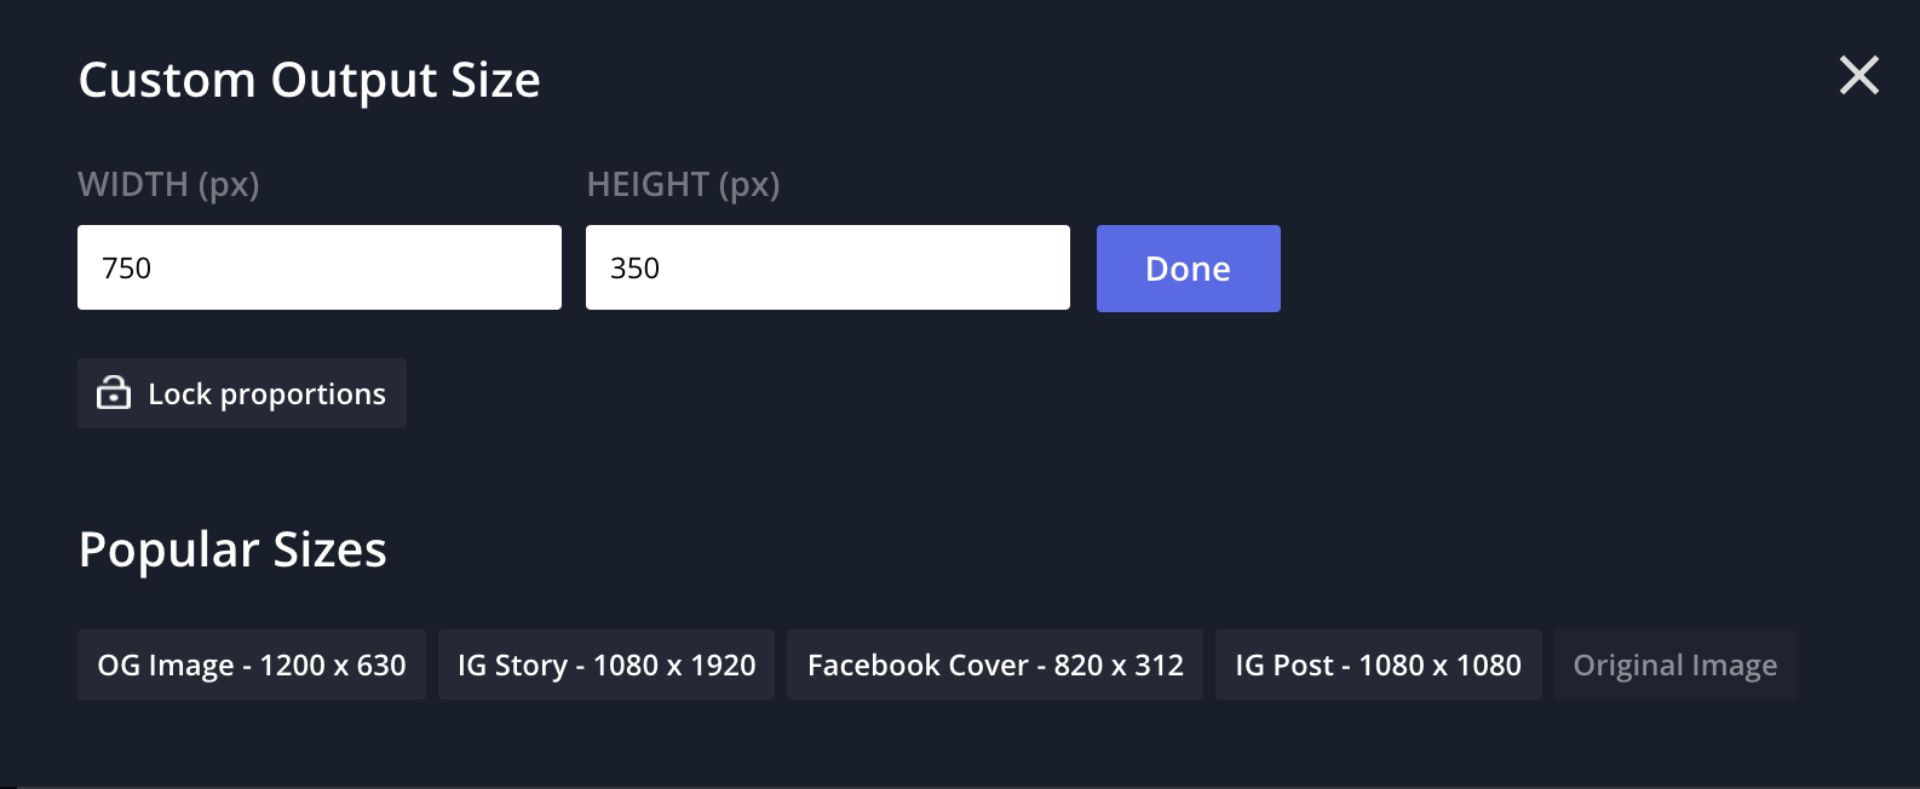
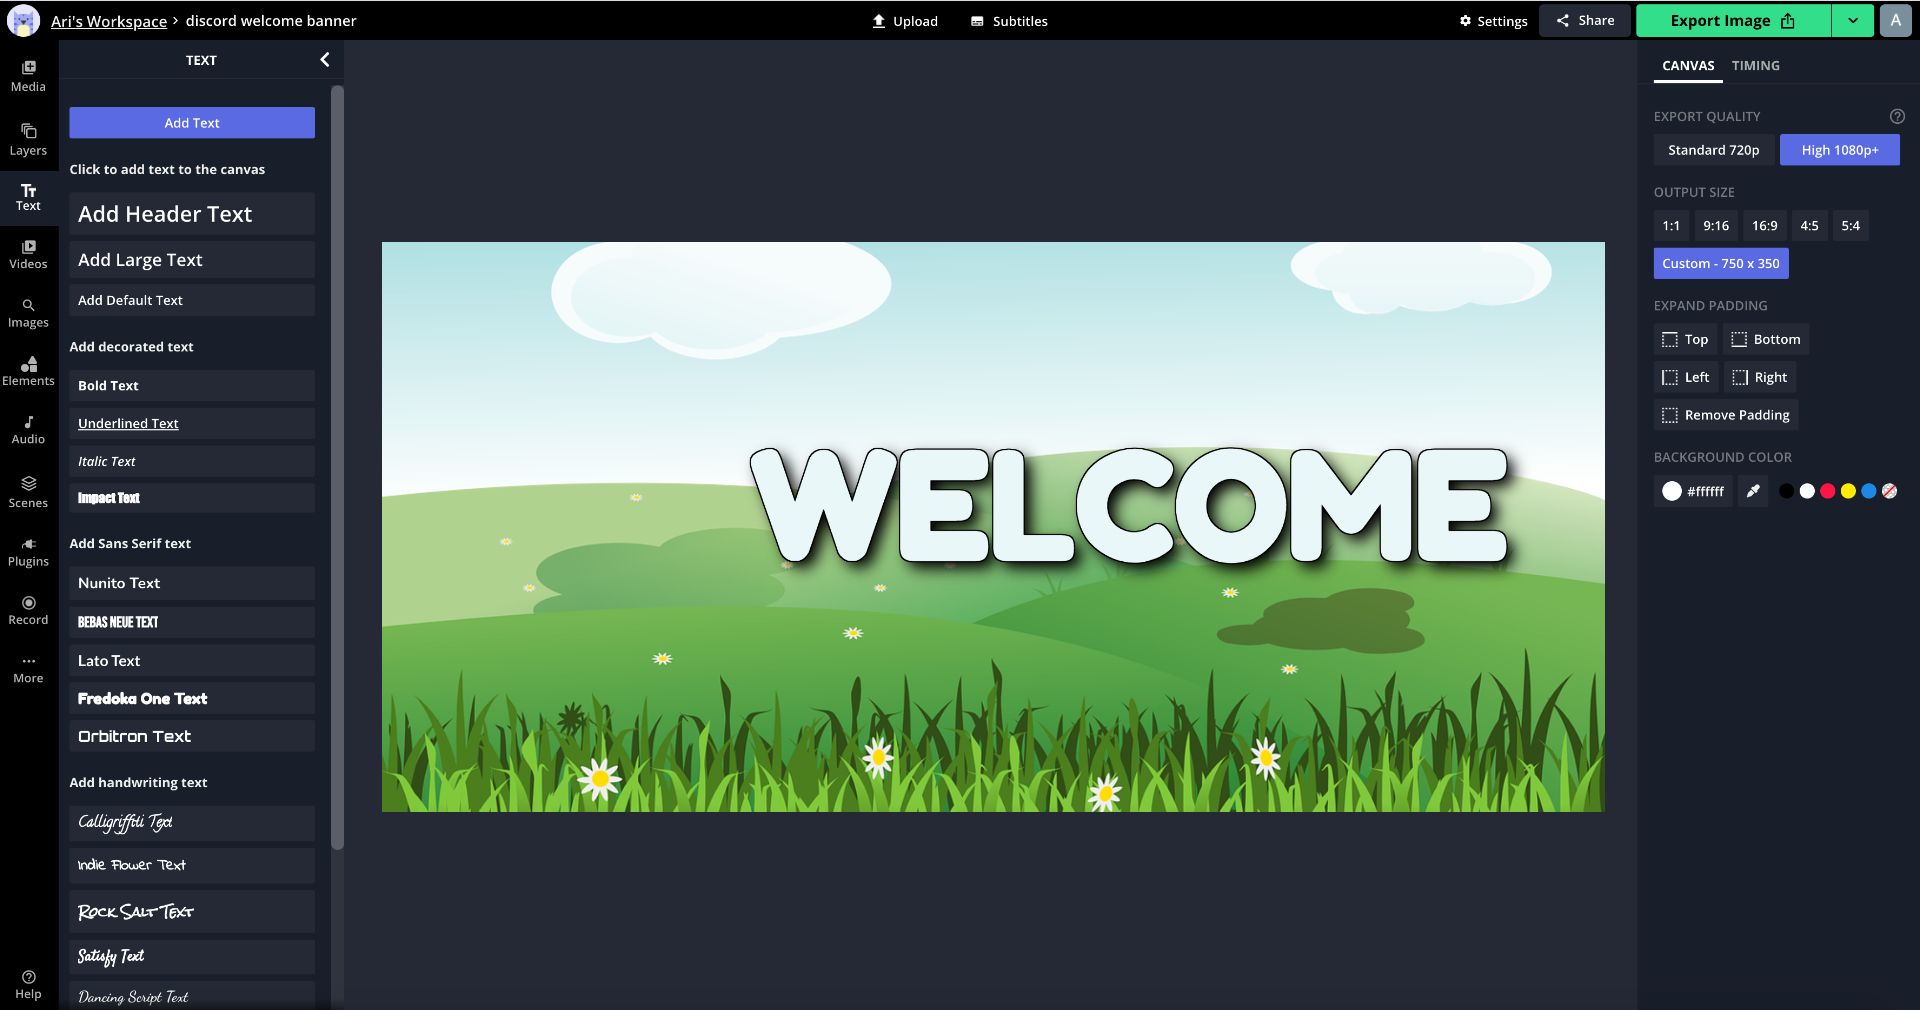
You can use your preferred aspect ratio to resize the welcome banner for Discord. Click a preset output size on the right side of the Studio or click Custom to add a new width and height. The background in this example is 750x350 pixels. Ensure the dimensions are wide enough to display any text, graphics, and logos you'll need to customize the banner.
Step Two: Edit Welcome Banner
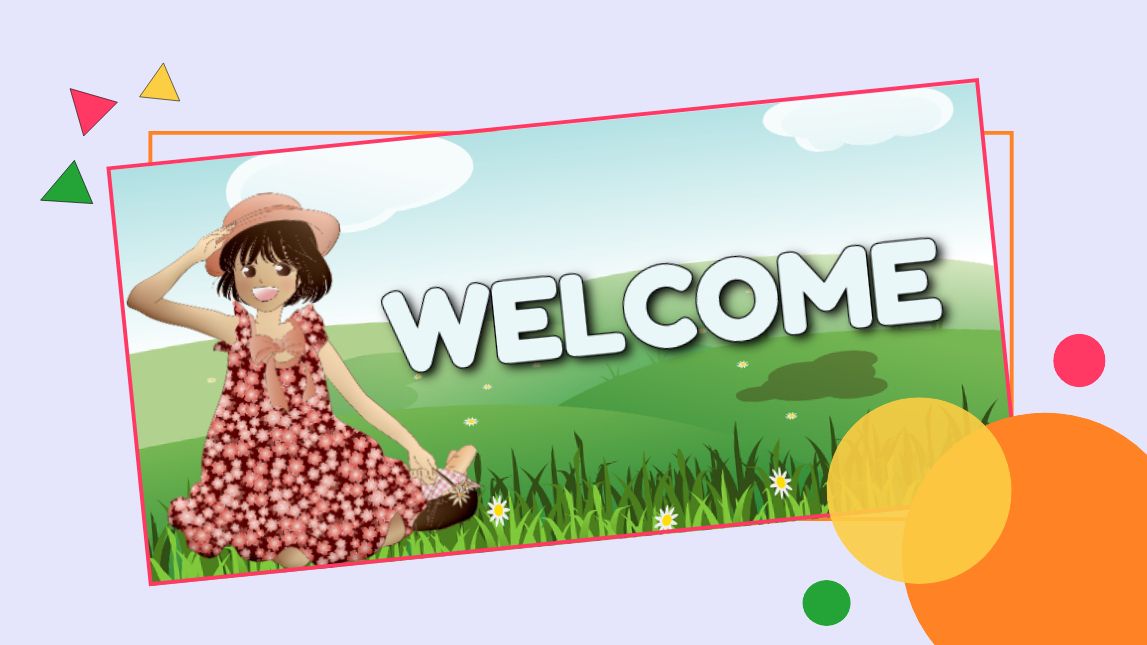
The Studio's intuitive graphic design tools makes it easy to create a compelling welcome banner for your server. Use the text tool on the toolbar to add "welcome" to the background, then click and drag the text to change the position. You can change the font, size, color, and add an outline or drop shadow effect.
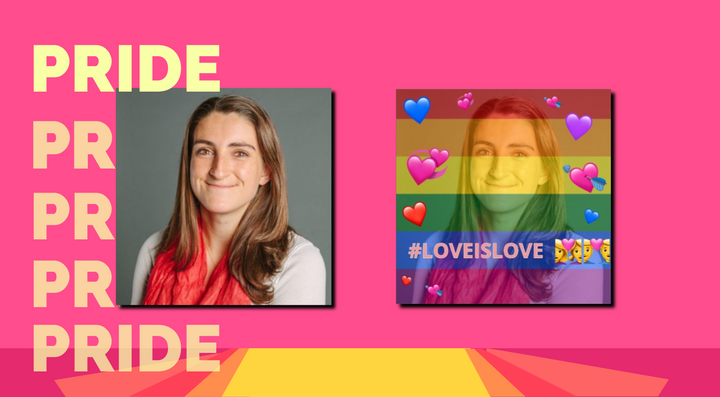
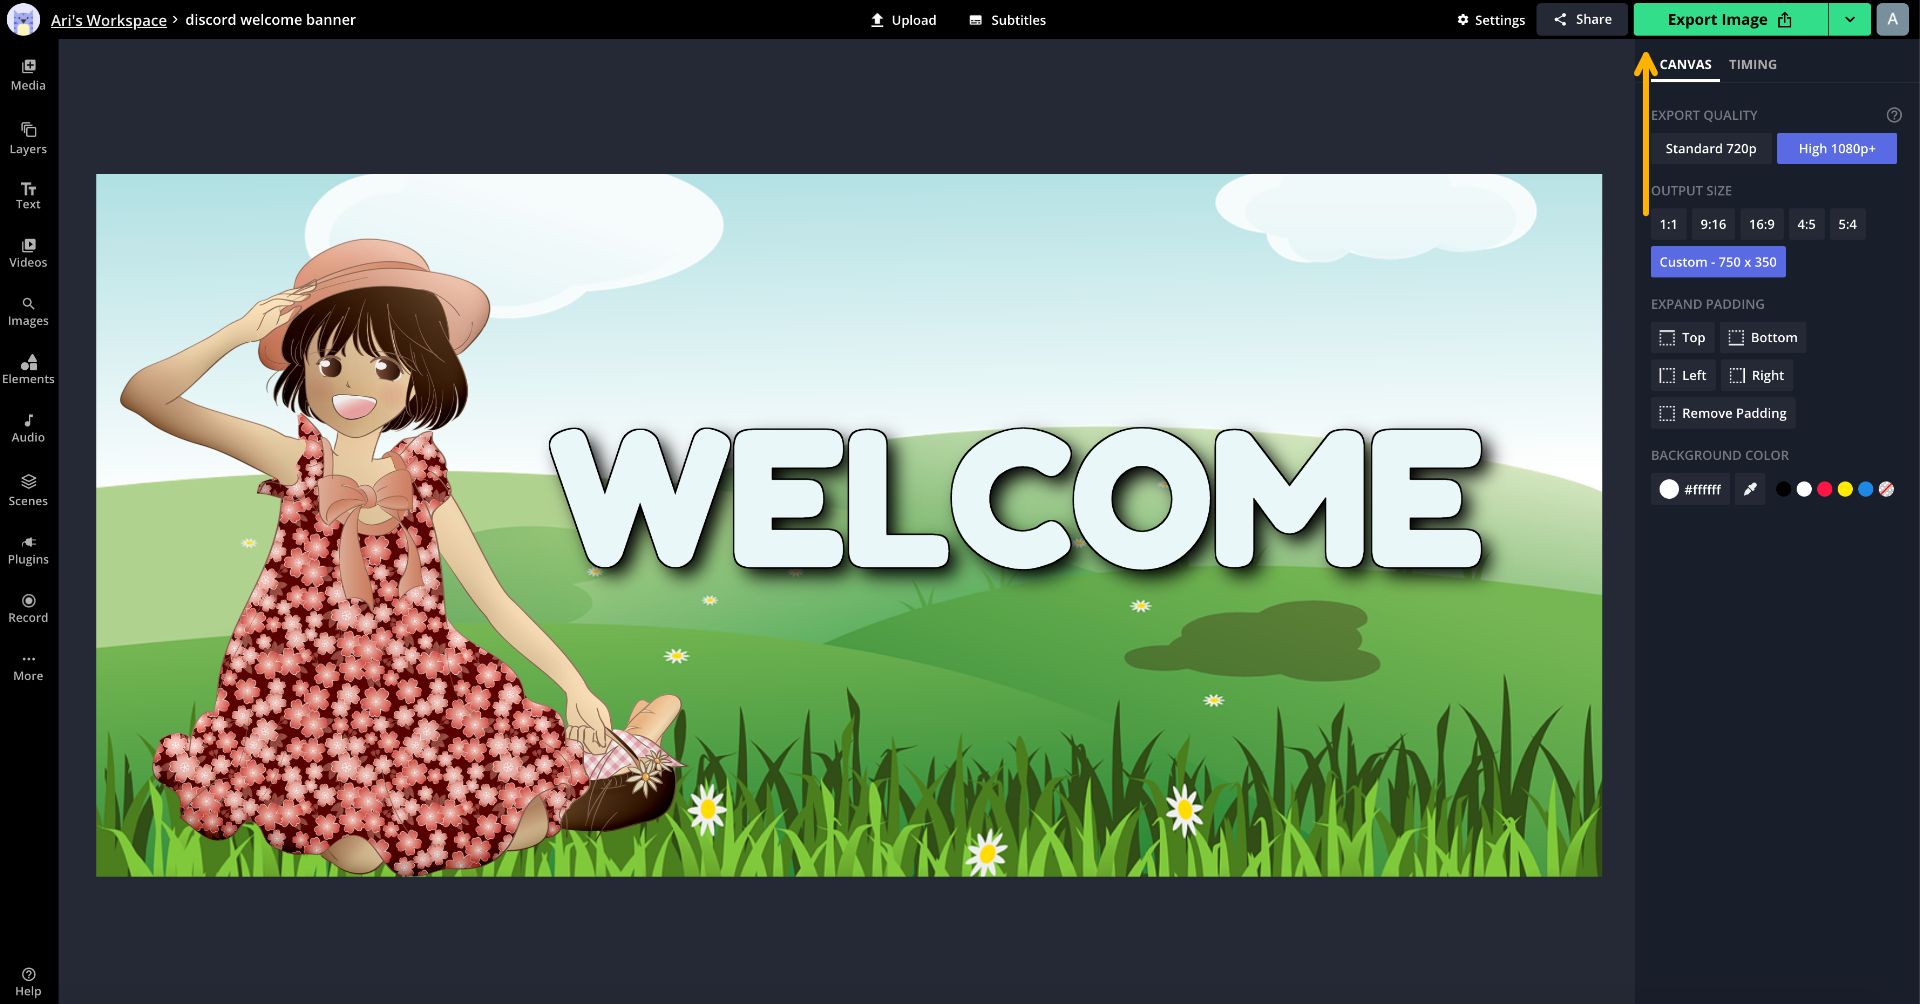
You can find illustrations with the plugins tool to craft any design. A video game Discord banner and an anime Discord banner are two ideas commonly seen across servers. Pixabay provides free vectors and illustrations by talented artists to support both ideas and more.
You can also drag and drop custom logos, graphics, vectors, watermarks and more into the Studio for use in your banner. Drag the corners to scale your assets and reposition them on the canvas. The elements tab on the toolbar is a great resource if you want to use shapes and emojis. You can combine, overlap, and crop elements, and change the opacity. Click Backward or Forward on the right side of the Studio to change the order layers.

Step Three: Export and Download
Click the export button at the top of the Studio to begin processing your banner. You can click Download when the banner is processed to save it to your device or click Start another project to design a banner for a different channel. Sign in with an email address to remove the small watermark. With a free Kapwing account, your banner will be stored for two days in a workspace.
Step Four: Upload to Welcome Channel
Log in to your Discord server and open the welcome channel. Drag and drop your image into the channel and you're all set! To place the welcome banner at the top, upload the image first, then add your text.
Explore additional ways to customize your server by reading the related articles below, and subscribe to our YouTube channel to watch video editing tutorials for modern creators. Follow us on Twitter and Instagram for product updates and feel free to reach out with any questions, feedback, and comments. We're happy to hear from you!
Related Articles
- How to Make a Discord Rules Banner
- How to Make a Discord Server Invite Background
- How to Make a Custom Discord Video Background
- How to Make a Profile Banner for Discord