How to Make a Custom Zoom Virtual Background
In this article, we'll show you how to add a video or image virtual background to Zoom in just a few short steps. Adding Virtual Backgrounds to your Zoom video calls gives you an additional layer of privacy and makes calls more entertaining for everyone.
Zoom has pretty solidly cemented itself as an essential digital meeting place for friends, family and coworkers alike. Amid the global COVID-19 Pandemic, the video conferencing app managed to provide some respite from the loneliness and isolation that come with life in quarantine.
TL;DR: Use this free Zoom virtual background maker to crop and trim a custom video background for your video call.
While Zoom is advertised as a buttoned-up conferencing solution for schools and businesses, the Virtual Backgrounds feature has turned it into one of the most entertaining apps around. This video effect allows users with newer hardware to digitally remove the background behind them on camera and replace it with any image or video without using a green screen.
Virtual Backgrounds have the practical advantage of providing additional privacy for your calls by hiding the room behind you. They also give you an opportunity to showcase your personality and have a little fun with friends and coworkers.
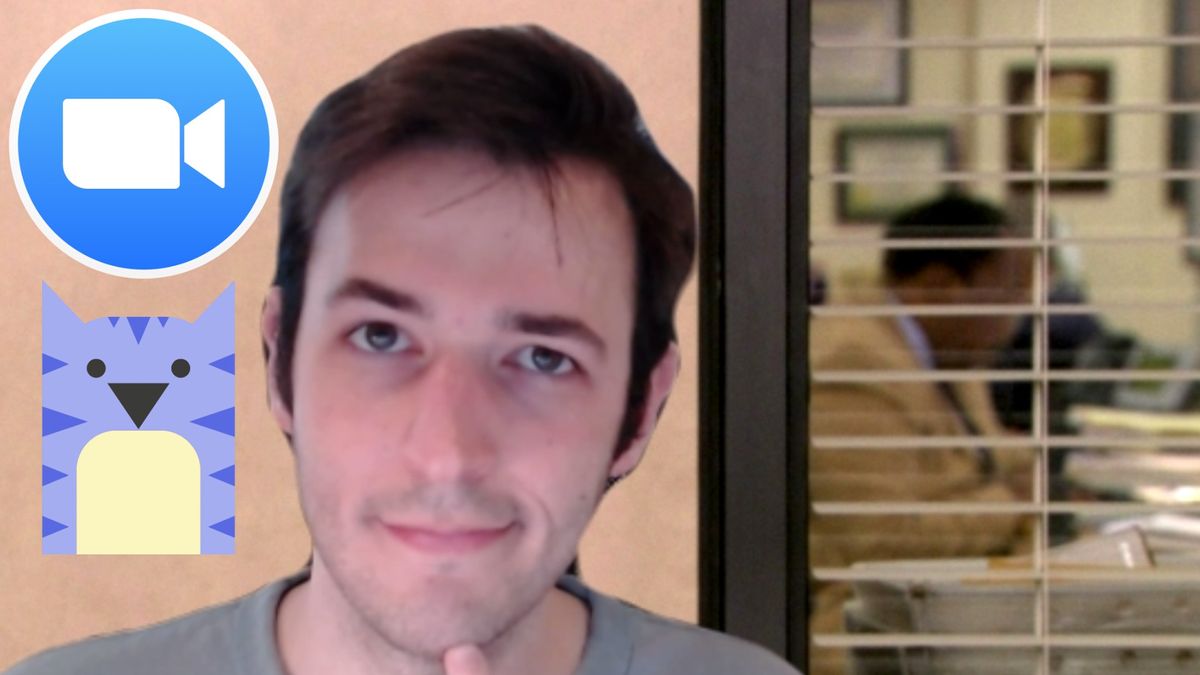
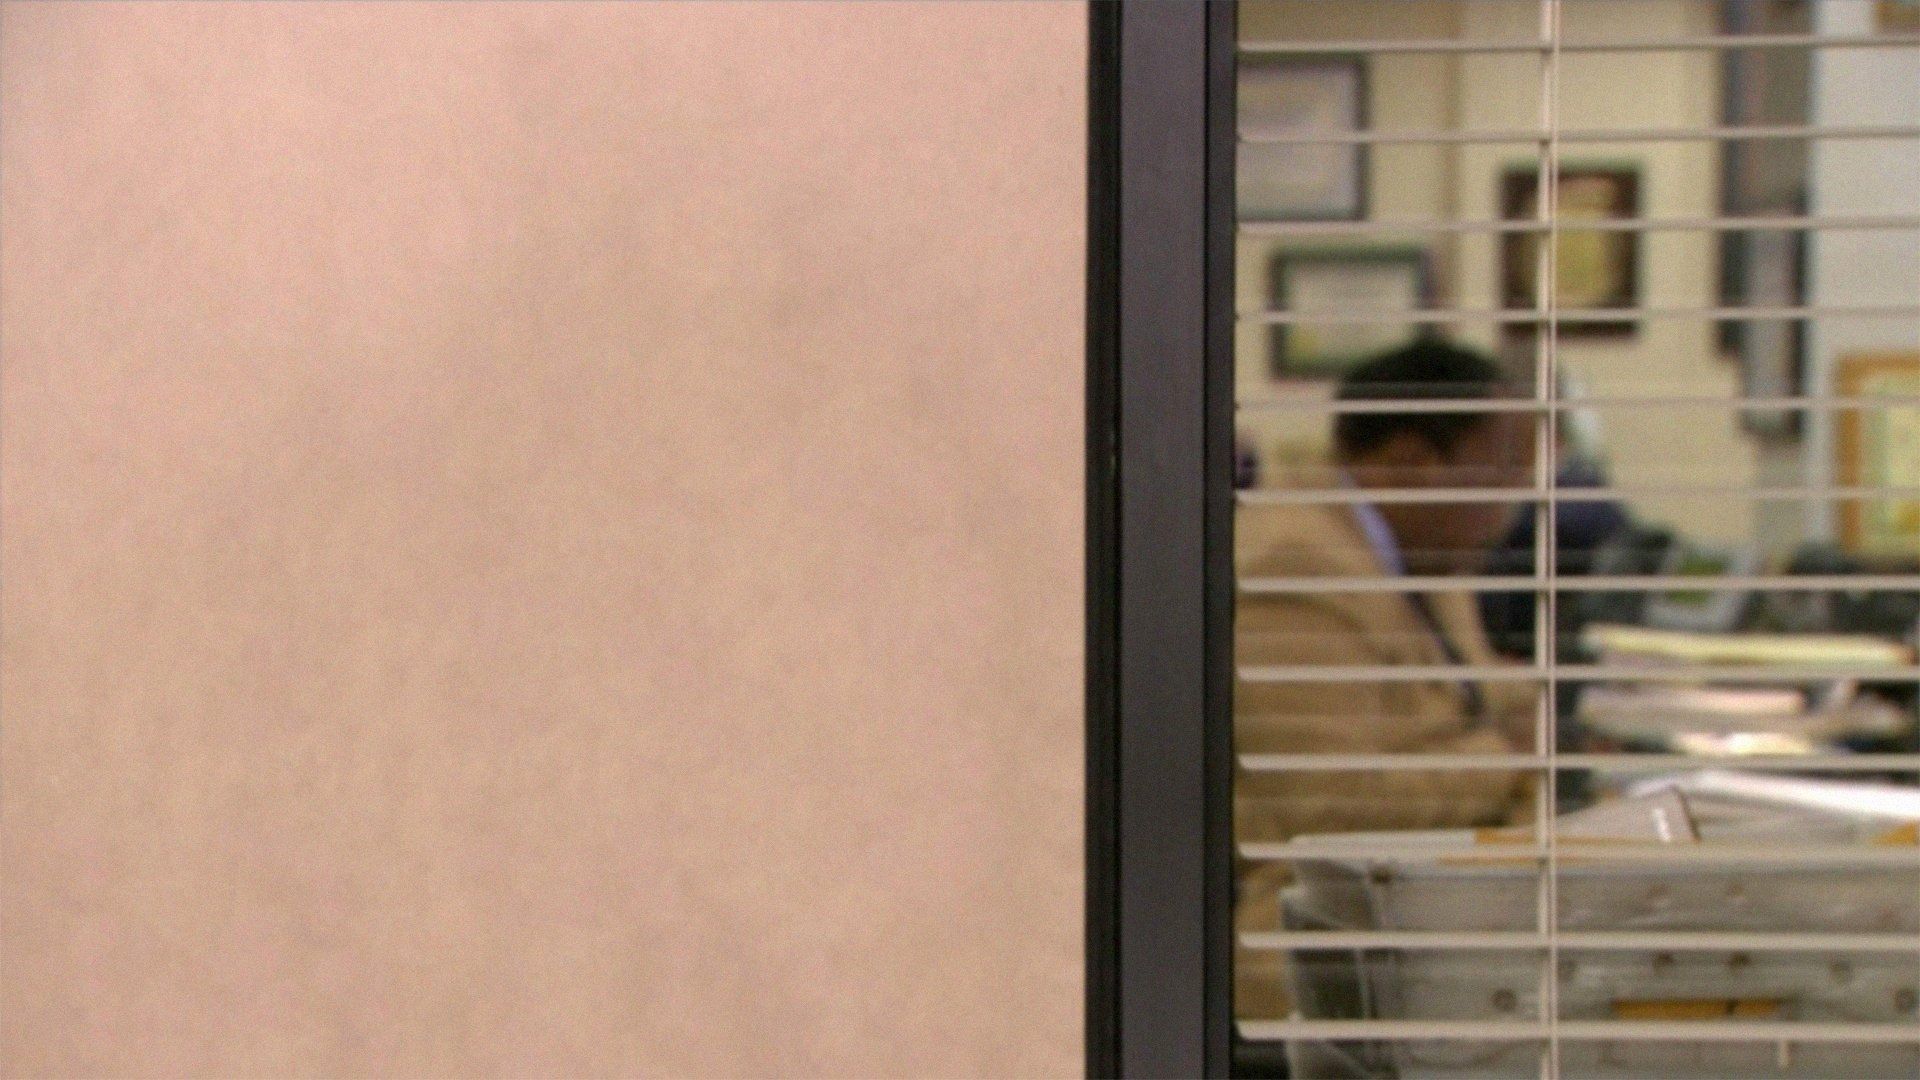
One of my favorite virtual backgrounds places the speaker in an instantly recognizable interview scene from The Office, while others place you in classic memes or movie moments.
Here's a rundown of how to make your own Zoom Virtual Background for video meetings:
- Download Zoom and check system requirements
- Find a image or video to use
- Edit your background
- Download and add it to Zoom
Step 1: Download Zoom and check the system requirements
To get started with virtual backgrounds, download the Zoom desktop or mobile application. Virtual Backgrounds are not currently supported in the Zoom browser app.
It's important to note that some older devices and machines are not capable of running virtual backgrounds. Check the official Zoom system requirements to make sure your hardware is compatible with this feature.
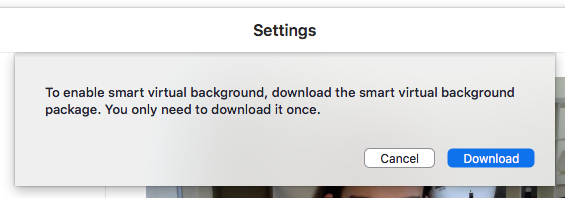
The first time that you open the Virtual Backgrounds tab in the Zoom desktop app, you'll be prompted to enable the smart virtual background package. This isn't sketchy malware; it's quick, trustworthy, and real. Just click the Download to continue.
Step 2: Find an image or video you want as a virtual background
This is the fun part. Think about what image or video you want to use as your virtual background and go find it! In my personal background collection, I like to pull a lot from video games, memes, and movies. For this reason, I've primarily used YouTube and Google Image Search to find images and videos so far.
When finding the perfect background, it's important to think about where your head will sit in the frame. Will an important part of the video or image be covered by your face if it's behind you? Will you need to sit further to the left or right of the camera so that the people you're calling can see the background? Take all of this into consideration as you find images and videos for your virtual background.
Here are some of our favorite Zoom backgrounds that you can download and reuse:
- Game of Throne 'Dragon Attack' Virtual Background
- Neverending Story Virtual Background
- Haikyu Virtual Background
- Which Pokemon Virtual Background
- Mountain Peaks Zoom Background
Step 3: Edit your background for Zoom
Once you've landed on the perfect virtual background, you need to edit it so that it meets Zoom's system requirements.
For this example, I'm using the Kapwing's Studio, a free online image and video editor. You can upload a video if you have a virtual background MP4 on your computer or phone, or import a video directly from YouTube by pasting the URL.
After uploading your video or image, adjust the dimensions and length to fit Zoom's requirements for virtual backgrounds.
Here are some requirements to keep in mind:
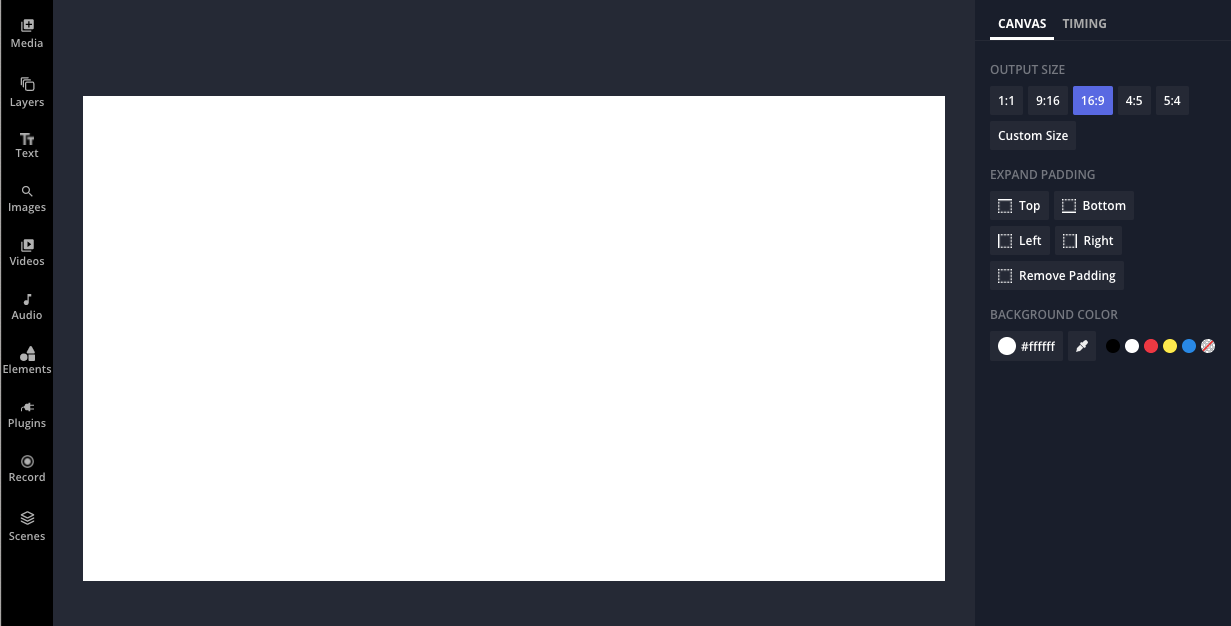
1. Size: 16:19 ratio or 1920x1080 pixels.
I started by creating a blank 16:9 canvas. Next, I uploaded an image into my blank canvas. Kapwing resized my image to the perfect 16:9 size for Zoom. You can also click on "Custom Size" and input the exact dimensions.
2. File Format: GIF, JPG/JPEG, MP4, MOV, or 24-bit PNG.
All Kapwing outputs are compatible file types, so you can use Kapwing to convert any video to MP4 or an image to a JPG.
3. File Size: Less than 5MB.
If you have a large image you want to make smaller, resize the image down to 1920x1080. If you need to make a video file smaller, trim it to be shorter in length. Kapwing should give you a file that is small enough to upload to Zoom.
4. Audio: None.
Zoom video backgrounds are muted when you upload them, so there is no need to worry about the video's sound. You can mute the video directly in the Kapwing Studio.
5. Length: Less than 30 seconds.
While Zoom does not specify a length requirement, most video backgrounds should be no longer than 30 seconds to avoid becoming a distraction during calls. Longer video files will also be too large to use as a background.
To shorten your video, select the clip in the Timeline and drag the beginning or end of the clip to where you want.
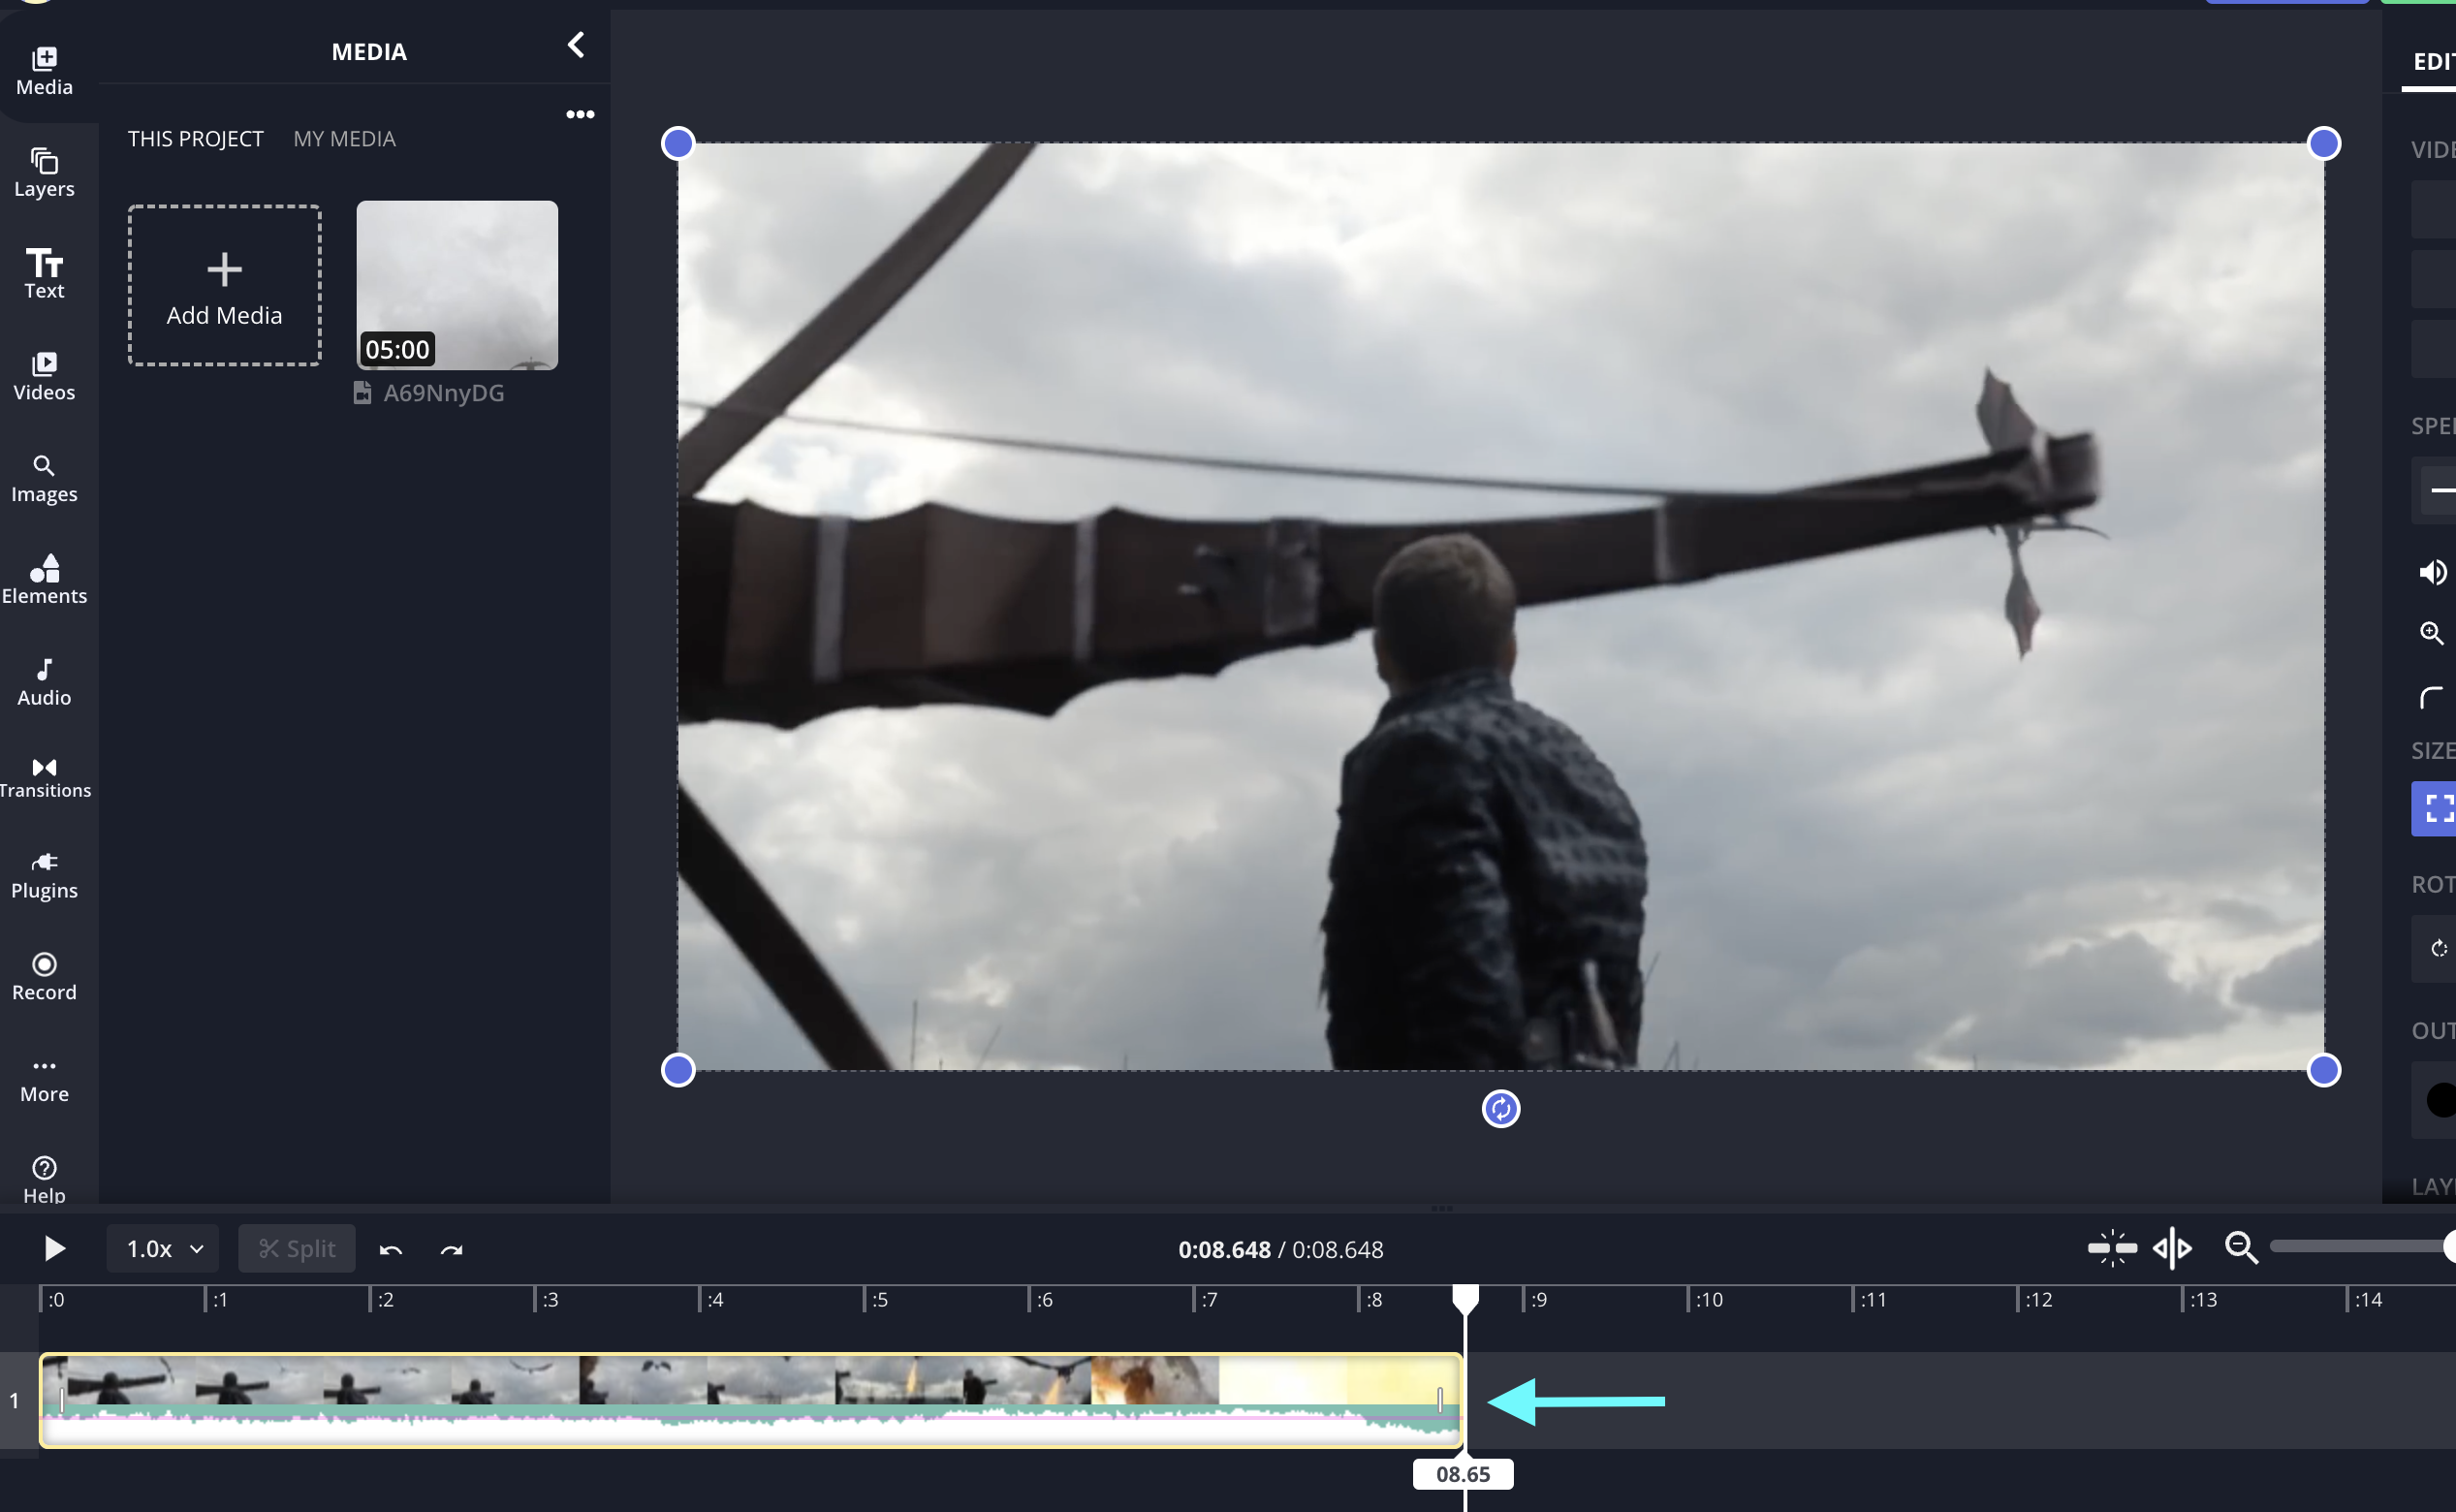
Cut out any parts of the video you don't want for your background by using the Splitting tool.

You'll also want to keep in mind that all virtual video backgrounds will loop during your call. Test out what your video will look like on loop using this free looper tool, or make a cinemagraph for a perfect virtual background.
When your virtual background is set to the correct size and trimmed to your desired length, click "Export" in the upper right hand corner to process the image or video in Kapwing for download. Zoom requires video backgrounds to either be in the MP4 or MOV format, so any video exported from Kapwing will work.
Step 4: Download your background and add it to Zoom
When your virtual background is finished processing in Kapwing, click "Download" to save it to your device. Sign in to remove the watermark from your new background.
Now, you're ready to add your creation to Zoom and start taking your calls to the next level.
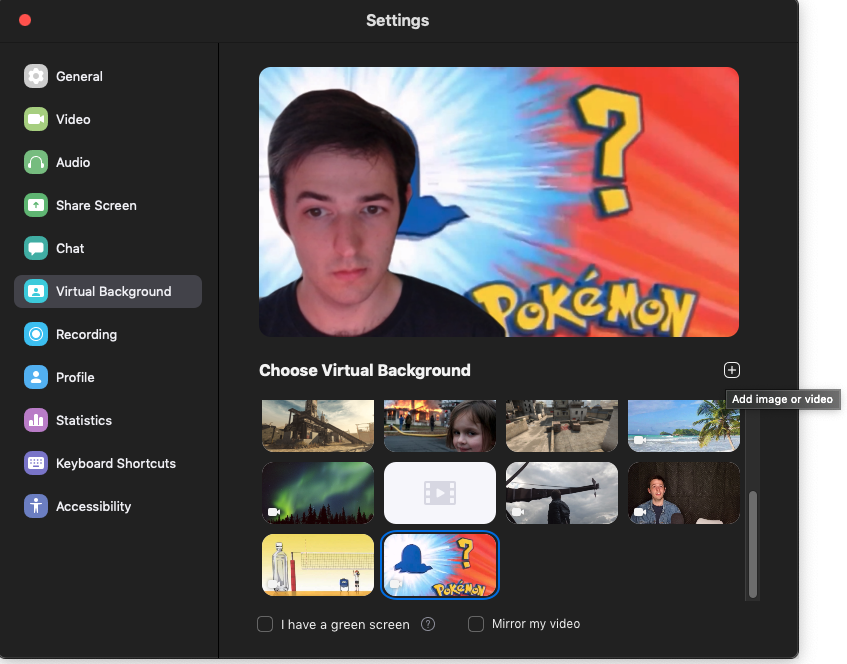
Open the Zoom app and go to your settings. Select Virtual Background from the left-side panel to add your new background. Inside the Virtual Background screen, click the "+" button and to add an image or video. Locate the file on your device and select it to instantly see your new background inside of Zoom.
After you upload the custom virtual background, you can use it in any subsequent Zoom call.
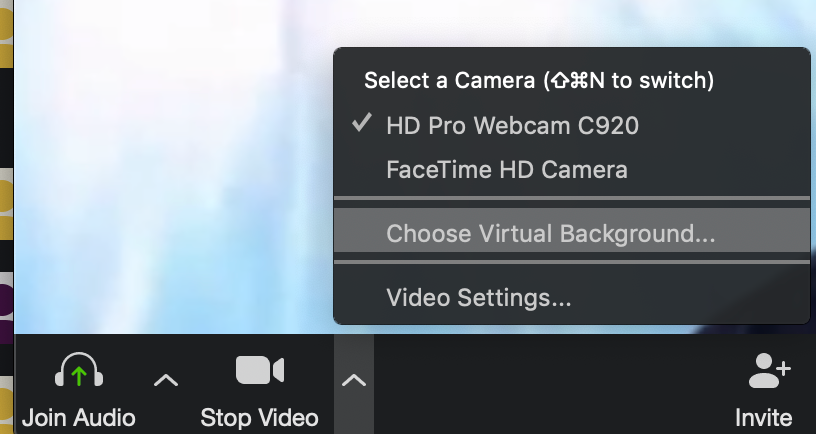
To access your virtual backgrounds while inside of a Zoom call, click the small arrow next to to the "Stop Video" button and then select "Choose Virtual Background..."
And that's it! You're ready to shine in your next Zoom call while delighting everyone who is lucky enough to chat with you.
For more tips, tricks, and resources for all things video, join our newsletter. Our latest and greatest creator resource will be delivered right to your inbox every week.
In the meantime, here are some related articles you might enjoy:
- How to Blur Your Background in Zoom Meetings
- How to Hide Self View on Zoom
- The Best Valentine's Day Zoom Backgrounds
- How to Make a Happy Birthday Zoom Background