How to Make a Shooting Star Meme Video or GIF
80% of viral TikTok trends involve a central song or audio clip — this one is no different
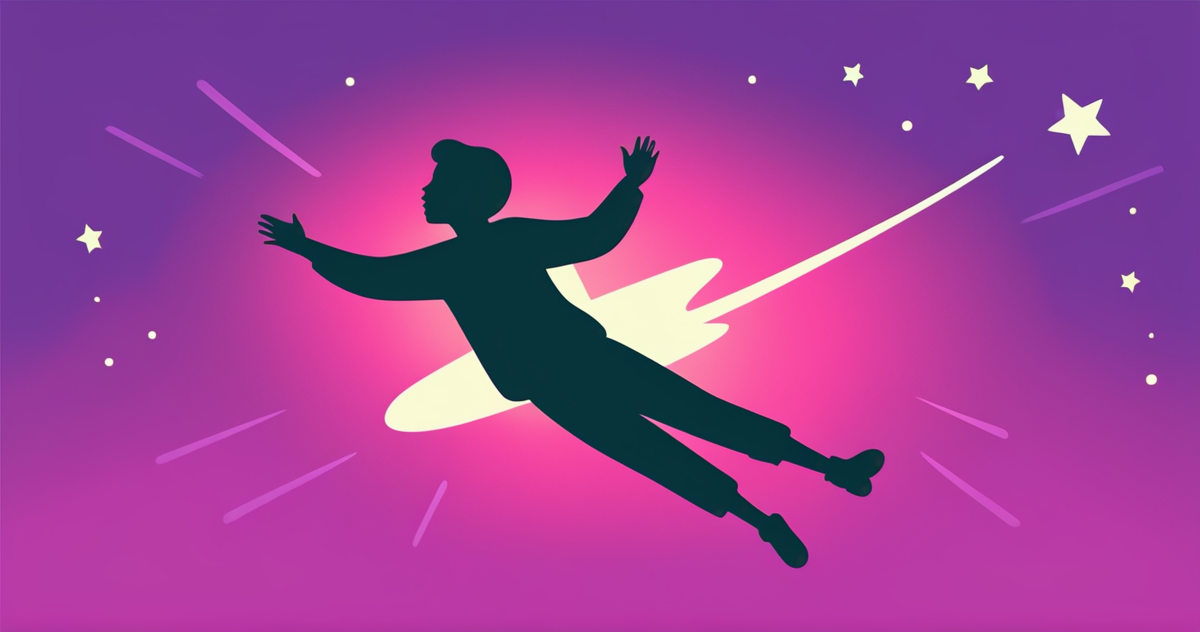
If TikTok and Instagram have taught us anything, it's that the simplest formats often stand the test of time — the Shooting Star meme is a perfect example. By overlaying a central subject on top of a starry sky background, this meme uses basic editing techniques to create something fun, surreal, and endlessly shareable.
In this article, we’ll show you how to make a Shooting Star meme video or GIF, even if you have no prior editing experience. Better yet, we’ll be using a custom template that loops perfectly, making the entire process quicker and easier from start to finish.
Table of Contents
- What is the Shooting Star Meme?
- How to Make a Shooting Star Meme Video
- How to Make a Shooting Star Meme GIF
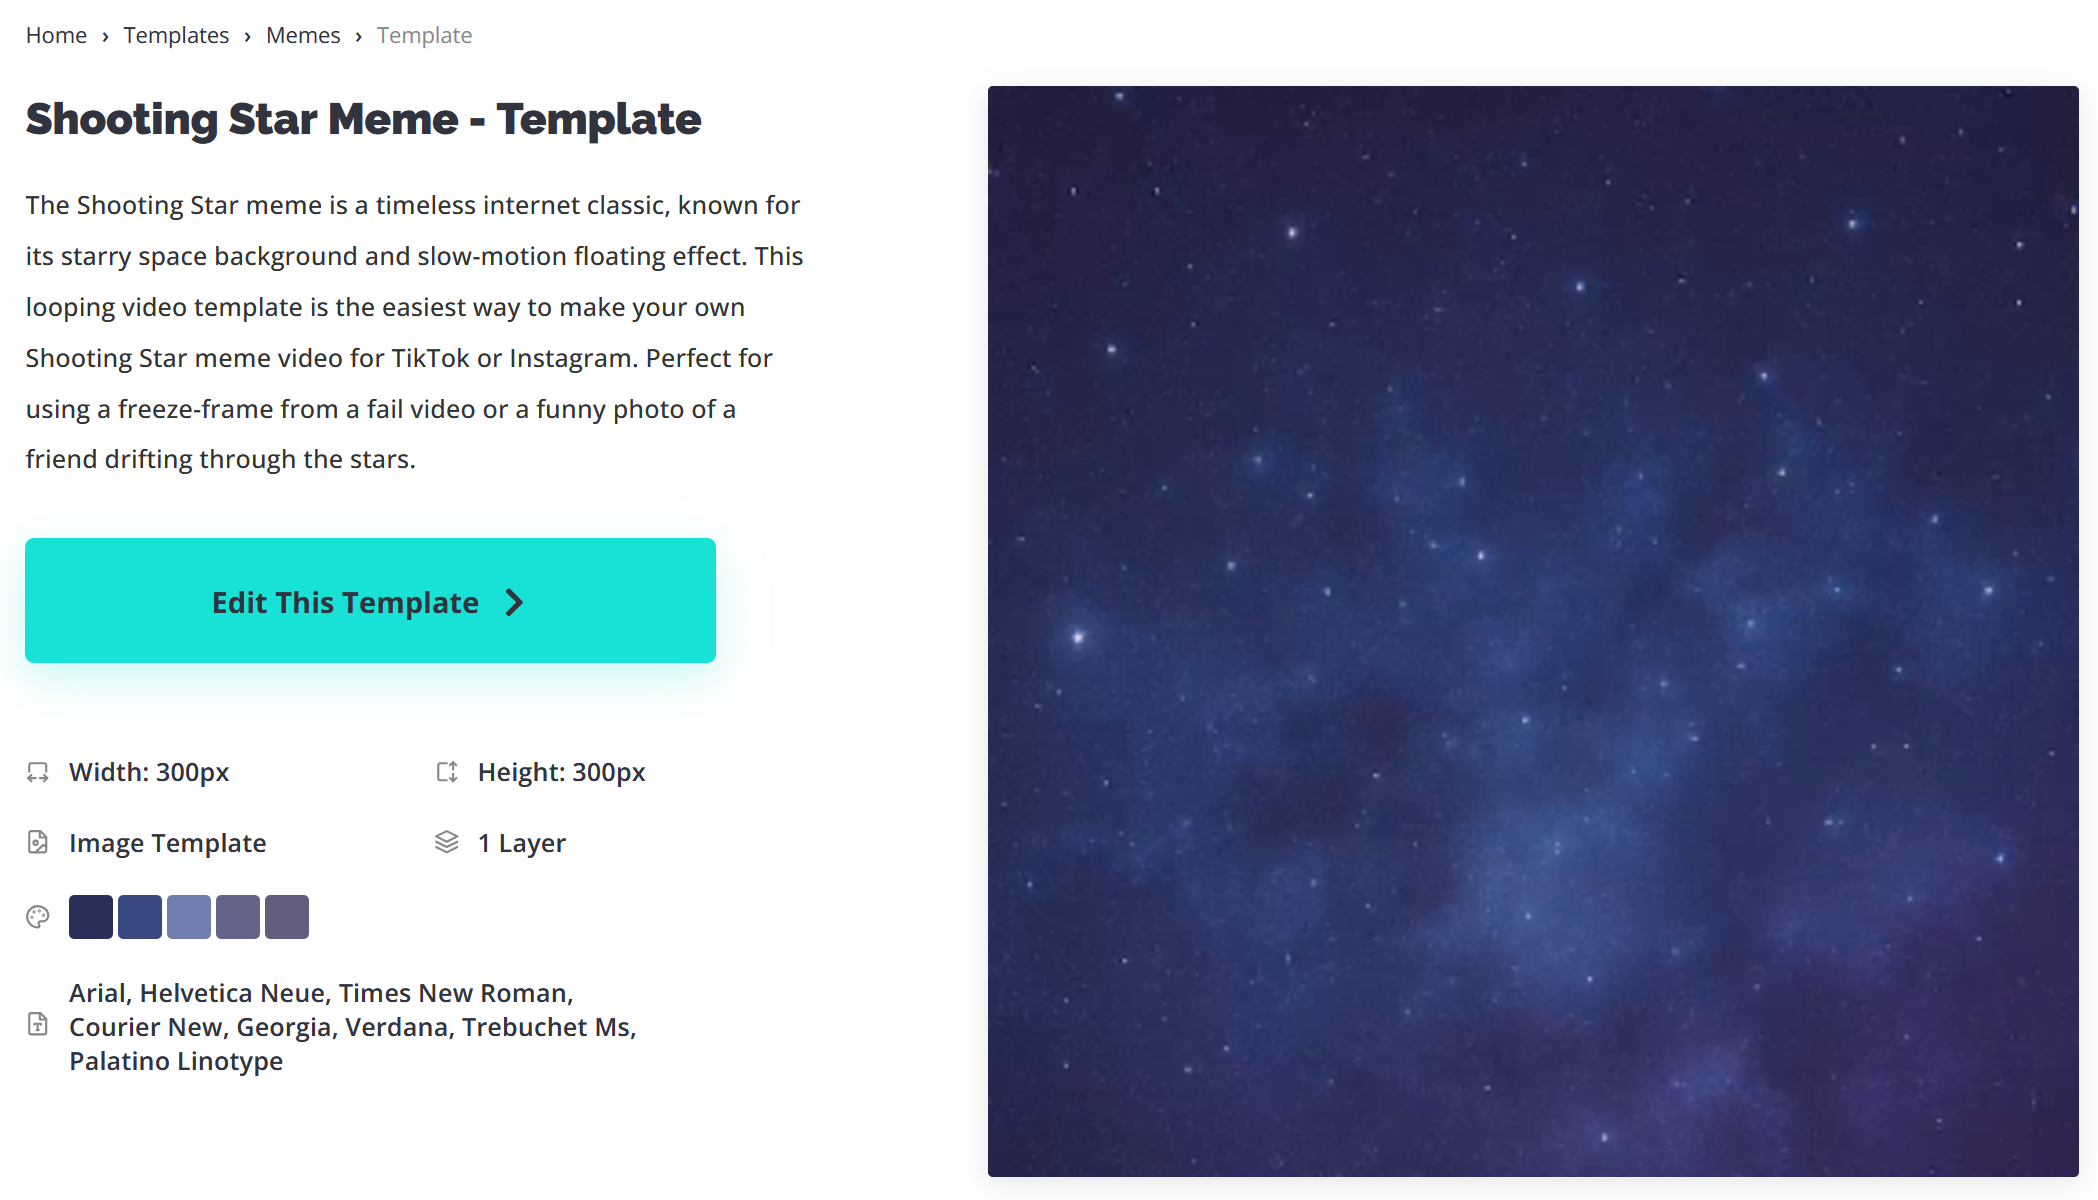
What is the Shooting Star Meme?
The original Shooting Star meme went viral in the late 2010s and is built around a simple central concept: take a funny photo or freeze-frame of someone and send them drifting through space via some simple video edits.
One of the non-negotiable details of these videos that makes them instantly recognizable is the audio that always links back to the trend. The song Shooting Stars by Bag Raiders is the one and only option.
The combination of this song, with its spacious synthesizers and electric qualities, pairs brilliantly with the visuals of a universe or starry sky. The format has maintained relevance throughout the years and is a great way to practice using video techniques while leaving room for your own experimentation.
Follow along to see how I made this video step by step.
How to Make a Shooting Star Meme Video
To start, you'll want to use the custom Shooting Star meme template that was built for this trend. This template has a number of subtle perks, including:
- Perfectly looped
- Ideal for resizing
- Video-ready format — not just a still image
To use the template, select the Edit This Template button.
This will automatically create a new project in the online editor where we will get started.
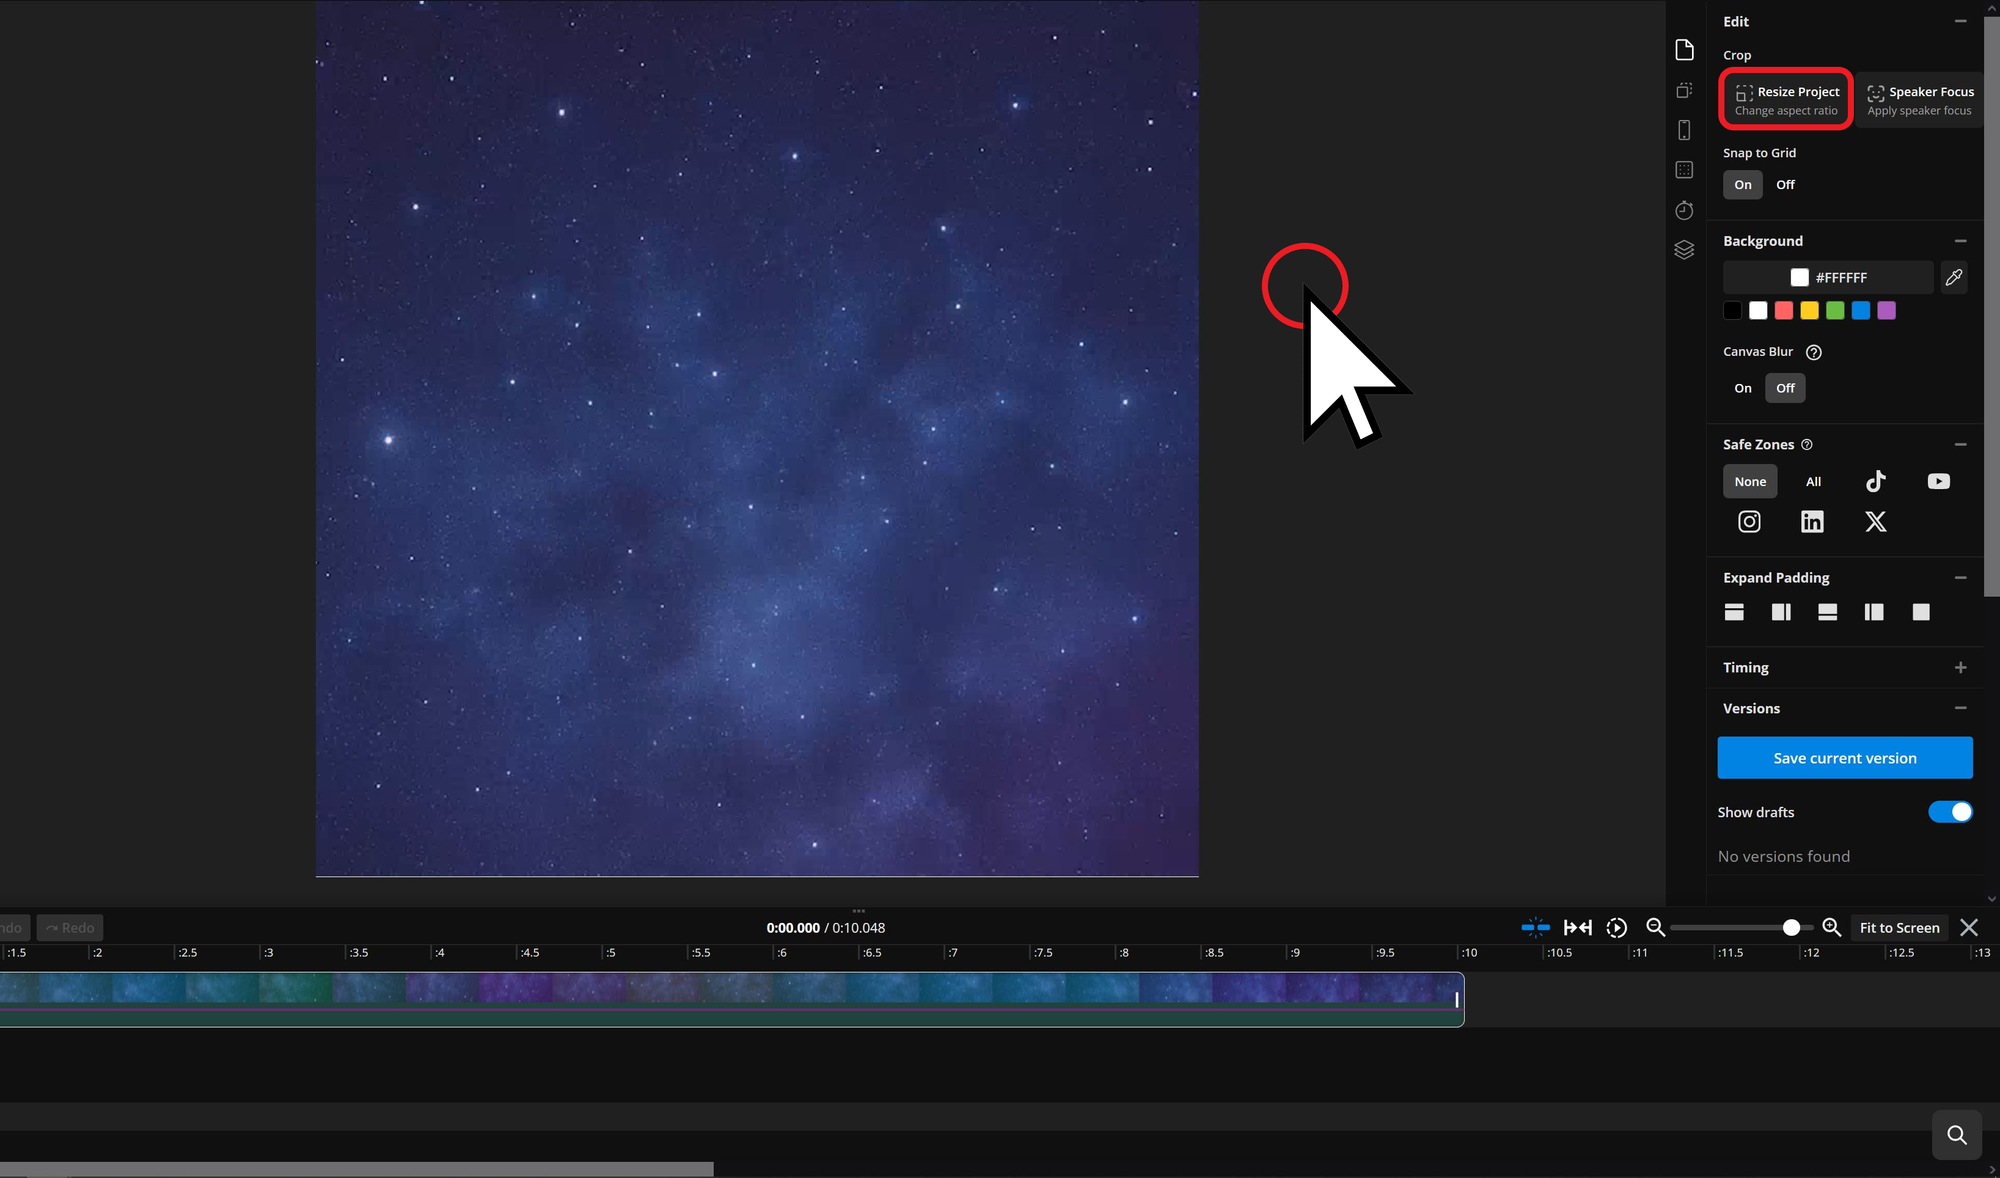
1. Adjust Project to Size
Depending on where you're looking to post your video, the first step is to resize the square canvas. For mobile content like Instagram Reels, TikTok videos, and YouTube Shorts, the canvas should be resized vertically. For long-form content like traditional YouTube videos, the canvas should be resized horizontally.
Either way, resize it by selecting the background of your project, then selecting the Resize Project button on the right-hand side of the editor.
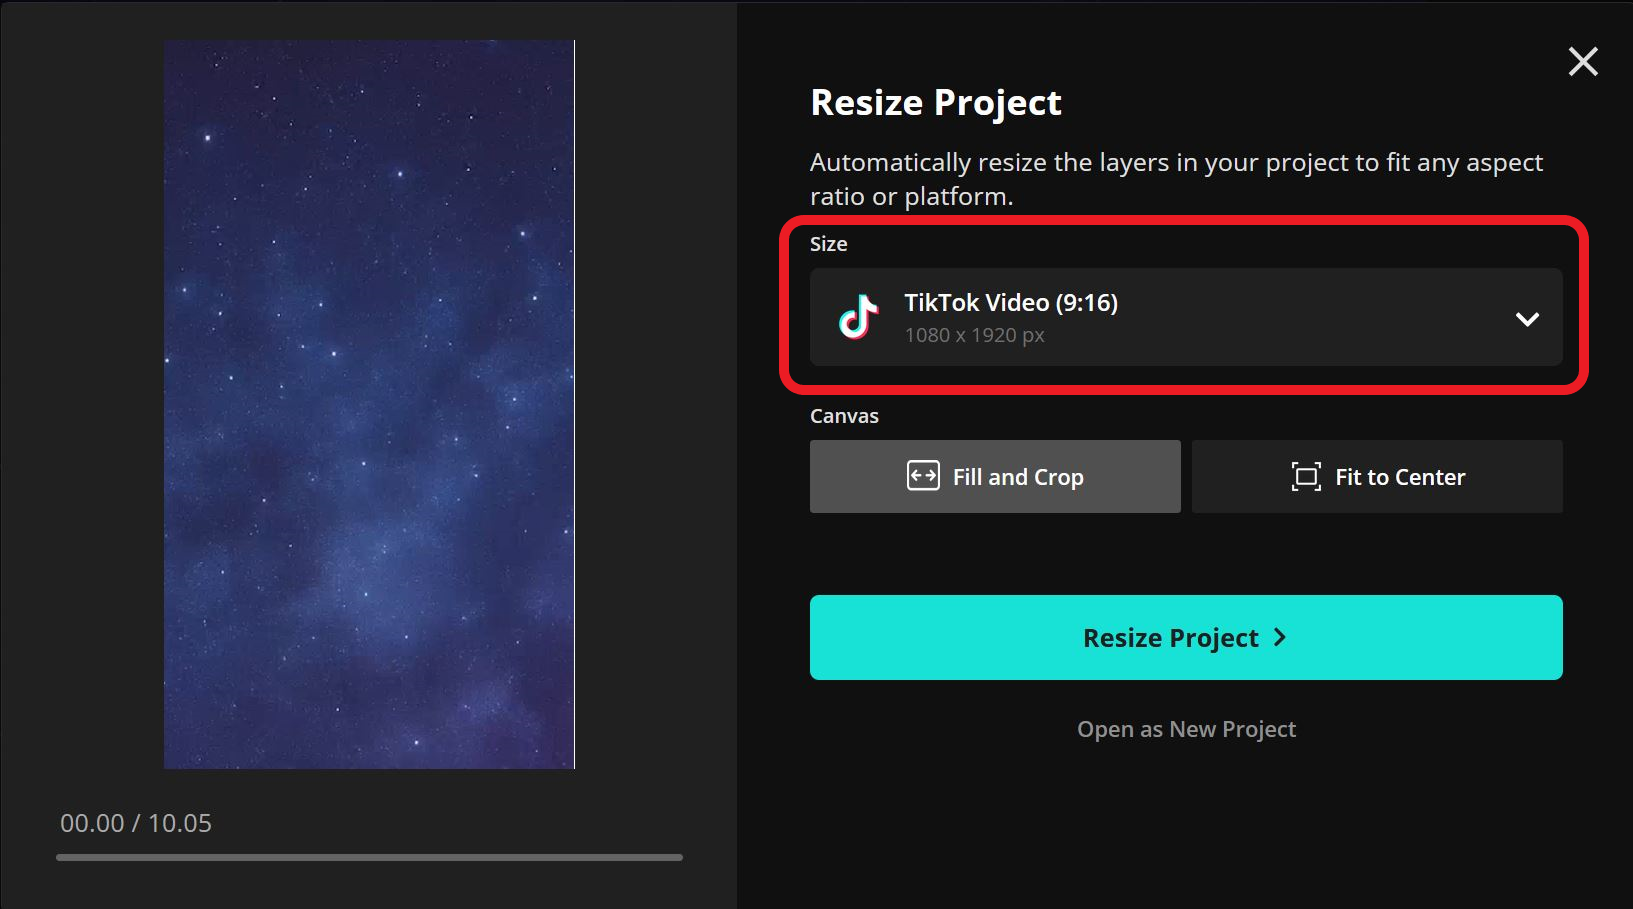
Then, choose a size preset from the Size dropdown. Each preset is labeled with a corresponding social media icon, making it easy to identify the best size.
For my project, I am using the 9:16 aspect ratio. To save these changes, select the Resize Project button once more.
2. Add Media to Your Project
Now is the time to upload all the files you will need for this project. This will include:
- The image or video of your subject
- Shooting Stars by Bag Raiders
- Any other graphics you want to use — like a channel logo
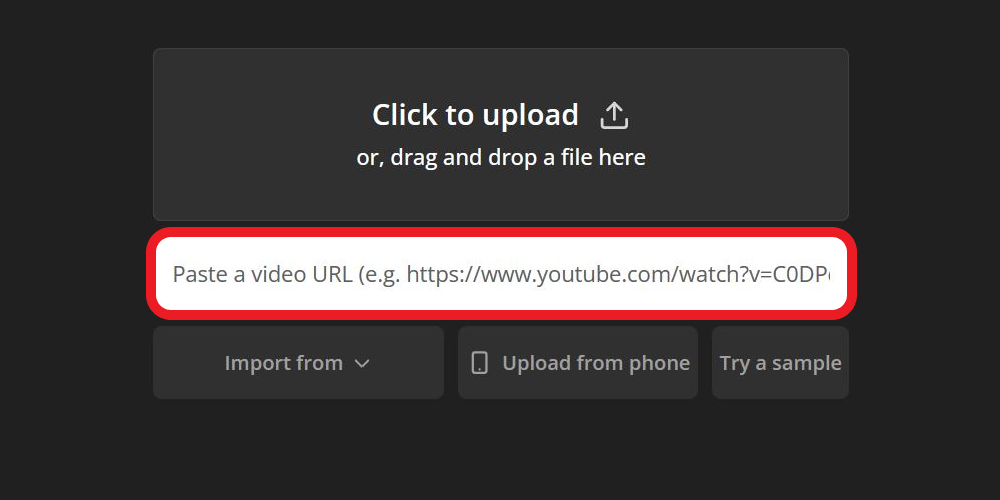
To upload files, open the Media tab at the top of the left-hand sidebar. Then, select the Add Media button to upload files.
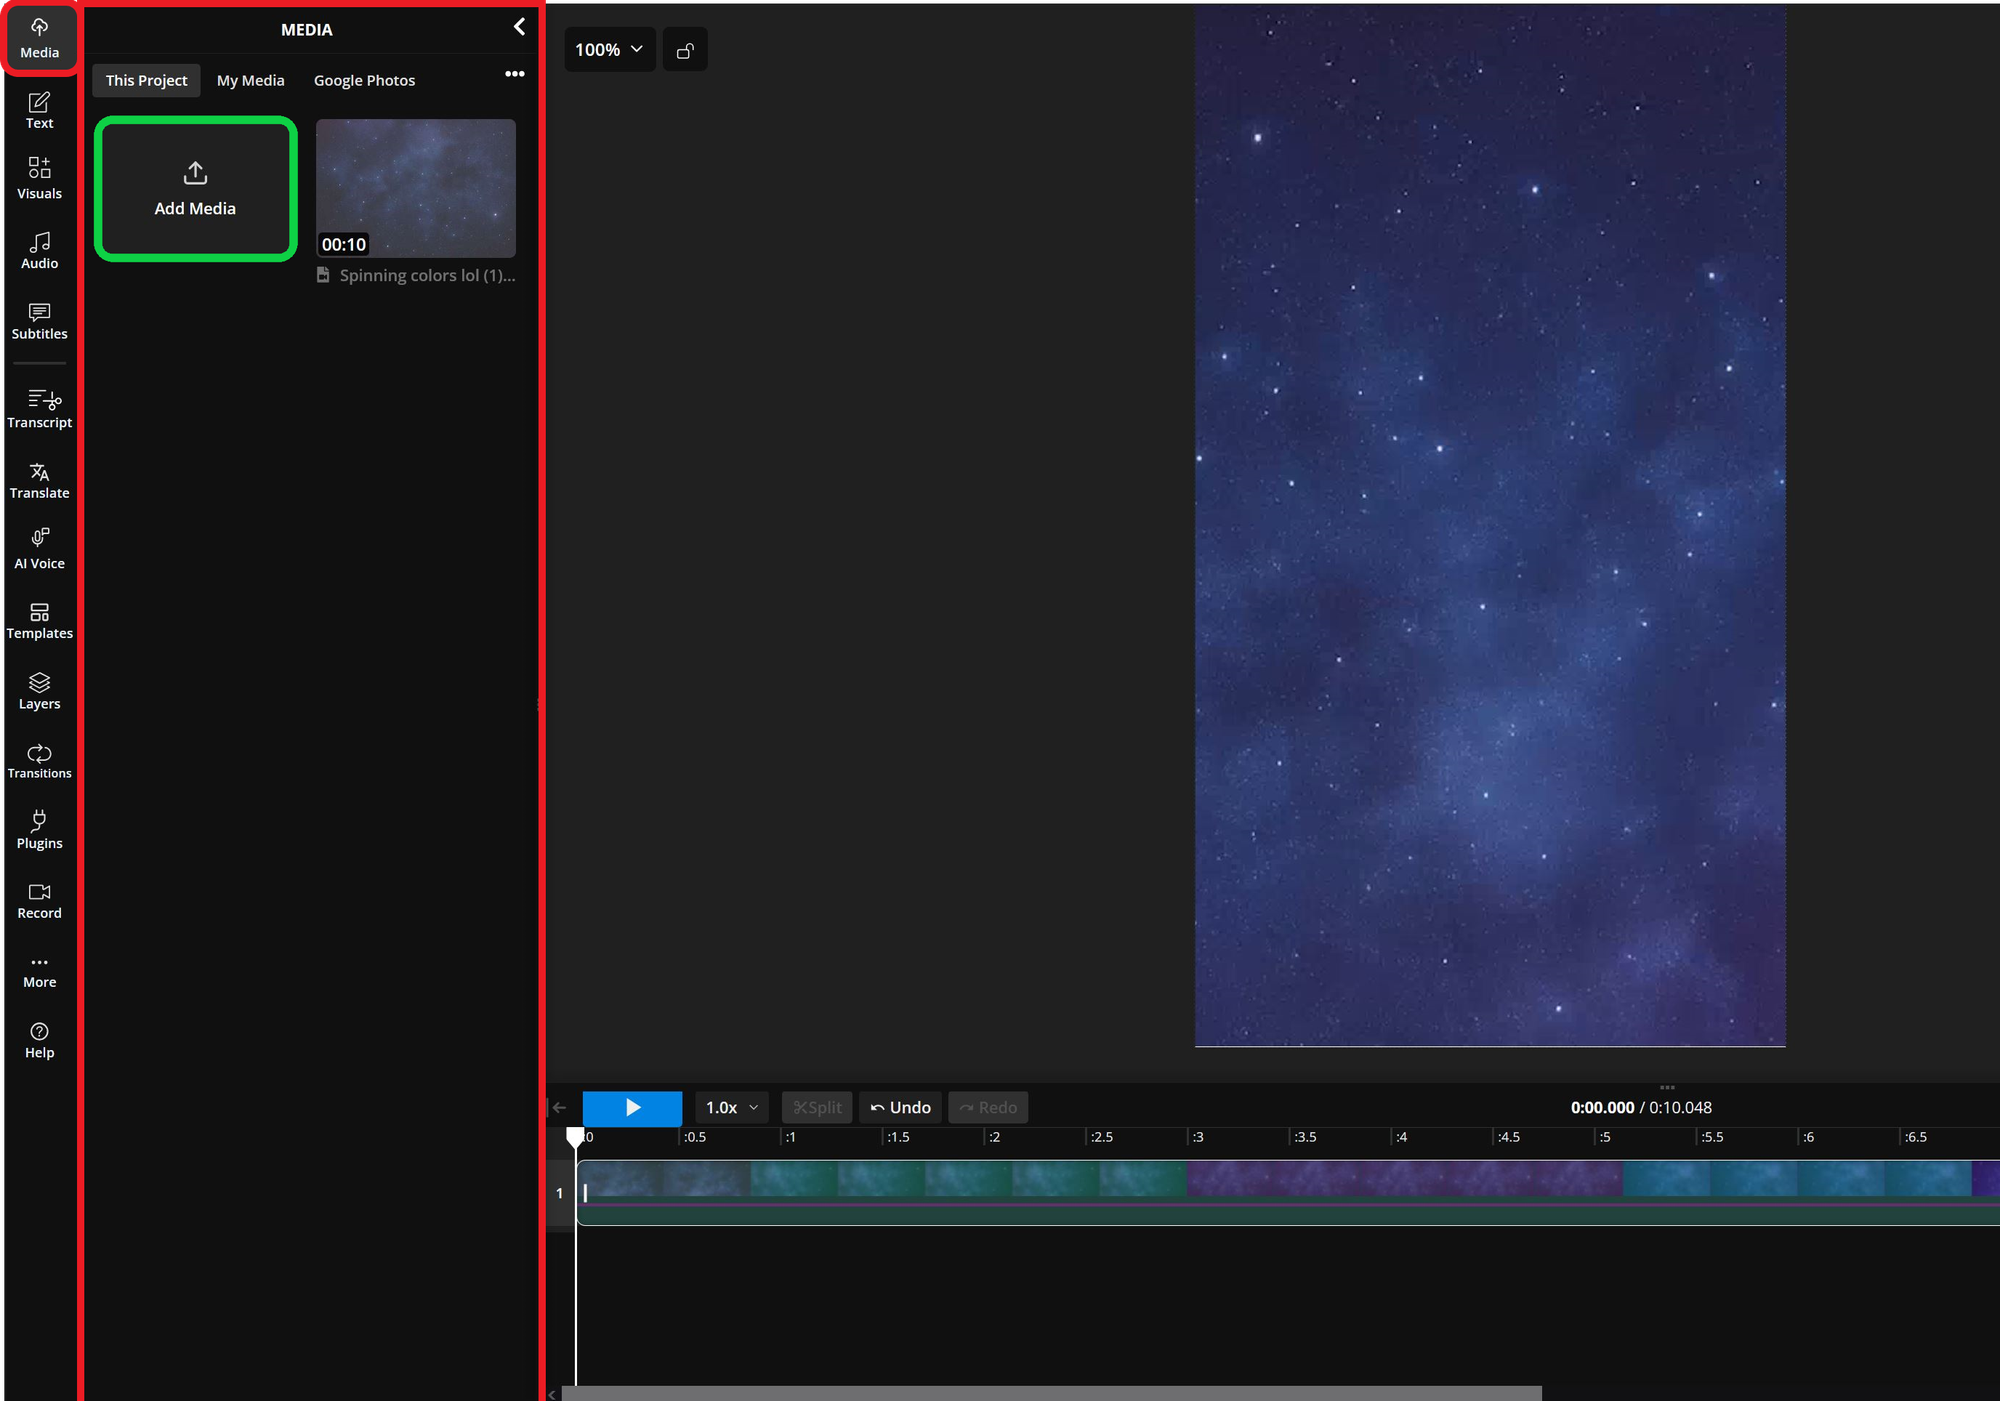
For files like sound effects and music, you can add them to your project within this same media menu by pasting a link from sites like YouTube. This makes it easier to add certain media to your project without having to download them from fishy sites online.
For my project, I kept things simple by only uploading my main video, featuring my Shooting Star subject, and by linking to Shooting Stars.

With these uploaded, it's time to start editing.
3. Cut Out Your Subject
The most daunting part of this process for new editors is making a cutout of your subject so they can float through the spacious background. Don't worry — the AI tools built into the Kapwing editor make this process easy.
To start, add your video (or image) to the project. Once added, you will see the video appear on the project timeline.
Since the timeline will also have the background video from our template, go ahead and slide this one out of the way for now. You can always leave it in place, but beginner editors sometimes find it helpful to keep the timeline as clear as possible.
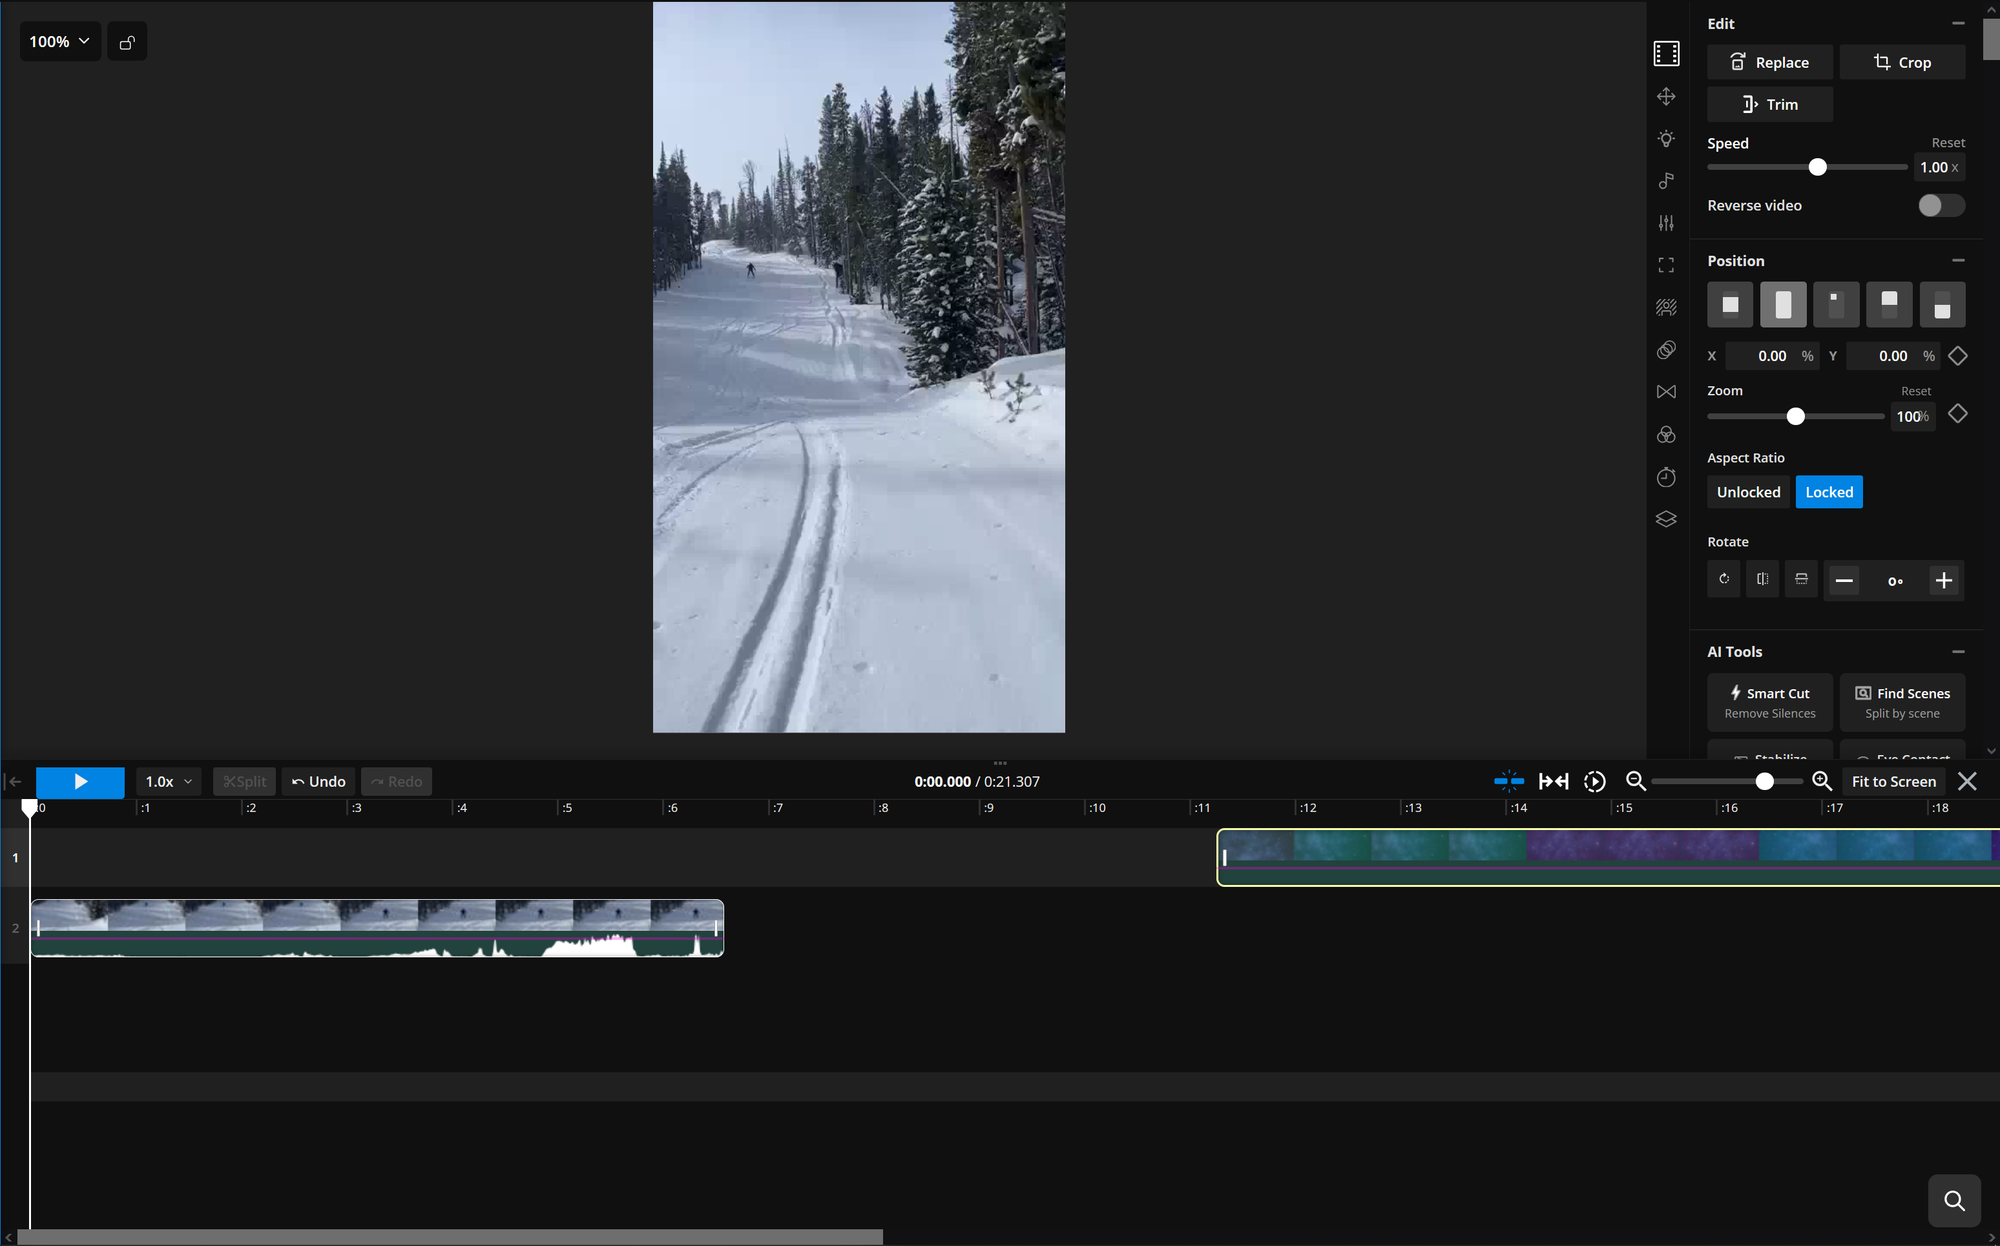
Remember, in a typical Shooting Star meme video, the original video cuts right when the main subject is clearly visible — typically in an awkward position. If your video isn't already trimmed to this point, you can drag the end of the track to a precise location to cut it.
This is where the magic will really start to happen.
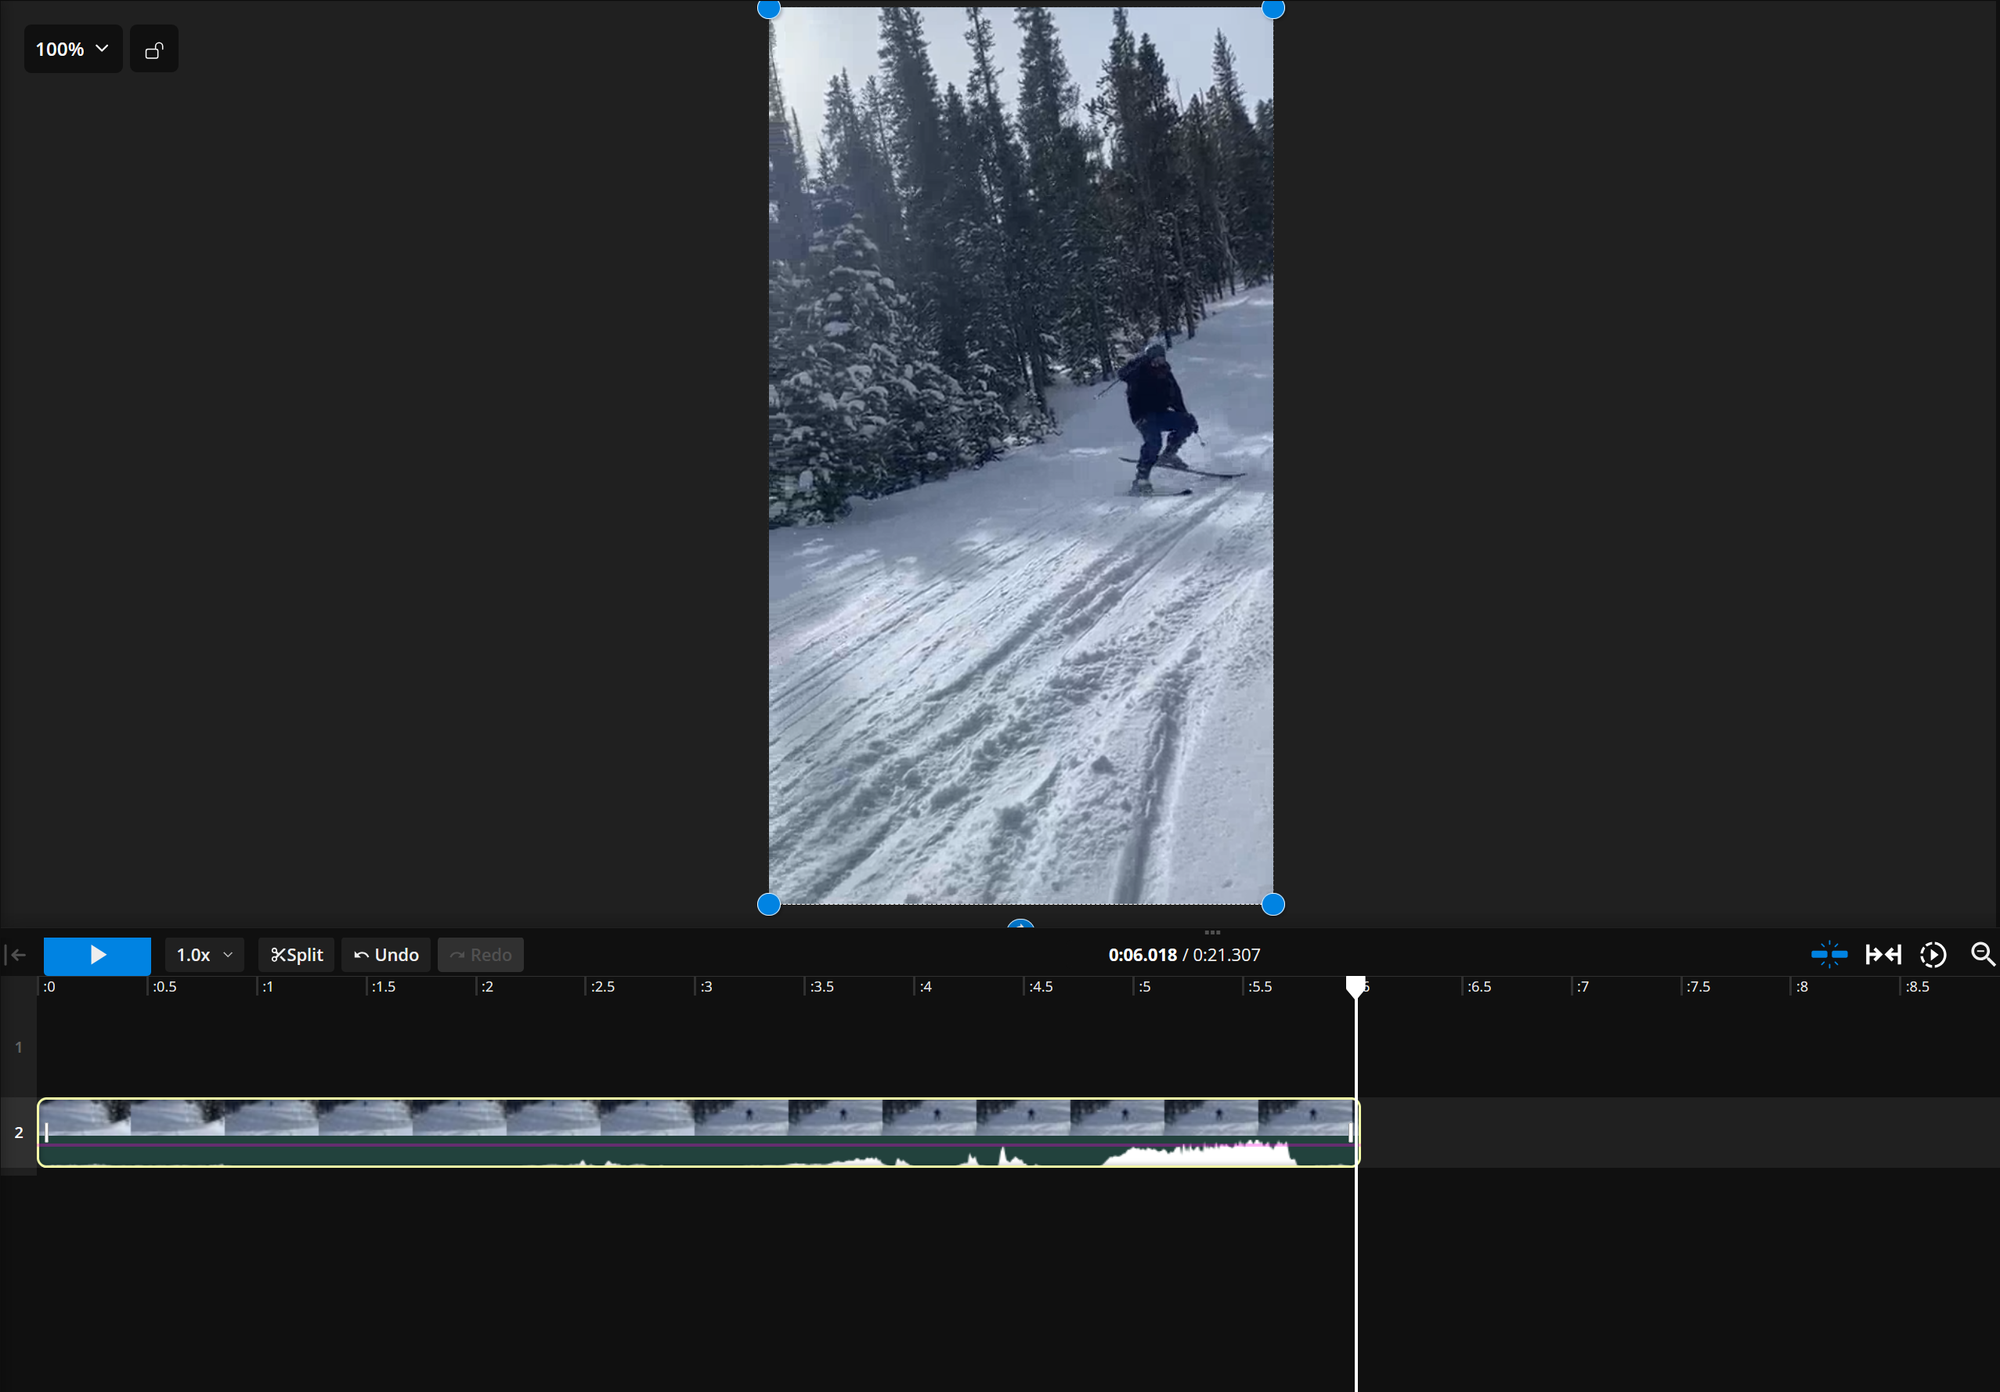
Select your track and scroll to the bottom of the tools on the right-hand side until you find the Freeze Frame option.
This will add another track on the end of your existing one, featuring a freeze frame of the selected moment.
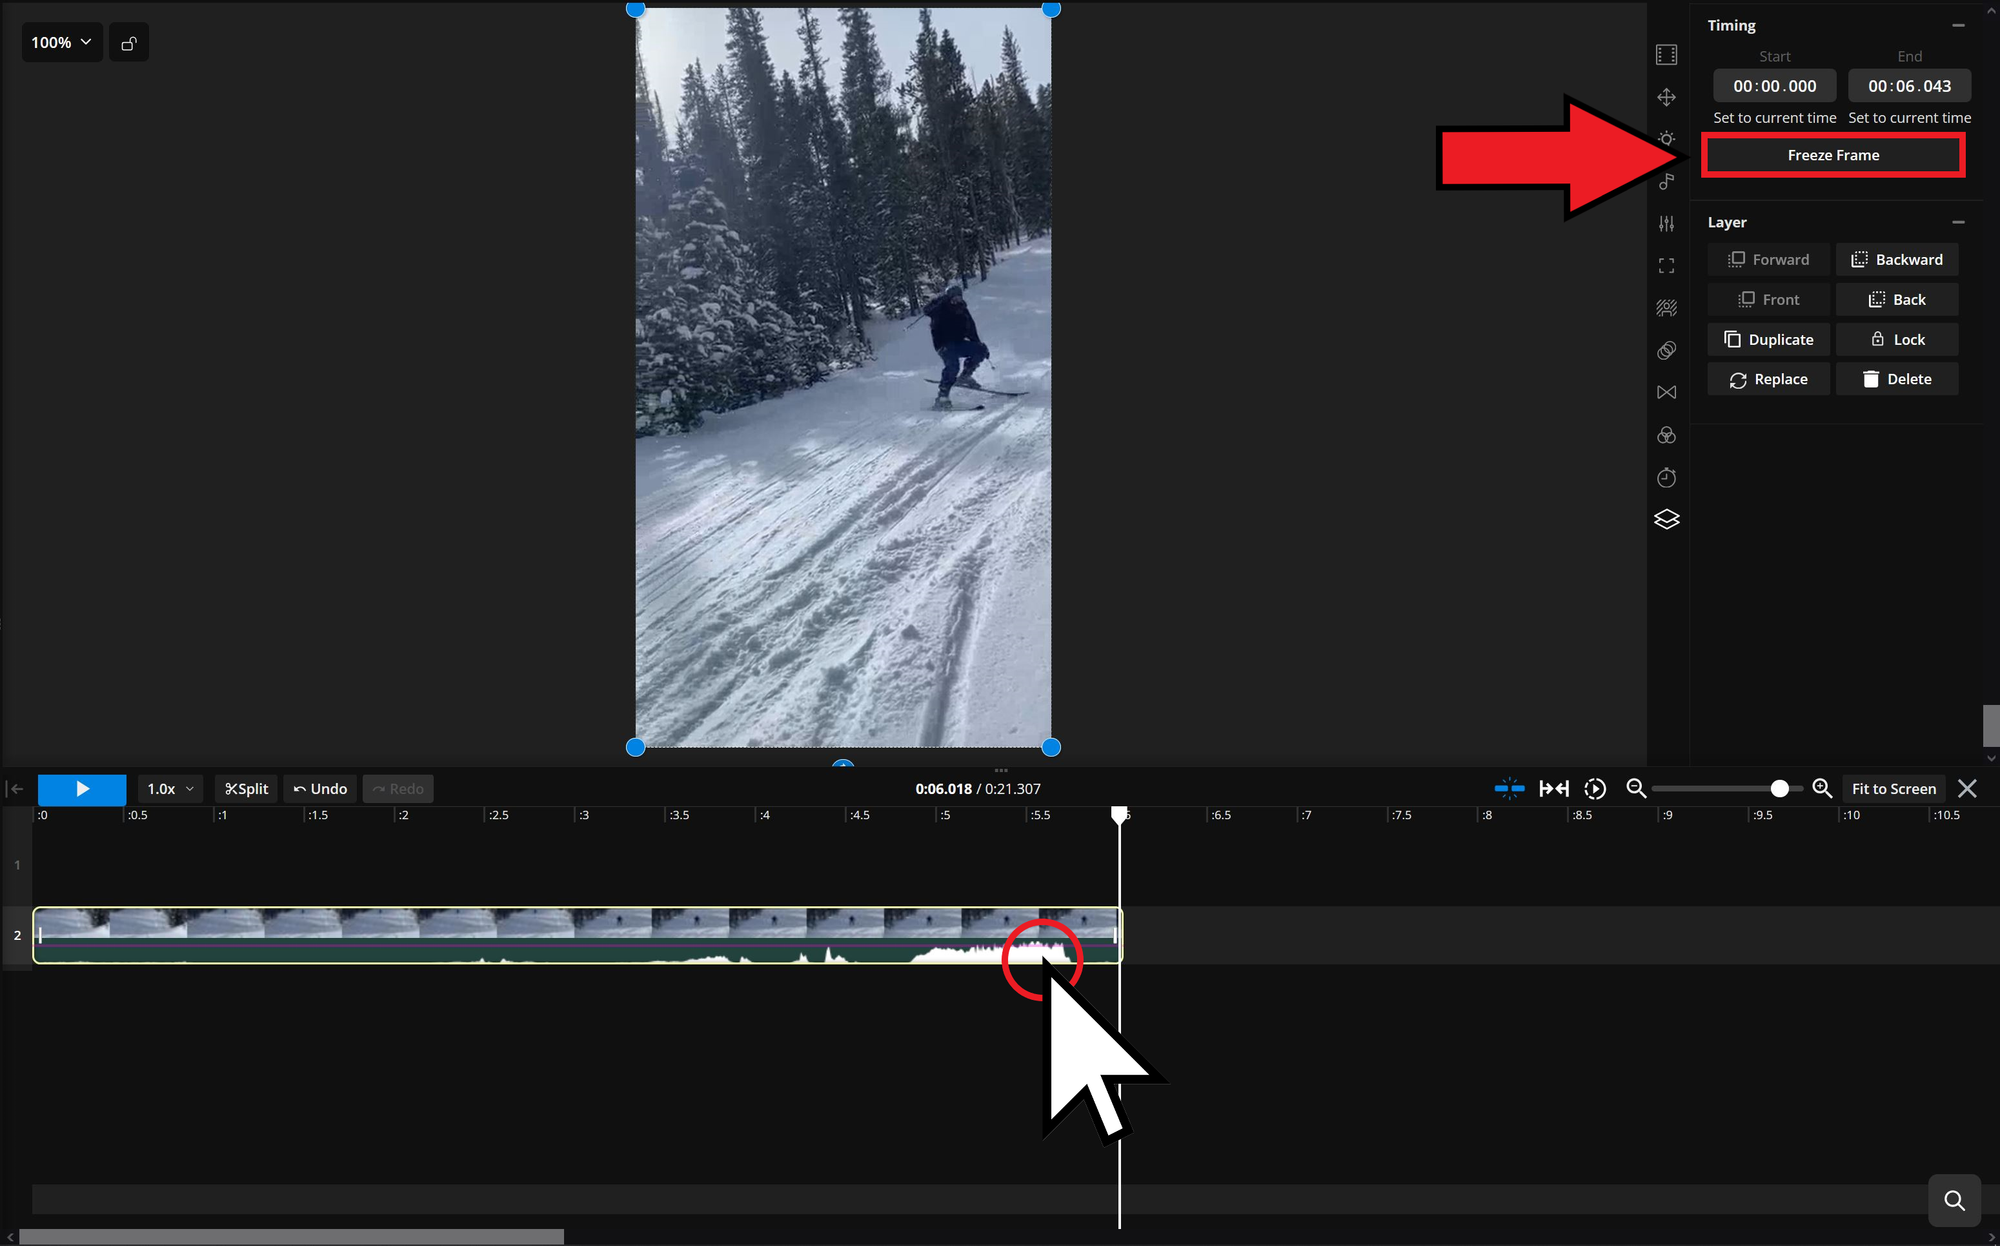
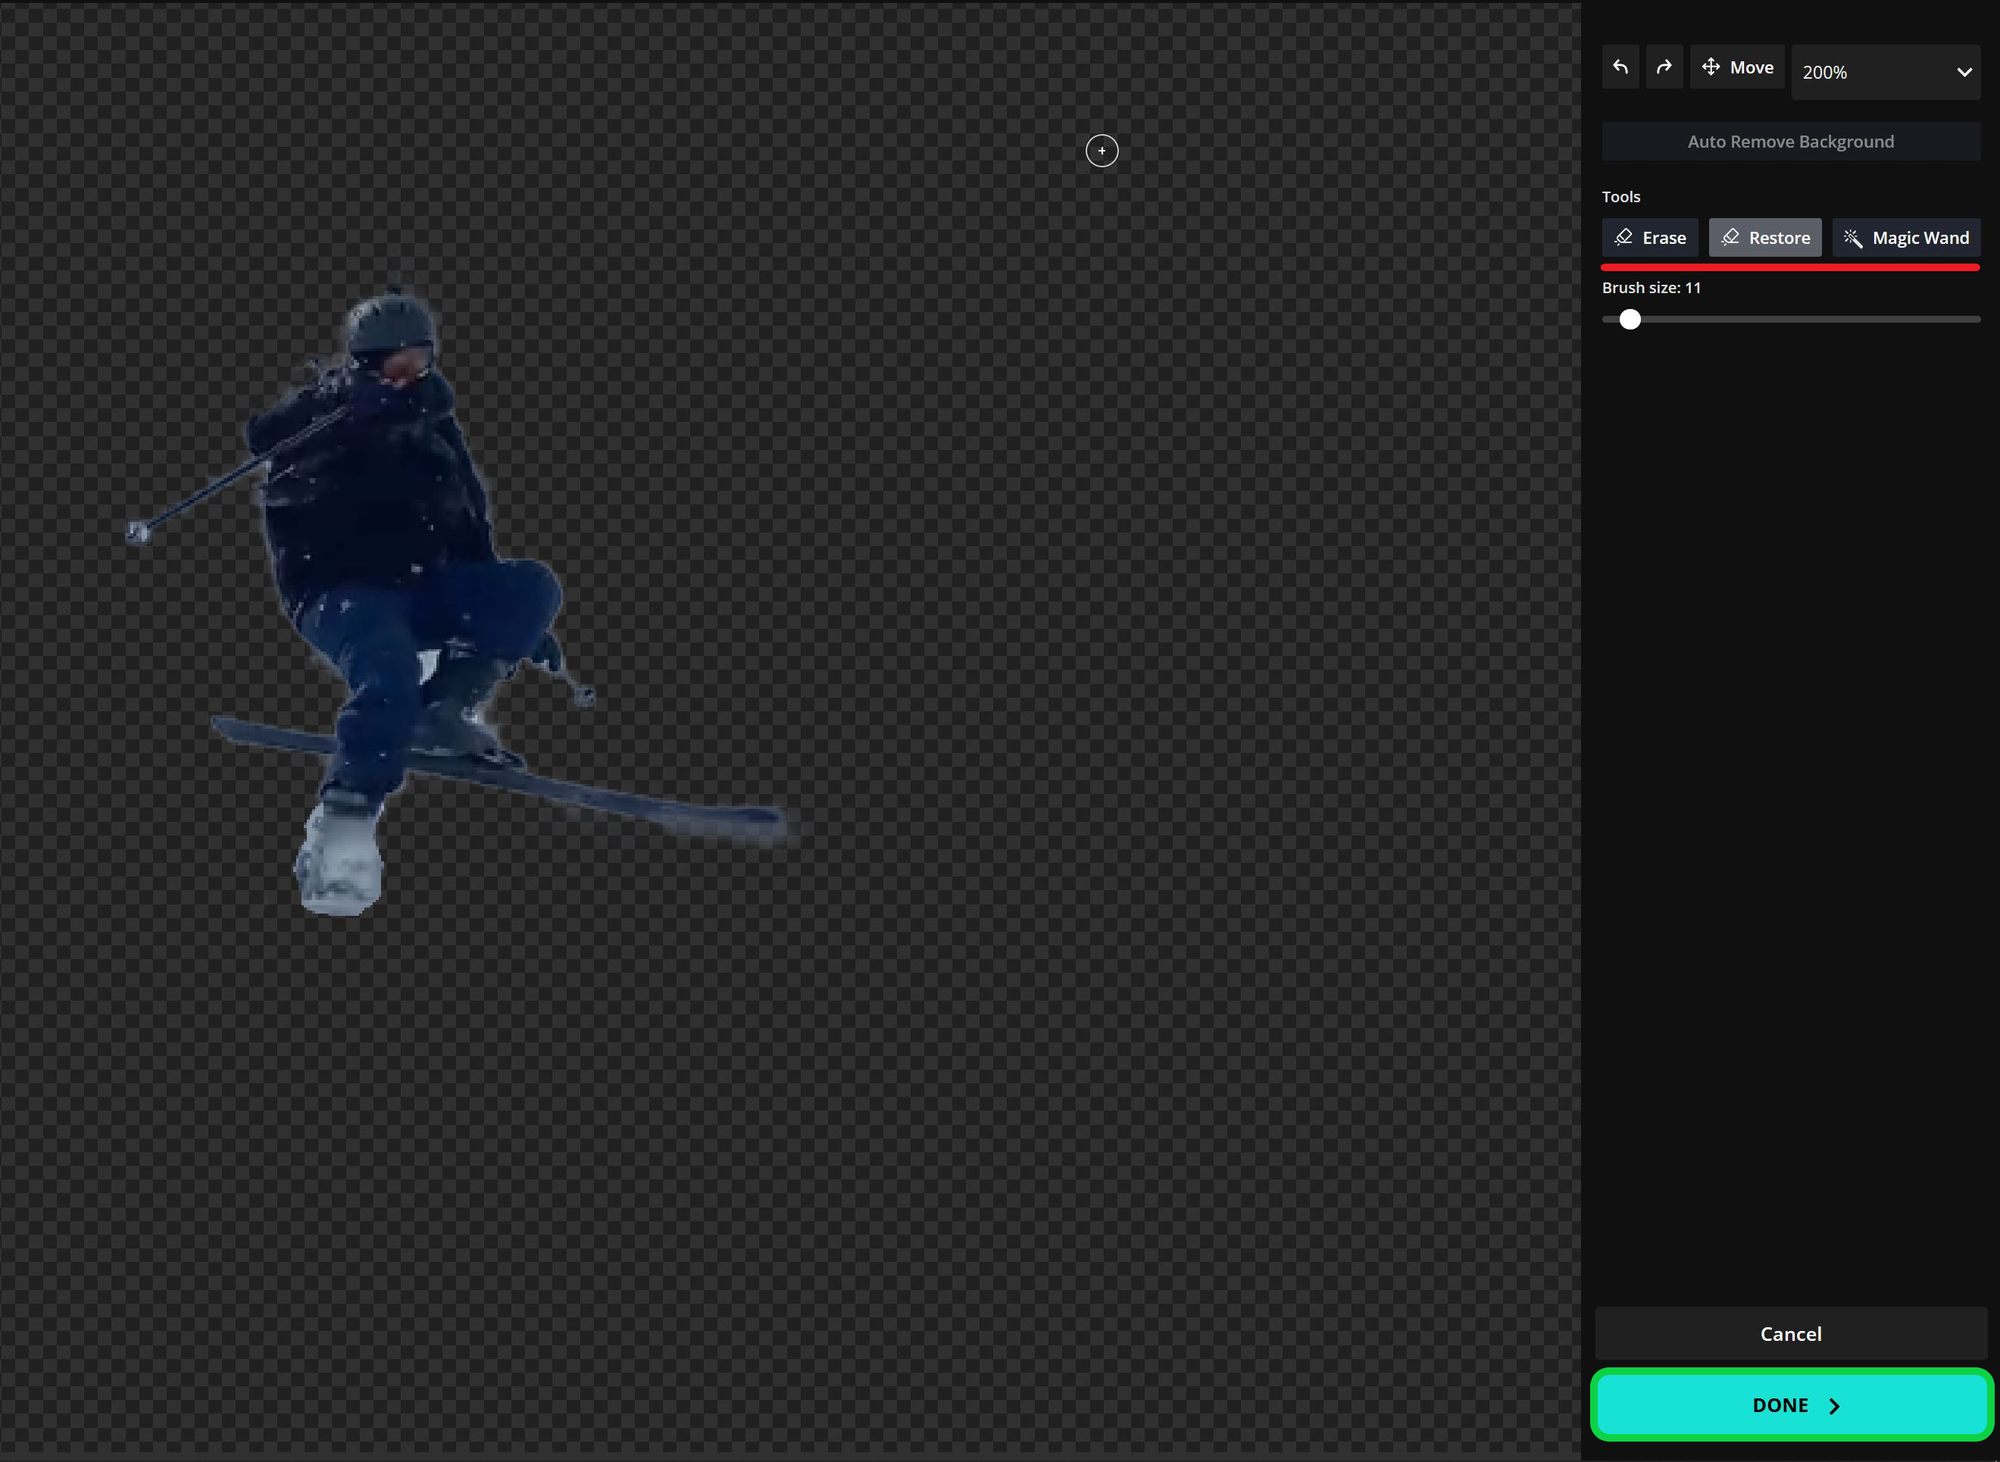
With this new track selected, scroll up in the right-hand tools until you find the Erase option. Select this to begin removing the background behind your subject.
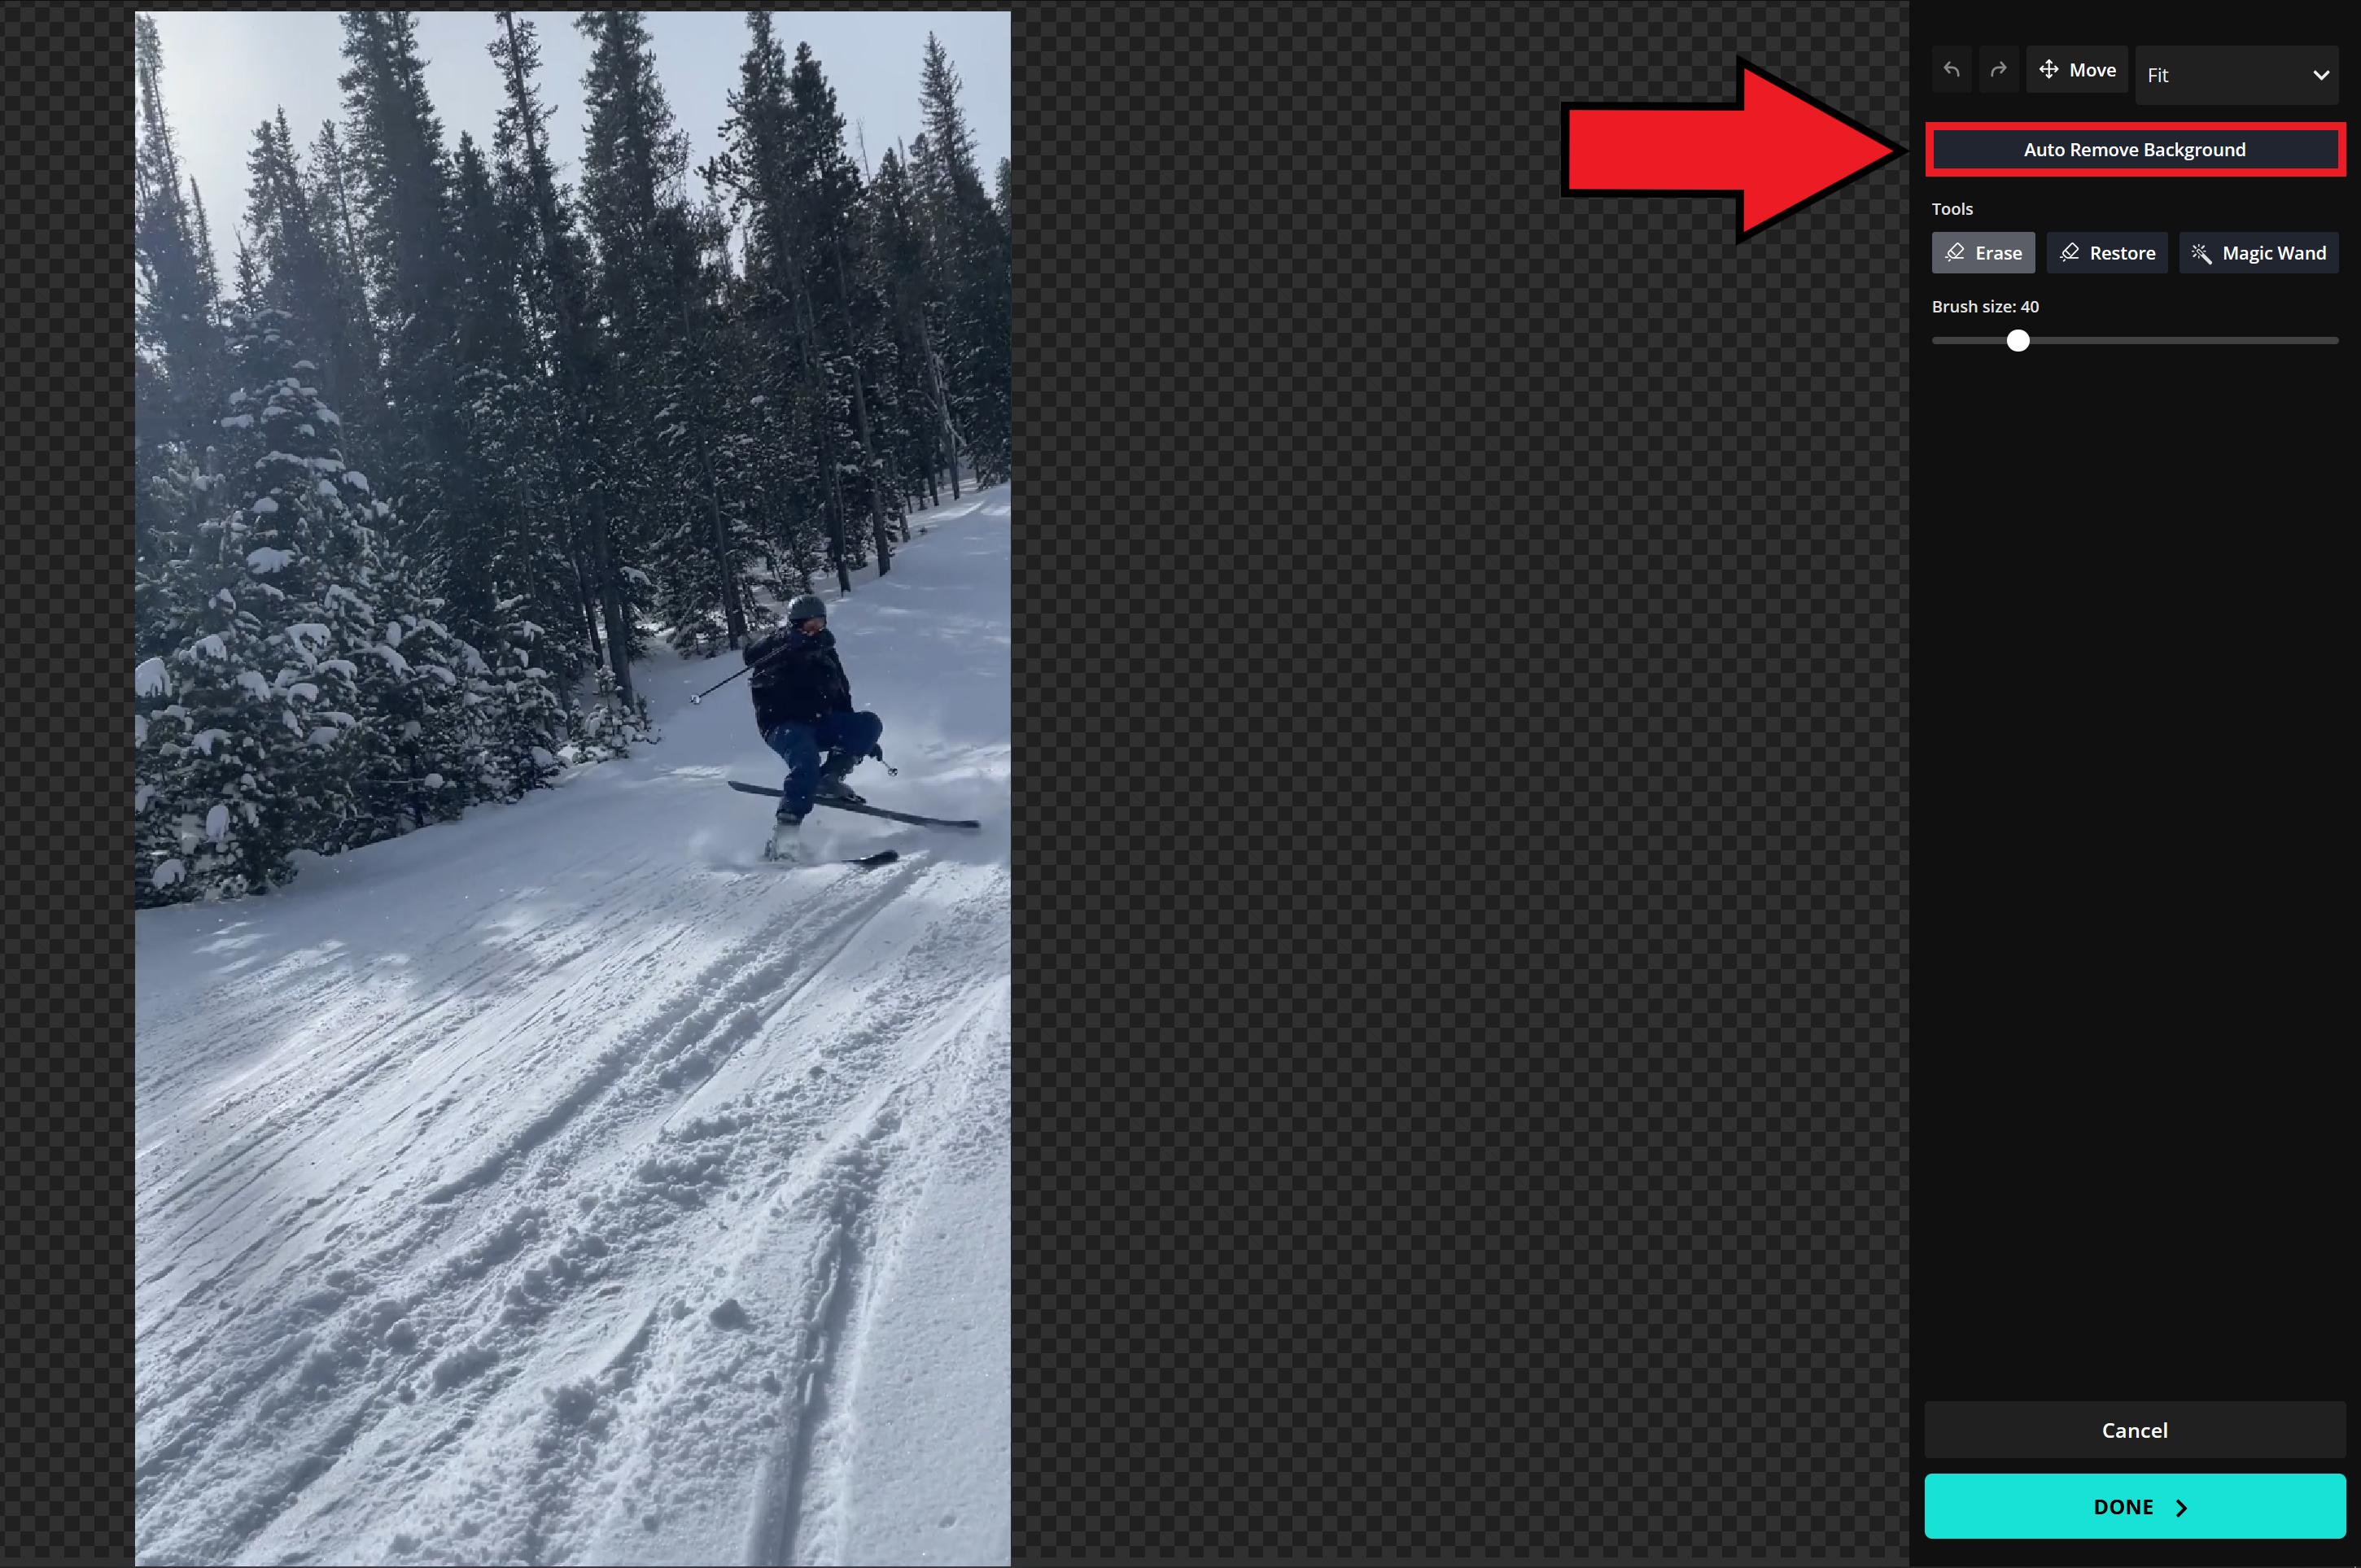
For most images, selecting the Auto Remove Background button will automatically cut out your subject from the background without much correction. However, touch-up can be performed with the Erase, Restore, and Magic Wand buttons below.
Once your subject is masked to your liking, press DONE to return to your project.
4. Assemble Your Video
It is time at last to put the final pieces together and assemble the final video. To start, drag the Shooting Star template video back into frame and align the front of it with your cutout frame.
It should look something like this.

Now, add the audio Shooting Stars to your project and align it with these clips. In some cases, like in mine, the video might be attached to the audio. To split these, right-click on the music track and select Detach Audio.

The track will then split into two tracks — one with video only and the other with audio only. Delete the video track to keep just the audio.
Note: The portion of the song that is used in the meme begins at the 23-second mark. Your audio waveform should match the one featured below if trimmed to the correct location.
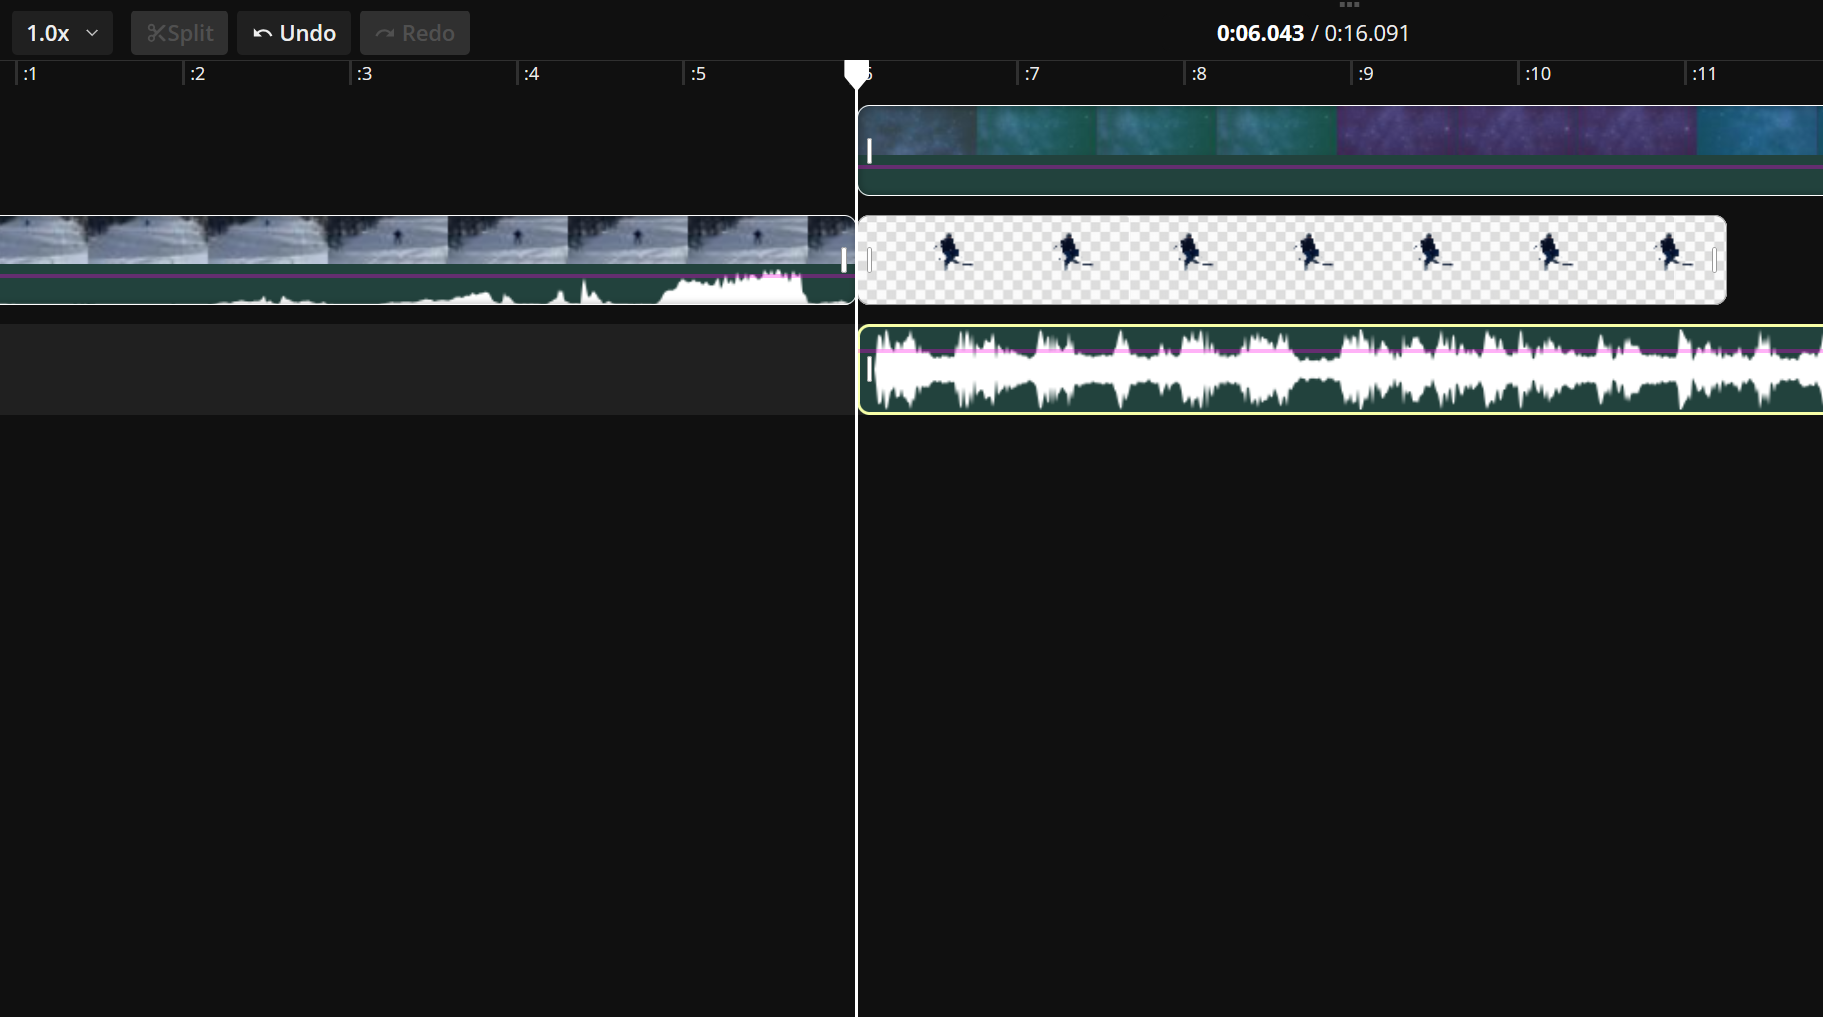
In this state, your Shooting Star video project should feature your original video, a cutout of your main character, a starry sky background, and the official music from the trend.
The only thing left to do is add video effects. It is highly encouraged that you experiment with this next step for the most personalized final product. However, to see exactly how to add effects, move on to the final section of this guide.
5. Add Video Effects
With the rotation effect present in the background template, a sense of motion is already present in the video. As such, you don't need to go overboard in this stage. Experiment to find unique ways to edit your video.
For mine, I selected the subject cutout layer in the timeline and added the Vibrate animation from the right-hand tools.
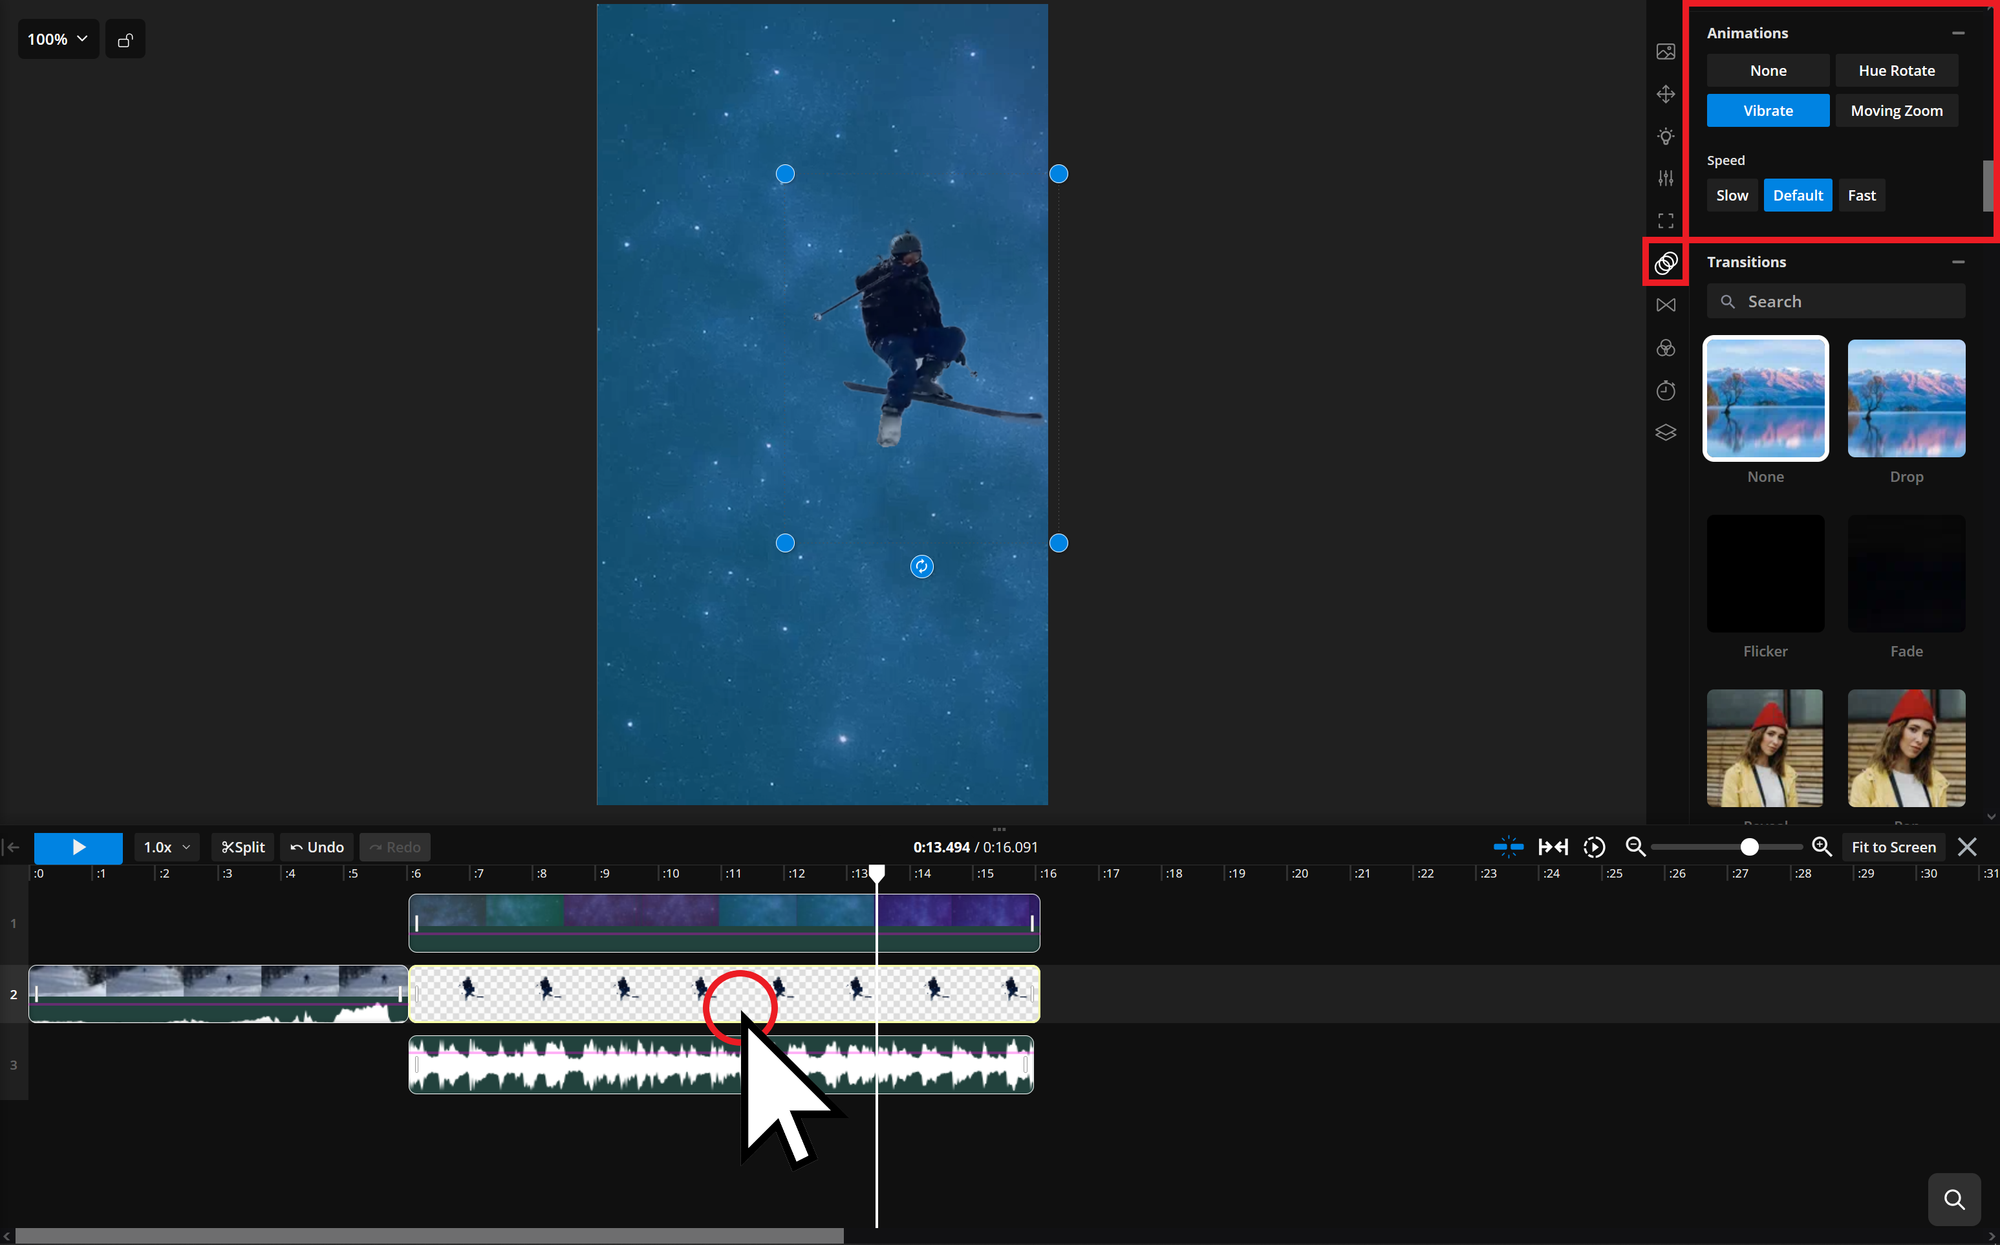
I also made my subject move around the image by adding keyframes. This is not a requirement, though.
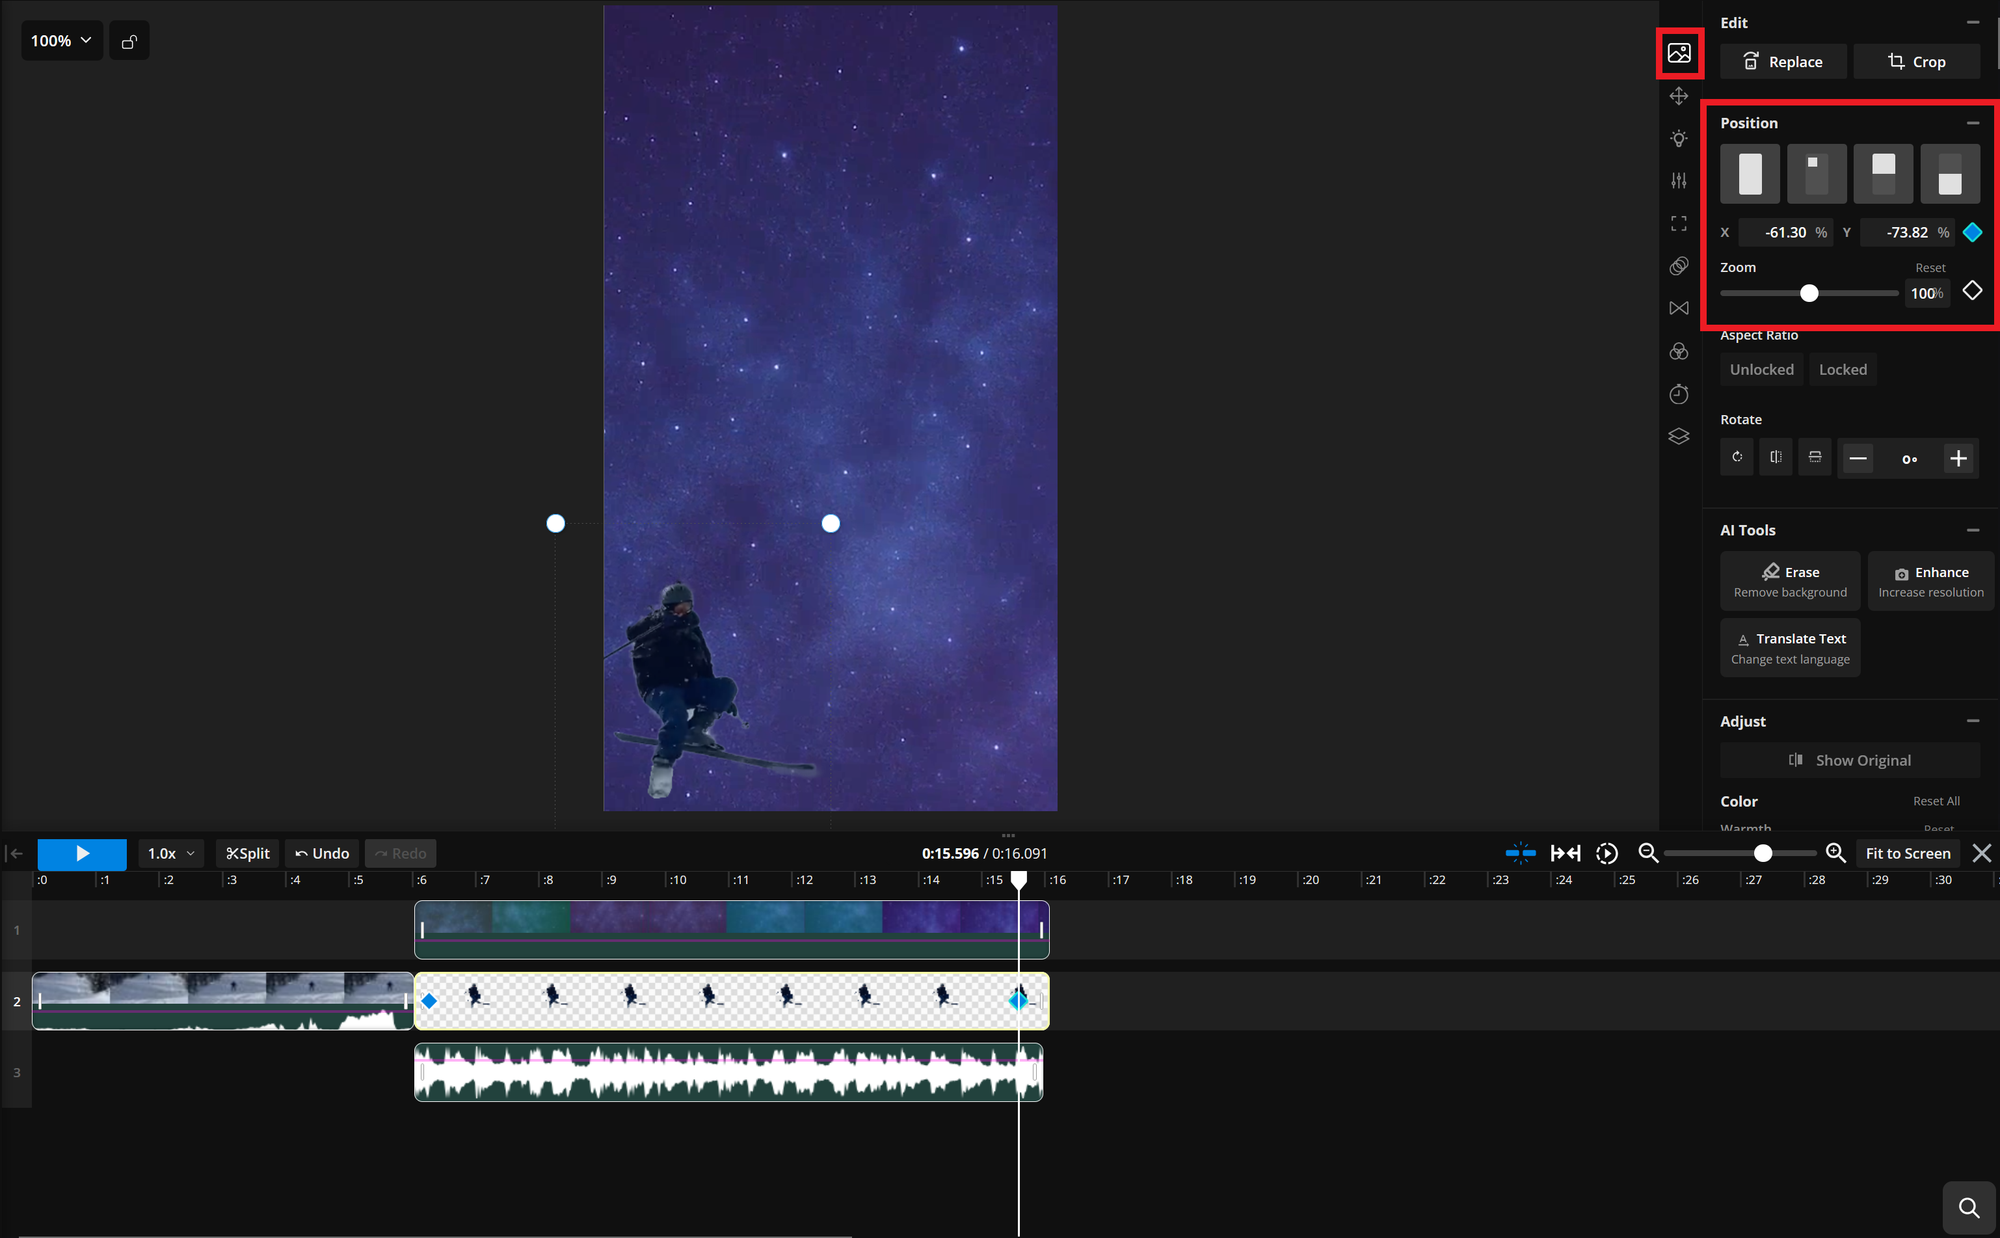
Happy with my final product, I am ready to export. If you want to extend your video, just drag all of the clips in the timeline out. Again, the template we used is a perfect loop, so it won't have any issues with a weird cutoff spot at the end.
Export Your Video
To export your Shooting Star meme as a video, select the Export Project button in the top-right corner of the editor. Then, use the following video settings for a quick export.
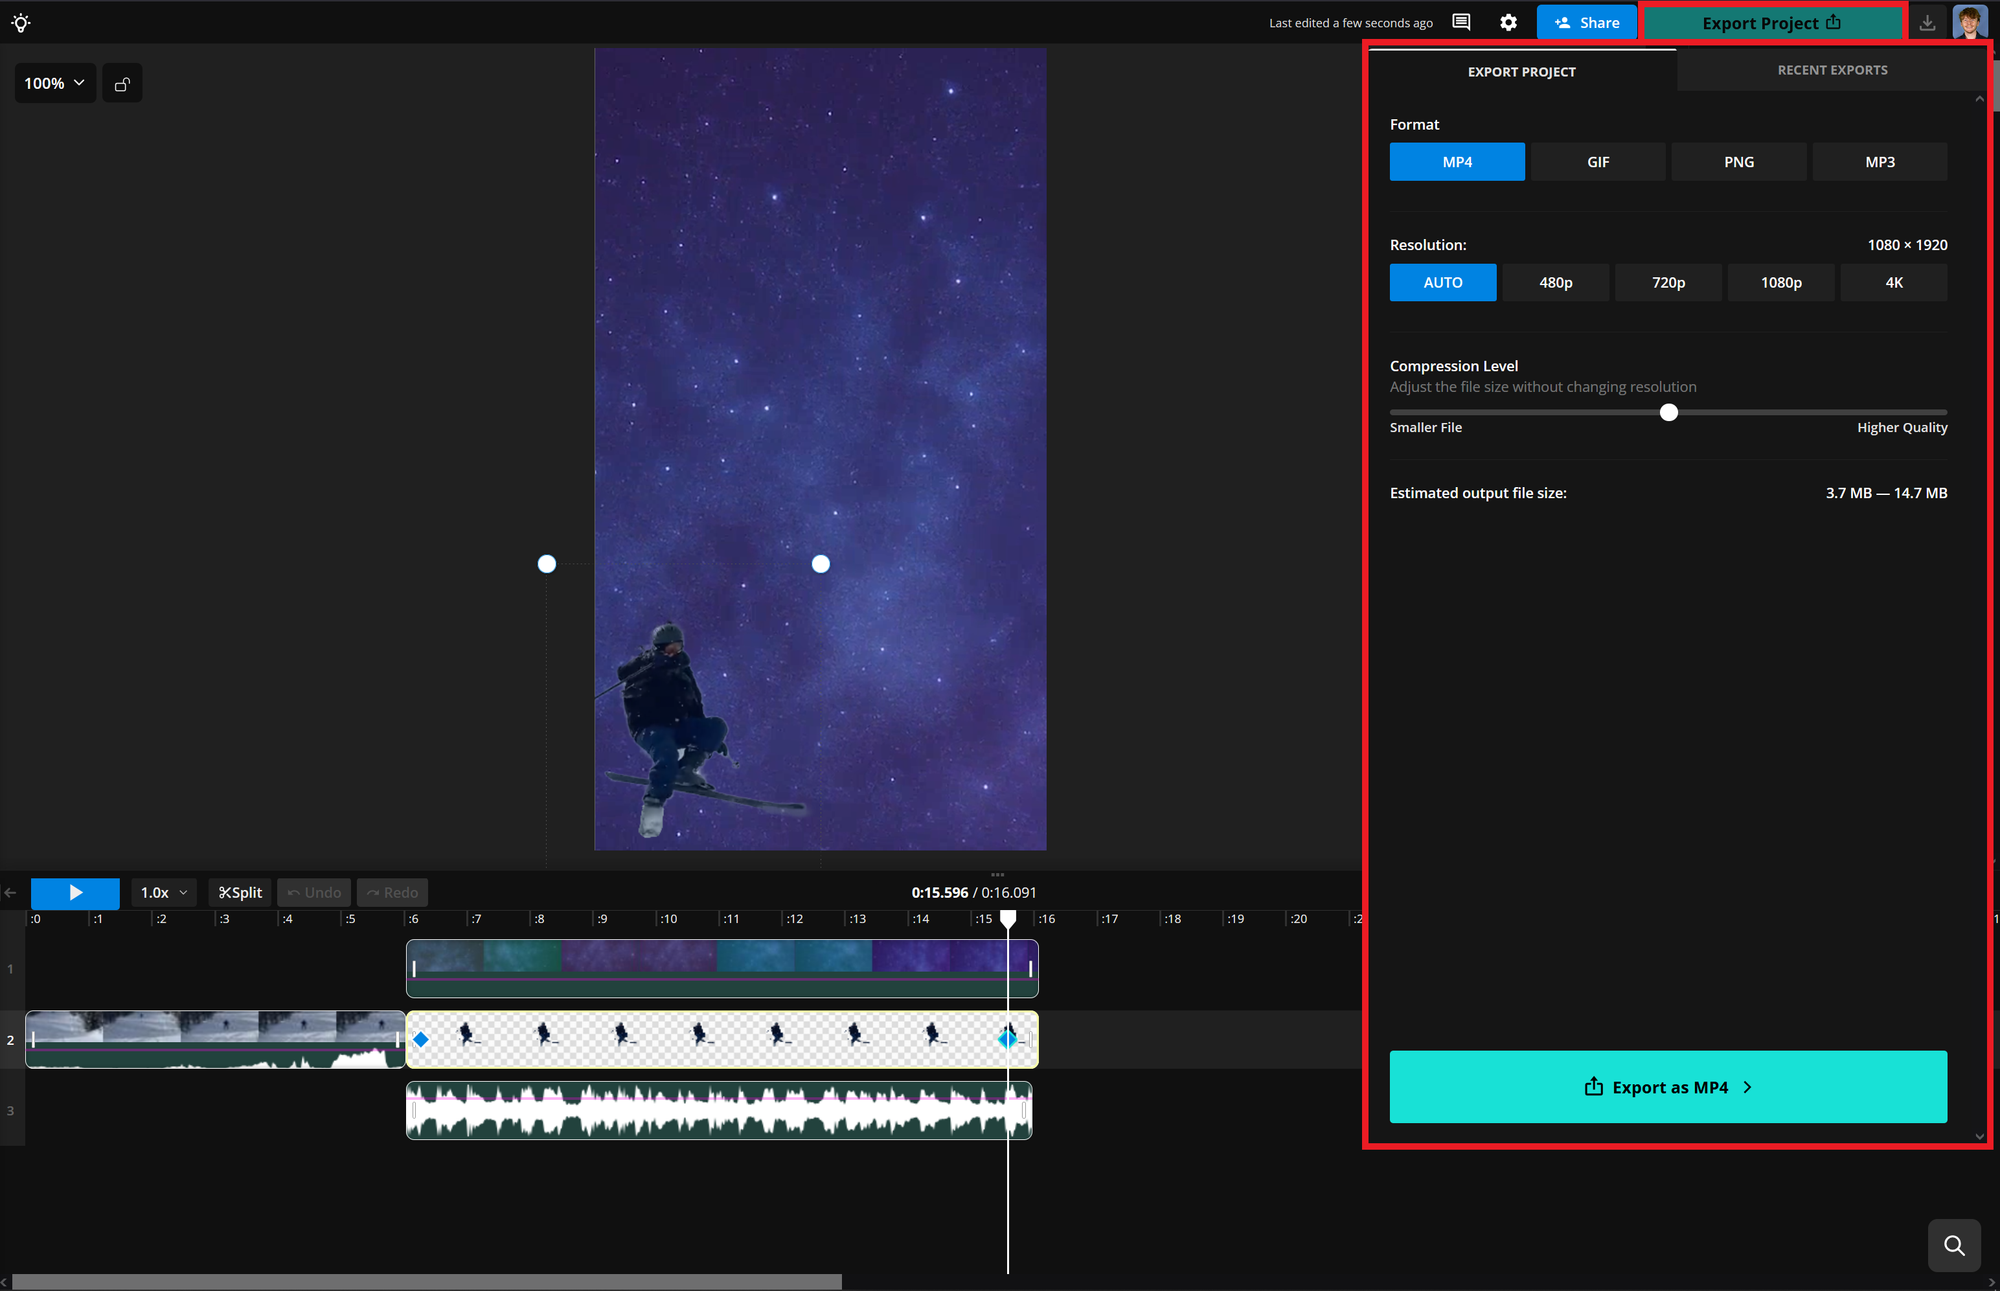
You can optionally adjust details like the Compression Level slider or Resolution to decrease the file size. However, this step is not mandatory.
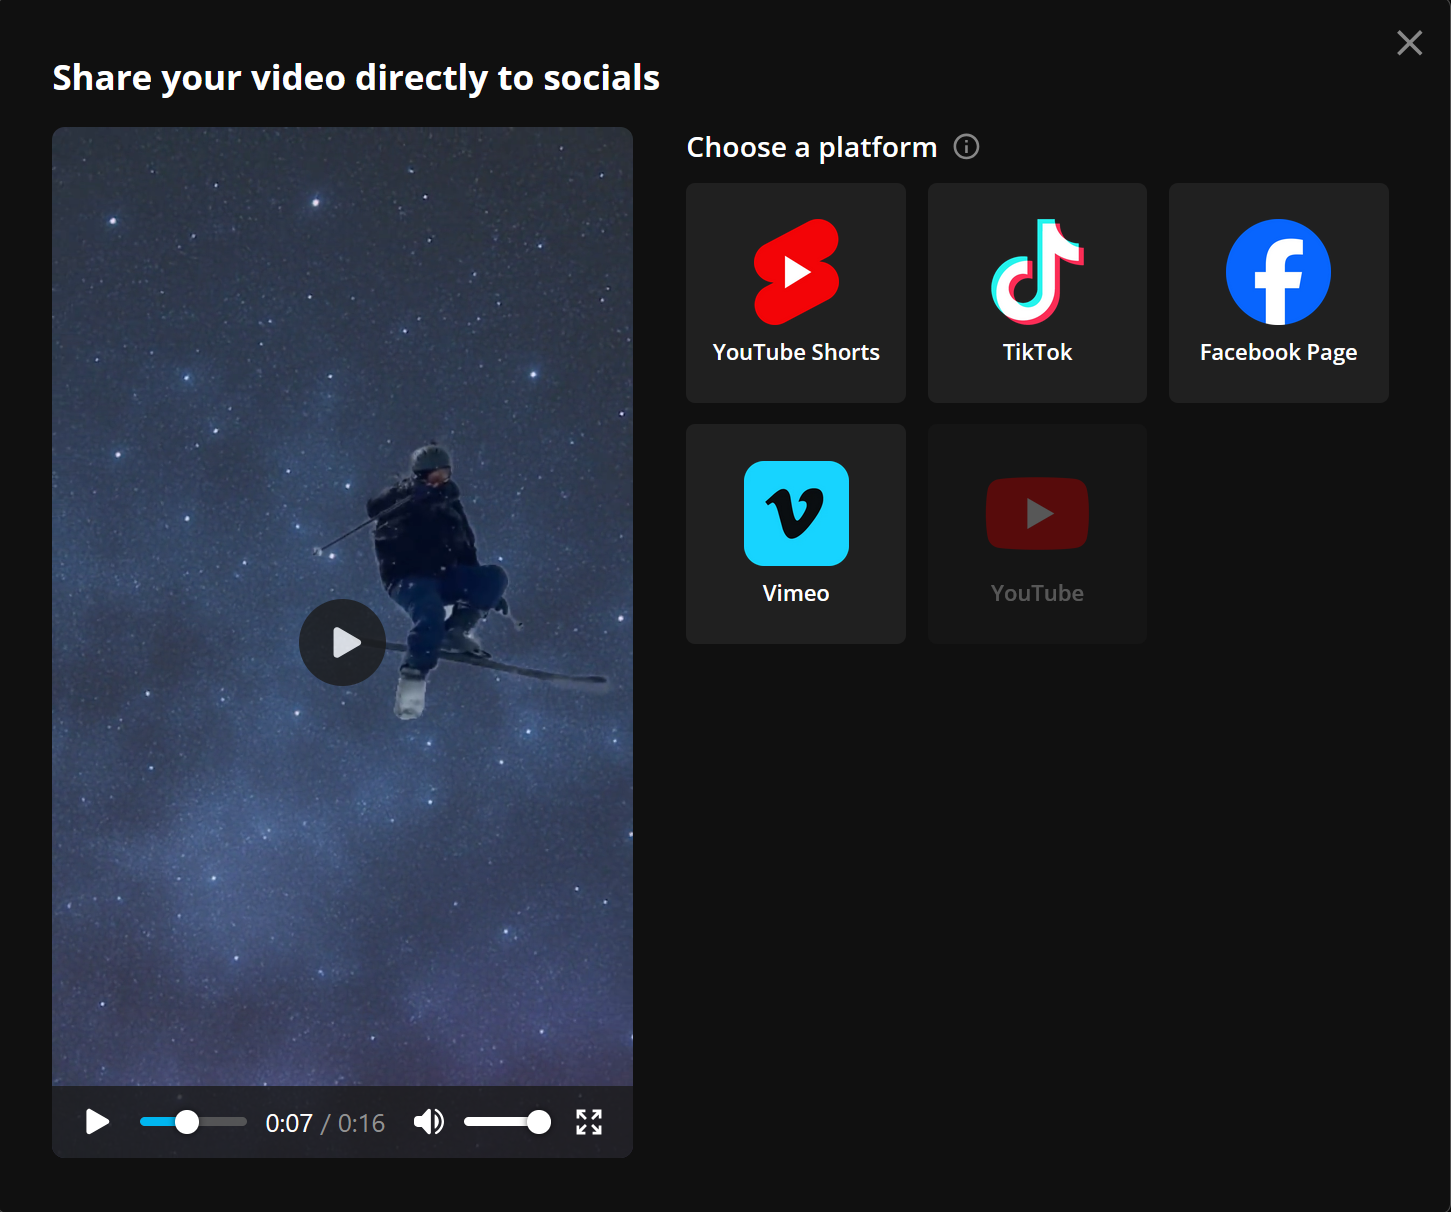
Once exported, you can download the project or share it directly to platforms like YouTube or TikTok.
How to Make a Shooting Star Meme GIF
Creating a Shooting Star meme GIF is easy. In fact, the process is (thankfully!) the exact same as the video steps above — the only difference is in the export settings.
After selecting the Export Project button in the top right corner, make sure the GIF option is highlighted instead of MP4. Then, adjust the Compression Level slider to control the file size.
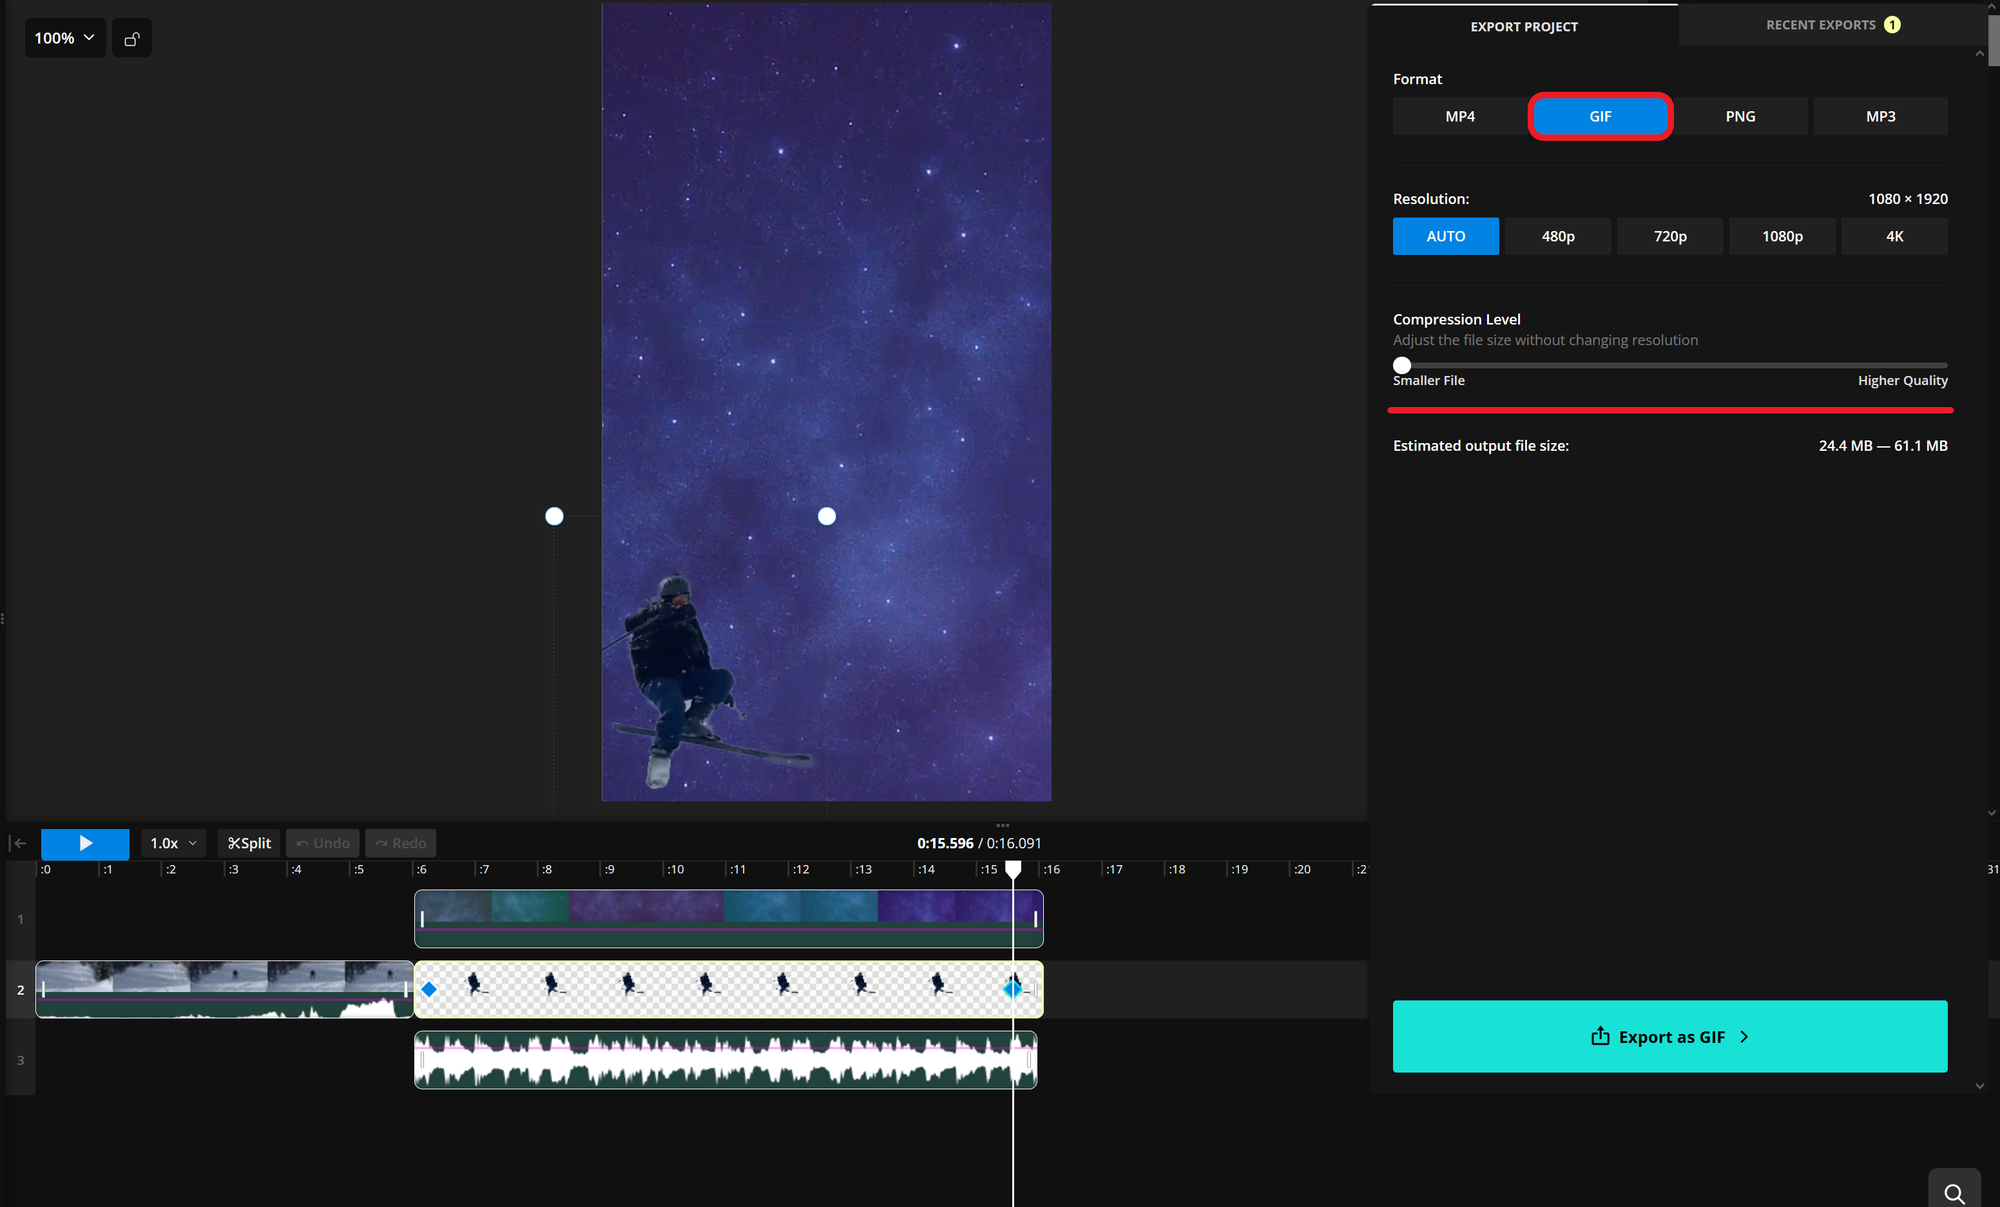
GIFs tend to generate larger file sizes than traditional video files, so it’s a good idea to increase compression for faster loading and easier sharing.