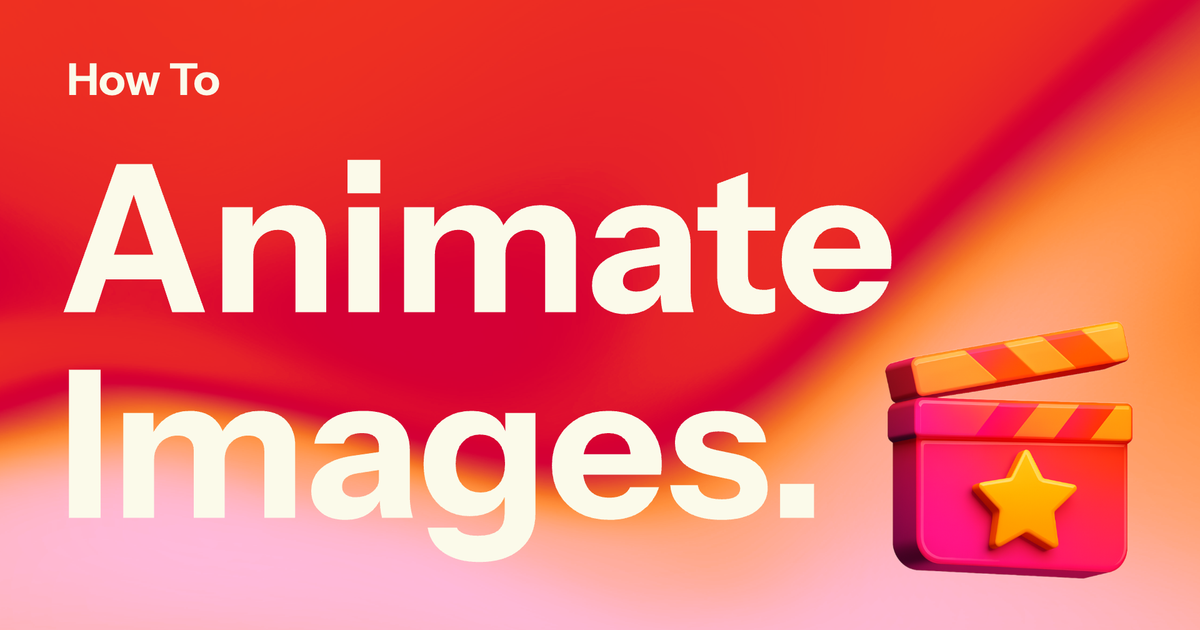
How to Animate Images Online
By animating your photos, you can capture 5x more engagement and attention.
Videos consistently outperform still images online. Research shows they capture up to 5× more attention and engagement. While the internet is saturated with static photos, AI photo animation helps creators stand out by transforming still images into short, dynamic clips that stop the scroll and spark interaction.
In 2025, AI tools make this easier than ever. One of the most popular methods to animate still photos is to use AI Image to video tools, which automatically transform your picture into a moving scene using AI. Alternatively, keyframe animation is popular for greater control of how a photo moves frame by frame, although the process takes considerably longer.
In this guide, we’ll go over both methods, alongside expert tips on how to make your content stand out. By the end, you’ll know exactly how to turn your photos into eye-catching animated videos like below.
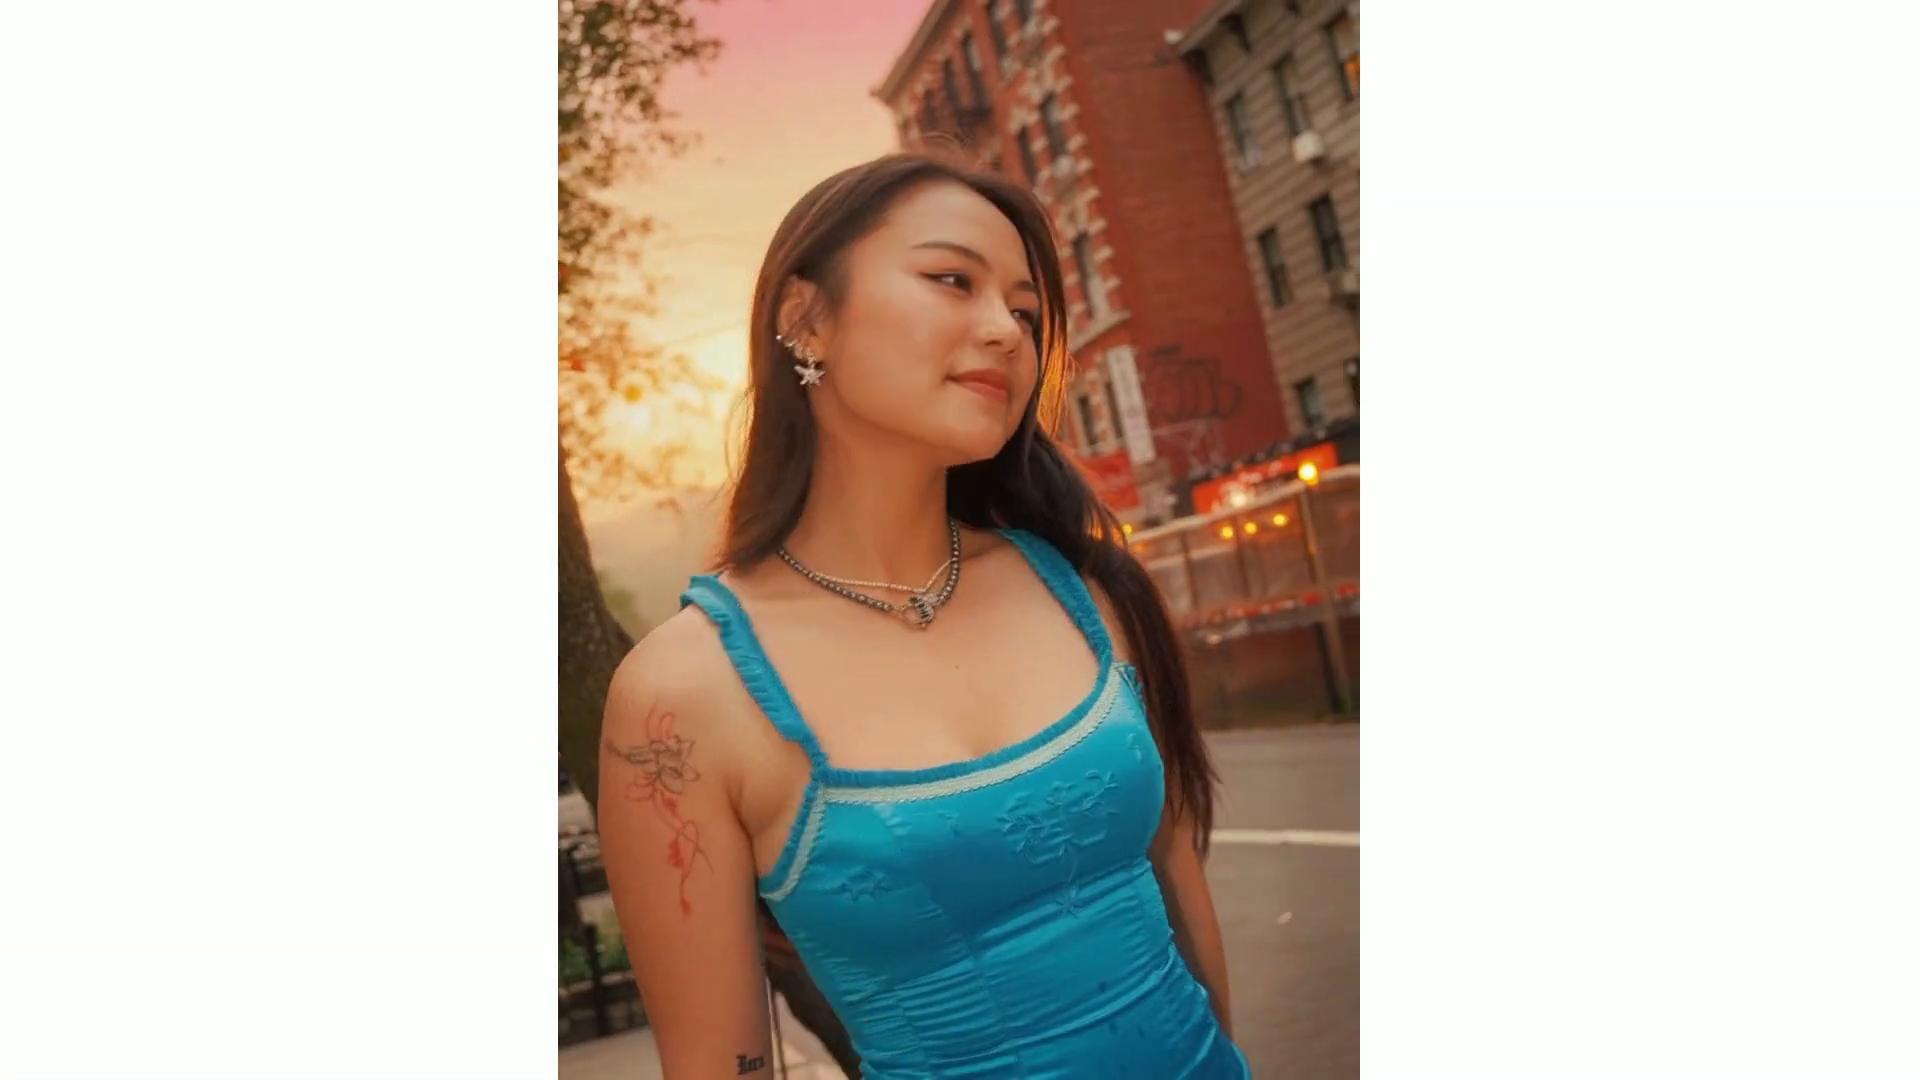
Table of Contents
How to Animate Images with AI
If you want to skip manual editing altogether, you can use Kai to animate your image. This method is perfect for creators who want to instantly turn still photos into dynamic, professional-looking video clips, without adjusting keyframes or transitions.
Step 1: Open Kai and Attach Your Reference Image
Head to Kai to start your project. On the homepage, you’ll see a chat interface that asks, “What can I help you create?” In the bottom-left corner of the chatbox, click the “Attach media” button to upload your reference image.

This image acts as a guide for Kai, helping it understand the style, composition, or aesthetic you want for your video. As such, choosing the right reference image gives Kai a better foundation to work from. Here’s what to look for:
- Clear subject focus: The subject (person, product, setting) should be front and center, not obscured or cluttered.
- Strong visual style: The image should represent the tone you want: bright and clean, cinematic and moody, retro, minimal, etc.
- Consistent framing: Try to match the framing (portrait, landscape, close-up) you want the final video or visuals to follow.
- Avoid busy or chaotic visuals: The AI may have trouble following reference images with too much going on or unclear intent.
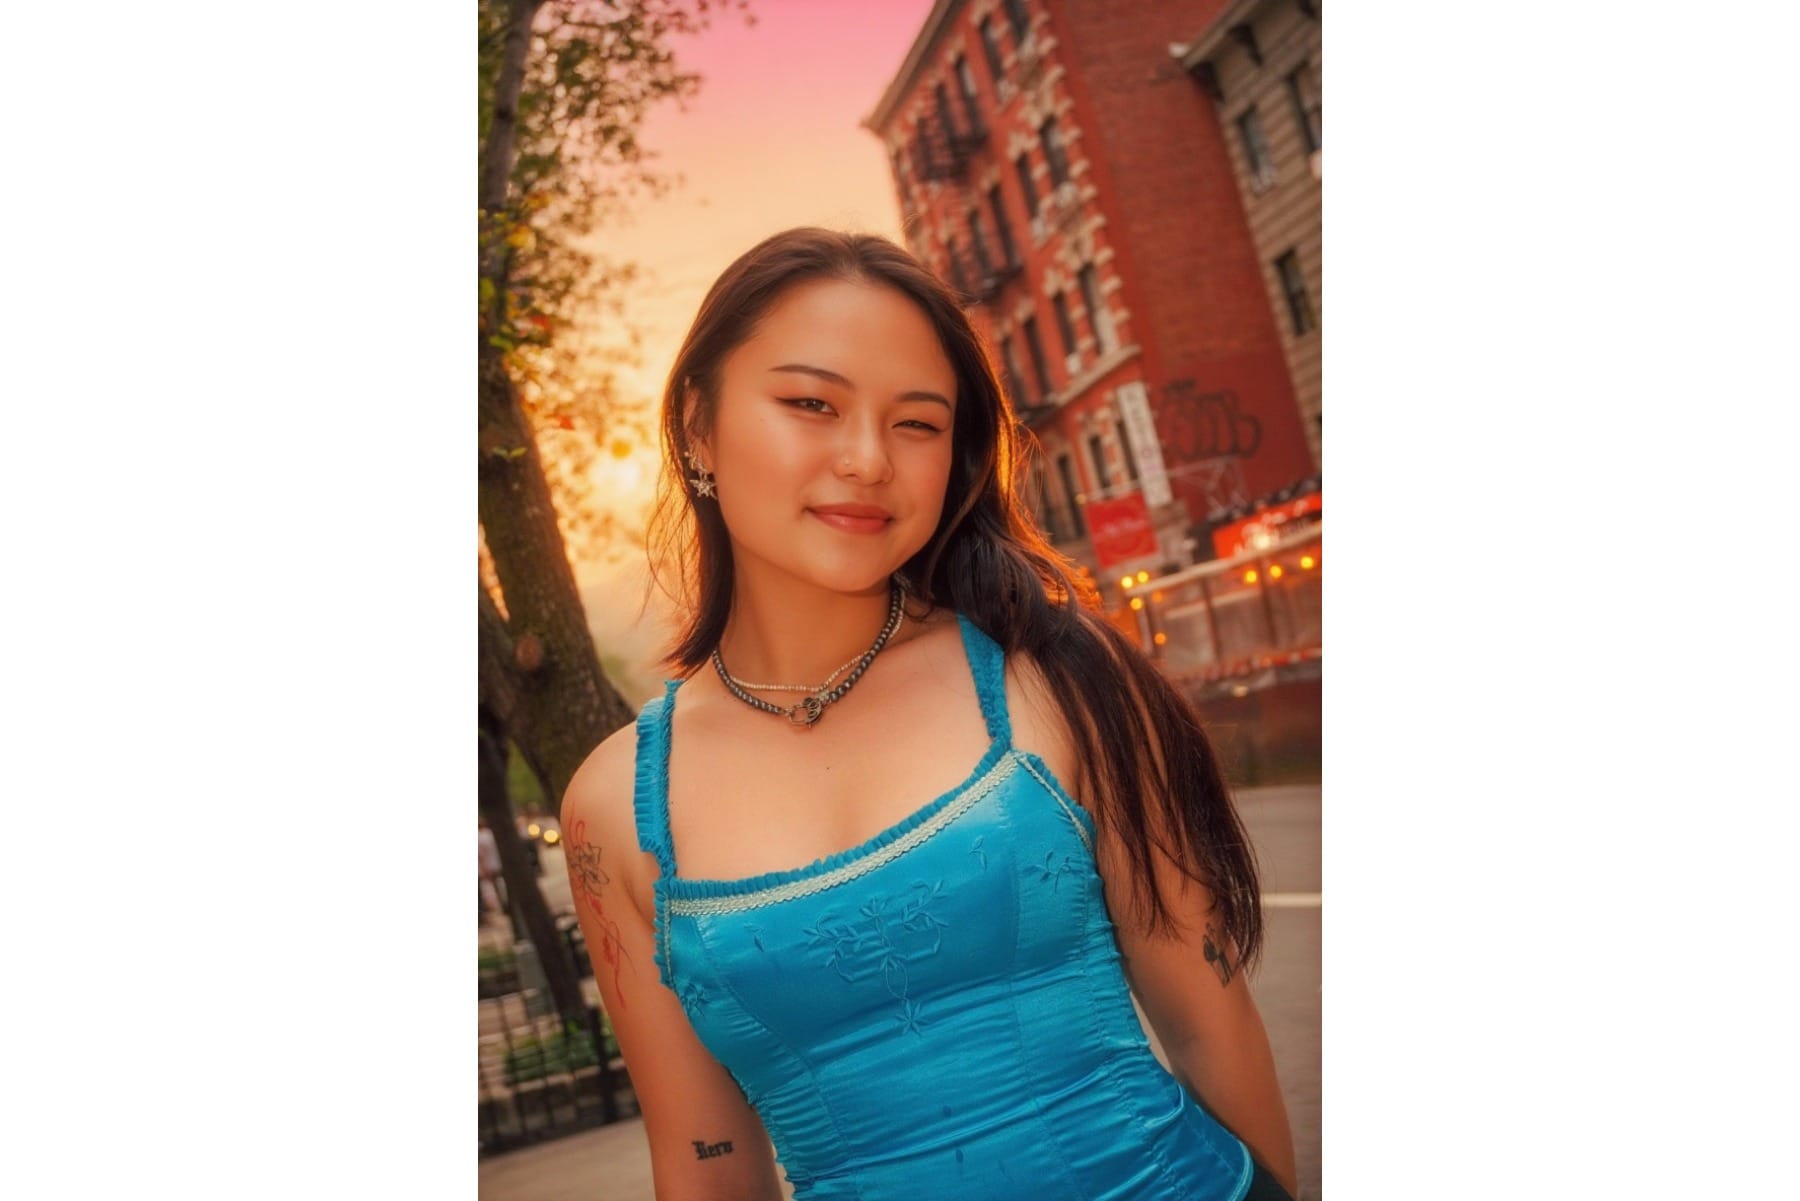
Here is the reference image that we used:
Step 2: Write Your Prompt
Next, you need to write your prompt. This is the most important part of the process, telling Kai what you want it to animate and how. A strong prompt should:
- Refer to the reference image
- Specify the duration or length of your final video
- Include a description of the motion you want each element in your image to take
For example, we used:
Animate the person in the reference image to turn around, and walk slowly through the city street at sunset. She walks through the streets and looks at the building. The camera pans upward to show lights turning on in the buildings. The clip should be 5 seconds.
Once you've written your prompt, paste it into the Kai Chatbot and press enter to animate your image.

Step 3: Edit Your Output
After you submit your prompt, Kai will generate an output directly in the chat. If you’re not satisfied with the first result, it often takes a few tries to get the look you’re going for.
Start by prompting Kai with specific revision requests. For example:
- “Make the subject more centered.”
- “Increase contrast and brightness.”
- “Use a blurred background.”
If that doesn’t work, try tweaking your original prompt to be more descriptive. Small changes can lead to very different results.
Step 4: Download
Once you’re happy with your output, you can either download it directly or save it to a Kapwing project.
Downloading is the best option if you want to post your photo as-is. Saving it to a project, on the other hand, lets you make additional edits in Kapwing. For example, you could add text overlays or even combine multiple photos into a video.

How to Animate Images with Keyframes
You don’t have to be a professional designer to create a keyframe animation. Actually, it’s simpler than you might think when using Kapwing, which makes it a 3-step process.
1. Select the Magic Animate Tool
Upload your photos to the Kapwing Studio (instead of Kai).
Once your photo is uploaded, scroll down to the bottom of the right-hand toolbar and select the Magic Animate tool. This will turn your image into a video project.

2. Edit Your Animated Photo
The Magic Animate feature will automatically generate an animation from your still photo. In most cases, it creates natural, cinematic motion right away, but if you’re not satisfied, you can easily customize every detail.
First, select your photo in the video timeline. Then, in the left-hand toolbar, scroll down to the Animations and Transitions sections. You’ll see a wide variety of effects you can apply to your photo. You can experiment with different combinations until you find one that fits your desired pacing and style.

You can also add extra creative elements to enhance your animation.
In the right-hand toolbar, explore the Text, Visuals, and Audio sections to overlay captions, insert GIFs, or add background music.

3. Download Your Animated Photo
Finally, export your photo. Click the Export button in the top-right corner to open a menu where you can choose your file type and resolution. If you added audio, export your animated photo as a video. If you didn't, you can also export it as a GIF.
Once you’ve finalized your settings, click Download to save the resized photo to your device.

Below is the final animated image that we created.
For our example, we applied the Hue Rotate animation effect, which alters the color grading of the photo to change continuously.