
How to Add a Timestamp to a Photo Online
If you want to replicate the timestamp look for your own photos, I’ll show you how to add a timestamp to any photo on your camera roll!
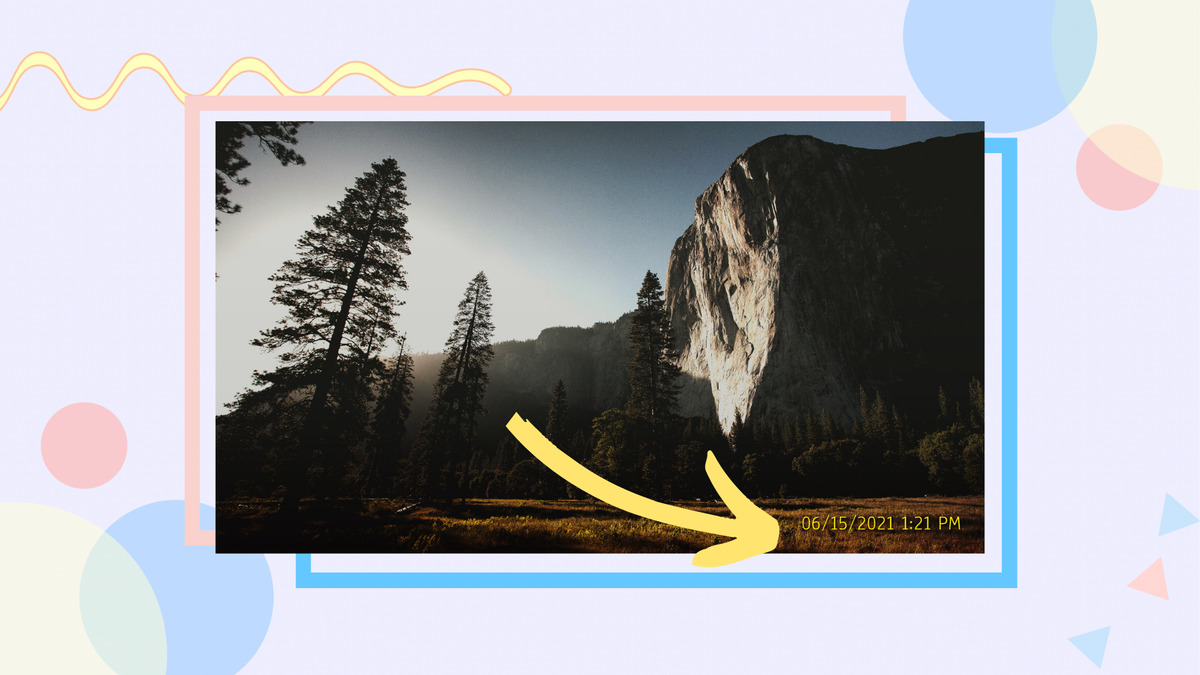
A photo is worth a thousand words and captures so many unique memories from our personal lives. If you were to travel back in time or pull out a box of photos from your closet, you’ll notice developed photos contain timestamps on the front or back. I thought the days of snapping a photo and seeing a timestamp were long gone, but I’ve seen some comebacks with vintage photos. Social media has made polaroids, black and white photos, and timestamps trendy again. If you want to replicate this look for your own photos, I’ll show you how to add a timestamp to any photo on your camera roll. Follow these steps!
- Upload a Photo to Kapwing
- Add and Edit Text
- Apply Filters to the Photo
- Export, Download and Share Your Timestamped Photo
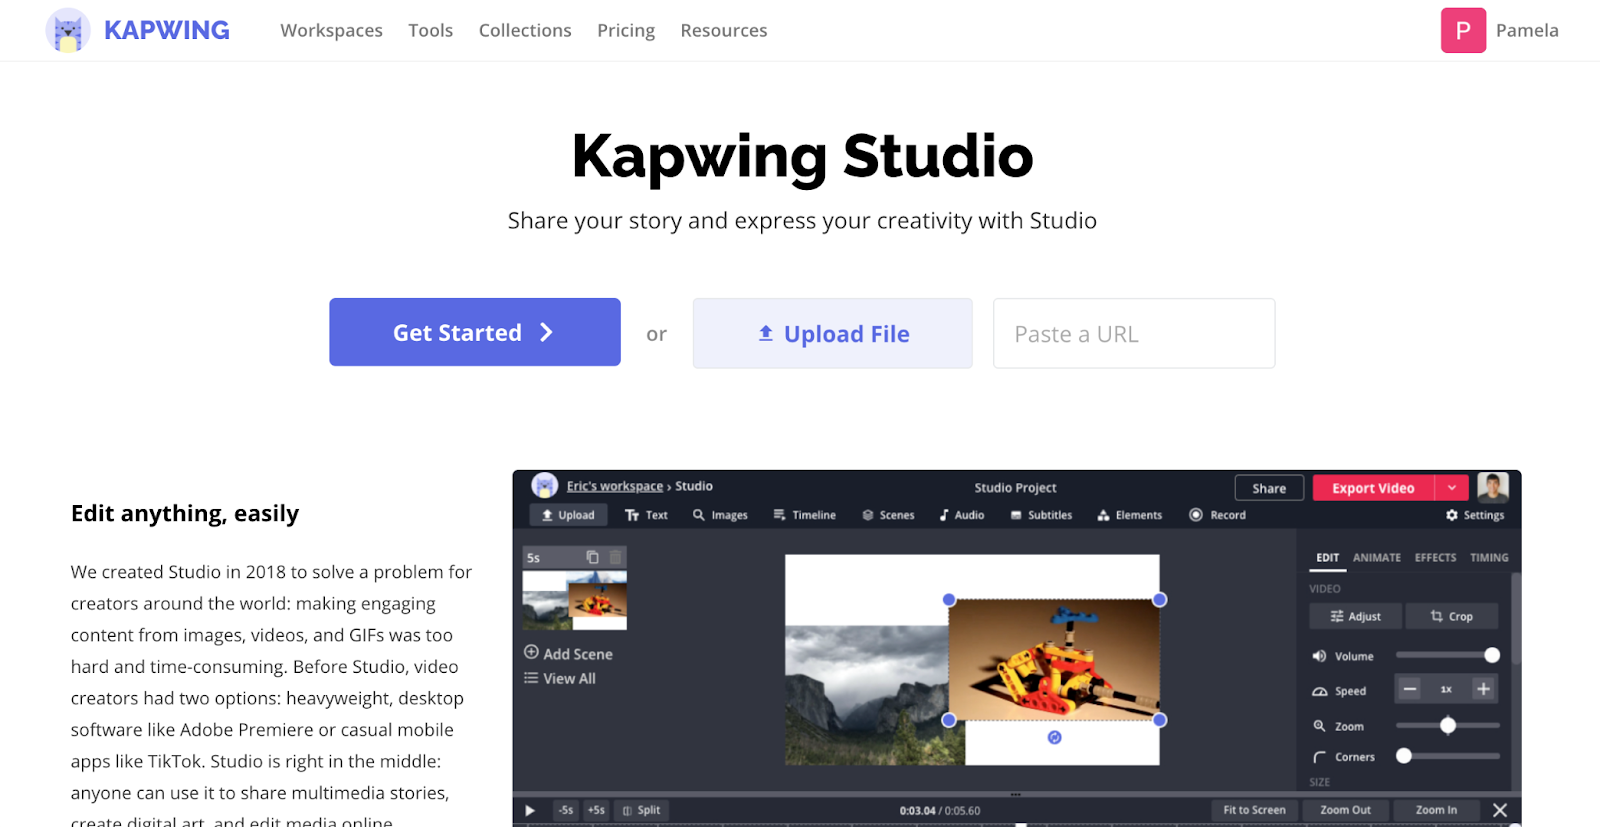
1) Upload a Photo to Kapwing
Go to https://www.kapwing.com/studio. Select Upload and find a photo from your device that you’d like to add a timestamp to. You can also Paste a URL to a photo if you don’t have any photos you can use from your device.
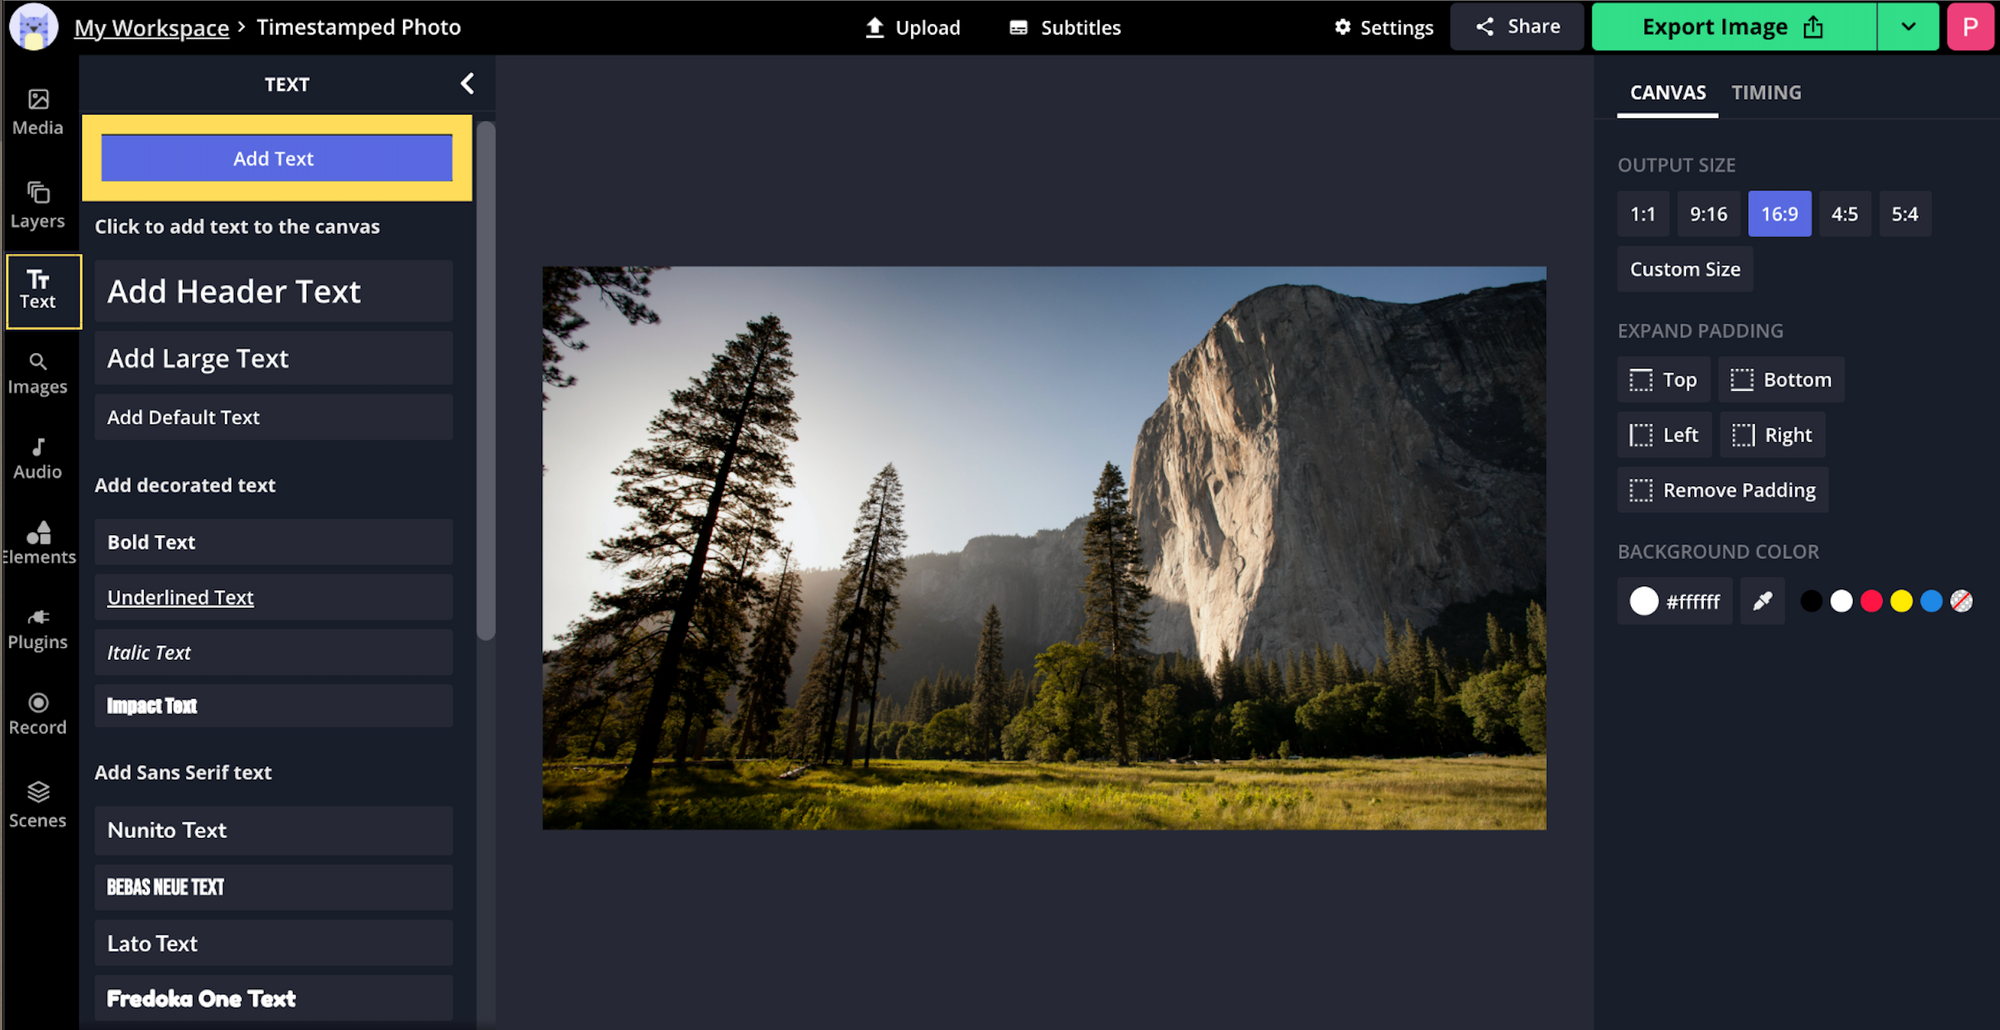
2) Add and Edit Text
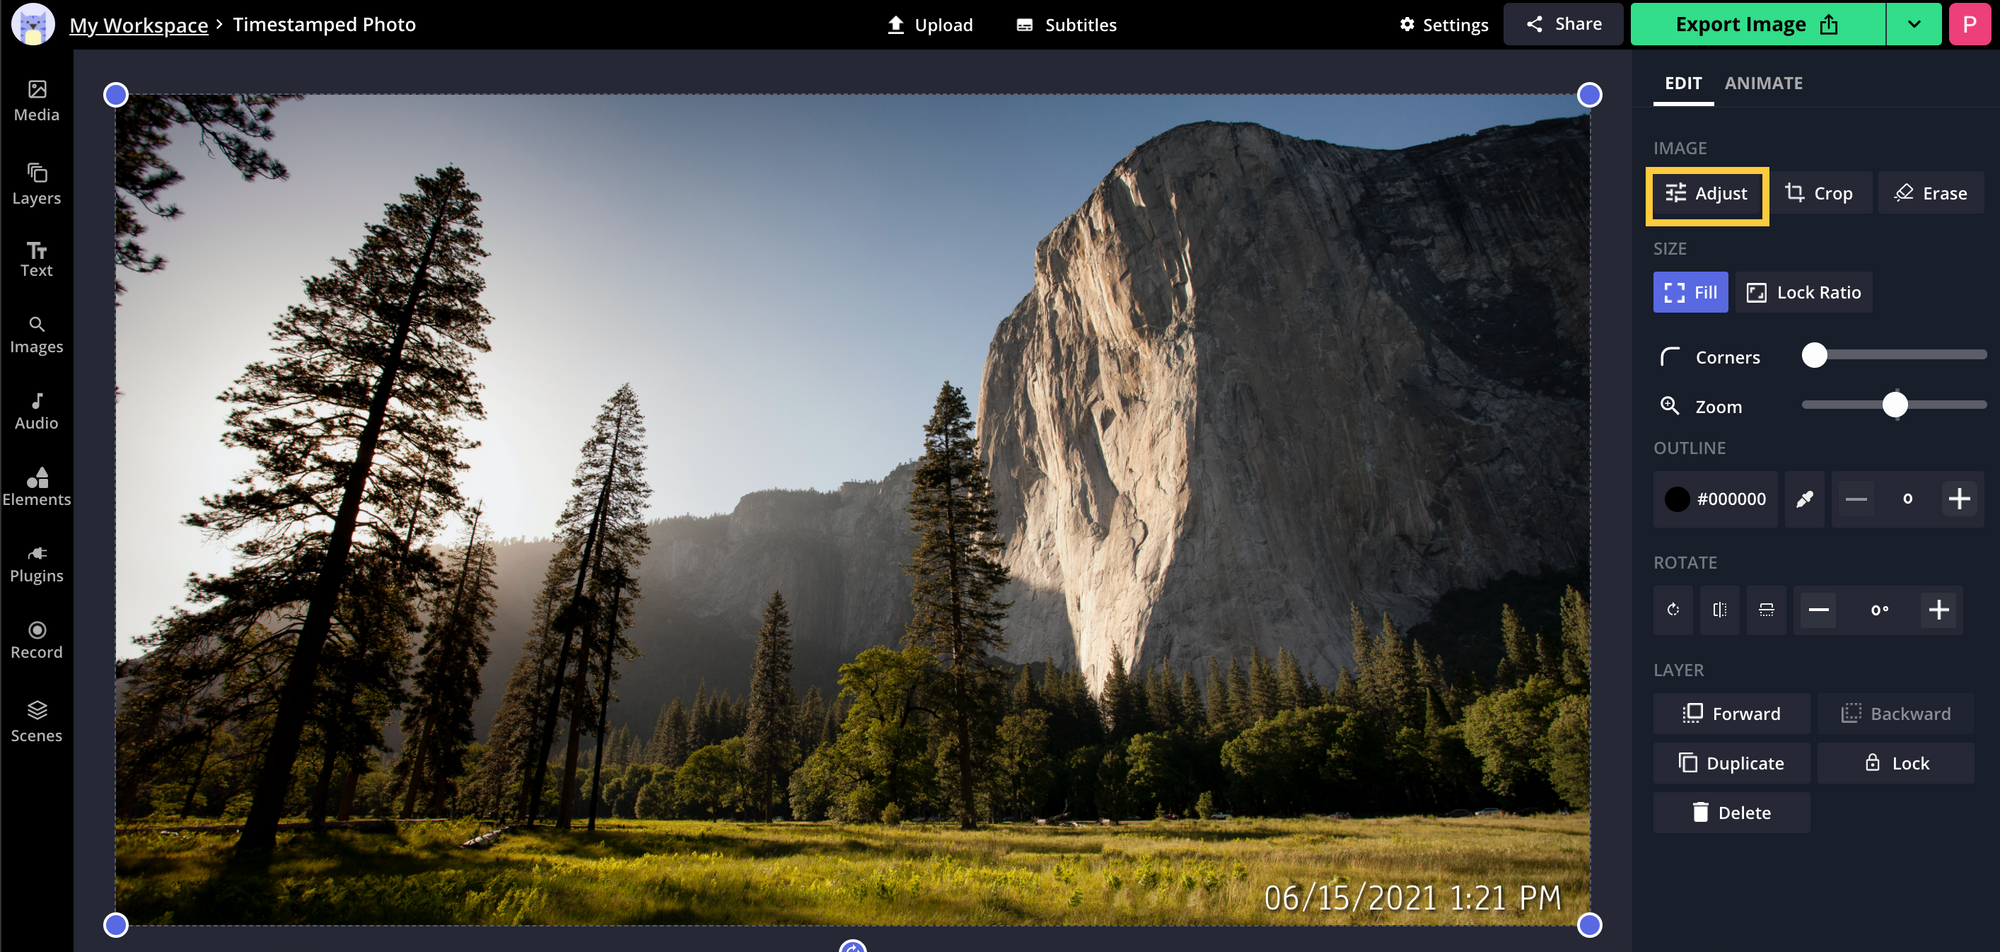
After uploading your image, you should now see the Kapwing Studio Workspace. On the top left, next to My Workspace, you can rename your project. Next, we are going to click on Text which can be found in the left-hand side toolbar. For the text timestamp, you can include the date and time.
To replicate the timestamp look, I would recommend using the fonts Anaheim, Source Code Pro, Courier New, and Roboto Mono. Kapwing has a large font library that you can browse so you can find the right style for your photo.
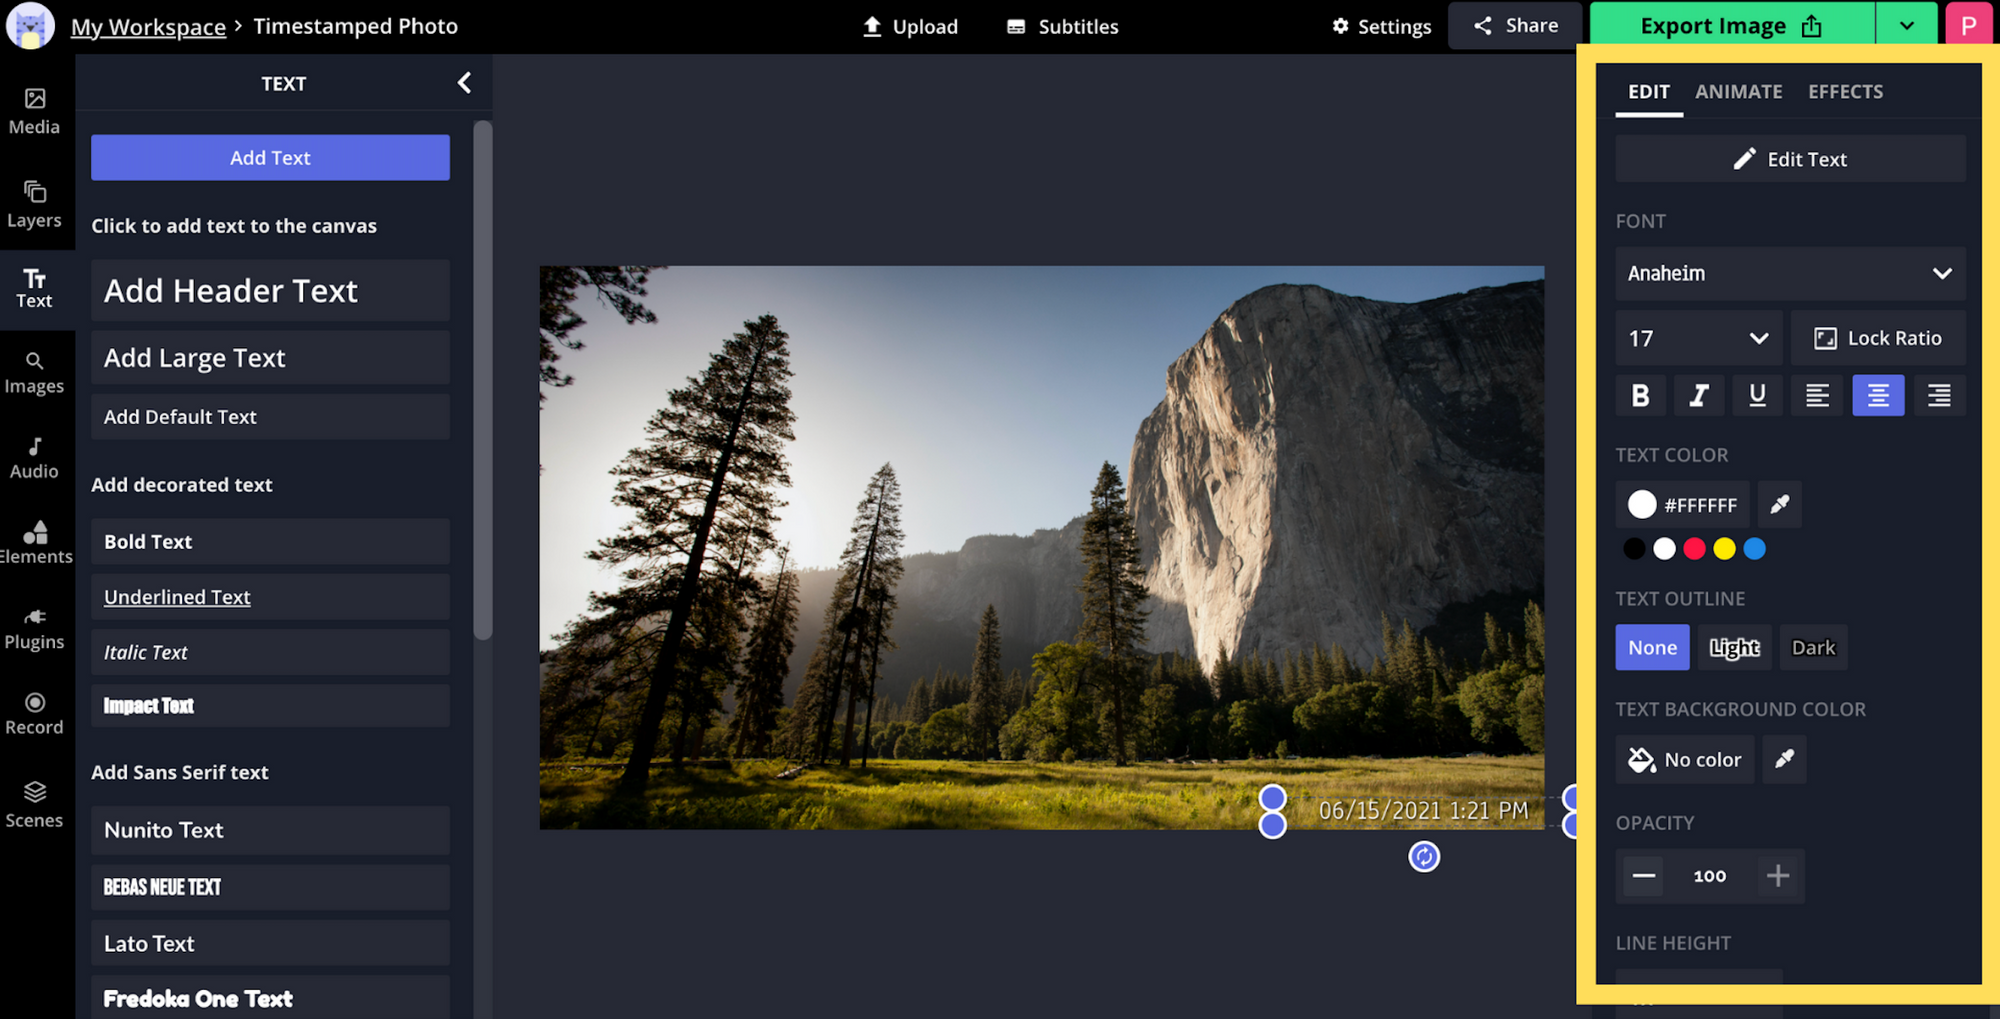
In the right-hand side panel, you can find different tools to edit your text. You can change the font style, size, and colors. In the effects tab at the top of the panel, you can use effects such as drop shadow or blur.
3) Apply Filters to the Photo
To complete the look of the timestamped photo, you can also apply a filter, but this is optional. To do this, select the photo, click adjust in the right-hand side panel, and choose the Filters tab.
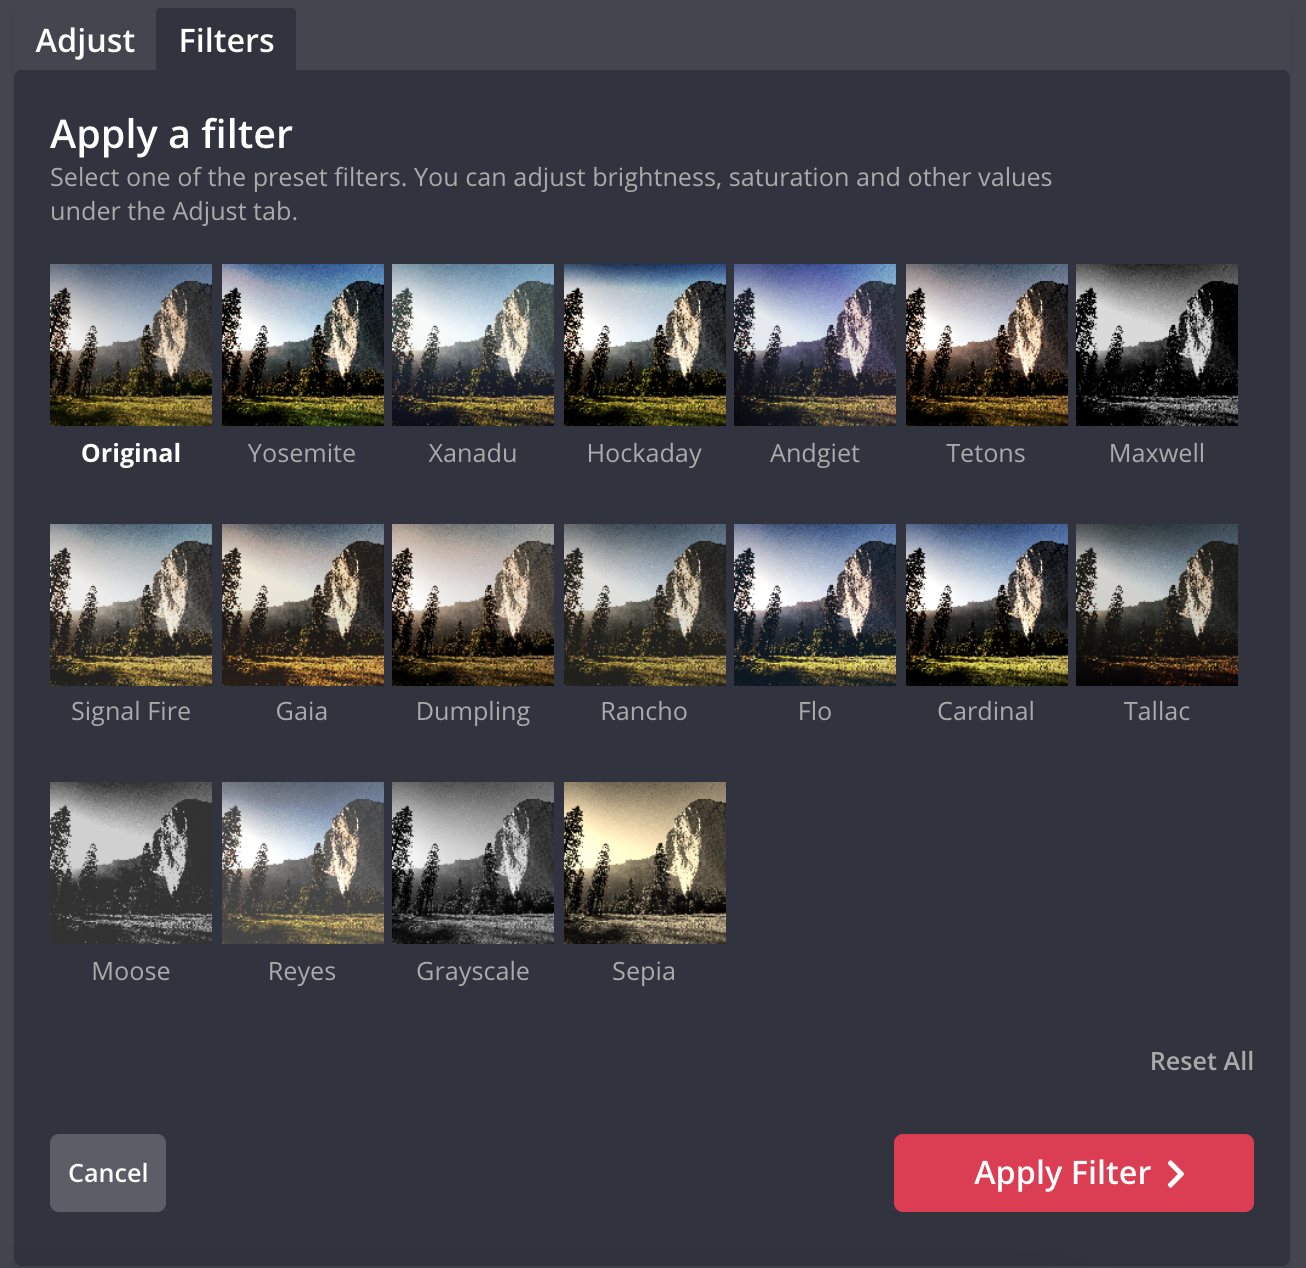
If you're looking for a filter that can create a vintage photo look, I like using Tetons, Signal Fire, Tallac, and Sepia. There are 18 filters that you can choose from and each filter will look different depending on the type of photo you decide to use.
4) Export, Download, and Share Your Timestamped Photo
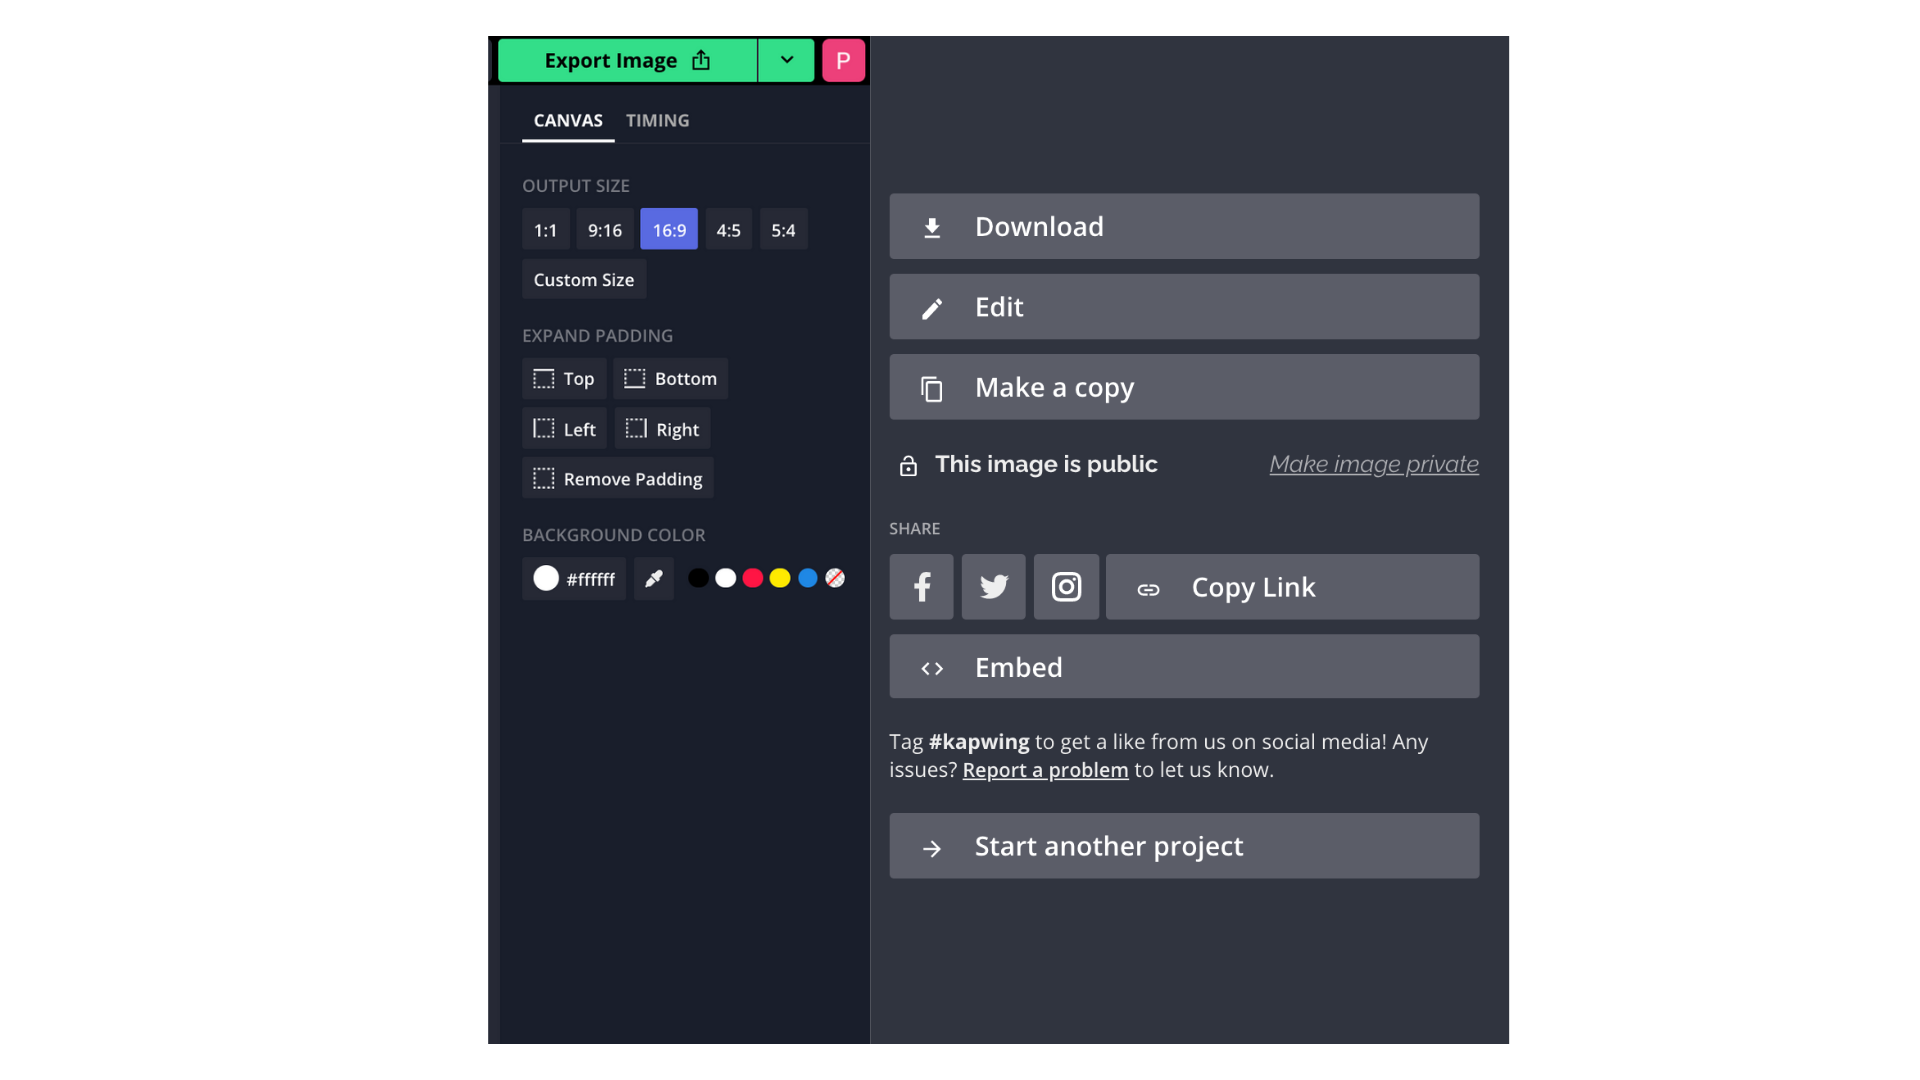
When you're finished adding text and an optional filter to your photo, you're ready to export. Click on the bright green Export Image button. Wait a few seconds, and you'll be taken to the Download screen. You have the option to download your image, make any edits, or make a copy.
I hope this tutorial helped you with your timestamped photo! Tag us @KapwingApp on social media to share your photos with us - we'd love to see what you end up creating. If you're interested in more photo editing tutorials, visit our Resources page. We also upload short-form and long-form video tutorials on our Instagram, TikTok, and YouTube every week!
Related Articles:


