How to Convert a Video to Images
How to convert a video to image frames (JPGS) using a free online tool. Capture the frame-by-frame action!
A video is made up of a series of images playing in sequence. If you take screenshots at certain times, you can convert the videos to images. In this article, I’ll describe how you can convert a video to images using a free online tool called Kapwing.
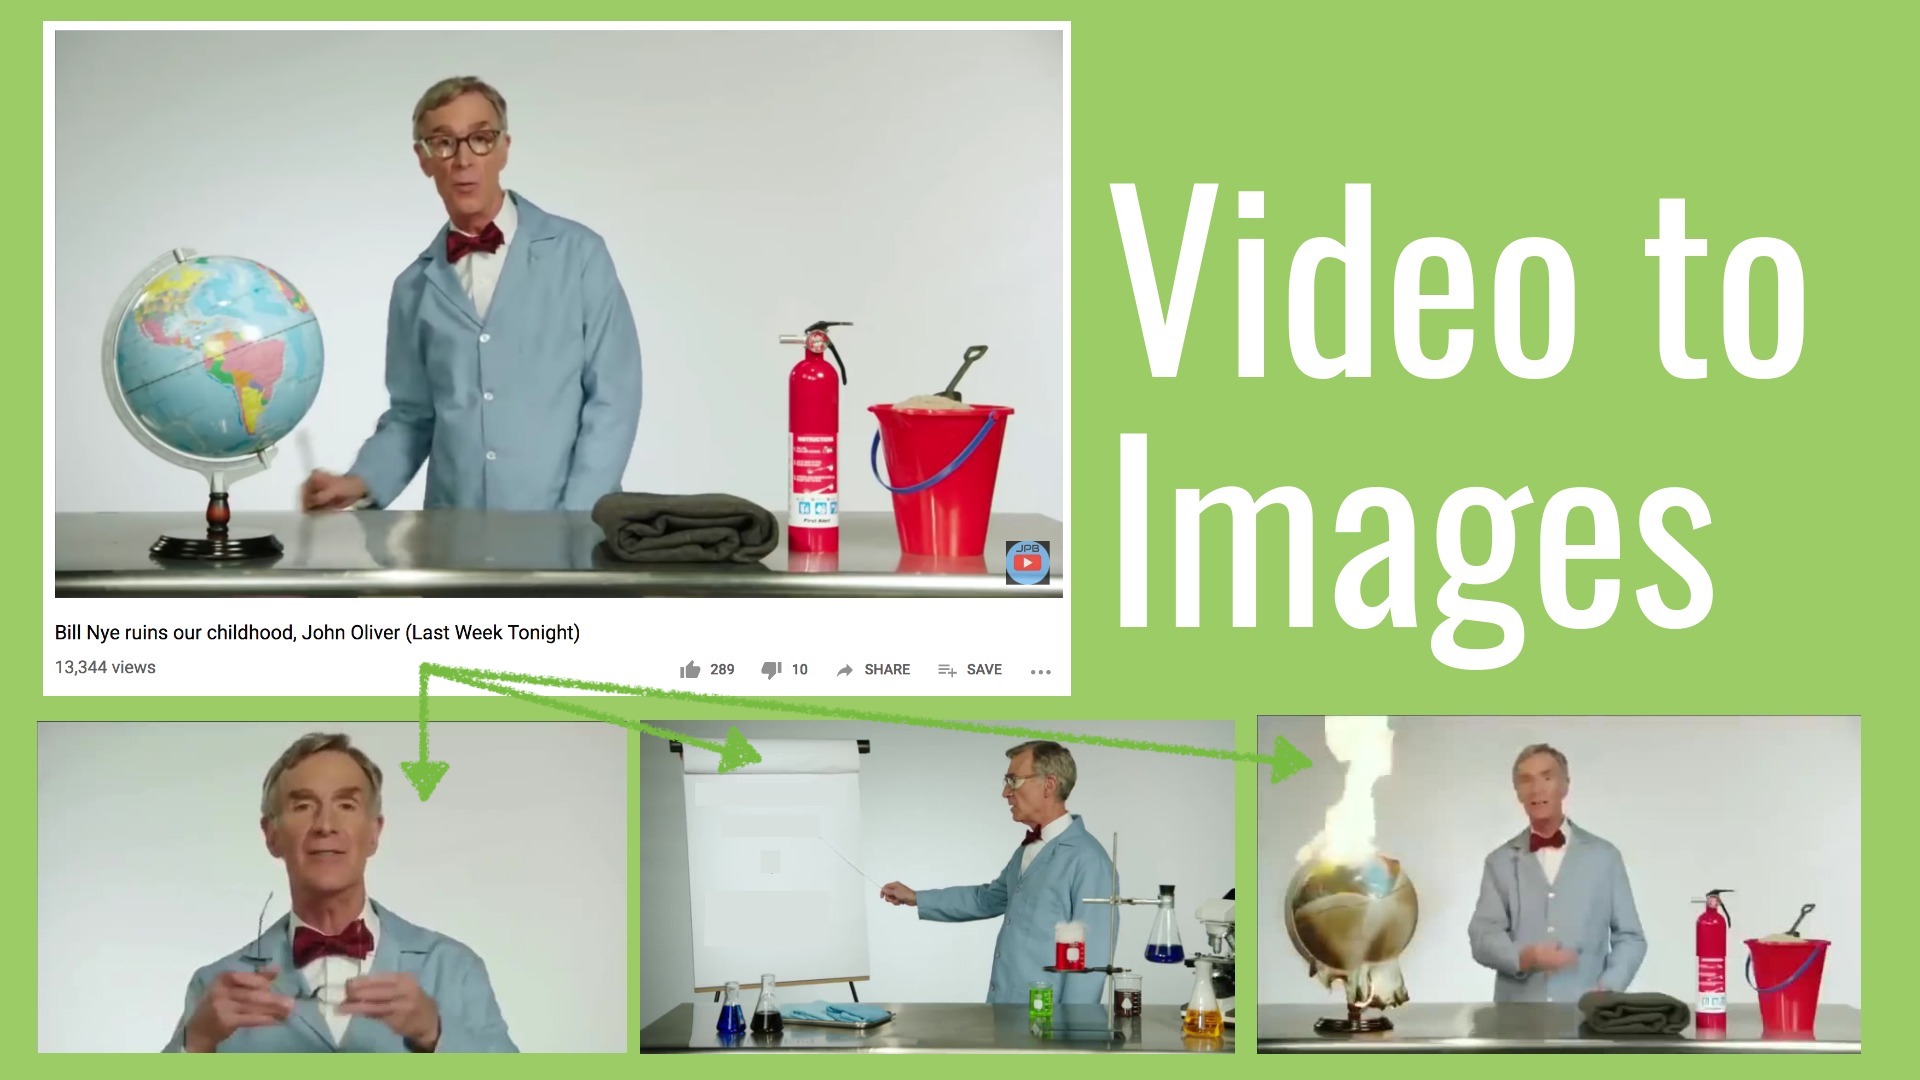
In this example, I’m going to convert a YouTube video – the Bill Nye stunt on Climate Change from John Oliver – to images. Then, I plan to download the images and put them into a comic-style Bill Nye meme. Here’s what the output looks like:
In the world of video editing, this is sometimes known as a freeze frame effect. This MP4 to JPGs tutorial has four steps:
- Open a Convert Video tool
- Upload your video to the converter
- Choose image screenshots and save
- [Optional] Arrange images into a comic or collage
Step 1: Open a Convert Video tool
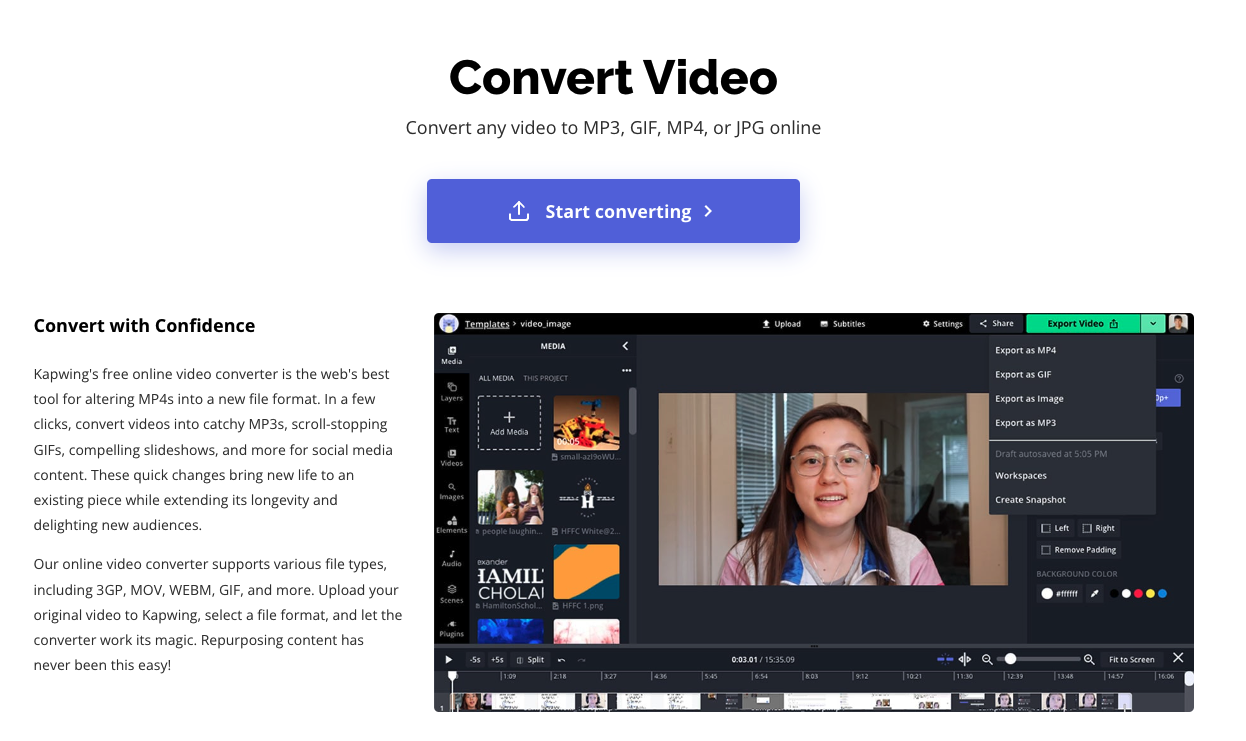
To snap the images out of a video, you need to use a video converter tool. I recommend a free website called Kapwing because it's fast and easy to learn. Open Kapwing’s Convert Video tool by navigating to Kapwing.com/convert-video in your browser. This website takes a video file and converts it to a .GIF, .MP4, .MP3, or .JPG file format.
You can also find the Convert tool in the list of Kapwing's video editing products.
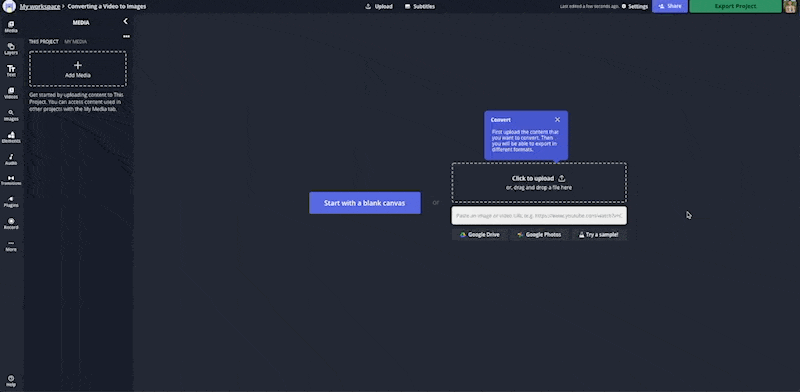
Step 2: Upload your video to the converter
Get started by uploading the video that you want to convert to images. Kapwing helps people convert a saved video or a video from YouTube. To upload a video clip, click the “Upload” button to choose a video file or drag and drop the file onto the button.
You can also import a video from YouTube to convert a YouTube video to images by pasting the URL in the text box. For my example, I imported the URL of my YouTube video into the box by pasting the YouTube link.
Kapwing supports most file formats, including .MP4, .MOV, .MPEG, and others. Creators don’t need to sign in or pay anything to use the tool.
Step 3: Choose image screenshots and save
Kapwing has two was the export a video as an image:
1) Select "Export Project," then choose to export as a PNG.
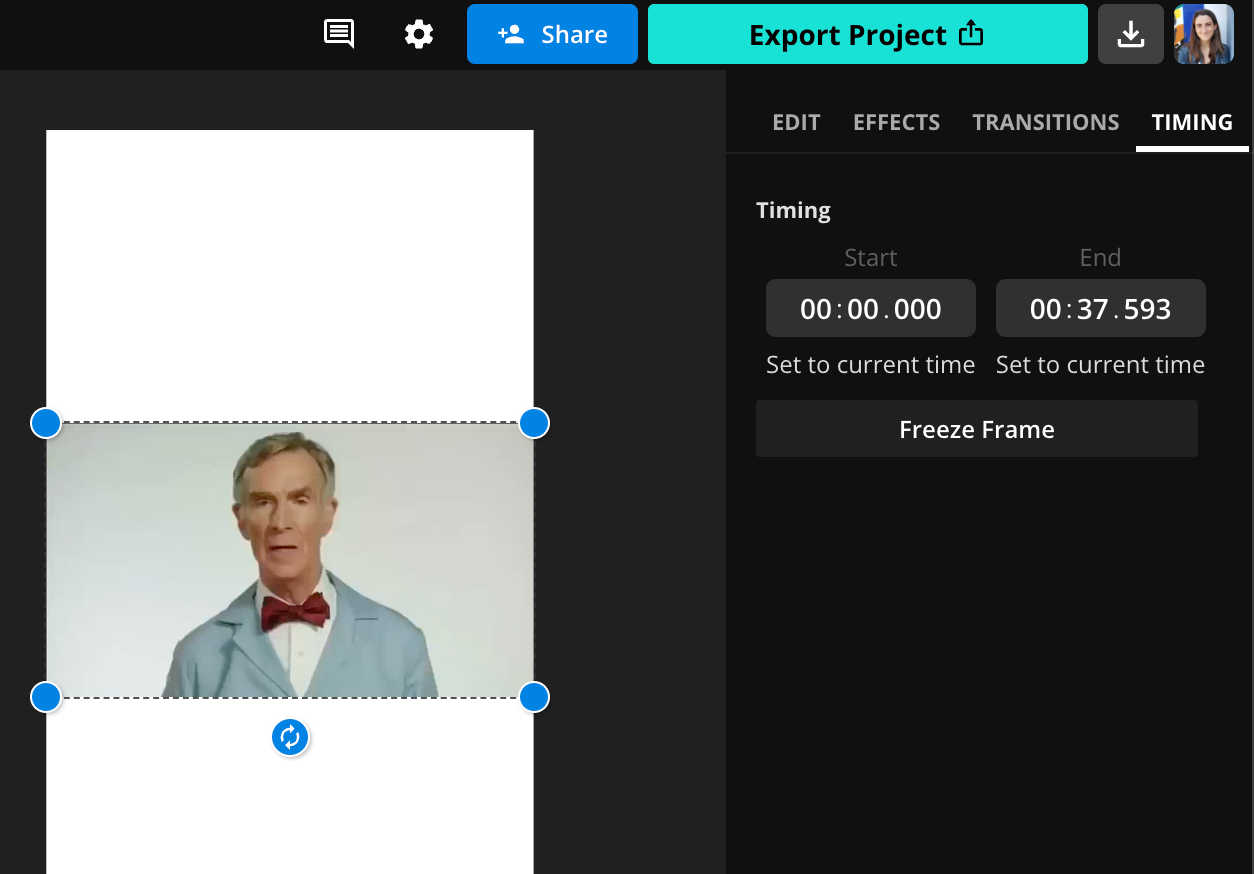
2) Use the "Freeze Frame" effect in the Timing tab of the editor.
Your Export Settings will open up where you'll see all your conversion options. To convert to an image, choose the “.JPEG” option to save it as an image on your phone, tablet, or computer. After you select .JPEG, a slider appears underneath the video to let you select the frame that you want to screenshot. Move the slider to choose the image. The preview will update to show what image frame you've selected.
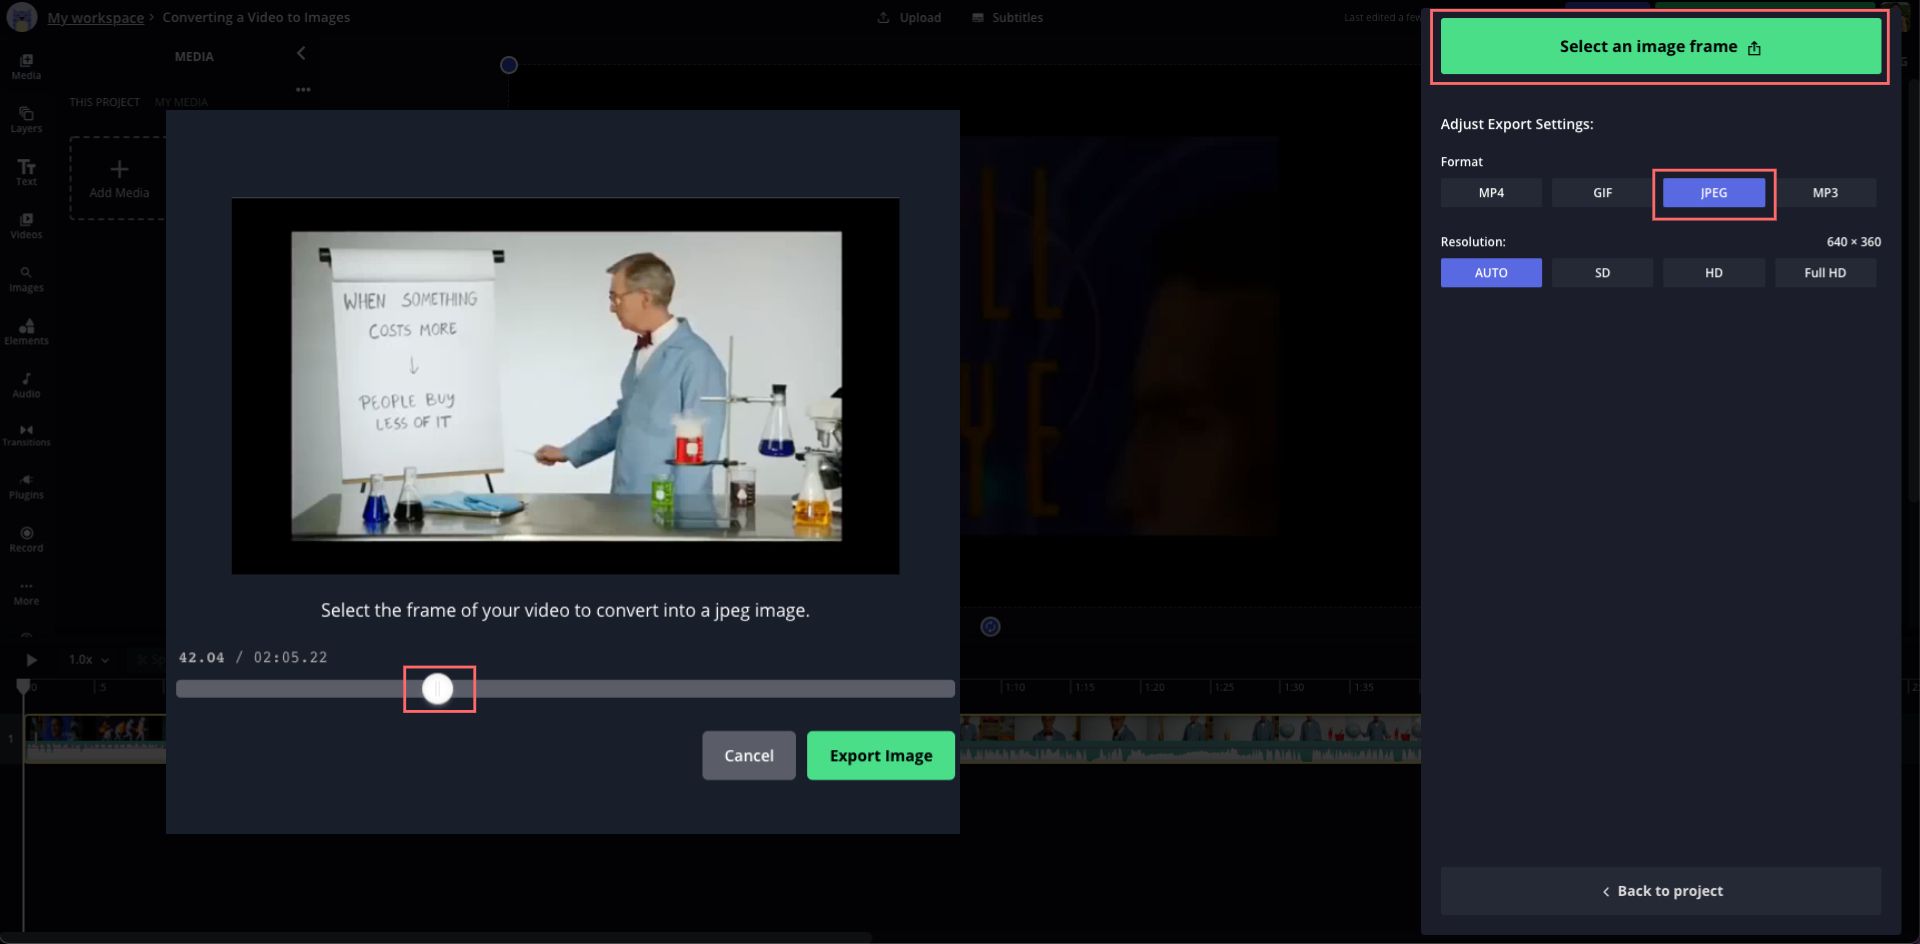
Once you select the frame you want, click “Export Image” to process the video as an image. Kapwing will load the converted image so that you can download it as a JPG file or share it.
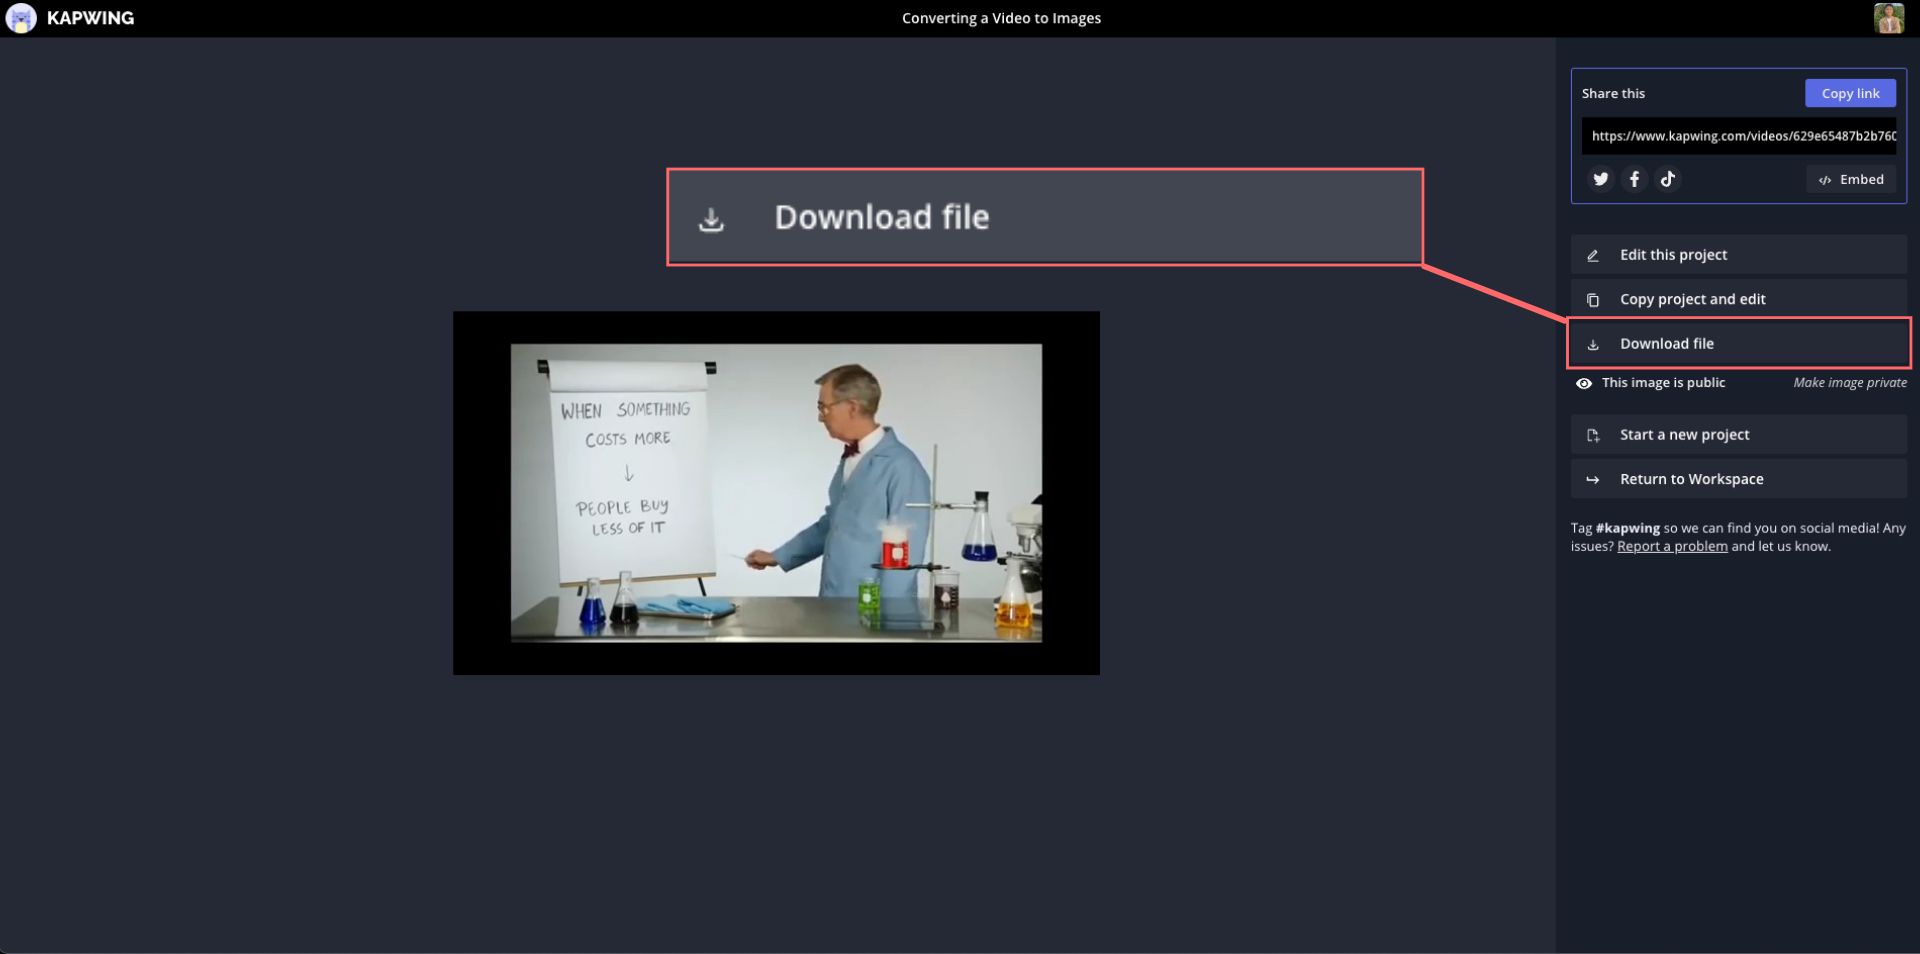
In my case, I wanted three screenshots, so I downloaded the first image then clicked “Back” in my browser (or you can also click "Edit this project") to choose a different image. I repeated this steps three times to save three different images from my video.
Alternatively, you can find a "Freeze Frame" tool under the "Timing" tab. This will let you grab an image and arrange them side by side in the timeline, perfect for a freeze frame video format.
[Optional] Step 4: Put images into a sequence or collage
Sometimes, you convert a video to images to tell a frame-by-frame story about what’s happening in the video. In my case, I wanted to put the three images into a vertical column to make a meme.
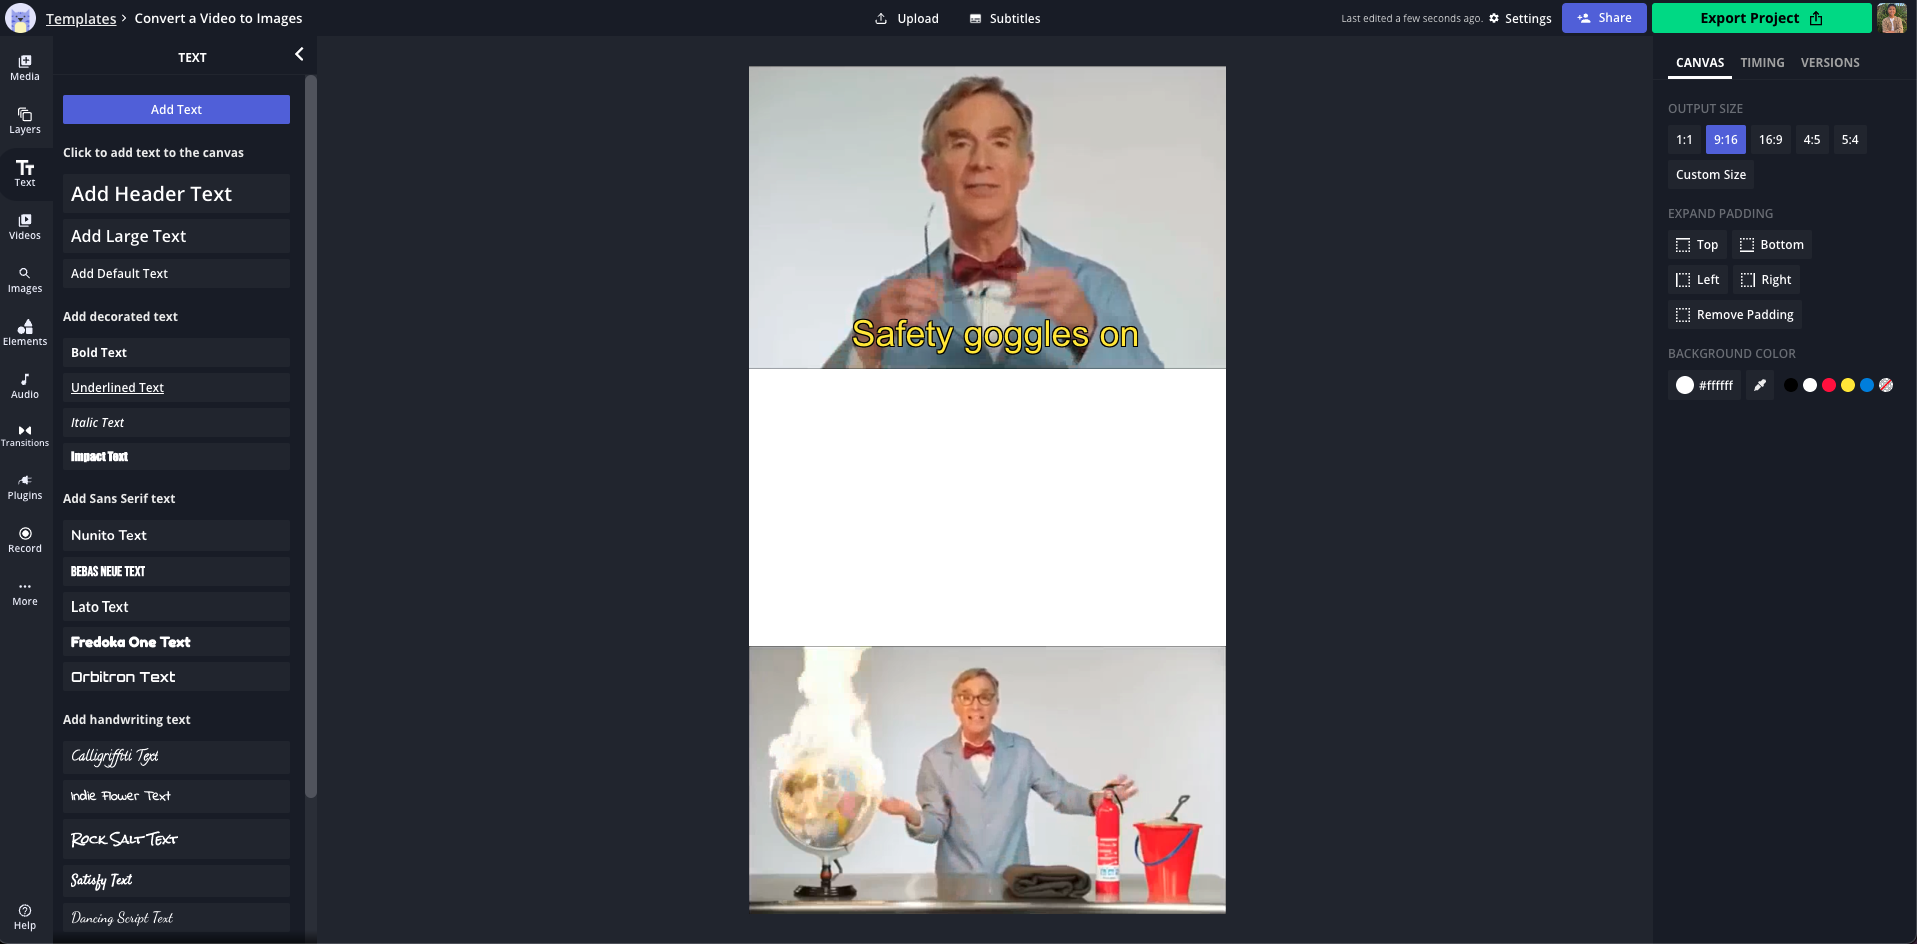
To make a collage, meme, or comic out of the images, open Kapwing. You can start with an existing collage template, like this six-sequence collage, or you can click "Get Started" to make a custom comic.
Resize the canvas to fit all of the images (click the “Resize” button in the main panel and expand the canvas right or down to make more space). Then, upload all of the images that you converted and arrange them on the canvas. You can also use the other tools (like “Shapes,” “Text,” and “Background”) to add more visual elements to the multimedia sequence.
Once the preview looks correct, click “Export Project” to combine the images together into a single .JPG. You can save the full image, share it with your friends, and publish on social media.
That’s all! I hope this article helps you convert your videos into images quickly and with ease.

Related Articles: