How to Make a Branded Zoom Virtual Background
You want a background that reflects your company's brand. Or, you need to cover up that cluttered office space. Either way, Zoom’s virtual background feature supports that. With Kapwing’s studio, you can design a branded Zoom background for free by following these simple steps:
Zoom offers video calls to connect with your people during a pandemic or if you’re just doing business as usual. However, your Zoom background might not be the most professional reflection of what you do.
You want a background that reflects your company's brand. Or, you need to cover up that cluttered office space. Either way, Zoom’s virtual background feature supports that. With Kapwing’s Studio, you can design a branded Zoom background for free by following these simple steps:
- Enable Zoom virtual backgrounds
- Open a blank canvas in Kapwing
- Add your branding assets
- Personalize with text
- Export and download
- Upload to Zoom
Technical requirements: background should be under 5MB in size, accepted formats are JPG/JPEG, 24-bit PNG, or GIF and Zoom Room needs to be at least version 3.5.19327.0620 or higher. Read Zoom's requirements article to learn more.
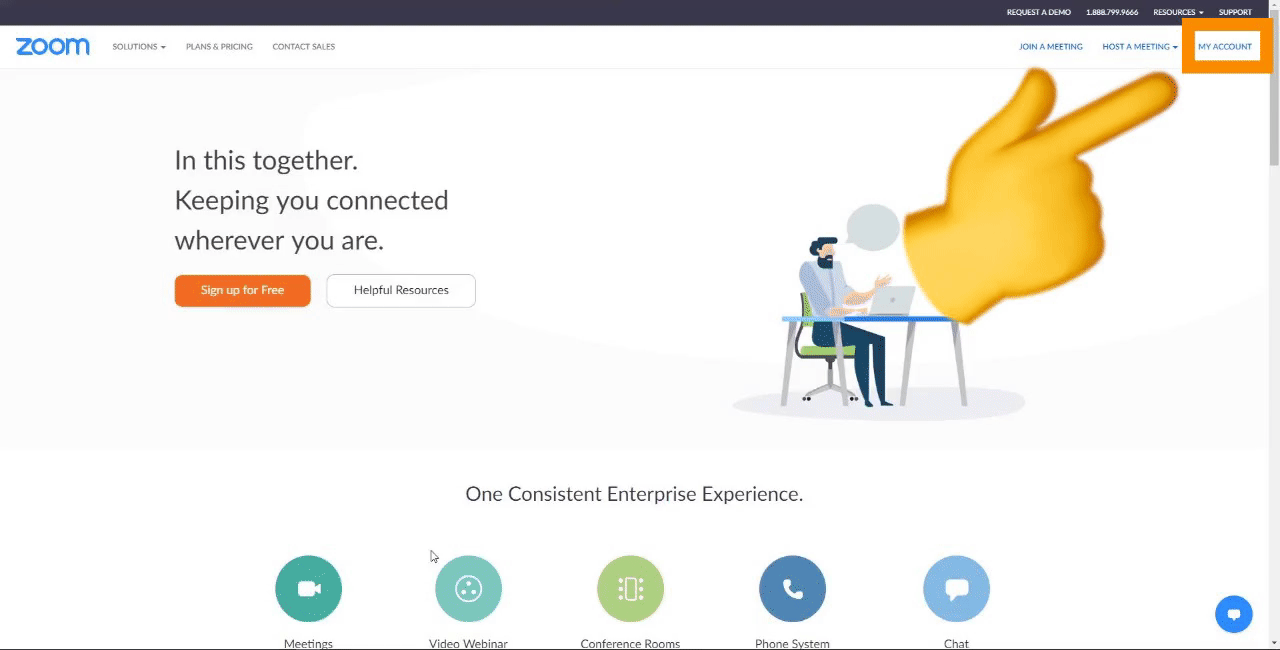
1. Enable Zoom Virtual Backgrounds
First, open the Zoom web portal and access your account information. Next, choose ‘Settings’ then ‘In Meeting (Advanced)'. Last, enable the ‘Virtual background’ setting so that the button turns blue.
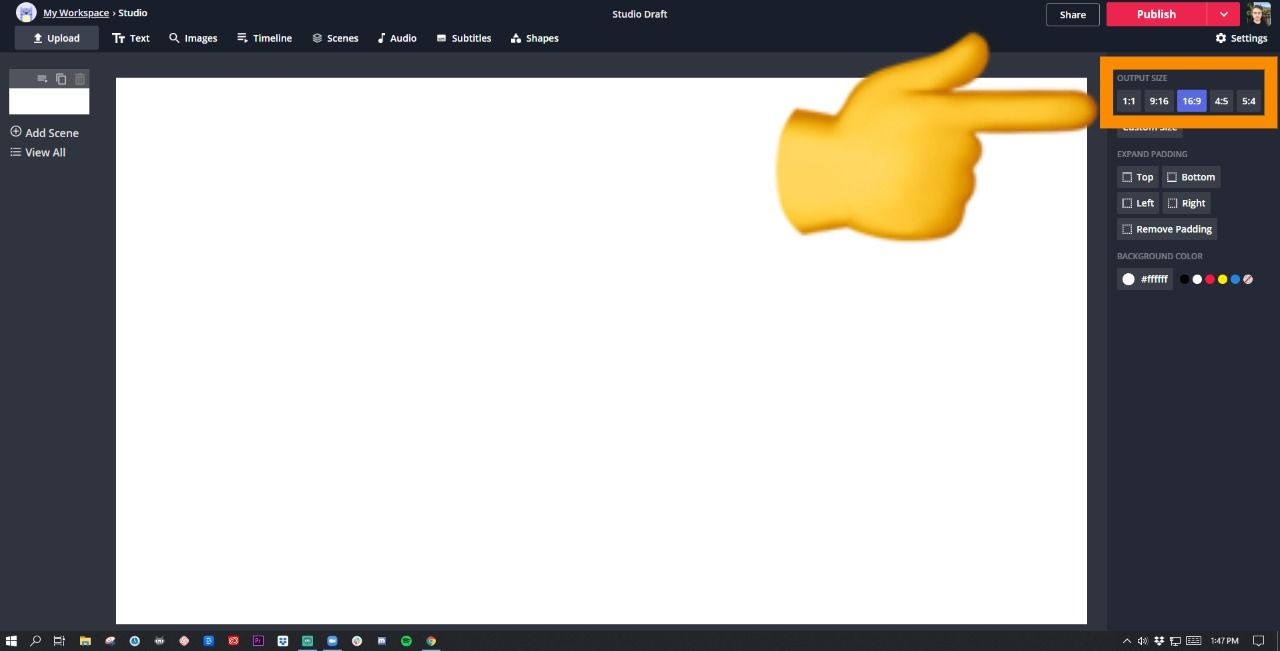
2. Open a Blank Canvas in Kapwing
First, open the Kapwing Studio and click the ‘Start with a blank canvas’ button. Next, select ‘16:9’ (recommended by Zoom) under the ‘Output Size’ on the right side to change the dimensions.
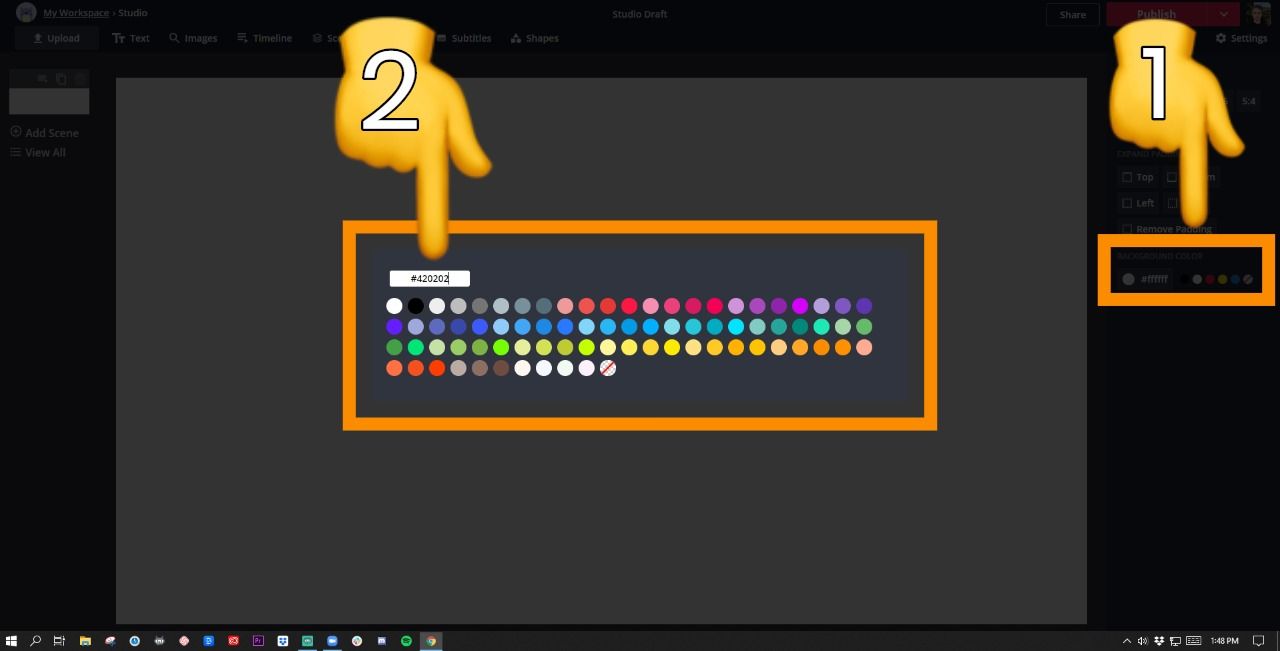
3. Add Your Branding Assets
Now, select the color picker under ‘Background Color’ to add your branded color(s). If you know the color code, simply enter the 6 digits and click away for your color to appear on-screen.
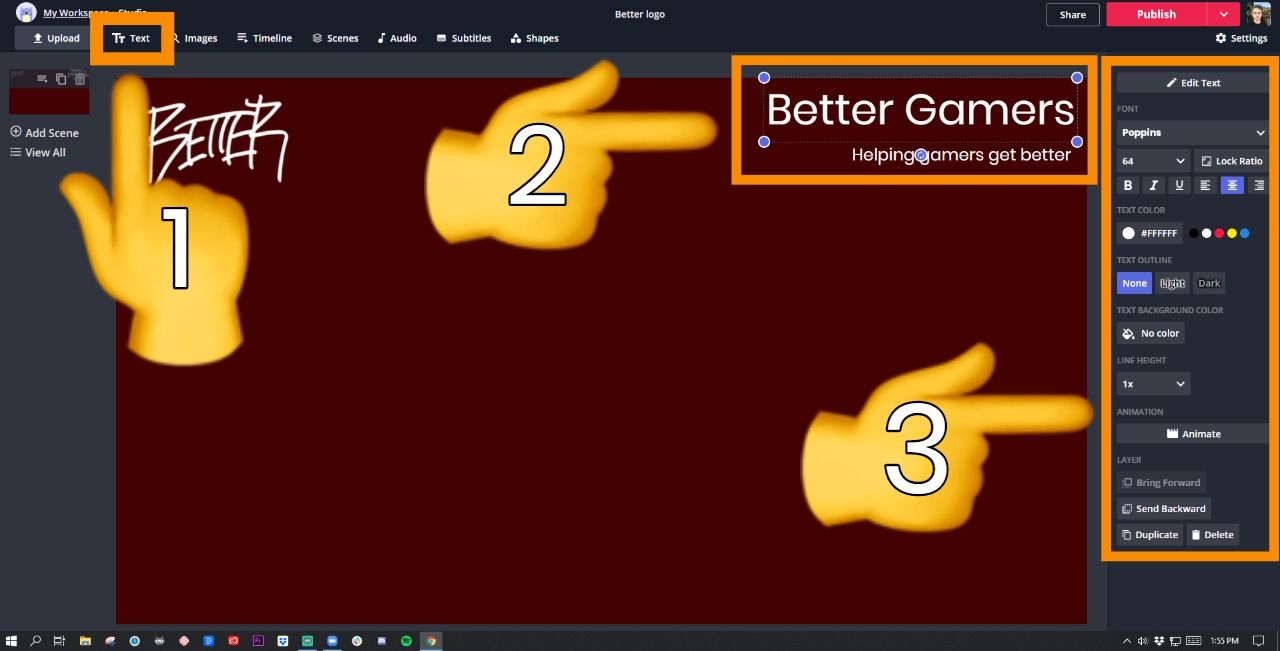
Next, click ‘Upload’ in the top left corner and search or drag and drop your logo onto the canvas. Adjust the handles on the corners of the logo to resize the image. Click and drag to place the logo where you like.
Last, click ‘Text’ in the top left to add your company name and the slogan or a shortened value proposition. Edit the text by using the tools available on the right side.
Check out this tutorial on adding text to learn more.
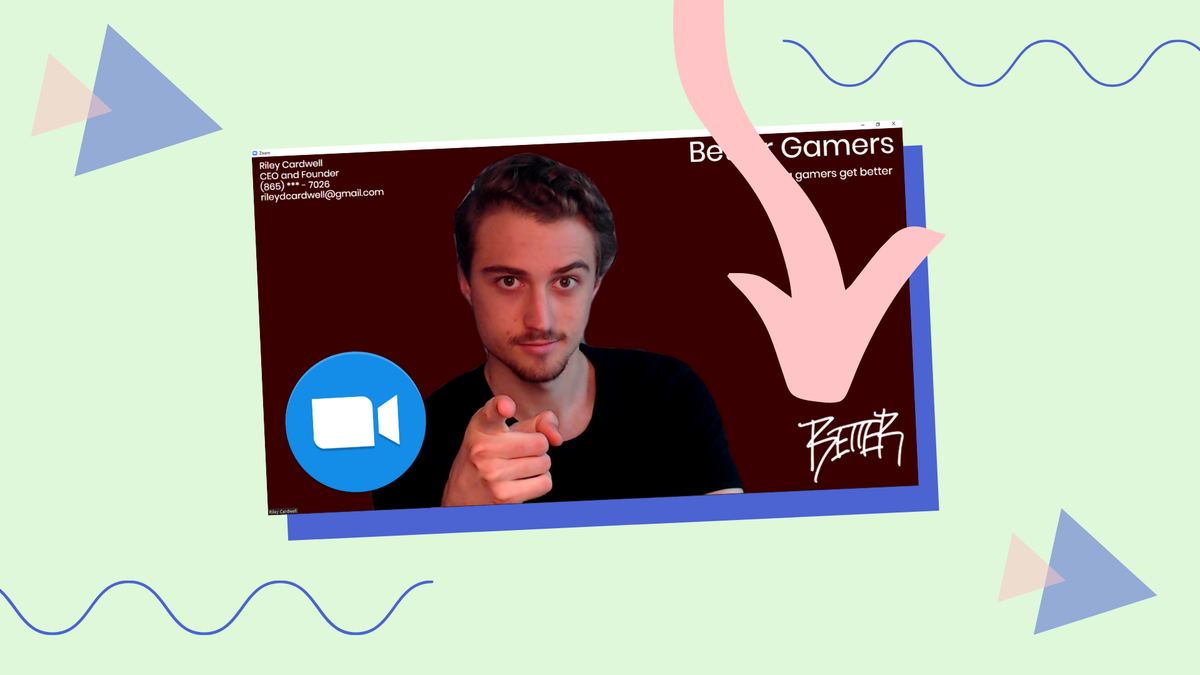
4. Personalize with Text
Now, personalize the background to help your attendee understand what you're trying to do. For this tutorial, I added my name, position and contact information to keep things simple.
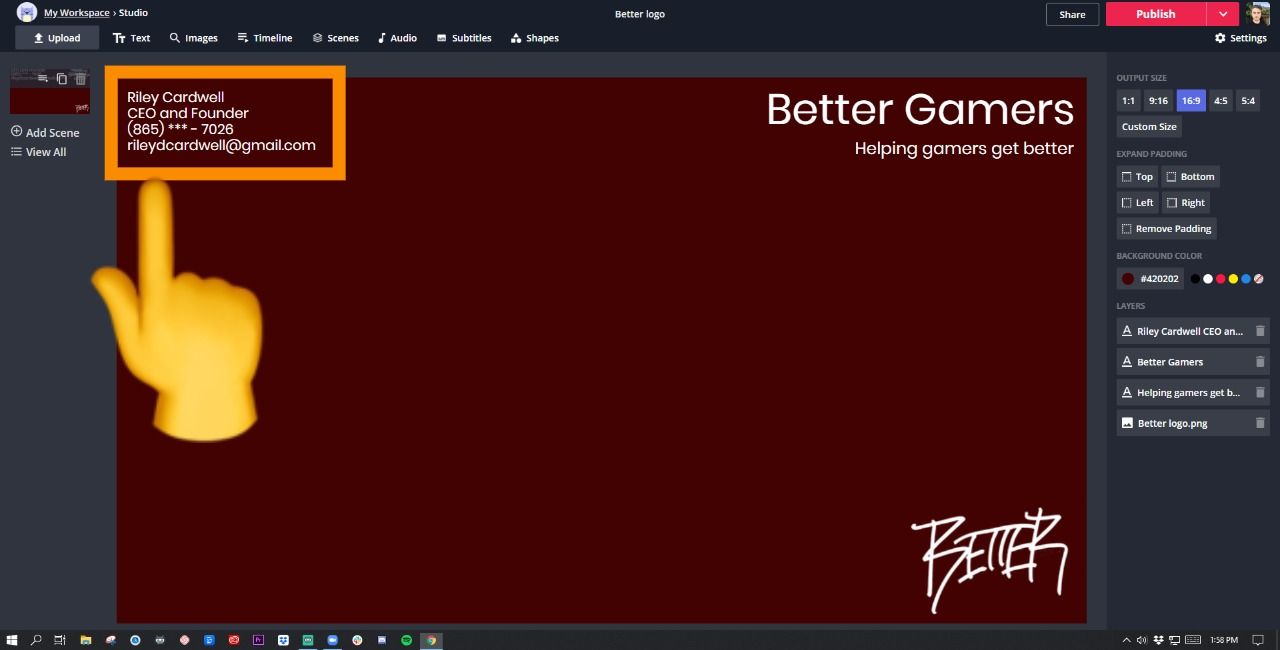
Here's a few extras you can add: the attendee’s name, the subject of the call or a call-to-action.
5. Export and Download
When it’s ready, click ‘Export’ in the top right corner and wait till Kapwing processes your finished background.
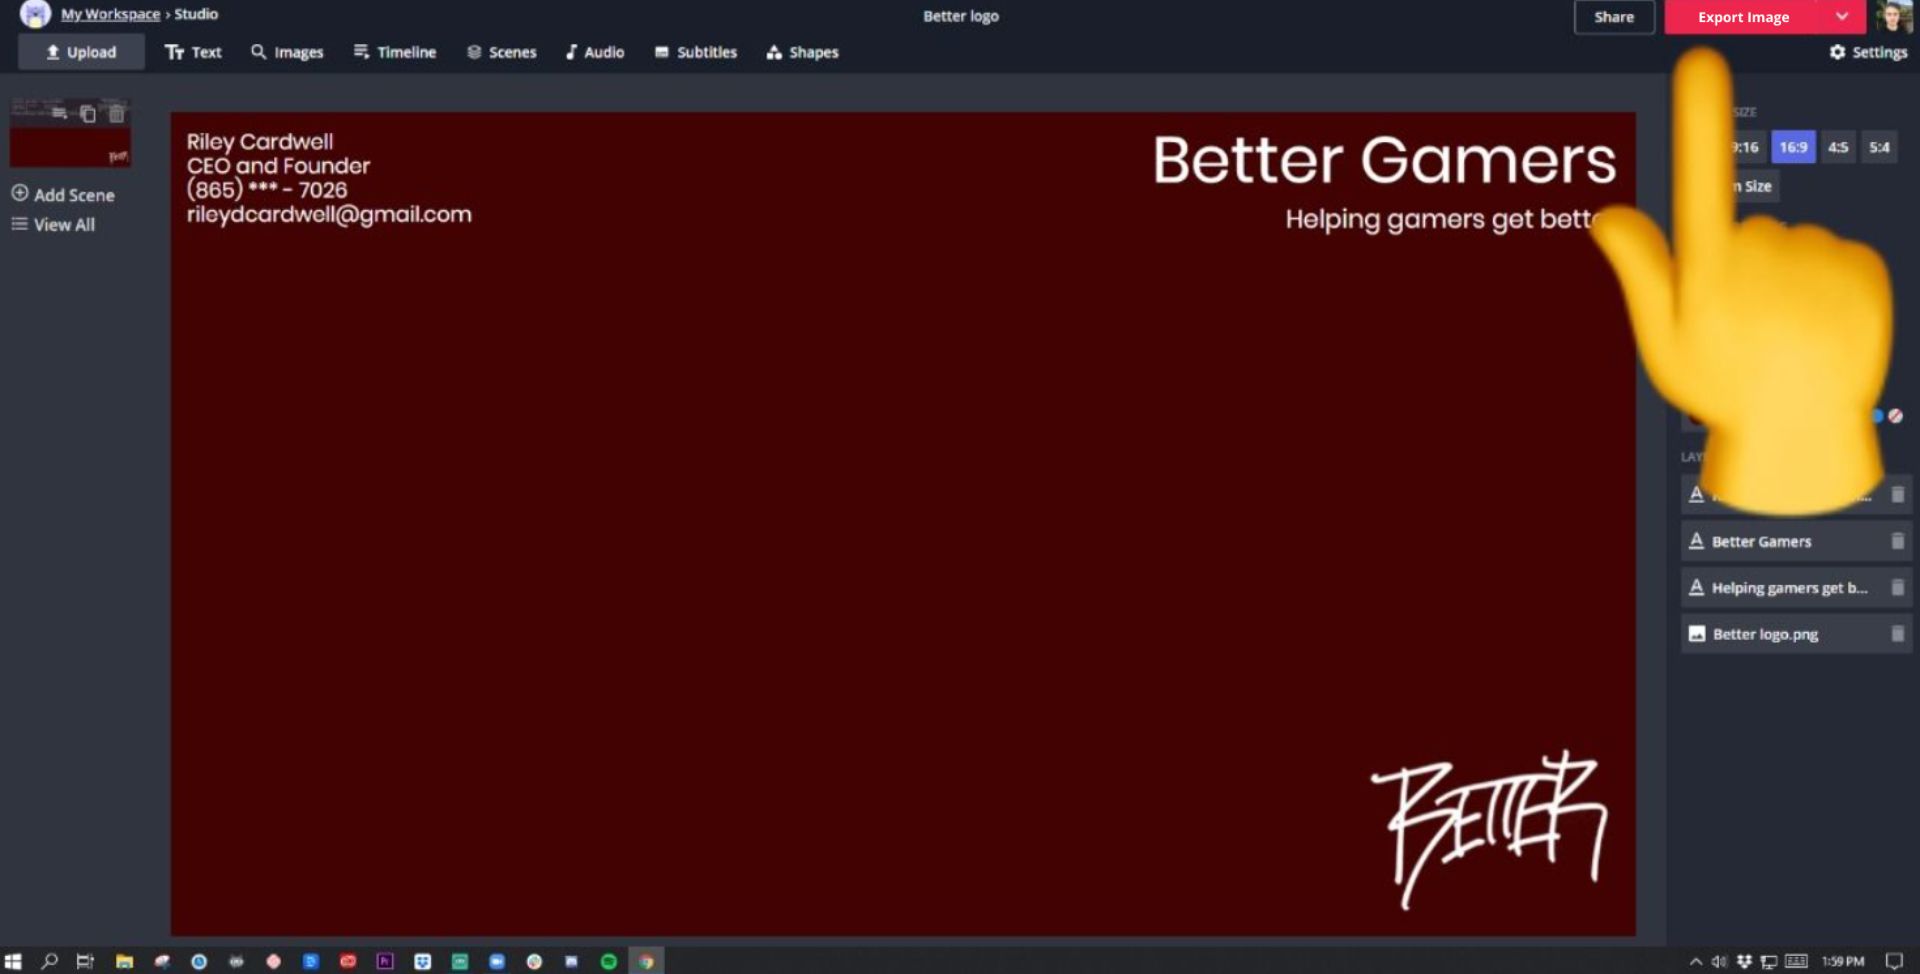
After processing, click ‘Download’ and save the background to your device.
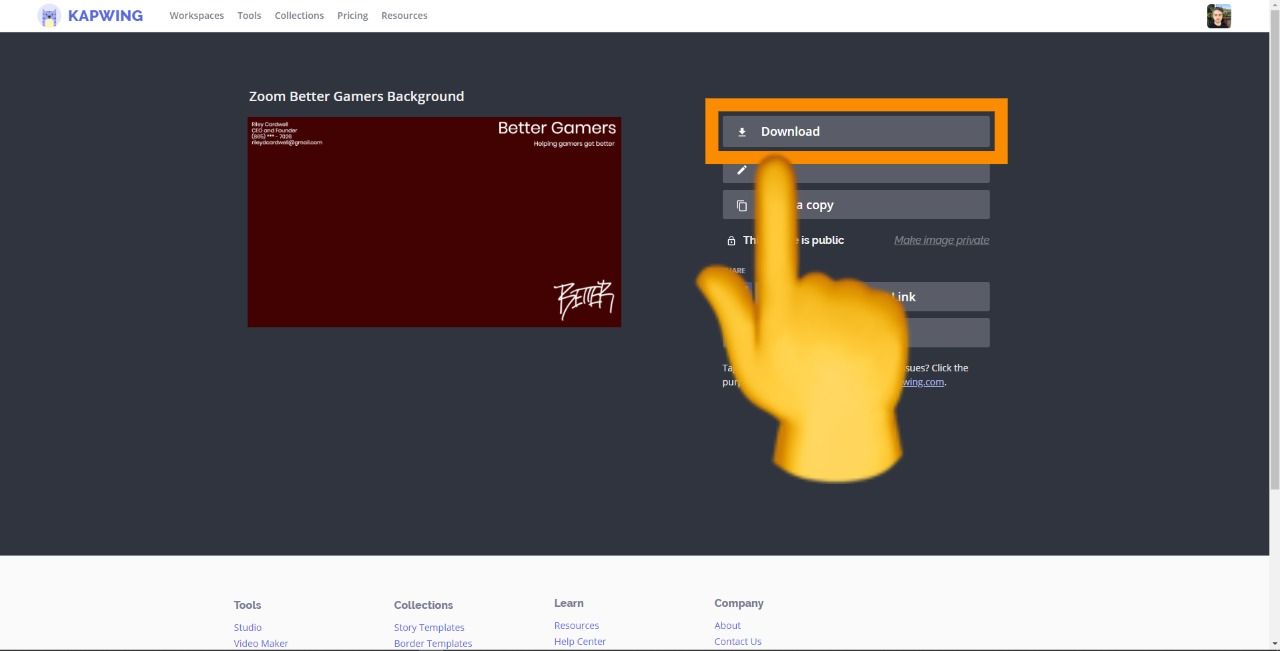
Quick note: make sure your file size is less than 5MB to meet Zoom's requirements.
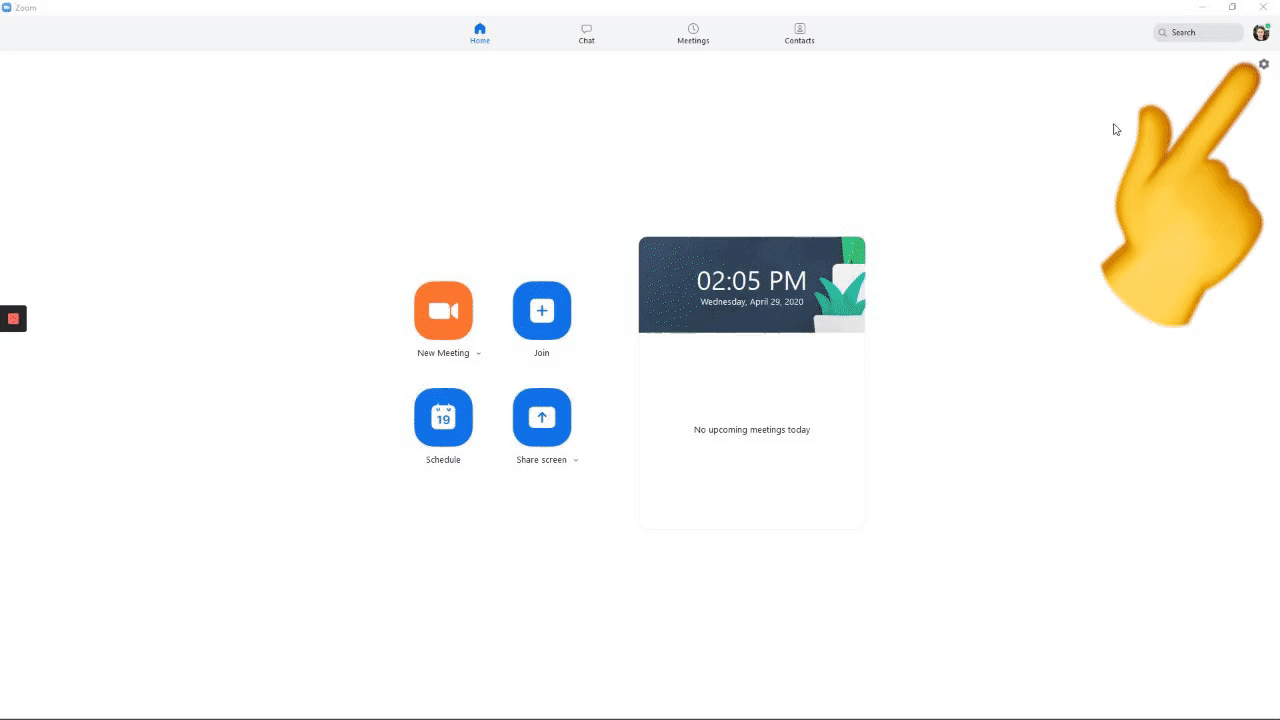
6. Upload to Zoom
Finally, you’re ready to upload to Zoom. Here’s the step-by-step process:
- Open the Zoom app
- Click the gear icon in the top right
- Choose ‘Virtual Backgrounds’
- Click the plus sign under the video feed
- Upload your branded background
- Select your background
At last, your branded background will disguise your office, position your company and communicate the goal of the meeting - all done for free and made easy by Kapwing!
Remember to tag us @KapwingApp whenever you share your content on social media – we love to see what our creators are passionate about. And be sure to subscribe to the Kapwing Resources page – we’re constantly writing new tutorials and features to help you make the most out of Kapwing.
Related Articles: