How Customize a Google Slides Background
Need to create and upload a custom image for Google Slides? I'll show you how to make any image the ideal background, all online.

Google Slides offers a quick and easy way to put together a presentation, and comes with plenty of ways to customize the look of your slides. From the theme of the entire thing to the background of specific slides, you can change it all to your heart’s content.
Sometimes, the basic background of a slide, along with the variety of options that Google gives you, isn’t enough. These are the times when you want to use your own image as a background. Doing so is a simple process – I recommend using Kapwing to get your image just right for your slide backgrounds. Here's how:
- Resize and Edit Slide Background Image
- Upload Background Image to Google Slides
1. Resize and Edit Slide Background Image
Before you can use a background image on Google Slides, you need to make sure it is formatted and edited correctly, which is where Kapwing’s Studio comes into play. This tool will allow you to adjust every part of the picture you choose to get it looking how you need it.
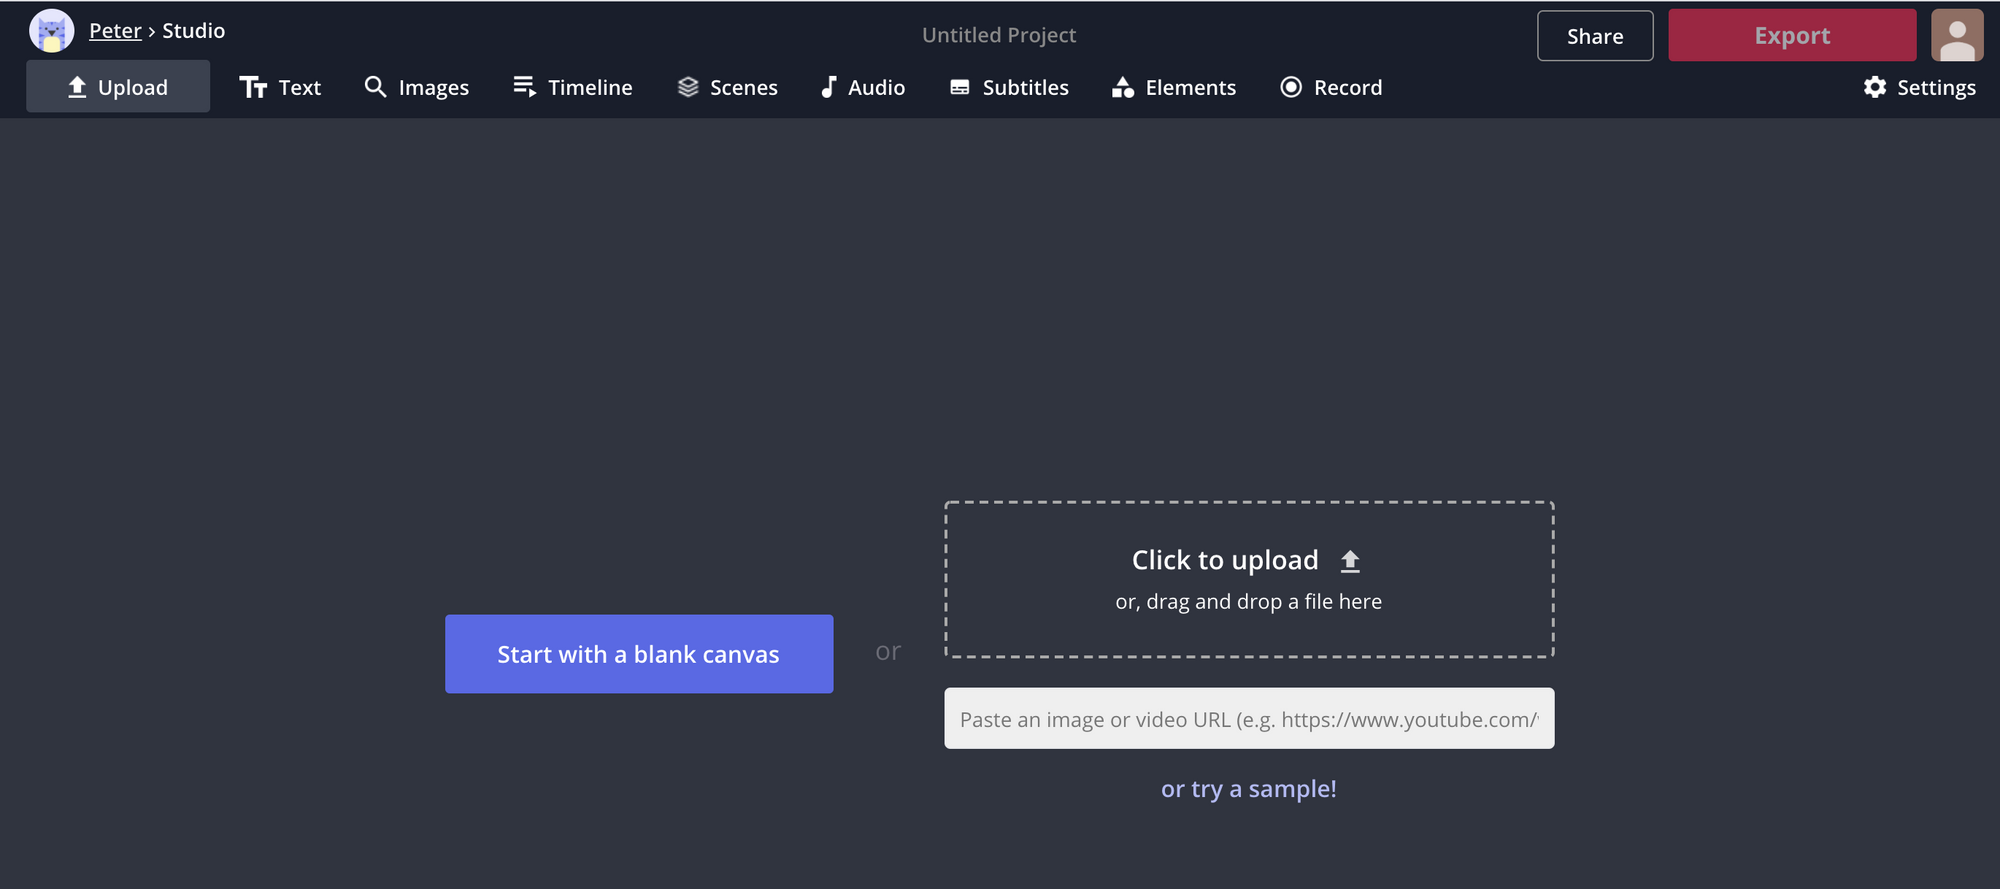
When you open up the Studio, you will see the three options of how you want to import the image into the Kapwing studio: Get Started, Upload File, and Paste a URL.
When you upload your image, the background will open up in the studio and you will see all the different options you can use to tweak the image to get it just how you want it. You can add effects to it, put some text over it, change the colors, make some animations, and much more.
For the best quality of background, make sure that your image’s aspect ratio is 16:9. You can change the ratio by looking to the right side of the screen while the image is not selected in the middle of the editing studio.
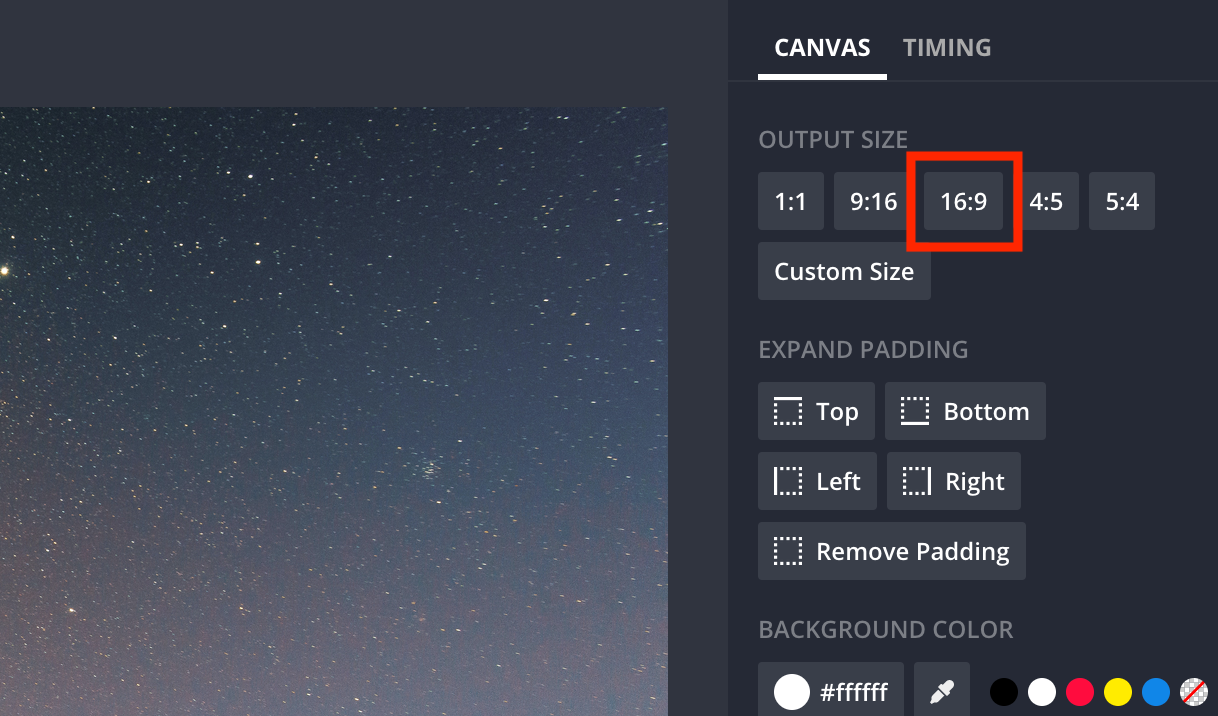
Find the Output Size section and click on 16:9. This will adjust the image to the proper ratio. I recommend using Custom Size to resize your image to 1920x1080 pixels to maintain HD quality for your slide background while keeping it under 5MB, the maximum file size to upload to Google Slides.
Once it’s done, look to the top-right corner of the screen to find the Export Image button. Once you click on it, the image will be sent to the cloud services of the website for processing.
You will be taken to a new screen where you can download the image to your computer and move on to the next step.
2. Upload Background Image to Google Slides
Head over to Google Slides and select whichever project you want to put the background image in.
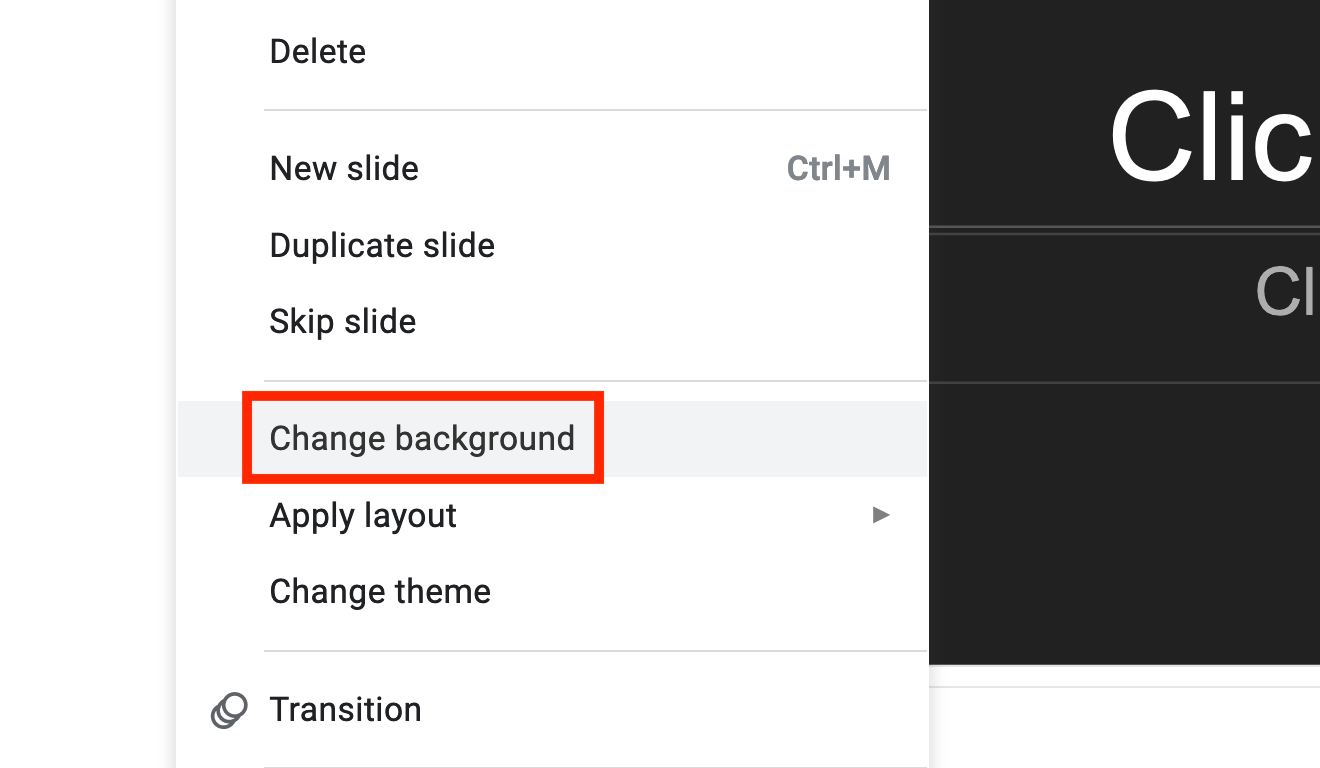
On the left-side of your screen, you’ll see the slides in your project so scroll down to whichever one you are wanting to add the background to. Now, you want to right-click the slide to pull up a small menu. Select Change background to open a new window.
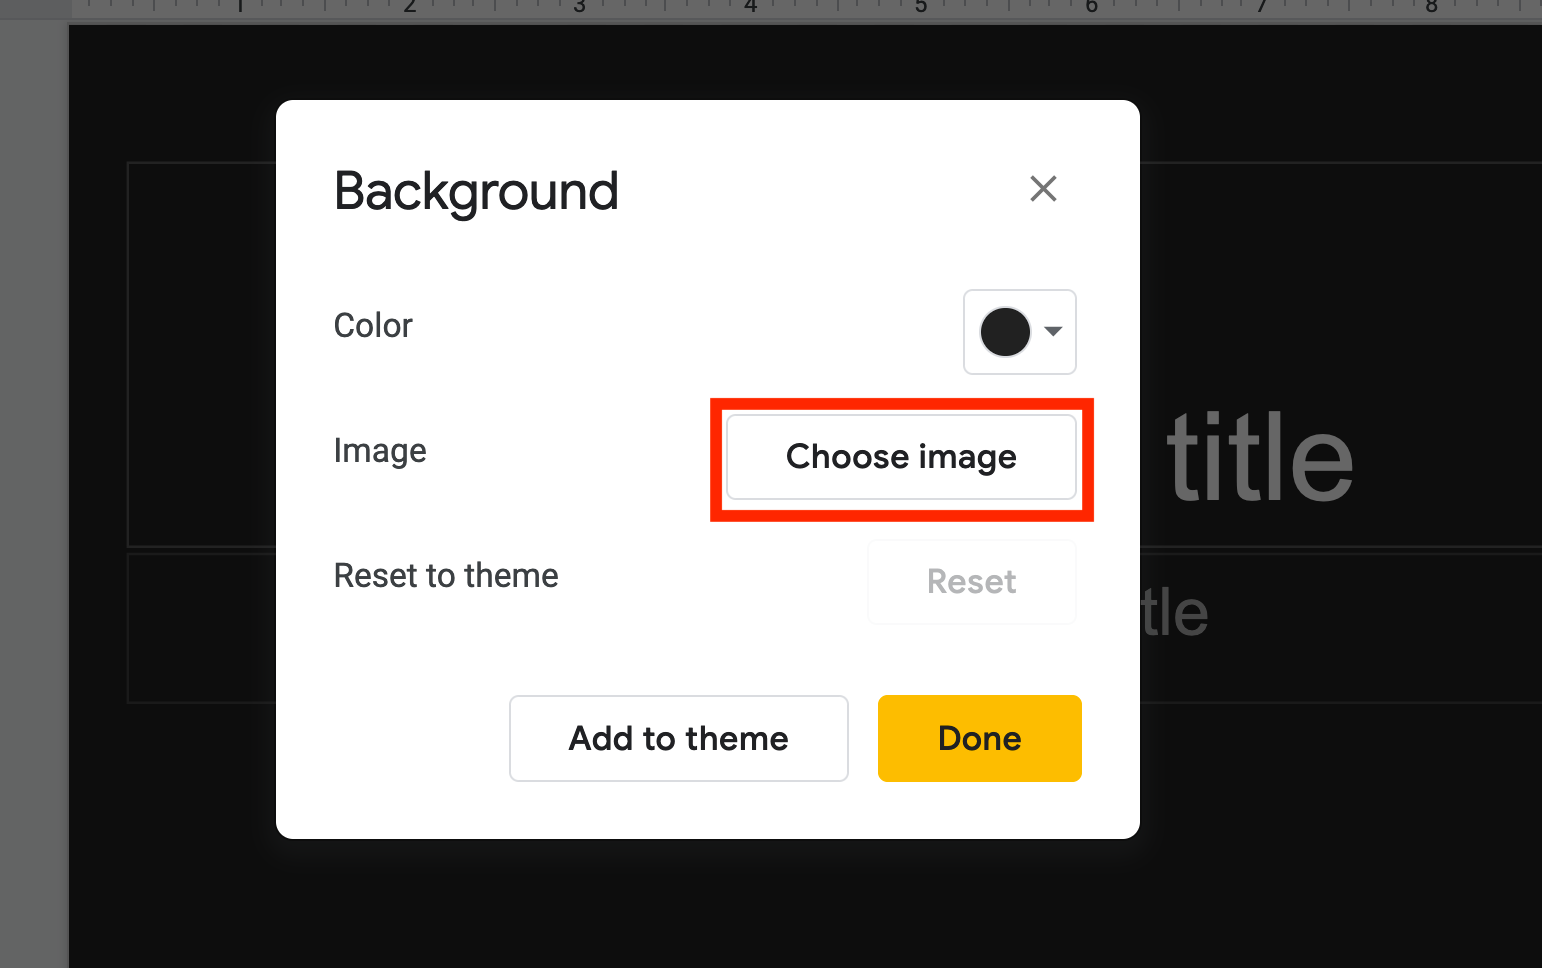
Here, you will see three options you can choose from to change the background of the slide. You want the middle option: Choose image. This will allow you to choose how to put a custom image into your slide.
Find Upload, then click on the blue Browse button and select the photo you want to upload. Your image will upload and when it’s done, a new window will open up on which you will want to click on Done. Just like that, the new background will be on your Google Slide.
That’s there is to it; changing the background of your Google Slides takes no time at all. Until your next project, be sure to check out Kapwing on YouTube and Instagram for more online tutorials, as well as follow us on Twitter for updates and news for our online video editor.
Related Articles