How to Make a TikTok with Photos and Videos without the Weird Zoom
For some reason, TikTok adds a number of effects and transitions if you try to combine photos and videos using the native upload feature and editor. Follow this step-by-step tutorial to make a killer TikTok with photos and video clips without that weird zoom effect.
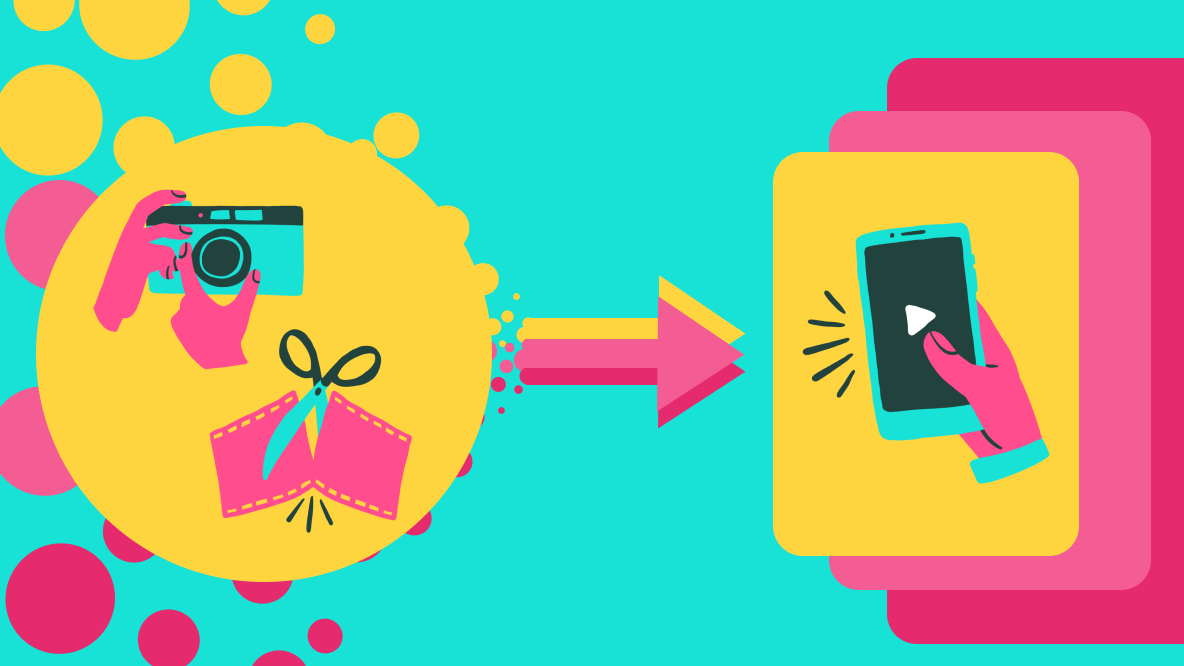
Photo and video montage style TikToks are a simple but popular video style on the app. In fact, many of the latest trends on TikTok are photo dump trends. Unfortunately, combining photos and videos from your camera roll in the native TikTok editor isn't always the best way to go.
Combining videos and photos using TikTok's upload feature adds a weird zoom effect to the photos. Uploading just photos adds a swipe transition animation between photos that you can't remove or replace with a different transition. If you want to make a picture montage with fast transitions, it can be difficult to do within TikTok.
Adding photos in TikTok's Studio mode gets rid of the transition and zoom issues, but Studio mode is only an option if you add video clips to your TikTok. That means if you're just trying to make a photo montage TikTok, you won't be able to use Studio to circumvent the extra effects TikTok keeps adding to your final videos.
So, how can you make a TikTok with photos and video clips without TikTok adding that weird zoom effect or a transition animation you don't want? Use a third-party TikTok video editor to make your montage TikTok.
In this article, I'll show you how to make a TikTok with photos and videos by following these steps:
- Upload Your Photos and Videos to an Online Video Editor
- Arrange and Edit Your Photos and Video Clips
- Export, Download, and Share Your Video
Let's get started!
How to Make a Montage TikTok with Pictures and Videos
For this tutorial, I'll be using Kapwing, a browser-based video editor. You can use Kapwing on your iPhone, Android, PC, or tablet in a Chrome or Safari browser.
Step 1: Upload Your Photos and Videos to Kapwing
Head over to Kapwing.com and click Get Started. I'm using my laptop and a Chrome browser to edit, but feel free to use what works for you.
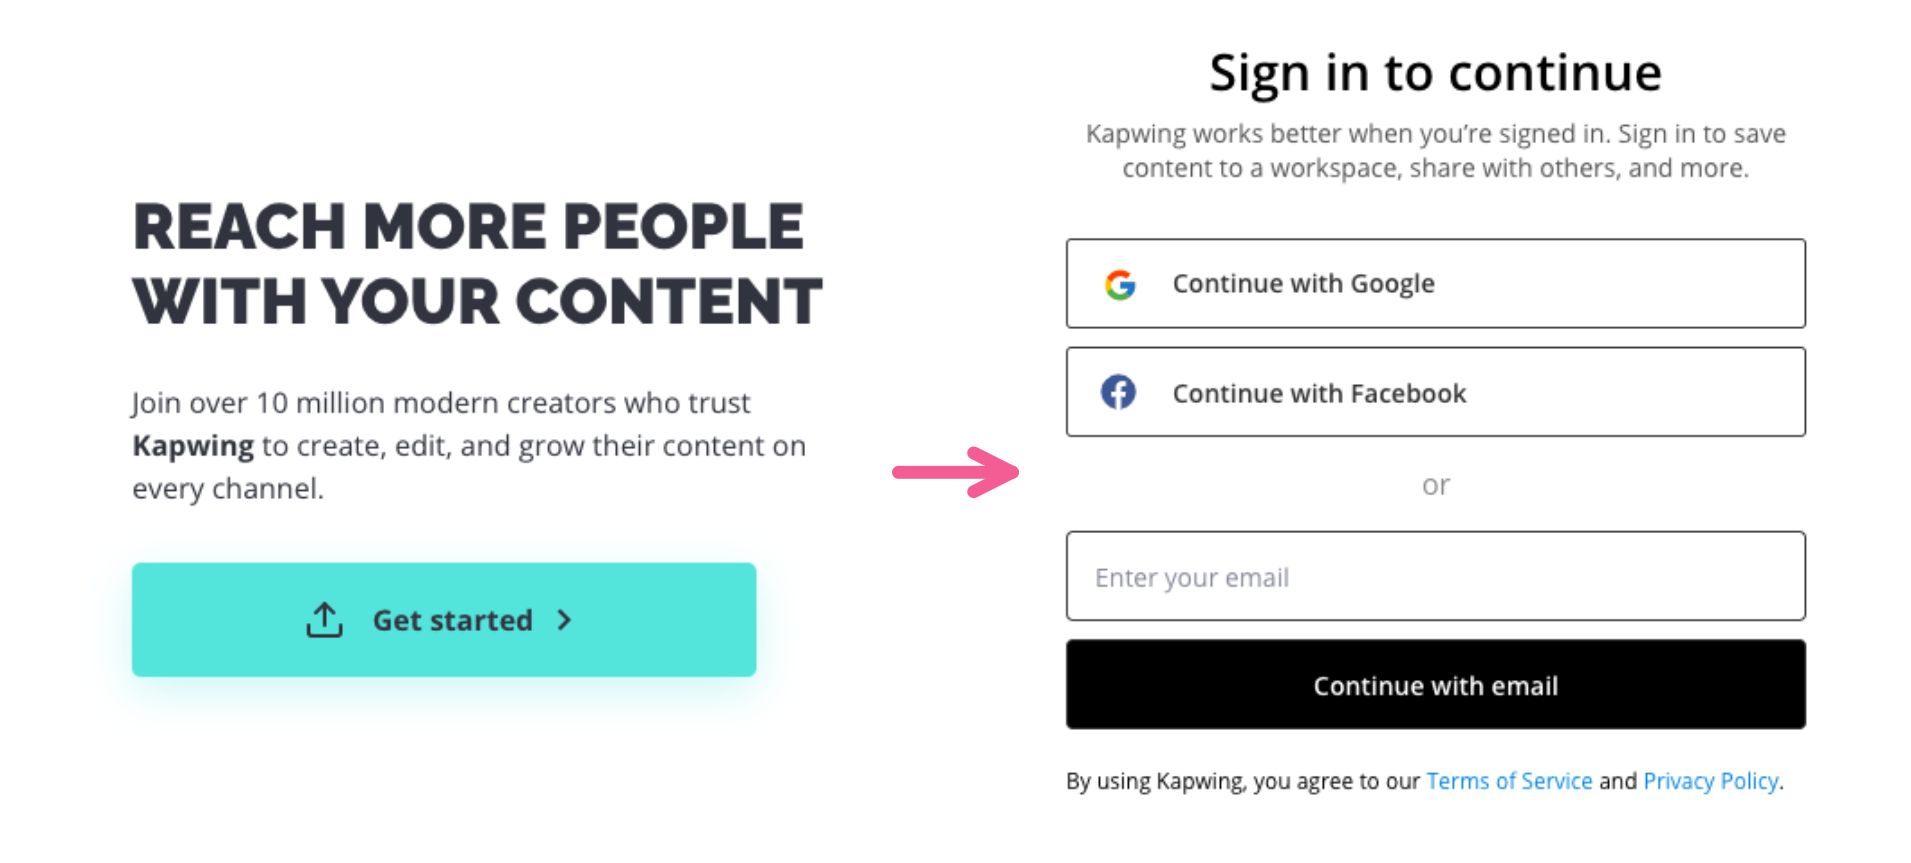
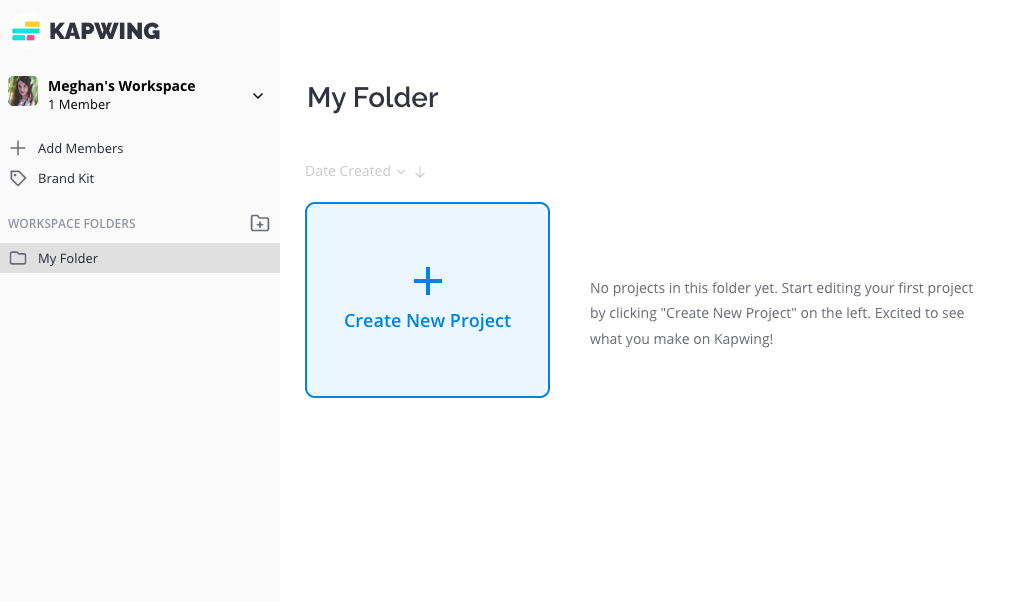
You'll be prompted to sign in to continue, then taken to your own workspace. Click "Create New Project" to open up the editor and start making your video.
You'll see the upload screen when you open your new project. Since you're making a TikTok, select the 9:16 "TikTok/Instagram Story" option under the Start with a blank canvas header.
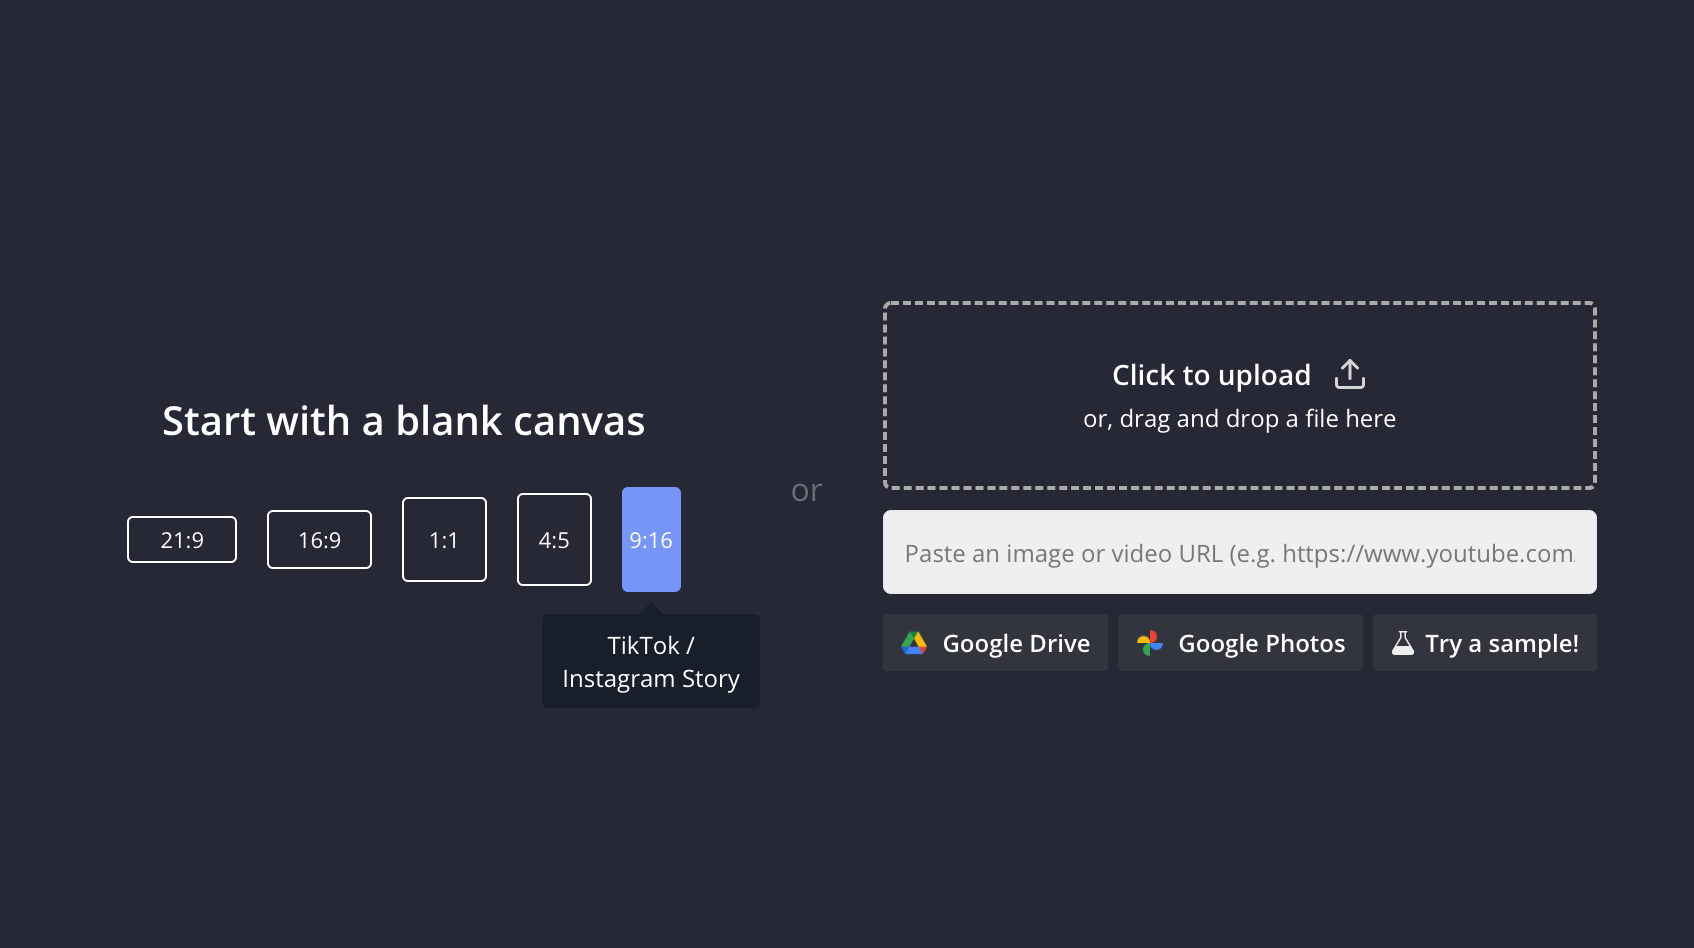
Now it's time to upload your images and video clips. Drag and drop your videos and pictures into the studio, paste a URL, or use the "click to upload" option to add content from your device.
Step 2: Arrange and Edit Your Photos and Video Clips
Start adding your images and videos to the canvas. Click the plus button to automatically center the media on the blank canvas.

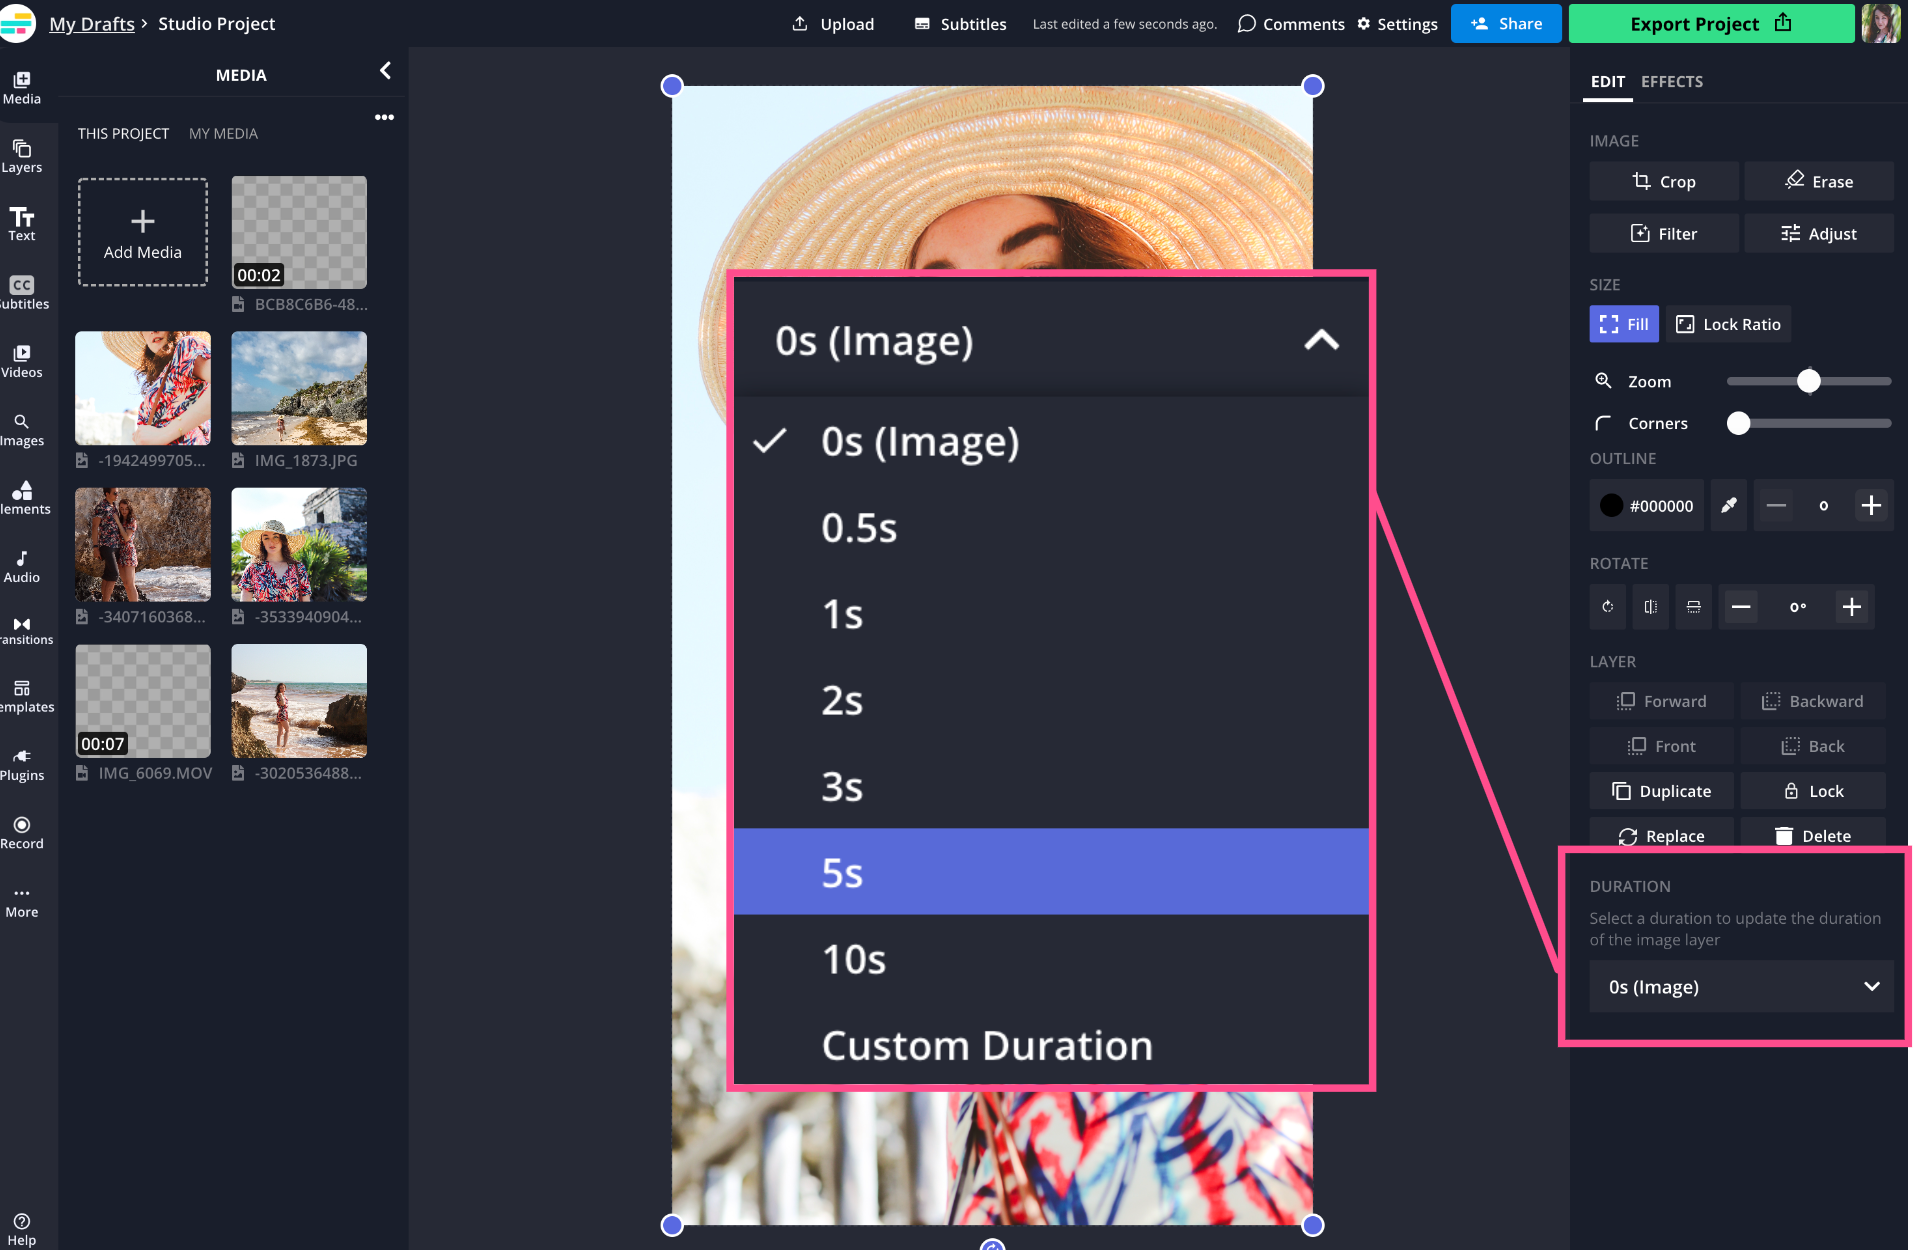
If the first clip in your TikTok is a photo, click on Duration in the Edit menu on the right to turn the photo into a video clip. You can choose from one of the presets or enter a custom duration.
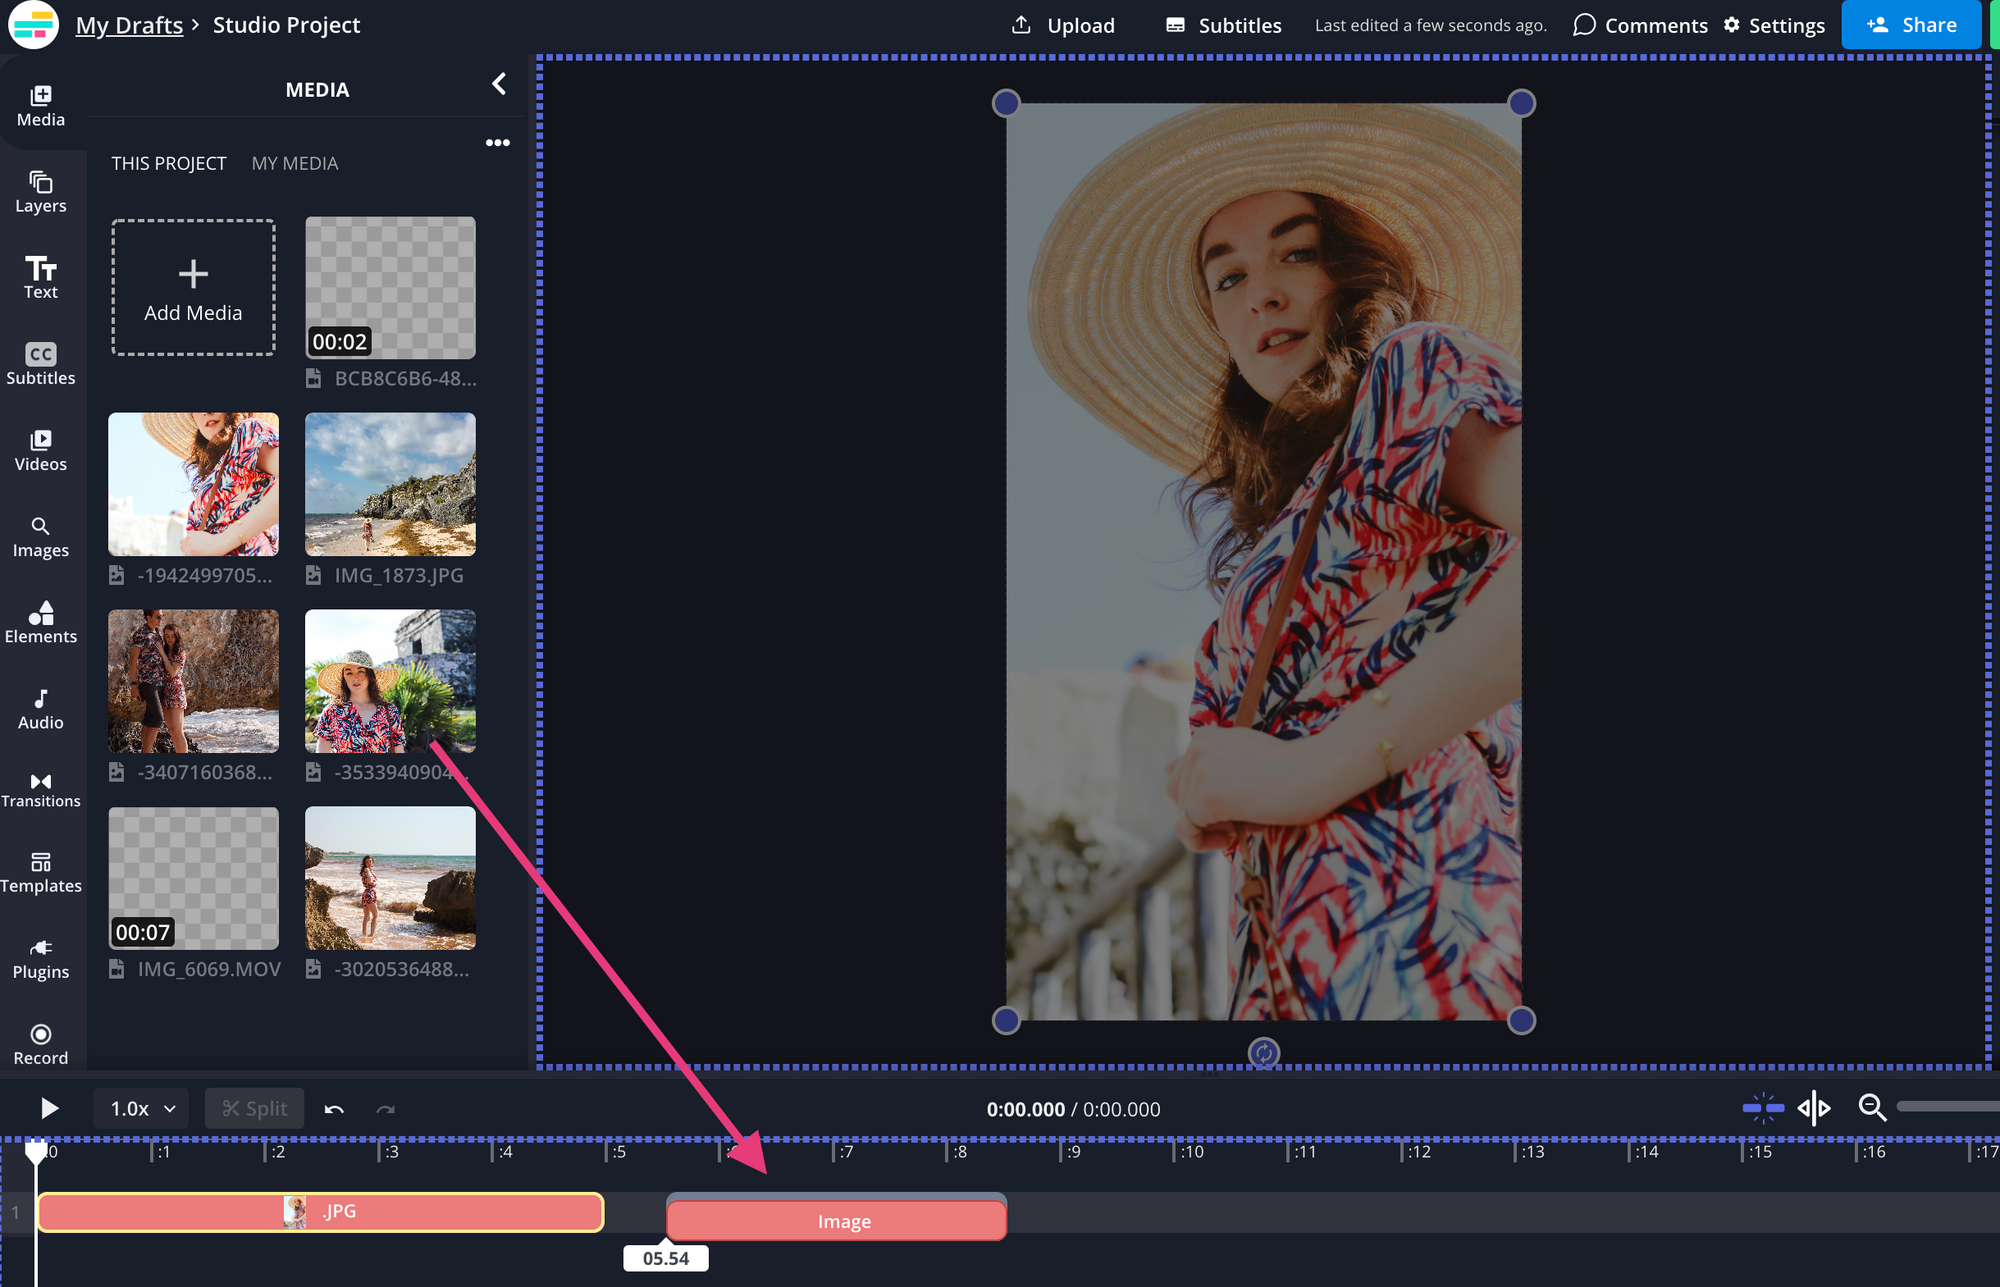
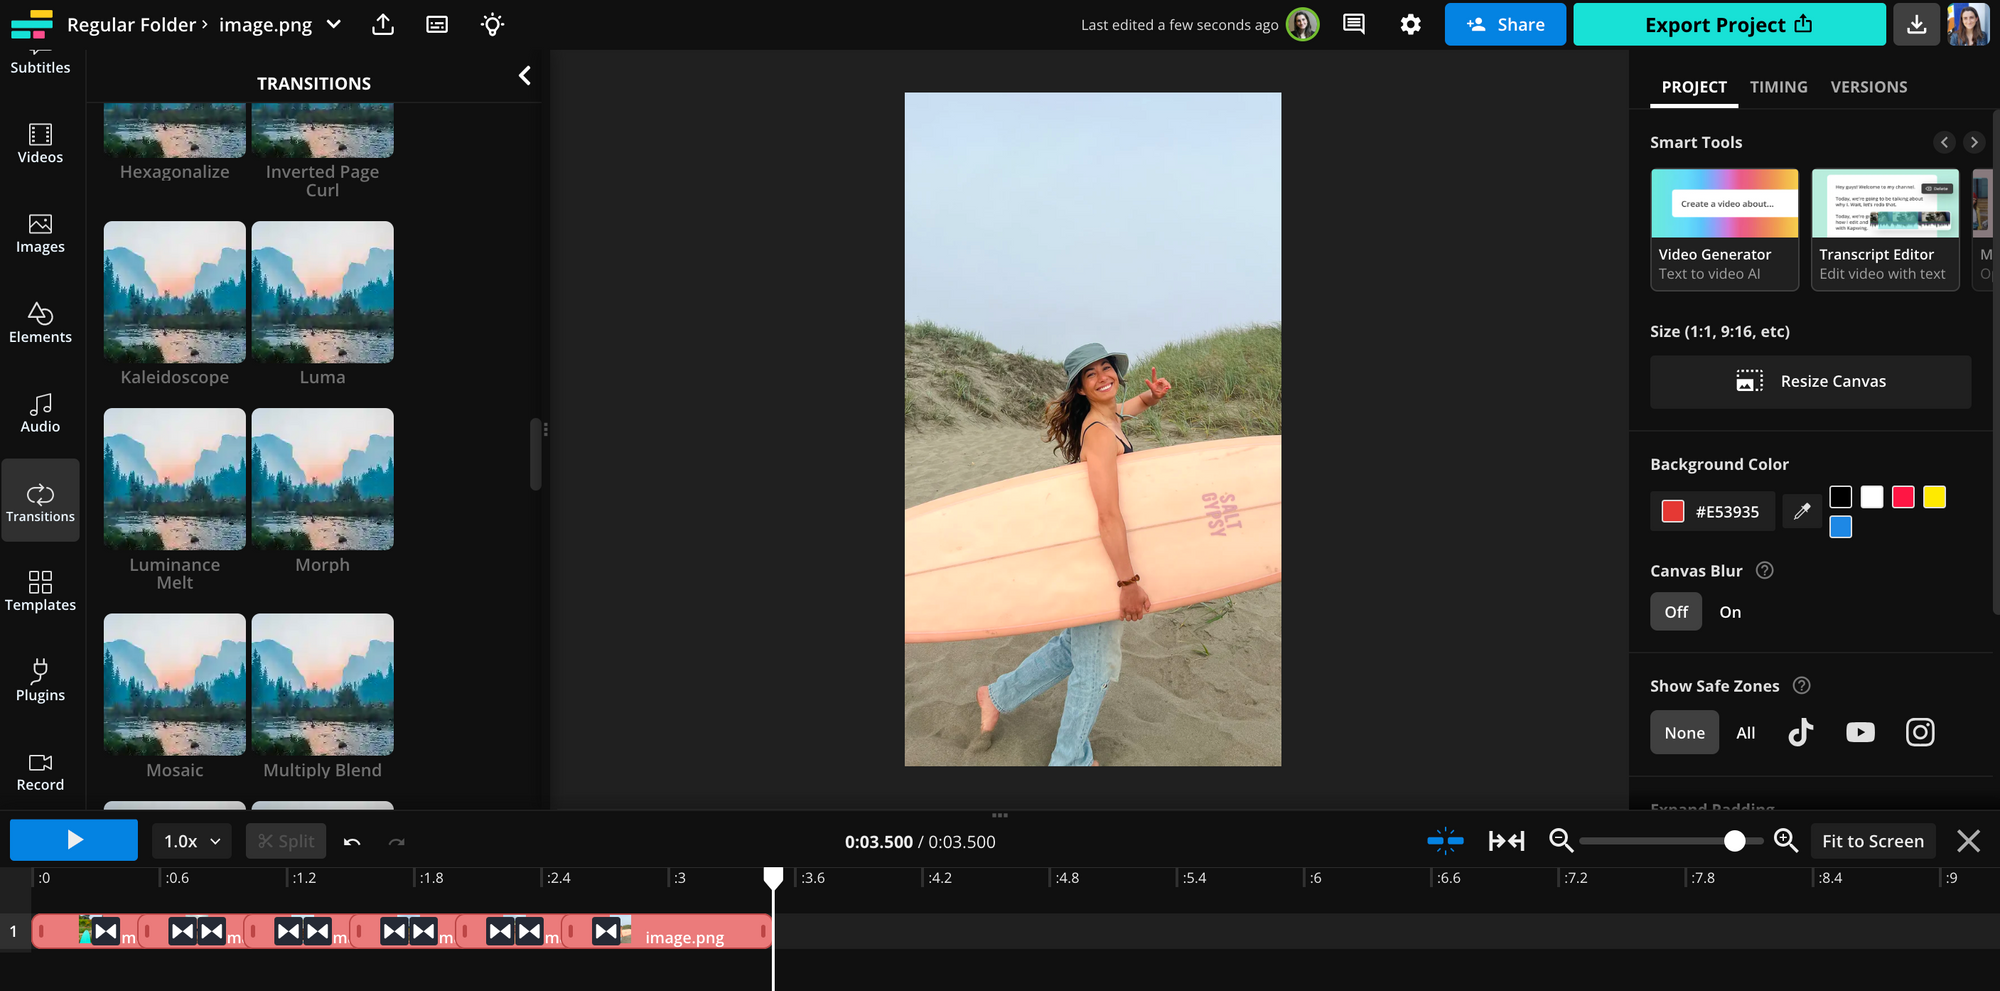
Once you've done this, you'll see the timeline appear in the editor. You can now drag and drop the rest of the photos and video clips onto the timeline in the order you want them to appear.
The TikTok video aspect ratio is 9:16, but if all of your photos aren't already 9:16, don't worry. Here are three ways to fix that:
1) Crop your media to 9:16. Use the cropping tool in the right side menu (or double-click the image) and select the 9:16 preset for a TikTok or Instagram story.
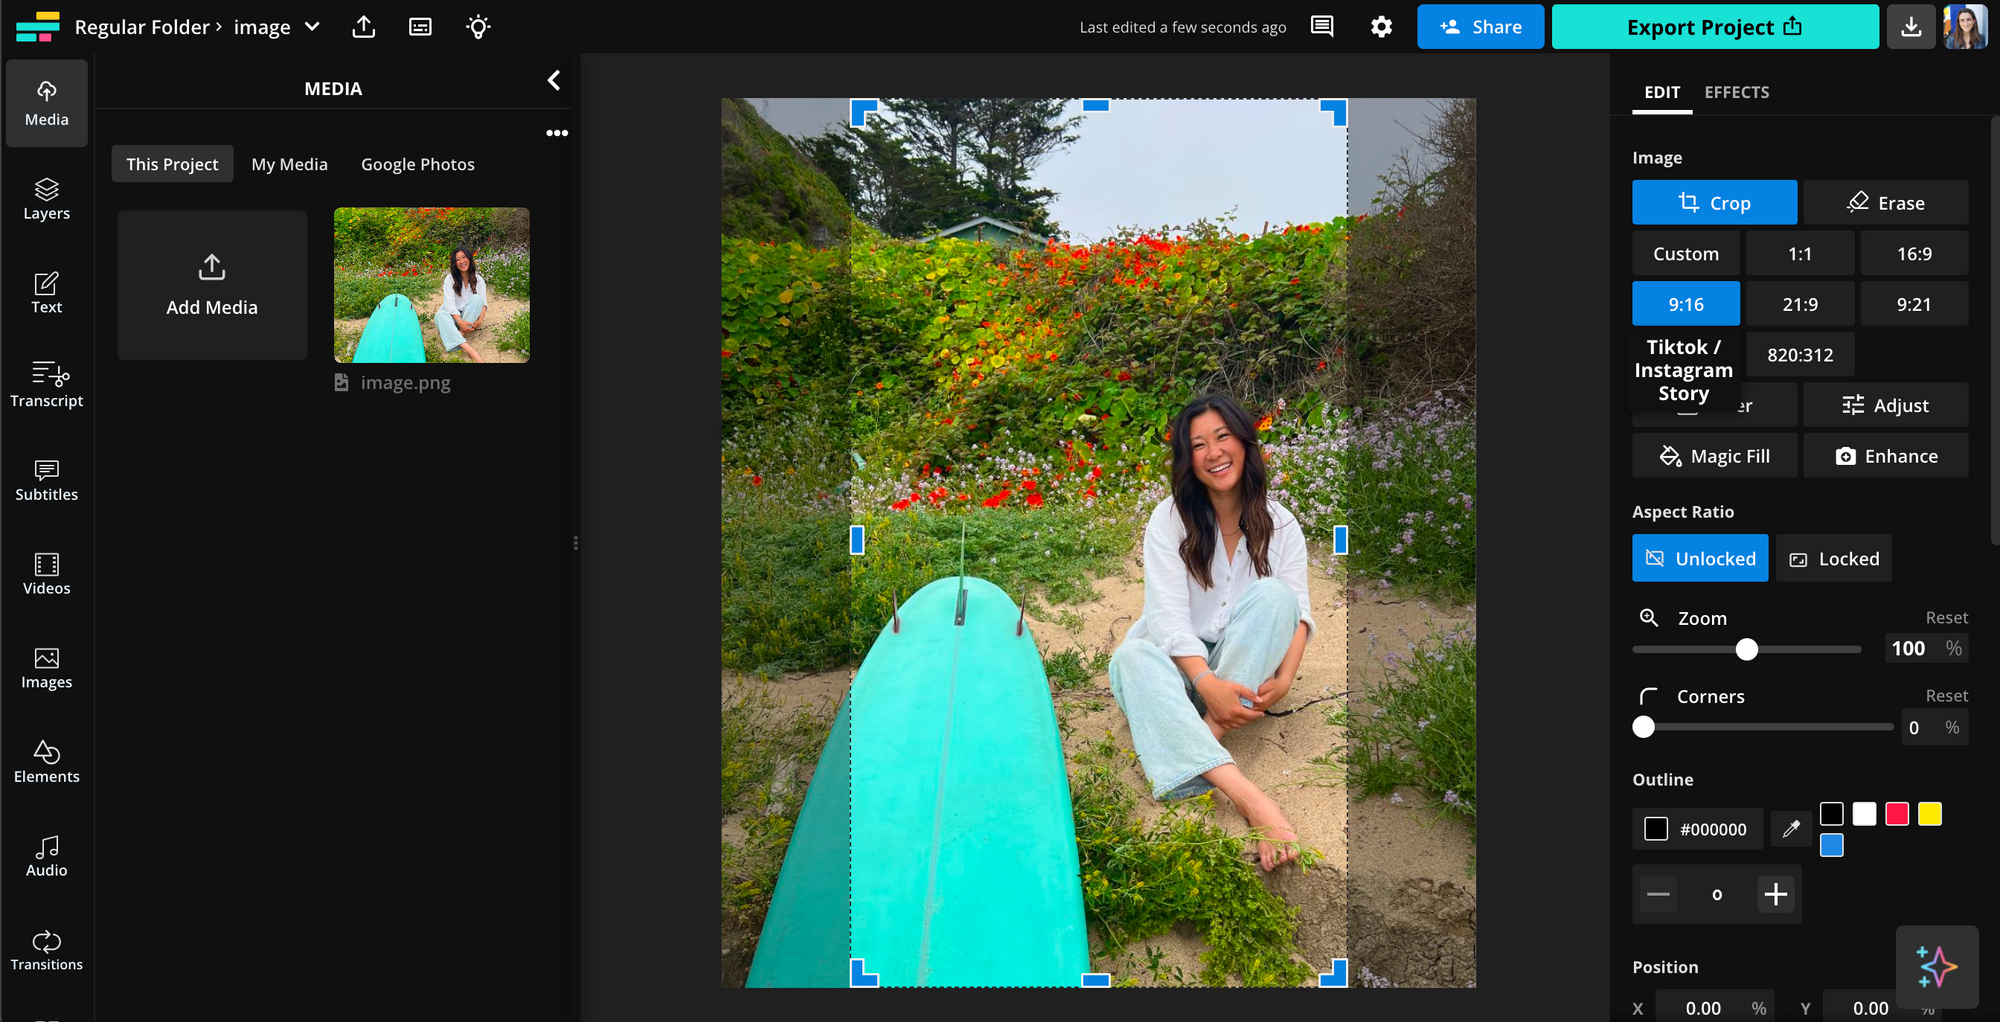
Then, remove the extra padding by clicking the "Remove padding" button.
Select Lock Ratio or hold the shift key and drag the corner of the image or video until it fills the canvas.
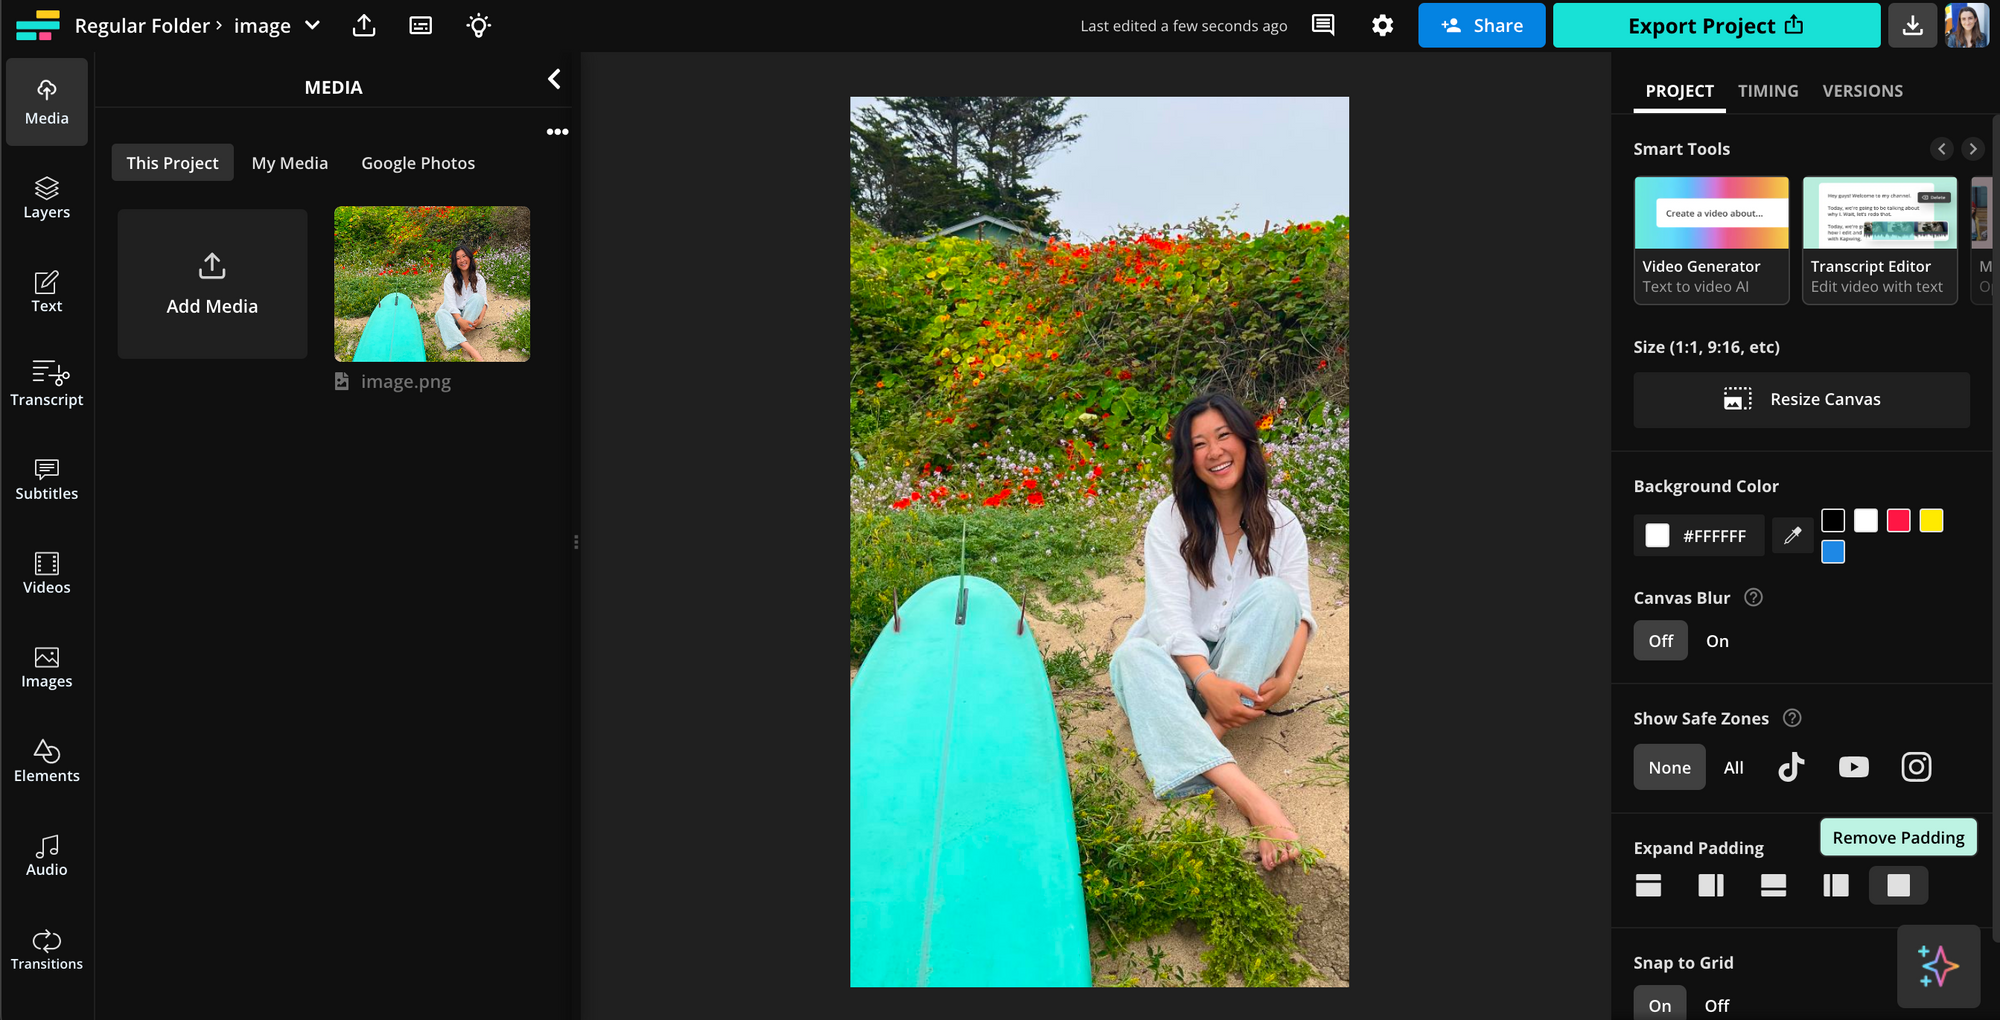
2) Add a colored background. Don't want to crop your media? You can leave the white background of the canvas as is or you can change it to a color of your choice. With the canvas selected, choose from the preset colors under Background Color, use the eyedropper tool to select a color from your image, or open the HEX code editor to choose from the gradient or enter a specific HEX color code.
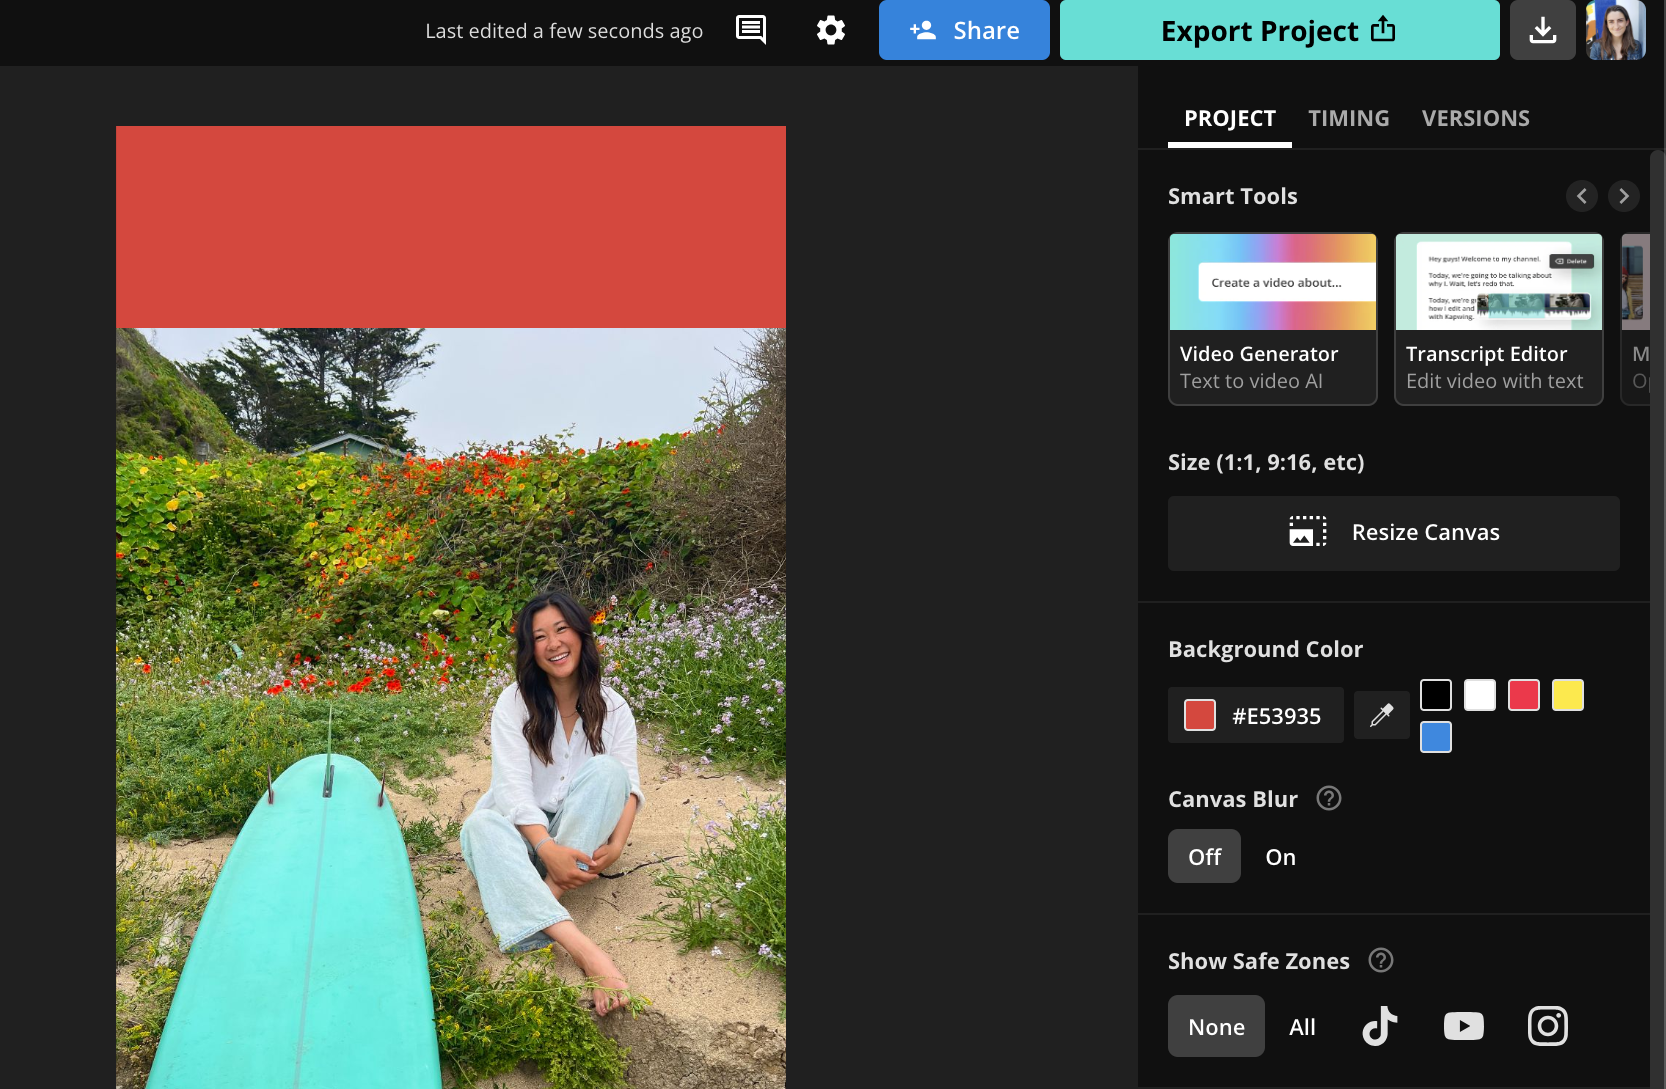
3) Add a blurred background. You can also add a blurred background to your images and videos. With the canvas selected, turn Canvas Blur on. The space around your photo or video will now be a blurry version of the photo/video itself, which creates a more cohesive look.

Now all of your images and video clips should be arranged in the order you want and sized correctly. You can leave it here or you can add transitions between the clips or add some text layers.
To add a transition between clips, select one of the images and click the Transitions tab on the left side menu to open the Transitions Library. Apply the transition you want to use by dragging and dropping it onto the Timeline.
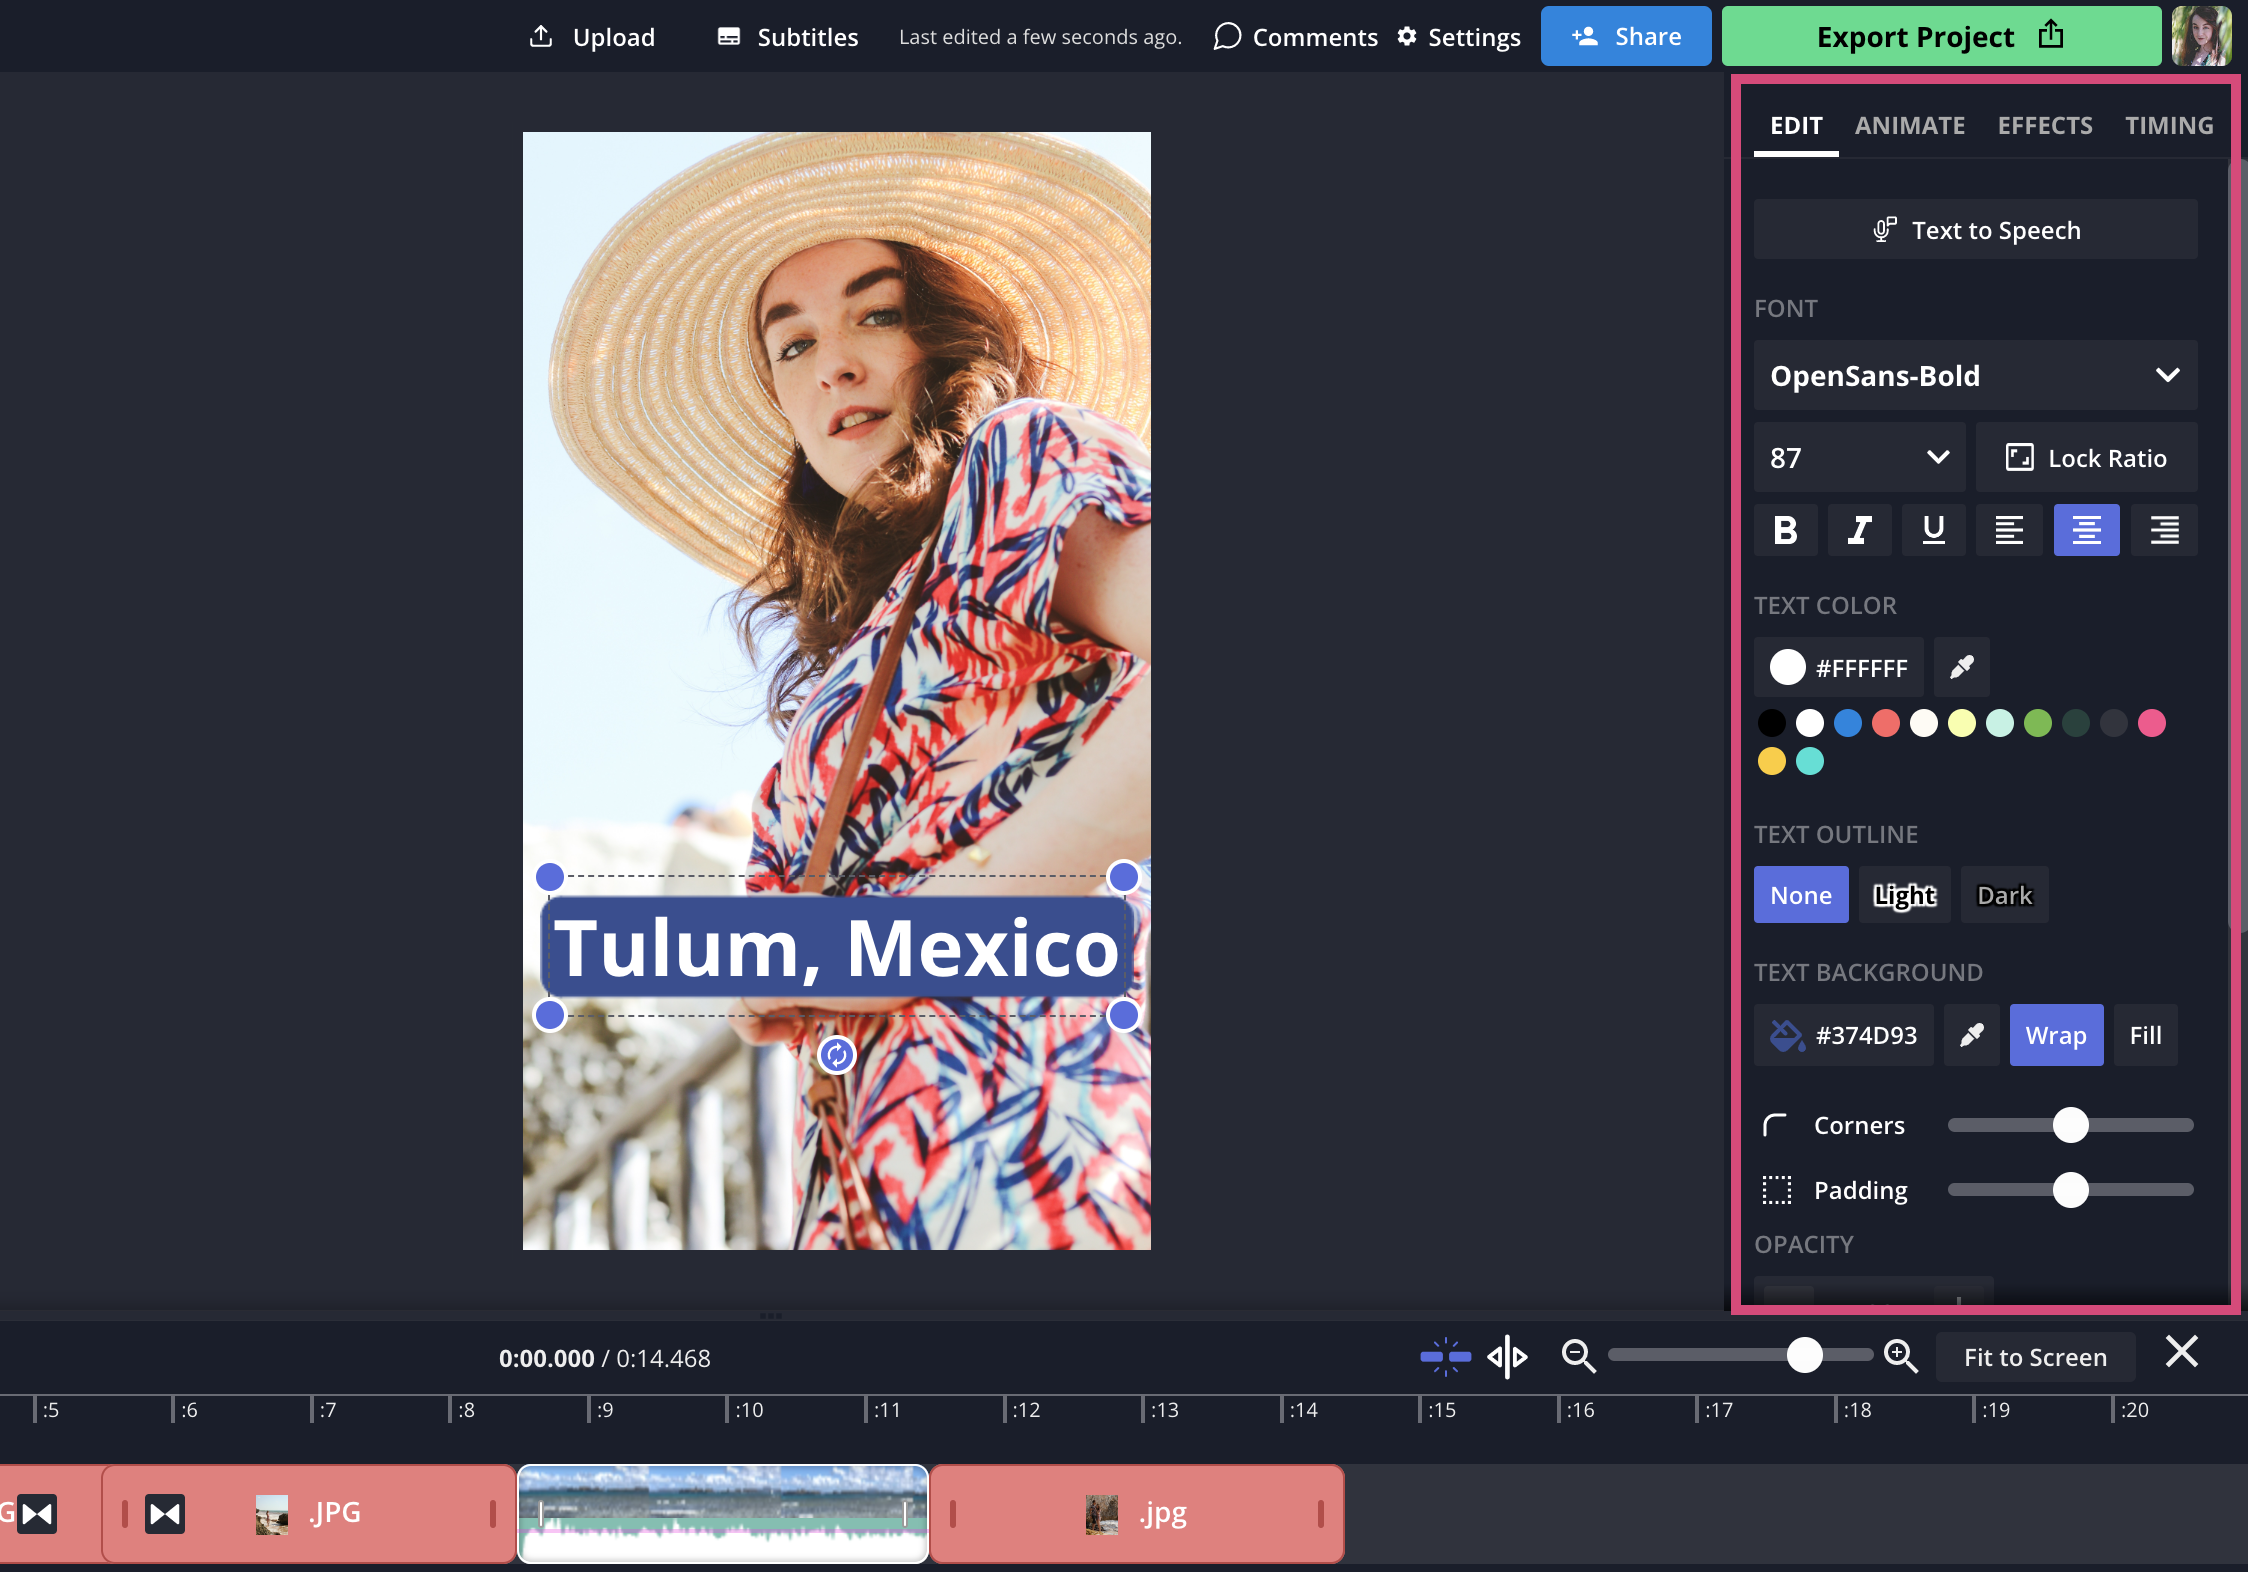
To add text, open the Text menu from the Text tab on the left side of the editor. You can edit the font, color, and background style from the right side menu.
I also recommend using the Safe Zones filter to make sure that your text (or other elements) will be visible when you upload your video to TikTok. It will lay a filter over your project, showing where the UI elements will be in your published video — things like username and caption, side bar buttons, etc.
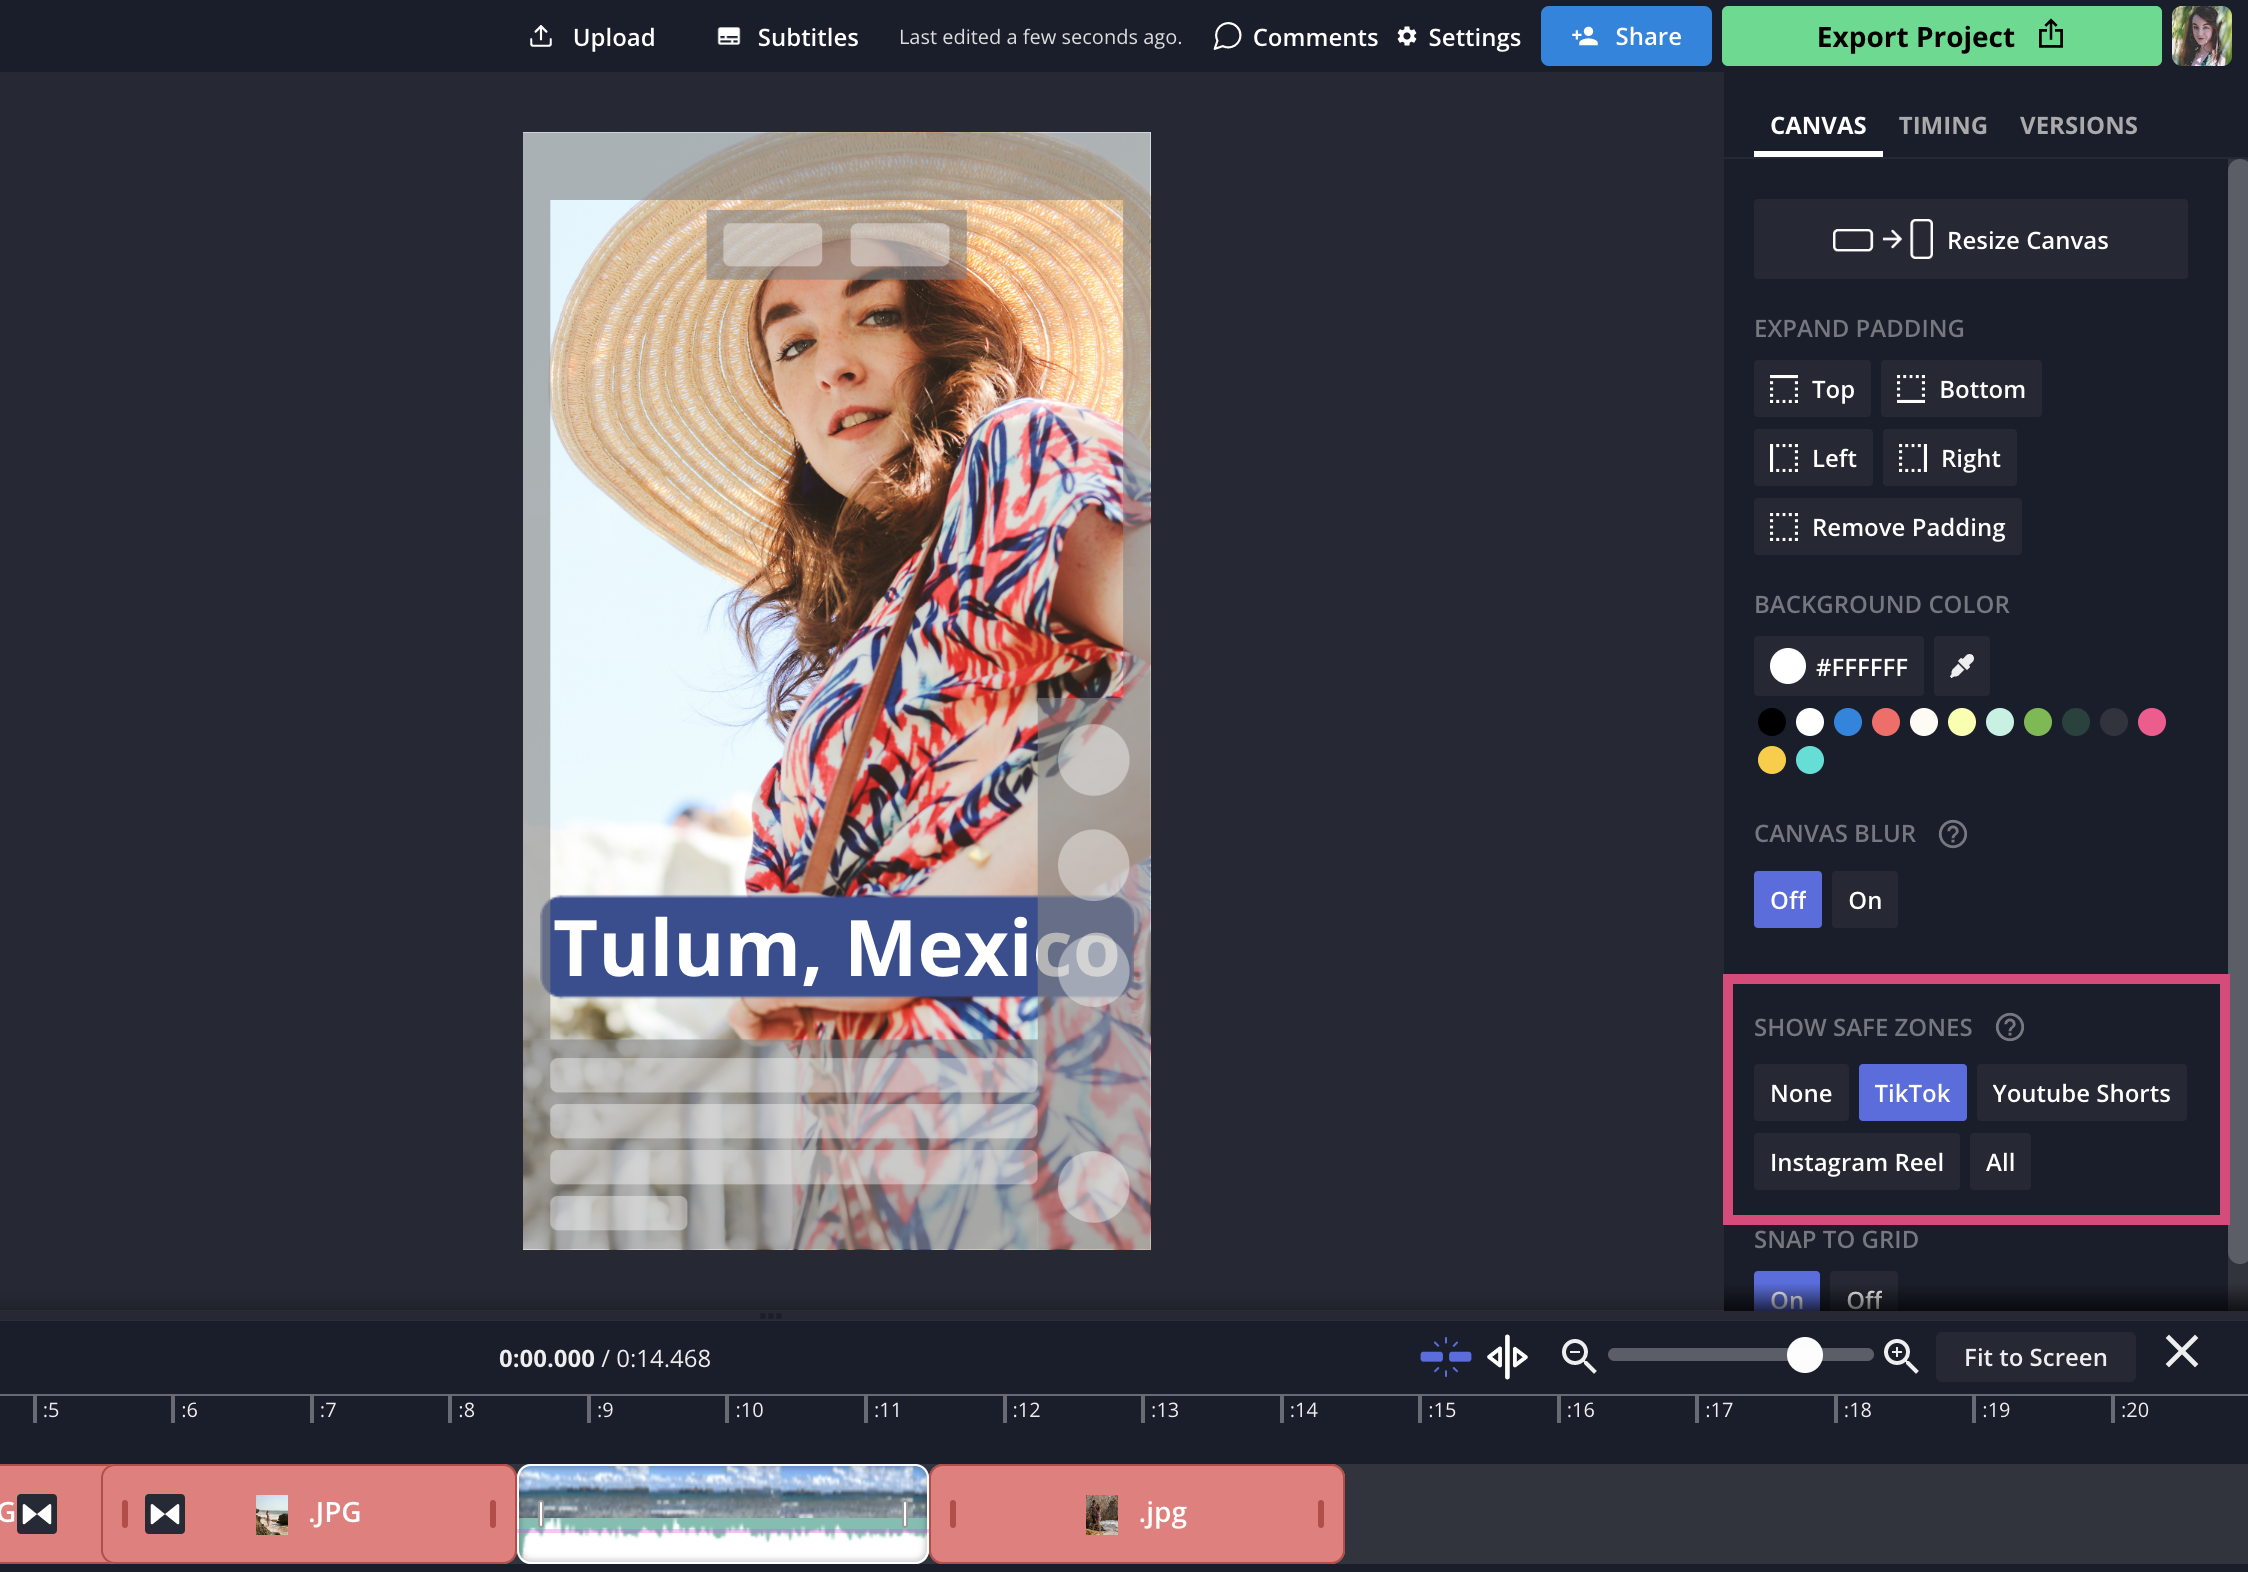
With the filter on, make adjustments until it all fits perfectly within the safe zones.
Step 3: Export, Download, and Share Your Video
Once you're happy with your edits, you're ready to export.
Click the Export Project button in the top right corner. Choose your file format and resolution settings, then confirm the export.
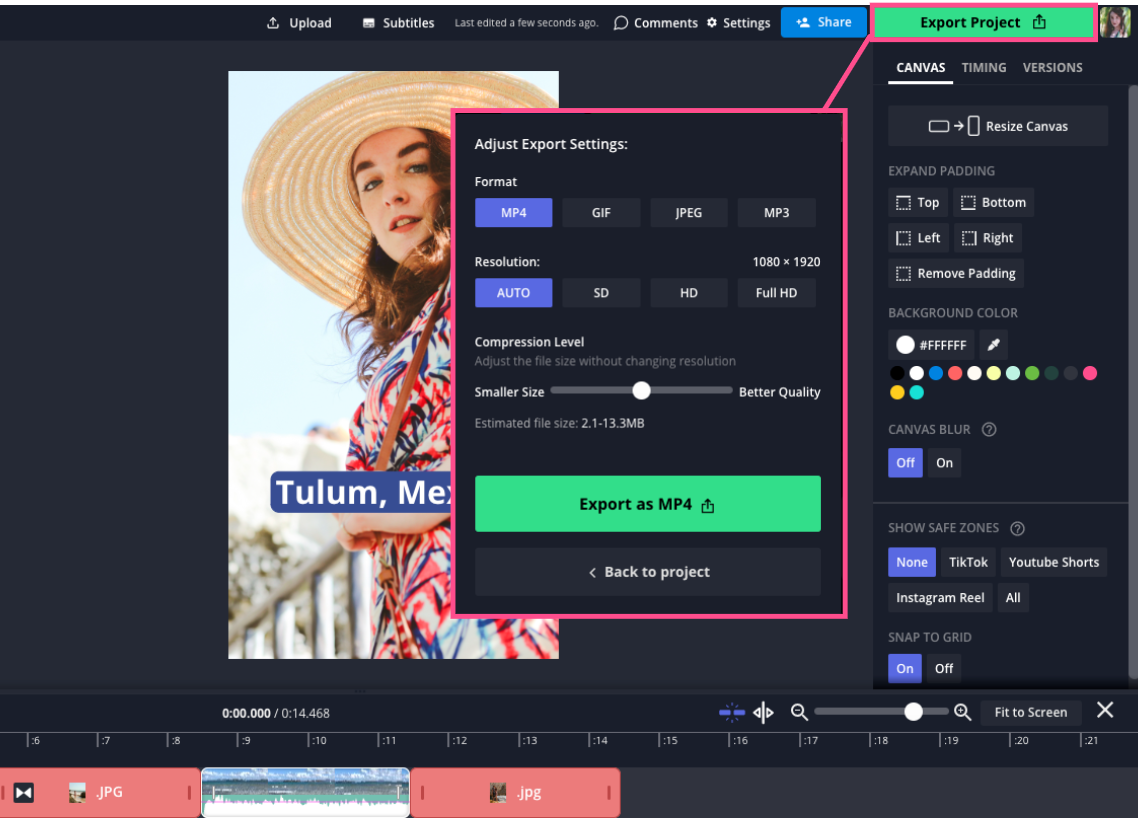
When your video export is processed, the Download button will be available. You can click it to save the video to your device or you can share directly from this download screen.
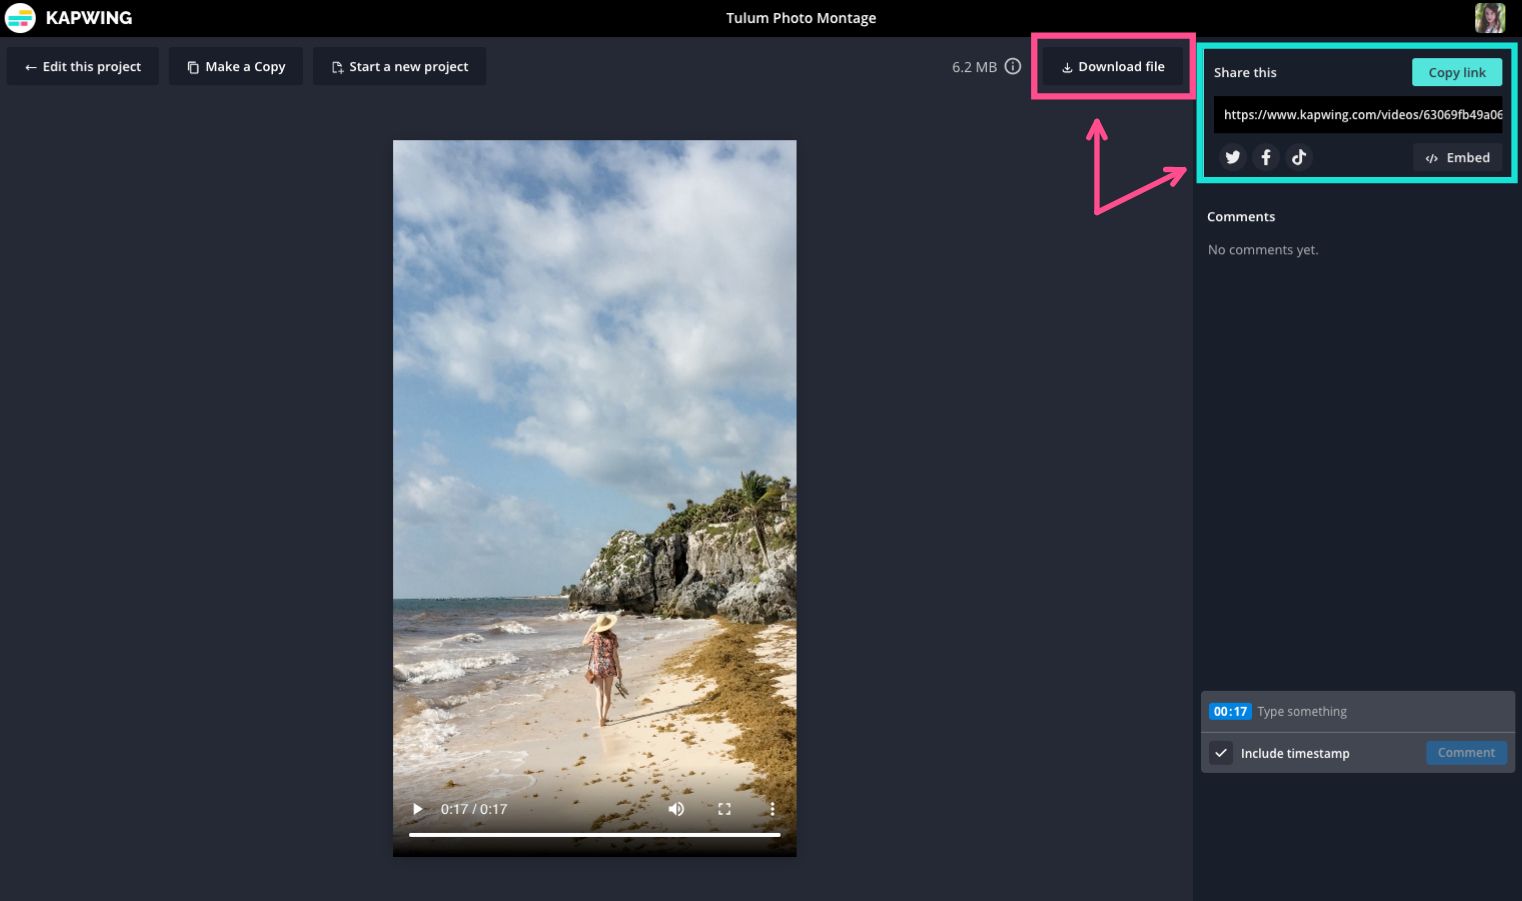
Copy the generated URL to share you video with a link or click the corresponding icon to share directly to TikTok. You can also share from the TikTok app. I recommend this option if you want to add trending audio, add a caption, hashtags, or tag another creator.
And that's it! All that's left to do is watch the likes roll in on your newly shared TikTok. This method can be used to make fast-moving slideshows like this TikTok photography montage from Peach Surf Co.
Check out the related articles below for more TikTok tips and tricks and subscribe to our YouTube channel for the latest TikTok trends. Follow us on Twitter if you want to reach out directly with questions and comments.
Try these trending TikTok tools:
- TikTok Safe Zones Checker
- Repurpose YouTube to TikTok
- Repurpose Instagram to TikTok
- Repurpose Twitch to TikTok
- TikTok Video Ad Maker
Additional Resources:
Create content faster with Kapwing's online video editor →