Twitch Emote Size: How to Resize Pictures for Twitch Emotes
Creating Twitch emotes can be so difficult, most people pay designers hundreds to make them. Lucky for you, I know a digital designer named Kapwing that can resize your pictures for free. You’ll learn how Kapwing can turn pictures into emotes with just a few clicks. Here’s how it works:
Twitch emotes are the language of the world’s largest streaming community. These tiny pictures are truly worth a thousand words… if you can figure out how to get them that small.
Creating Twitch emotes can be so difficult, most people pay designers hundreds to make them. Lucky for you, I know a digital designer named Kapwing that can resize your pictures for free. In this tutorial, you’ll learn how Kapwing can turn pictures into emotes with just a few clicks. Here’s how it works:
- Upload your picture
- Change the dimensions
- Publish and download
Technical requirements: must upload a 28 x 28, 56 x 56 and 112 x 112 copy. These should be PNGs with transparent backgrounds and a maximum file size of 25kb.
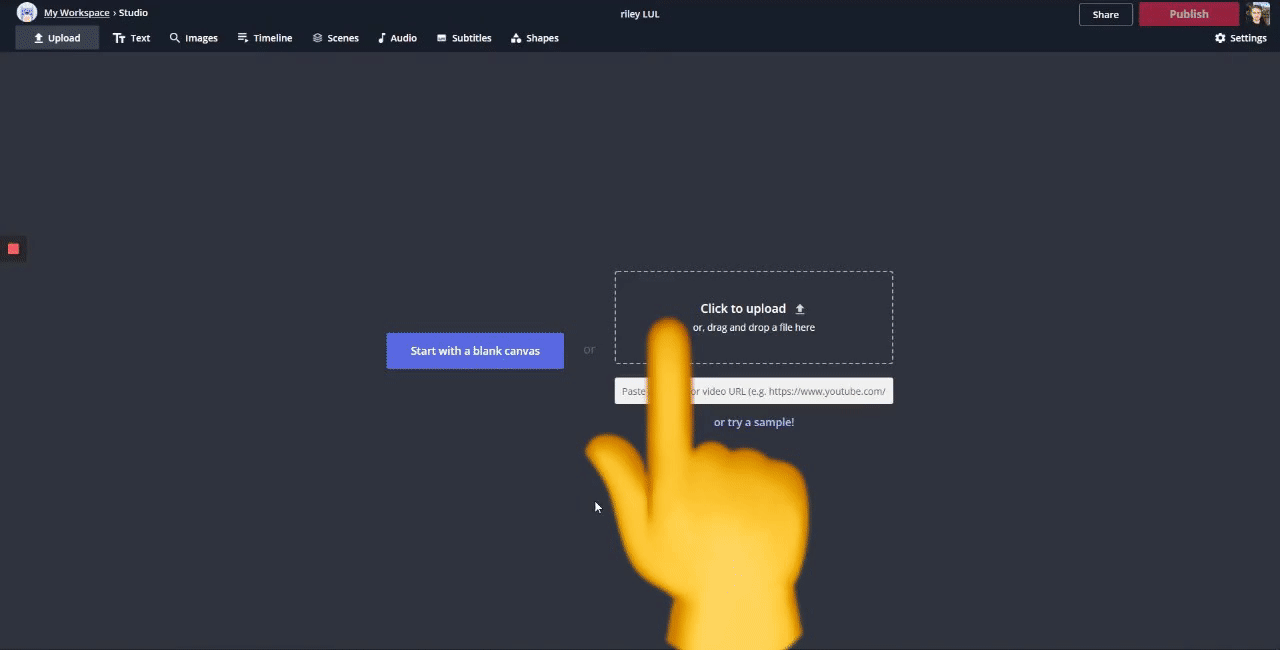
1. Upload your picture
First, open the Kapwing's image resizer and upload the picture you want to make into an emote.
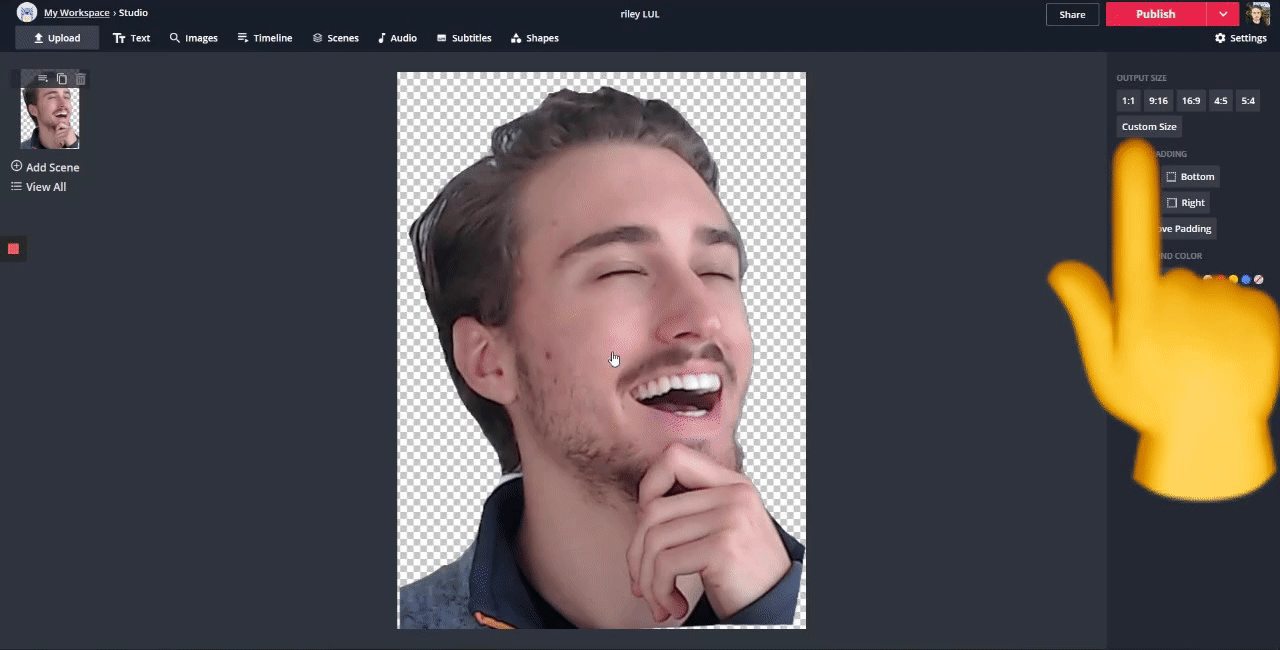
If you need to remove the background, click your picture and select the ‘Erase’ tool. This tool gives you an option of a magic wand or a manual eraser. Check out our free tool for removing image backgrounds to get started.
Either way, click away from the canvas and make sure the background color is set to no color (the checkered circle with the red line).
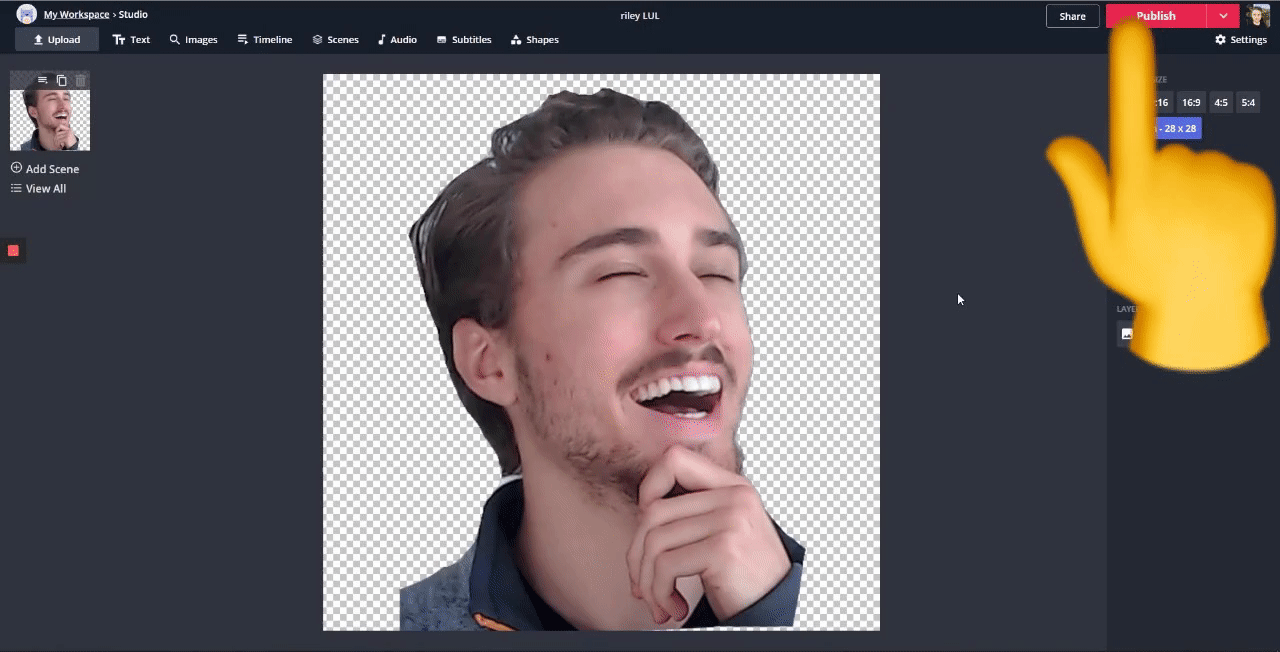
2. Change the dimensions
It's important to get the aspect ratio and dimensions right for Twitch Emotes. Now, click away from the canvas and the ‘Output Size’ will appear. Choose ‘Custom Size’ and change the dimensions to 28 x 28, 56 x 56 or 112 x 112 (depending on which you need).
You may need to choose ‘Lock Ratio’ on the right to make sure your picture fits the screen.
It’s really as simple as that. Kapwing makes resizing pictures for Twitch emotes easy.
3. Publish and download
Last, click ‘Publish’ in the top right, wait for processing and click ‘Download’ on the final page.
To create all the sizes, click ‘Edit’ and change the dimensions to the size you need. Also, you can go to your workspace and make a copy of the current project. That way each size of the emote has a separate project.
Either way, you’ll have emotes that are perfectly sized for upload on Twitch. Now, that’s POGGERS!
Remember to tag us @KapwingApp whenever you share your content on social media – we love to see what our creators are passionate about. And be sure to subscribe to the Kapwing Resources page – we’re constantly writing new tutorial and features to help you make the most out of Kapwing.
Related Articles: