How to Add a Logo to a Word Document
While content is most important, logos play an important role in getting noticed. Whether you want readers to know you’re official or just to see who the writing is from, adding a logo surely helps. In this tutorial, I’ll show you how to add a logo to Word and how to create a logo from scratch.
Word is an application that needs no introduction. The word processing tool helps millions of individuals and businesses write what they need to say. Whether it’s for a business letter or for a school assignment, Word does it all. With that said, adding a logo to your documents helps differentiate your writing from the countless other papers out there.
While the actual content of your writing is most important, logos play an important role in getting it read. Whether you want readers to know you’re official or just to see who the writing is from, adding a logo surely helps. In this tutorial, I’ll walk you through the steps to add a logo to Word and, if you don’t have one, how to create a logo from scratch. Follow along and I'll show how it’s done.
- Create a logo
- Add to a Word doc
- Customize the formatting
1. Create a logo
First, you need a logo. If you have one, then feel free to skip this step. If not, I’ll show you how to create a simple logo with Kapwing. I recommend Kapwing because it’s free and easy to use.
To start, open the Kapwing studio and click ‘Start with a blank canvas.’ Next, change the background color to be transparent. If you want a square logo, leave it as it is or change the output size in the top right.

Depending on what kind of logo you want will dictate your next steps. For this tutorial, I decided to make a round logo with my initials to keep things simple. To do that, I opened the ‘Elements’ tab and added a circle. After changing the color, I clicked ‘Text’ and wrote my first and last initial. This is a great way to make a logo fast and avoid the decision fatigue that comes with design.
If you’d like more tips on logo design, check out this article we published on how to make a custom logo. Otherwise, you’re ready to download the icon. Just click ‘Export Image’ in the top right and download the image to your device.
2. Add to a Word doc
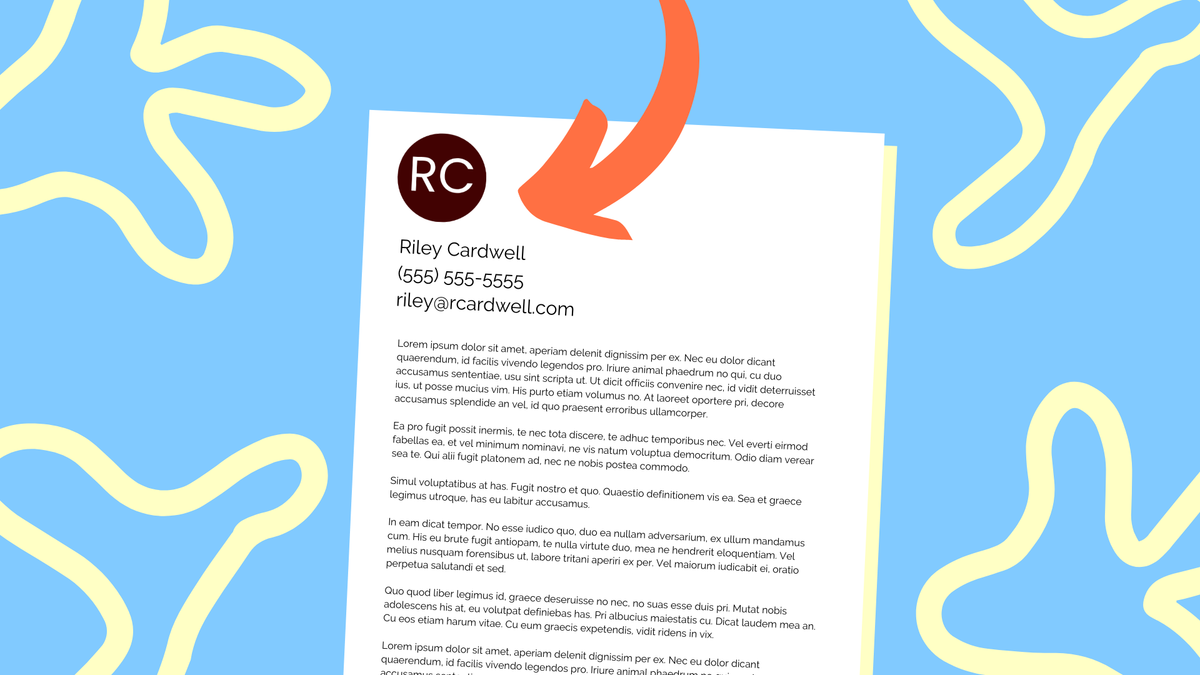
Now you’re ready to add the logo. Open a new or existing Word document. Once you’re in, double click the top and you’ll see a Header tab appear to the right. Alternatively, click ‘Insert’ and select the ‘Header & Footer’ option. Now, click ‘Picture’ and choose to upload from your device, OneDrive or Bing. The logo will appear in the boxes as seen below.
Before you move on, click the ‘Editing’ option at the top and change to ‘Viewing.’ This allows you to see where the logo appears and how big it is. If you find that your logo needs adjustments, move onto the next step.
3. Customize the formatting
Your logo should be easily seen, but shouldn’t dominate the full document. Start adjusting the format by opening the Header tab again. Inside, you’ll see the logo in one of three boxes. Simply click your logo and drag the corners to change the size. Also, you can drag the logo into the middle or the left side (whichever you prefer).
Last, check out the ‘Options’ on the right on your screen. After clicking, there’ll be options to place the logo on every page, just the first page, different even and odd pages or different first page and different even and odds. Choose the one that works for you and if you need to create another logo, head back to Kapwing and start at step 1.
In no time, you’ll have a professional logo all across your docs or on just the pages you want. Either way, if this guide helped, be sure to subscribe to the Kapwing Resources page - we’re constantly writing new tutorials and features to help you make the most out of Kapwing. And, check out the related articles to keep learning:
Related Articles: