
How to Capture a Photo From a Video
Custom visuals can boost engagement by up to 7×, making a still frame one of the easiest upgrades you can pull from your video.

Pulling a still image from a video is surprisingly useful. Creators often extract frames to make YouTube thumbnails, choose cover images, turn funny expressions into memes or reaction images, or repurpose footage into post-worthy images. Brands may also grab frames for product shots, behind-the-scenes moments, or quick reference photos during edits. Instead of planning a separate photoshoot, you can often find your best shot inside the video you already recorded.
The problem is that traditional screenshots usually don’t hold up. They capture unwanted interface buttons, introduce compression, and often look blurry or low-resolution. The easiest way to get a crisp, usable photo is to export a clean frame directly from your video. In this article, I’ll show you how to take a picture from any video and save it as a high-resolution image file using Kapwing.
How to Capture a Photo From a Video:
Upload Your Video to Kapwing
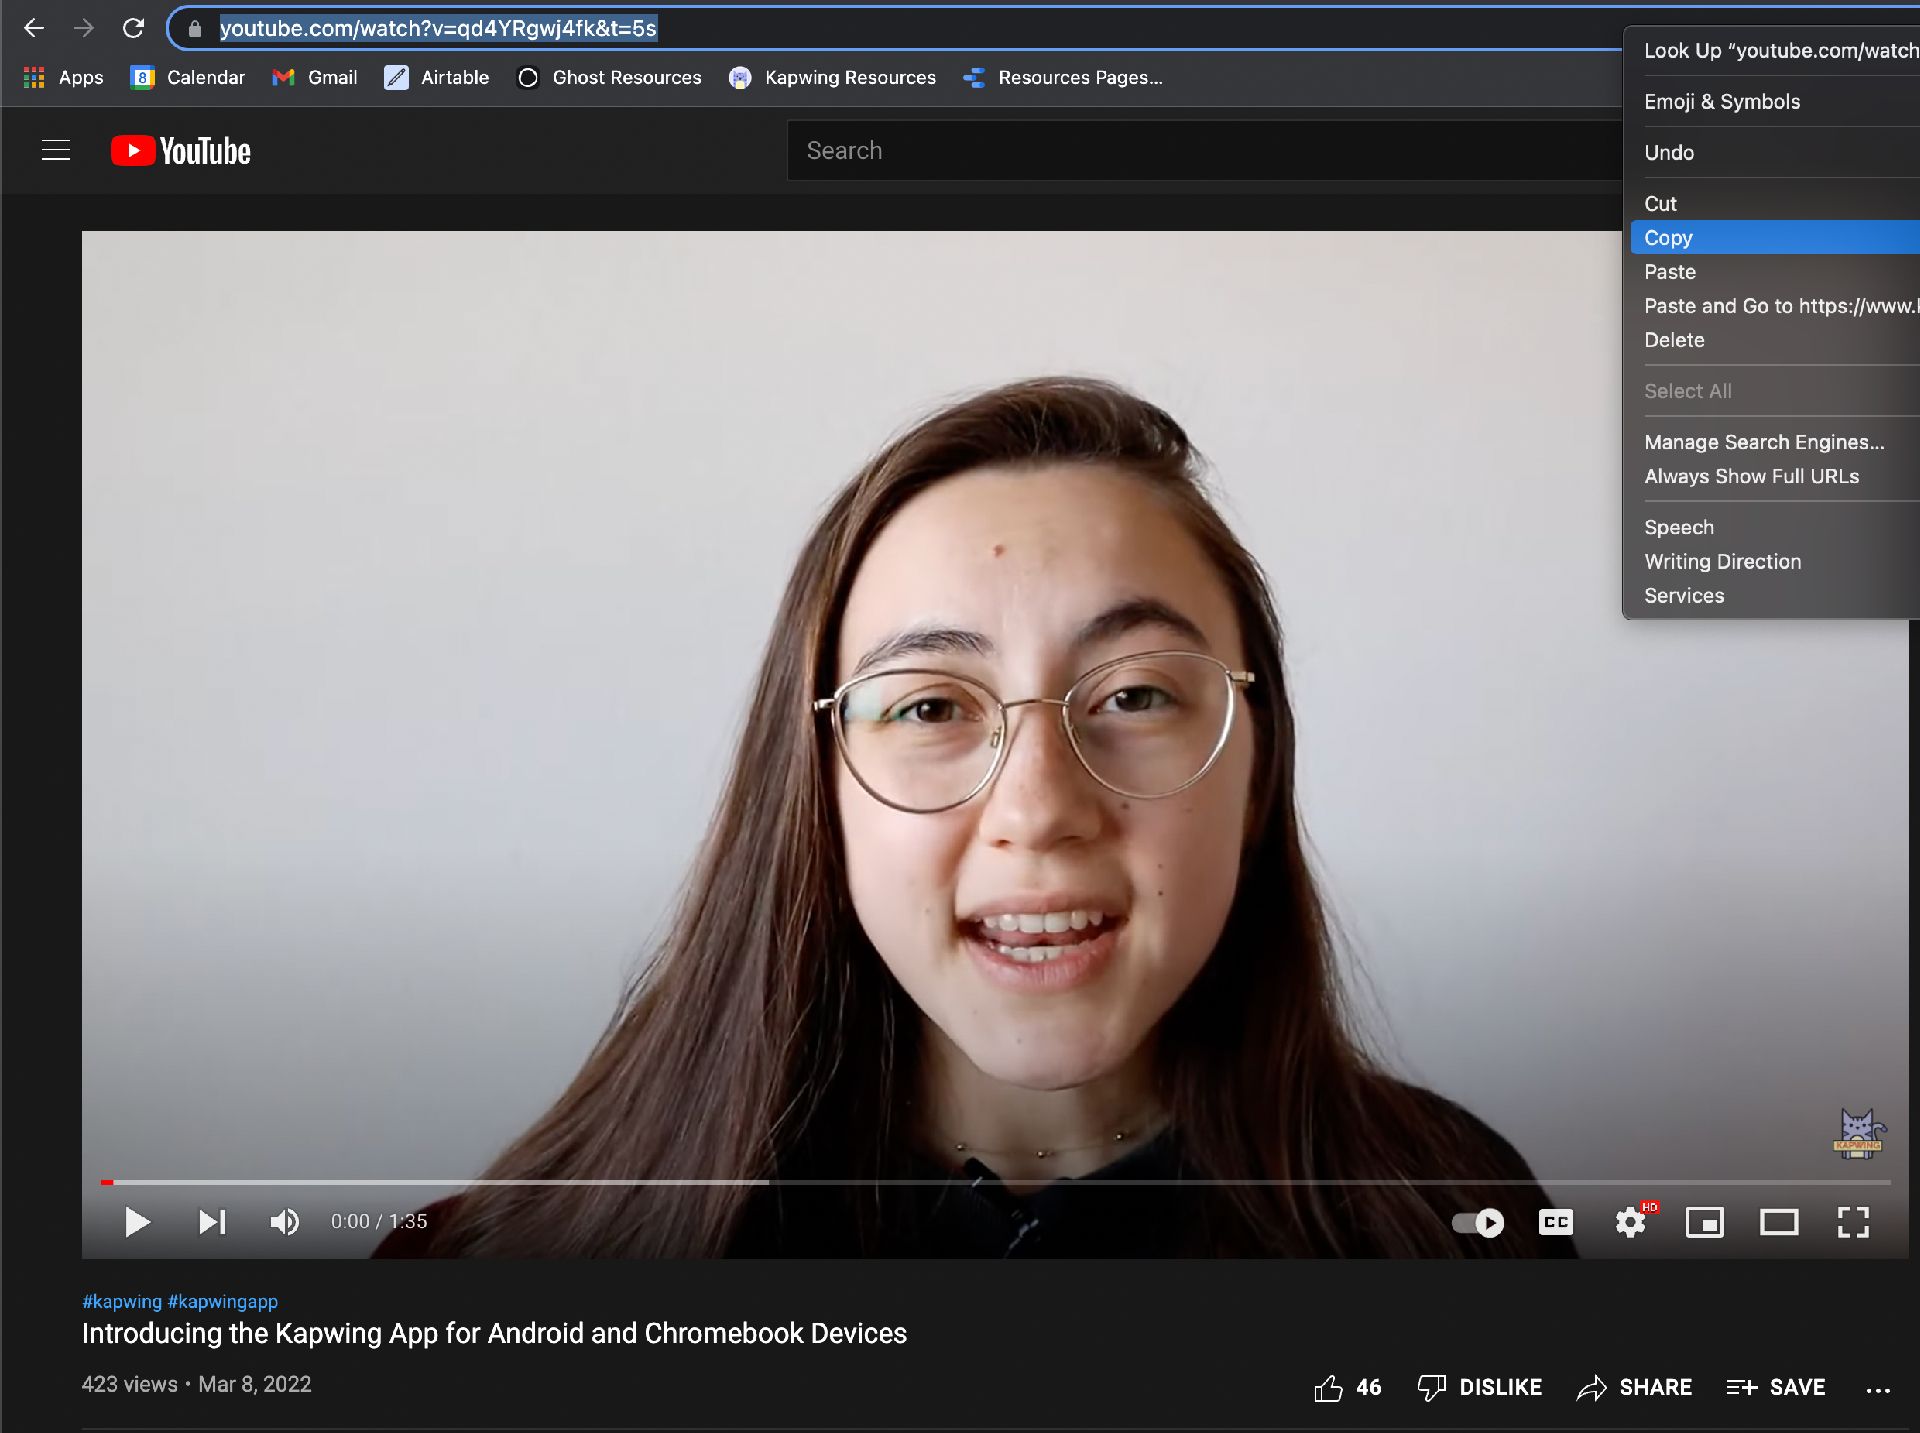
Head over to Kapwing in your browser to upload your video. You can either click "Get Started," "Upload File,” or simply paste the URL link to the video you want a snapshot from. If you want to take a snapshot from a video you found online, all you have to do is copy the link. As you can see below, I copied a link to a video on our YouTube channel to use as my example for this article.
Once you upload your video, you'll automatically be taken to Kapwing's video editing studio.
Select the Frame You Want to Save
Capturing a photo from a video is fairly simple in Kapwing. In fact, there are two ways you can get a picture out of a video:
Option 1: Export a Still Frame Using a Video Converter
Using Kapwing's video converter tool while in the video editor allows you to create a GIF, MP4, MP3, or JPEG file from any video source. Today we’re only focusing on creating a JPEG.
To begin capturing a picture from your video, click "Export Project" and your export settings will open. There, you'll want to select your Type as "Image", and your Format as "JPEG".

You'll then be prompted to select the image frame you want. Move the slider from left to right until you’ve reached the frame that you want to capture. The preview will show the frame that you've selected.
Once you've selected your desired frame, click the "Export Image" button.

Note: If you’re using a longer video, you can trim it with Kapwing to make finding the frame easier. In the timeline, drag the ends of the layer to shorten your video and you can use the split tool to remove unwanted sections.
Option 2: Create a Freeze Frame From Your Video.
Another way to take a picture from a video is to create a freeze frame. To do this, place the timeline slider where you want a picture from in the timeline and click "Timing" in the right navigation bar. Then, click "Freeze Frame," and there will automatically be an image layer in your timeline.

After you've created a freeze frame, it will appear as a separate asset in the same moment of the original clip.
To convert your video into an image, delete the video layers in your timeline and export your project!

Export the Frame as an Image
Once you’ve chosen the perfect image frame from your video, you’re ready to process your JPEG file. Click the “Export Project” button in the top right-hand corner of your editor.
Kapwing will automatically work its magic and your snapshot will be ready to download after a few seconds.

Once Kapwing is done processing, you can choose to download your file, share directly to Twitter, Facebook, or TikTok, or copy your own video link to share another way.