
Happy Valentine’s Day Video - Create Digital Video Valentine with Pictures and Music
February 14th is around the corner! Make a Valentine's Day slideshow for your loved ones.

February 14th is around the corner. Have you made plans?
(February 16th, my mom’s birthday, is also around the corner and I have not made plans, but I digress.)
There are lots of ways to show your love for the people you love (boyfriend, girlfriend, partner, husband, wife, spouse, dad, mom, sibling, friend, etc.), but a video valentine is something special. If you’re looking for ideas for valentines day, look no further. In this article, I’ll show you how to create the perfect video valentine using a free website called Kapwing.
Here's how to make a digital video valentine in 4 steps:
- Collect and upload your photos
- Edit your video
- Add music
- Finish and share
Step 1: Collect all your favorite images and videos
If you’re anything like me, you have a lot of your life recorded. Search through your photos and videos for your favorite pieces, thinking about the message of love you are trying to communicate.
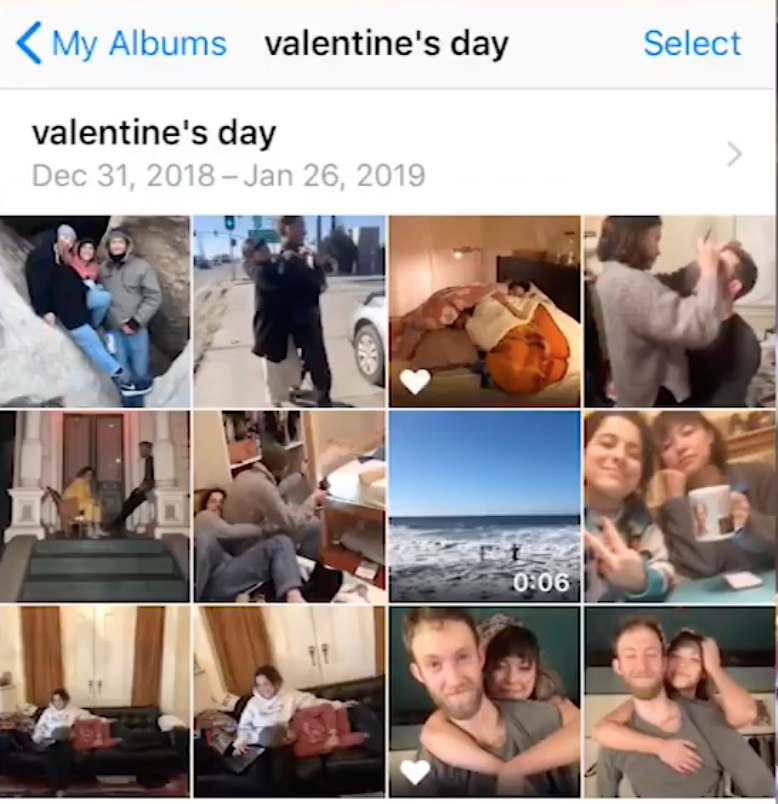
Take those videos and throw them on your computer. You can airdrop them, email/message them to yourself, download from Google Photos, or plug your phone in and transfer them that way.
Step 2: Upload your content to Kapwing
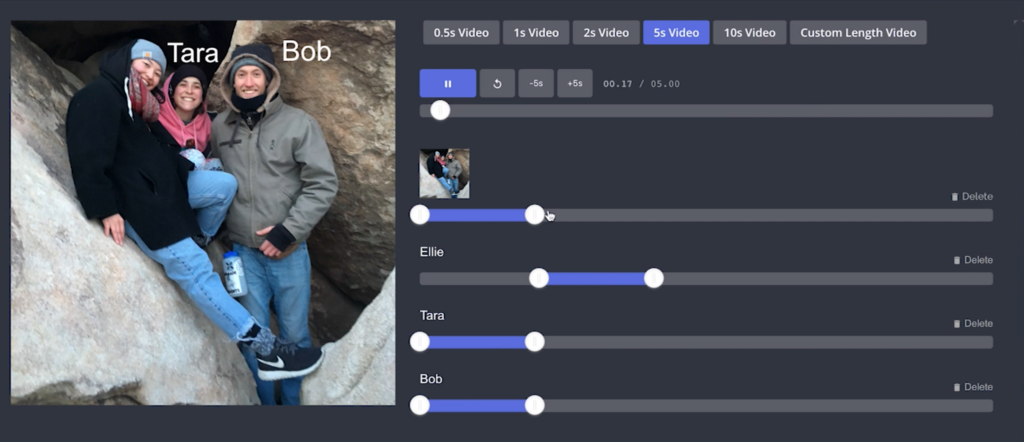
Upload your first image/video to Kapwing’s Studio. Click add scene in the top left hand corner to add another scene and click upload to upload your next image/video. You can also drag and drop them onto your open scene.
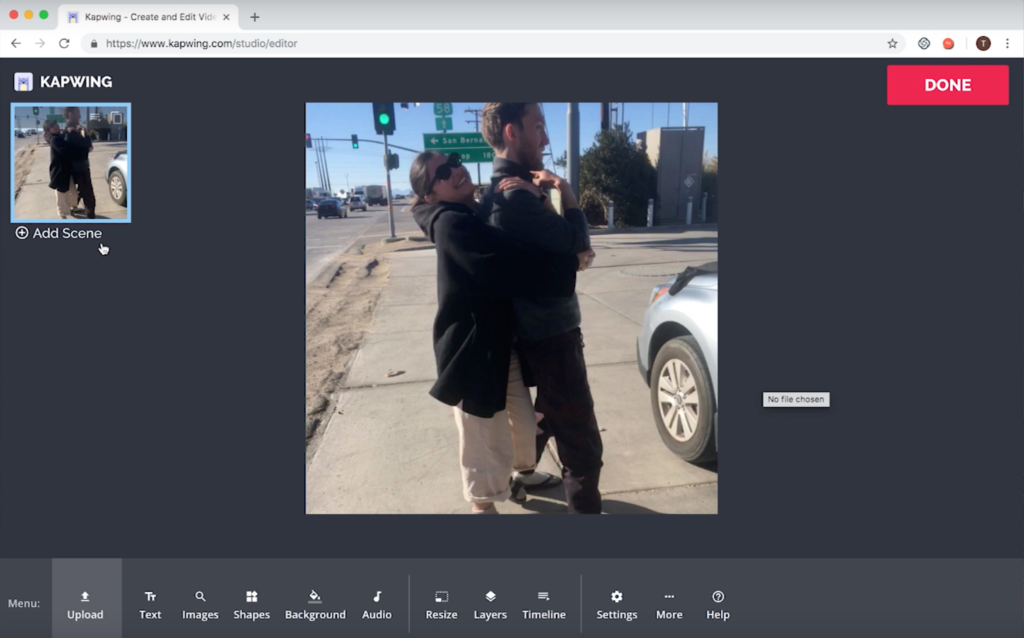
If you want any of your scenes to be a video or photo collage, upload them to the same scene and arrange them there. Click the image within a scene to resize it and choose fit or fill depending on your aesthetic. Click background in the bottom panel to add a colorful background to your scene.
Rearrange your scenes into your desired order by dragging and dropping from the left panel.
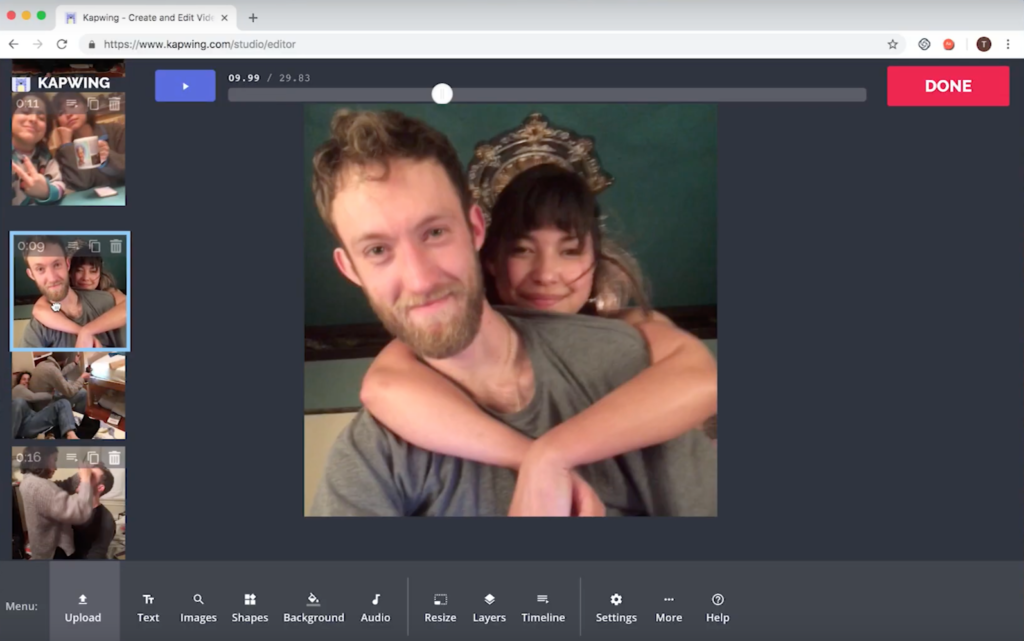
For scenes that are images, select the scene and click timeline to set the duration of the image. I recommend 3-5 seconds. You can also use timeline to time out when the text appears and disappears.
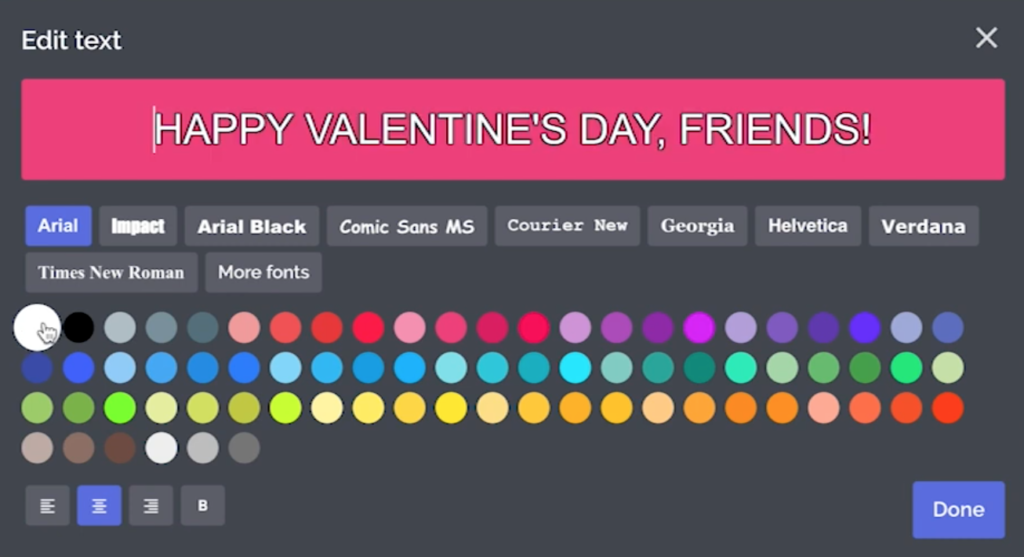
Step 3: Add text to your video
Go through and for each scene add lovey text. Select your scene from the menu and click Text in the bottom toolbar. You can select your favorite font and colors then resize your text and position it on your canvas.
You can add whatever visual elements you want to each scene. Kapwing has simple options for adding pictures and animations:
- Animated Text: Make your valentine with text that fades, flickers, and flashes with color! To animate your text, select the text layer and click “Animate” to preview the options.
- Emojis: Add hearts, love faces, and other symbols of your affect by typing them out or copy-pasting an emoji image onto your video.
- Images and GIFs: Use the “Images” tool to search for stickers and picture overlays you want to add on the canvas.
- Shapes: Kapwing has a set of shapes (including a heart!) that you can add directly to the canvas, change, and choose the fill/online color. Use them to create cool layouts for your valentine, insert speech bubbles, and more.

Remember, this is the digital video version of a valentines day card you would send/receive so write down all the things you want to share about your special someone (or friends).
Use the play head in the Studio to preview what your video will look like
Step 4: Add music (preferably a love song)
When you’ve finalized your scenes and video, add a love song to finish it off. The first step is to find the song that you want. You can choose a popular romantic song or find more subtle ambient music to accompany the montage. Click Audio in the bottom panel and upload a music file from your computer. You can also import a video from YouTube by copy/pasting a YouTube URL.
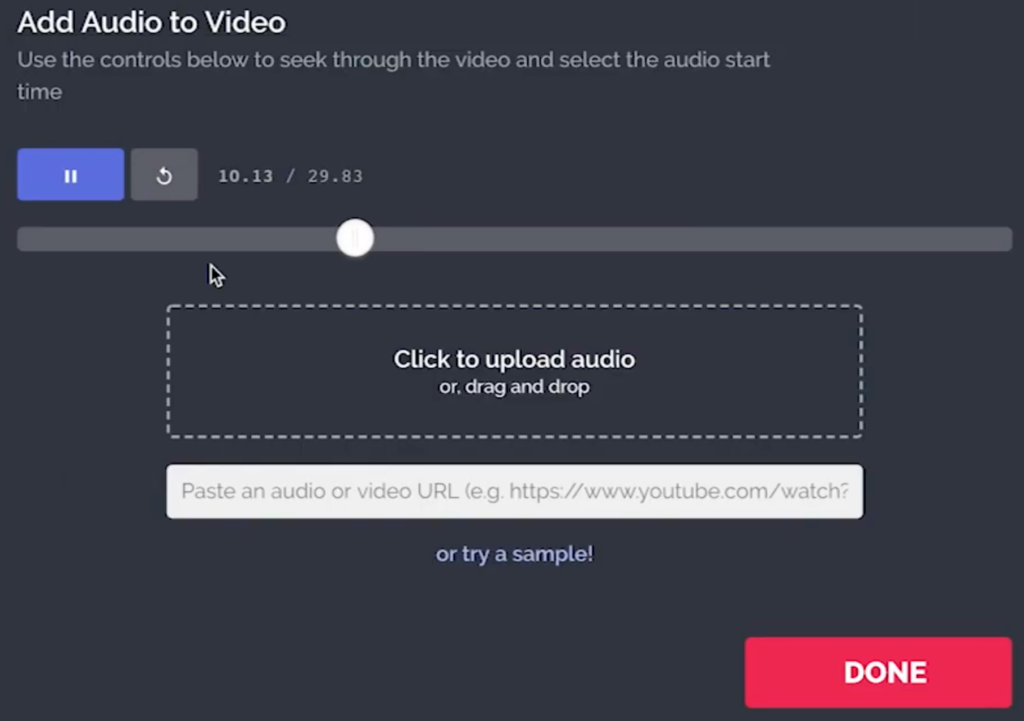
Once you’ve added your audio file, you can Trim the soundtrack to make the song begin at your favorite part. If your video is longer than the song, you can loop the song to make it continue.
Step 5: Finish, download, and share
When you are happy with your video click Done. After it’s finished loading, you can copy and paste your link to share or download it to your device and share the file. Check out this video valentine I made for my older brother!
Thanks for reading this article. Share your video valentines with us on social media @kapwingapp


