
Create a College Schedule Online For Free
Starting your first semester of college or want to find a new way to organize your schedule? Learn how to make your own unique college schedule for free!

Trying to manage your time as a college student can be daunting and exhausting without the proper tools and resources. According to Psychology Today, using a daily planner [or creating a schedule] can help with time management and improve your productivity. Creating a college schedule is similar to having a physical daily planner - both include most events that are happening in your day.
Most college schedules have text, columns, rows, dates, and times, but they lack style and creativity. Instead, you should try making your very own online – it's a lot easier than you might think. The Kapwing Studio lets you create a schedule by providing you with text and photo tools for free.

In this tutorial, I’ll show you how to make a unique weekly college schedule that can help you stay organized and motivated throughout the semester with these steps.
- Choose a schedule type and sketch
- Open Kapwing
- Create the framework
- (Optional) Add colors, shapes, and images
- Save your schedule on your desktop or phone
Step 1: Choose a schedule type and sketch your ideas
Online calendars such as Google Calendar, Apple Calendar, or a school calendar give you the option to view your schedule by day, week, or month. For daily planning, you can spend 15 to 30 minutes at the end of the day filling out your schedule for the next day. For weekly planning, you can spend 30 minutes to 1 hour on the weekend filling out your schedule for the next week. For monthly planning, you can spend several days at the end of the month filling out your schedule for the next month.
Based on your own schedule you can decide which type suits you. Once you have decided on a schedule type, try sketching your ideas on paper before going digital so you can reference your design or find a similar template.
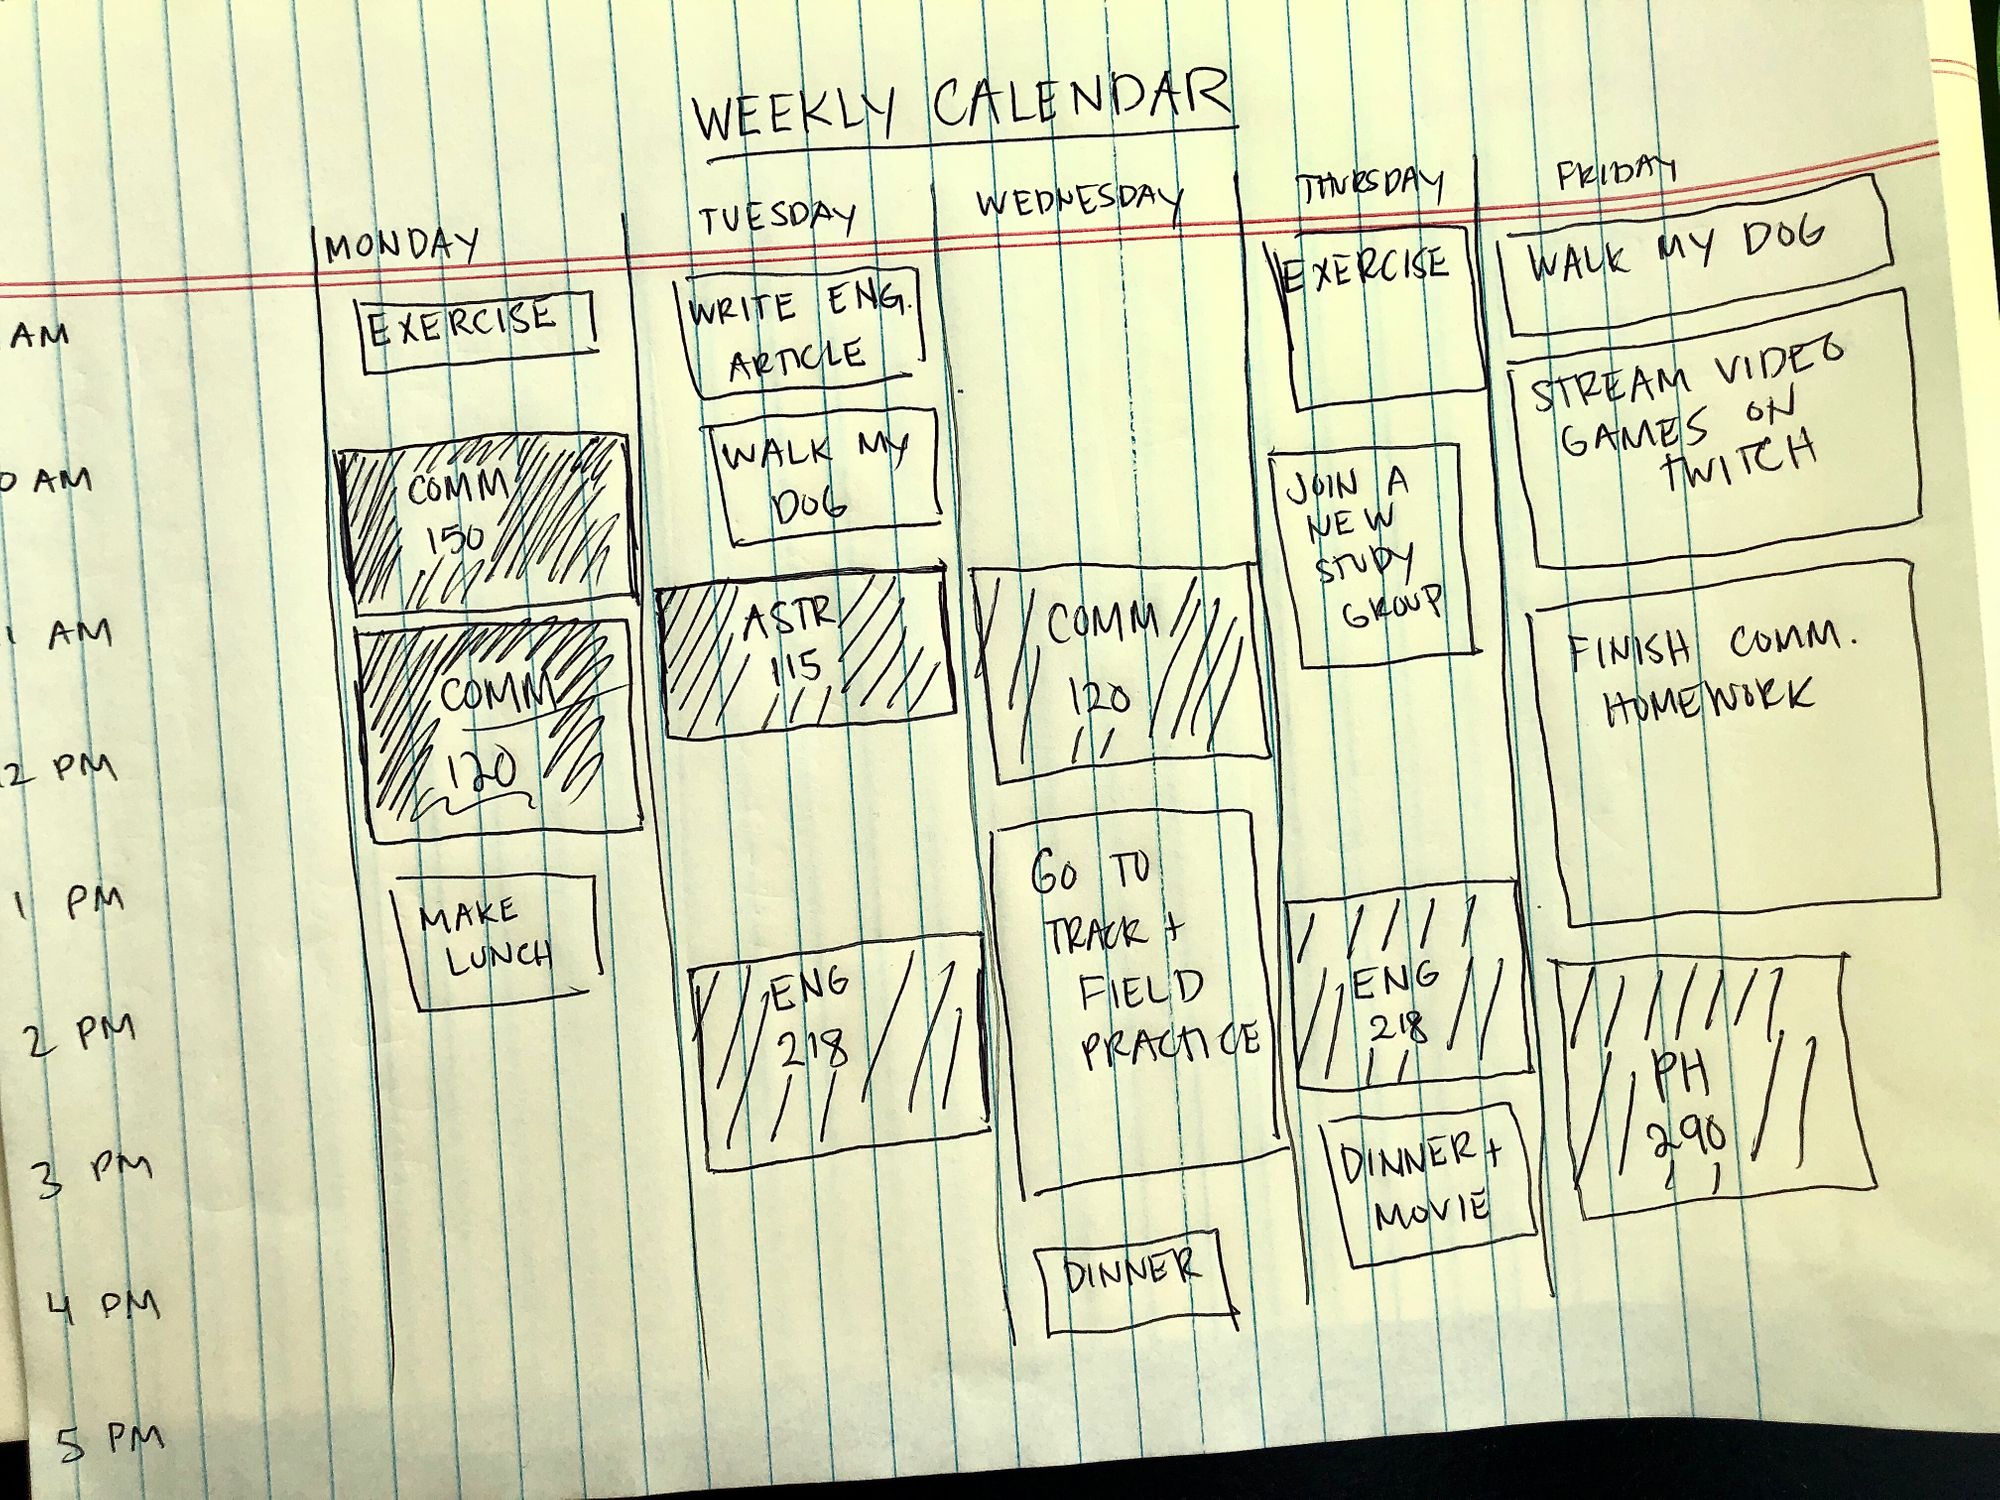
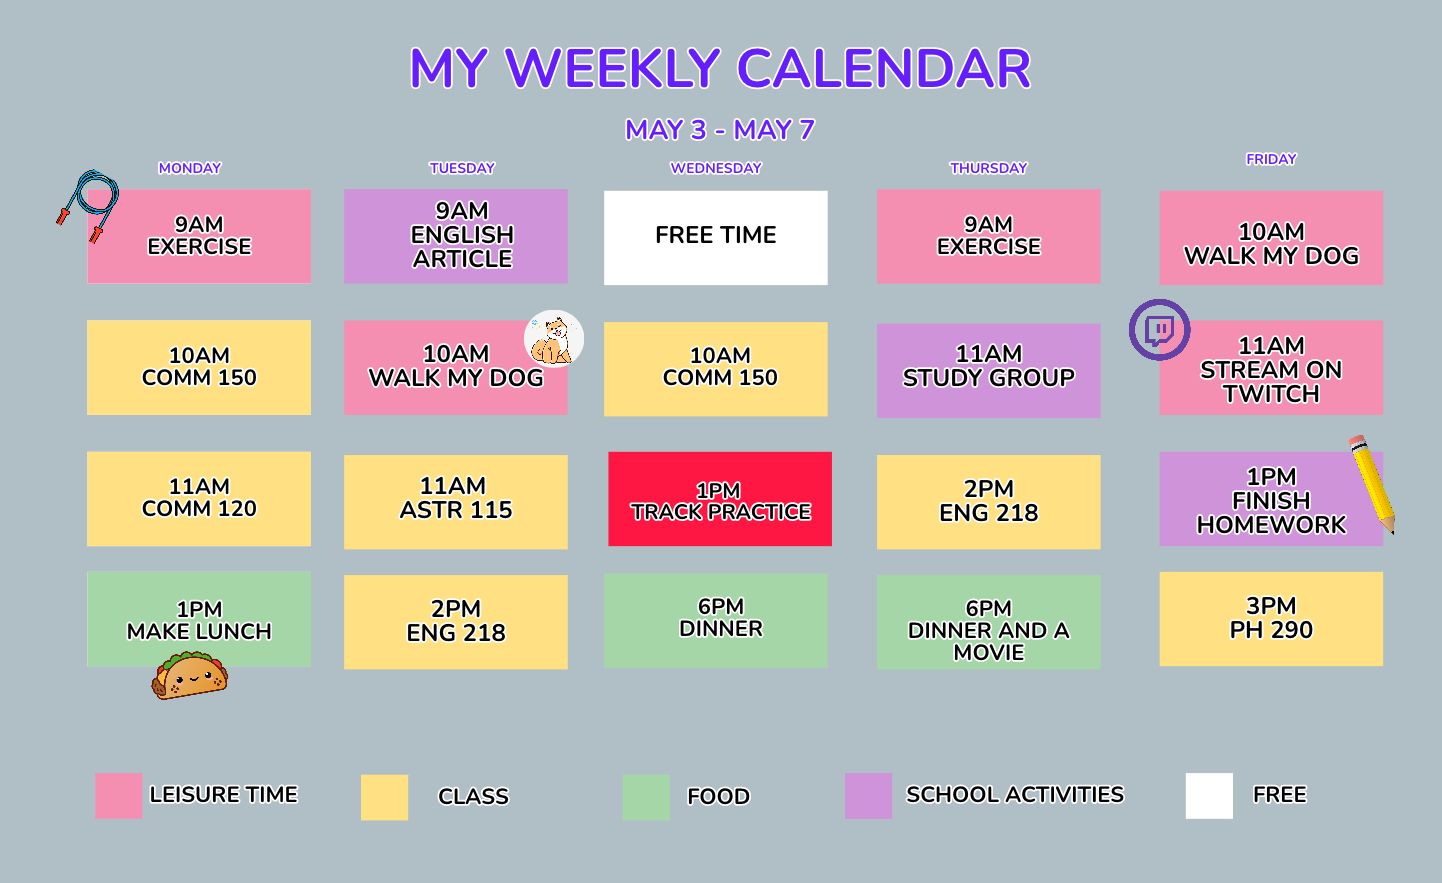
For this weekly schedule, I sketched the squares for classes first. After including all of the classes, I identified empty time blocks and added more activities such as exercising, making lunch, or walking the dog. When you’ve completed sketching, you’re ready to create a digital schedule.
Step 2: Open Kapwing
Go to kapwing.com in your browser and click Start Editing. Click the top of the project and give it a title. For this tutorial, I’ll title it “My College Schedule”. You can start by uploading your own photos, pasting an image link or clicking Start with a blank canvas.
Step 3: Create the framework
The framework for your daily, weekly, or monthly schedule is an important step because you want to make sure the format makes the most sense to you. On the right-hand side of the studio, you can choose between 16:9, smaller, or larger canvas output sizes depending on how much information you want to include.
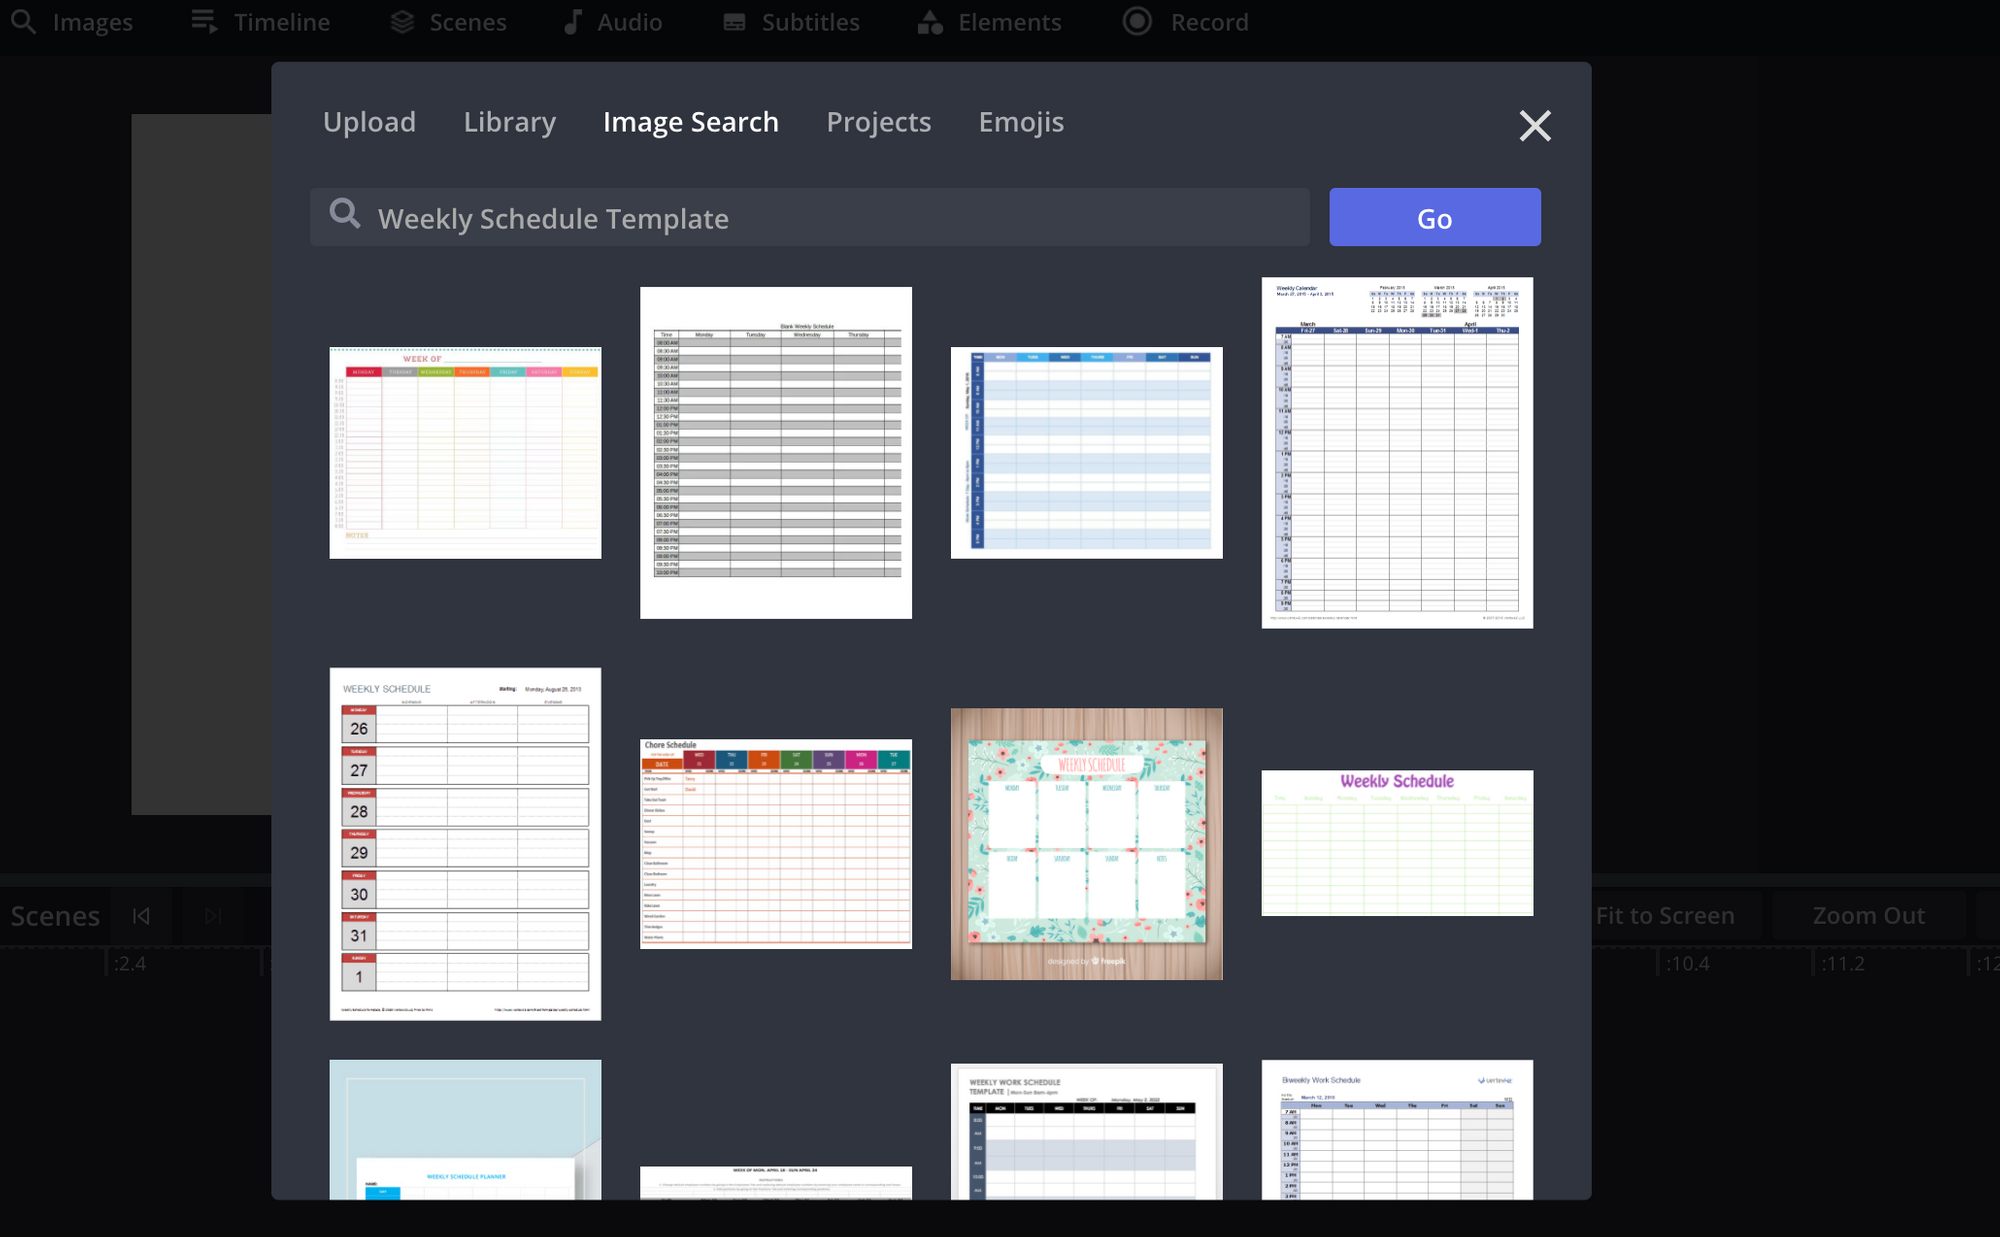
If you want to search for a template, go to Images and search for “Weekly Schedule Template”. Here you can browse through different templates and quickly start adding Text, Images, or Elements to the template to be more efficient.
I’ll be starting from scratch so first, I will use the Text button to create a title that says My Weekly Calendar, but you can use your own unique title. Underneath I will include dates and the days of the week.
Next, I will use Elements to start building my time blocks. Choose the square shape on the right-hand side, adjust the size of the square by dragging the corners, and place the square under the designated day.
Finally, I will use the Text button at the top left to type the time and activity, resize the font by dragging the corners (or choose a number on the right-side panel under Font) and place the text inside the square. Repeat this process until you finish adding all of your classes and activities.
Step 4: (Optional) Get creative by adding more colors, shapes, and images
A schedule looks best when you can make it stand out with different colors, shapes, or images. For example, you can group your activities together by creating a legend that explains the different colors in your calendar.
Adding images into your schedule can make activities appealing and easily identifiable. Go to Images and search for clip art or other photos that match your activities. I searched for “Shiba Inu”, clicked on an image I liked, resized, and placed the image next to the dog walking activity in my schedule. Have some fun and get creative!
Step 5: Save your schedule to your device
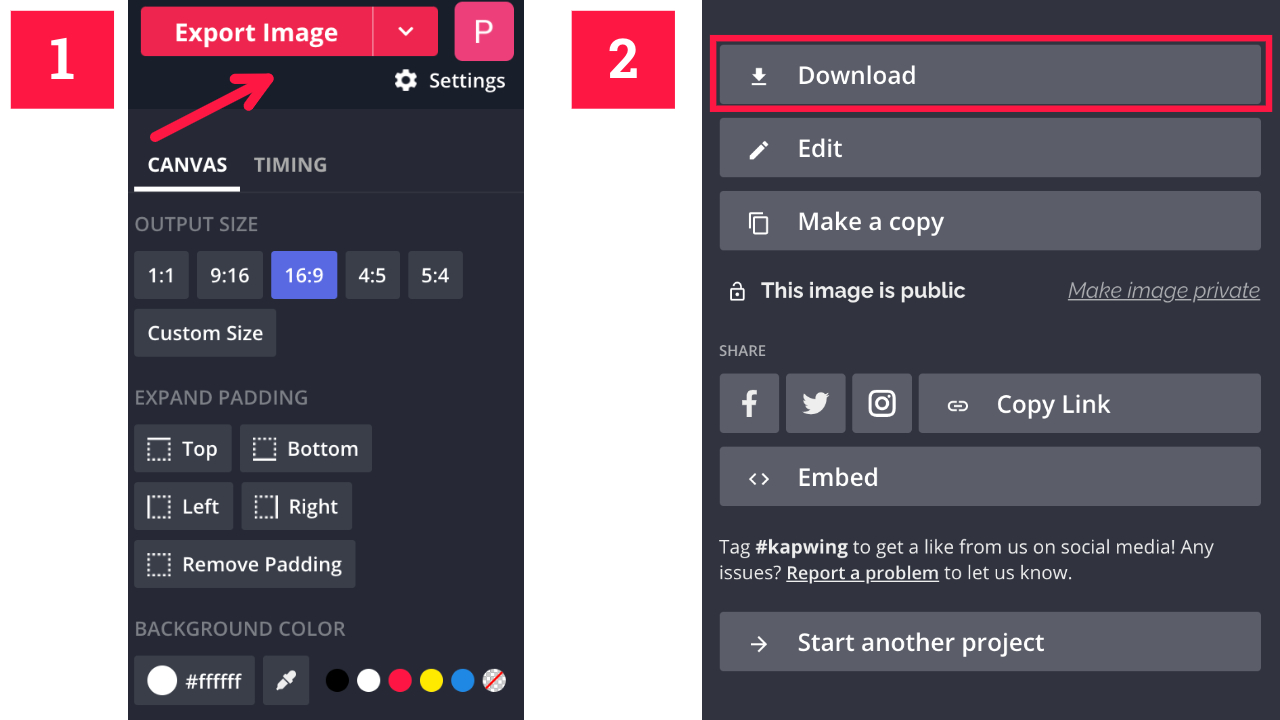
When your college schedule design is complete, click on Export Image on the top right, wait for your image to export, then click Download on the next screen to save to your device. Once your image has been downloaded you can make it a wallpaper or save it on your phone. Now you’re ready to take on the school year!
Kapwing has got you covered when it comes to your classroom or learning needs. Our Education section includes inspiration for lessons, teacher training guides, K12 getting started materials, and more. Tag us @KapwingApp on social media and share your finished schedule or other projects you’ve made with Kapwing - we love supporting our creators! Also, don’t forget to check out our YouTube channel every week for new tutorials.
Related Articles:
- How to Create a Weekly Planner
- A SMART Goals Template To Help You Succeed In Life
- How to Make a Graphic Organizer For Free Online
- How to Make Vocabulary Flash Cards


