
How to Reverse Video Search
Google Lens is used in over 2.5 billion searches each month — use it to find videos in seconds

Nowadays, with AI video tools becoming increasingly accessible across social platforms, it's no longer guaranteed that every video you encounter comes from a credible source. A clip might be generated by AI, selectively edited, or reposted without context, so verifying its origin is essential for determining authenticity.
Reverse video search, an approach inspired by traditional reverse image search, helps identify where a video came from by analyzing a still frame. In this guide, you'll learn how the process works, why it matters, and which tools offer the best chance of finding the original version.
Table of Contents
- What is Reverse Video Search?
- Why it Matters: Use Cases
- How to Reverse Video Search: Step-by-Step
- Tips for Best Results
- Top Tools Ranked and Compared
- Tips for Best Results
What is Reverse Video Search?
Reverse video search is simple in concept. It involves uploading a video to a specialized search engine that scans the internet for exact or similar copies, ideally leading you to the original source. The process is useful for checking if a video truly belongs to the person sharing it, or to see if it’s been reused across other platforms.

However, this process faces one major limitation: the intensive resources required to analyze and match full video files. As a result, the most common and accessible approach is to save a still frame from the video and use it to perform a reverse image search. This method can still locate matching source material, achieving the same goal as a full reverse video search, but with tools available to everyday users.
Why it Matters: Use Cases
Reverse video searching has many real-world applications, from professional use in journalism and media to casual research for personal projects. Whether you're verifying information or trying to find the best version of a clip, here are some of the most common reasons people turn to reverse video search:

1. Verifying the Original Source of a Video
Tracing where a clip first appeared online and who uploaded it provides clear attribution and helps establish the video’s origin.
This is especially useful for journalists and news organizations that rely on accuracy and credibility. Finding the original upload not only helps confirm authenticity but may also provide opportunities to contact the content owner, which can be critical for gathering additional context or firsthand accounts, especially when reporting on real-world events.
2. Fact-Checking Misleading or Edited Clips
As video editing becomes more accessible, comparing a circulating clip with its original version can reveal if it has been cropped, selectively edited, or otherwise altered. Accessing the full version restores missing context and can expose manipulations intended to mislead viewers.
3. Checking for Copyright Infringement or Stolen Content
Platforms like YouTube automatically scan for reused content, but creators may still need to perform their own checks. Reverse video search can help identify if a video has been copied or shared without permission, making it easier to flag copyright issues or enforce ownership.
4. Discovering Similar Content
In many cases, reverse video search will return visually similar results, making it a valuable tool for finding related content. For niche topics or aesthetic themes, this is a quick way to uncover lookalike footage or expand your creative options.
5. Find Full-Length Videos or Higher Quality Copies
If you’ve only found a short clip or a low-quality version, reverse video search can help locate a longer, clearer version of the same content. This is especially helpful when gathering assets for a project, and you want the best possible source.
As videos are downloaded, reposted, or compressed across platforms, their quality often declines. In many cases, the original upload will remain the highest quality version available, making it the most reliable option to trace back and use.
How to Reverse Video Search: Step-by-Step
Many tools claim reverse video capabilities, but the most reliable method for consumers is to search for a still frame from the video.
The steps below use Google Lens. For a full list of alternatives, skip to the final section.
1) Save Image from Video
To start your reverse video search, you'll need to save a still image from the video that can be used as the basis for the search. There's a few ways to capture a still frame:
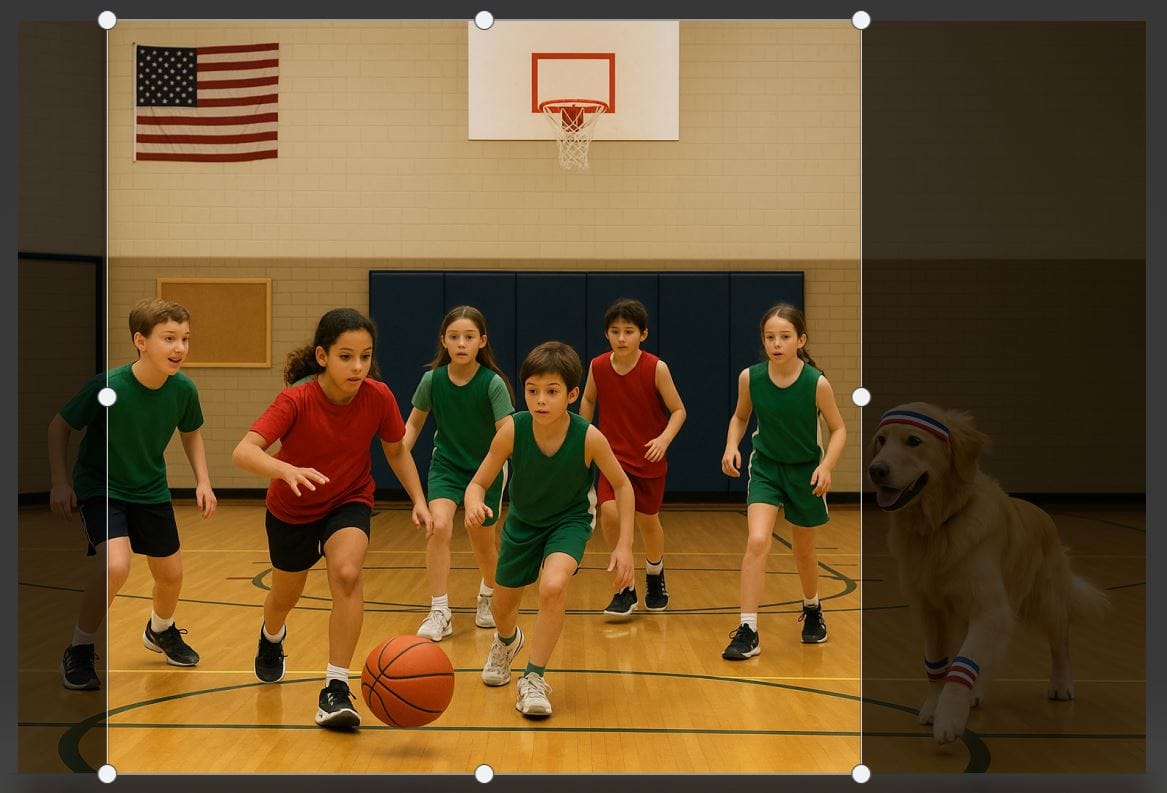
- Take a screenshot: Using your phone or computer, capture a screenshot of the video. Try to capture a well-lit, distinctive scene.
- Use a Video Converter: Tools like Kapwing's Video to Image conversion help to capture a JPG image frame from an Mp4 or YouTube video.
Choosing the right frame is key. Not every image will deliver strong results, so it's important to select a moment that’s visually distinctive and easy for search engines to analyze.
Here are a few things to prioritize when selecting a frame:
- Use scenes with strong contrast and clear detail
- Choose frames with people, signage, or recognizable backgrounds
- Avoid scenes with lots of motion or blur
- Skip overly simple scenes without key visual cues
The clearer the frame, the more likely a reverse search will trace it back to its original source or related content online. If you’re unsure, test a few different moments from the video and compare the results.
2) Upload to a Reverse Image Searcher
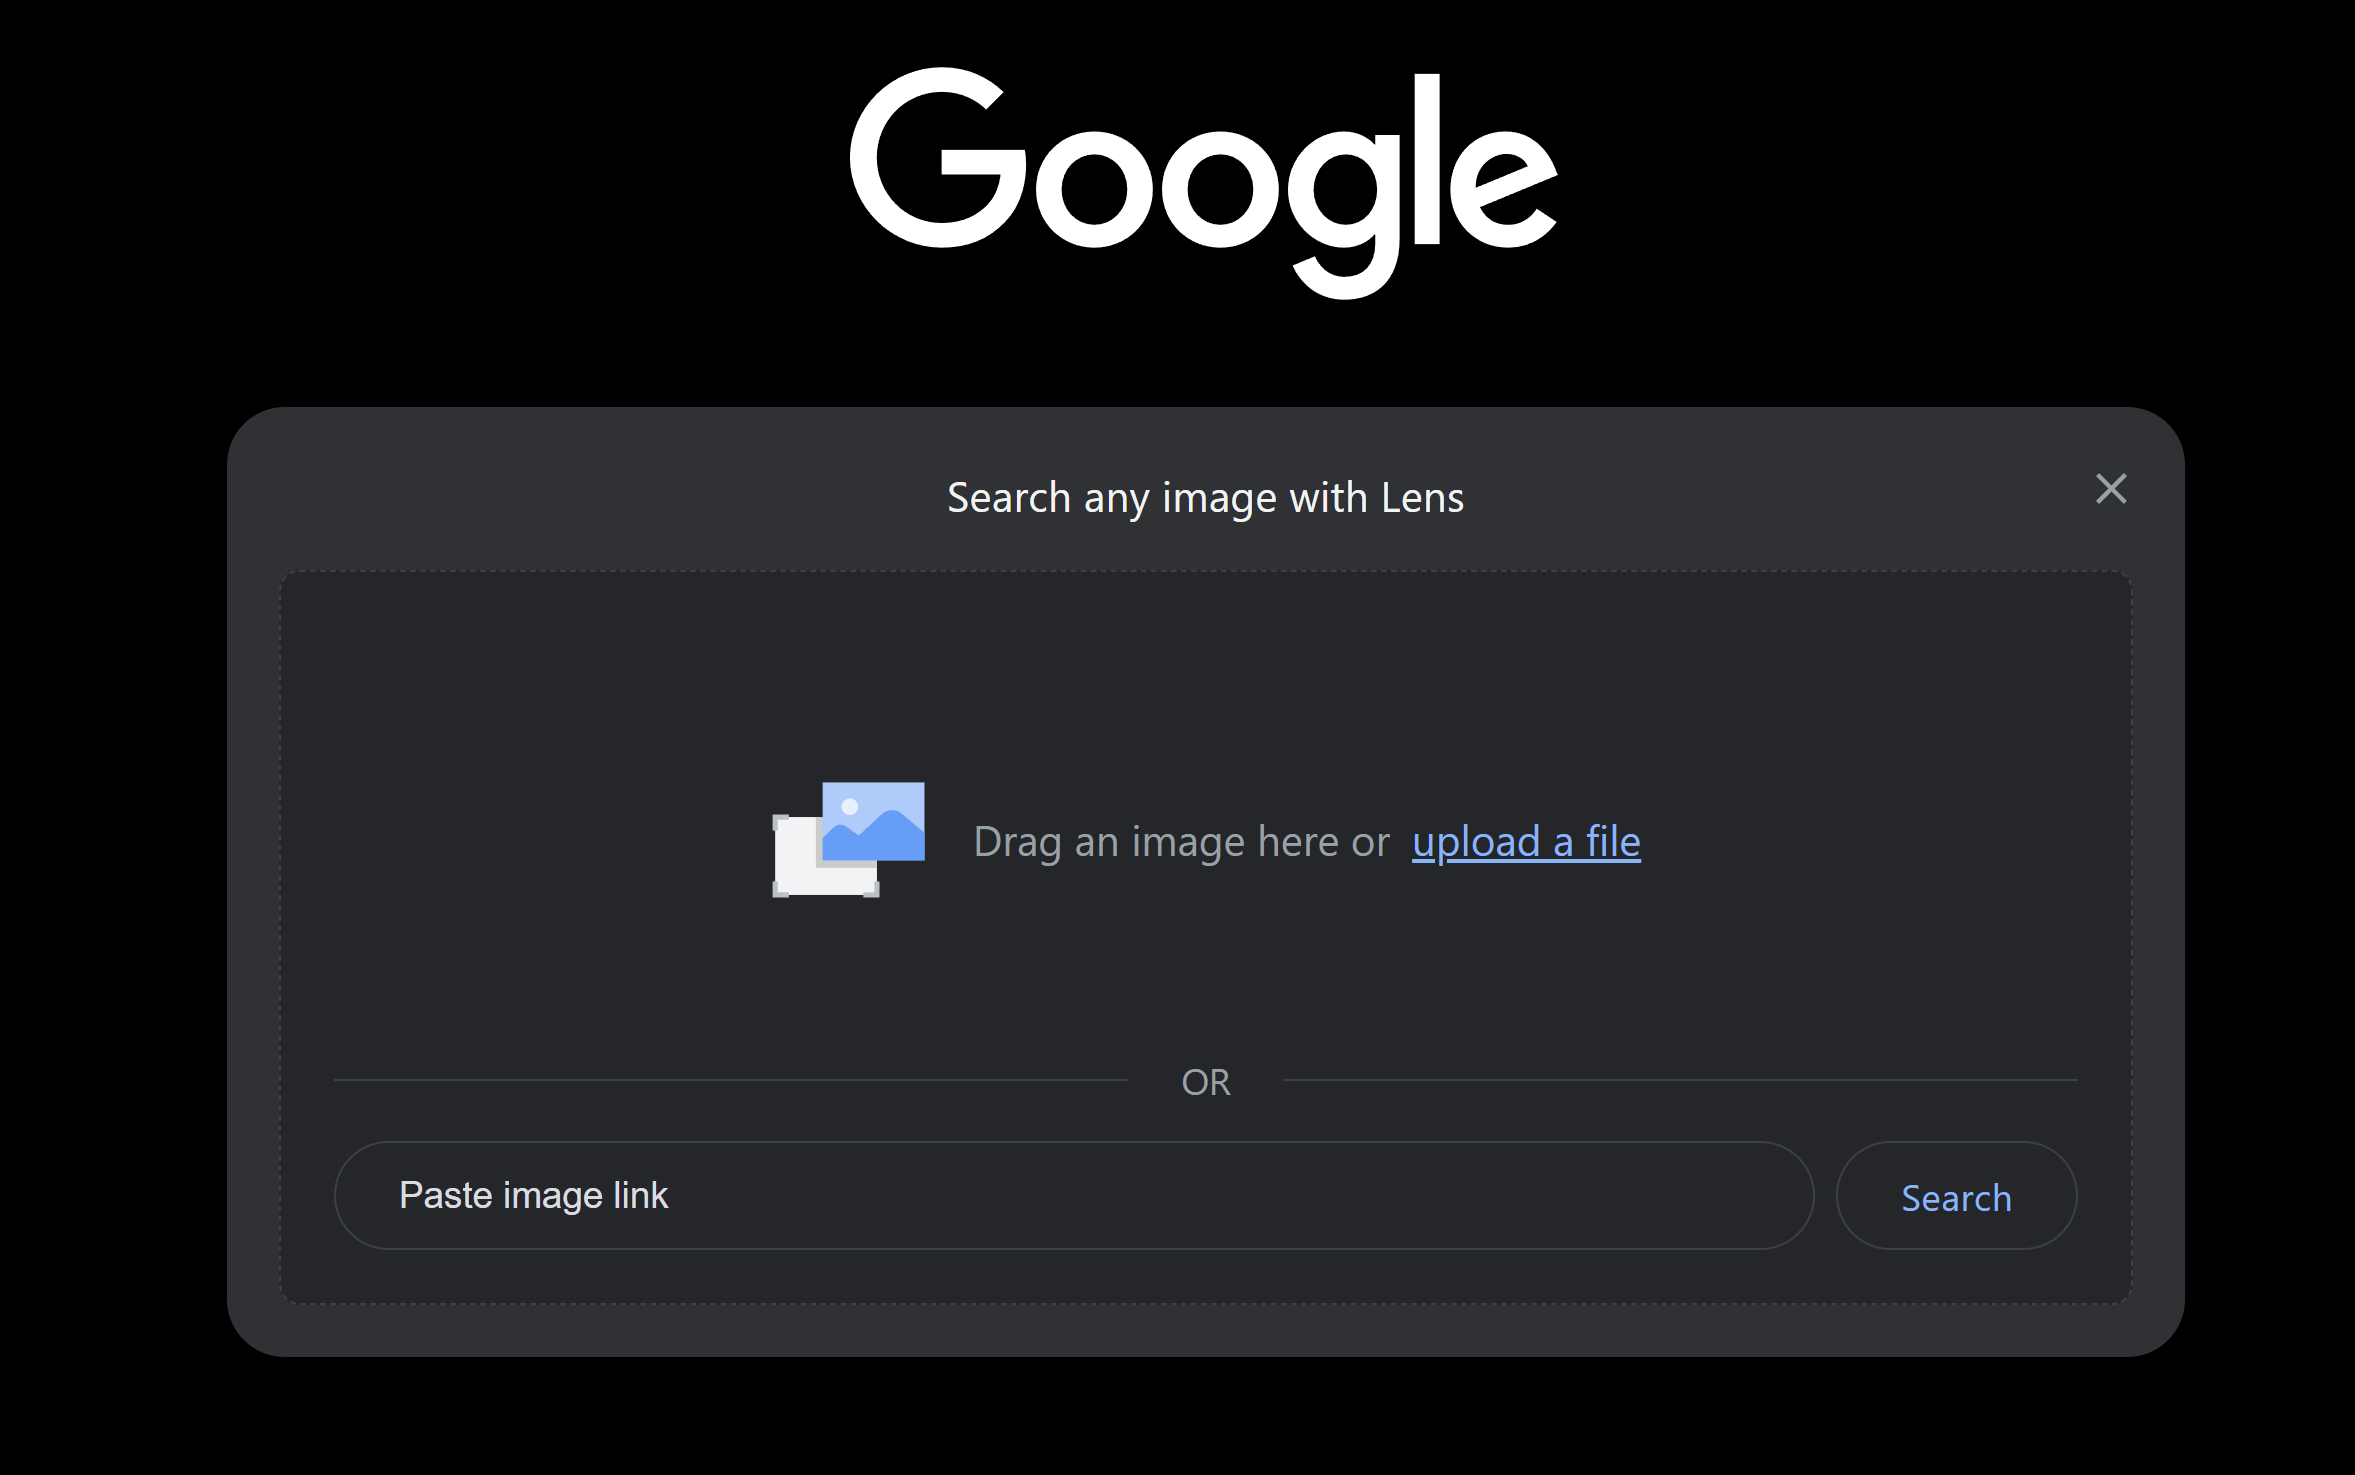
Because full reverse video search tools aren’t widely available, the next step is to upload your still frame to a reverse image search platform like Google Lens.
If Google is your default browser, you can launch Lens directly by clicking the stylized camera icon that appears on the right side of the search bar. On mobile, reverse image search is also available on the Google App or Gemini.
Once the media window opens, upload your saved frame.
On mobile, you can access Google Lens through the Google app by tapping the Lens icon and selecting the image from your gallery.
3) Review Search Results
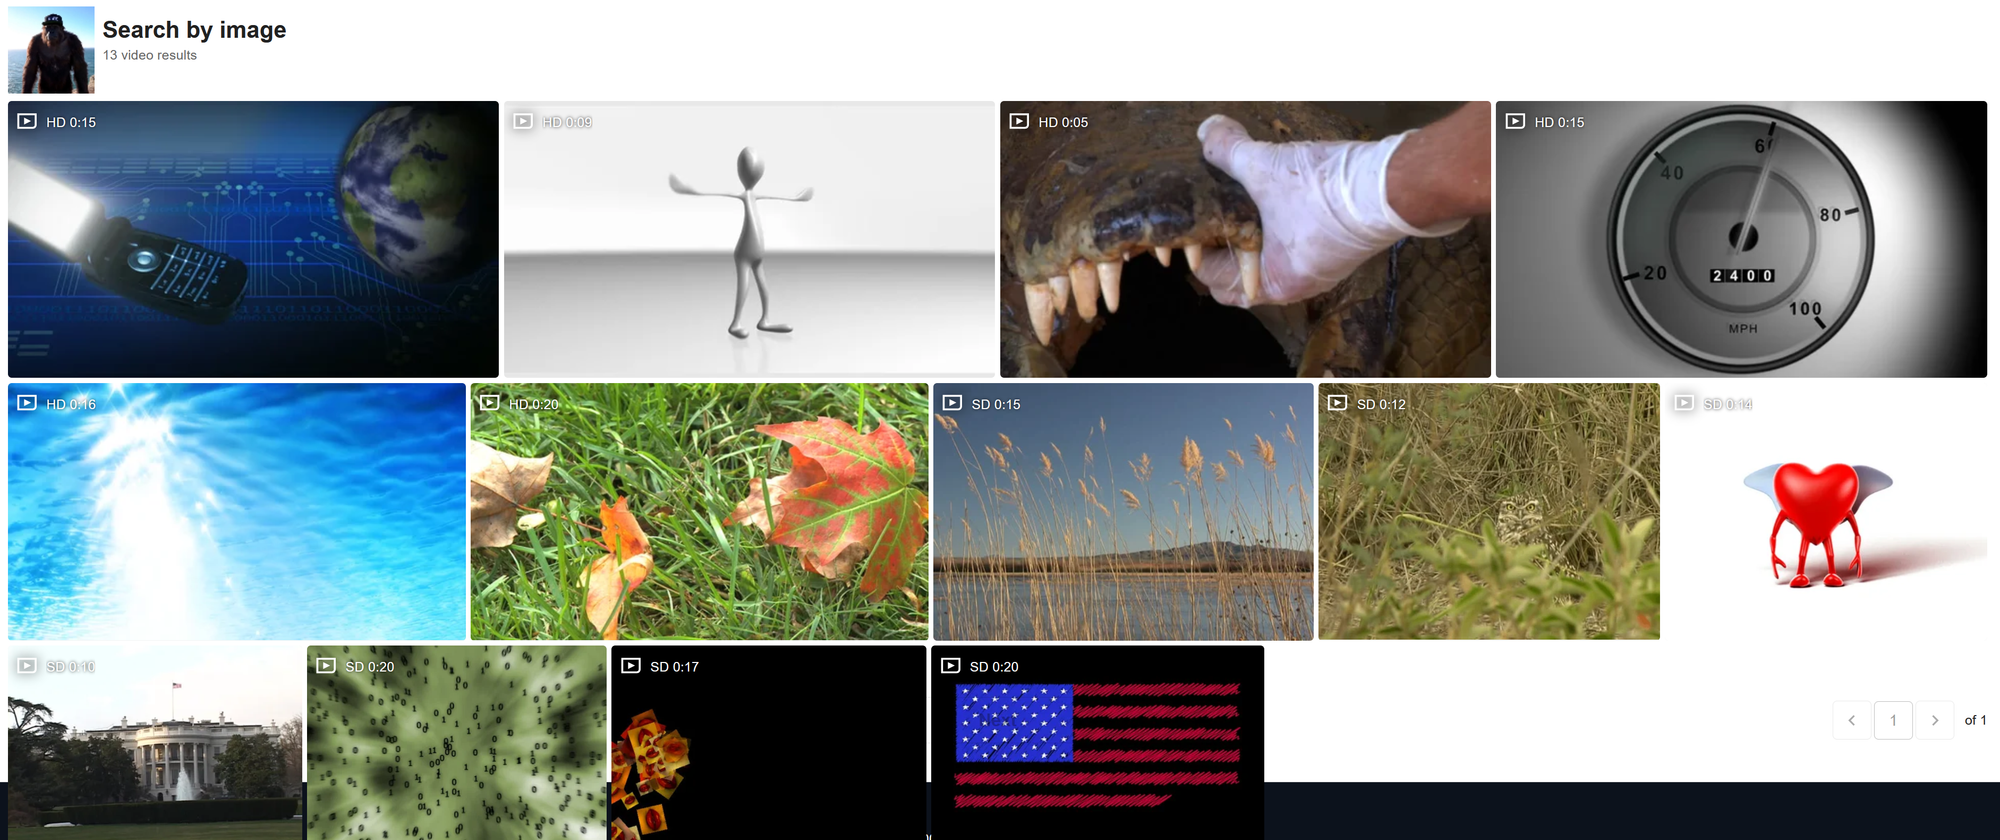
Your results will depend on how widely the video has been shared online.
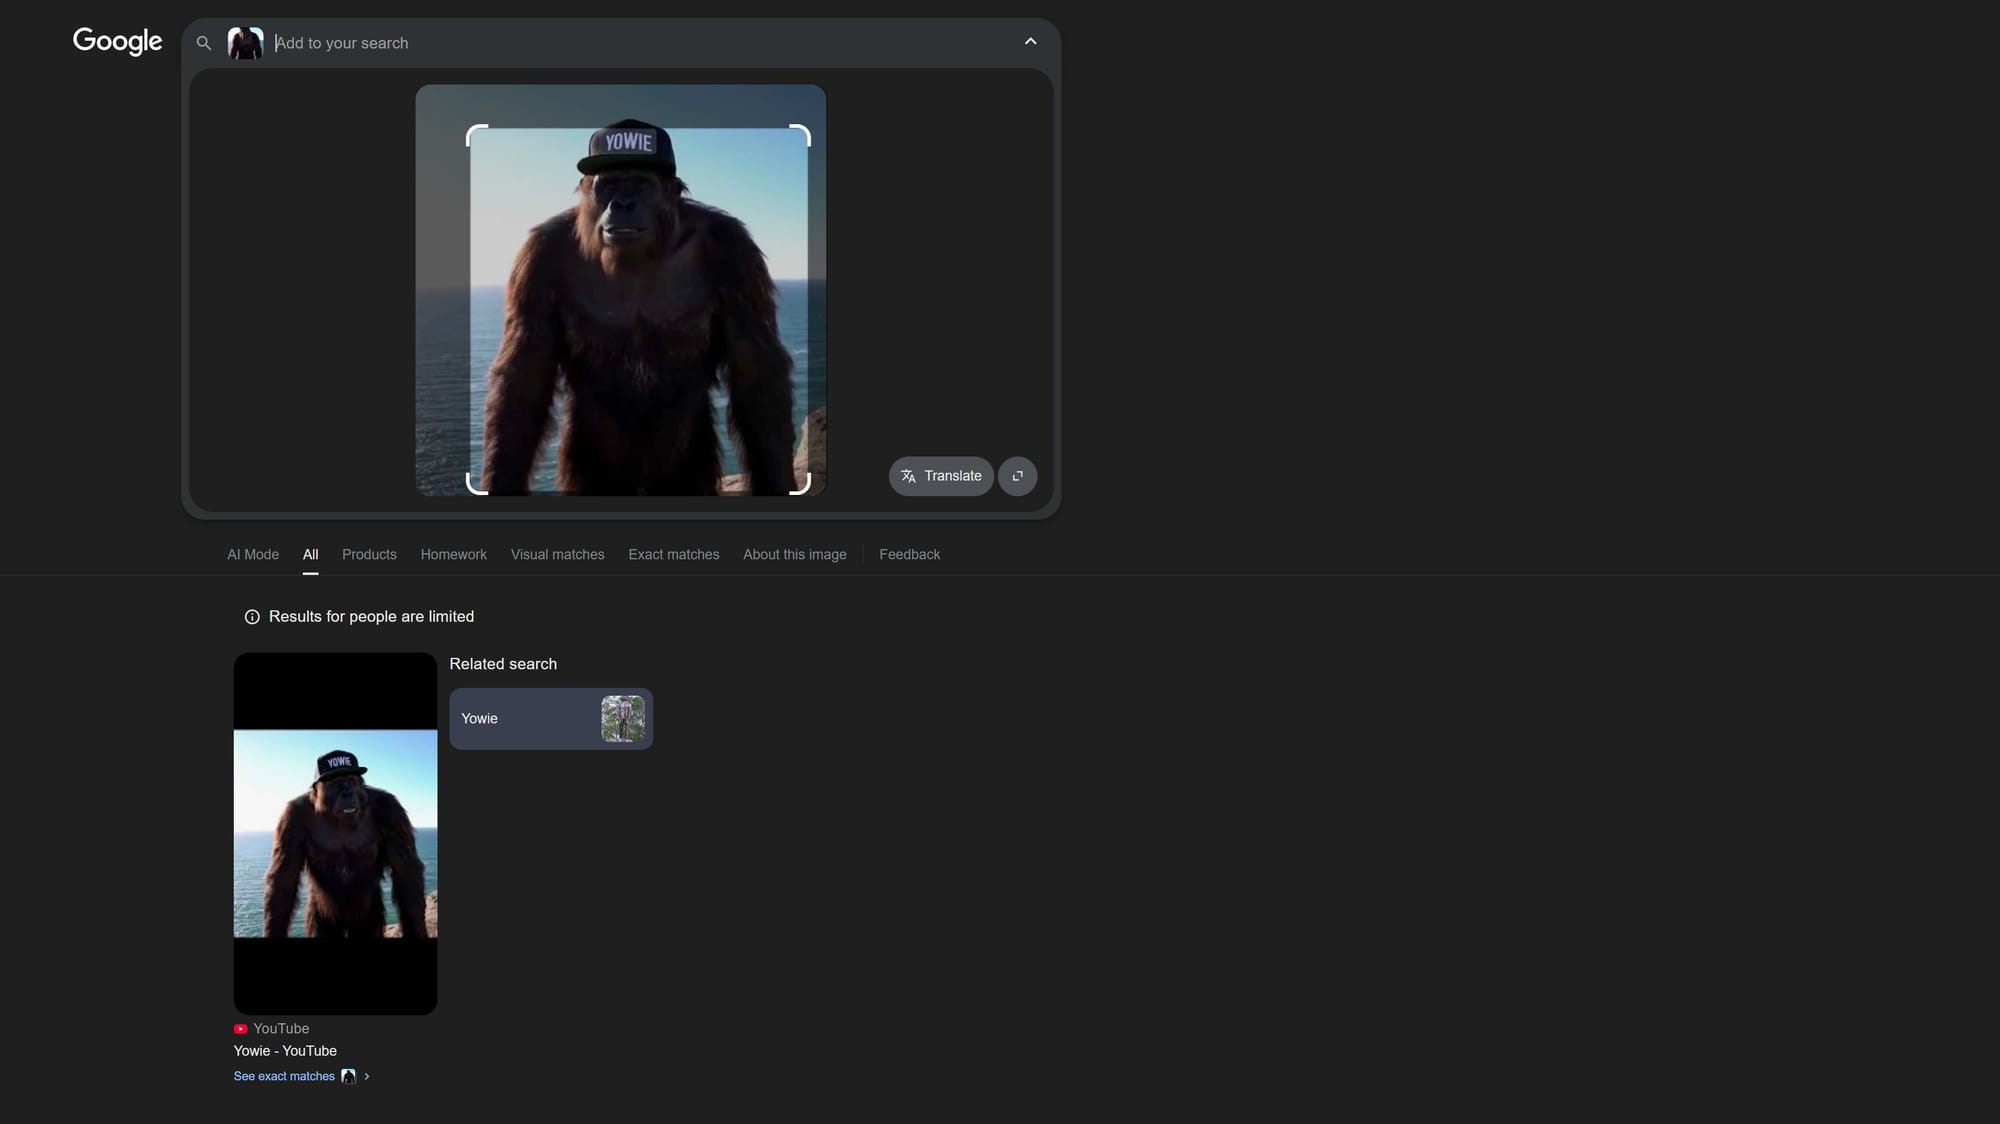
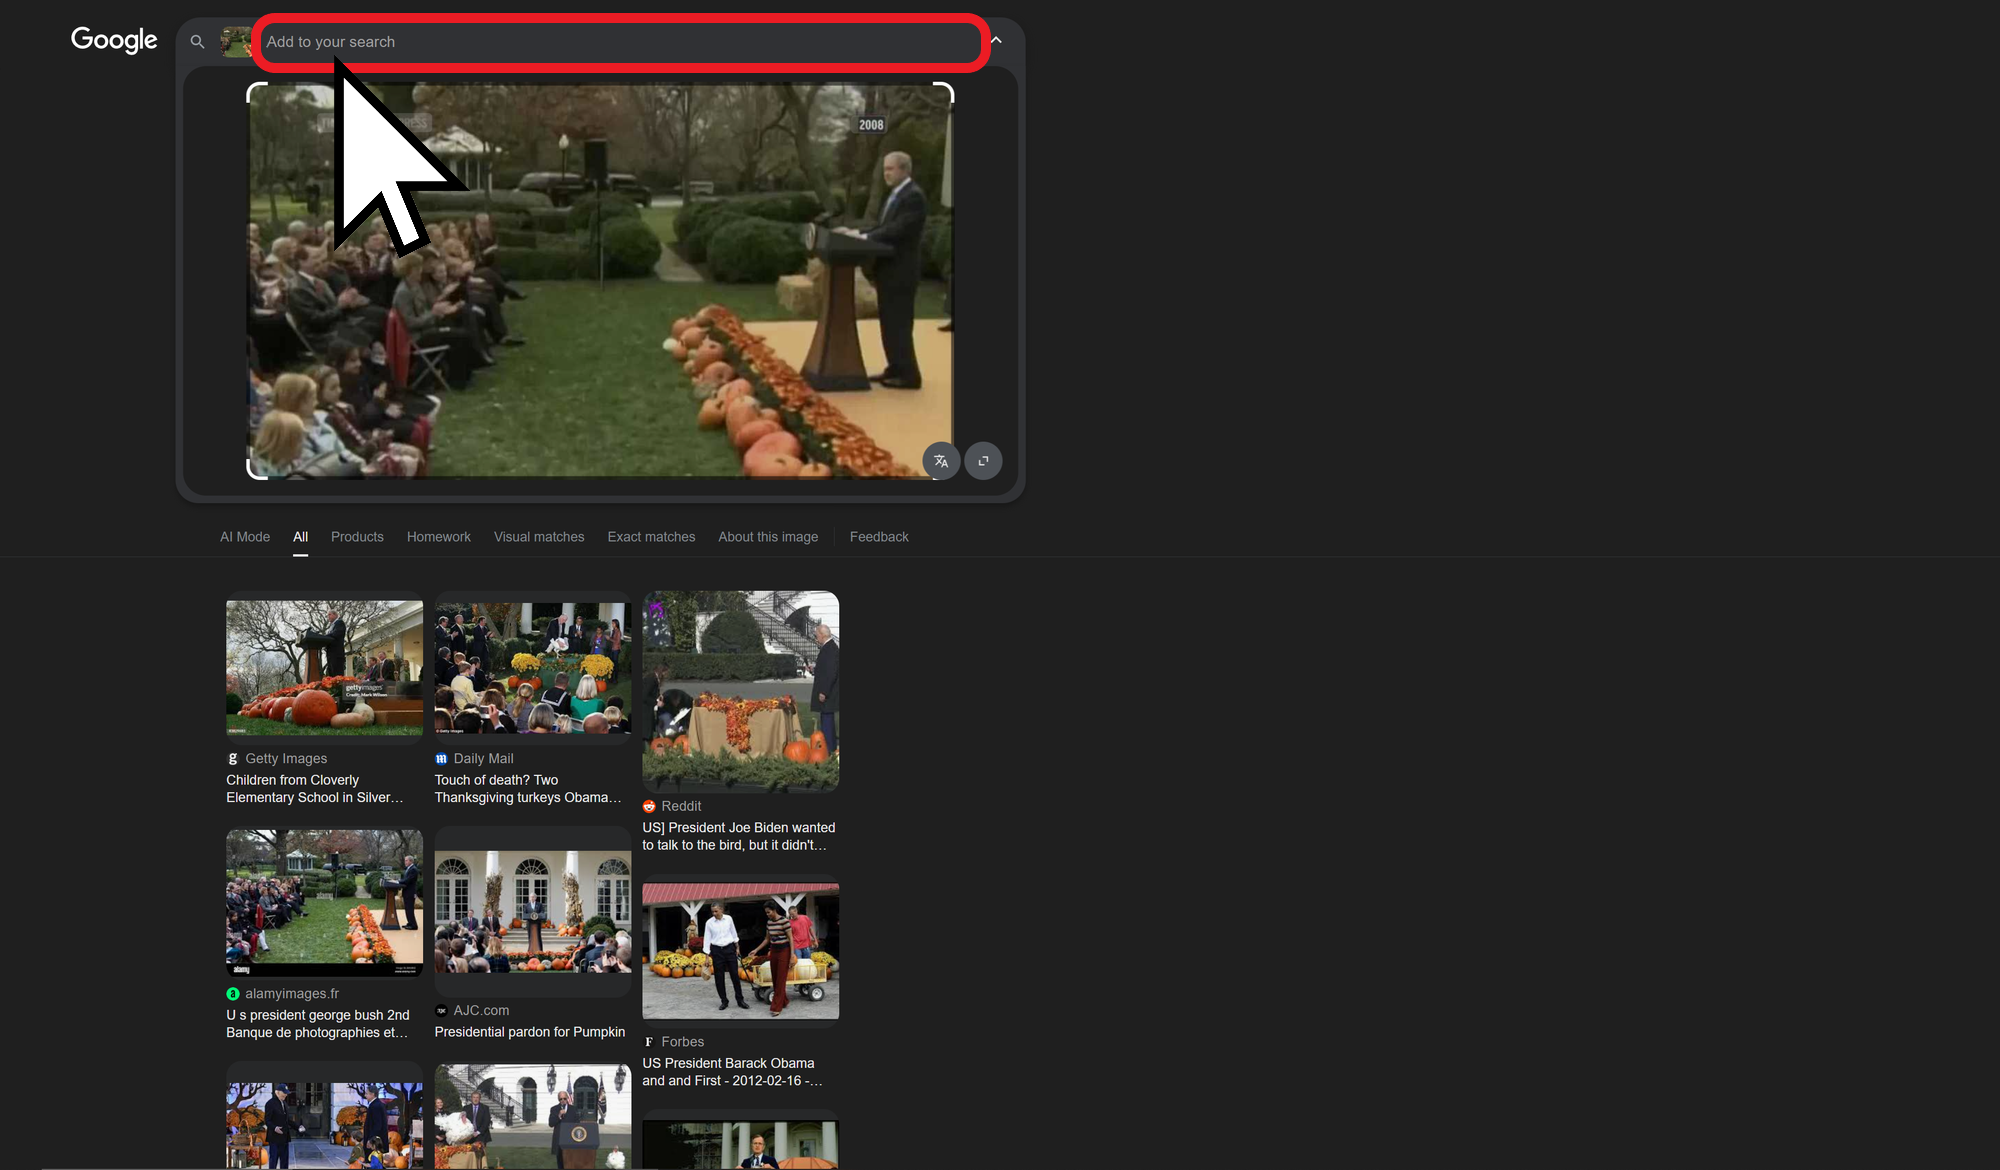
In my example, I used a still frame from a more niche video, and Google Lens returned just one result. That single result was a direct link to the original video, showing that the process worked as expected.
For more popular content, you'll likely receive a broad selection of results, ranging from original sources to reposts on other platforms.
These appear just like any standard Google search, giving you an easy way to scroll through and find the version or context you need.
Google has limited results for People. If you're unable to find what you're looking for, try uploading the screenshot to ChatGPT to ask instead.
Tips for Best Results
While the steps above work well for most people, a few small adjustments can help streamline the process and improve the accuracy of your reverse video search results.
Narrow Your Search
Many platforms, including Google Lens, allow you to refine your results by adding search terms, similar to a standard Google search. This can help filter out unrelated results and focus your search on specific people, topics, or locations.
To do this, simply type into the search bar after uploading your image and completing the initial visual search.
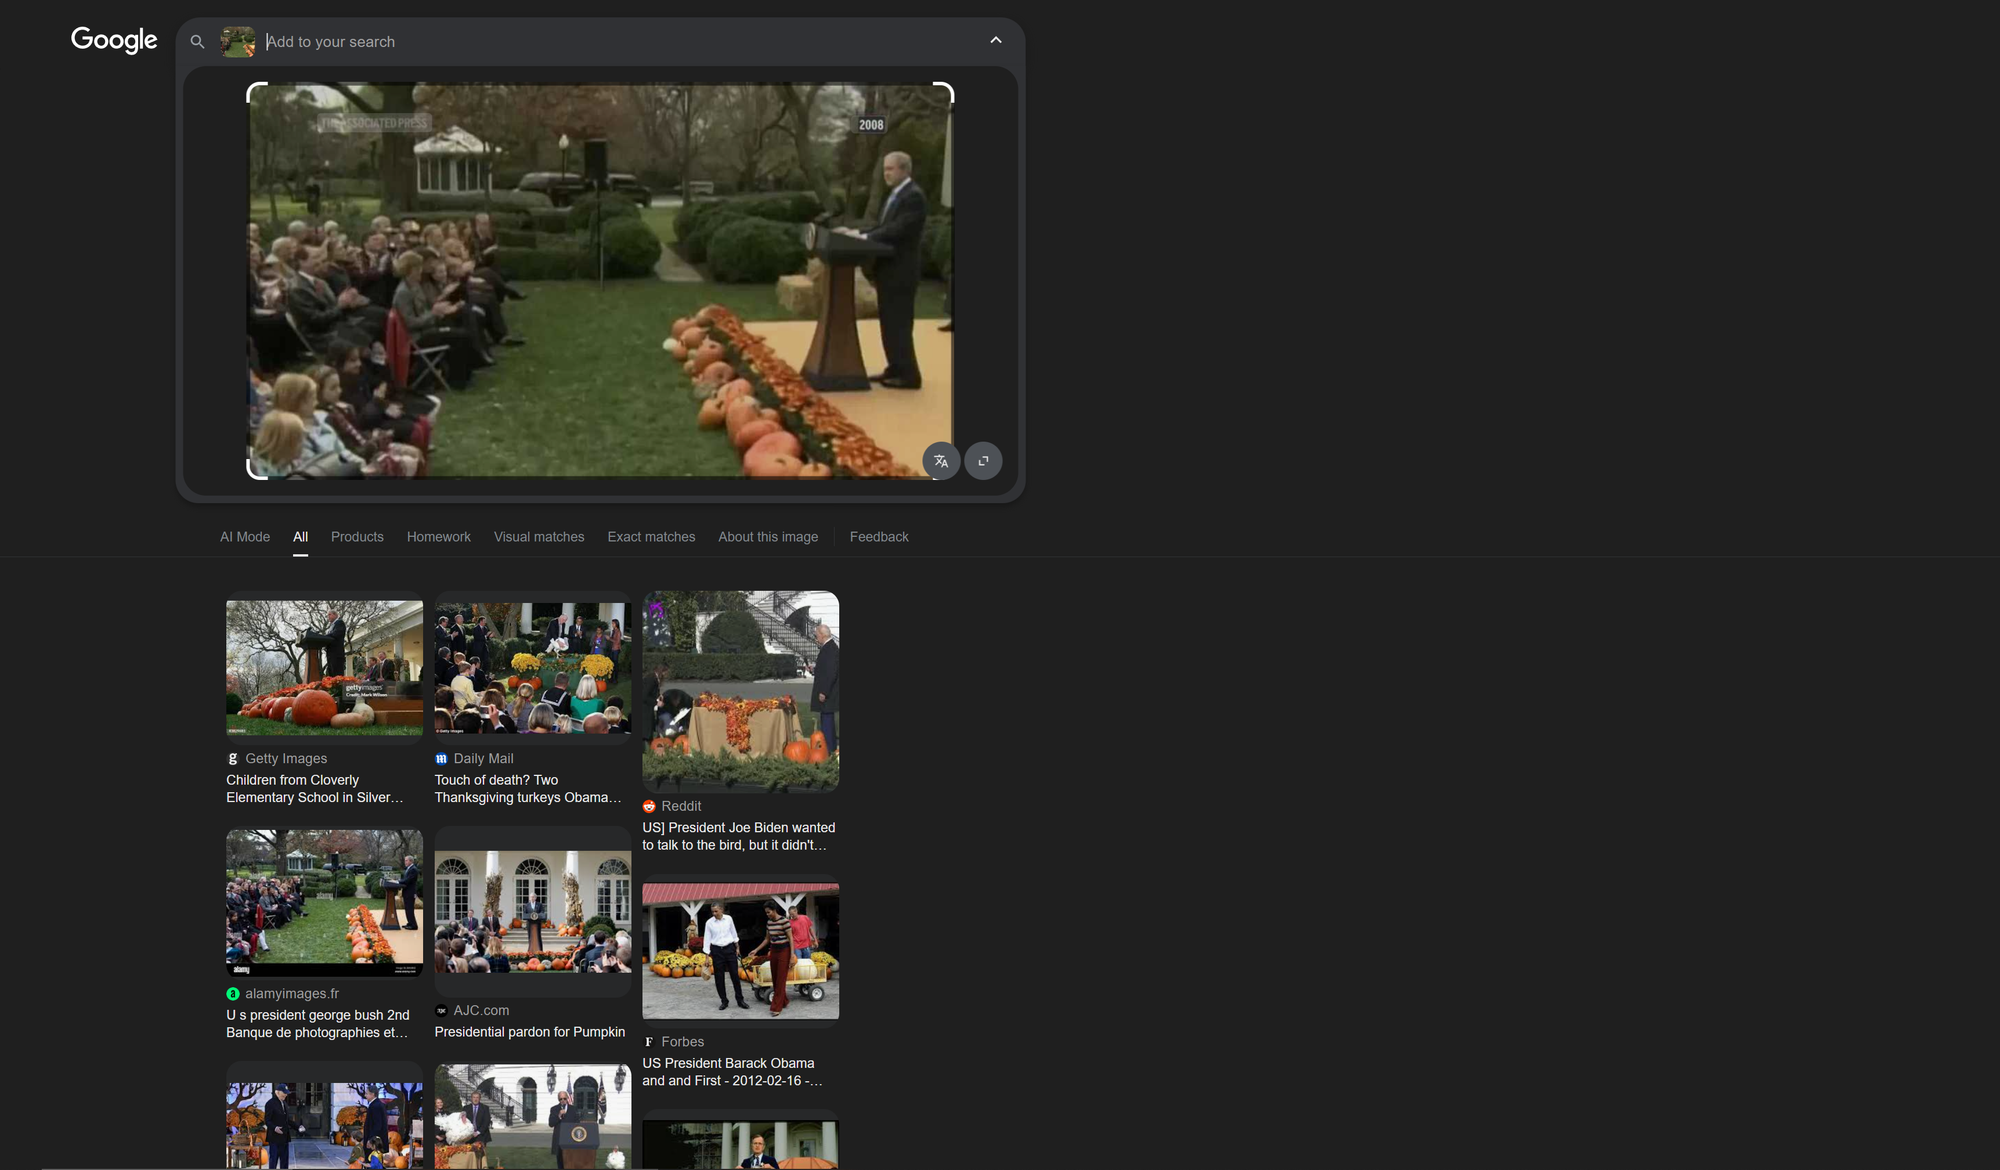
For example, after uploading a frame, I added the term “President” to the search bar.
This narrowed the results to content that both matched the image and included the word “president” somewhere on the page.

This step is most helpful when you already know some context about the clip, such as the speaker, location, or organization involved.
Try Multiple Video Frames
If your first search doesn’t return useful results, try again using a different moment from the same video. Some frames work better than others, depending on what's visible.
To upload a new image in Google Lens, return to the camera icon in the search bar and select a new file. You can repeat this process as many times as needed.
Start another reverse video search by selecting the camera icon in the search bar.
Use High-Quality Still Images
Better input leads to better results. Whenever possible, use a frame exported directly from a video is better than a social-media screenshot.
- Export as PNG or high-res JPG
- Avoid heavy compression or cropping
- Keep the full context of the frame visible
If you're limited to a blurry or low-quality image, you can use an AI Image Enhancer to sharpen the details and improve recognition before uploading it.
Don’t Ignore the Surrounding Results
Even if you don’t get an exact match, you may still uncover useful leads. Reverse image tools often return web pages where the searched image appears alongside other media or context.
Take time to:
- Open pages that contain your image
- Look for embedded videos or reposts
- Follow related image results or suggested keywords
Use More Than One Tool
Different platforms index different content. Running the same image through multiple engines increases your chances of success.
- Start with Google Lens for broad coverage
- Try Bing, Yandex, and TinEye for alternative matches
- Use Berify if you want to search multiple engines at once
Let's dive into the practical strengths and limitations of the leading reverse video searching tools right now.
Top Tools Ranked and Compared
While Google Lens is a great starting point for reverse video searching with still frames, it is far from the only option available. Several platforms offer similar tools with slightly different feature sets. Getting familiar with each can help when you hit a dead end with one and need to pivot to another for better results.
If you're looking for a quick recommendation, Yandex stood out as the premier option for accuracy and friendly user design, while Google Lens excels in overall accessibility.
Google Lens: 4.5/5 Reverse Video Search Score
For reverse video searching, Google Lens stands out for its accessibility. With nearly 3.5 billion people using Chrome, the tool is built right into the search experience for most users.
On mobile, Lens is integrated directly into the browser, allowing you to search for an image by simply tapping the camera icon in the search bar. This makes reverse video searching as easy as capturing a frame or screenshot from the video you are watching.

Lens performs especially well with widely shared media, video thumbnails, and recognizable people or places.
It also supports text-based filtering, so you can narrow your search further with keywords after uploading your image.
Bing Visual Search: 3/5 Reverse Video Search Score
Bing’s reverse image tool functions similarly to Google Lens, but it pulls results from a different index.
Upload your video frame by dragging it into the search bar, and Bing will return visually similar matches.
In testing, results differed significantly.
When using the same Big Yowie frame I tested on Google, Bing failed to locate the original clip but did surface dozens of related or stylistically similar videos.

This made Bing less effective at pinpointing the source but useful for exploring derivative content. It is a helpful second stop if Google Lens does not return what you need.
Yandex Images: 5/5 Reverse Video Search Score
Yandex, a Russian search engine, is known for strong image recognition, particularly in fine details like people’s faces.
Compared to Bing and Google, it also offers a much friendlier user experience when browsing through reverse-searched images and videos.
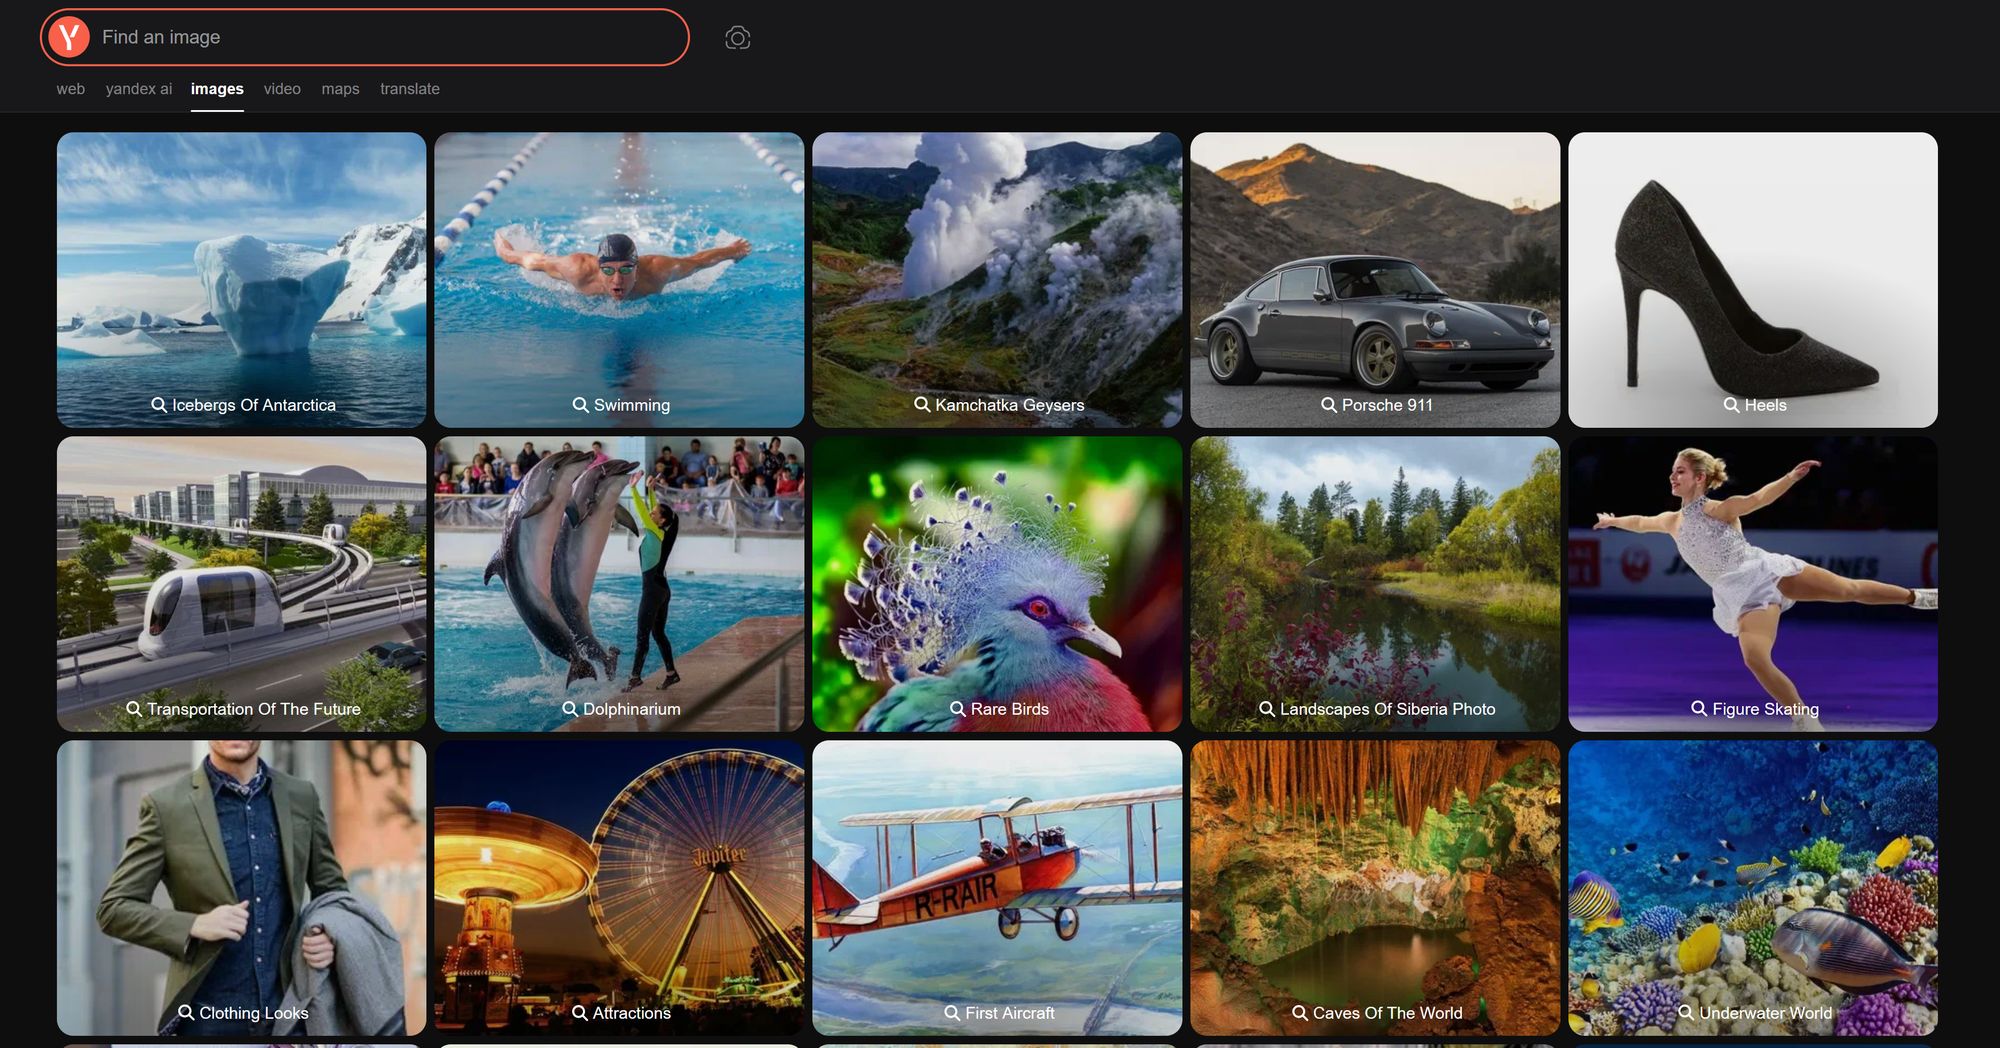
Reverse video searching is easy on the platform and follows a similar process to the others, starting with a simple file upload.
Just like before, you can upload, paste, or link to a media file to start your search.
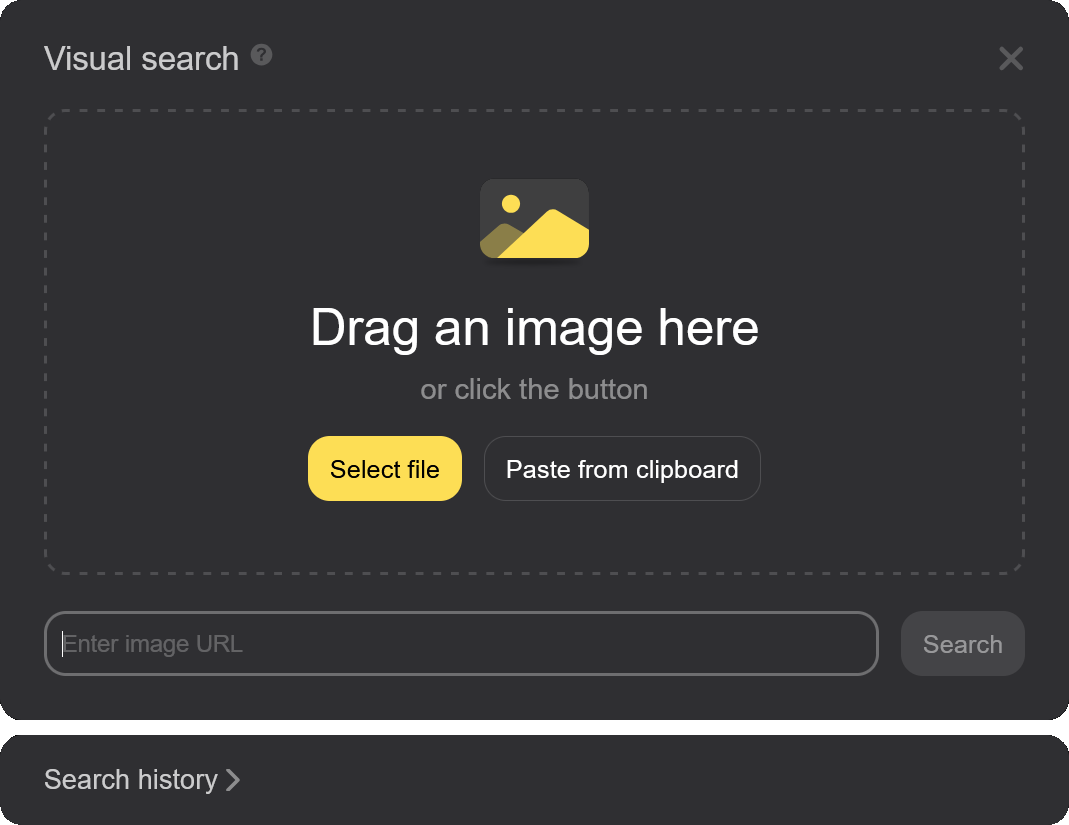
Once you upload a still frame from a video, Yandex works quickly to pull all relevant results.
My favorite feature of the platform is its results filtering, which includes general web pages, similar images, and sites featuring the reference content.
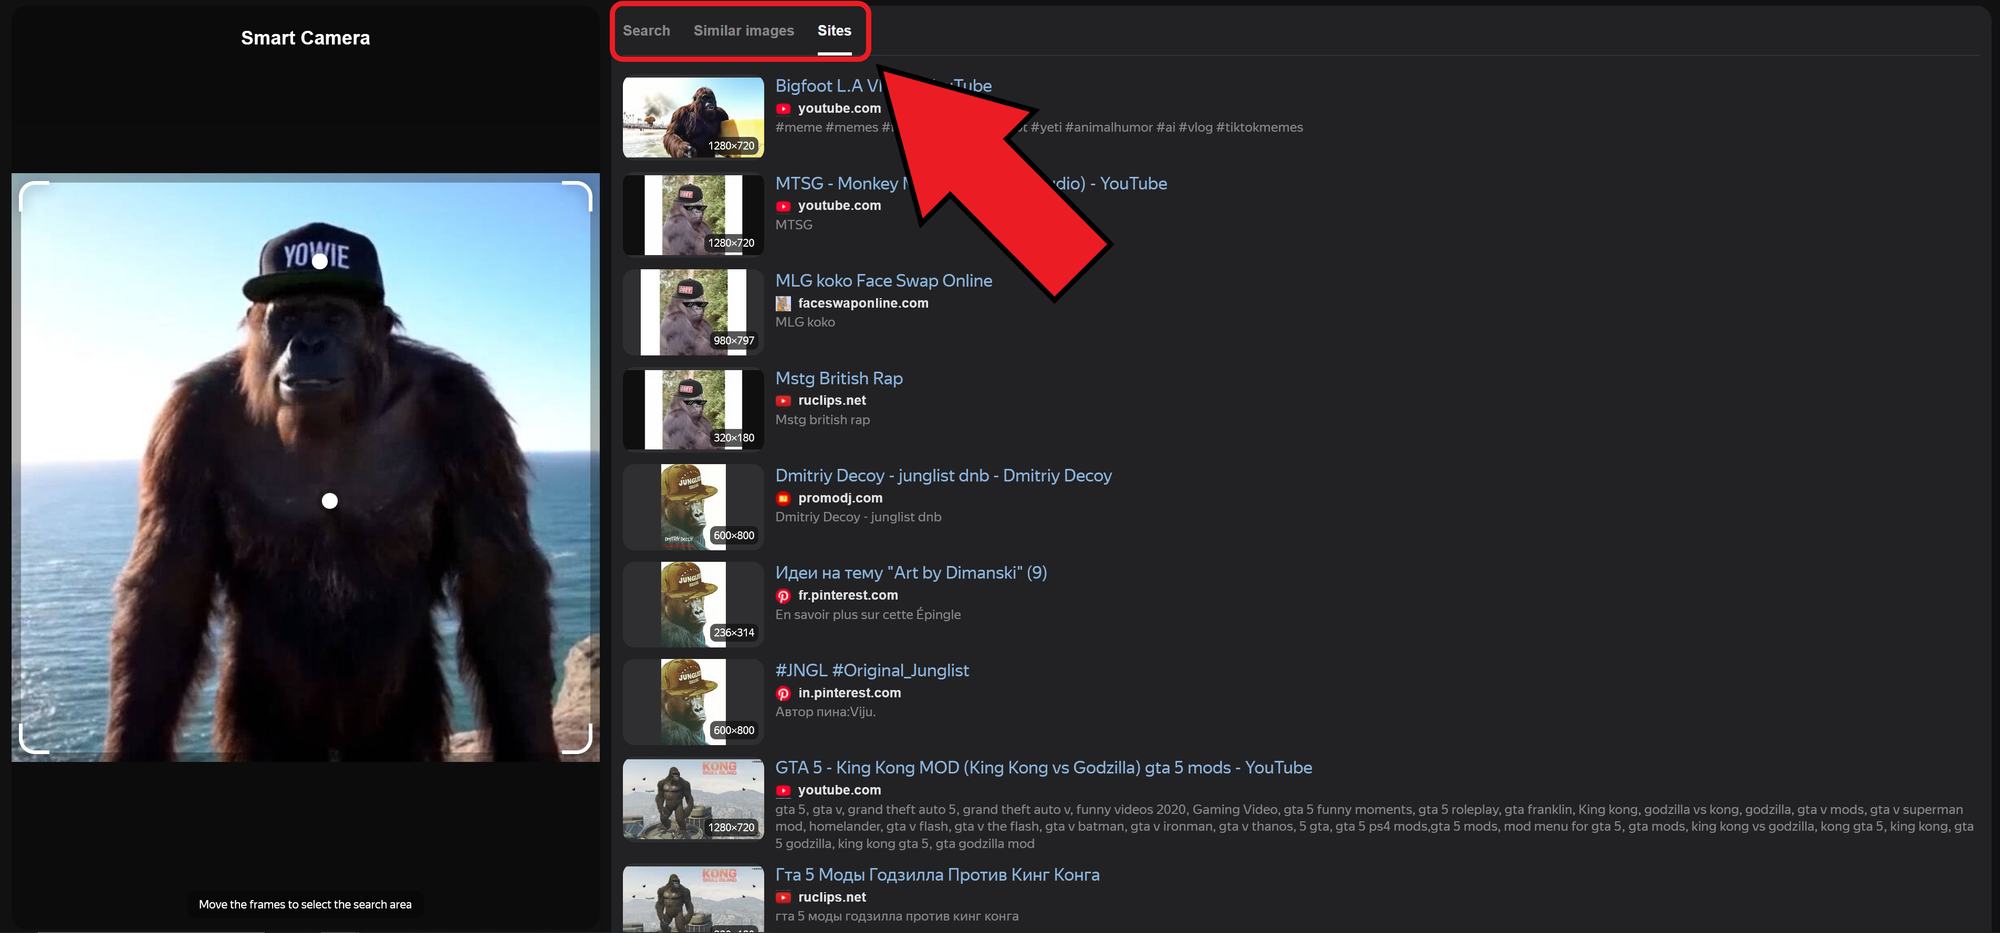
Being able to access all of these in one place, through a clean and easy-to-navigate interface, made it simple to find relevant sources even as a first-time user.
TinEye: 1/5 Reverse Video Search Score
Unlike the others, TinEye is a dedicated reverse image tool focused on detecting modified or reused versions of images.
It can be added to your browser via an extension, but it does not function as a general-purpose search engine.
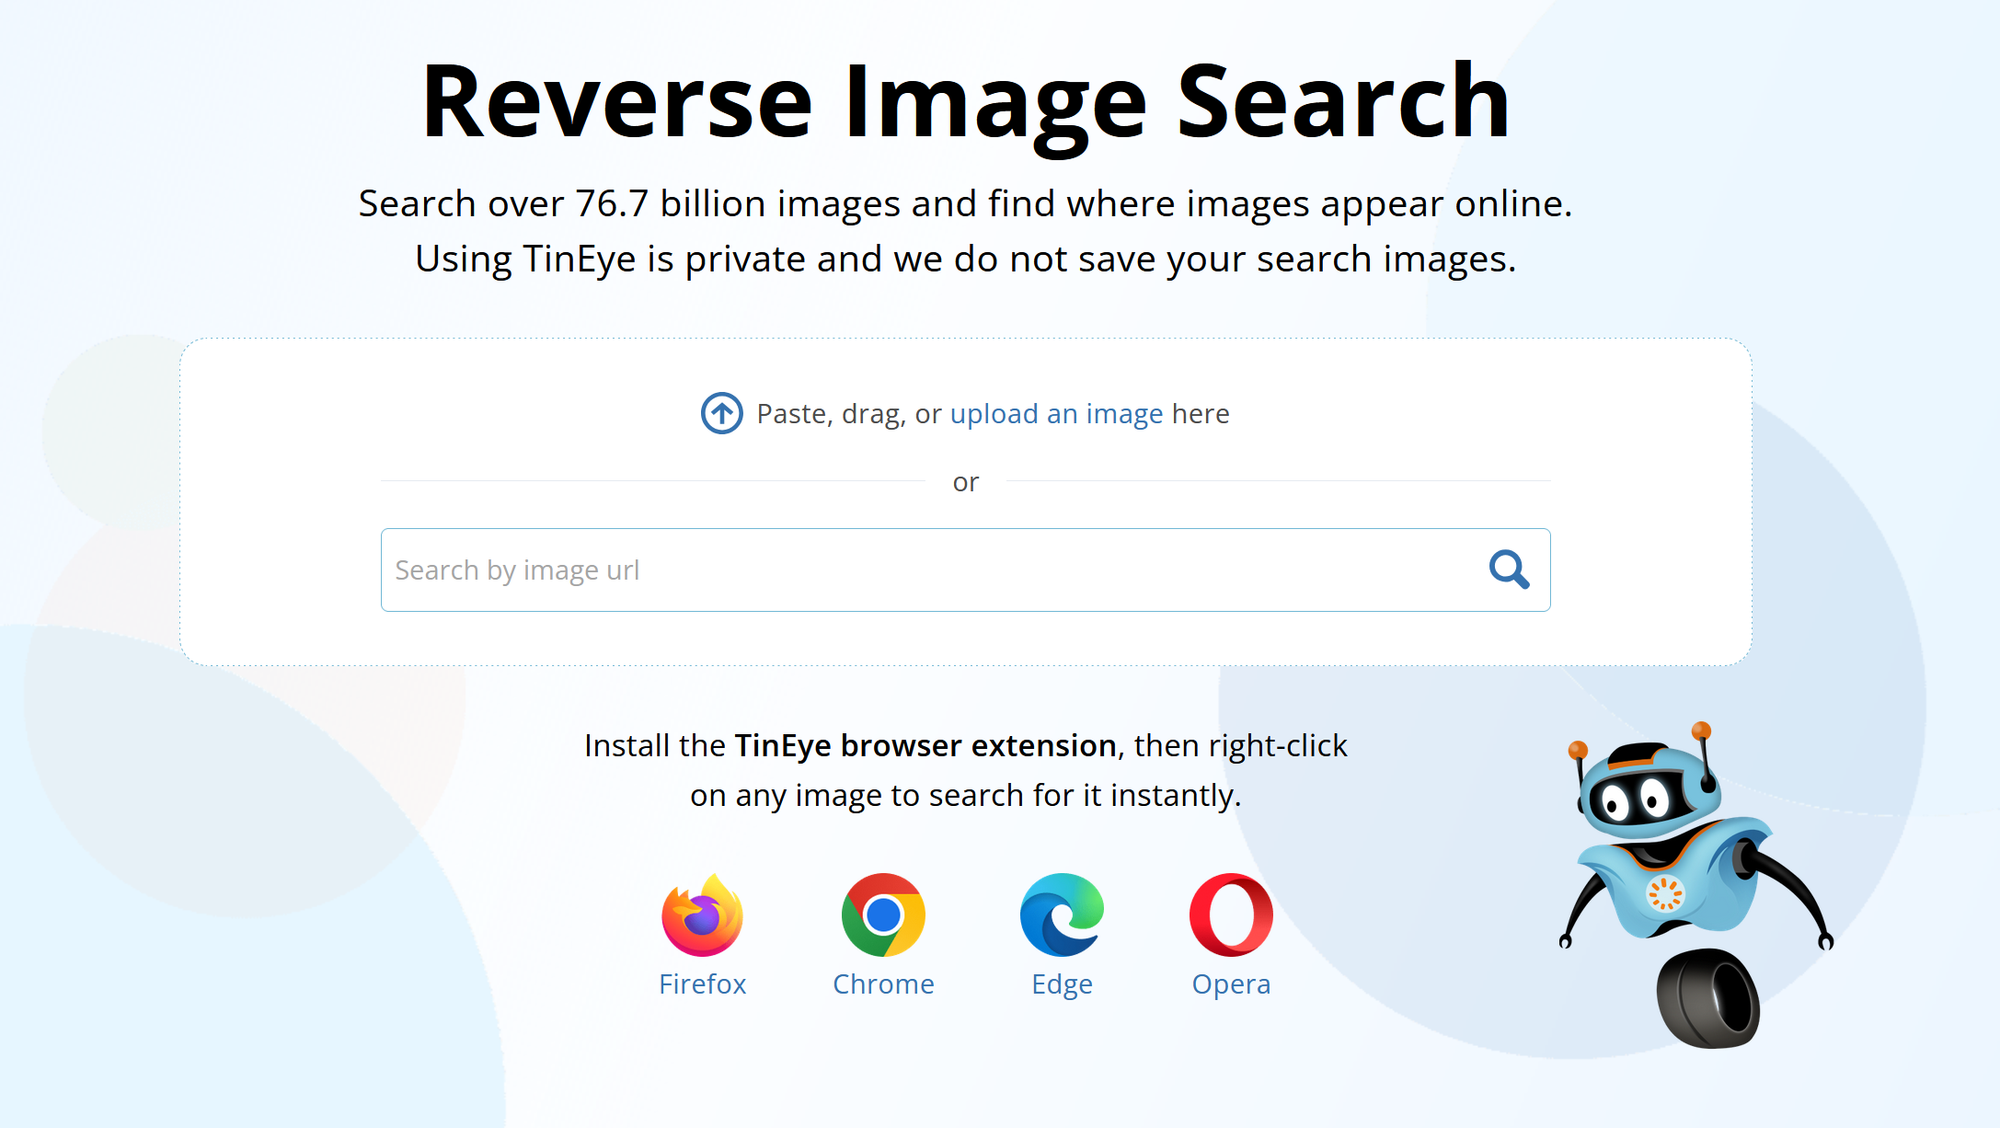
During testing, TinEye struggled with reverse video use cases.
Using the same Big Yowie frame, it returned no results. This was likely because the original content existed only in video form and had not been posted as a standalone image.

If your goal is to locate a video source, TinEye is not an effective choice. Its strength lies more in identifying reused graphics and image edits rather than frames pulled from dynamic media.
Shutterstock: 2/5 Reverse Video Search Score
Shutterstock might seem like an unlikely tool for reverse video search, but it does have some value.
Like Bing and Yandex, it provides an easily accessible video library that can be searched through, although the process is more manual and less direct.
When I searched for the term “Bigfoot,” instead of uploading a source image, Shutterstock returned a wide range of results.
These included editable templates, documentary-style footage, and news-style clips that could be repurposed.
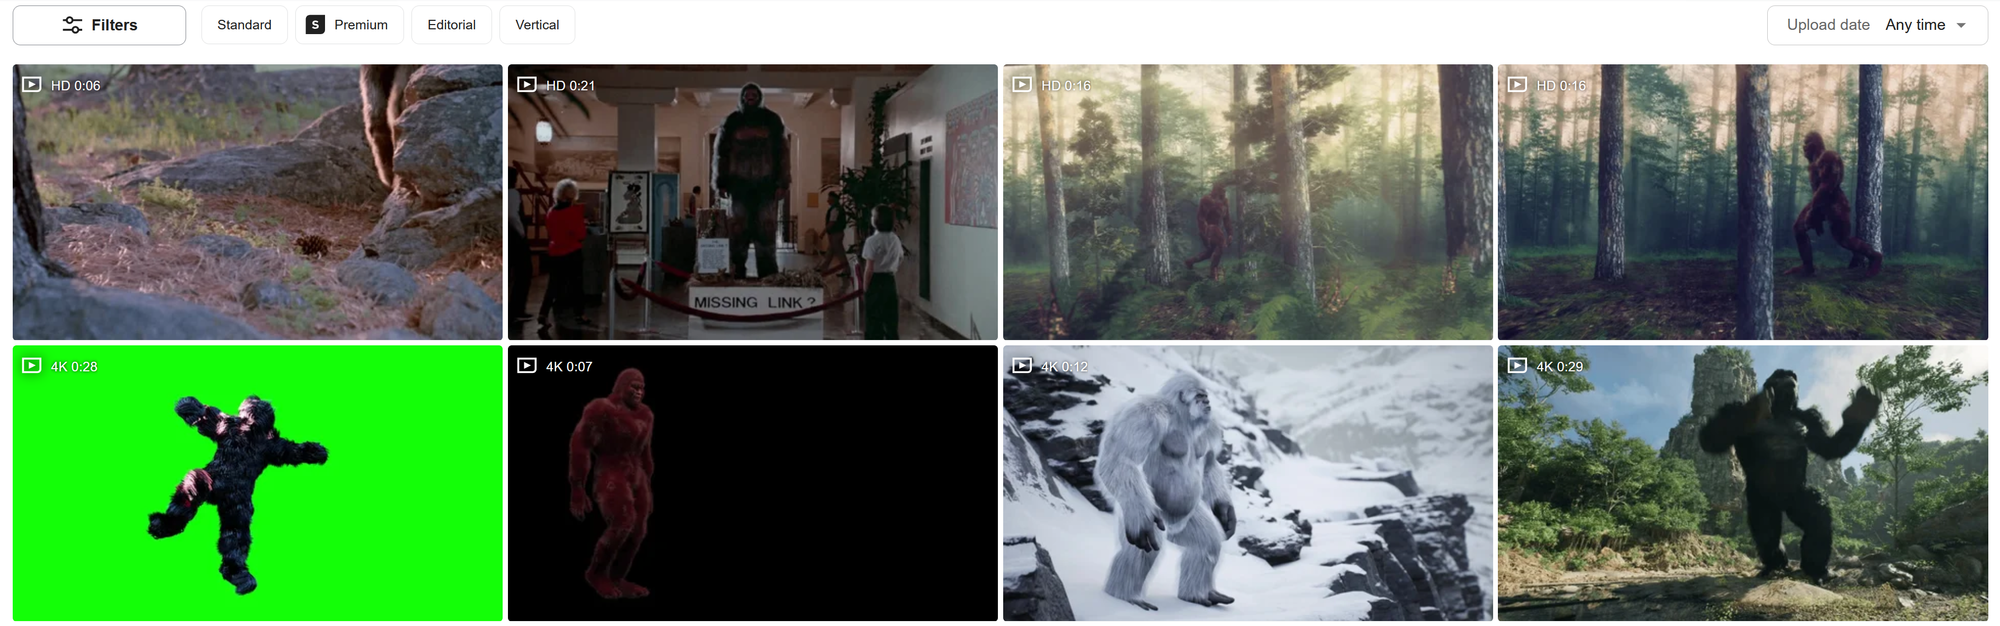
However, when I attempted to reverse search using the same still frame as with the other tools, Shutterstock performed poorly.
The results were completely unrelated to the video I was trying to match.
It appears that Shutterstock prioritizes internal content matches from its own media library, rather than searching the web for visual similarities.
Because of this, results are much more limited, especially when the source is from a social media video or other external platform.