How to Create Your Own Labeled Worksheet to Support Content Memorization
Memorization is a challenging but important part of any anatomy lesson. From the simplest form of body part identification (like head, shoulders, knees, and toes) to a more complex test (like a high school biology exam), anatomy memorization...
Memorization is a challenging but important part of any anatomy lesson. From the simplest form of body part identification (like head, shoulders, knees, and toes) to a more complex test (like an AP Biology exam), anatomy memorization is something that most students will face in the classroom.
Using Kapwing, it’s possible to create and customize a digital worksheet for students to practice their memorization of anatomy. You can print the Worksheets for in-person classrooms or send a link t0 students at home for remote learning in 2020. In this article I’m going to demonstrate how to create your own template to share with students and re-use as many times as you want!
There are five easy steps you can follow to create your own worksheet to share with others:
- Find an image to use as your template
- Upload your image to Studio
- Annotate and add text
- Publish your worksheet
- Share the URL
1) Find an image to use as your template
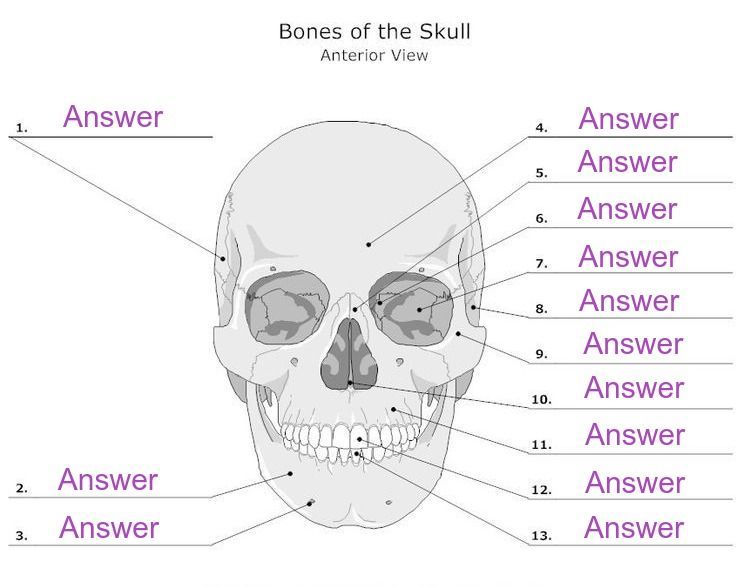
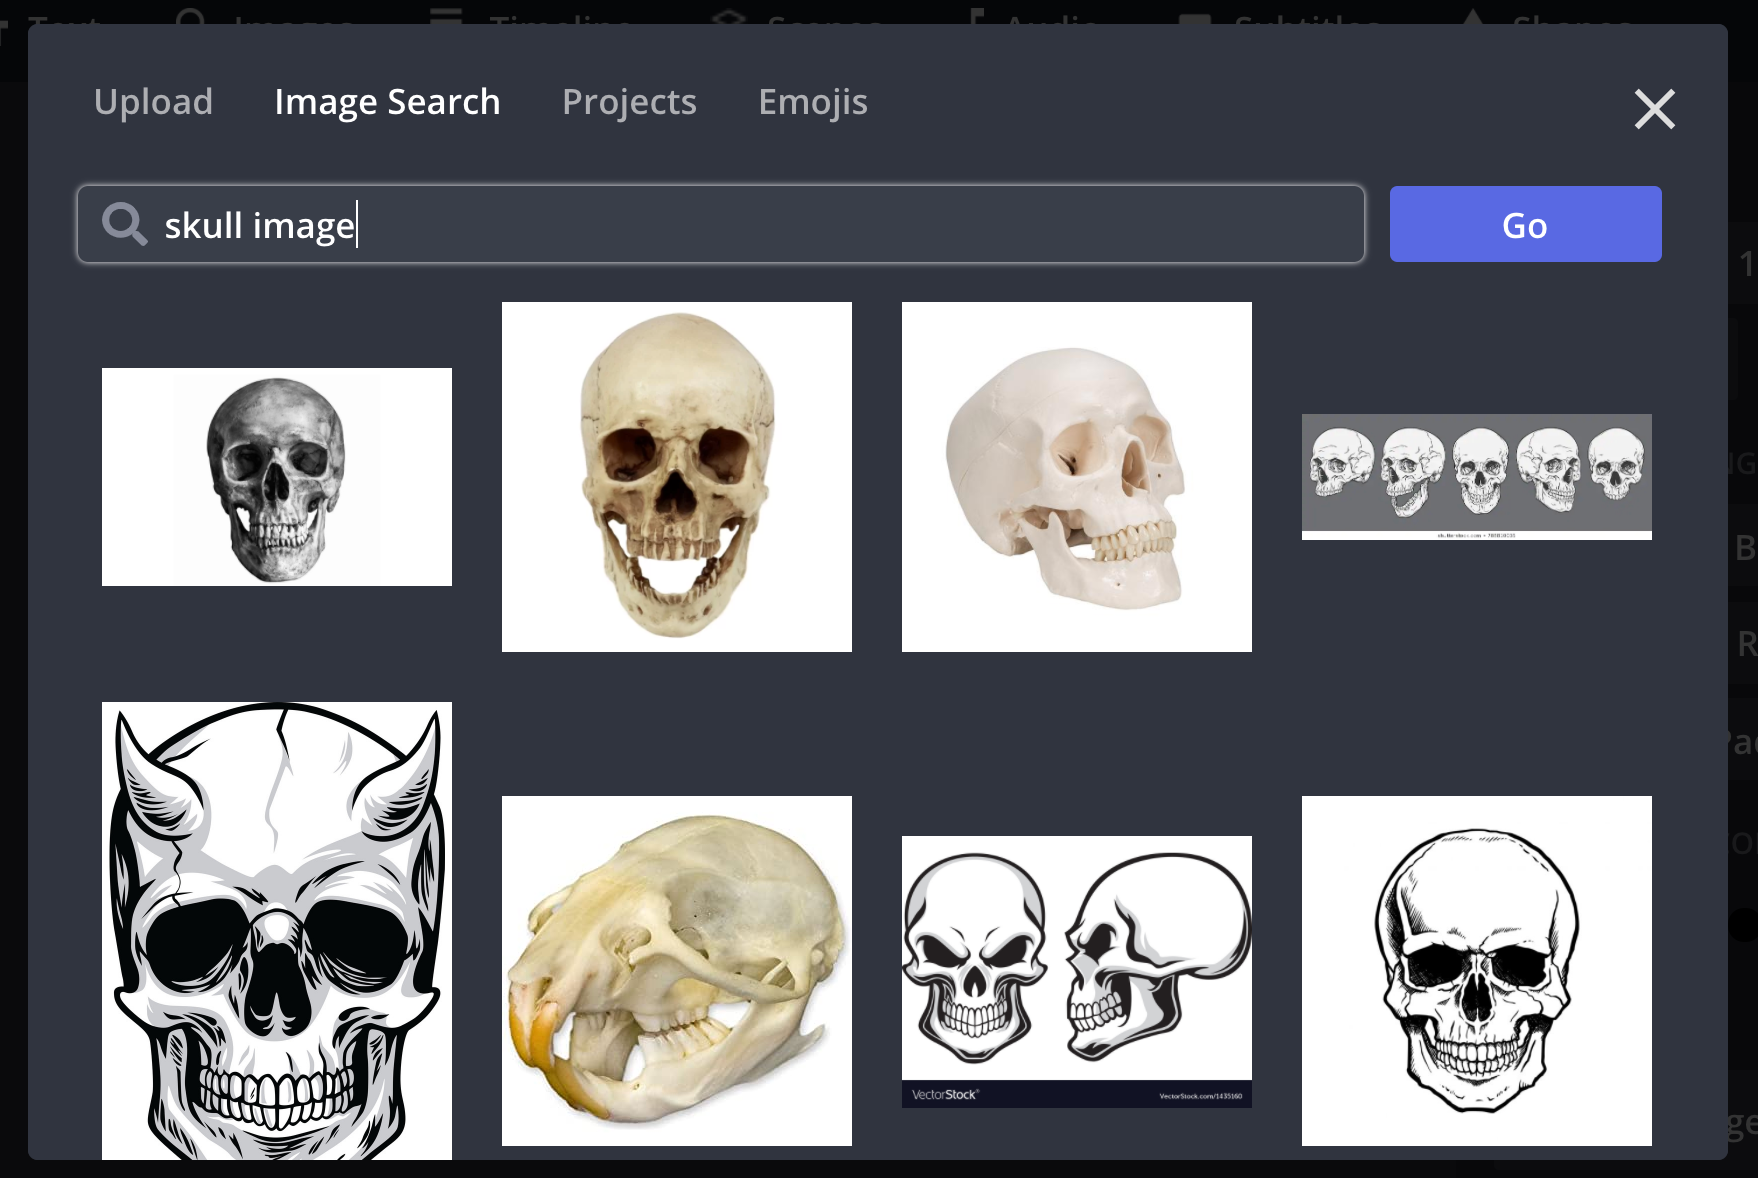
You can choose an already existing image, draw your own, or take a picture! Use Google Image Search to browse pictures on the internet or take a photo from a textbook. Don't worry if the answers are already labeled in the graphic – you can cover these answers in the Worksheet so that students fill in the blanks themselves.
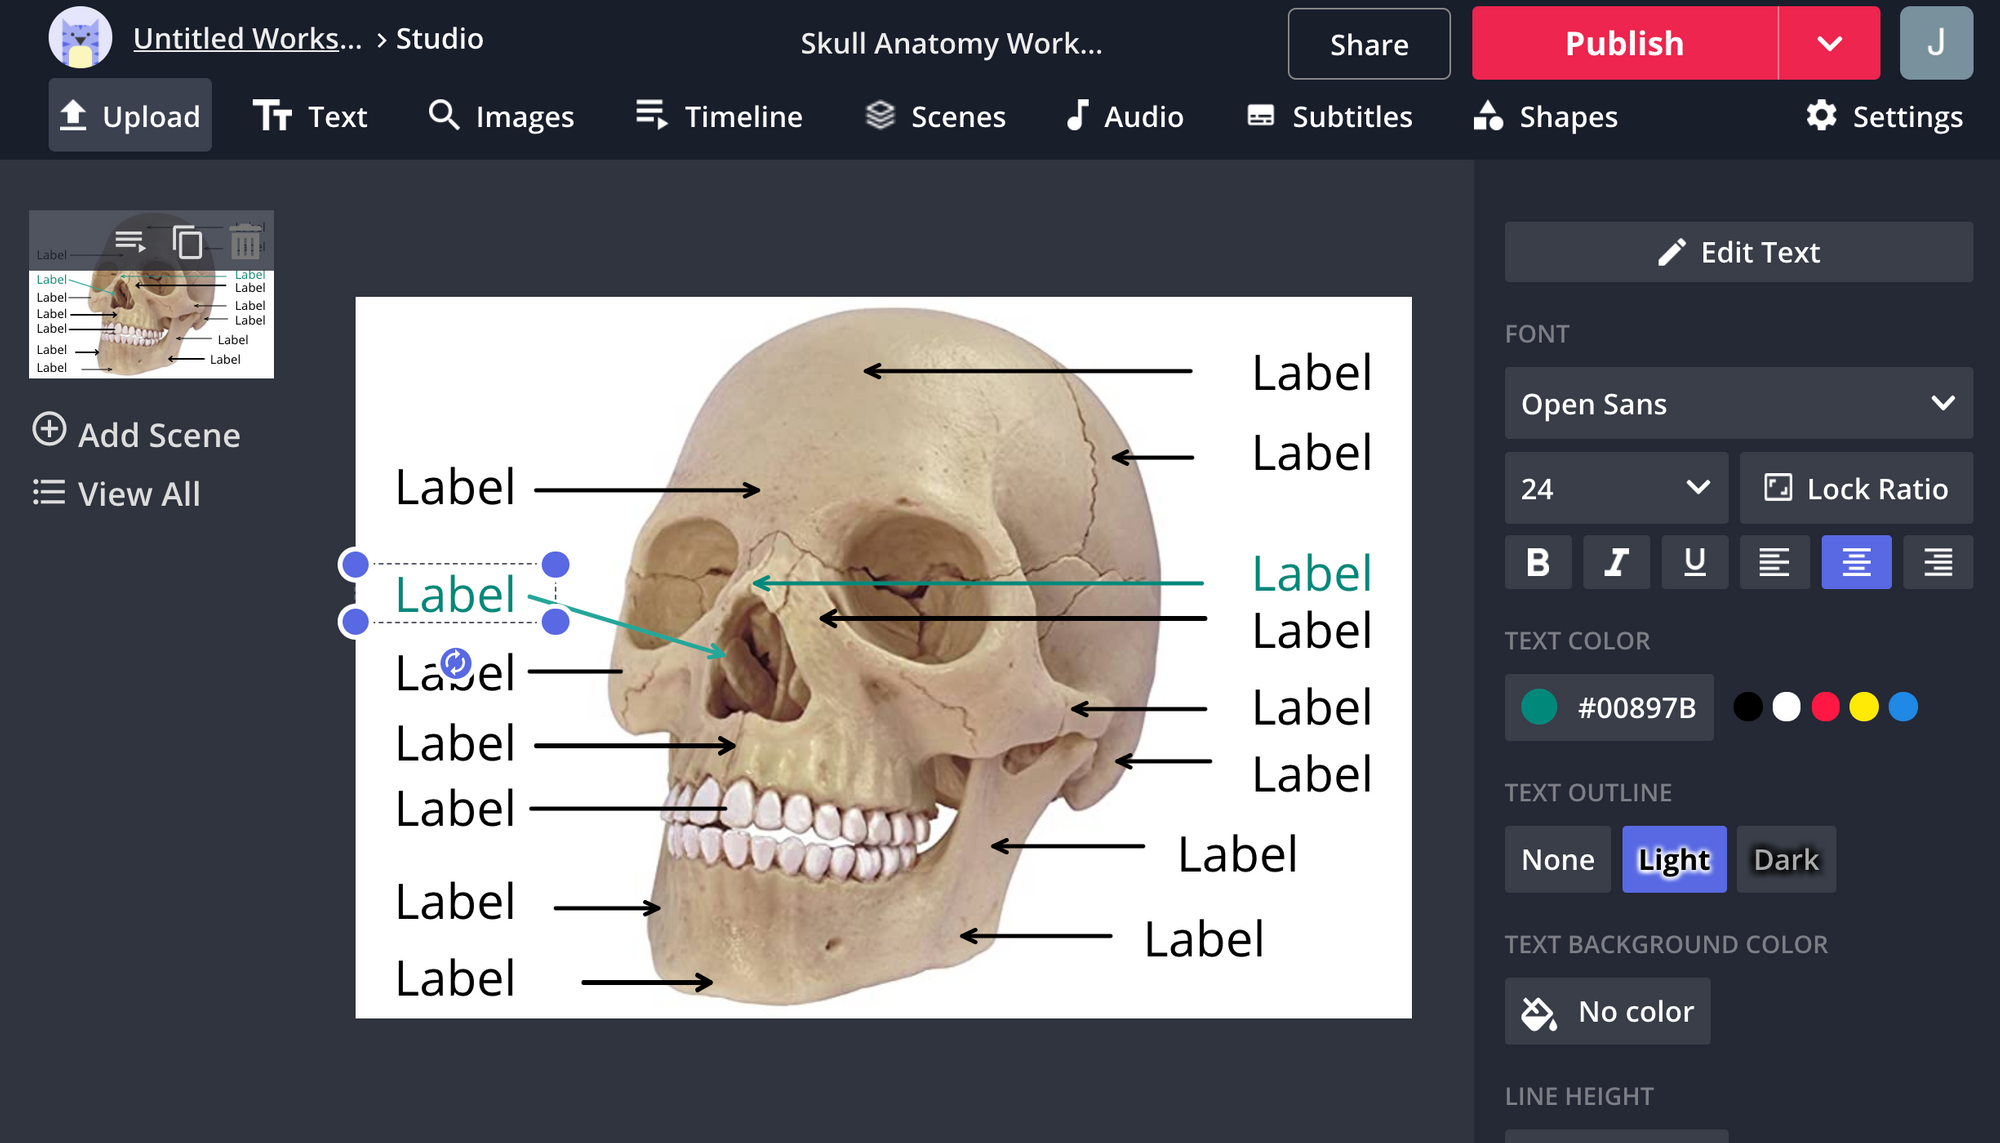
For my example, I used a forward facing image of a human skull that I found online. This image already contains lines and numbers, but you can also add these features to your creation later on.
2) Upload your image to Studio
Next, visit Studio to upload your image. Kapwing's Studio is a fast, free, and simple multimedia editor that works well with images, GIFs, and video. Click the "Start editing" from the home page and upload your image. Here is what your image will look like when you add it into the canvas:
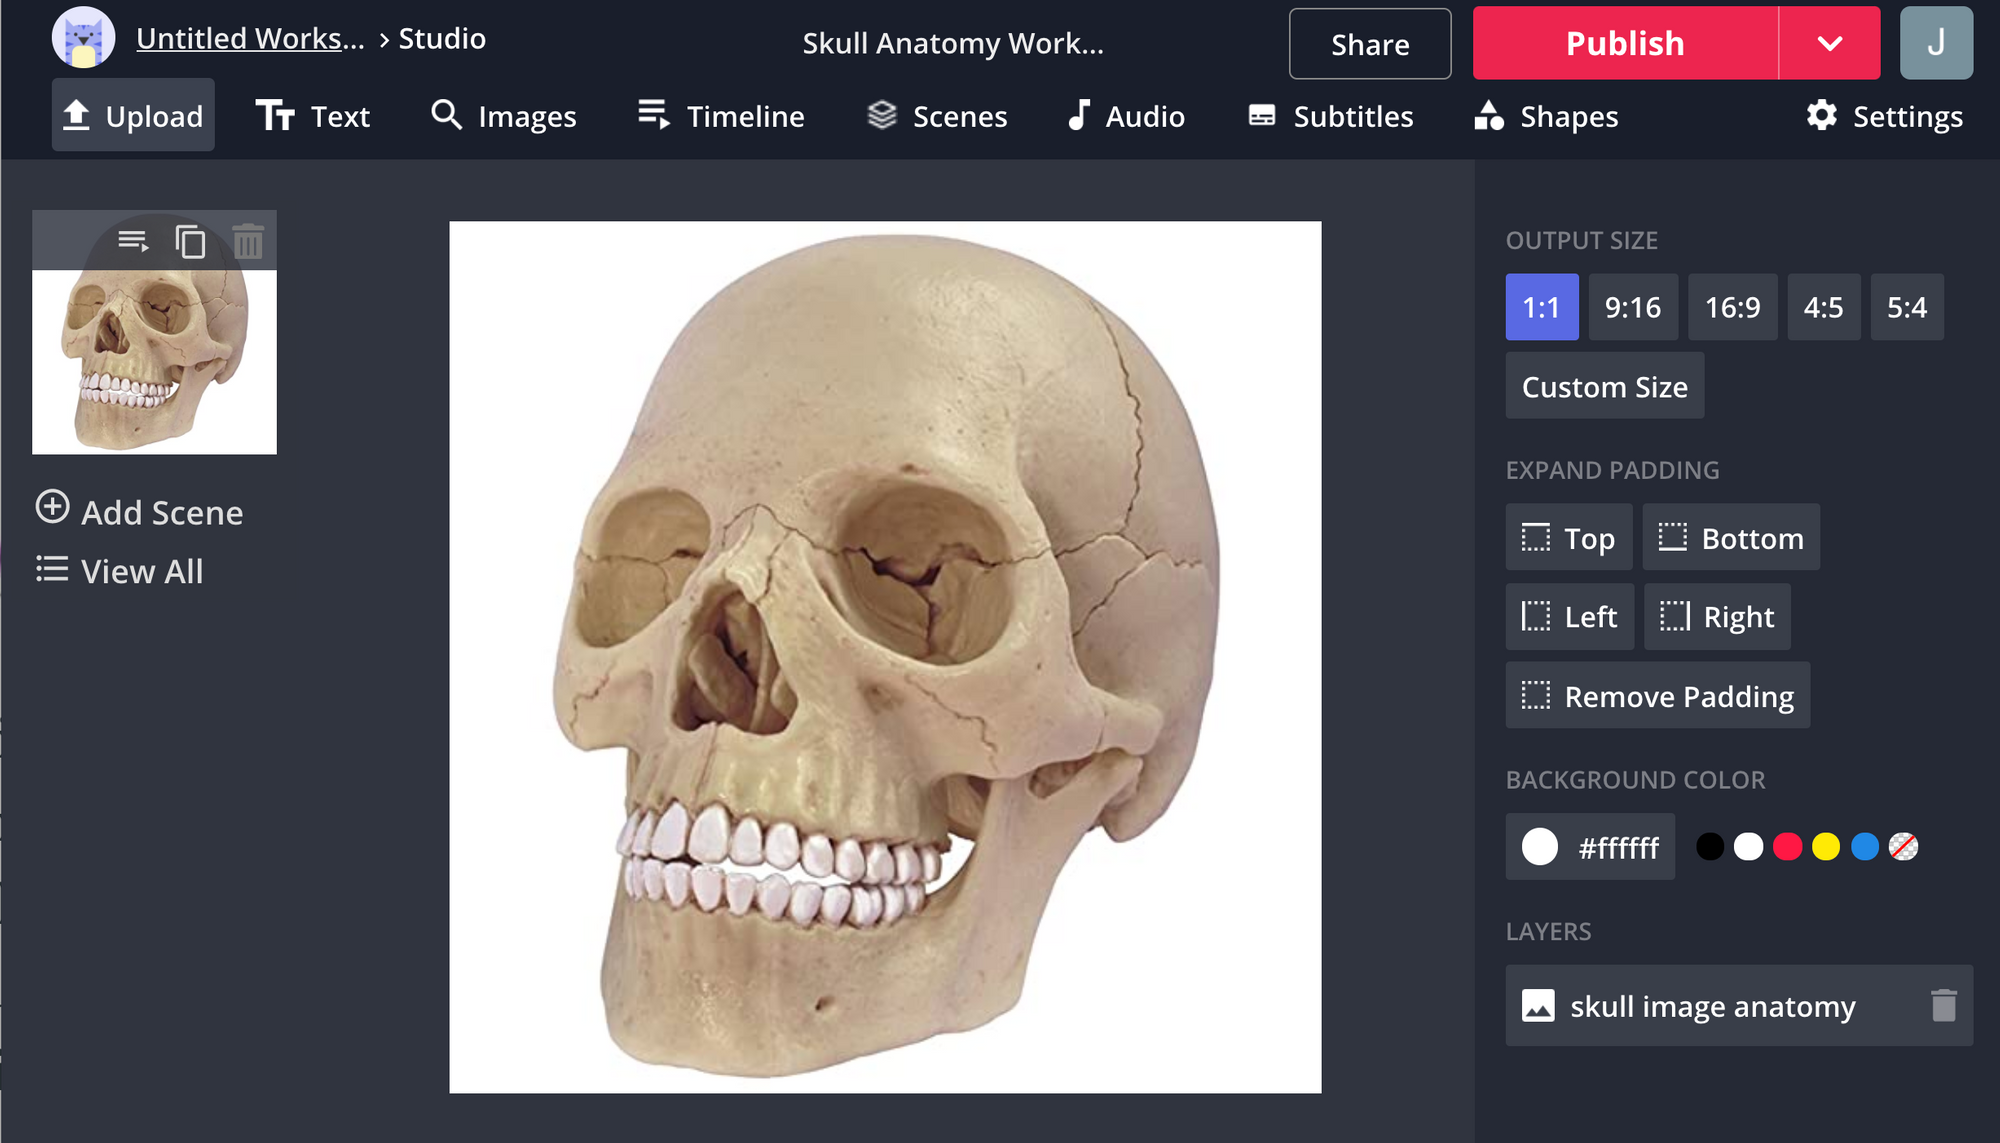
If you need to, expand your digital canvas to give yourself more space. Use the "Add padding" buttons or click on the background and drag to resize it dynamically. I expanded my canvas left and right to make room for labels on each side.
3) Annotate and Add text
To make a full-in-the-blank worksheet, you'll need to add arrows and labels to the areas you want students to label:
- Use Shapes > Lines to add arrows to the graphic. You can change the color of the lines to distinguish different parts of the worksheet and adjust the width of the lines.
- Use Shapes > Rectangle with a transparent fill to annotate parts of the image. Or, use a rectangle with a solid fill to cover up anything in the image that you want to redact.
- Use the "Erase" tool to remove answers from the existing graphic.
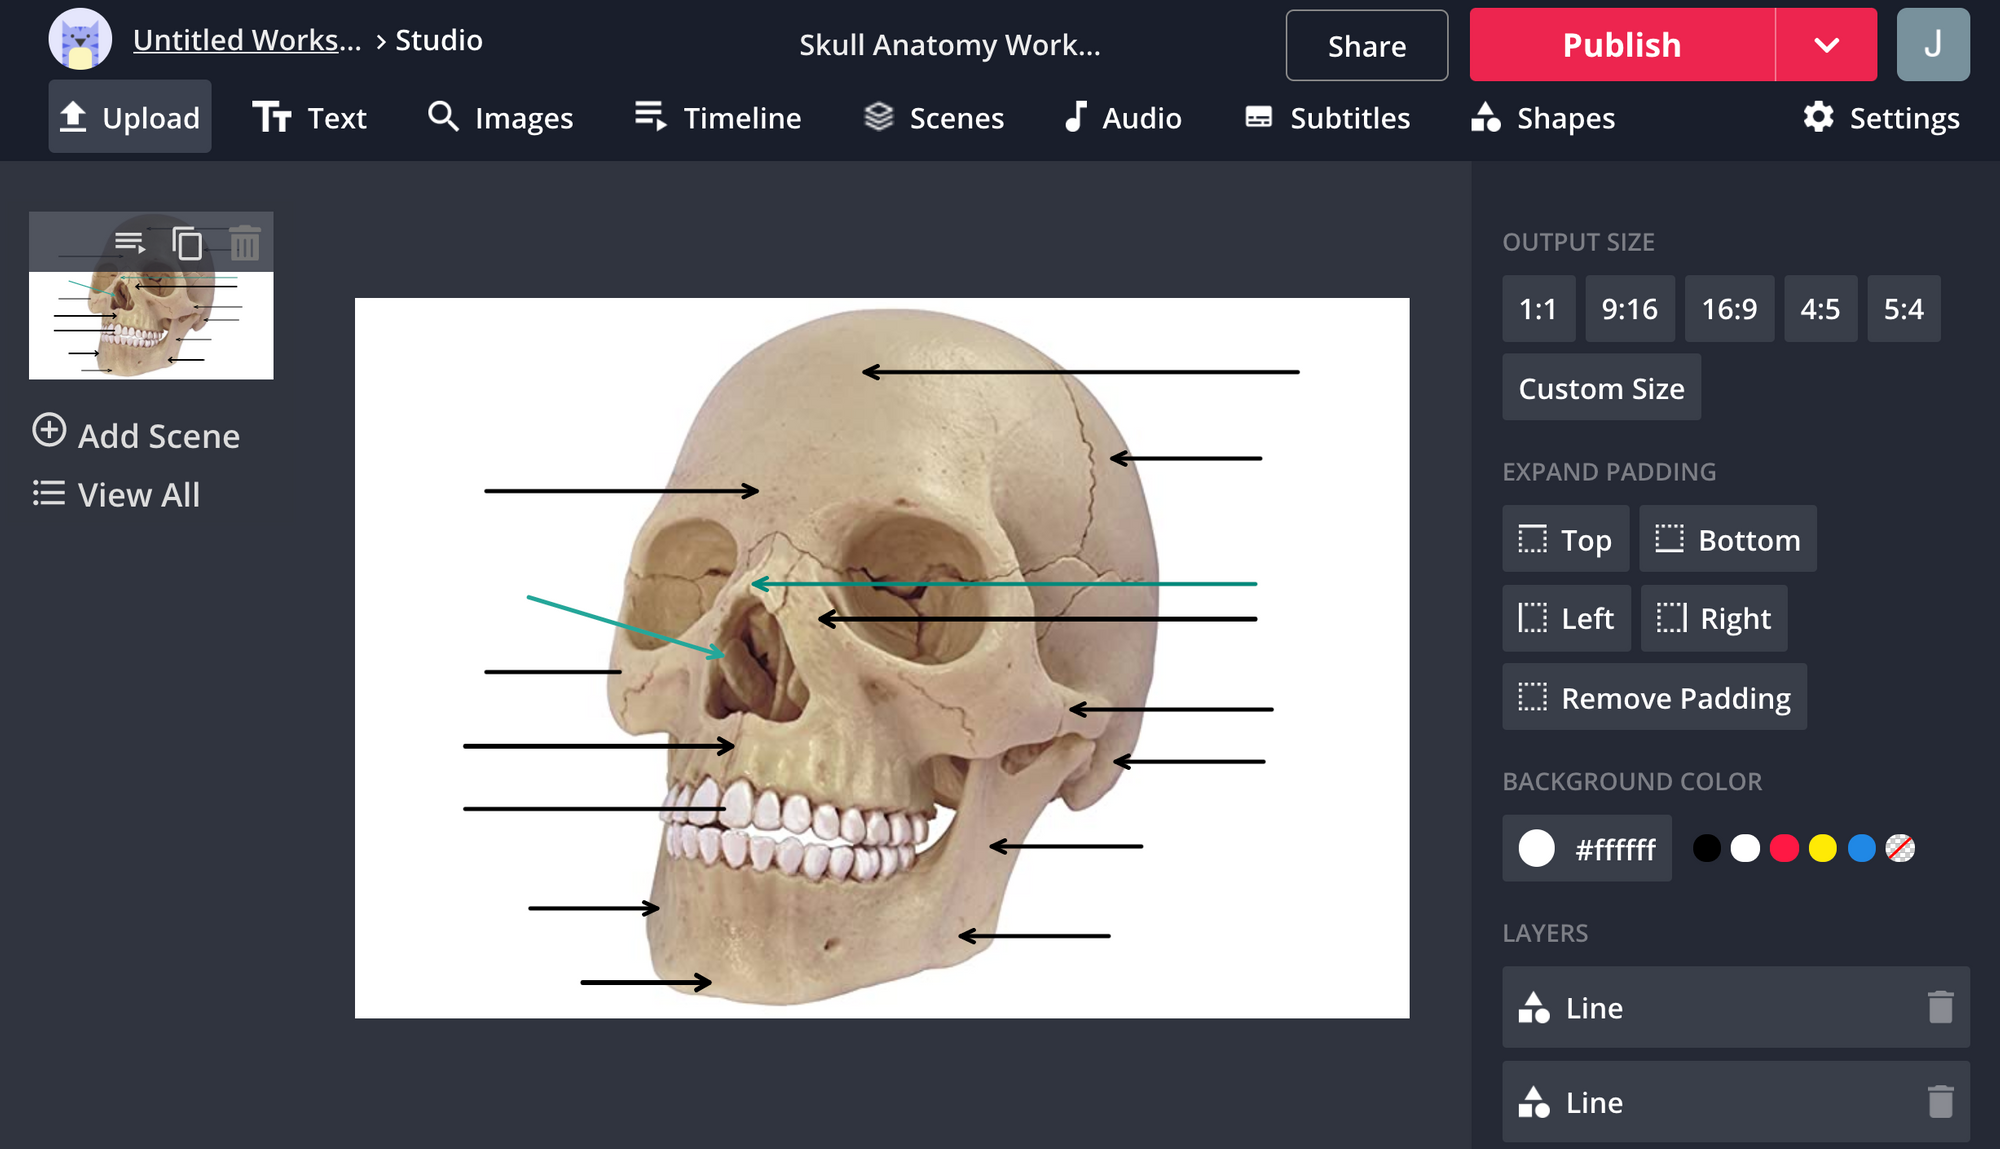
After you've annotated the worksheet template, use the "Text" tool to insert labels. Double click on the sample text to type your own words or leave the generic words. You can change the color, size, style, and font of the text to make it fit the personality of the subject.
I also used the copy-paste (Ctrl-C/Ctrl-V) feature to quickly replicate and place text boxes for each of the thirteen spaces. The "Duplicate" button also copies the text layer.
4) Publish your worksheet template
Once you’re satisfied with your worksheet template, you can click the publish button to create a final version that you can share with students. This final version can be printed, copied into a Google Slides or Powerpoint presentation or PDF, or shared directly from the URL.
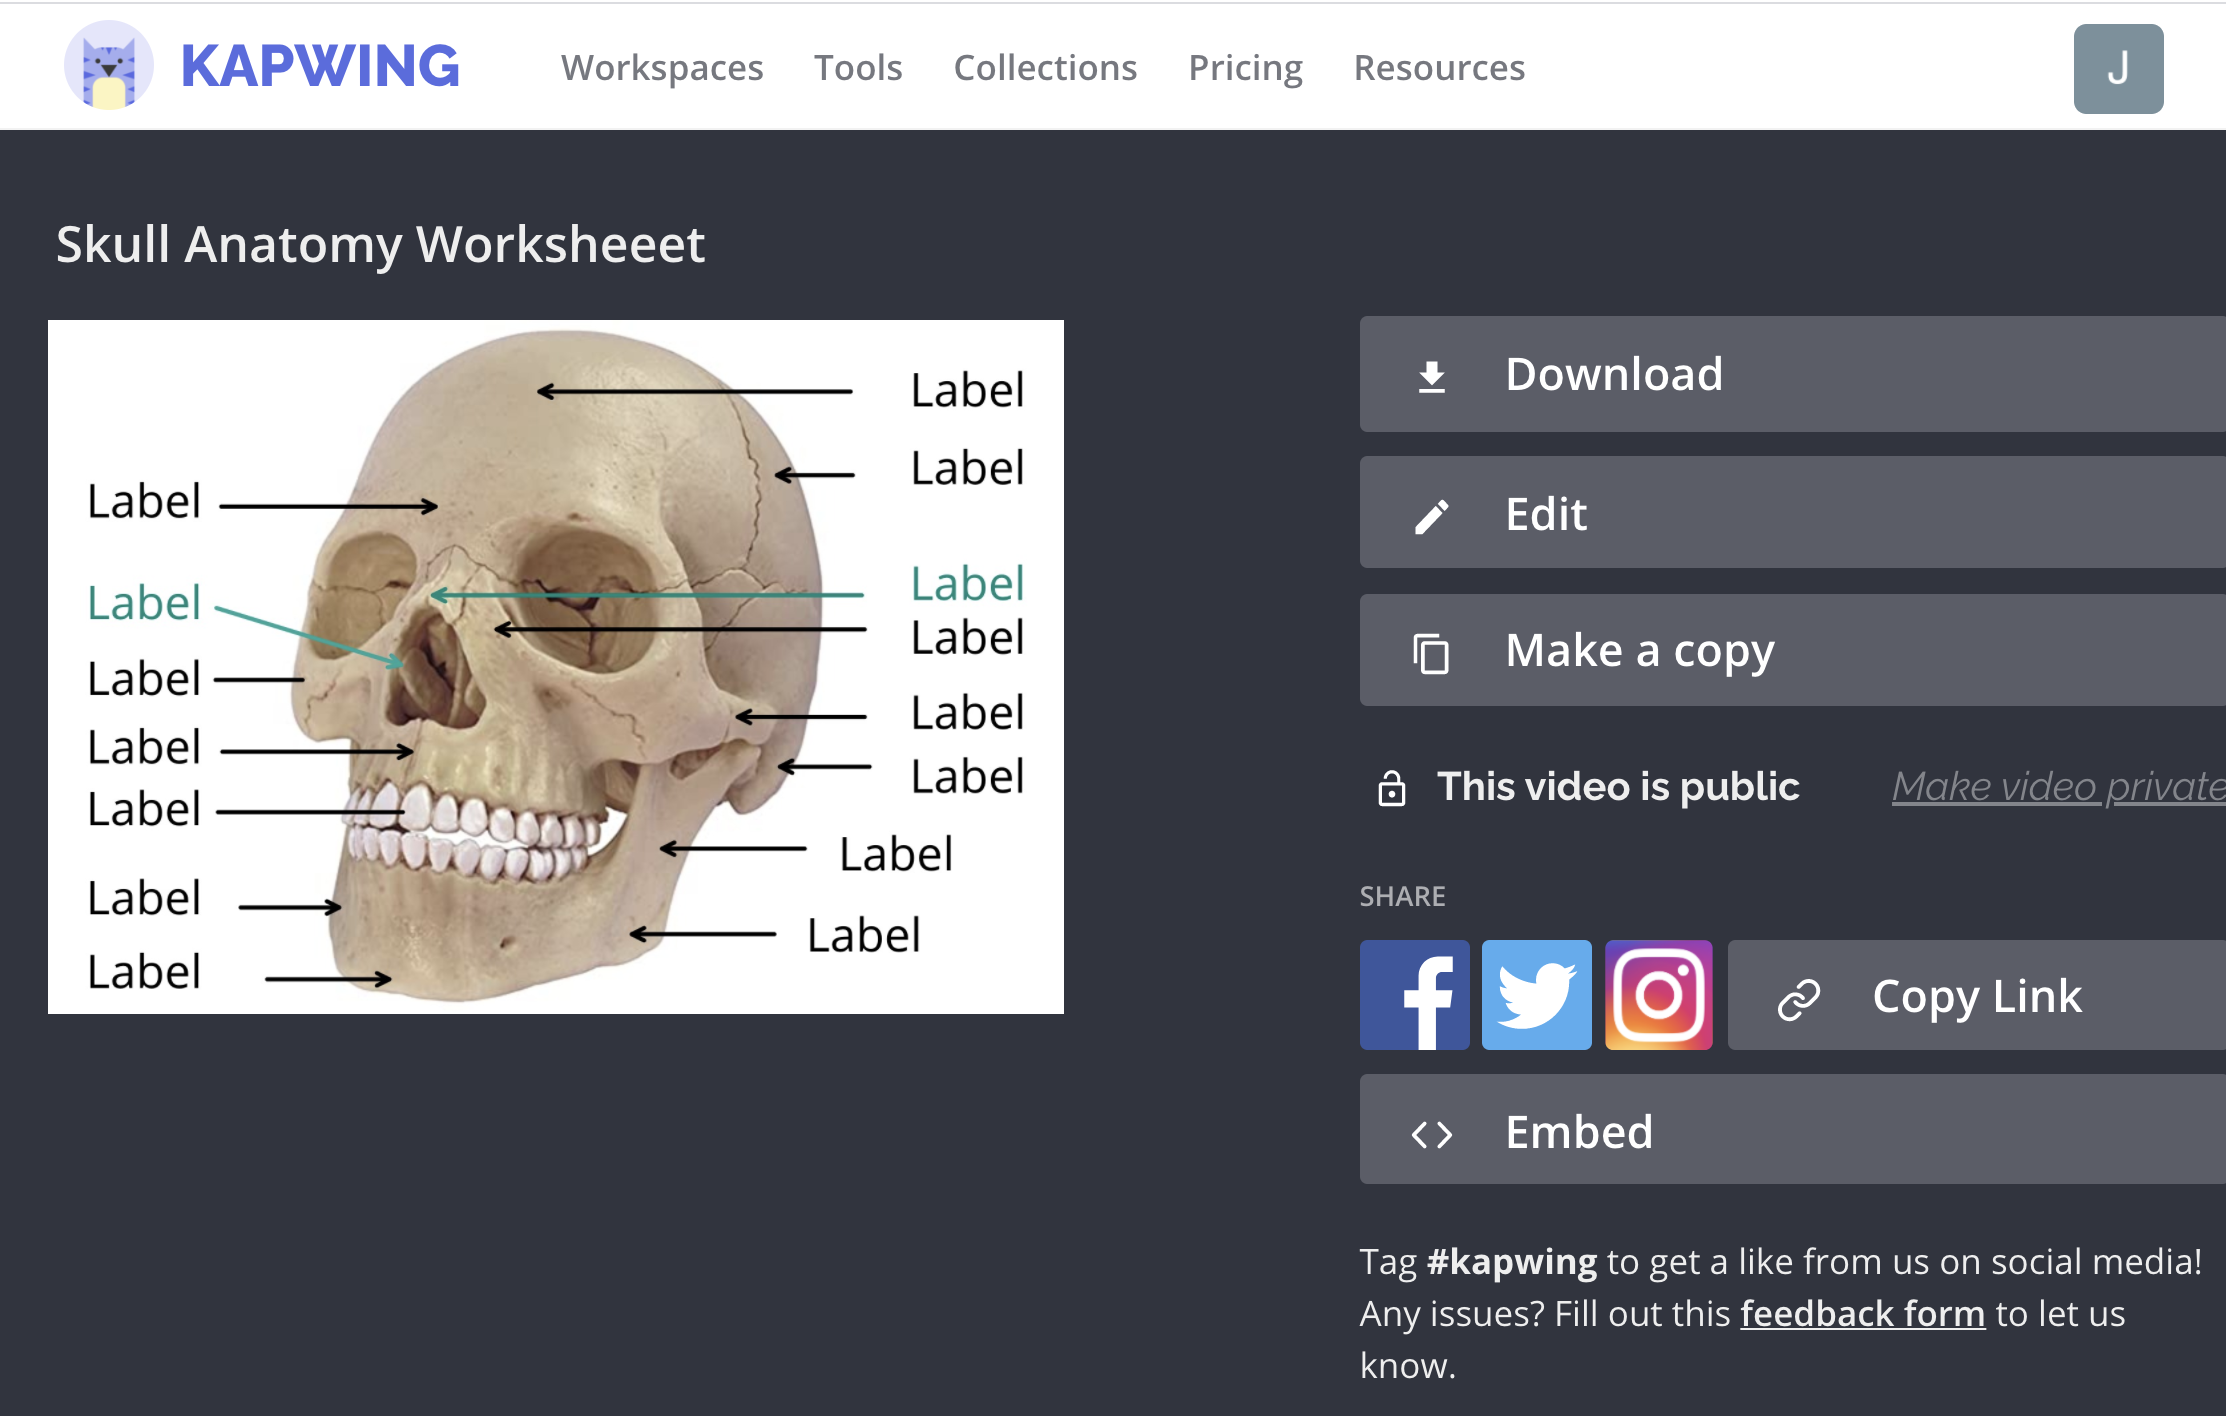
You can always go back in to edit the template or make a copy to fill in the correct answers as an answer key.
5) Share the URL
Click "Copy link" to get the link on your clipboard and share it over email or Google Classroom with your student.
If someone else has a Kapwing account, they can edit their own version of the worksheet in their own account. When students follow your link and click "Edit," Kapwing creates a unique copy of the worksheet in their account to edit and change. This way, students can type in their answers and publish a new image and share that completed worksheet to you for corrections or grading.
While creating worksheets like this can be helpful for memorizing anatomy, it can also be used for tons of other classroom activities like labeling countries in a geography class, parts of a cell in biology, or translating phrases in a language class. Stay tuned for more creative ways to use Studio to engage students in the classroom!
This article is part of a series featuring educational tutorials and lesson plan inspirations for K-12 classrooms! Want to see more? Check out the Kapwing Education Page for more remote-friendly project based learning ideas!