How to Make a Visual Timeline of Historical Events with Kapwing
Timelines play an important role in understanding and engaging with historical events in the classroom. With a timeline, students are able to make visual connections between different figures and events as well as understand the overall picture of a time period.
Timelines play an important role in understanding and engaging with historical events in the classroom. With a timeline, students are able to make visual connections between different figures and events as well as understand the overall picture of a time period.
Digital timelines can be an even better tool for students to learn from. They are easy to make, edit, and allow for lots of creativity. Digital timelines can also include detailed voiceovers, memorable visuals, and can be shared with others.
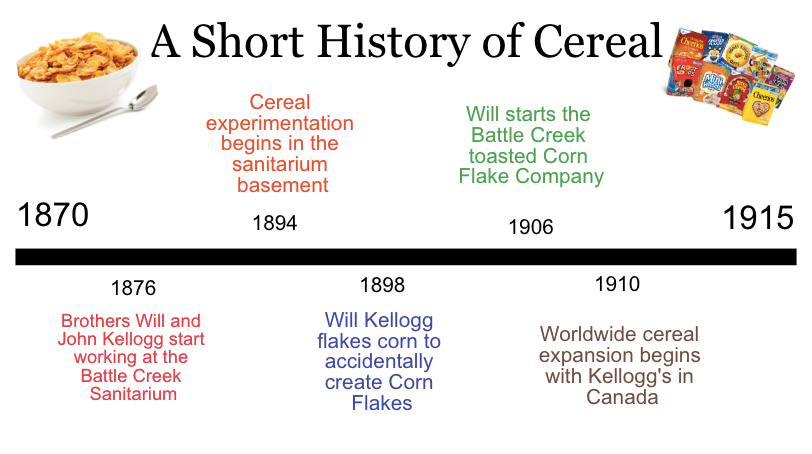
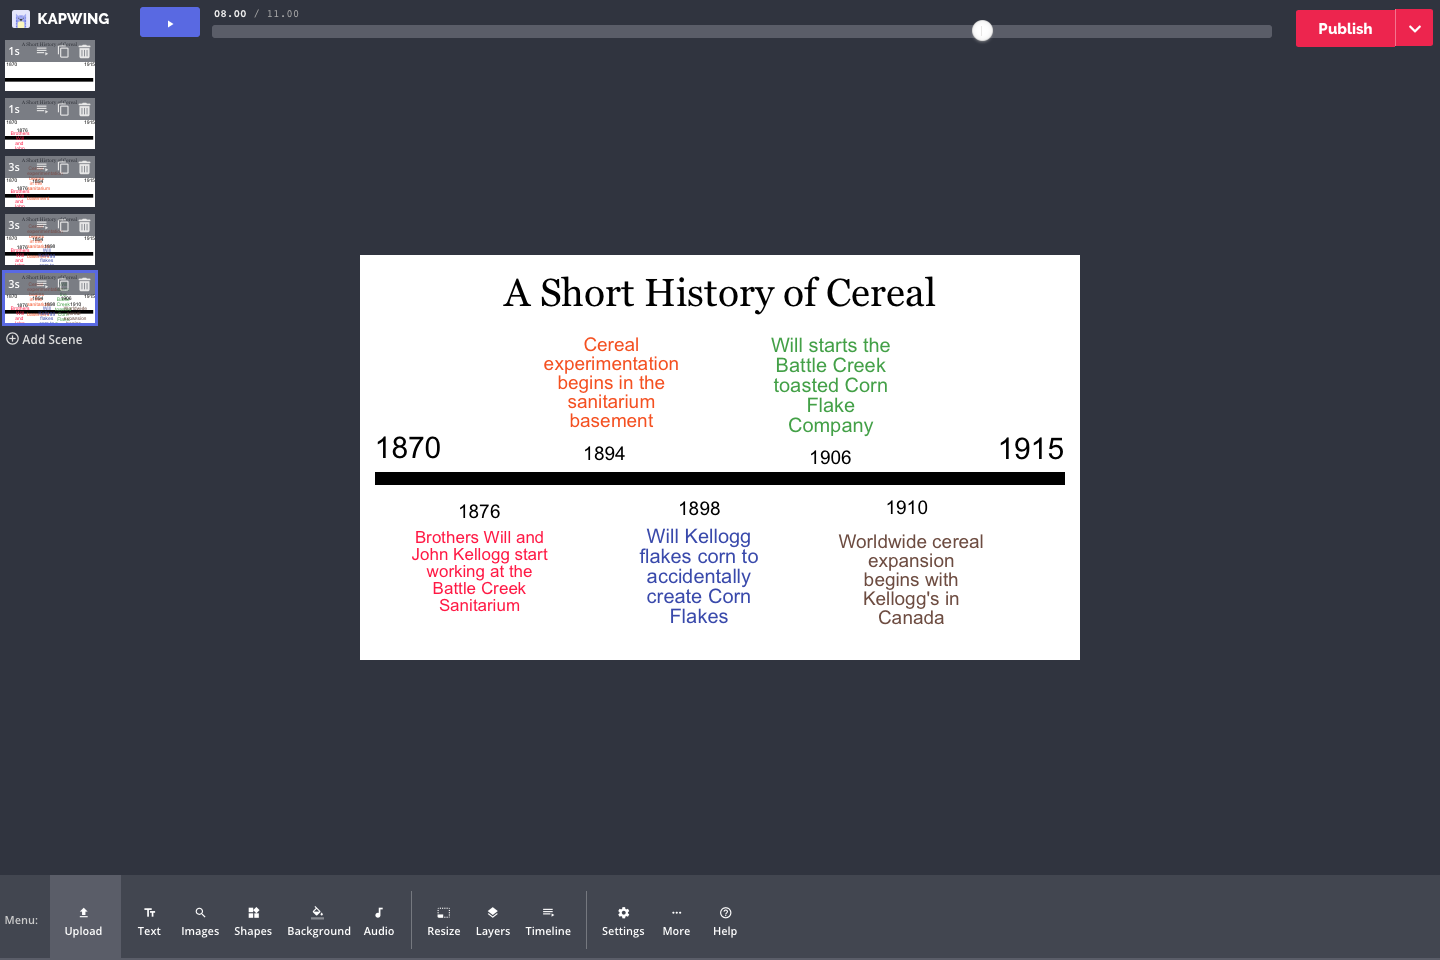
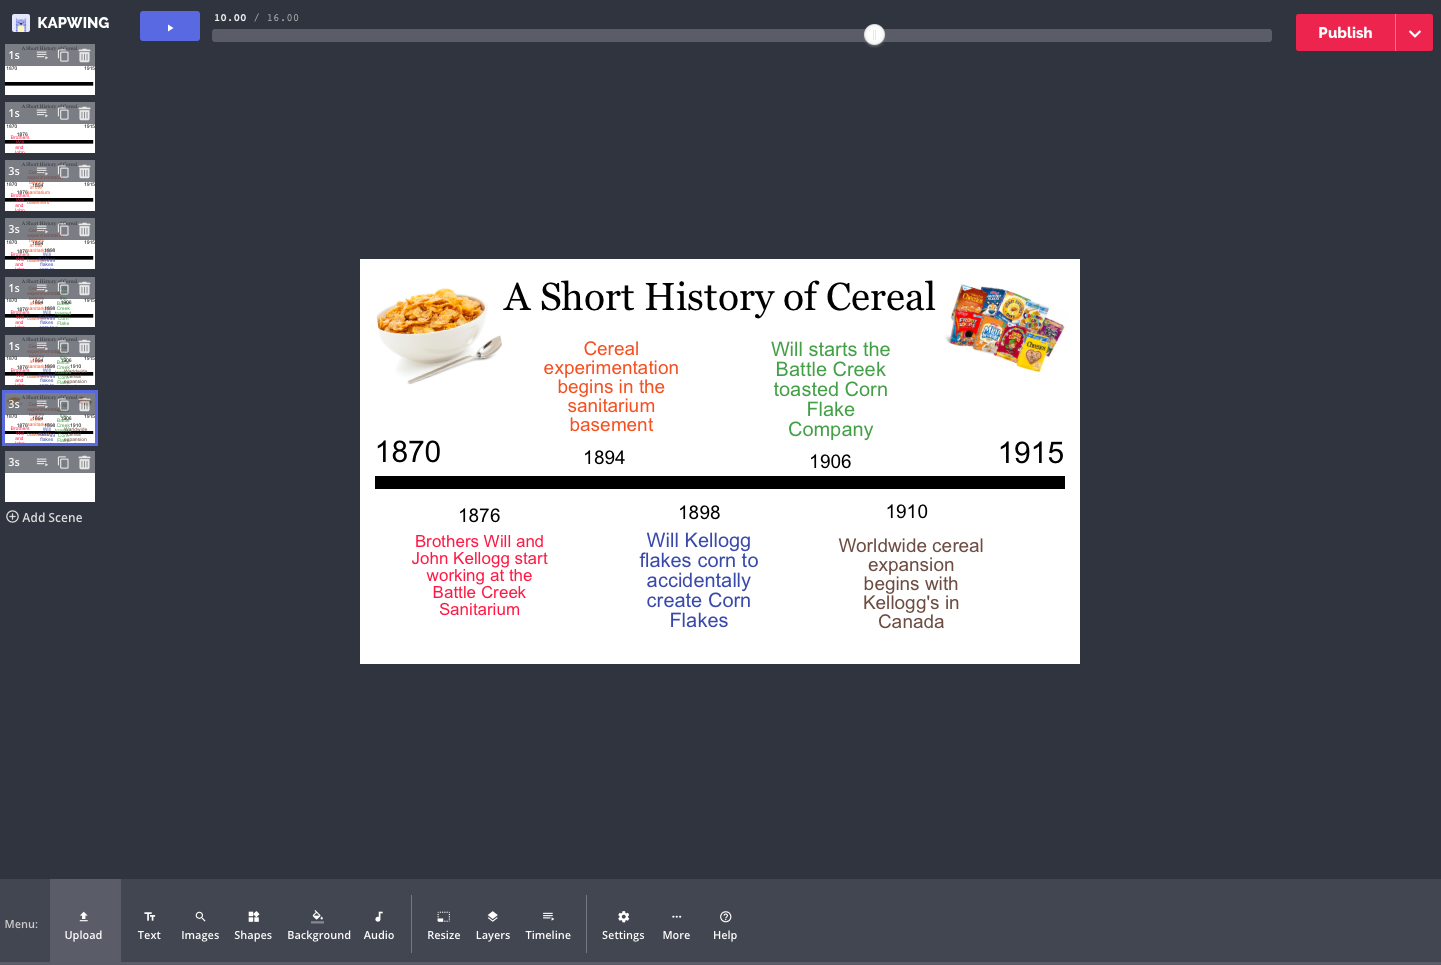
Kapwing's Studio makes it easy for students to take on a timeline project and make it their own. In this article, I will demonstrate how to create a historical timeline on Kapwing with a short step by step guide. The topic of my example timeline? A short history of cereal! This is what the timeline will look like when it's done!
There are four easy steps to follow in Studio to create your own timeline:
- Open Studio and decide on your page formatting
- Create a line for your timeline
- Add a title, start date, and end date
- Add items to your timeline
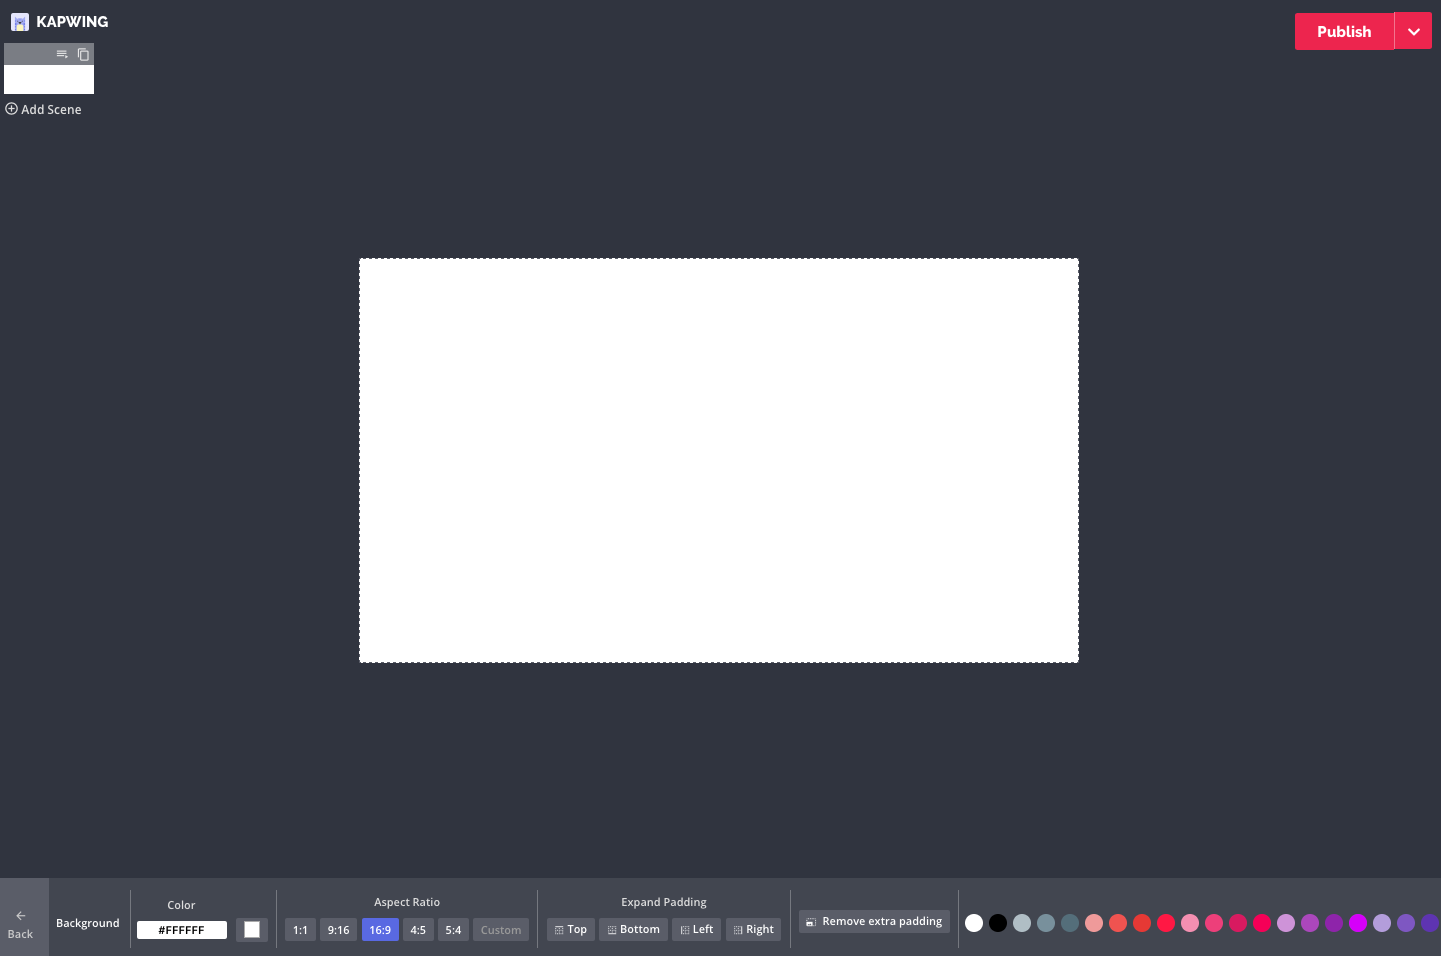
Step 1: Open Studio and decide on your page formatting
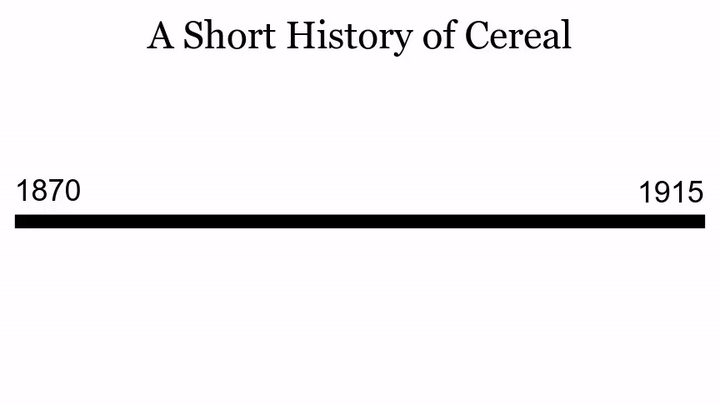
After opening Studio, you can do this by selecting a size from the aspect ratios at the bottom of Studio. For this example, I decided to go with a 16:9 ratio.
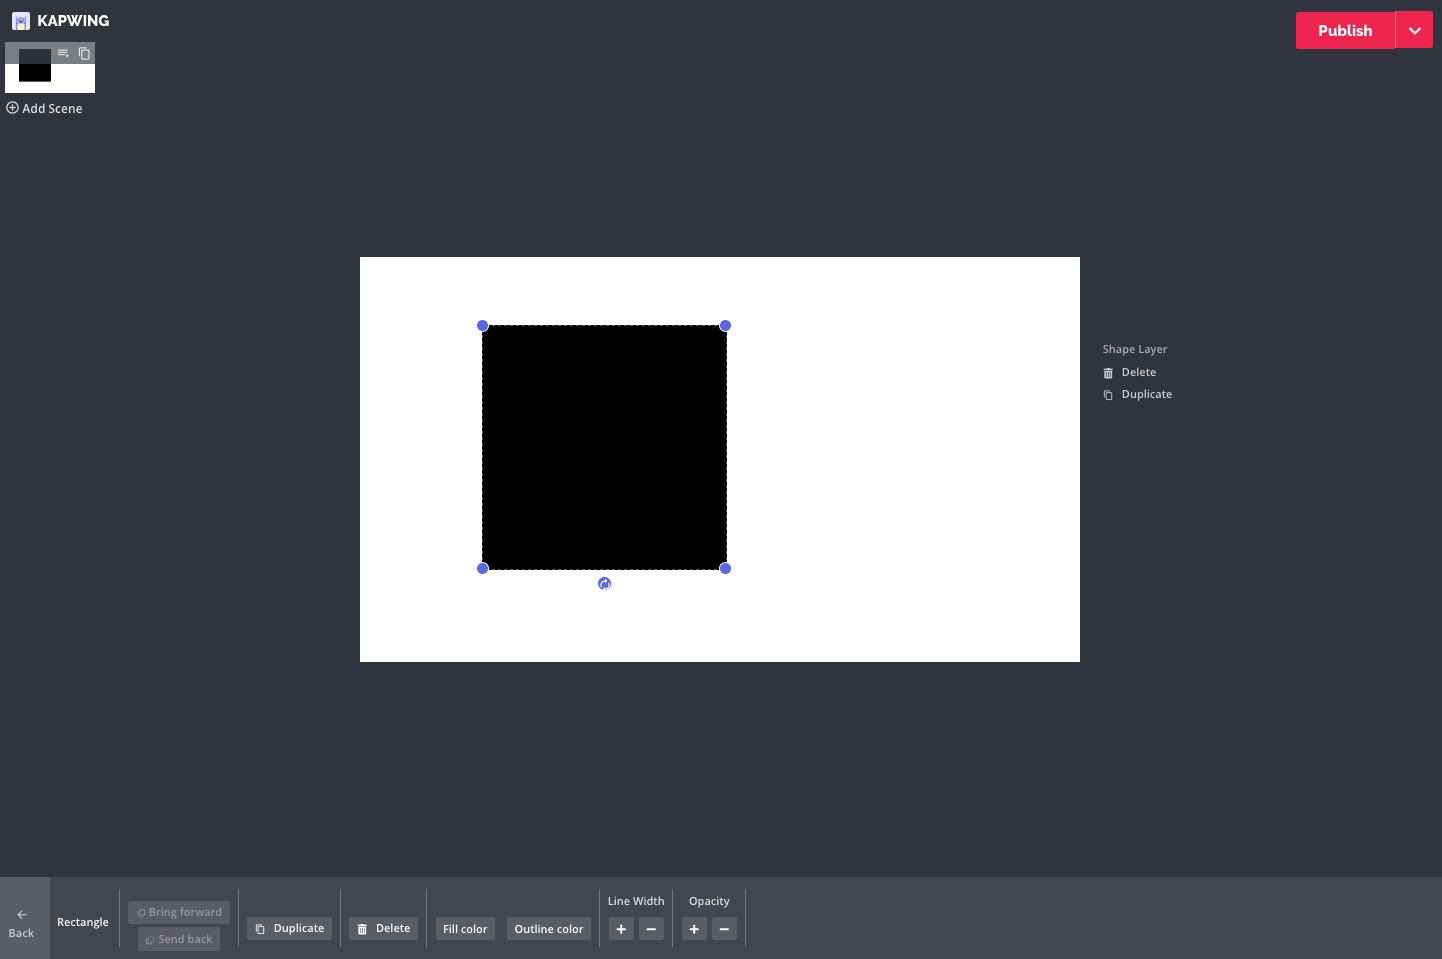
Step 2: Create a line for your timeline.
I do this by selecting a black box from the shapes menu and dragging it out into a long rectangular line.

Step 3: Add a title, a start date, and an end date.
You can do this by clicking the text box in the bottom left corner of Studio and adding as many text boxes as you want.
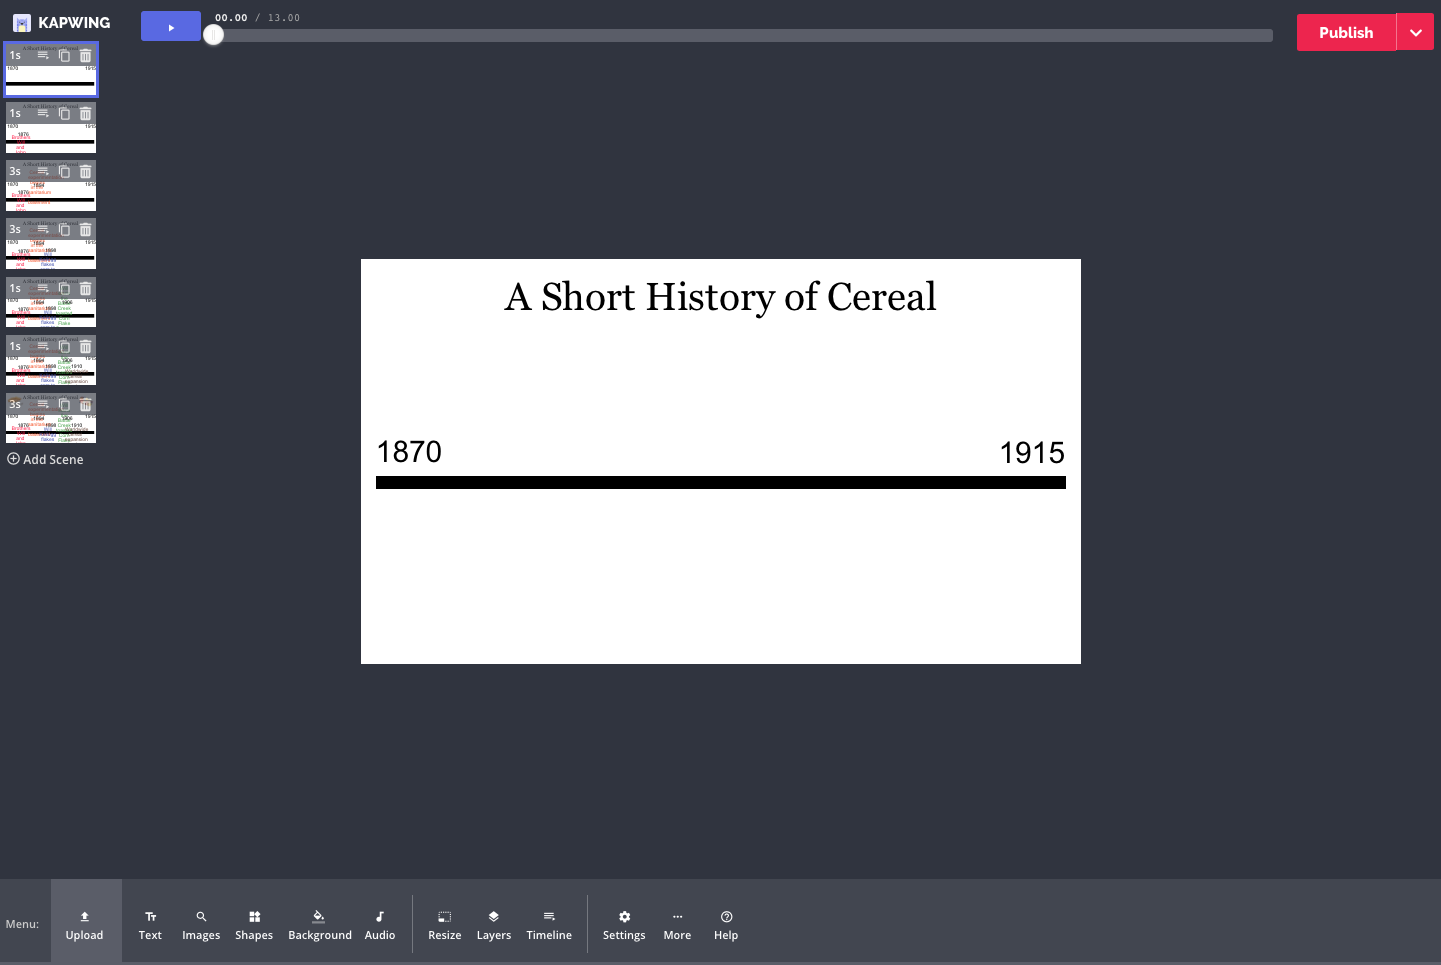
Step 4: Add items to your timeline
Use the copy feature on the left sidebar to copy the original scene and add new timeline items to each scene with a text box. For each new scene in my timeline, I add another date and a brief description of the event that occurred. Adding scenes turns the project into a video rather than an image, so events can appear one by one. You can also choose to only have one scene on your timeline if you want it to be a single image.

Step 5: Get creative!
Kapwing’s toolbox allows for the addition of images, voiceovers, and much more! The image search feature also makes it easy to find the pictures you want without having to click and drag images from other websites.
Now you have all the tools you need to create your own historical timeline! Try playing around with other features in the Kapwing Studio to customize your timeline even further. And be sure to tag @kapwingapp to show us your creations! Below is an image of my finished project in Studio! Pressing the publish button turns my timeline into a video that I can export and share.
You can even make new edits and drafts of your timeline by going to "My Account" from the Kapwing Homepage and searching for the video in your library. From there you can download the video again or take it back to Studio to make more edits!
This article is part of a series featuring educational tutorials and lesson plan inspirations for K-12 classrooms! Want to see more? Go check out our Educational Resources Page!