How to Make a Velocity Edit Online
In this tutorial, I will show you an easy way to make a velocity edit using Kapwing's online Video Editor.
A velocity edit is a video editing technique that can be used to speed up and slow down videos at certain seconds.
Whether you are a filmmaker, a YouTuber, or someone trying to share an impactful clip on social media, using this technique can be a great way to develop a new video editing style, create an eye-catching video, or even promote your newest single. This example of a velocity edit should give you an idea of what's possible.
In this tutorial, I will show you an easy way to make a velocity edit using Kapwing:
- Upload Your Video to the Kapwing Studio
- Mute or Remove the Audio from Your Video (Optional)
- Make Velocity Edits to Your Video
- Add Transitions to Your Video
- Add Sound Effects and Music to Your Video
- Download and Share
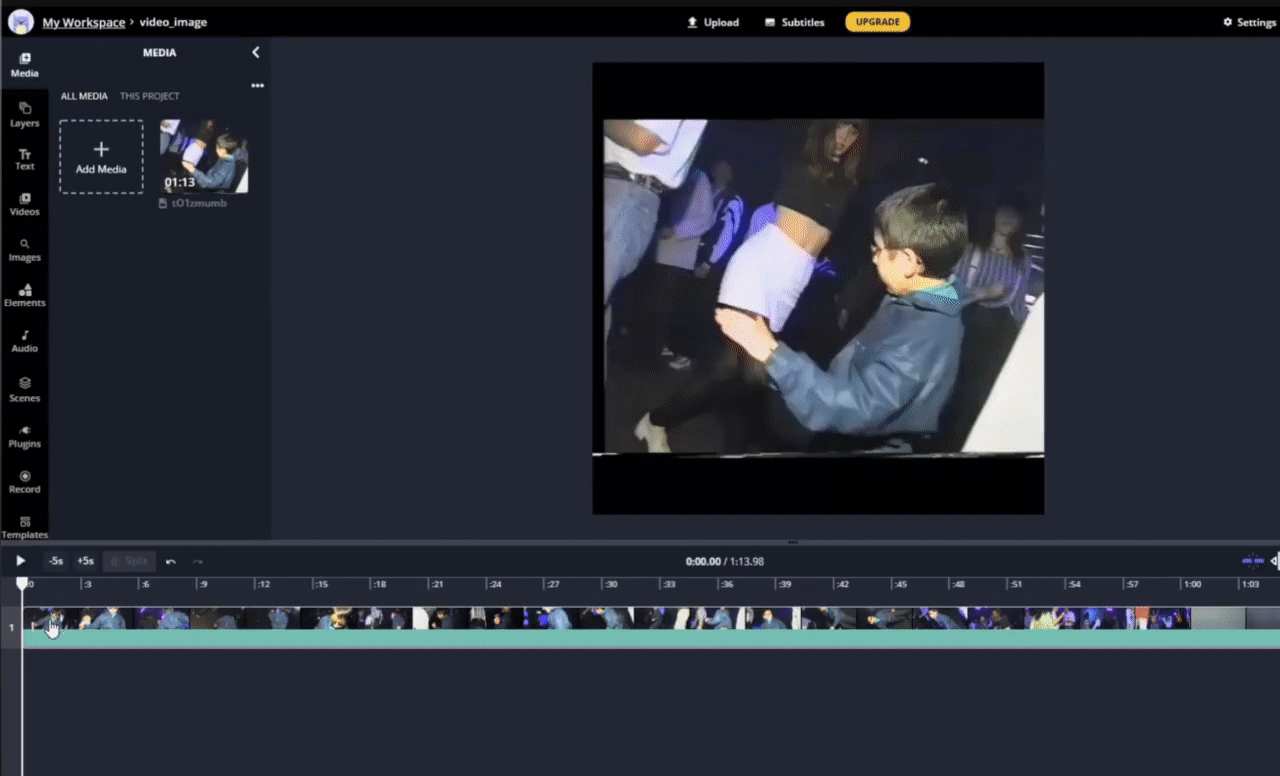
Step 1: Upload Your Video to the Kapwing Studio
Whether you are new to Kapwing or have used Kapwing in the past, you can upload your video by opening Kapwing in your browser and then clicking Start Editing or New Content to enter the Kapwing Studio.
You can then choose from a blank canvas or simply upload your video.
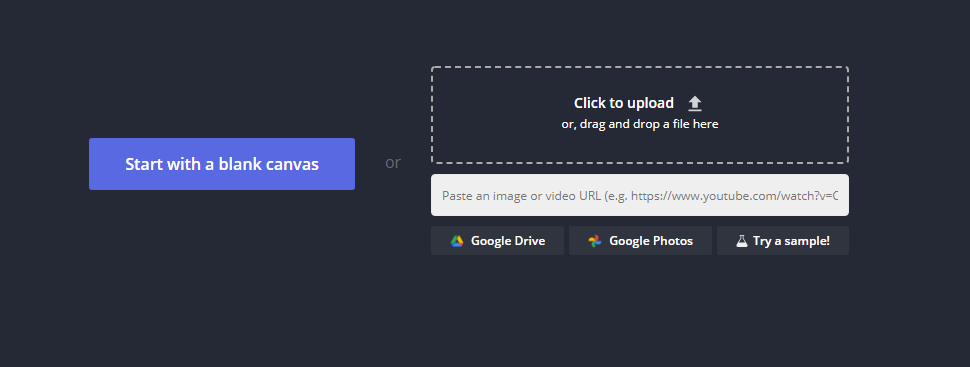
To upload your video, you can either select Click to Upload to import your desired file or drag and drop the file directly into the Click to Upload rectangle. You can also paste a link from websites like TikTok, Facebook, or Twitch to import your media into the Kapwing Studio, or upload your video directly from Google Drive or Google Photos.
Once your video has been uploaded, you can preview and edit it as needed using Kapwing’s built-in video editing features.
Step 2 (Optional): Mute or Remove the Audio from Your Video
If your video already has audio that you don’t want playing in your final edit, you can choose to mute or remove it.
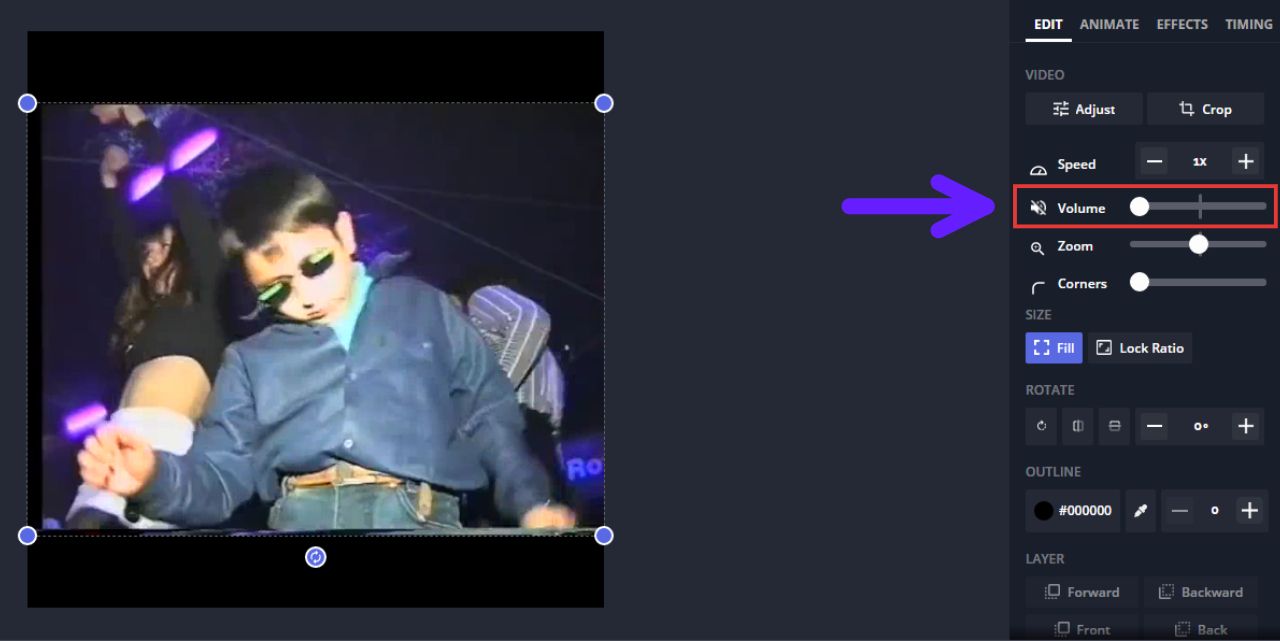
To mute the audio, click on your video to select it, and then drag the volume slider (located on the right side of the screen) all the way to the left.
To remove the audio, simply right-click on your video and click Detach Audio (or press the Ctrl+Shift+A keys on your keyboard), right click on the audio layer you want to remove, and then click Delete.
Step 3: Make Velocity Edits to Your Video
Play a few seconds of your video until you find a frame where you would like the video to slow down or speed up. Click the Split button located above the timeline or click the S key on your keyboard.
Play a few more seconds of your video until you find a frame where you would like the speed change to stop and click the Split button again.
Select the clip that has been split on both sides and then, under the right column under Edit, locate the Speed options indicated by “-” and “+” signs.
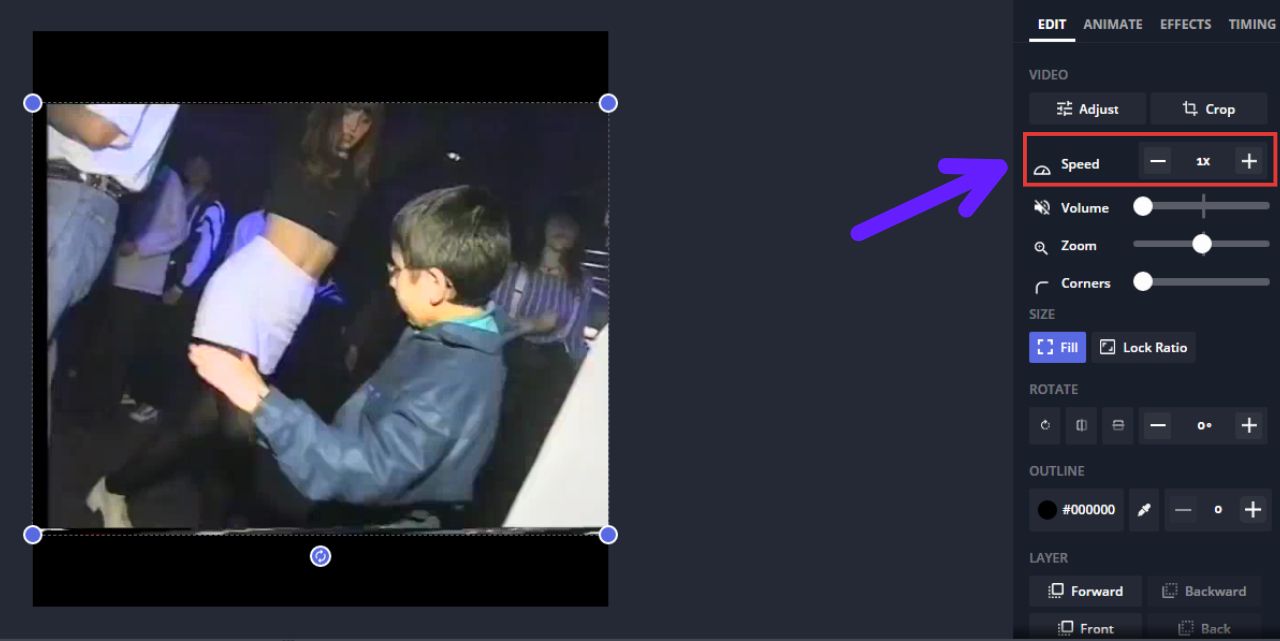
- To slow down, click the “-” symbol
- To speed up, click the “+” symbol
Repeat these steps for as many times as needed.
Step 4: Add Transitions to Your Video
Once you’ve done all of your cuts and speed changes, you can then add different transitions to your clips to add to the “velocity” effect.
Click on the clip where you would like the transition to start or end.
Then, under the top-right column, click the Animate tab and choose from various animations such as Fade, Pop, and Slide under Animation.
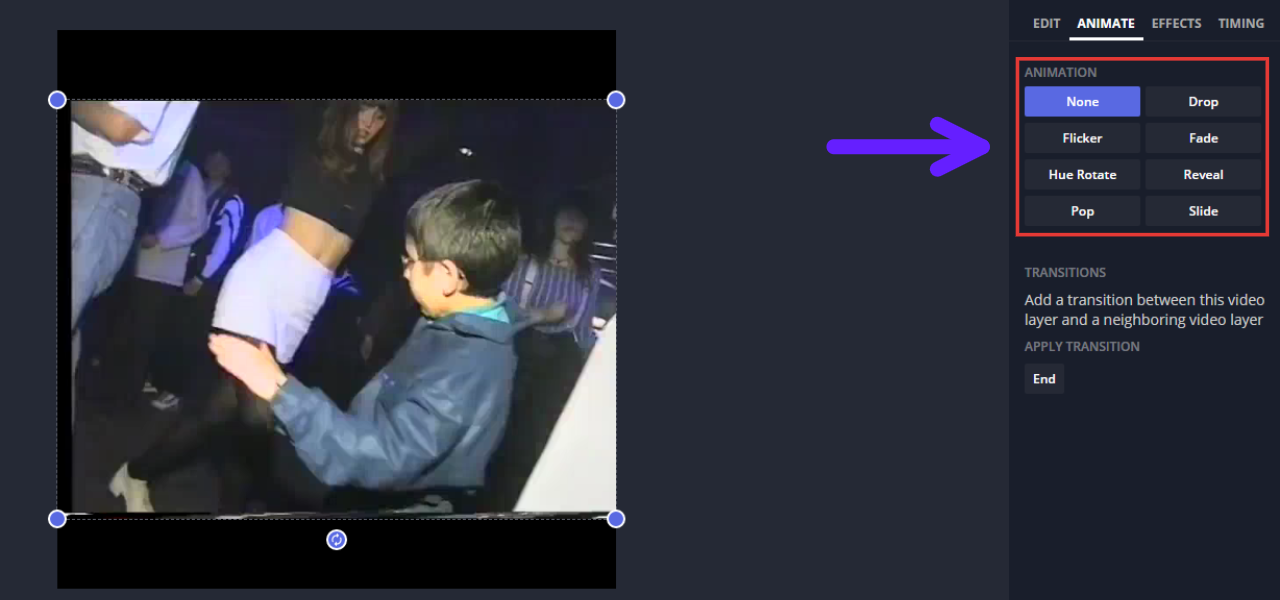
You can also choose from various Animation Speeds (Slow, Default, and Fast) and what portion of the clip you would like to apply the animation to (Intro, Outro, or Both).
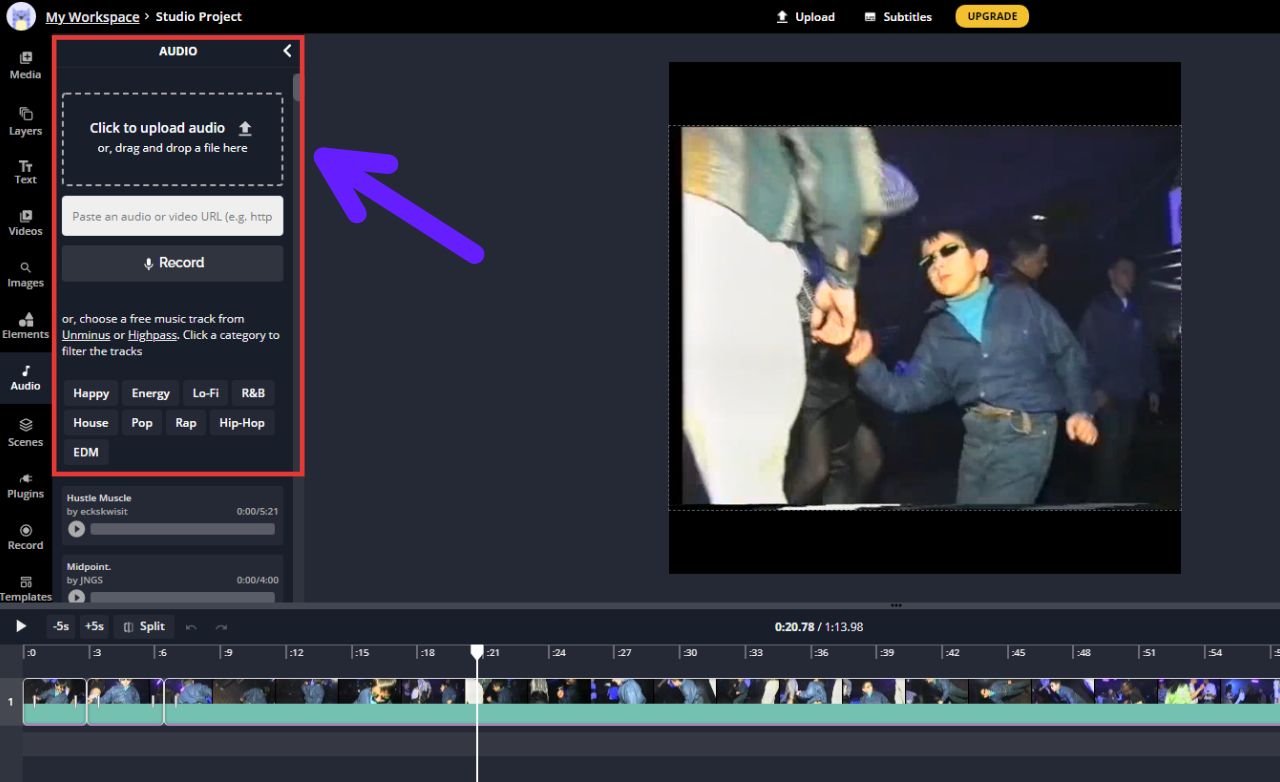
Step 5: Add Sound Effects and Music to Your Video
To top off your velocity edit, you can then add audio to your video.
First, move the timeline cursor to where you want the audio to begin.
Next, locate and click on the Audio tab on the left and then choose from any of the royalty free songs available in Kapwing’s Video Editor. Upload the audio file by clicking on it or simply paste an audio or video URL from YouTube, Twitch, Vimeo, Soundcloud, etc. Crop the audio to fit your video as needed.
Step 6: Download and Share!
To download your video, you can either immediately click on the green Export Video button in the upper right or click the drop down arrow directly to its right to export it as a specific file format.
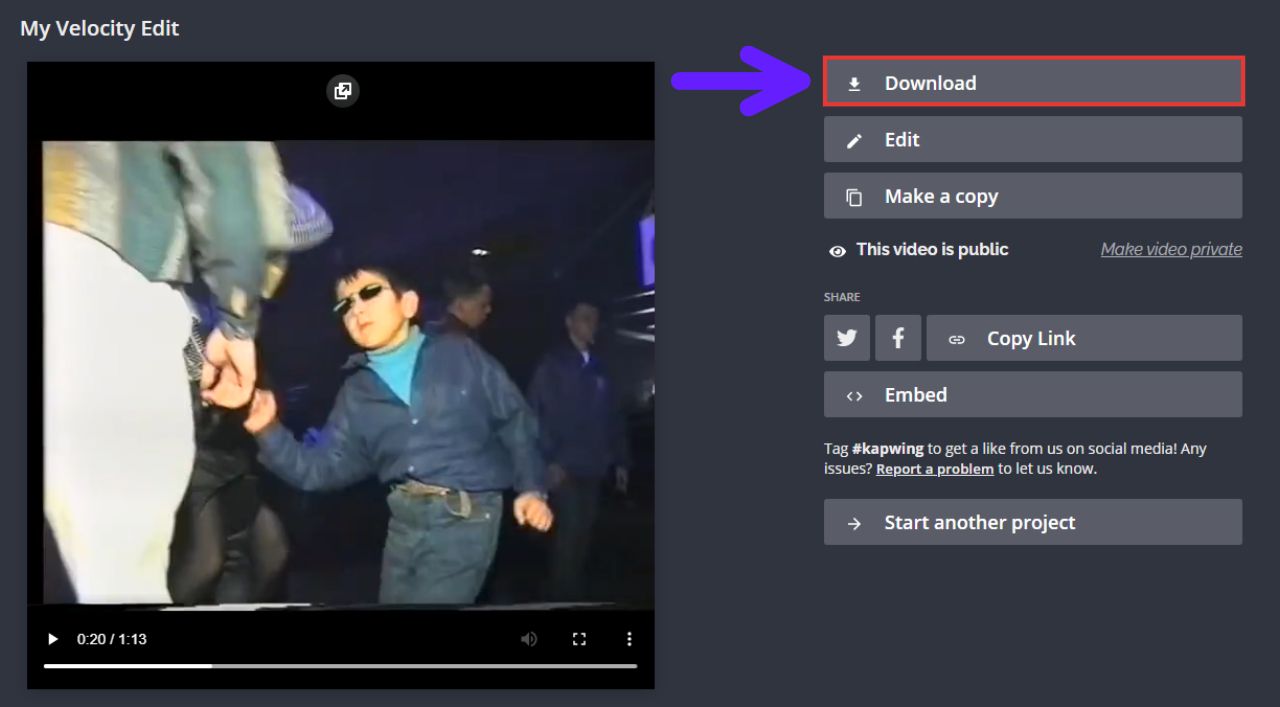
Once your video is done exporting, you can share your video using the provided links or you can use the Download button to save it directly to your files. If you would like to make any changes, you can easily go back into your workspace and make any edits as needed.
If you have any feedback about Kapwing or the Kapwing Studio please feel free to let us know! For more tips and tutorials on creating great digital content in 2021, check back in at the Kapwing Resources page, subscribe to our YouTube channel, or read through some articles related to video editing techniques.