
Kapwing June 2022 Release Notes
Last Updated: June 24, 2022
Catch up on the newest Kapwing features and fixes to level up your editing workflow! In these Release Notes, we go over the latest changes to Kapwing, how to use new features, and any known issues. This page is updated with each Kapwing release which generally happens every two weeks. Receive notifications for new updates by subscribing on YouTube and following our Twitter!
New Features ✨
Safe Zones

Ensure your content will be visible on TikTok, Instagram Reels, and YouTube Shorts by previewing how it’ll look with Safe Zones. Click behind the canvas and toggle Safe Zones on in the right-hand side bar to see where your content is obstructed by each platform’s interface, or choose “All” to view the Safe Zones for all platforms at the same time. As you create your content, you can adjust important elements so they stay visible when posted on social media.
Blur Video Background
Create a professional look in your videos by blurring the background in one click! This helps viewers focus on the subject of the video while making backgrounds less distracting and is perfect for elevating video podcasts, interviews, tutorials, and presentations. To use it, upload a video or record one in Kapwing, then head to the Effects tab in the Edit menu on the right side and click the Blur Background option. Use the slider to adjust how blurred the background is. This effect works best with a single person against a background.
Remove Image Background

You want clean, professional looking images for your content, but removing the backgrounds can be a hassle. Not anymore: you can now erase image backgrounds automatically in Kapwing! We've had an image erase for a while, but this update takes it to a whole new level. After uploading an image with a clear subject in it, all you have to do to remove the background is click the "Erase" button on the right sidebar in the Edit menu, and the background will be gone! You'll get clean cut, transparent PNGs on demand, which you can then add a new background to. If you don't like how the image comes out, you can always hit "Restore" and use the manual eraser tool or Magic Wand to choose what parts are erased.
Note: Free users can use this feature 3 times per month. Upgrade to Pro to get unlimited access today!
Version History
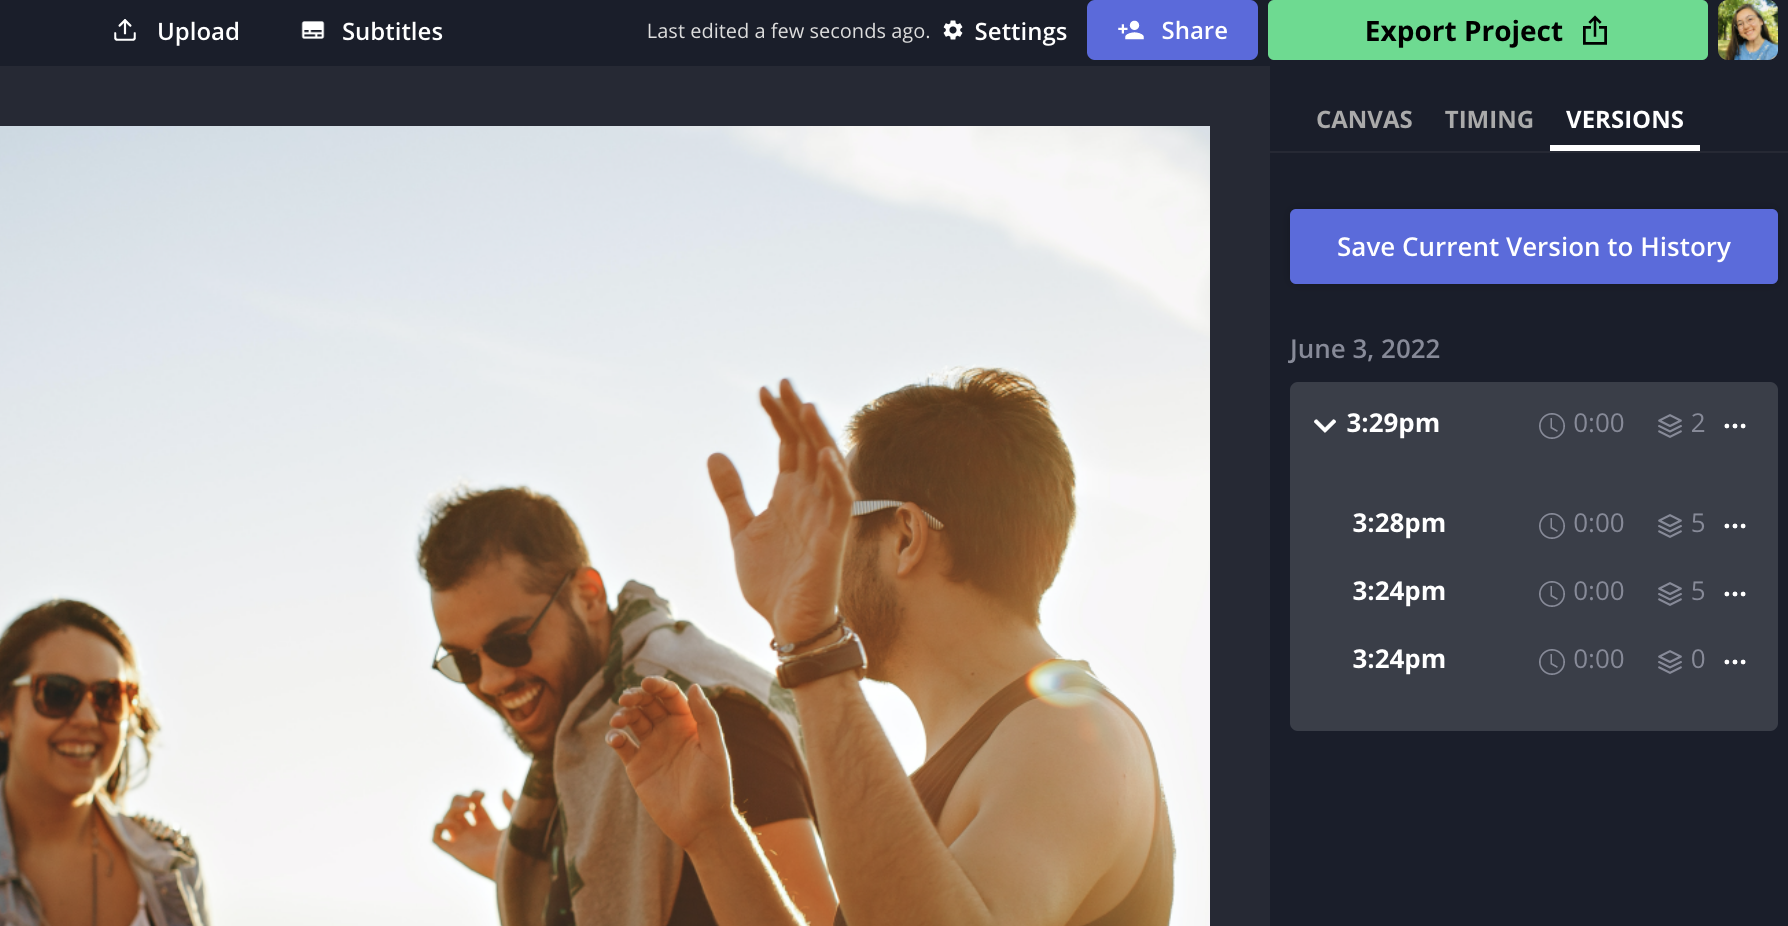
Kapwing auto-saves your projects as you edit, but you can now view your edit history and manually save the current version of your project with this feature. This makes it easier to test out different drafts and revert back to older versions at any time. To find it, click the gray area next to the canvas, then choose the tab called "Versions" on the right side. If you want to save the current state of the project as a version, select "Save Current Version to History". To revert to or duplicate an older version, click the three dots icon next to the version and select your desired option.
Bug Fixes & Improvements 🛠
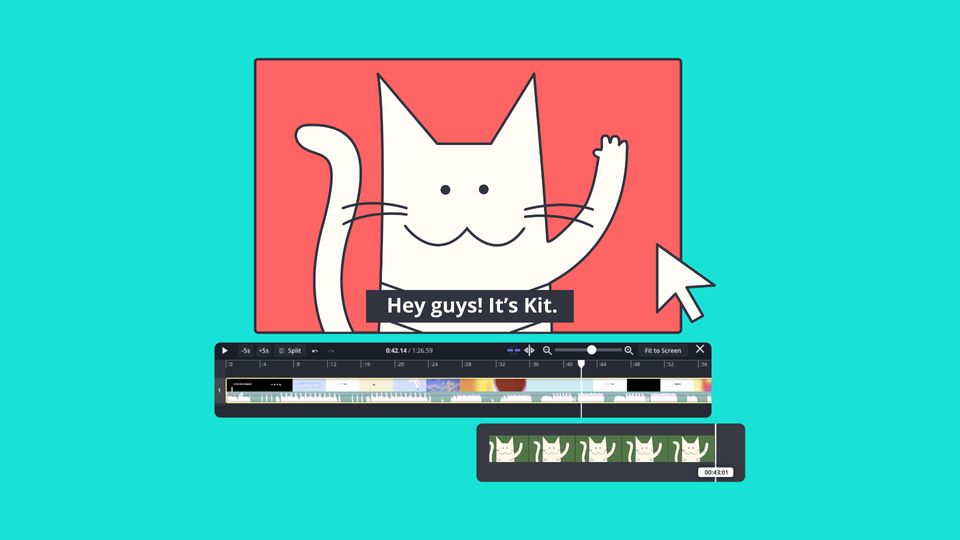
- Add subtitles directly in the studio – We brought the subtitler into the main Studio so you can edit subtitles with the canvas and timeline in view instead of in a separate window. You'll find it in the Subtitles tab on the left side. In the coming weeks, we'll be phasing out the Subtitles button at the top of the studio.
- Start new projects with a specific aspect ratio – When creating a new project, you can now specify the canvas size from the start to make videos for social media faster.
- Type in any font size for text – You can now manually type in a font size for text boxes.
- Timeline auto-scroll – The timeline now scrolls automatically as the video plays.
- Sort projects in your workspace – You can now view your workspace with List view and sort by project metadata like project name, Date Created, Date Edited, and Edited By.
Pricing Changes 💳
- Free users can access their 3 most recently created projects – Free users can still make unlimited projects, but will only have access to their 3 most recently created projects. Click here to read more about what's included in the free vs. Pro plan.
- Creating folders in workspaces is now a Pro feature – Free users start with one folder in their workspace moving forward. To create more, upgrade to the Pro plan. Learn more about the free vs. Pro plan here.


