
How to Use Kapwing's AI Image Editor
While Kapwing is an online video editor, users can still create, upload, and edit images.
Learn more about how to use Kapwing for images below.
Table of Contents
How to Generate an Image
How to Edit an Image
How to Generate an Image
If you do not have an image at all and want to create one, you can do so on Kapwing with Kapwing AI – our latest innovation of chat AI. To create an image, be sure to review our prompt tips here. With a few words, you can easily have an image generated for you. Structure your image generation prompt using the included formula:
Style + Character/Object + Verb + Surroundings
After you generate your image, you can update your prompt to address any missing aspects of your image or to adjust the creative choices the AI may have included.
After generating your image, you can download it directly to your device from within the chat or add it to a Kapwing project to edit further.
How to Edit an Image
If you generated an image with Kapwing AI and want to refine it, you can update your prompt and reload the image. Alternatively, you can load the image into the Kapwing studio for manual editing.
Likewise, if you have a picture from somewhere else, you can also upload it to Kapwing AI for editing.
What Edits Can You Make Within Kapwing AI?
With Kapwing AI, you can use AI to remove objects, fix lighting issues, or even help make the image wider.
- Either within a general Kapwing AI chat or a custom Kai chat, upload the needed image(s).
- If it is a custom Kai, the magic will happen for you without adding to the prompt (but you still can if you want to clarify further).
- If it is a general chat, you will want to write a clear and precise prompt about what it is you want changed about the image. Here are some things you can request in your prompt to edit your photo:
- Change the coloring (i.e., brighten, darken, change to technicolors, make the image monochrome, etc.)
- Alter the viewpoint (i.e., have the photo be from worm’s-eye view instead of eye level)
- Change the orientation or expand the image (i.e., from portrait to landscape)
- Cartoonify the image (i.e Simpsons, Adventure Time, SpongeBob, chibi, josei, shoujo, etc.)
- Add or remove an object/person from the image
- Alter or remove the background
- For more ideas and inspiration, be sure to check out our custom Kai explore page
When you upload starting image(s), for best results, be sure to use a clear and high-quality photo.
What Edits Can You Make Within Kapwing?
With Kapwing AI, you can use AI to remove objects, fix lighting issues, or even help make the image wider.
- Upload the needed image(s) into studio. You can upload multiple at once if you want to make a collage-style image or for layering into the main image.
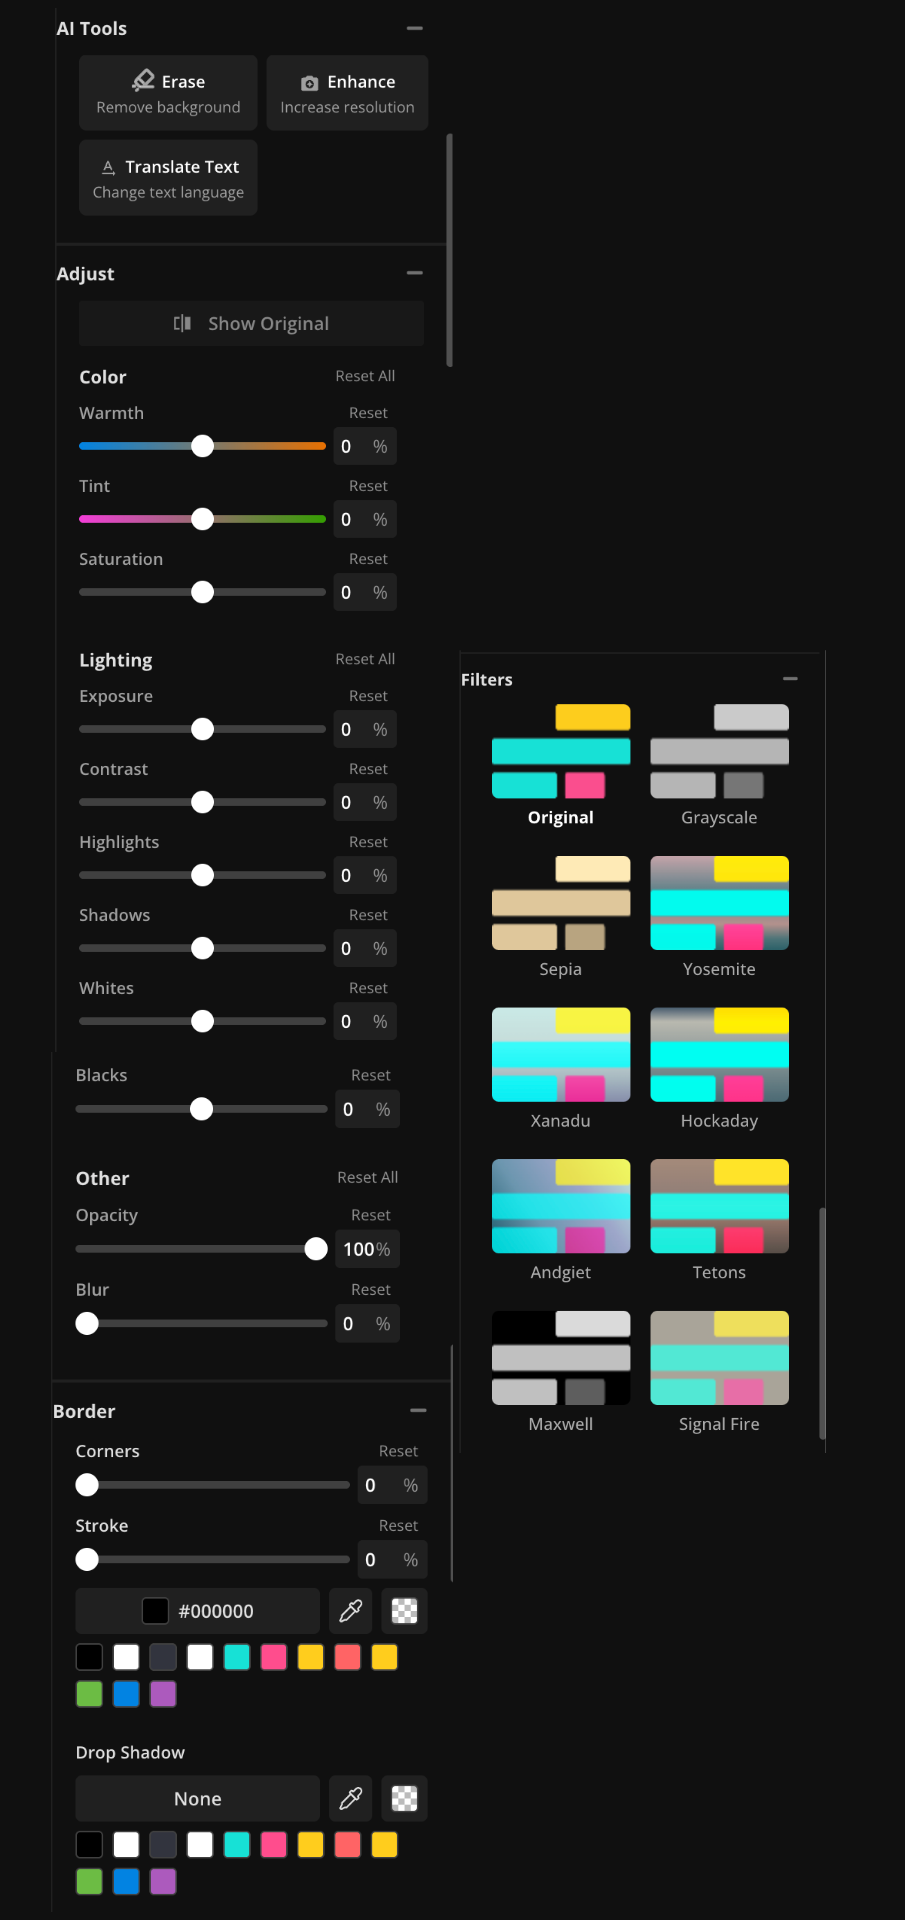
- After selecting the image, you will see options on the right side to apply limited AI tools, adjustments, and filters to the image. You can change the color and lighting of your image, enhance the resolution, translate the text, blur, or change the opacity.
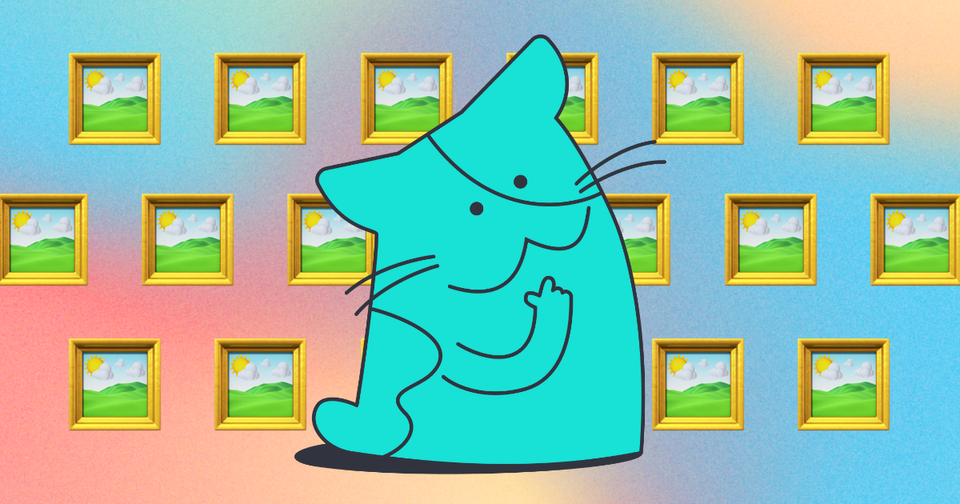
- To add objects to your image, you can use Kapwing's stock images or upload your own. For example, if you would like to add a butterfly to your cat's image, you can upload an image of a butterfly. If the image has a background, you can use our "Erase" AI tool to remove the background to seamlessly fit into your main image.
When you upload starting image(s), for best results, be sure to use a clear and high-quality photo.
Learn more about the other AI features within Kapwing.


