How to Create a Compelling eBook Cover for Free
If you don't want your eBook to get lost in the crowd, it's important to create a compelling eBook cover that'll have people stop scrolling and learn more. Here's how you can design a stunning eBook cover for free online.

A book’s cover is its best advocate. A great cover—one that people will pause to look at as they’re browsing a website or scrolling on social media—starts the conversation between author and reader that leads to (one can hope) buying your book.
If you’re trying to self-publish an eBook but only have limited resources, look no further. In this article, we'll explore different eBook cover designs and how to make your own eBook cover that turns browsers into readers.
Follow these steps to create your eBook cover design in five steps:
- Upload an image you want to use to any editor.
- Set your eBook cover dimensions.
- Add and arrange custom text as a header.
- Add and arrange compelling design elements.
- Export and download your eBook cover.
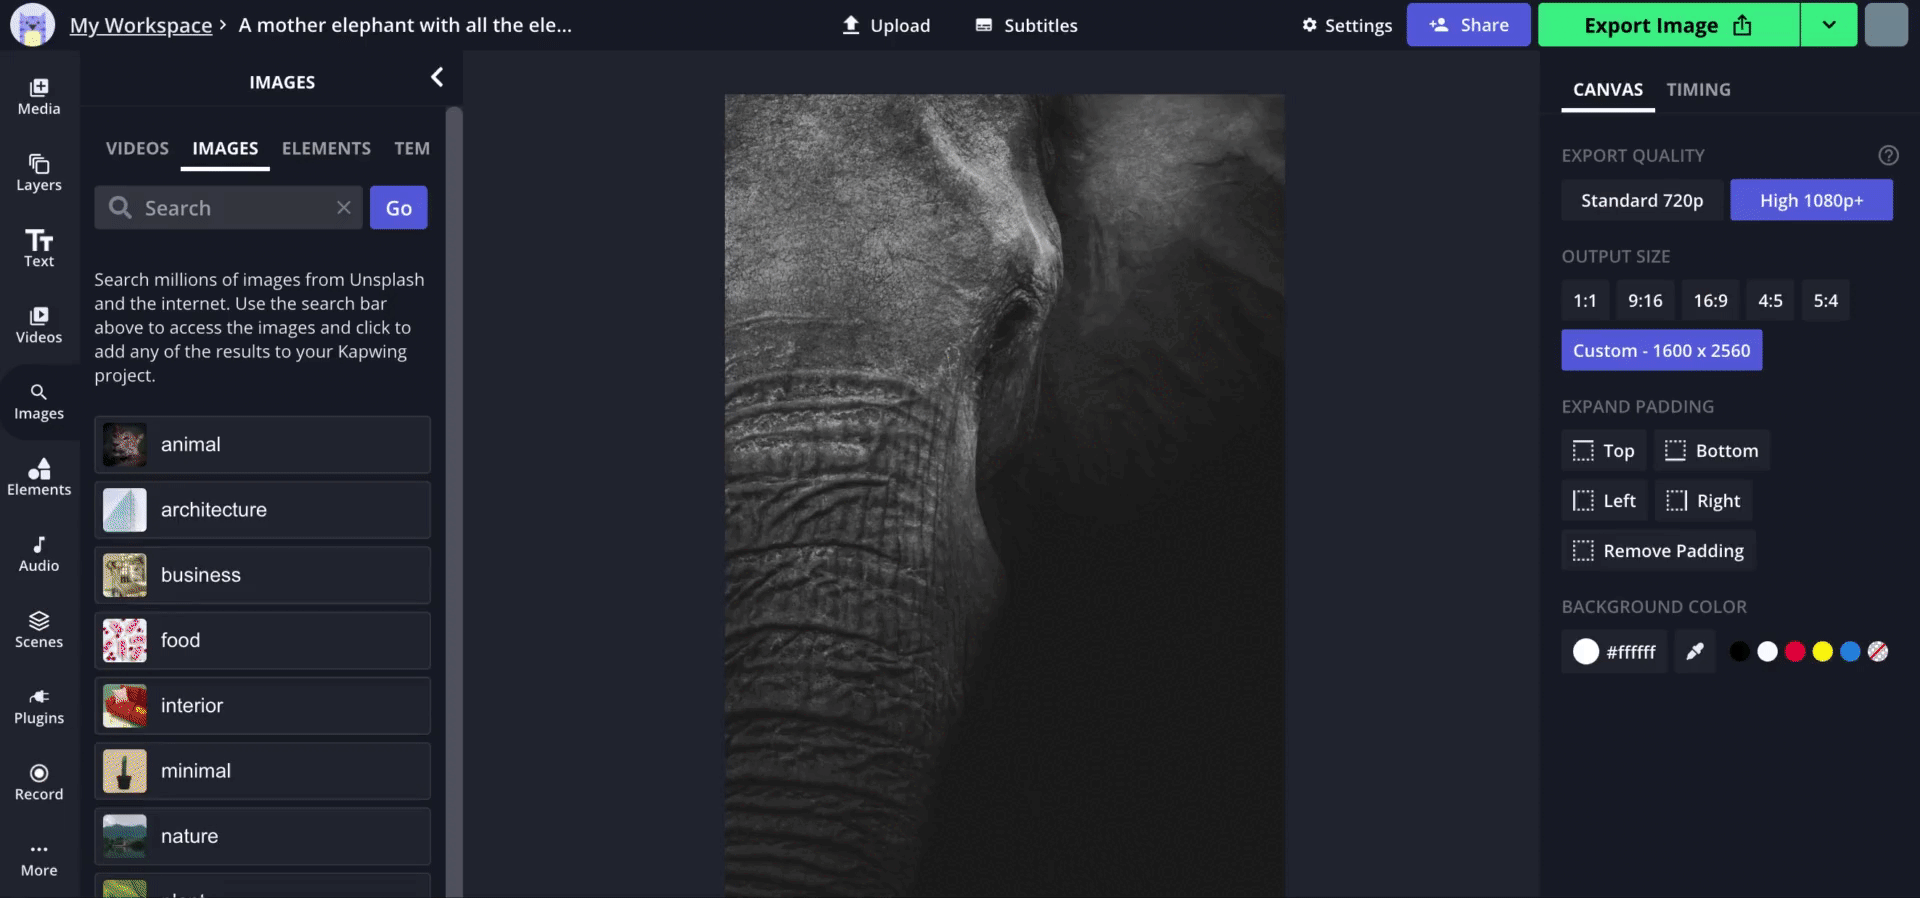
1. Upload an image you want to use to any editor.
The hardest part of any design project is getting started. The potential is infinite!
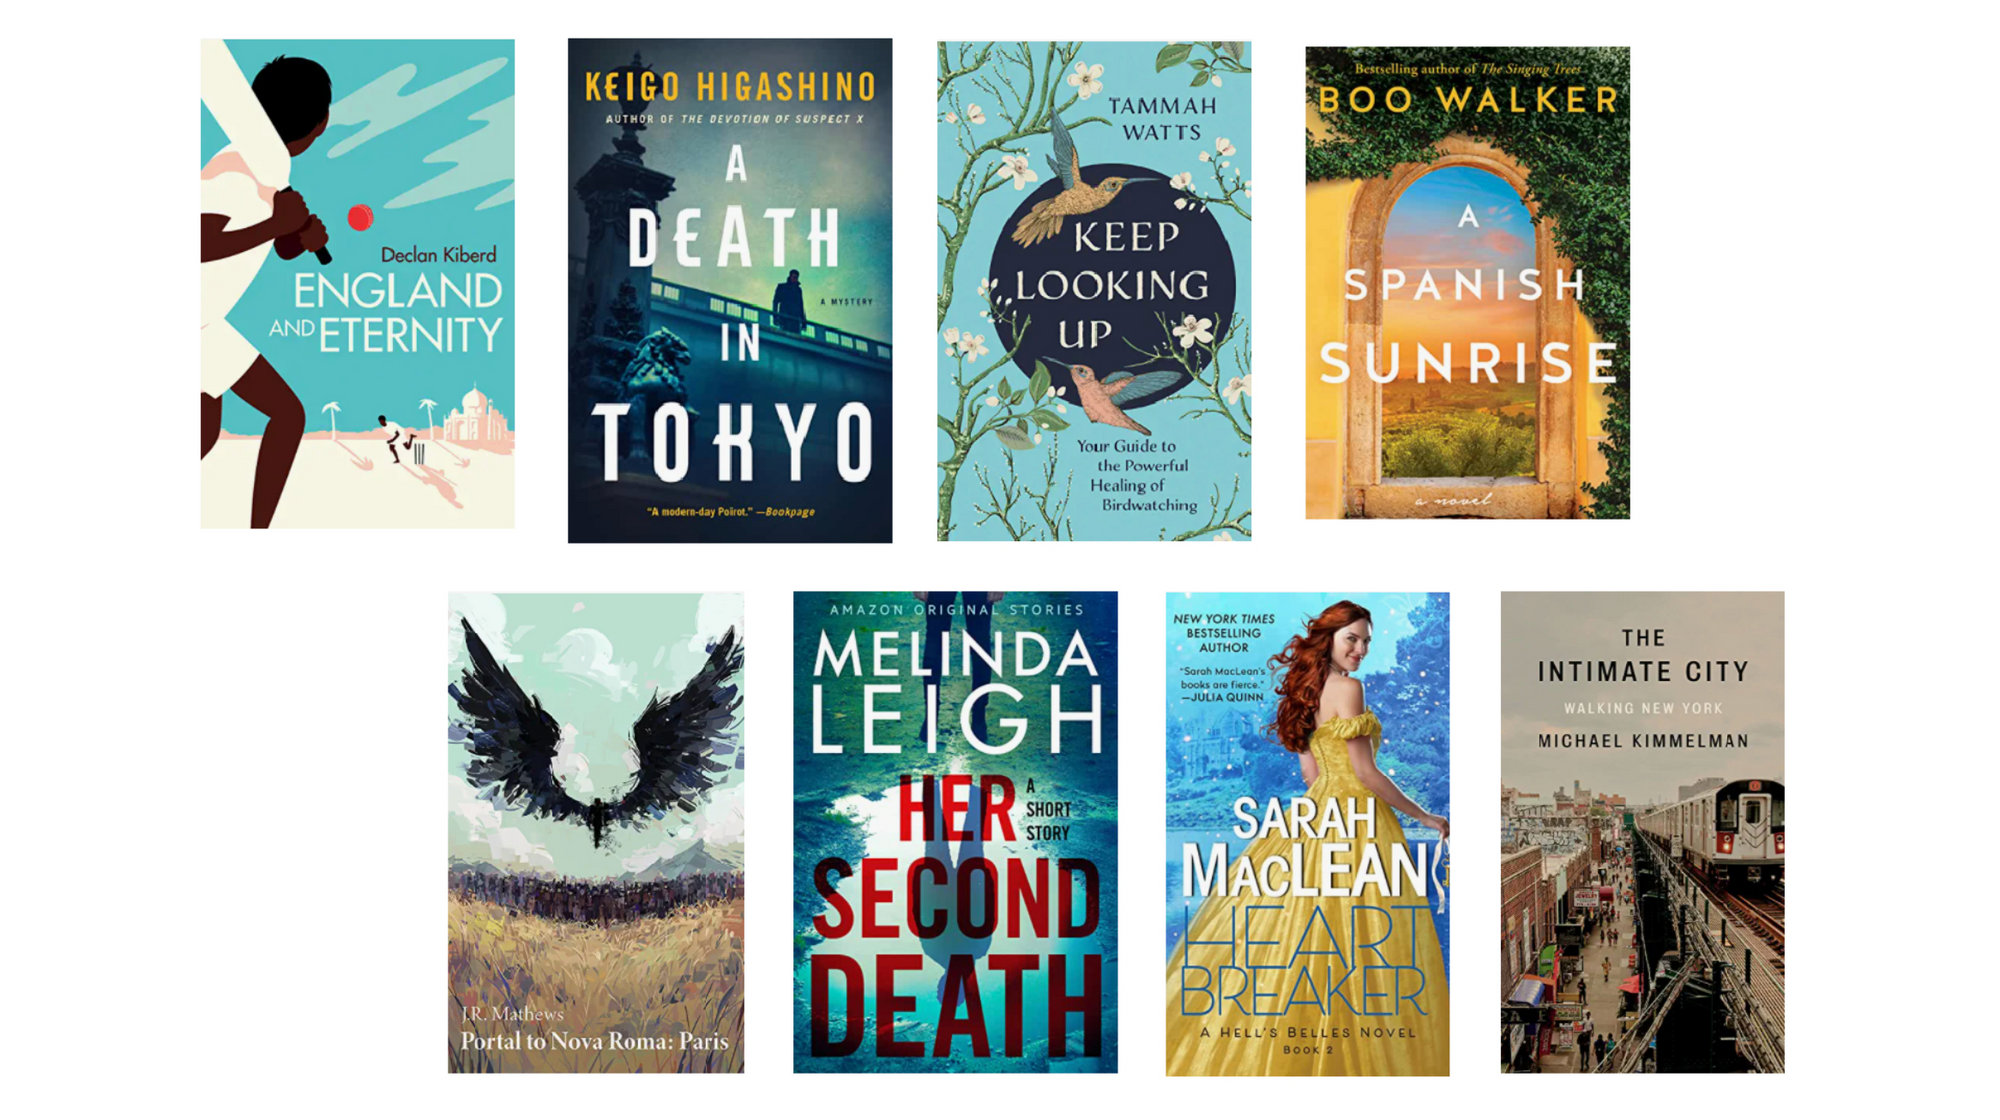
Finding inspiration might mean looking at books similar to yours in genre and audience to get a feel for what your ideal reader might expect. Above, I've provided 8 eBook cover ideas you can use as inspiration for your own work.
Once you know the direction you're heading, whether it's with your own art or photography or an image you found online (make sure you're not violating any copyright!), you're ready to start your eBook cover design.
In this article, I'll be using Kapwing, a nice option for its accessibility to novice designers (and price point at $0).
First, open Kapwing's Image Editor in your web browser. With this tool, you don't need to install any software—it'll open in your browser and save to the cloud as you work.
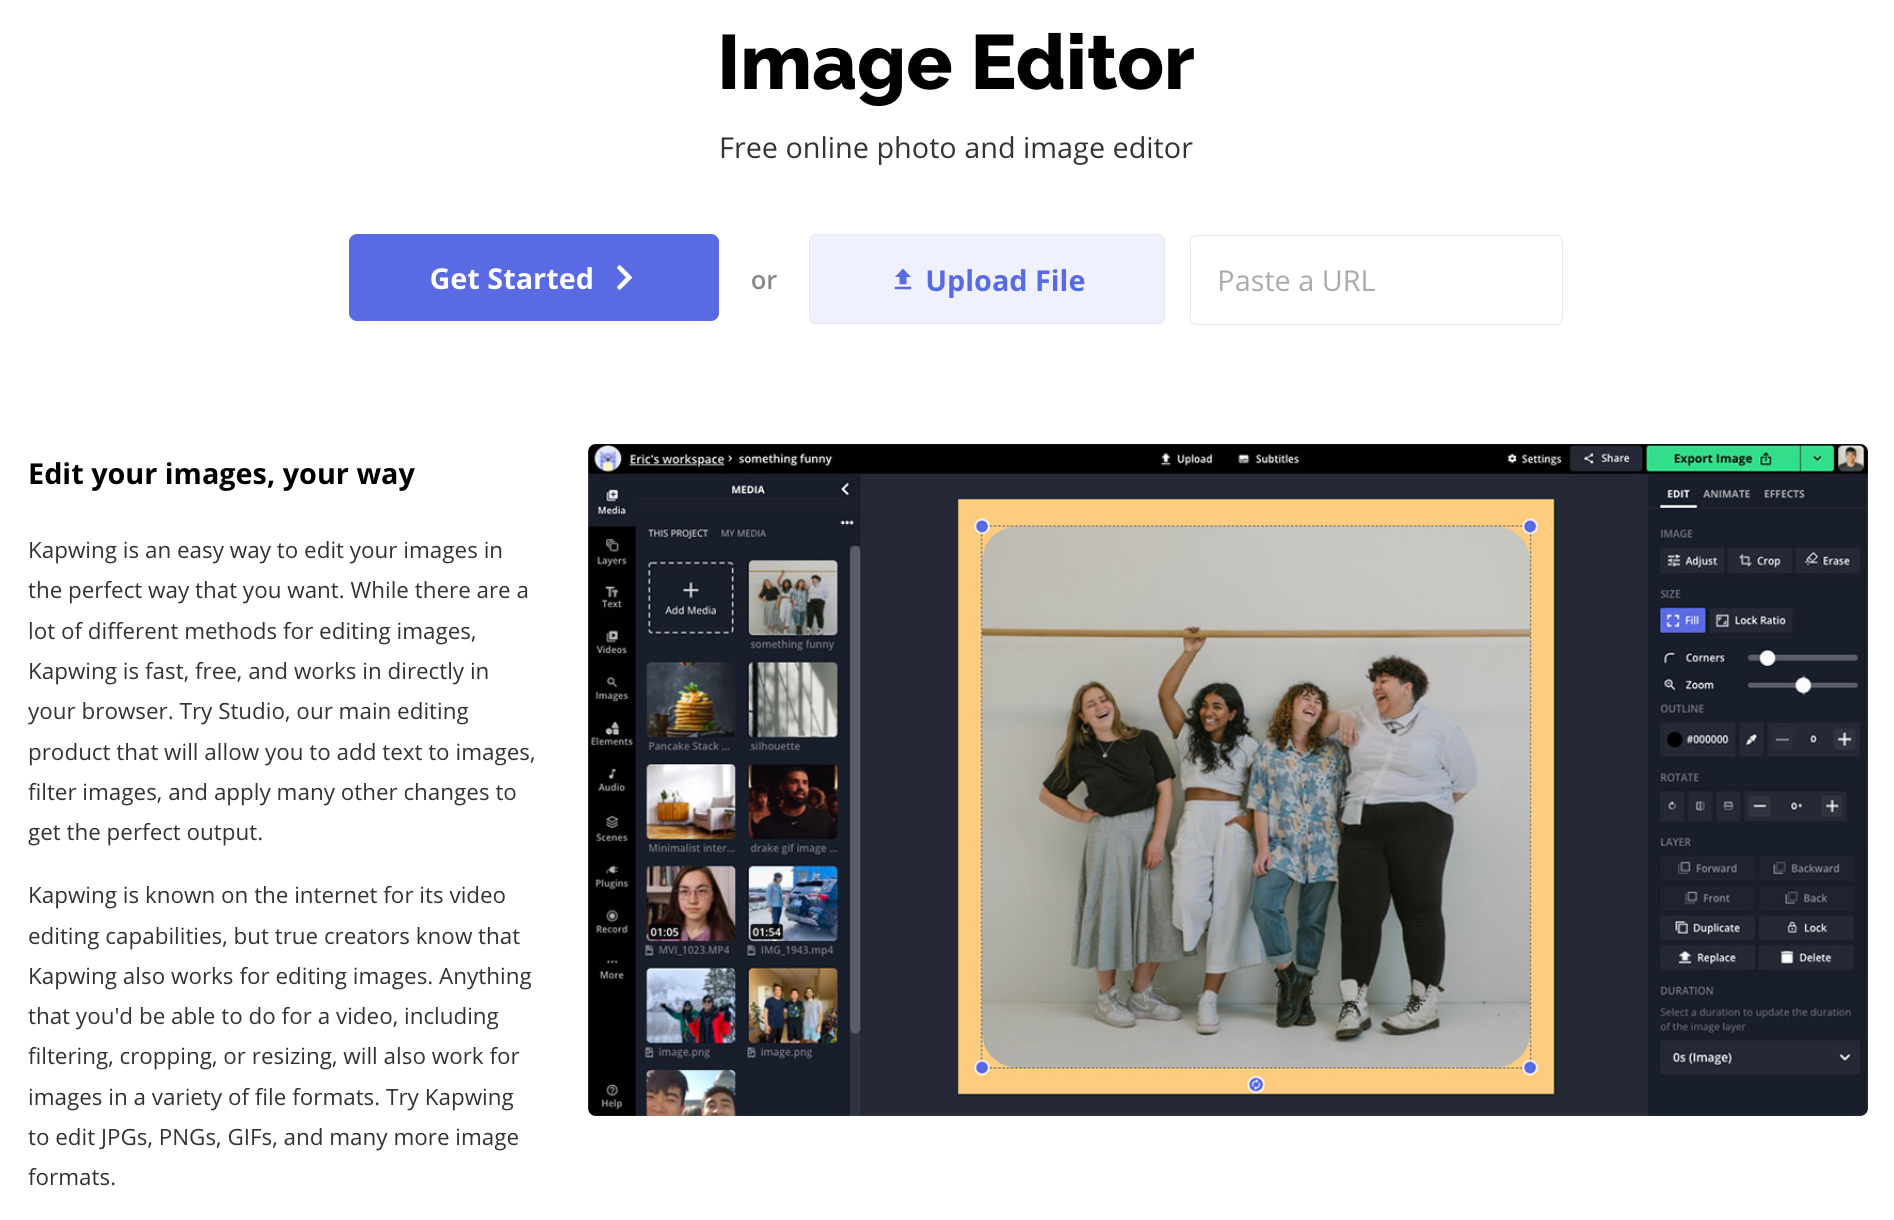
Click "Upload File" to jump into editing or "Get Started" to begin with a blank canvas.
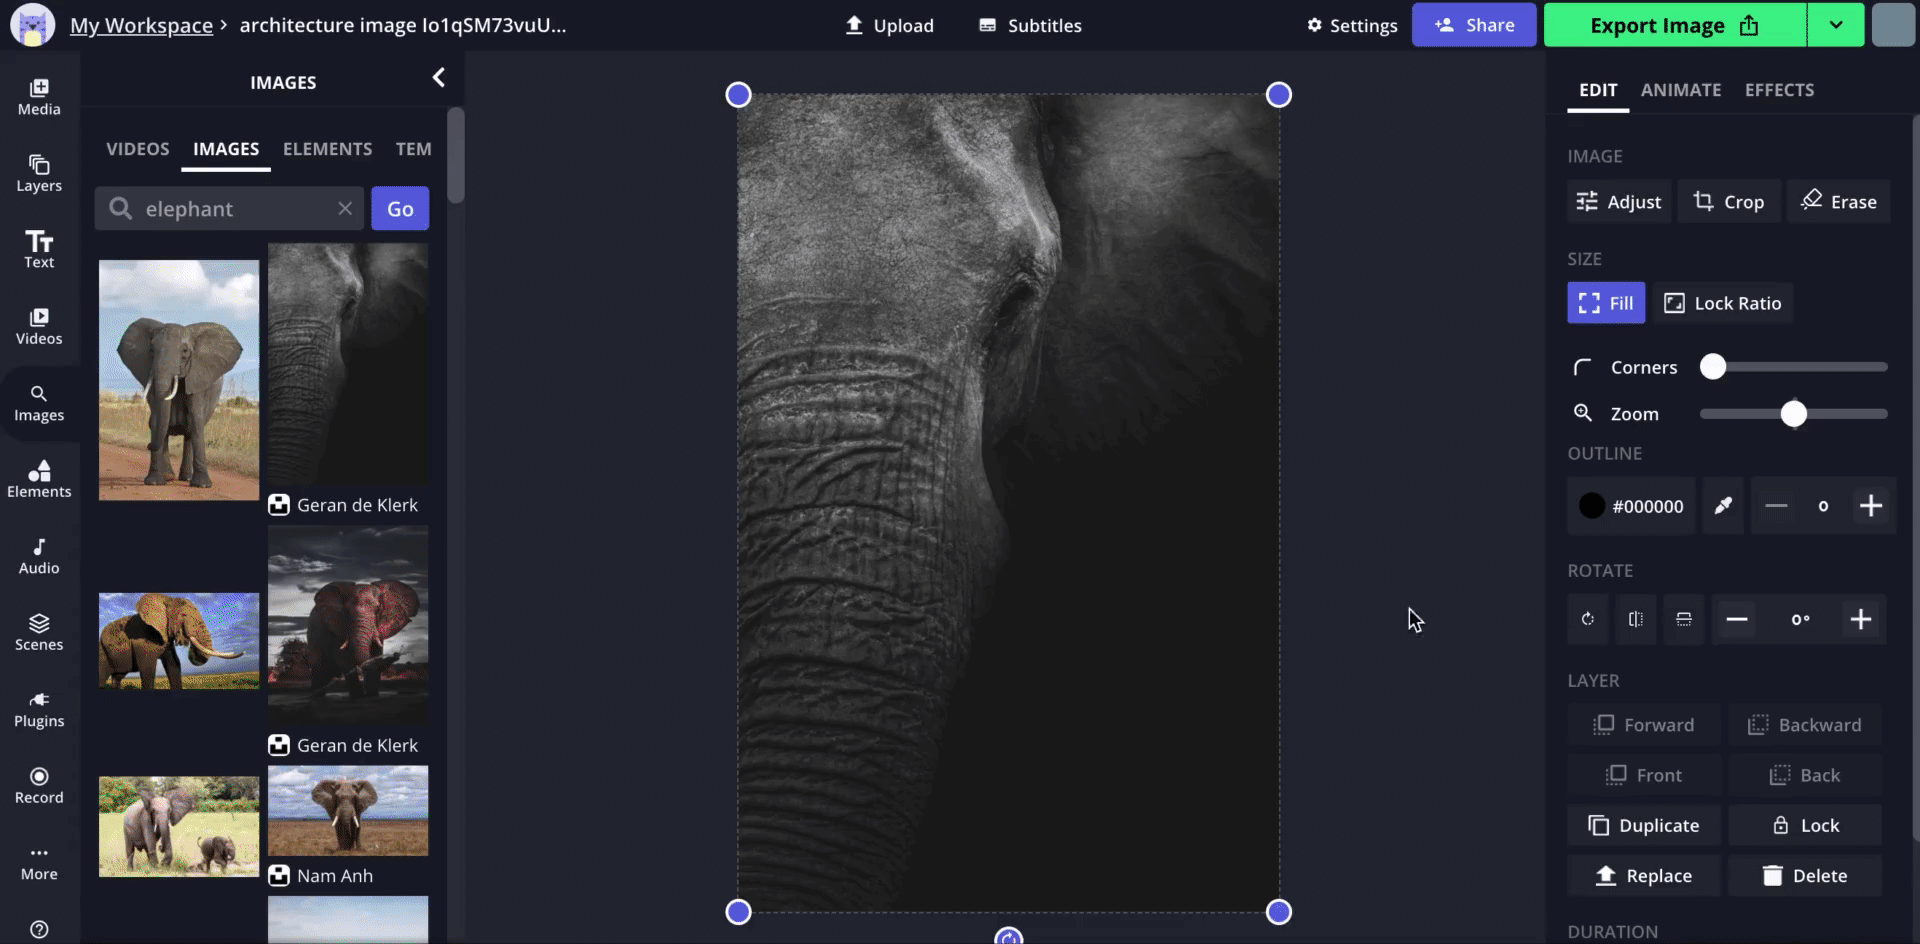
If you're still brainstorming the perfect image, that's okay too. You can search a database of copyright-free images by clicking "Get Started" and going to the "Images" tab on the left.
Search relevant terms and click the image you like to start editing.

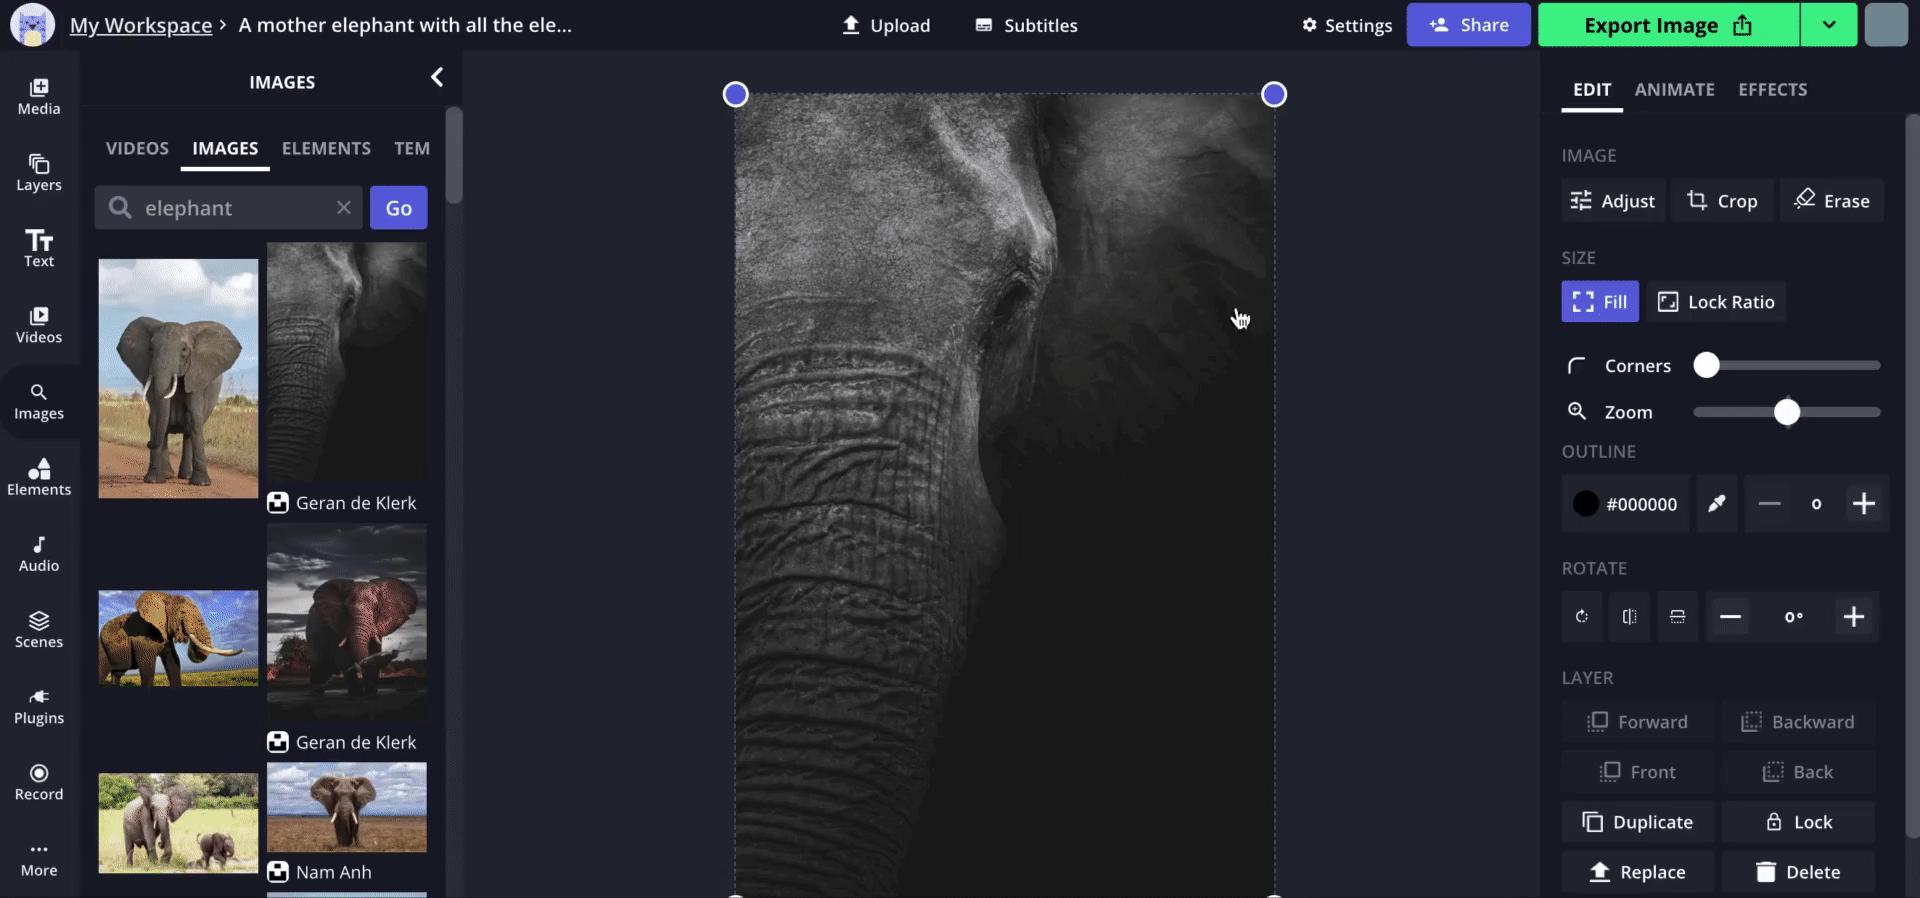
In the editor, you can manipulate your image by clicking "Adjust" in the panel on the right. Play with things like opacity and saturation to match the desired mood and color palette of your cover.
2. Set your eBook cover dimensions.
Be sure to check with your bookselling platform of choice for specific requirements.
To publish an eBook with Amazon, for example, your eBook cover size and dimensions should have a 1.6:1 height/width ratio, measuring 2,560 x 1,600 pixels for ideal resolution.
To resize your cover, first deselect your image by clicking somewhere in the background space of the editor. Then look to the right under "Output Size." Click "Custom" to input your desired pixel height and width.
Note that this will resize the canvas—not the image itself.
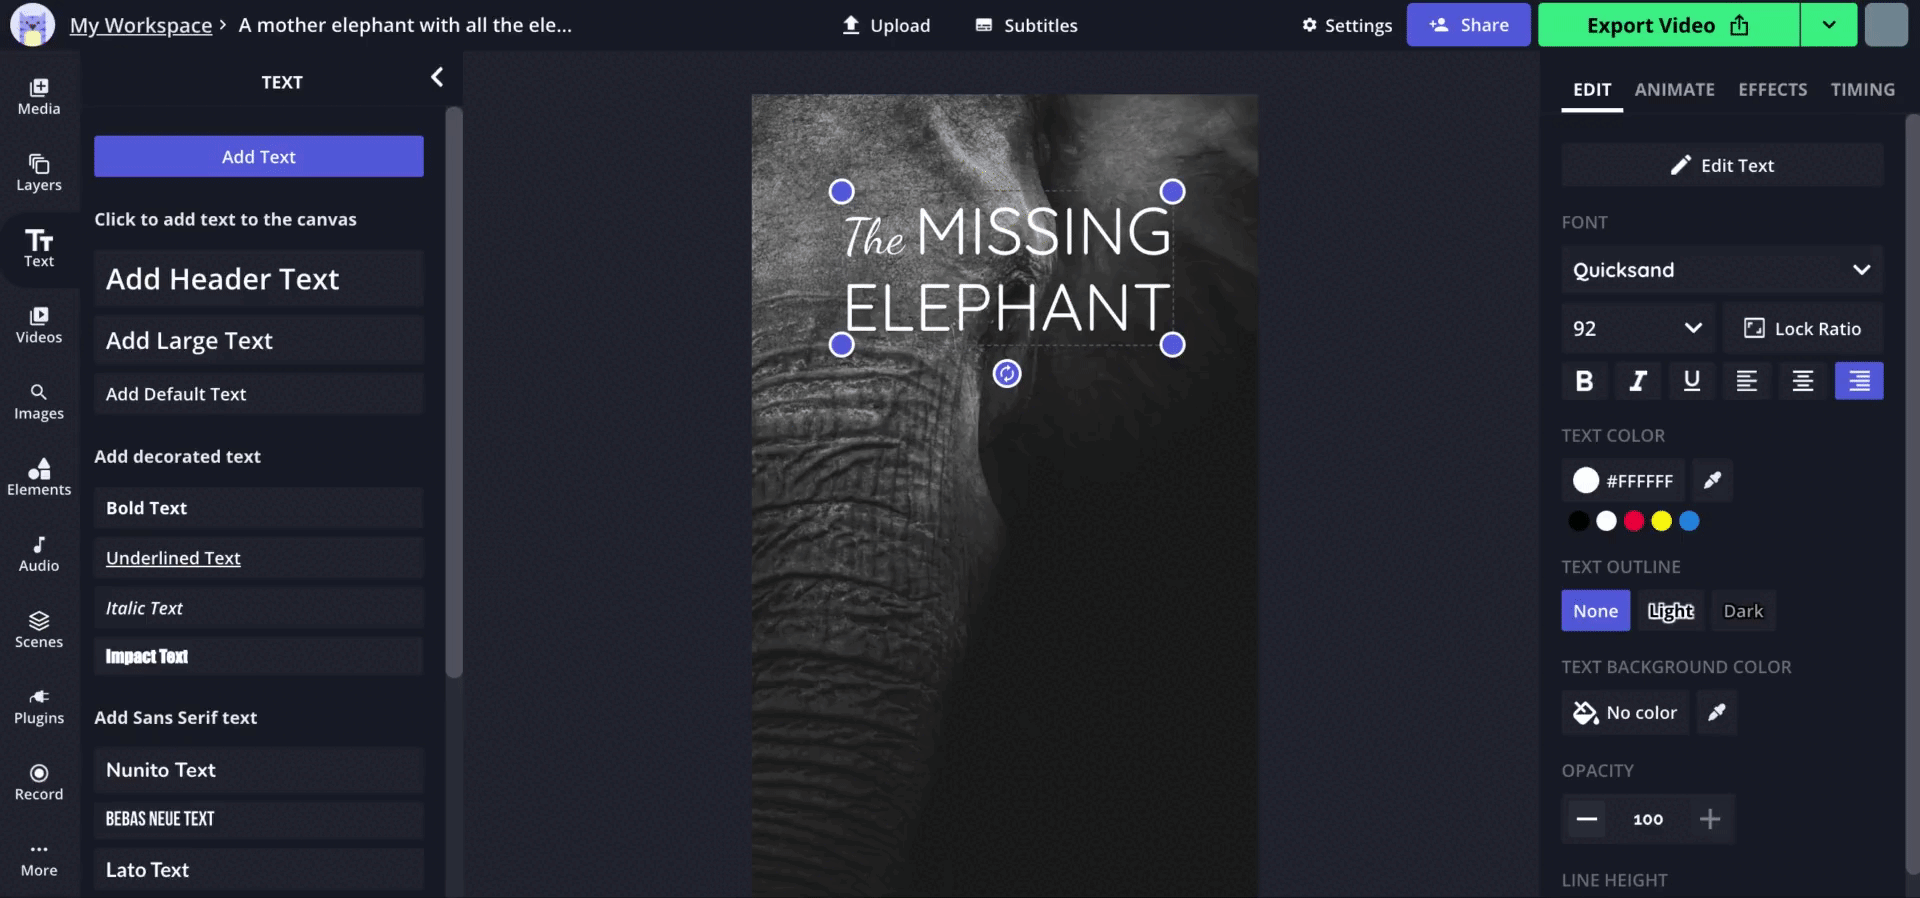
3. Add and arrange custom text as a header.
There are several options for what text to include on a cover.
You might want to add:
- A blurb: "This is the greatest book ever written." —Stephen King
- Info about yourself: "Bestselling Author of Another Book You Wrote"
- A genre marker: "Short Stories," "A Memoir," etc.
- A tagline: "Three days. Two couples. One bad decision."
But there are only two essential pieces of information: title and author.
Click "Text" on the left to start adding these elements.
You can adjust color, outline, size, alignment (left, right, or centered), opacity, and line height (vertical distance between lines of text).
Try creating new text boxes for words that might be exciting in different fonts and explore the "Effects" tab to apply a drop shadow or blur.
4. Add and arrange compelling design elements.
With your image and text squared away, your design might be finished. Minimalism doesn't mean boring, and white space lets design breathe, so don't feel pressured to add twenty layers of flair—especially if your image is doing a lot of work on its own! If you're happy with your cover at this point, skip to step 6.
Otherwise, consider what you might add to draw attention to your cover. Geometric shapes? A frame?
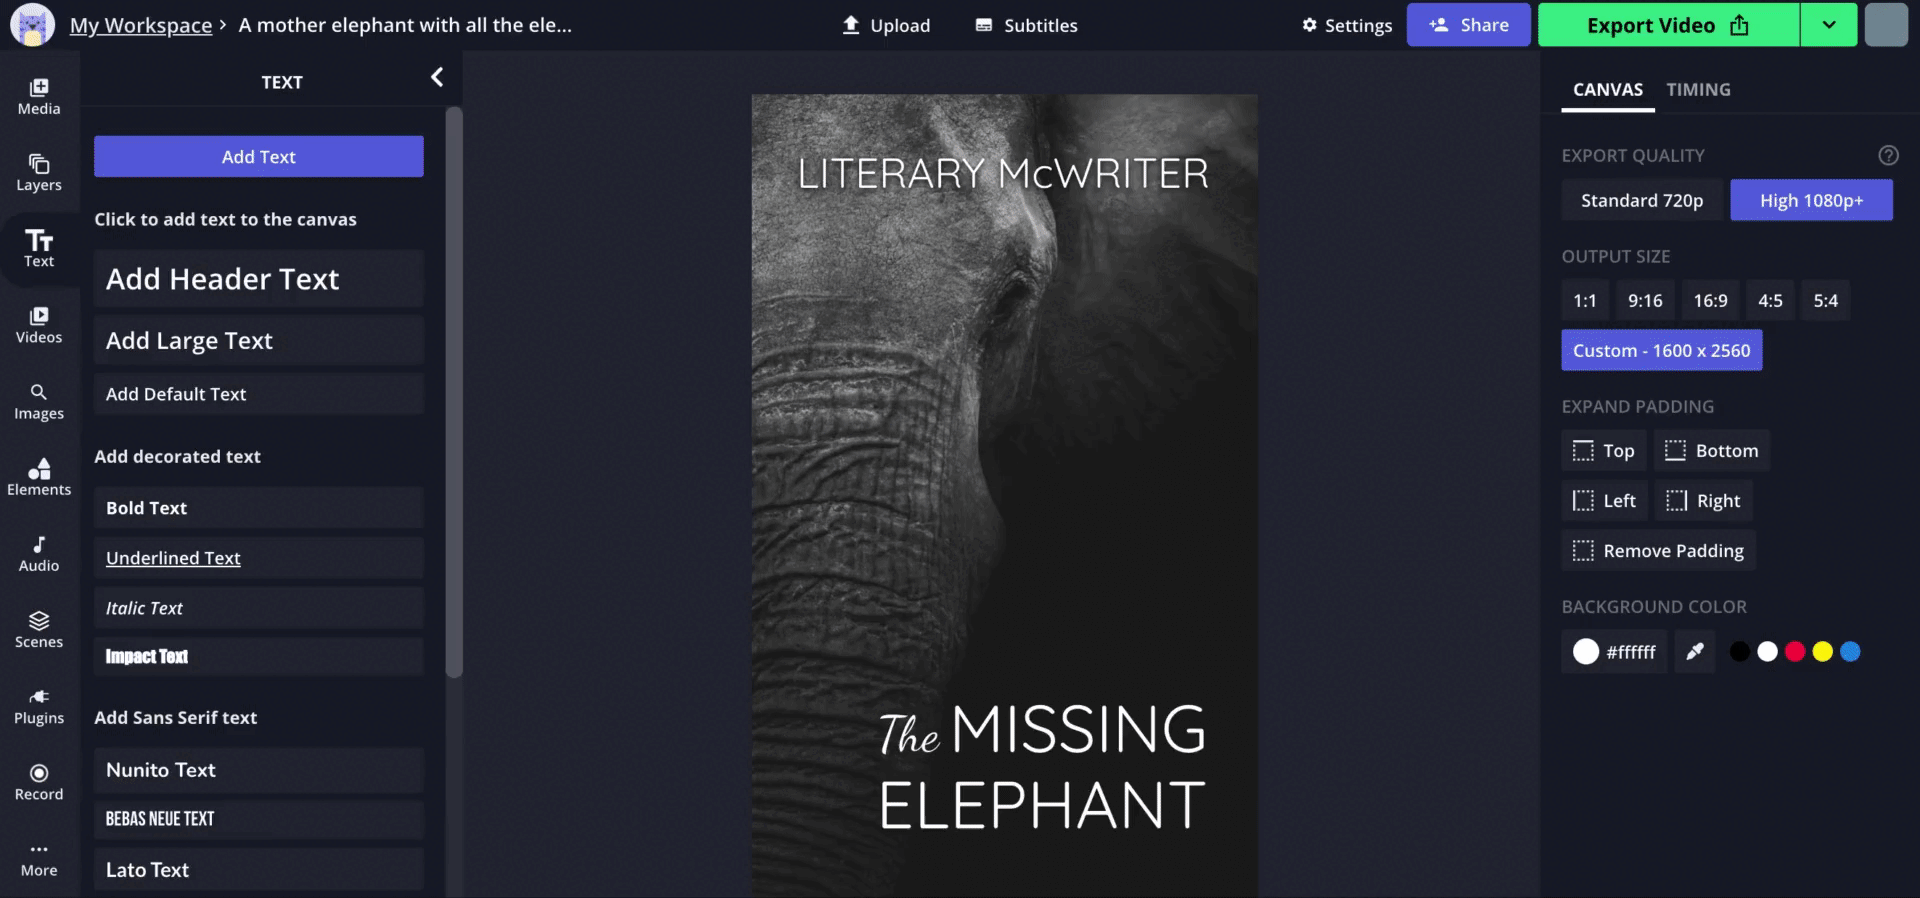
Choose what sits in front of or behind other elements with layering options on the bottom right of your workspace.
Play with opacity, size, and placement until you're happy. Think about hierarchy (the order that people will notice things on the page) and step back to consider whether the most important thing (probably your title) stands out the most.
5. Export and download your eBook cover.
Congratulations on finishing your design! Now you're ready to share it.
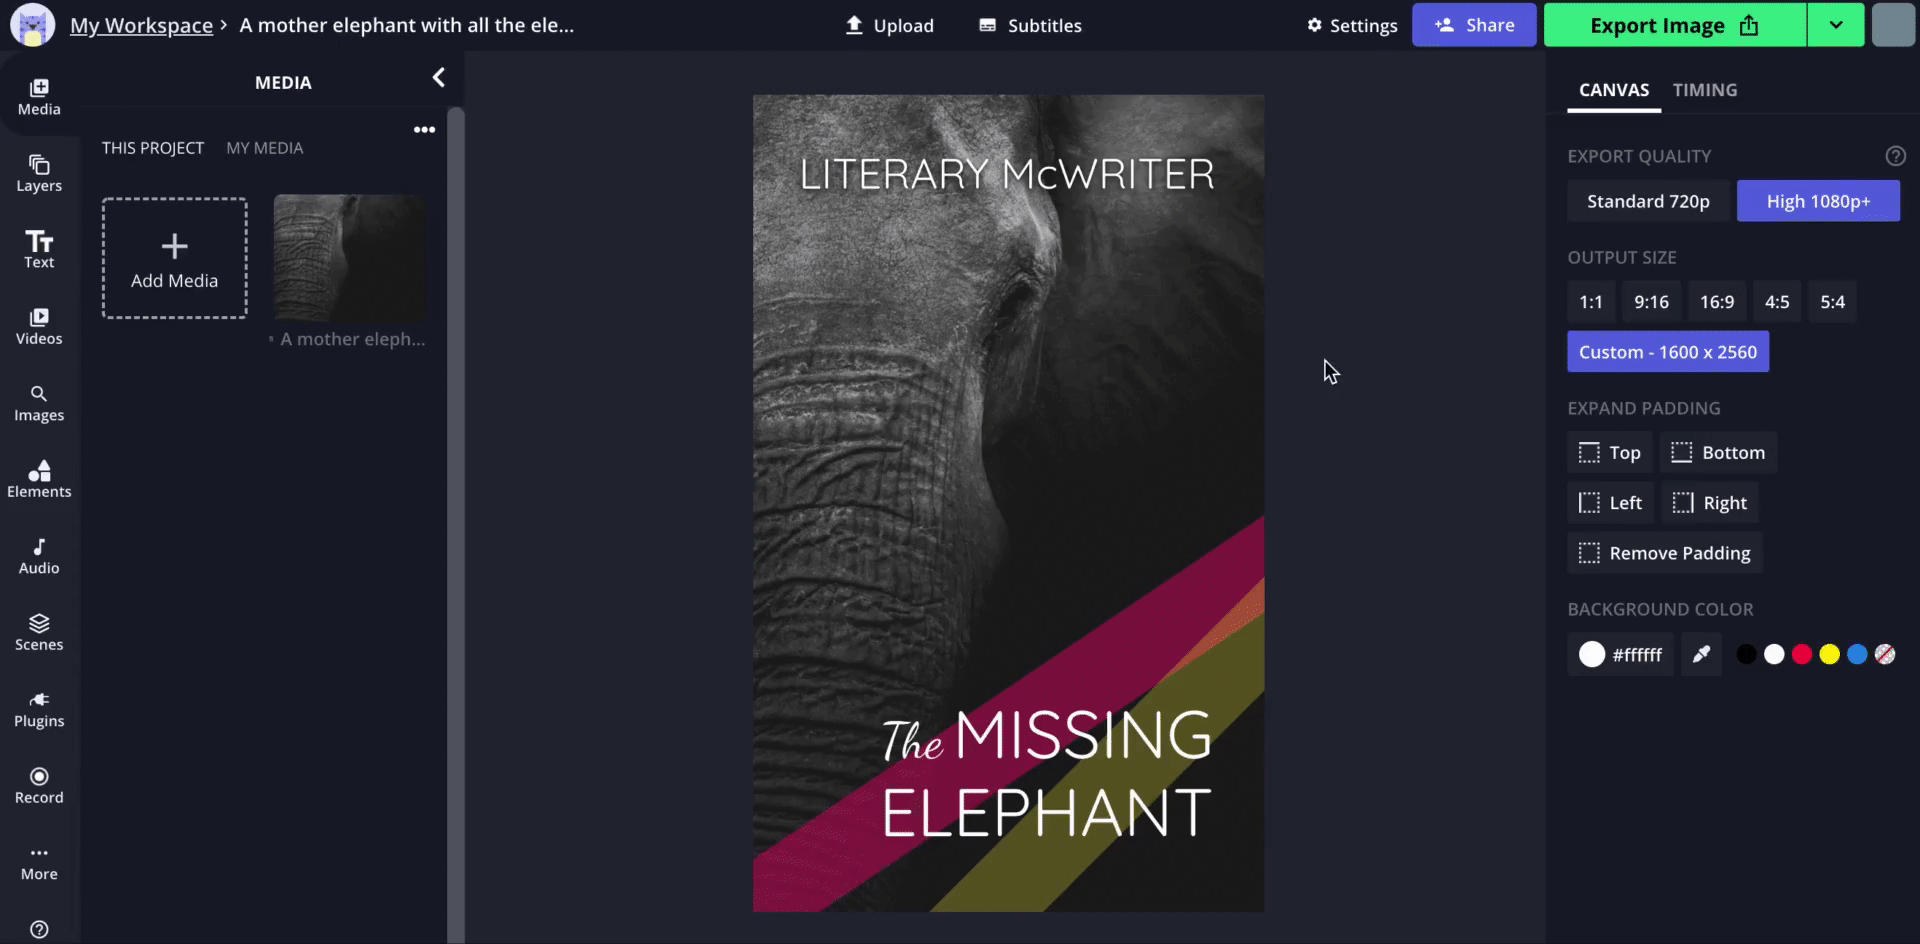
Click the green "Export" button at the top right of the editor, then hit "Download" to save your cover to your computer.
And that's it! You've made an eBook cover for free. Publish your beautiful creation and share the cover on social media to spread the word about your book!
If this has helped, you might find other useful tips and tutorials on the Kapwing Resources Page. For more ideas on how creators are using this software, you can find updates on Twitter and Instagram.
Related Articles