How to Make a Professional LinkedIn Banner Photo
The perfect LinkedIn profile can showcase your skills, experience, brand, and personality. In this article, I'll show you how to make and format your own.
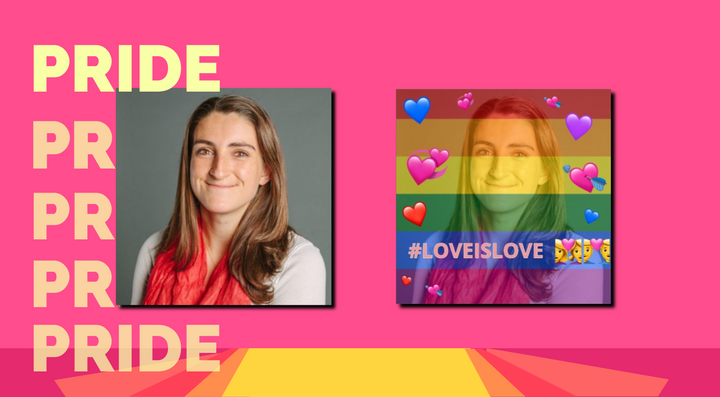
The perfect LinkedIn profile showcases your skills, experience, brand, and personality. A big part of this (literally!) is your banner photo.
For LinkedIn, you will need to resize your image to the banner area. The ideal size for your banner depends on what kind of account you have. Here are the recommended dimensions:
- 1584 x 396 px for a personal profile. You can use this LinkedIn Banner template tool to resize a photo to that ideal size or design a custom header graphic from scratch.
- 2256x382 px for a LinkedIn business page. Use this LinkedIn Banner Template for Business Pages to make it.

In this article, I'm going to show you how to create a high-quality LinkedIn banner with the correct dimensions using a free online tool called Kapwing. Most popular image editors don't allow you to resize your photos to the correct dimensions for a LinkedIn banner. Here's what you should know:
- Upload your photo to the Kapwing Studio
- Resize & Edit
- Publish & Download!
Step 1: Upload Your Photo to the Kapwing Studio
When you're ready to create your LinkedIn banner, head to Kapwing.com and click "Get Started." This will take you to the Studio, where you can use all of Kapwing's editing tools in one place.
To upload your banner photo, either right-click on the URL field and select "Paste," or select "Click to Upload" and find the photo in your file browser. You can also drag & drop a file into the Studio window if it's accessible.
Step 3: Resize & Edit
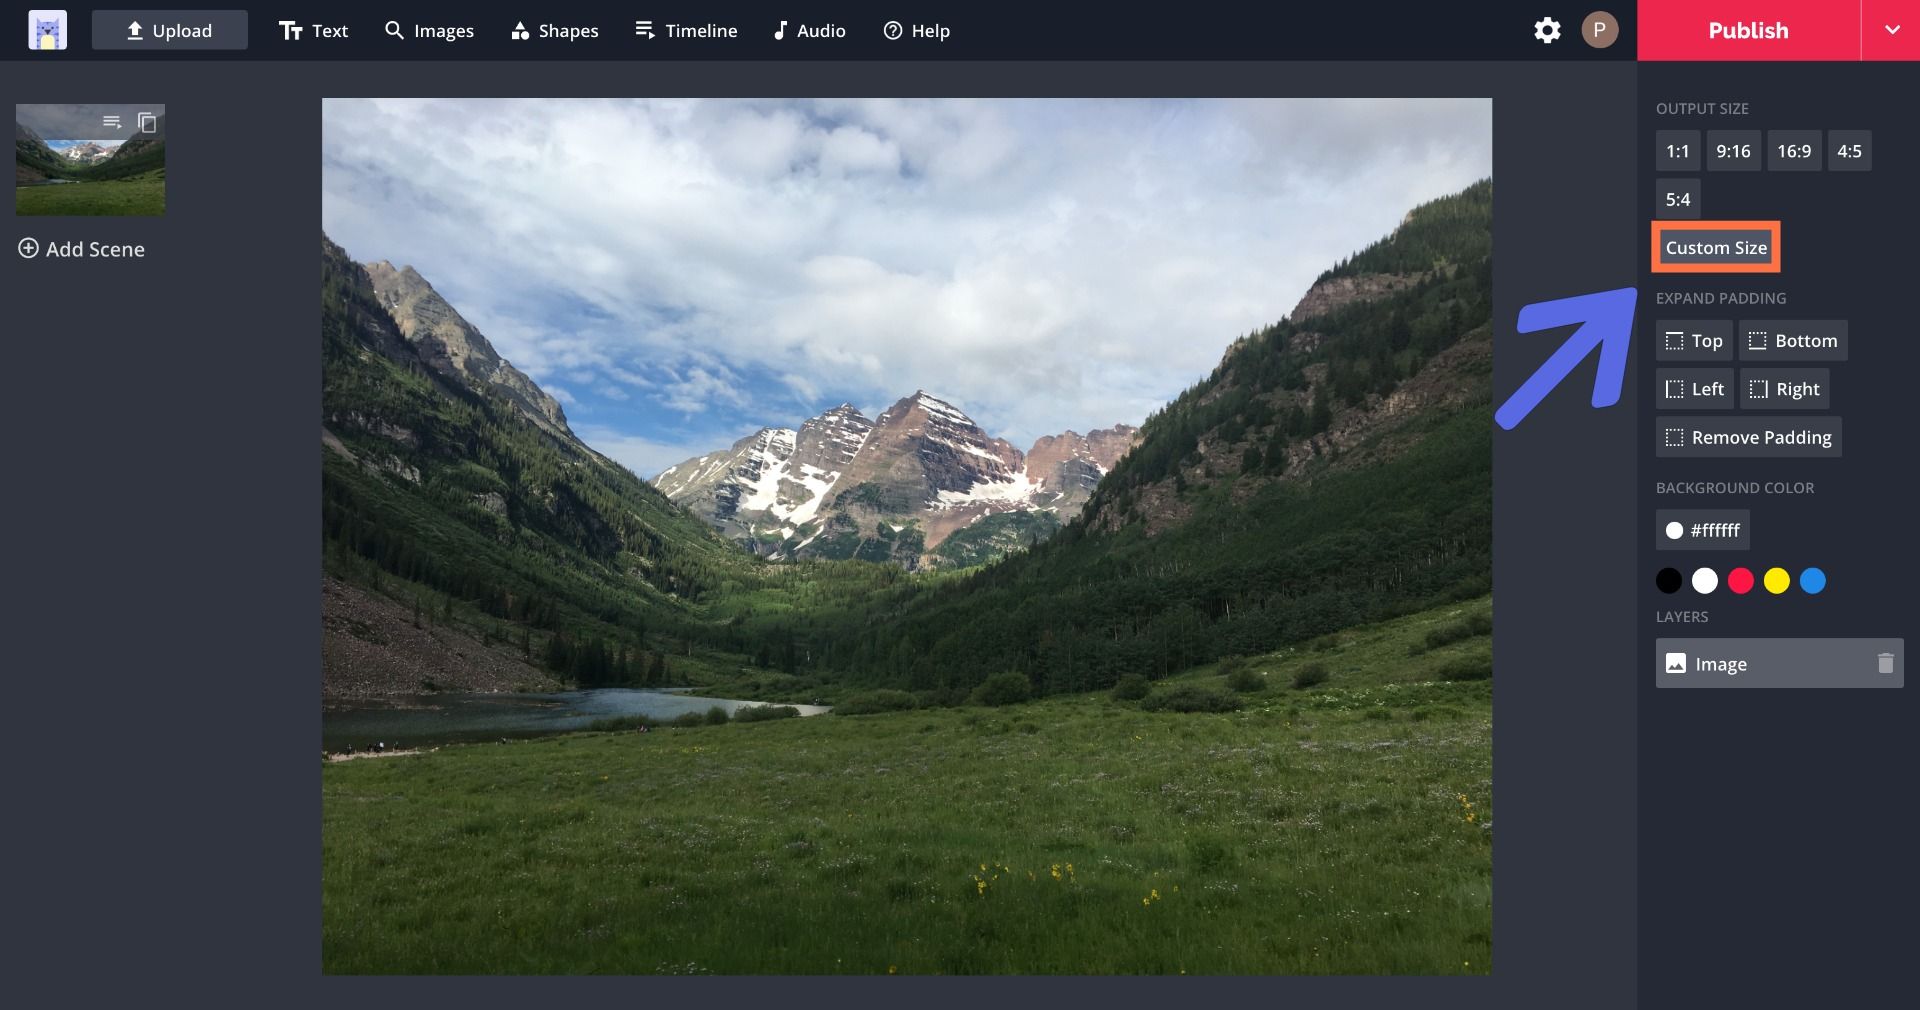
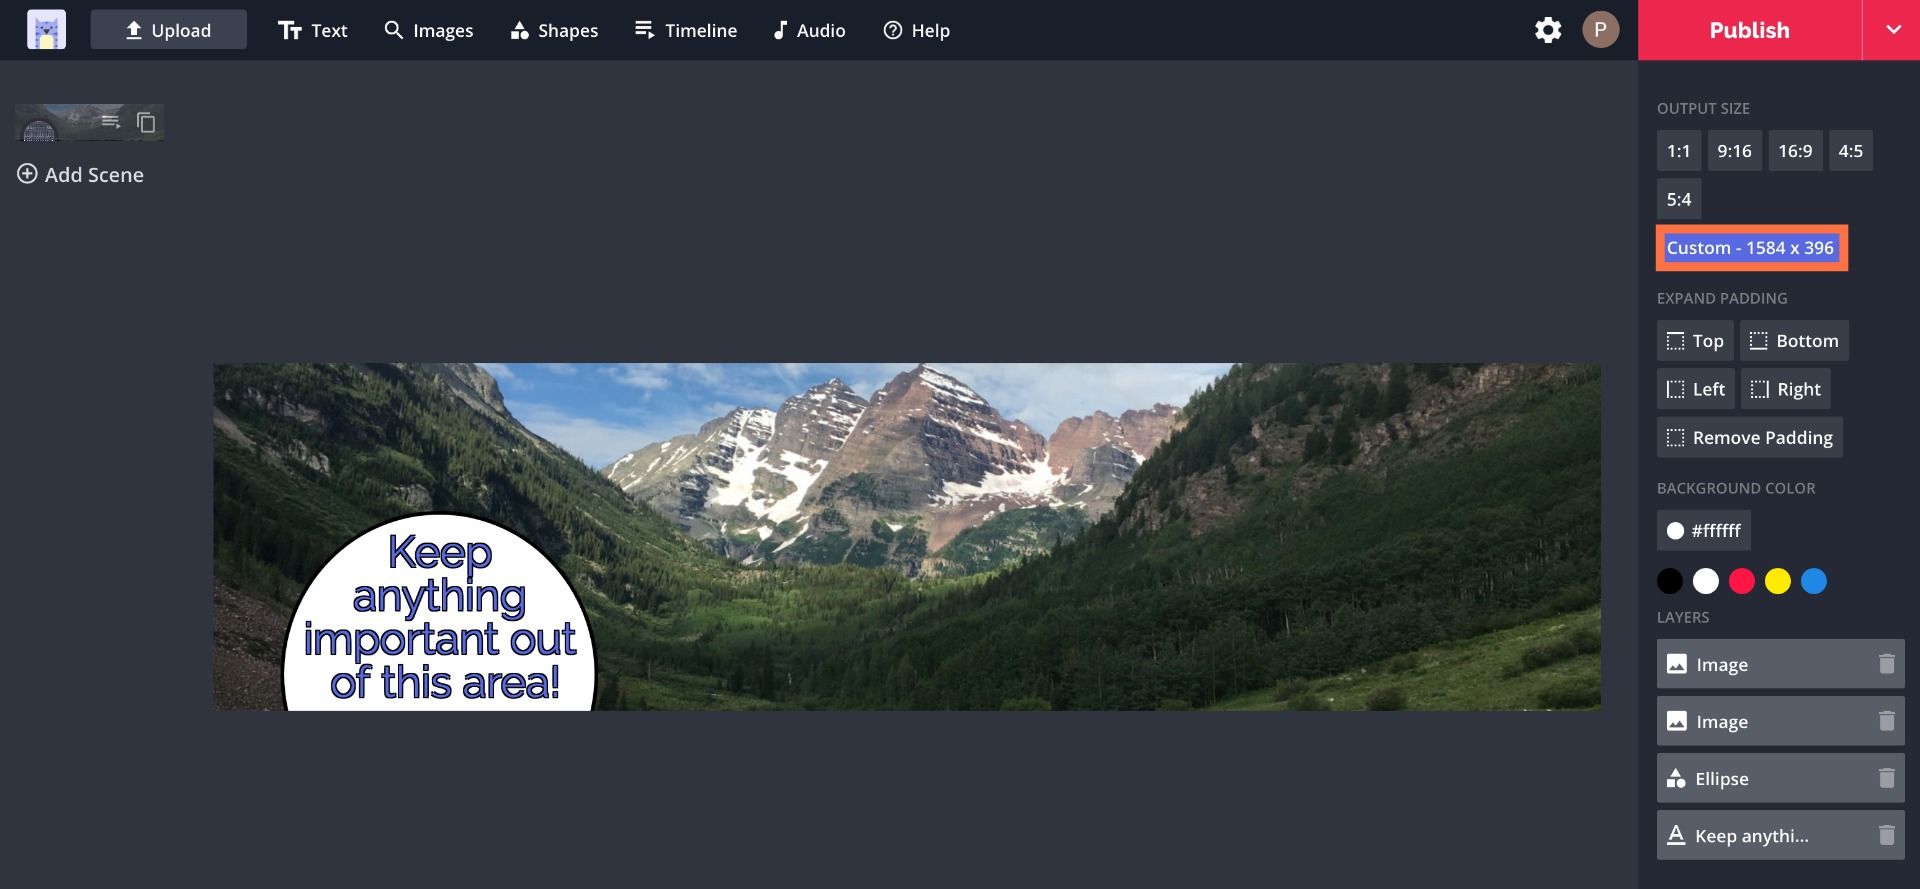
The optimal dimensions for a personal LinkedIn banner photo are 1584x396 pixels, and the best dimensions for a business's LinkedIn profile are 2256x382 pixels, so once you've uploaded your photo to the Studio, you should adjust its exact output dimensions. Click "Custom Size" from the toolbar on the right side of the Studio. In the Custom Resizer window, enter your dimensions to resize your image.
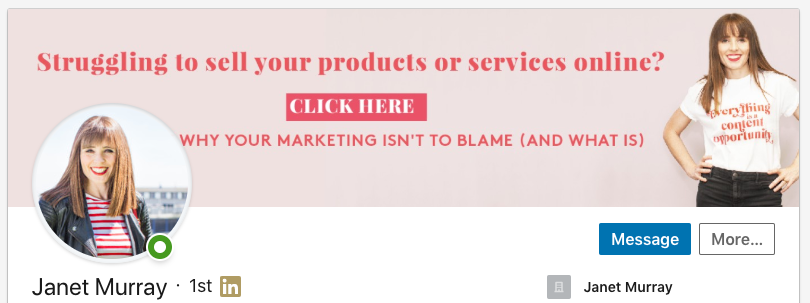
Remember: LinkedIn banners have other constraints that you'll need to keep in mind. Your circular LinkedIn profile picture will cover up a portion of your banner near the lower left-hand corner, so try to keep this area clear of important content. Also, the profile picture for a business is square, rather than circular.
Step 4: Export & Download
Once you've edited your banner photo to perfection and selected the optimal size and dimensions, click the red Export button in the upper right-hand corner. Kapwing will automatically work its magic and your banner will be ready to download in no time.
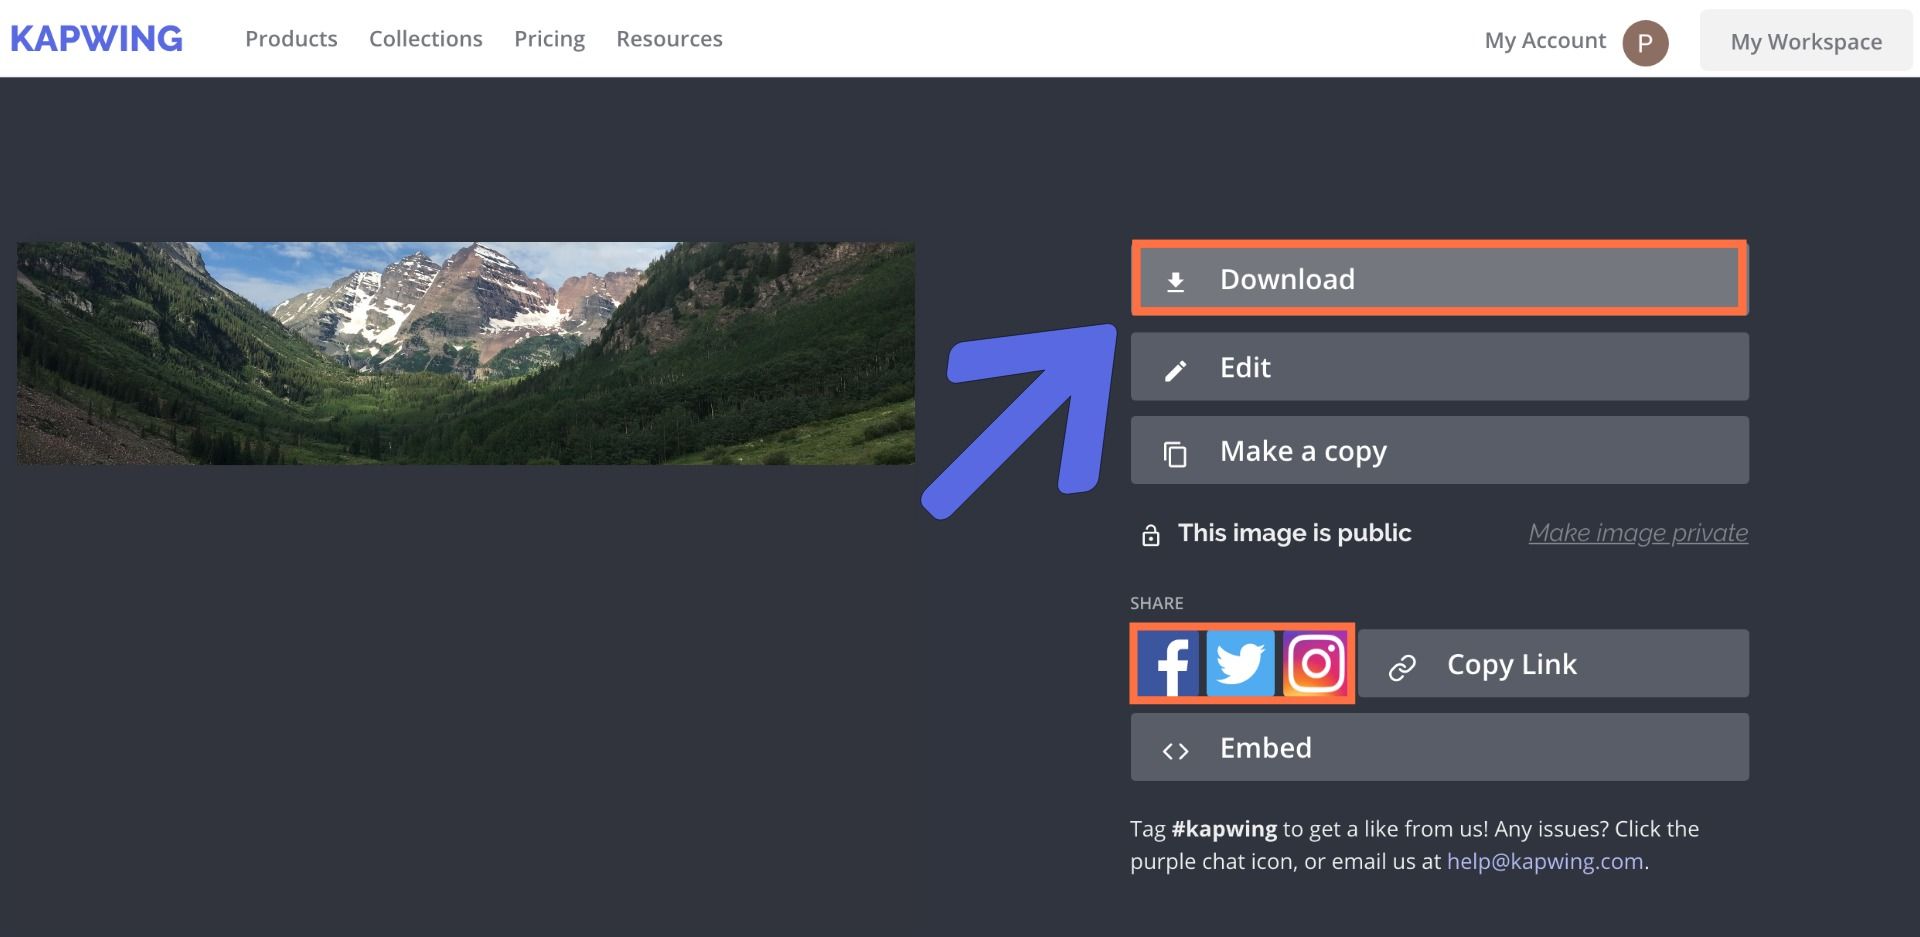
When your picture is finished processing, click “Download” from the right side of the screen. If you're not signed into a Kapwing account, sign in or sign up using your Google or Facebook account – once you've signed into a Kapwing account, the watermark in the lower right corner will be removed from your final image.
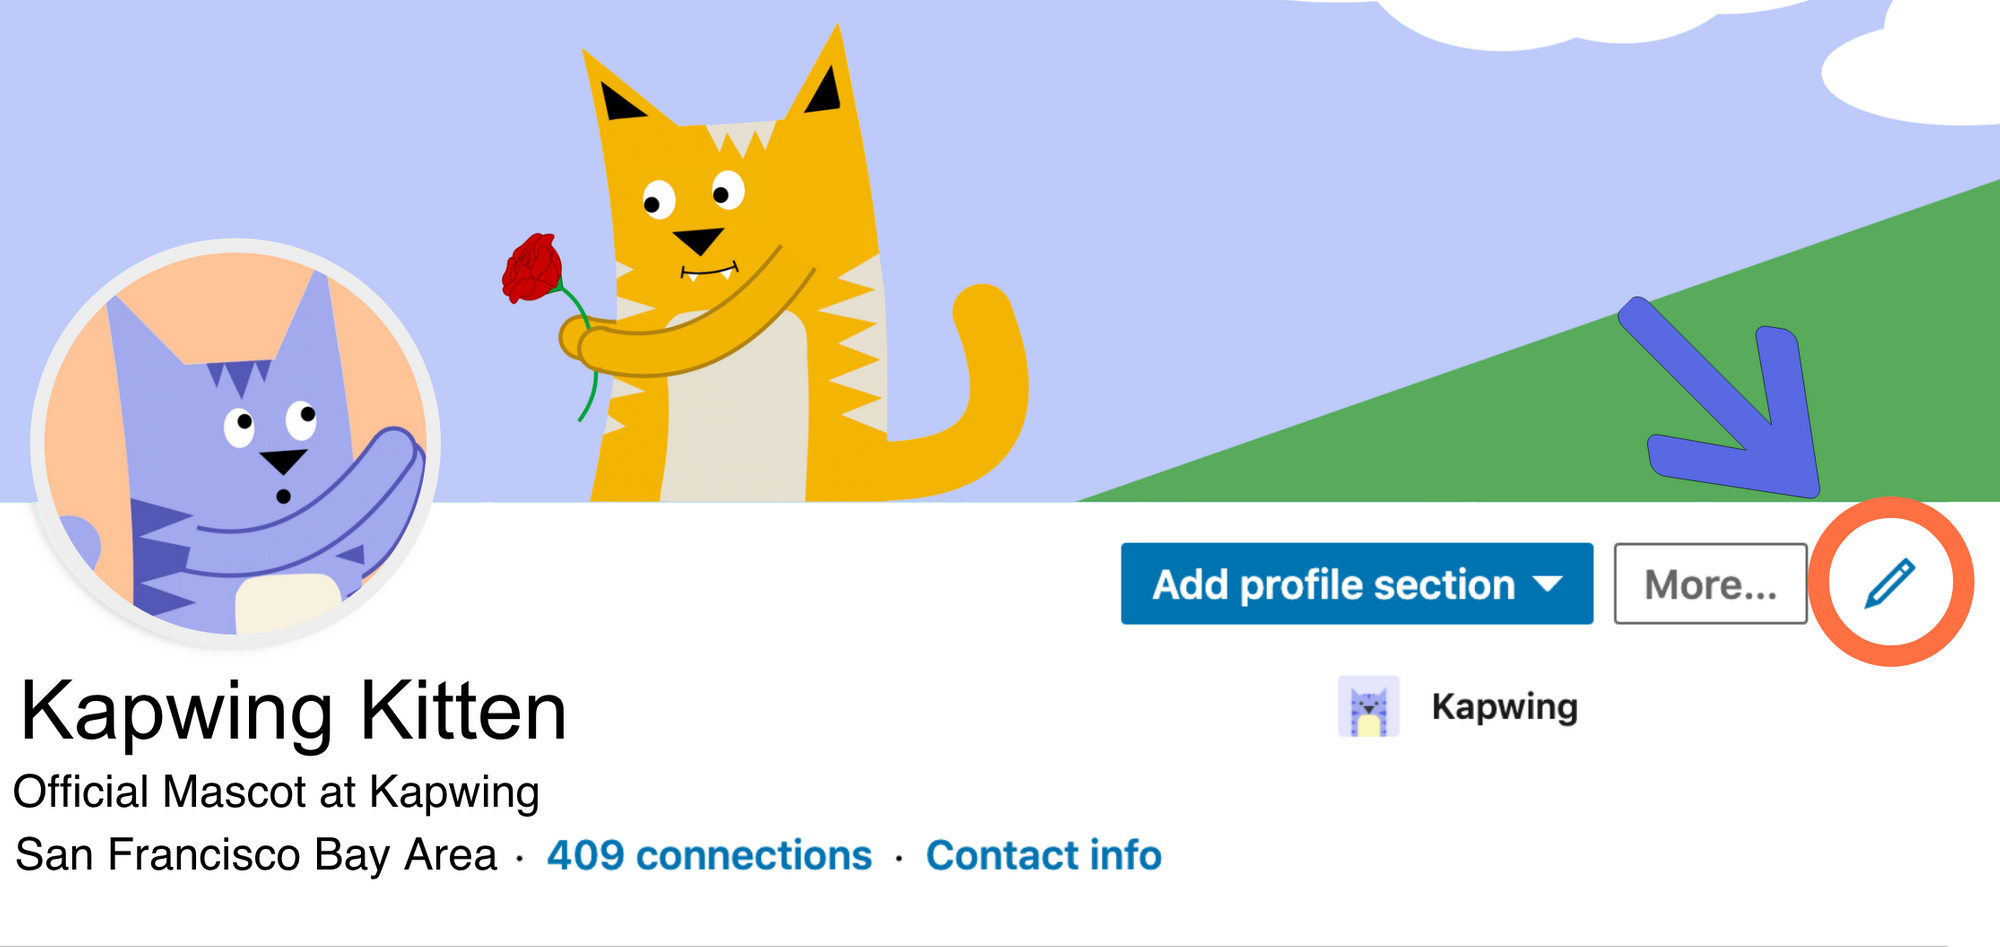
To update your LinkedIn banner, click on "Me" in the upper toolbar of your LinkedIn feed, then "View Profile." On your profile page, select the pencil icon next to your bio, and then select the same icon in the top right corner of your banner photo. Now, just upload your banner photo from your file browser!
I hope this article helps you set up your LinkedIn profile! Now is the time to invest in a thoughtful LinkedIn content strategy that grows your business. And while you're here, read through some related articles on photo resizing for social media:
- How to Make a Google Header Image
- Best Photo and Video Sizes for Social Media
- How to Make a Twitter Banner
- How to Make a 1920x1080 Wallpaper Photo